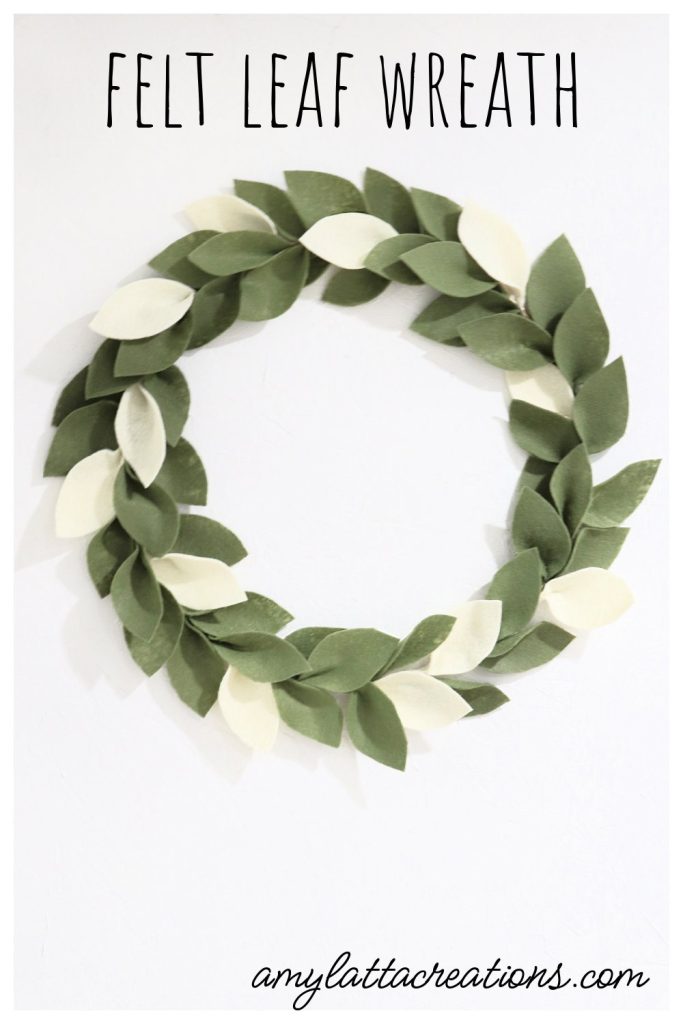
Felt Leaf Wreath
Looking for a new wreath for the front door or your wall? Here is a quick, inexpensive idea for a felt leaf wreath that you can customize using whatever colors of felt you like. Take a look.
How to Make a Felt Leaf Wreath
This wreath cost me less than $10 to make, compared to similar ones that sell for $95! To create your own, just gather the materials below and follow the step-by-step tutorial. Feel free to use fall colors for your leaves, to add berries, or to personalize your wreath with other details.
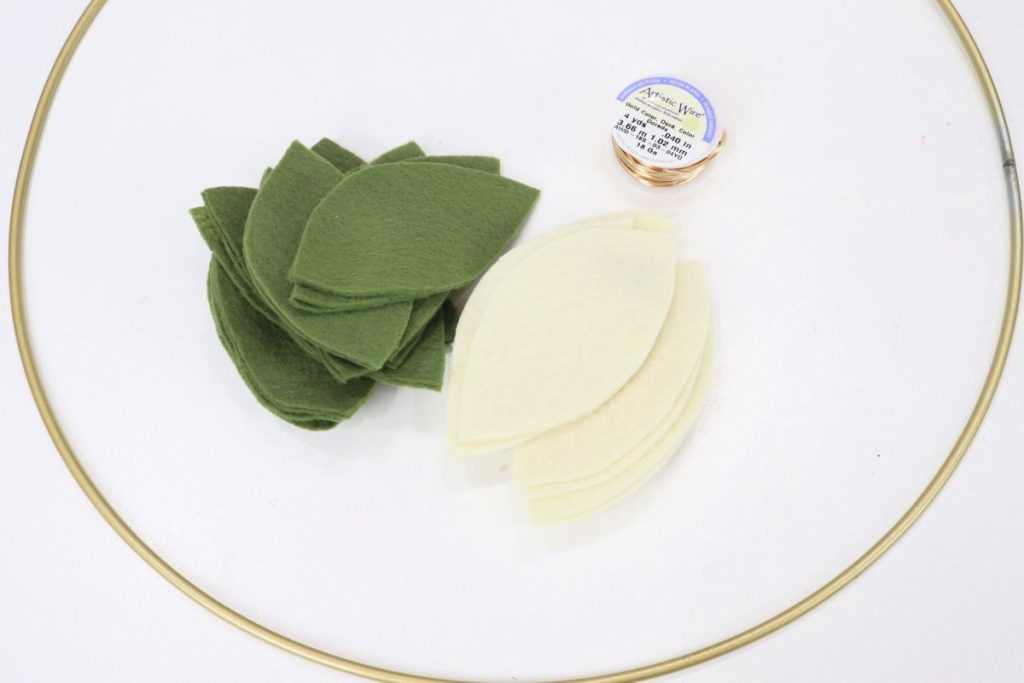
Materials
- felt (I used olive green and cream)
- scissors
- hot glue gun and glue sticks
- 20 gauge wire
- 14” metal hoop
Instructions
Cut approximately 60 felt leaves.
I used 48 green leaves and 12 cream (60 total) to cover my wreath. You can use more or less, depending on the size of your hoop and how full you want your wreath to be. The leaf shape is just an oval with a point on each end. My leaves are about 4” from one tip to the other and 1.75” wide.
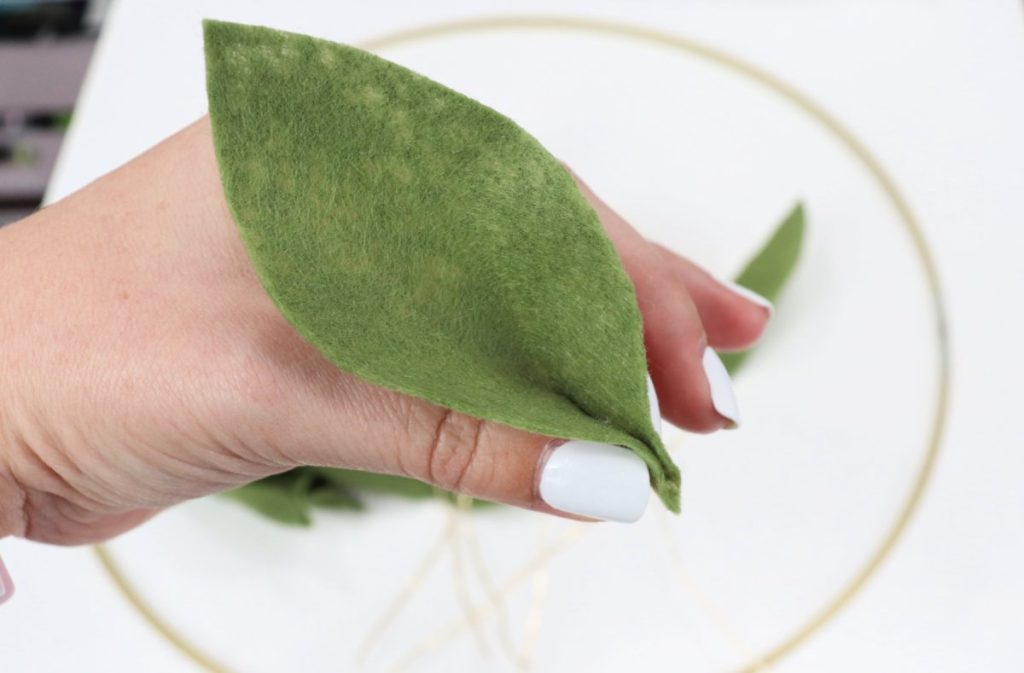
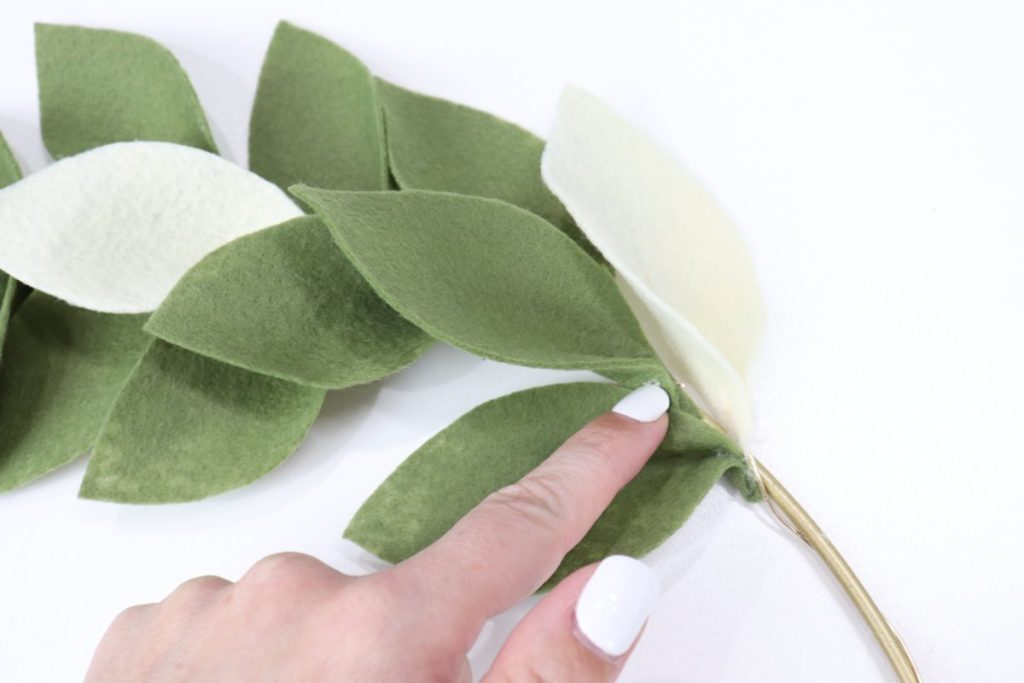
Pinch and glue the leaf bottoms.
Apply a small amount of glue to the center part of the bottom of each leaf. Gently squeeze the sides together to create this 3-dimensional effect. I like using my Surebonder Mini Cordless Glue Gun for this, because of the detail tip that allows me to put a very thin strip of glue exactly where I want it.
For six of your leaves (I did 3 green, 3 cream), glue a 6” piece of wire inside the pinched area as you complete this step.
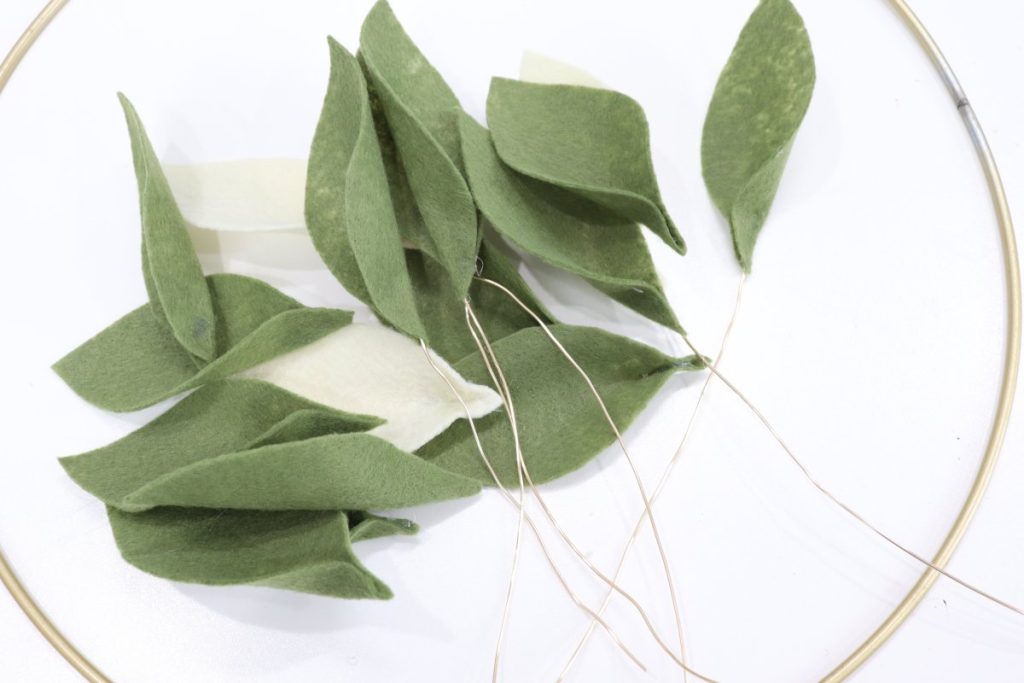
Wrap the wired leaves around the hoop, leaving space in between.
I alternated colors. Some leaves should point to the inside of the hoop, and some to the outside.

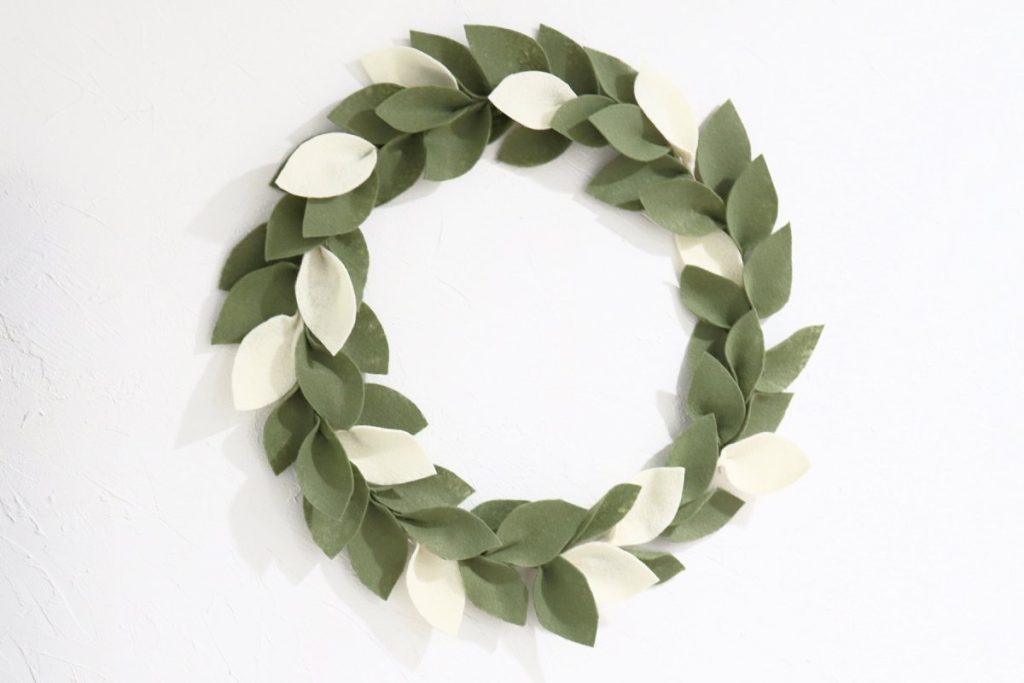
Glue the rest of your leaves in between the wired ones, covering the metal ring.
Fill in all the empty spaces so that the ring isn’t visible.
Make sure some leaves are glued to outside of the ring, some to the inside, and some to the top, so that you get full coverage and the leaves look natural. Once again, the detail tip on my glue gun is really helpful here!

Once all of the leaves are glued in place, your wreath is ready to display. If you’d like to add berries, wool balls, jingle bells, or any other embellishments, now is the time to glue those in amongst the leaves. I left my wreath simple, but feel free to add your own personal touches.

Display your wreath for all to see and enjoy!
I hung my wreath on a nail from the ring itself. If you prefer, you can add a ribbon or wire hanger.
Crafting Tips
- To give your wreath a more seasonal appearance, use different colors of felt. For fall, try gold, orange, wine, red, brown, or other autumn shades. For winter, try red, green or even an all white wreath.
- Creating a larger or smaller wreath is easy; just start with whatever size metal hoop you want your finished wreath to be.
- To avoid burning your fingers, you can use a wooden craft stick to push the felt into the glue areas.
Frequently Asked Questions
No, the felt will not hold up to water and other weather conditions. However, if you have a screen door in front of your front door, it will be just fine!
Since this project only requires felt, glue, wire, and the metal hoop, you should be able to find everything you need at your local craft store. If not, everything is easily available online.
More Felt Projects


If you try this project, or any of the others you find here, I would love to see your work! Make sure you’re part of the Amy Latta & Friends Facebook Group so you can share your photos and we can all inspire one another. See you there!

Felt Leaf Wreath
Instructions
- Cut approximately 60 felt leaves. Mine are 4” x 1 1/2".
- Pinch and glue the leaf bottoms to create a 3-D effect.
- Attach wires to six leaves.
- Wire leaves to the metal hoop, evenly spaced.
- Glue the remaining leaves in the spaces between the wired leaves until hoop is fully covered.


2 Comments