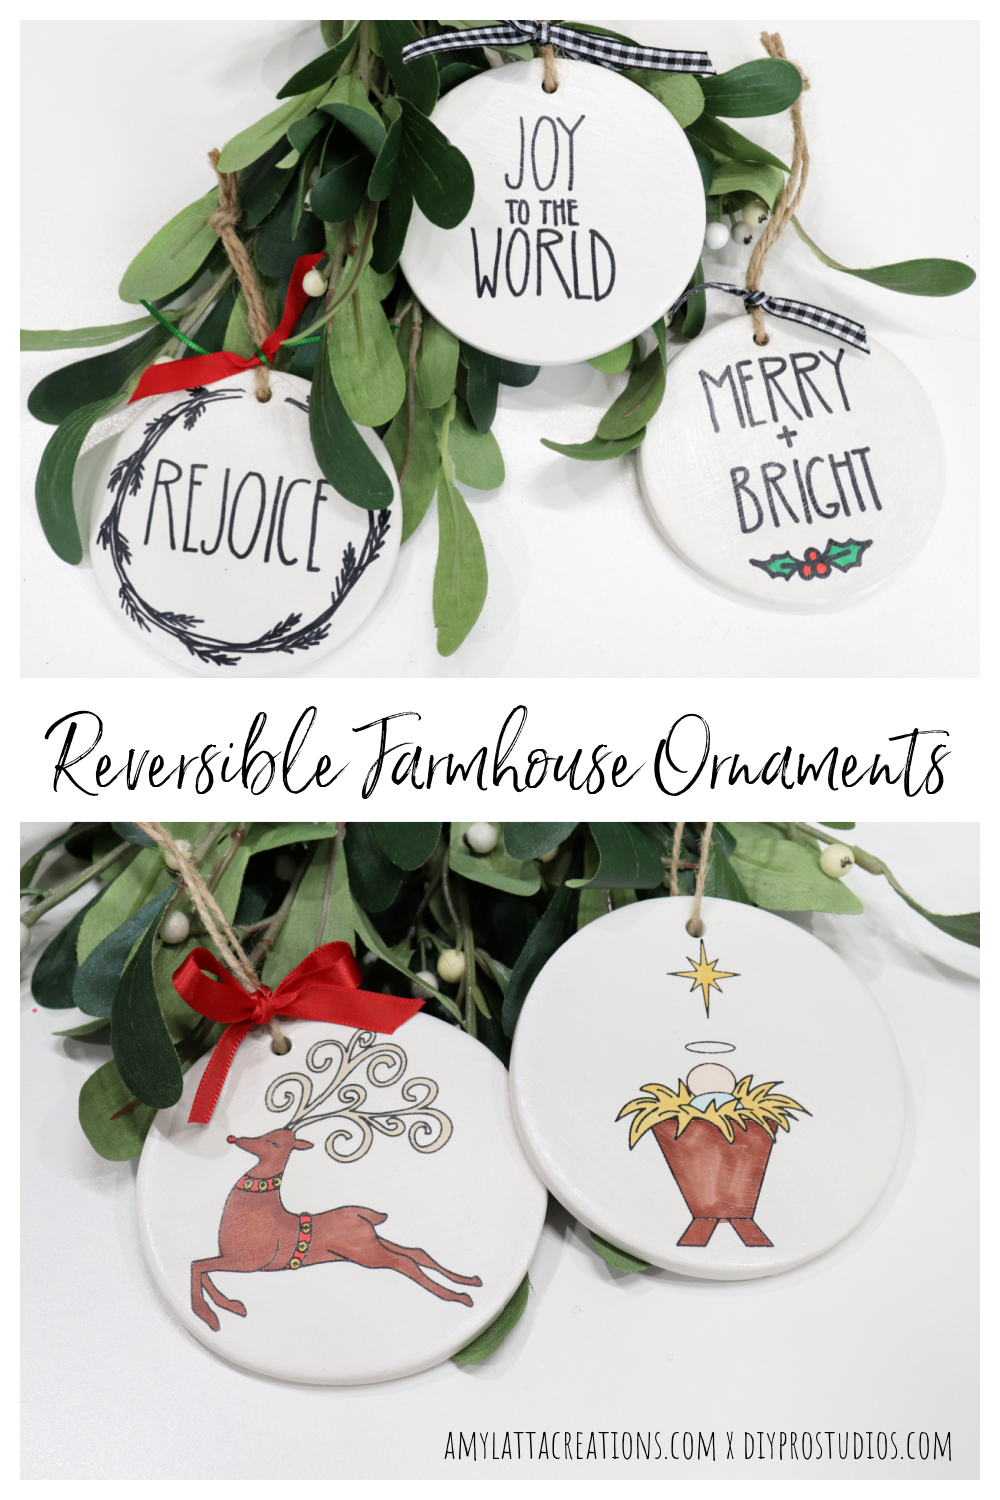
Reversible Farmhouse Ornaments
Over the past year, I’ve had a lot of fun collaborating with DIY Pro Studios to create some exciting projects, like the Mid Mod Winter Mugs, Garden Markers, and more. This holiday season, I’ve teamed up with them to design two reversible “coloring book style” ornaments!
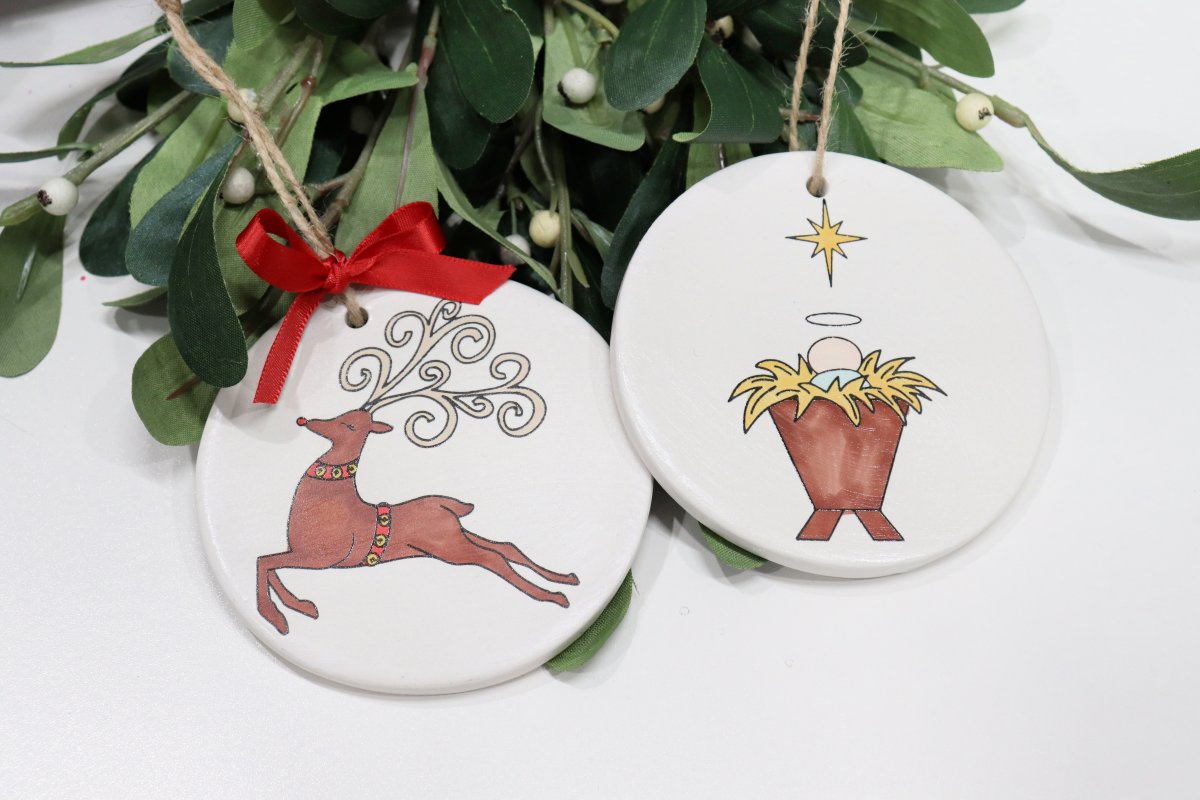
Basically, what that means is that my hand drawn reindeer or baby Jesus design is printed on one side of the ornament for you to color in however you like. Then, the other side is blank so that you can hand letter your own personal holiday message. These are available through your local paint-your-own pottery store; you can enter your zip code on the website to find the one nearest to you!
Here’s how to create your own.
You’ll need:
Bisque Ornaments (Baby Jesus & Reindeer designs from DIYProStudios.com)
Permanent or alcohol based markers
Mod Podge, any formula (I used Glossy), and paintbrush
Pencil and eraser
Twine and/or ribbon
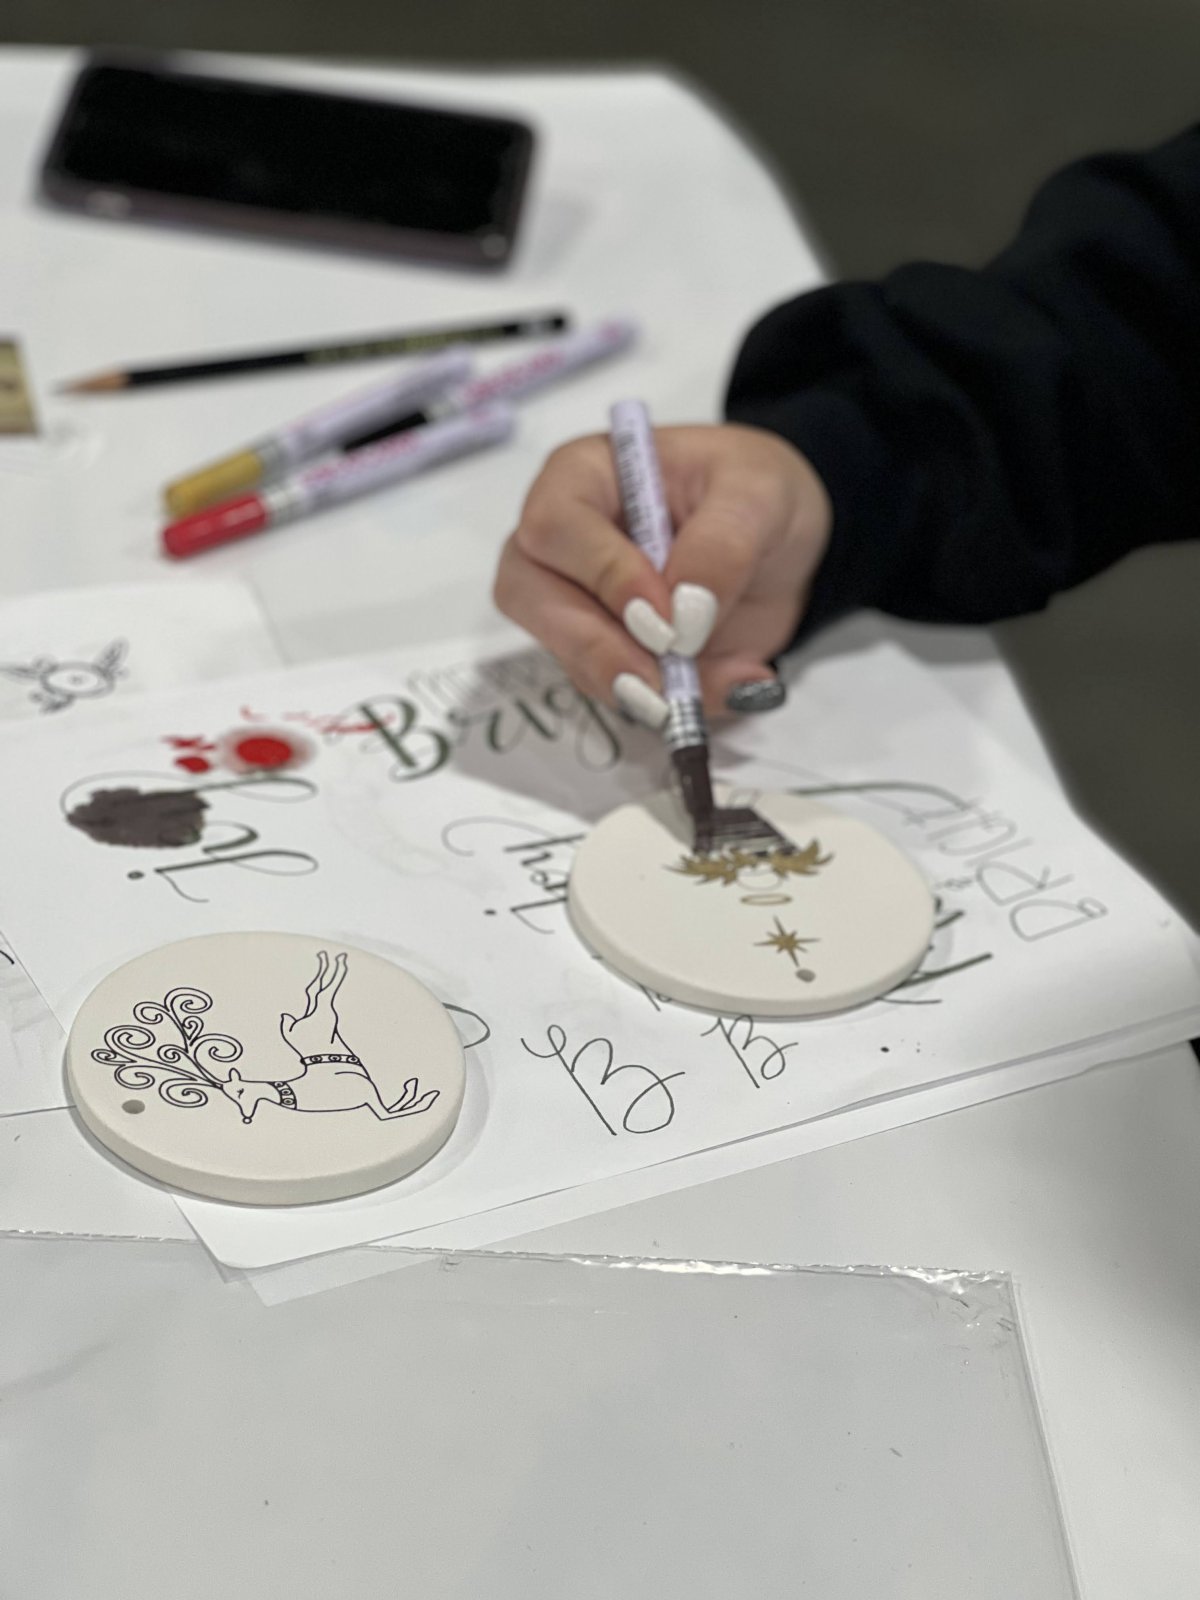
Step 1: Color in the ornament design.
While you can certainly do this at the paint your own pottery studio using glaze, these ornaments are also a great take-home project. Just purchase the ornaments, bring them back home, then use your favorite permanent markers, alcohol markers, paint markers, or acrylic paints to create your masterpiece.
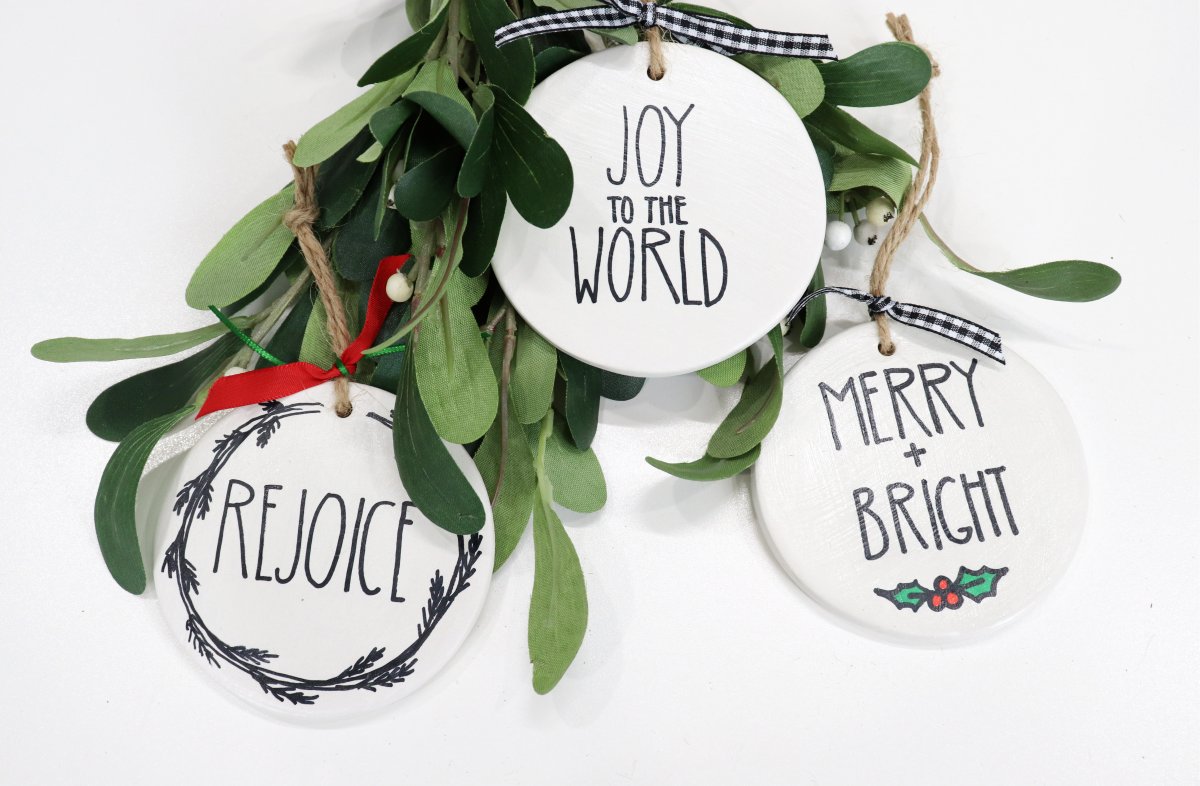
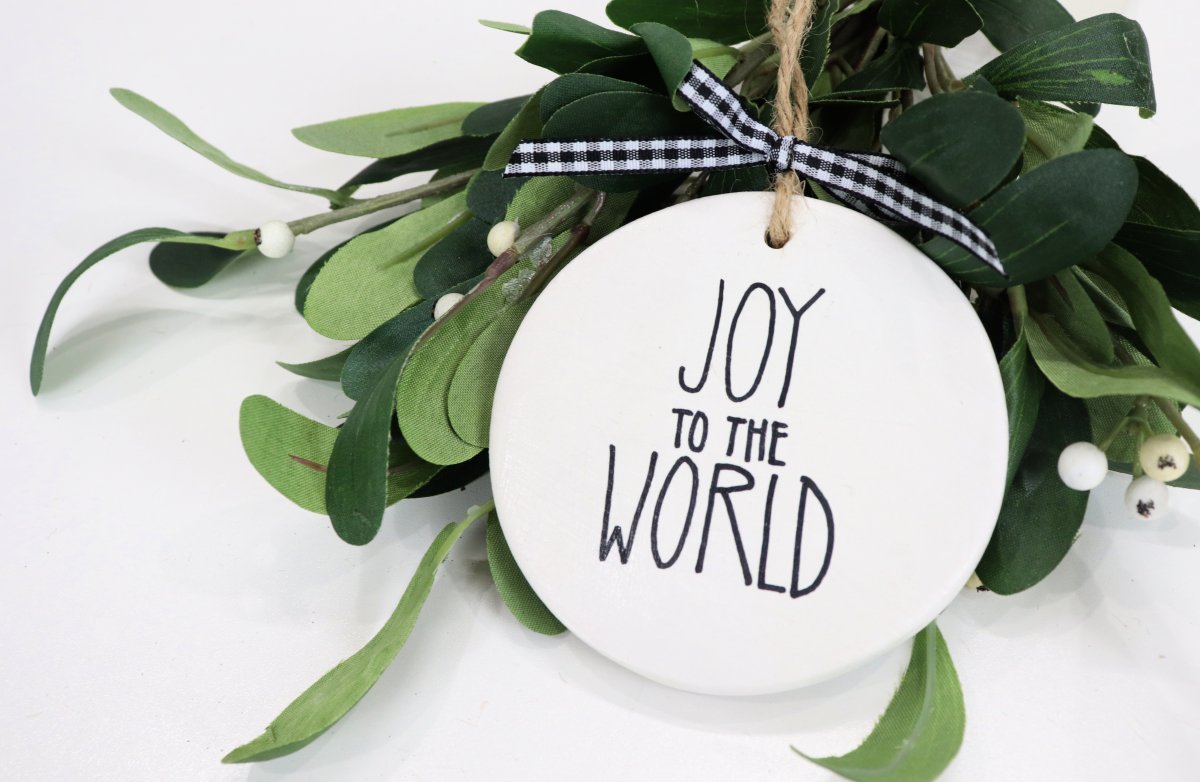
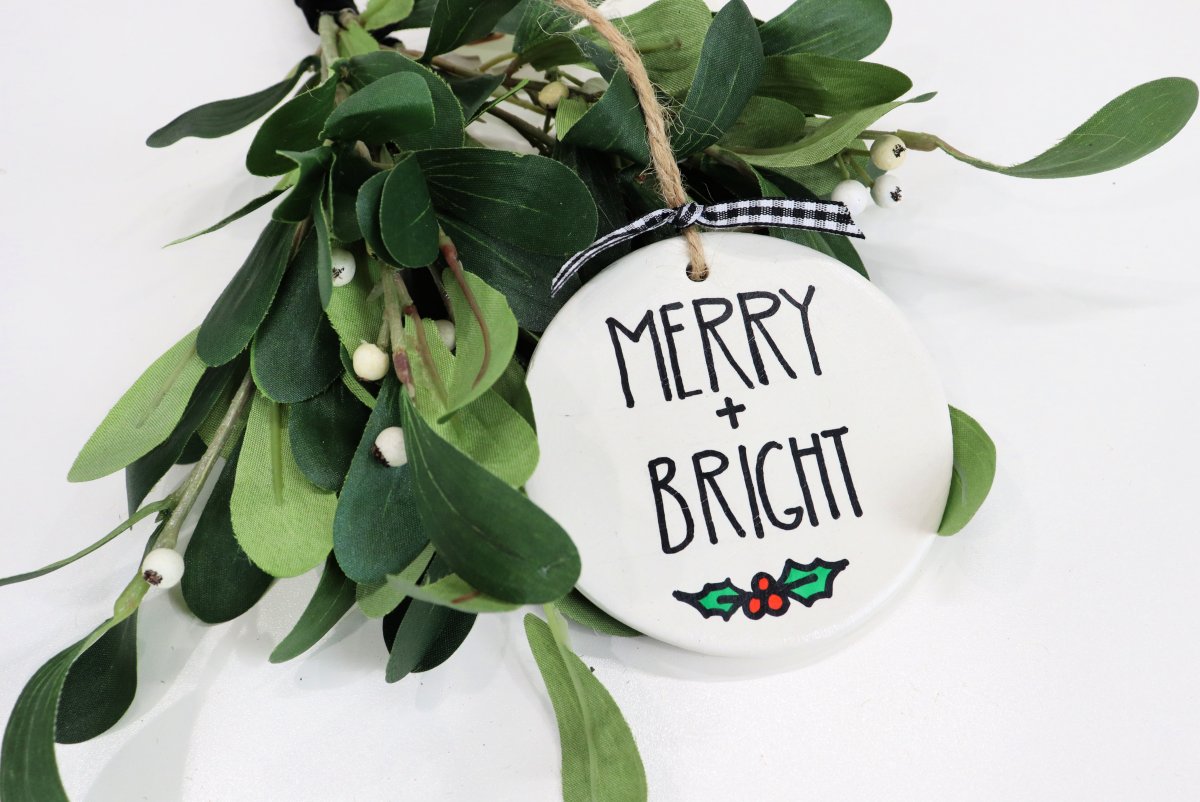
Step 2: Add a message on the other side.
You can add a name, a monogram, or any holiday message you like. I used my Rae-Dunn Inspired print style to write things like, “Joy to the World,” “Rejoice,” and “Merry & Bright.” Here’s a quick tutorial on how to turn your regular capital alphabet into this whimsical font!
First, you’ll want to use a pencil and a ruler to lightly sketch straight guide lines across the ornament where you want the words to go. Then, pencil in the words, starting with the center letter of each line and working your way out to the sides.
Next, trace over the pencil design using permanent and alcohol based markers. When the marker is completely dry, you can erase any pencil marks that are still visible.
Step 3: Seal with Mod Podge
Give both sides of your ornament a coat of Mod Podge to seal your work. I recommend sealing one side and letting it dry, then flipping it over to seal the other side.
Step 4: Add a hanger.
I used twine accented with red, green, and/or buffalo plaid ribbon.
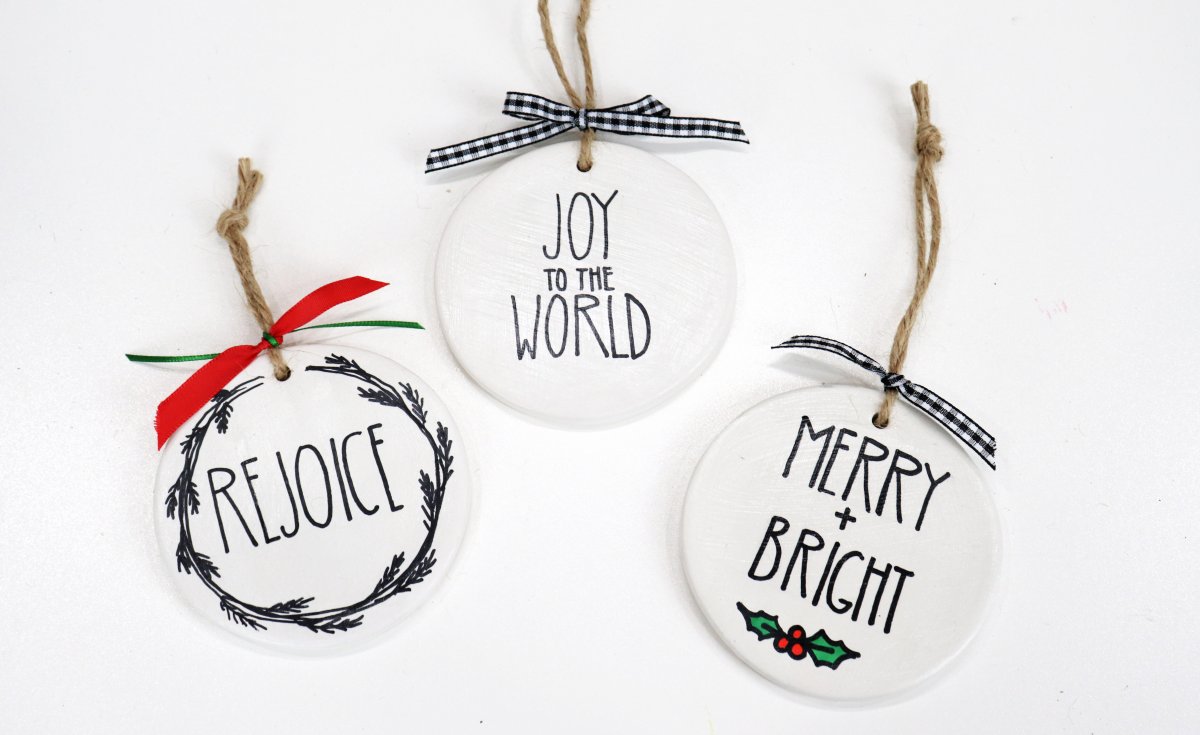
Now, your ornaments are ready to display on your tree! They also work wonderfully as gift tags tied onto packages for your family and friends. Here’s a quick look at making them from my trip to Good Things Utah!
If you try these, I would LOVE to see how they turn out. Be sure to join the Amy Latta & Friends group on Facebook if you aren’t already a member so you can share your project pictures with us and we can all be inspired. What are you waiting for? Head to the DIYProStudios website and find the retailer nearest you where you can grab these ornaments and get started! Happy creating!