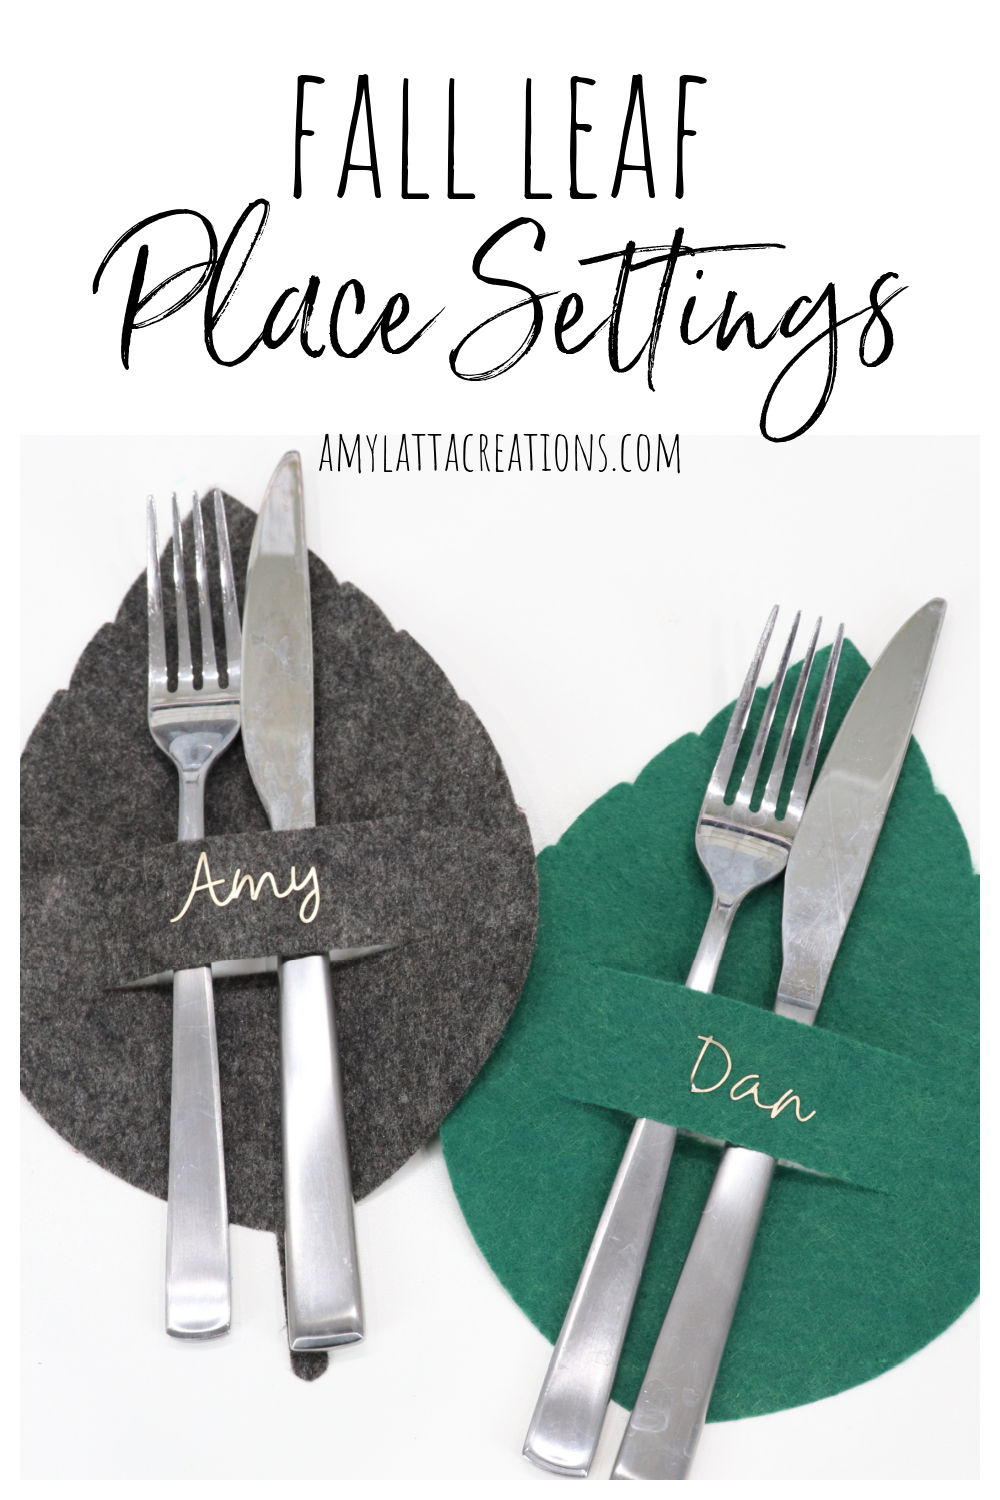
Fall Leaf Place Settings
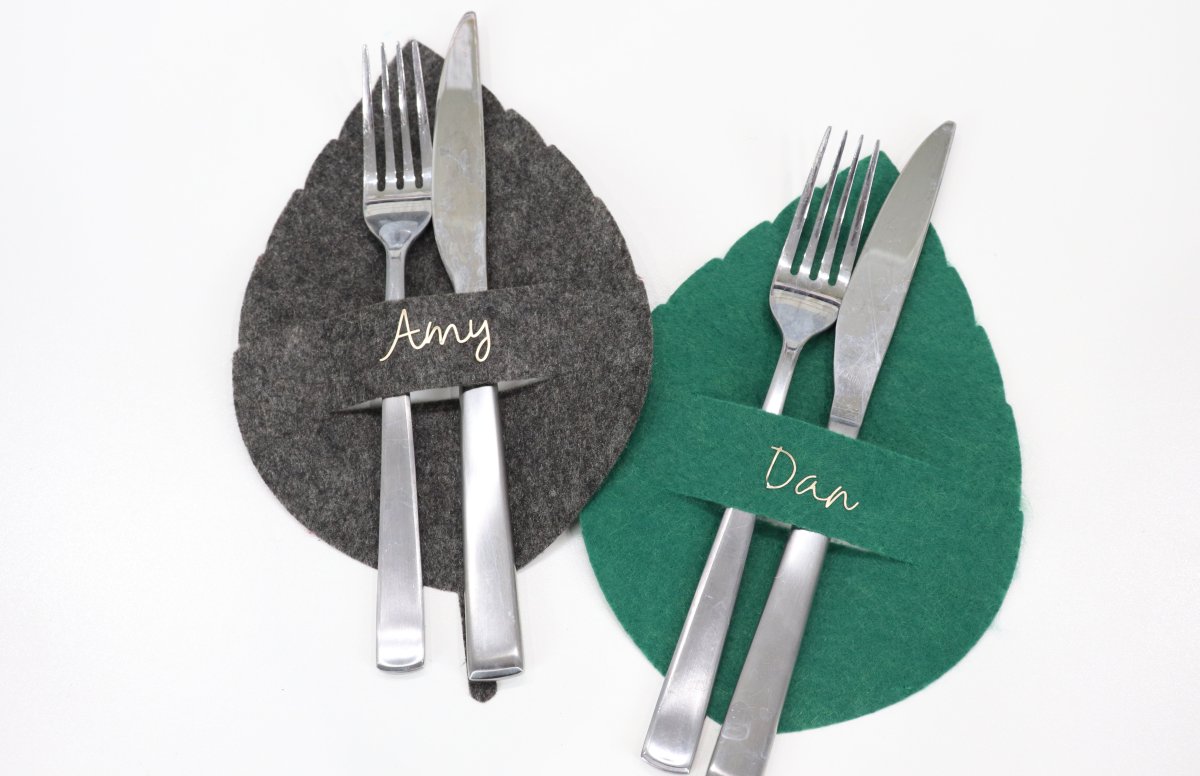
Bring a touch of fall to your dinner table with these easy Fall Leaf Place Settings. They hold utensils as well as doing the job of place cards and letting your guests know where to sit.
You’ll need:
Felt, your choice of colors (I used the Cricut Felt Sampler)
Cricut Maker 3 (or scissors to cut by hand)
Permanent Vinyl (I used gold)
Transfer Tape
Step 1: Open the file in Design Space.
Click here to open the cut file I created for this project. If you want to resize the leaves at all, this is the time to do so by choosing “customize,” then adjusting the size from one corner of the image. Otherwise, you can choose “make it,” and follow the prompts to send the info directly to your Cricut machine.
Don’t have a cutting machine? You can cut out leaf shapes by hand instead, making sure to cut two slits where the utensils can slide in.
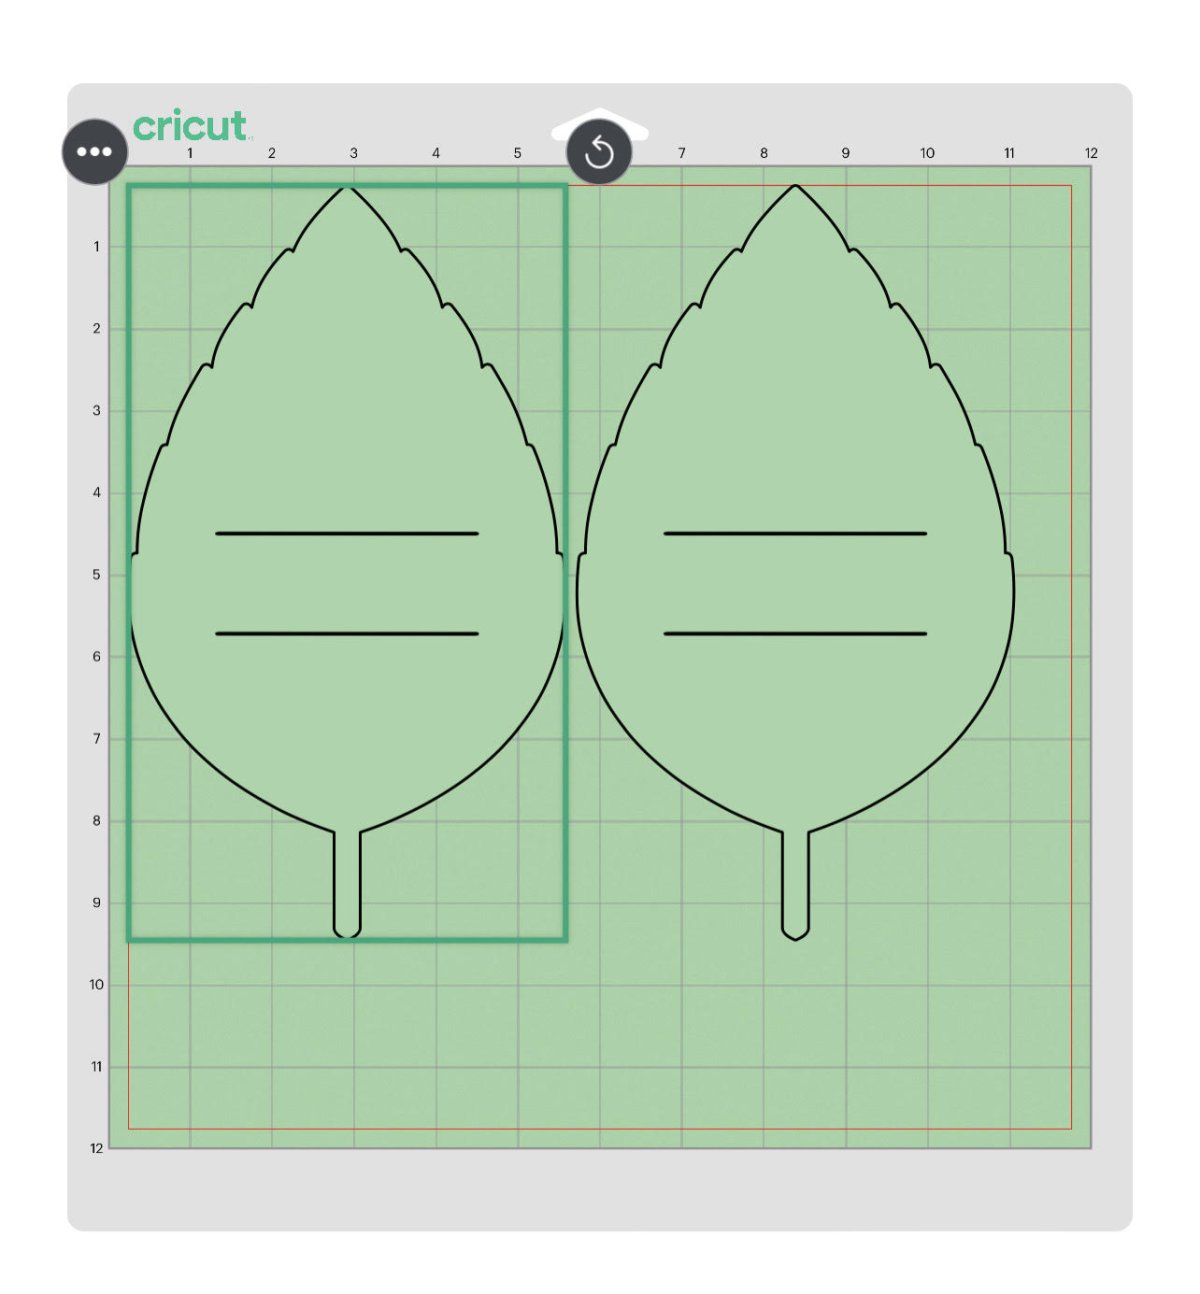
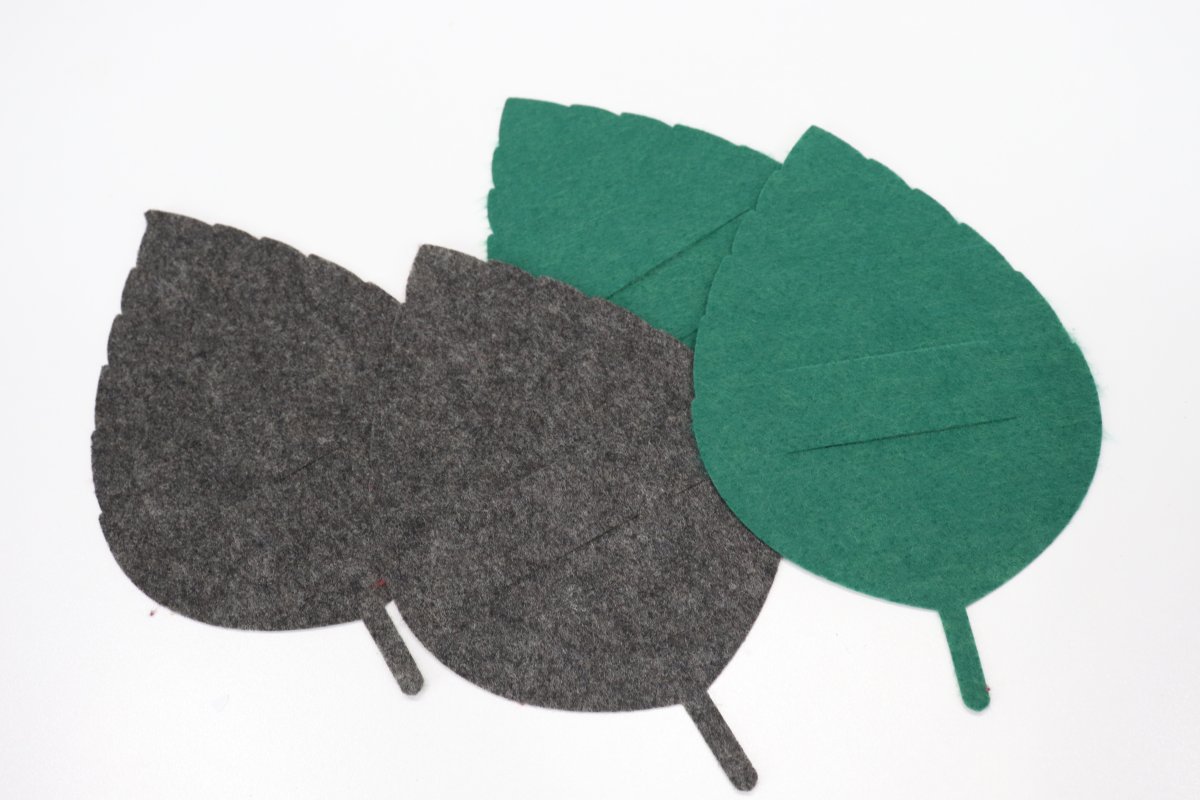
Step 2: Cut the leaves from felt.
Place a 12″ square of felt on a strong grip or fabric cutting mat and load it into the machine. Follow the prompts to let the Cricut work its magic and make the cuts. Each 12″ square of felt will give you two leaves. You can use any colors you like.

If you prefer not to label your leaves with names, you can stop here and slide your silverware into the slots. This will make your place settings reusable. Otherwise, continue on to the next step.
Step 3: Cut names from permanent vinyl.
To do this, go into Design Space, choose type, and enter the names. Choose your favorite font, and resize it so that the maximum height for one letter is 1.” I used gold for mine, but you could also try white, black, or any fall color.
Step 4: Add the names to the leaves.
First, you’ll need to weed the names, which means removing all the vinyl that isn’t part of your letters (including the centers of letters like “e” or “o”). Use transfer paper to move the names from their backing onto the felt leaves.
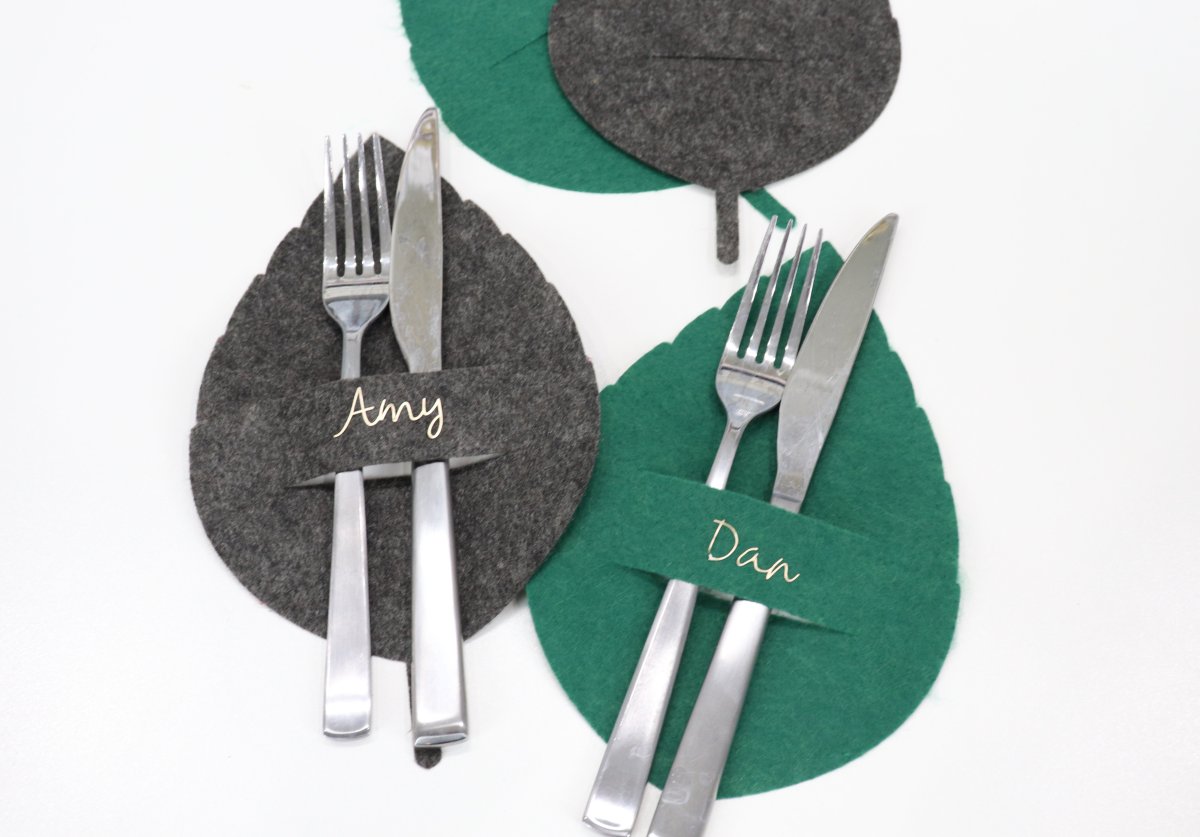
These were very easy to make, and they add such an elegant seasonal touch to your dining room. I chose neutrals like grey and green for mine to match the overall farmhouse style decor of my home, but you can use orange or any other fall colors you like instead. What do you think? I’d love to see how yours turn out! Make sure you’re part of the Amy Latta & Friends Facebook Group so you can share your own project photos and we can all inspire one another. See you there!
Check out these other fall projects: