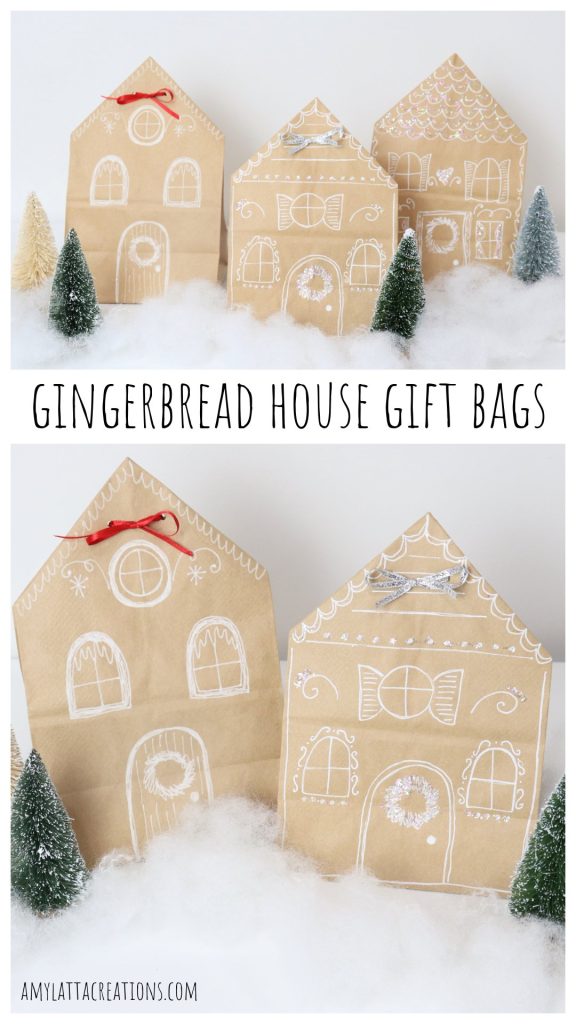
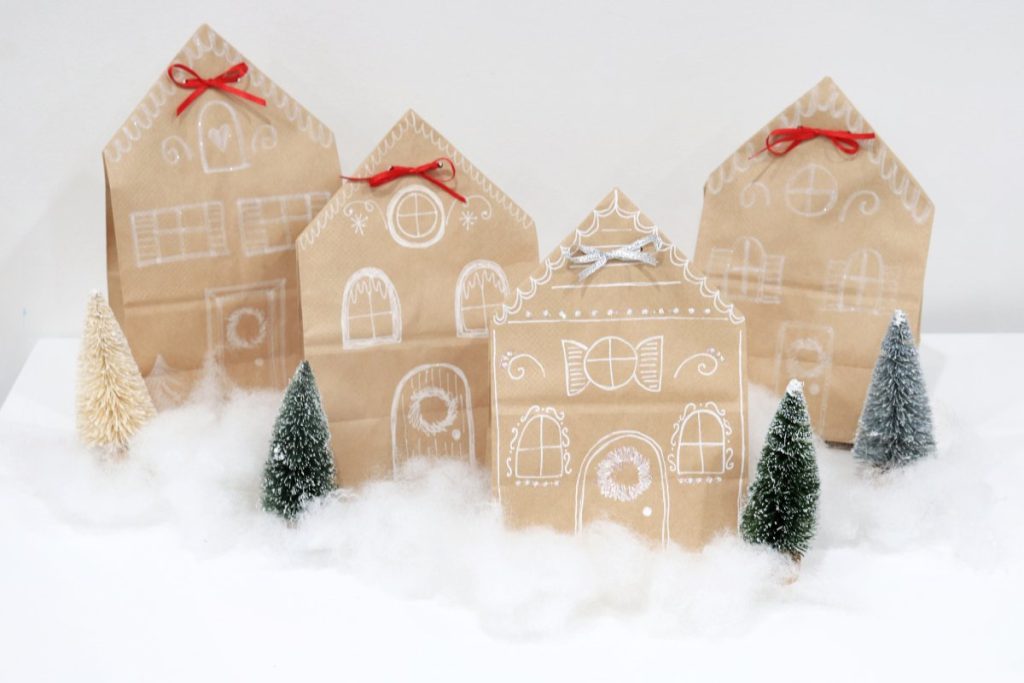
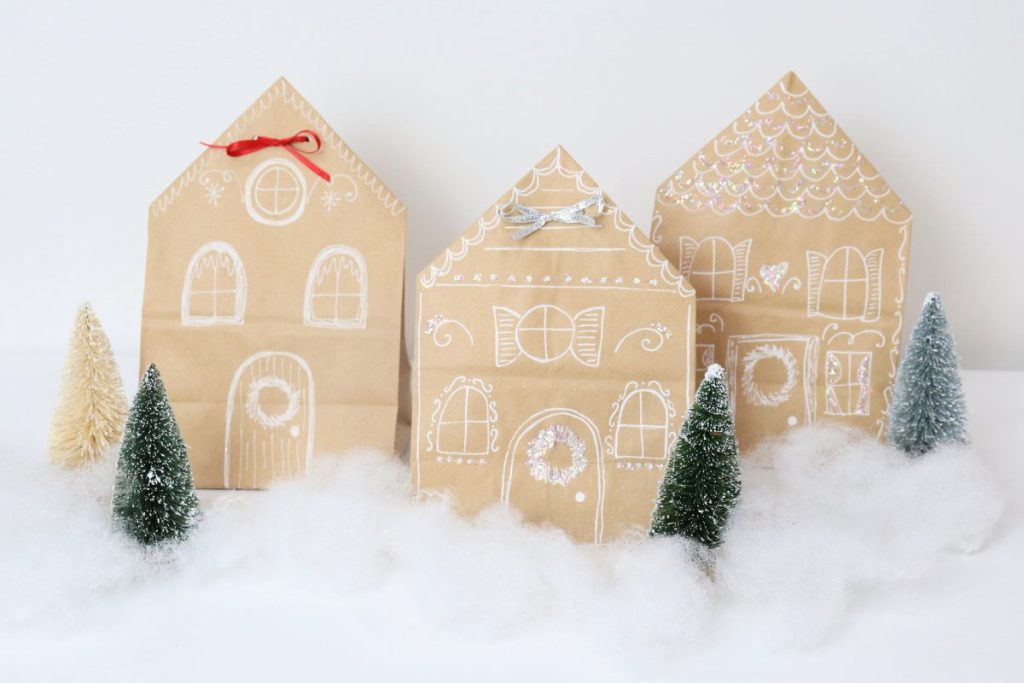
DIY Gingerbread House Gift Bags
Treat your friends, family, and neighbors to a present packaged in these adorable DIY Gingerbread House Gift Bags this holiday season! They’re quick and easy to create, and they’re way less expensive than store-bought gift bags.
How to Make Gingerbread House Gift Bags
Each of these gift bags will be totally unique, just like the people receiving them! They’re the perfect way to share baked goods, candy, an ornament, or other small gifts with a bit of extra holiday cheer. Just grab the materials below, and let’s get started!
Materials
- brown paper bags
- scissors
- white paint pen/marker
- hole punch
- ribbon or twine
- optional: glue and glitter
Instructions
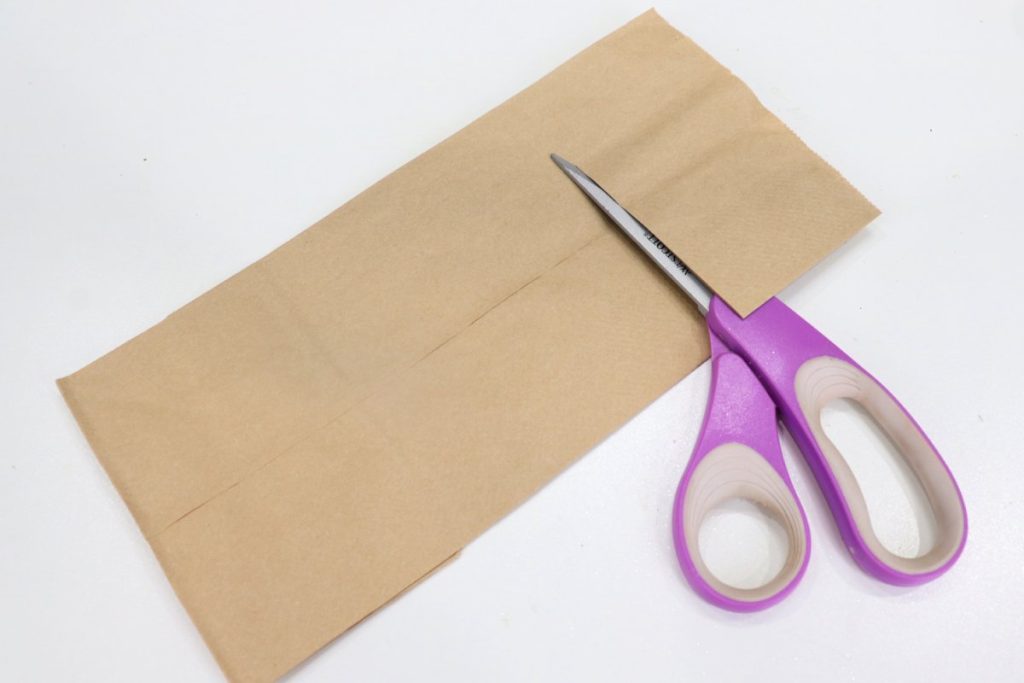
Cut the top of the bag as much as you like.
This will determine the height of your house. Make sure to measure the gift you’re going to put inside, to make sure it fits!
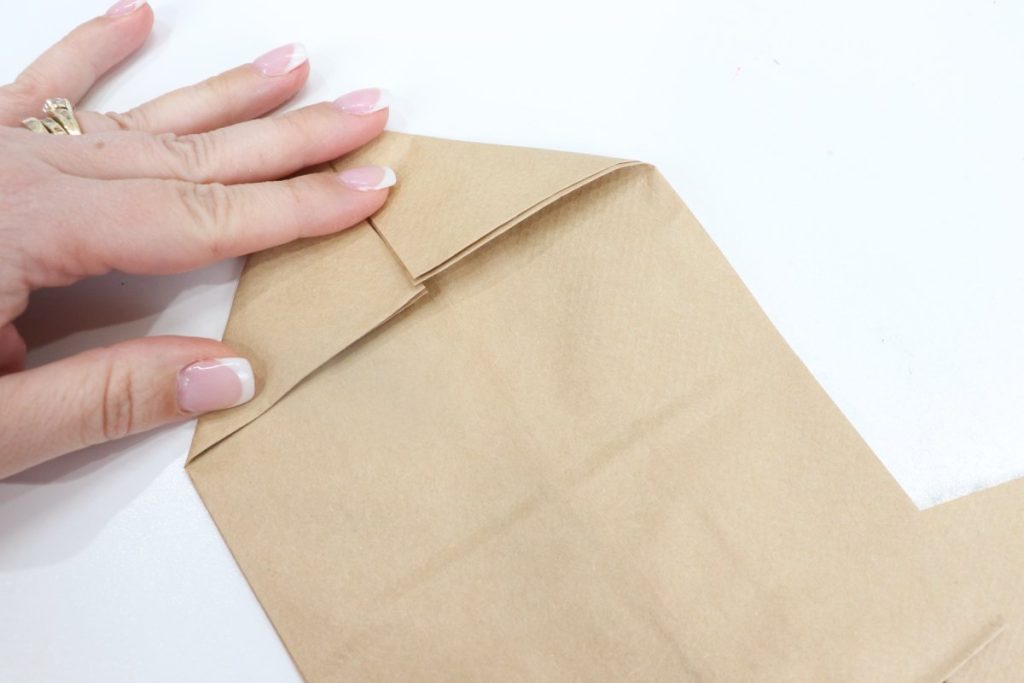
Fold the top corners down to form a point at the top.
I like to fold these down on the side of the bag that has a center seam.
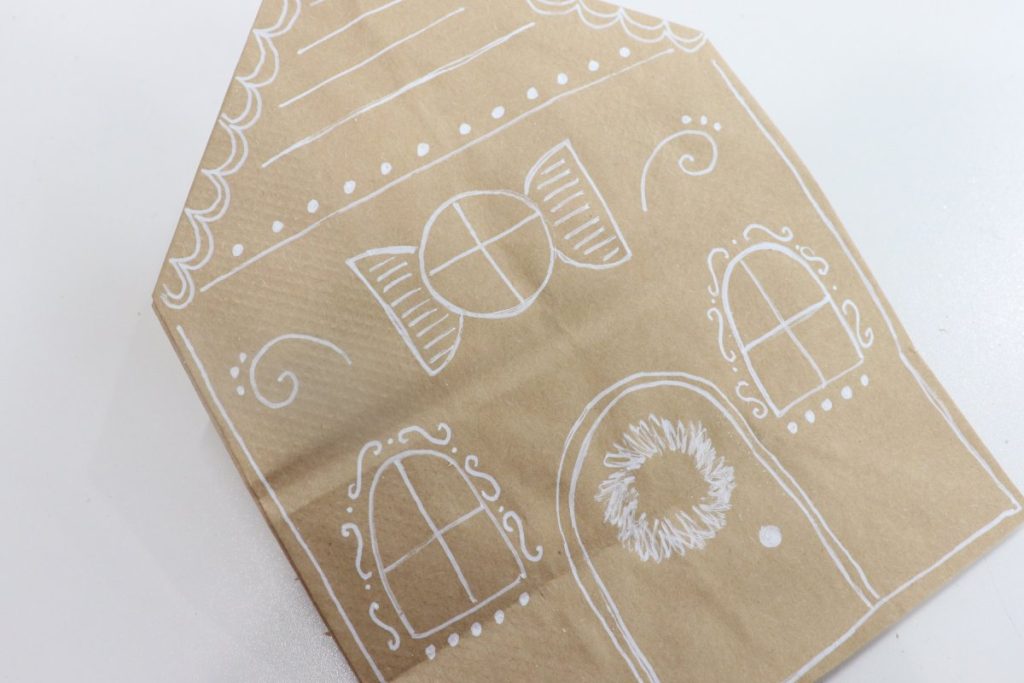
Flip the bag over and use a white pen to doodle windows, a door, and other decorations.
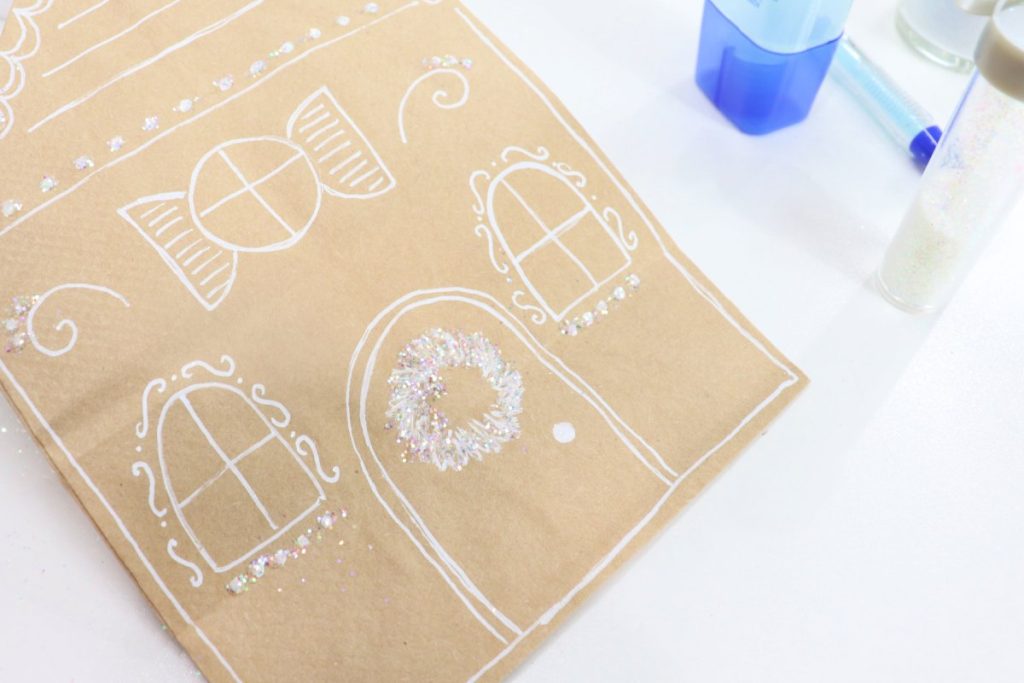
Apply liquid glue or a glue pen wherever you’d like to add some glitter.
This part is optional; you can also leave your gingerbread house as is.

Sprinkle loose glitter over the glue areas and shake off the excess.
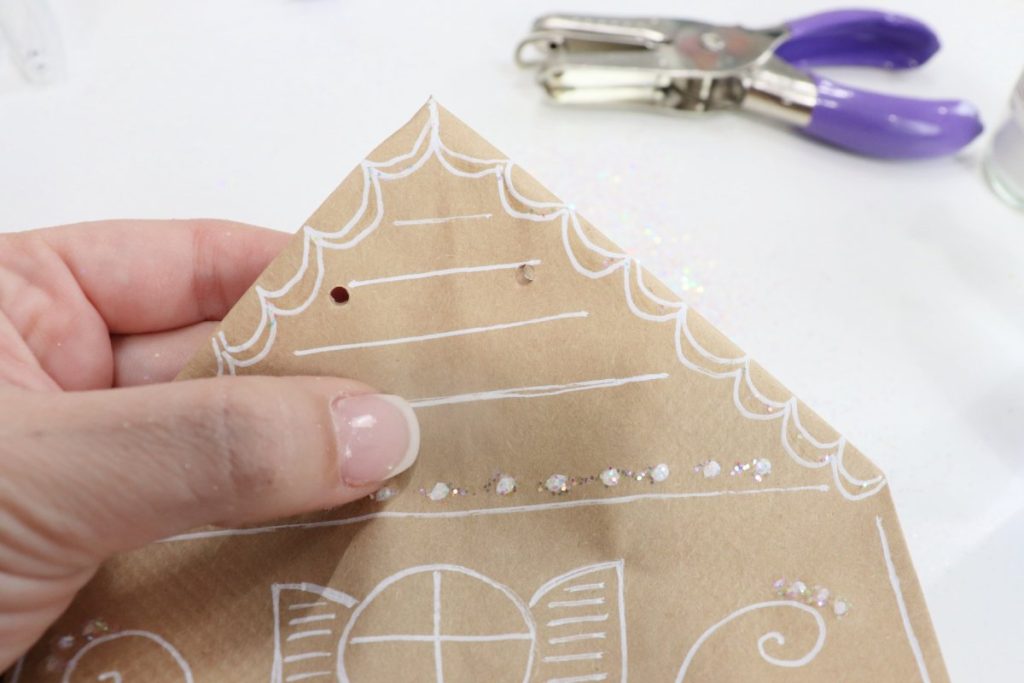
Punch two holes in the top of the bag, going through all the folded layers.
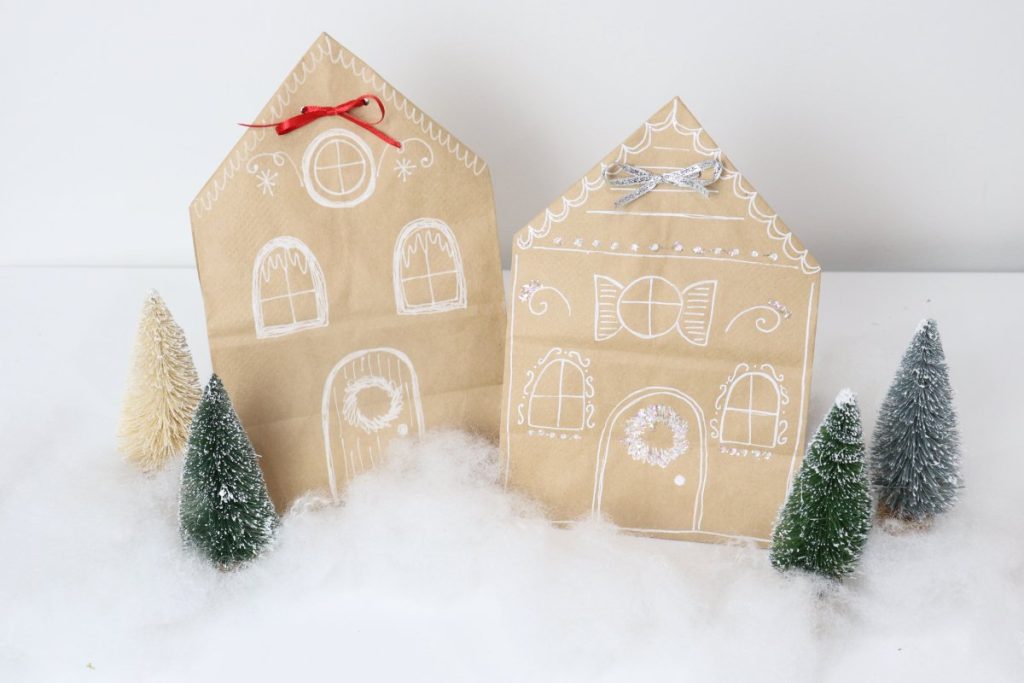
Then, open the bag and add your gift(s) inside.
Thread a piece of thin ribbon or twine through the holes from the back and tie it in a bow to close the bag.
Crafting Tips
- Try experimenting with different shapes for the windows and doors, including circles, rectangles, squares, and arches.
- Different pen tips will give you a different look; use a fine tip marker for intricate details, or a medium tip for a bolder look.
- Add festive touches to your houses, like icicles and/or a wreath on the door!
Frequently Asked Questions
You can make a larger version of this same concept using brown paper grocery bags!
Of course! Feel free to use colored markers to decorate your houses in any way you like.
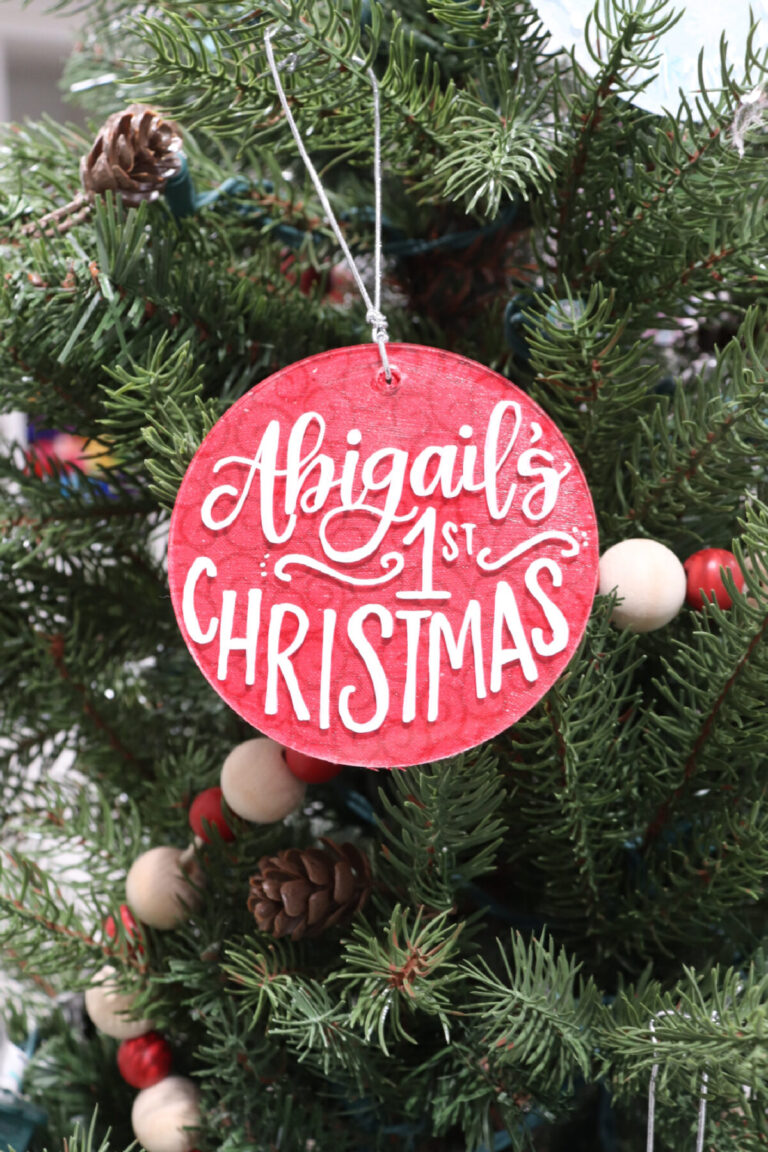
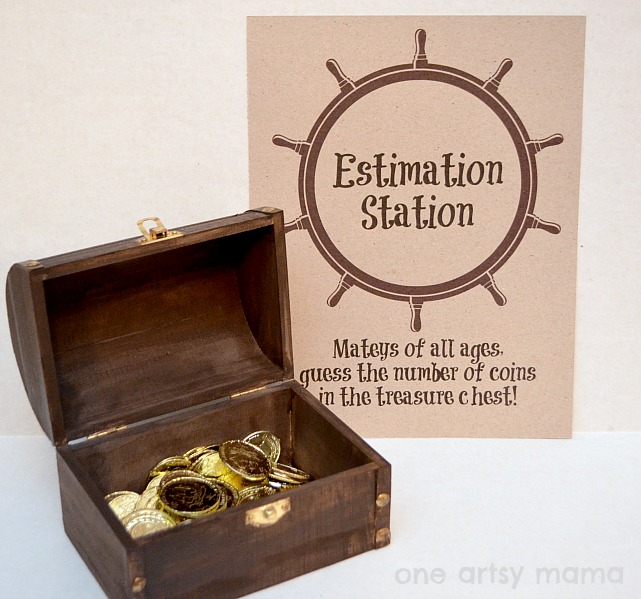
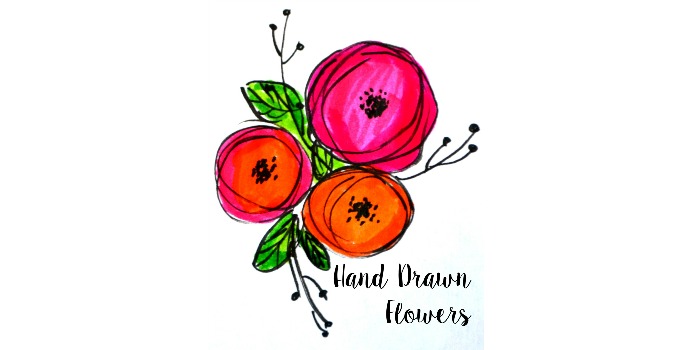
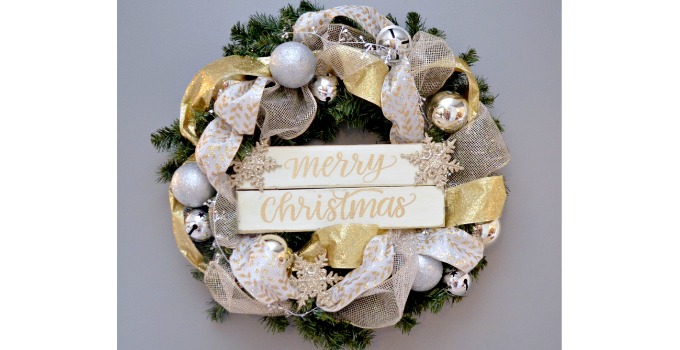
More Christmas Projects
If you enjoyed this project, check out these other fun and festive Christmas craft ideas!


If you try any of these projects, I’d love to see what you create! Make sure you’re part of the Amy Latta & Friends Facebook Group so you can share your latest photos and we can all inspire each other. See you there!

Gingerbread House Gift Bags
Equipment
- scissors
- white marker/paint pen
- Tombow MONO Adhesive
- hole punch
- glue (optional)
Materials
- paper bags
- twine or ribbon
- glitter (optional)
Instructions
- Cut the top of the bag as much as you like to determine the height of your house.
- Fold the top corners down to form a point at the top.
- Flip the bag over and use a white pen to doodle windows, a door, and other decorations.
- Apply liquid glue or a glue pen wherever you’d like to add some glitter. (optional)
- Sprinkle loose glitter over the glue areas and shake off the excess. (optional)
- Punch two holes in the top of the bag, going through all the folded layers.
- Thread a piece of thin ribbon or twine through the holes from the back and tie it in a bow to close the bag.


One Comment