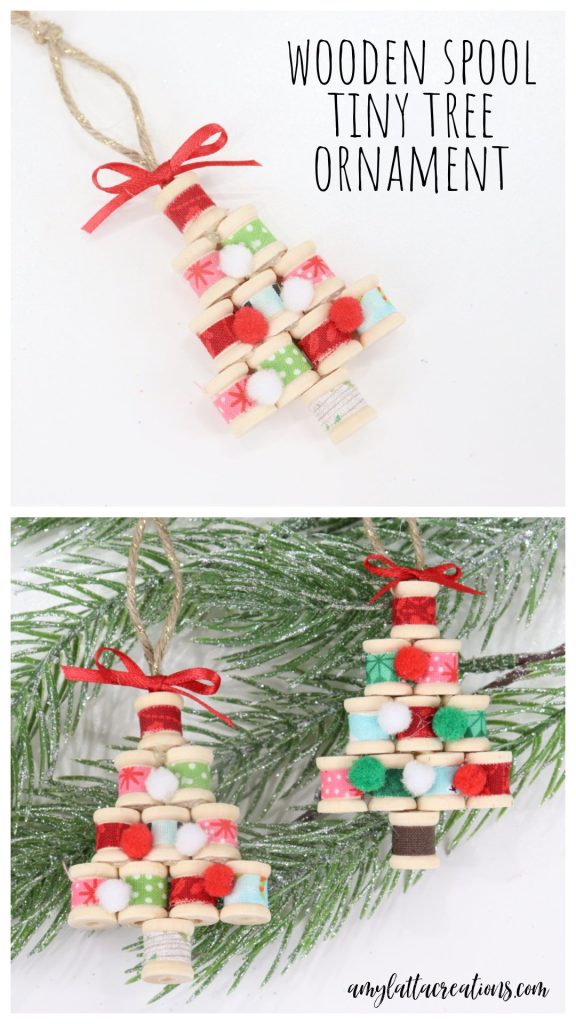
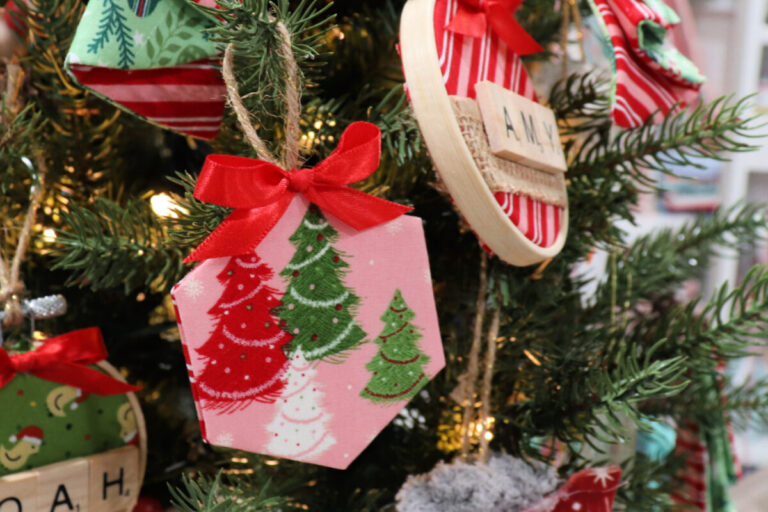
Wooden Spool Ornament
This tiny tree ornament made of wooden spools is an adorable handmade gift, especially for someone who likes to sew! See how easy it is to create your own.
How to Make a Wooden Spool Ornament
This project is really quick and easy to create; the only thing you have to do is a lot of gluing! It’s also a fun way to use up some fabric scraps you have in your stash. Just gather the materials below, then let’s get started.
Materials
- 11 small wooden spools (1/2”x 1/2”)
- fabric scraps
- rotary cutter or scissors
- hot glue gun and glue sticks
- tiny 4-6mm pom-poms (optional)
- twine/ribbon
Instructions
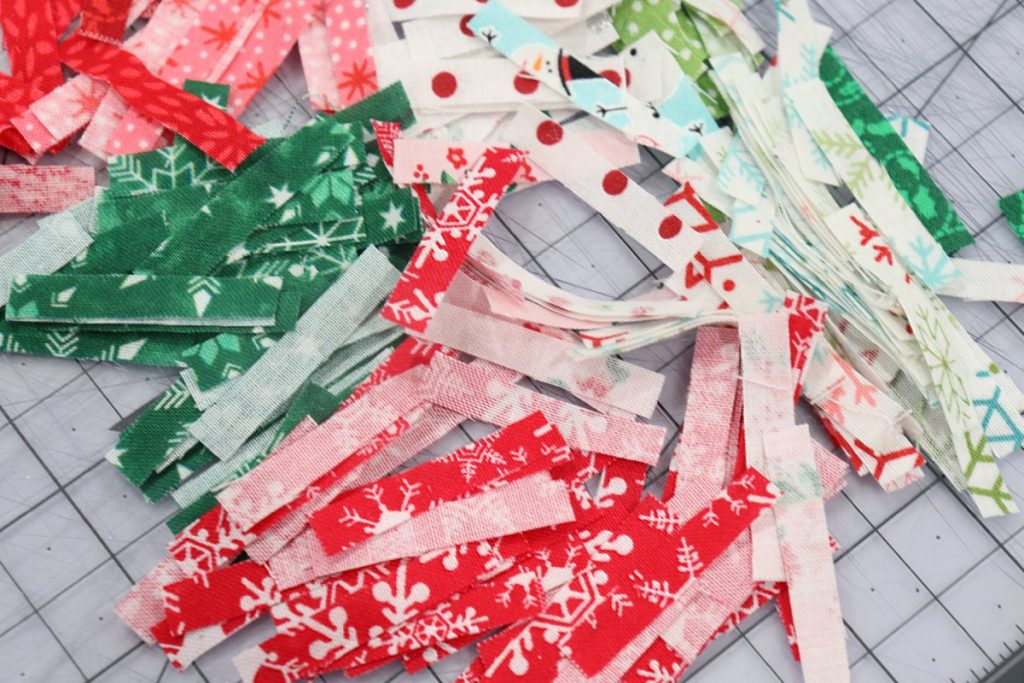
Cut your scraps into 1/4” x 1.5” strips.
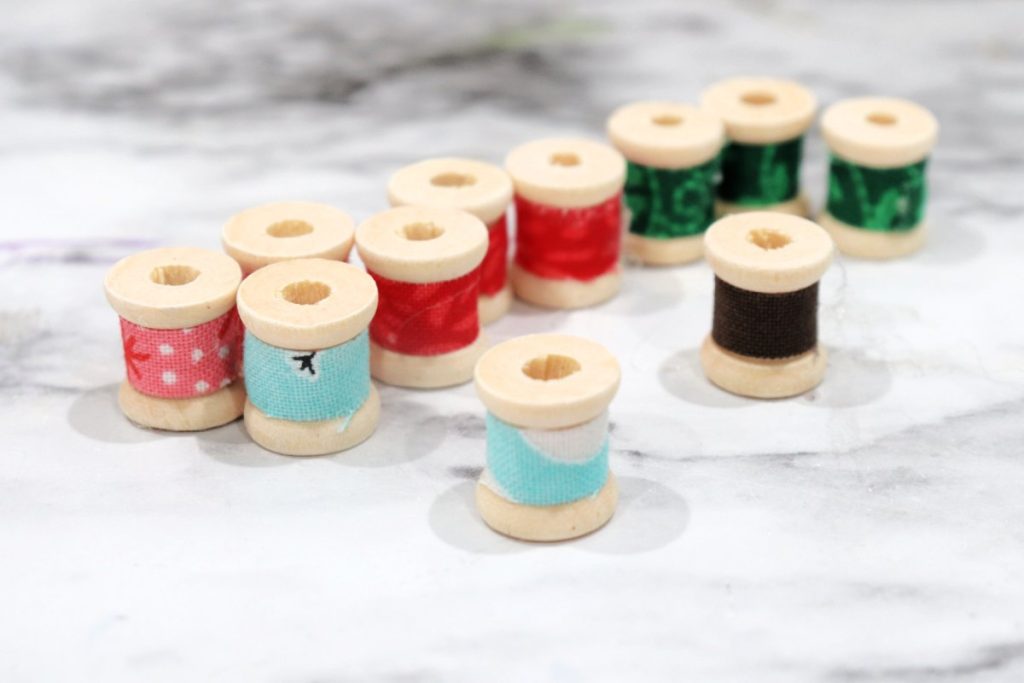
You’ll need 11 total strips for each tree. I like to cut a variety of colors, including one brown strip for the trunk.
Wrap a strip of fabric around each spool and glue in place.
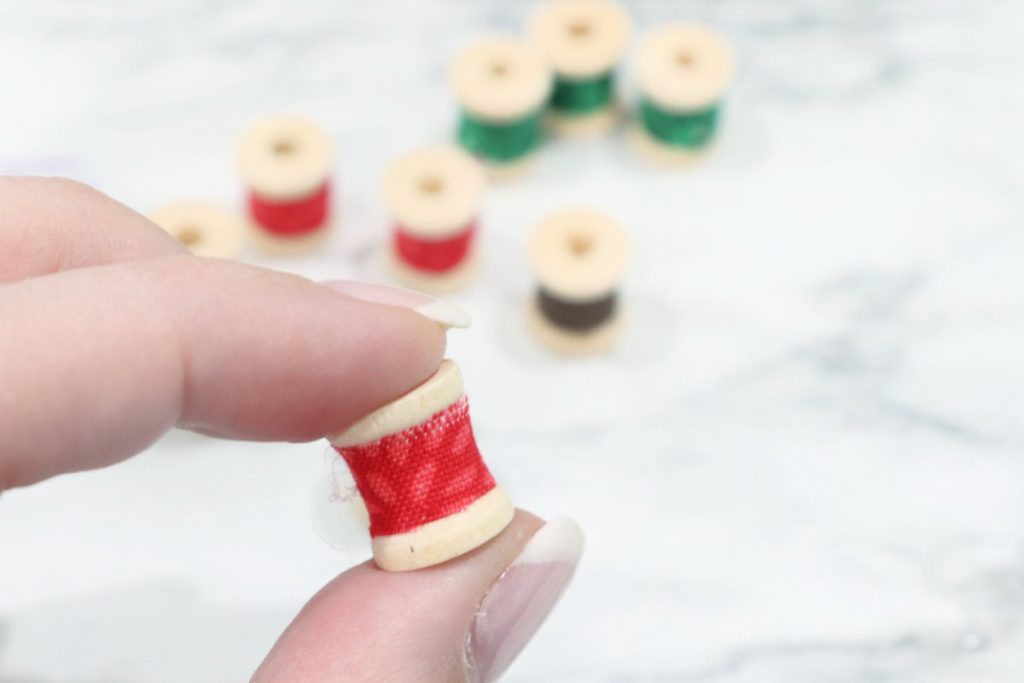
I place a tiny dot of glue on the spool and carefully press one end of the fabric onto it, then wrap the strip around the spool and glue the other end down where the fabric overlaps.
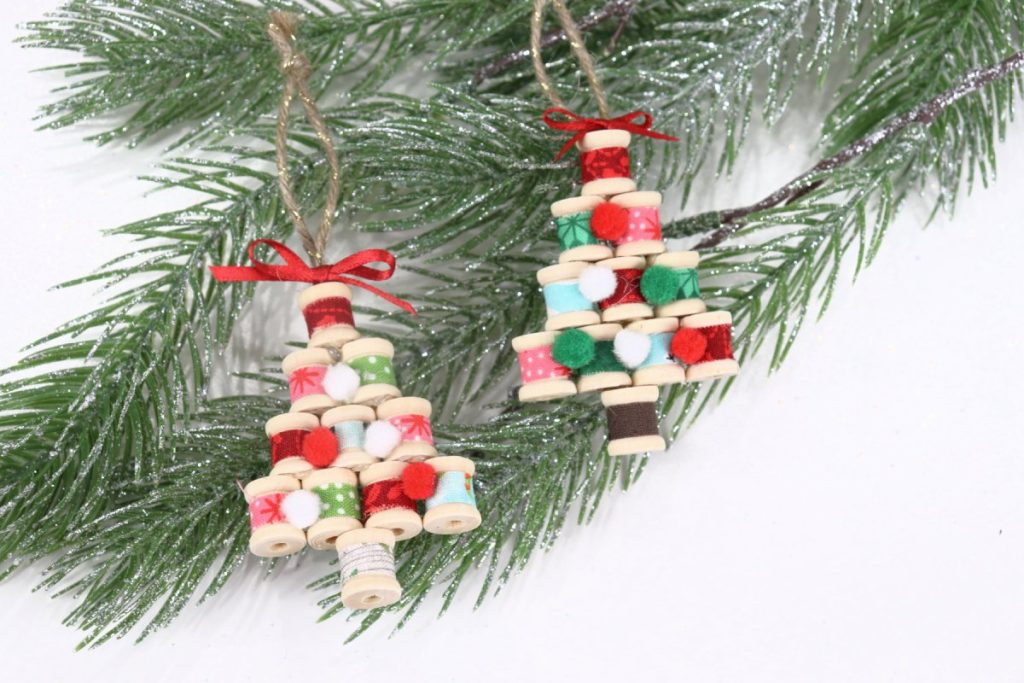
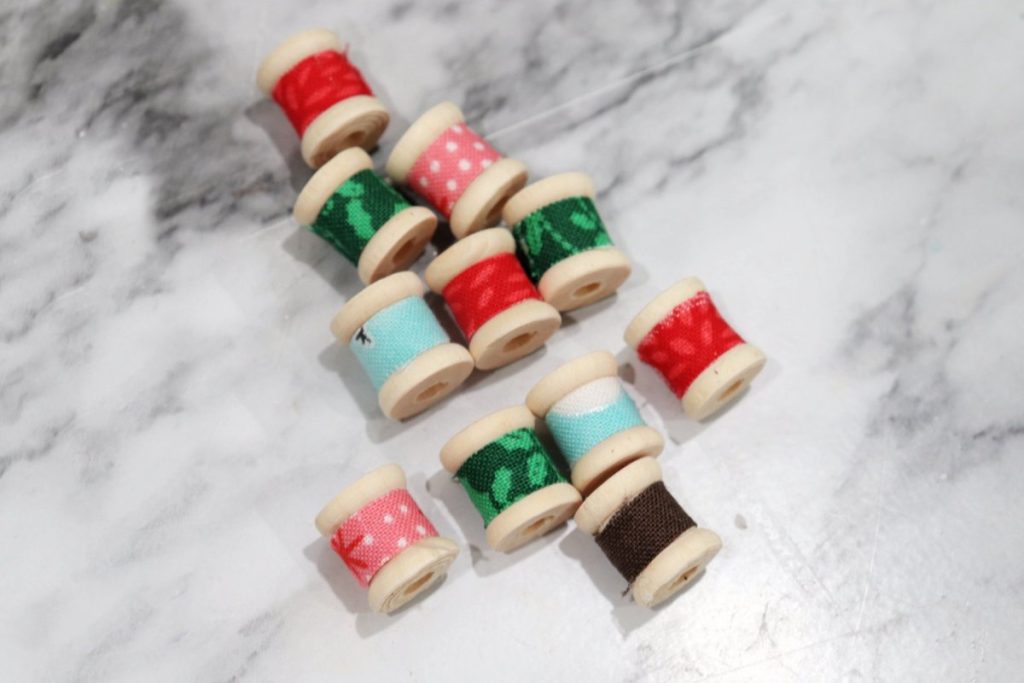
Arrange your spools into a pyramid.
You’ll have one spool at the top, then a row of two, a row of three, and a row of four. Try to spread out multiples of the same color.
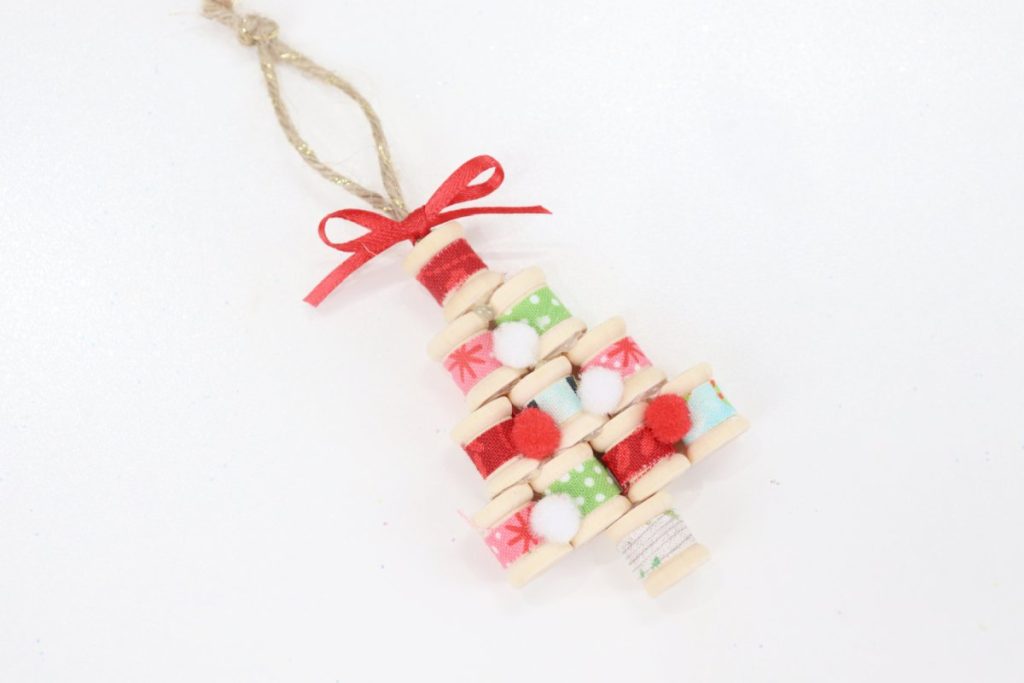
Glue your spools together.
I found that the best way to do this is to start by standing the two spools from the second row up right next to each other and sitting the top spool (with glue applied to the bottom) down on top of them. Then, I set up the three spools and sat the previous rows on top, and so on.

Decorate your tree with tiny pom-poms and/or jingle bells (optional).
Add a hanger and a bow.
I tied a piece of twine to form a loop for the hanger. Then, I placed glue inside the hole in the top spool and pushed the knotted end of the loop down inside the hole. Finally, I tied a piece of ribbon around the hanger and formed a bow.

Crafting Tips
- Instead of a bow, you can add a tiny wooden star to the top of the tree.
- For a real “tree” effect, try using an assortment of fabrics that are all shades of green.
- In addition to pom-poms, you can use small beads, sequins, bells, or other embellishments.
- When working with hot glue, use a pencil or a popsicle stick to press the fabric into the glue, rather than your finger.
Frequently Asked Questions
When it’s assembled, the ornament is about 2.5” tall. It’s the perfect size for on your tree, and to tie onto a package!
Another option is to paint the centers of the spools instead of covering them with fabric.
You can, but it’s significantly more difficult, because it takes so much longer for other types of glue to dry. You’ll have to do your project in phases, waiting for each step to dry before moving on.
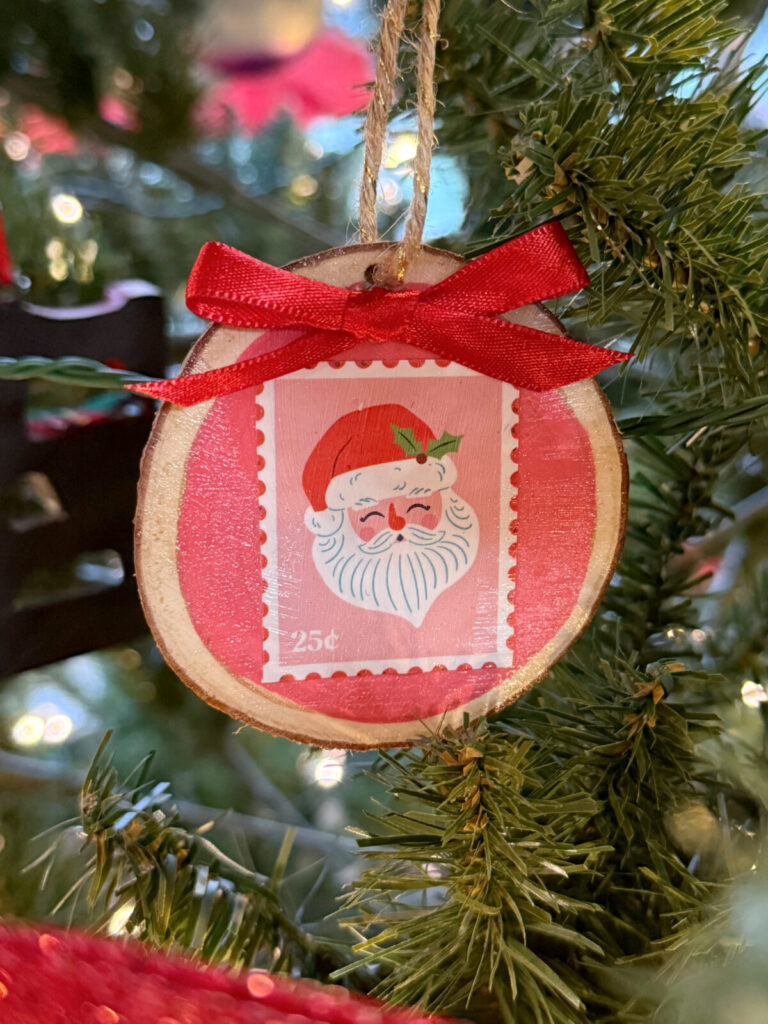
More Christmas Crafts
If you enjoyed this wooden spool ornament project, make sure to check out these other Christmas craft ideas the whole family will enjoy!


If you try any of these holiday projects, I’d love to see your version! Make sure you’re part of the Amy Latta & Friends Facebook Group so you can share your photos and we can all inspire one another. Hope to see you there.

Wooden Spool Ornament
Equipment
- scissors
- hot glue gun and glue sticks
- rotary cutter (optional)
Materials
- fabric scraps
- 11 1/2” wooden spools
- tiny pom poms
- ribbon/twine
Instructions
- Cut your fabric into 11 strips that are 1/4” x 1.5."
- Wrap each spool with a fabric strip and glue to secure.
- Lay out your spools to form a tree shape.
- Glue the spools together.
- Add pom poms or other decorations.
- Add a hanger and bow.


What a charming idea, Amy! The wooden spool ornaments bring such a cozy, vintage touch to holiday decor. I can’t wait to try this with my family. Thanks for sharing! ✨