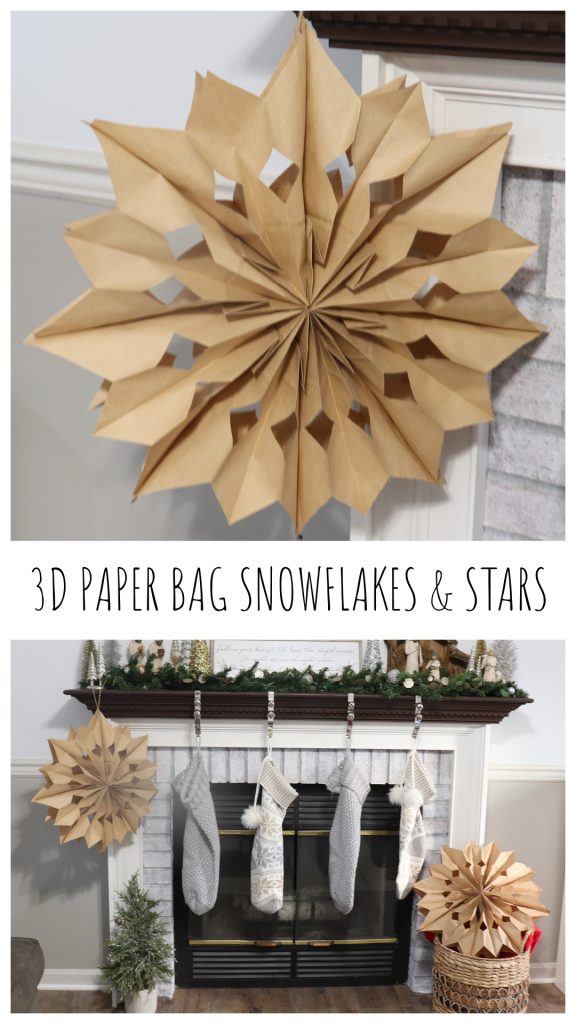
3D Paper Bag Snowflakes and Stars
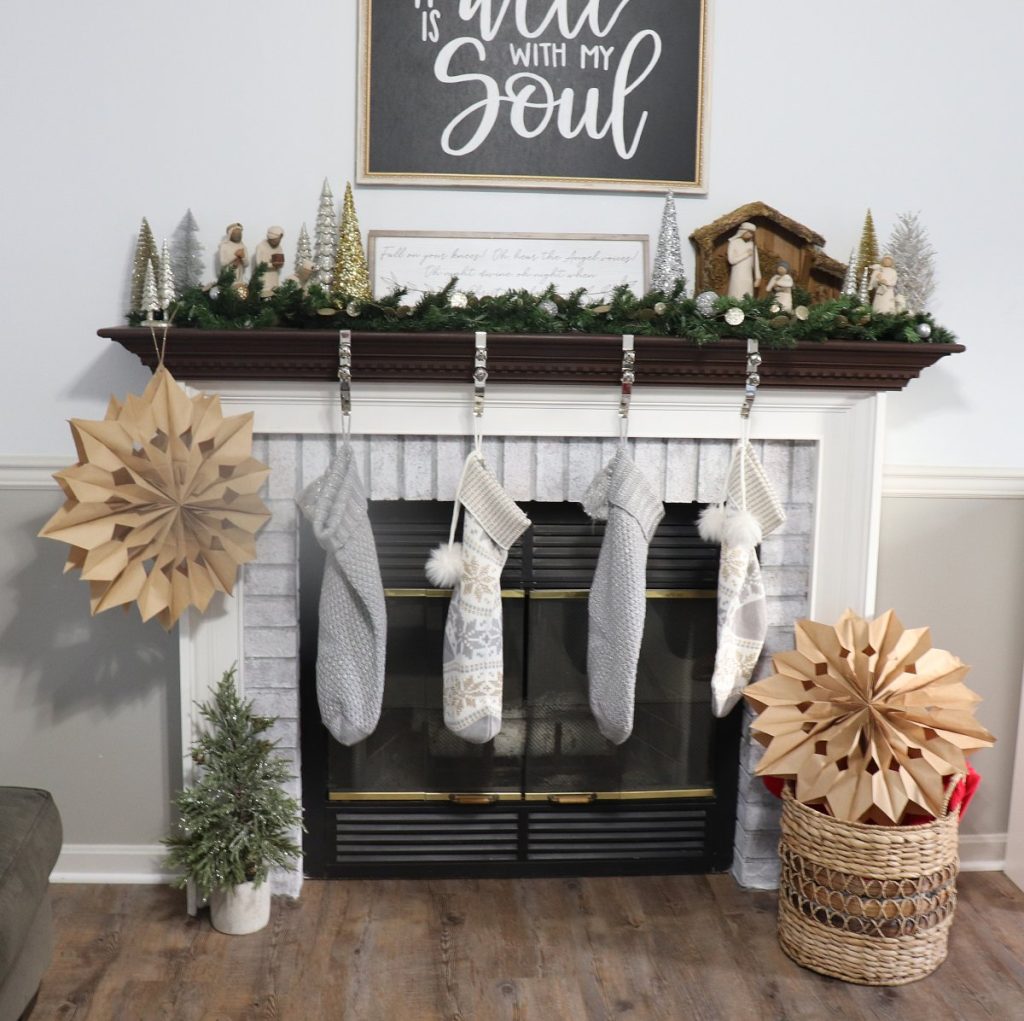
If you’re looking for a quick project that makes a big impact, you’ll love these large 3D snowflakes and stars. You can use them to transform your home into a winter wonderland in no time at all!
How to Make 3D Paper Bag Snowflakes and Stars
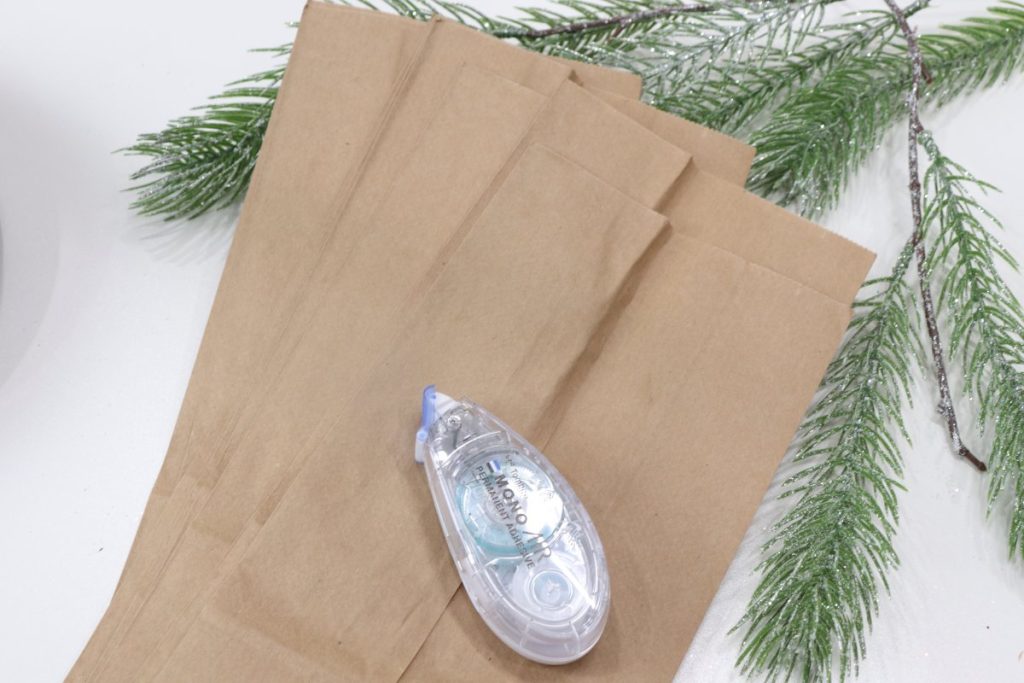
This project is not only easy to create, it’s also very inexpensive. The main supply is plain paper lunch bags, and you probably already have everything else you need in your home. Just grab the supplies below, and let’s get started!
Materials
- paper bags: brown or white (8 per star/snowflake)
- adhesive or glue (I used Tombow MONO Air Touch Permanent Adhesive)
- scissors
- hole punch
- twine/string
Instructions
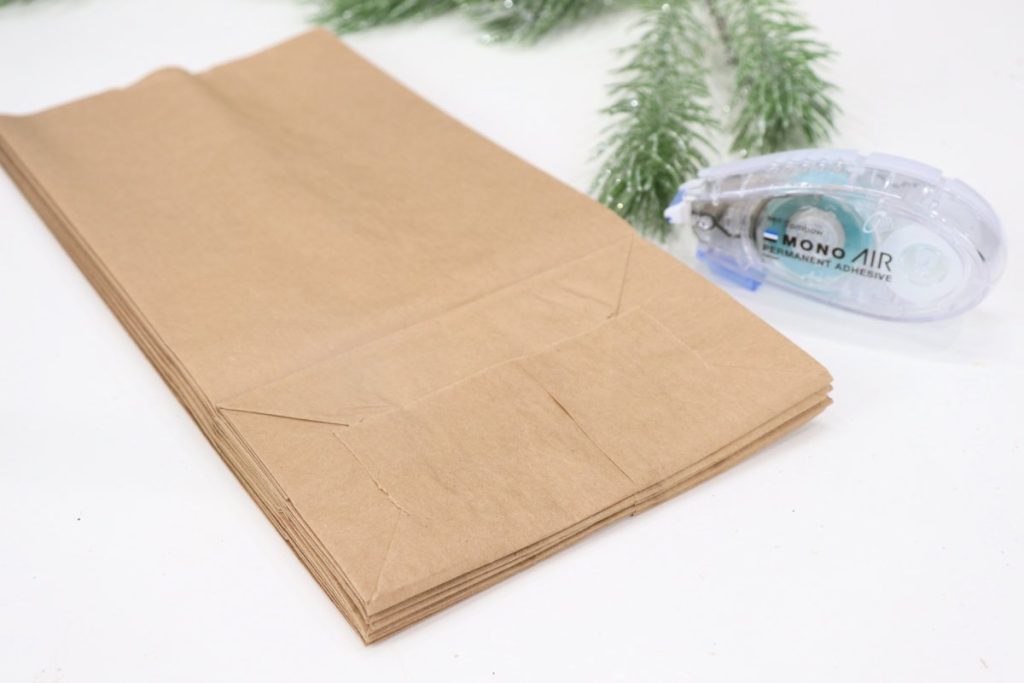
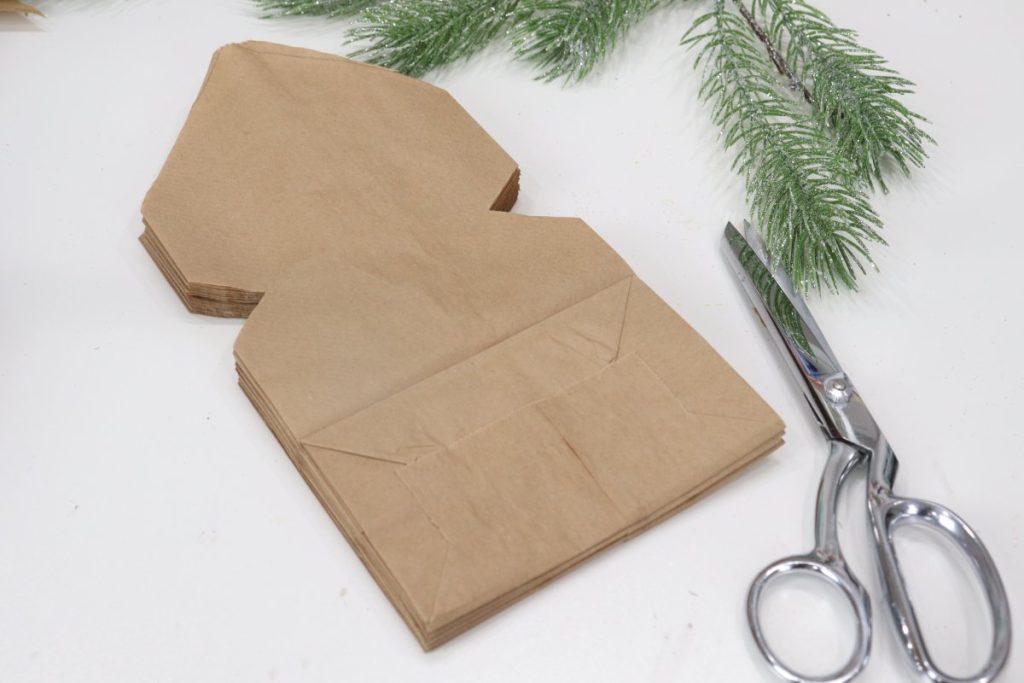
Glue 8 bags together directly on top of each other to form a stack.
All of the bags should be facing the same direction, with the folded flap facing up.
Cut the top corners off to form a point.
Cut half circles, and/or triangles along the sides of the stack.
Make sure these shapes are all above the flaps.
Gently pull the top layer upward and the bottom layer downward, opening the bags until the two ends meet.
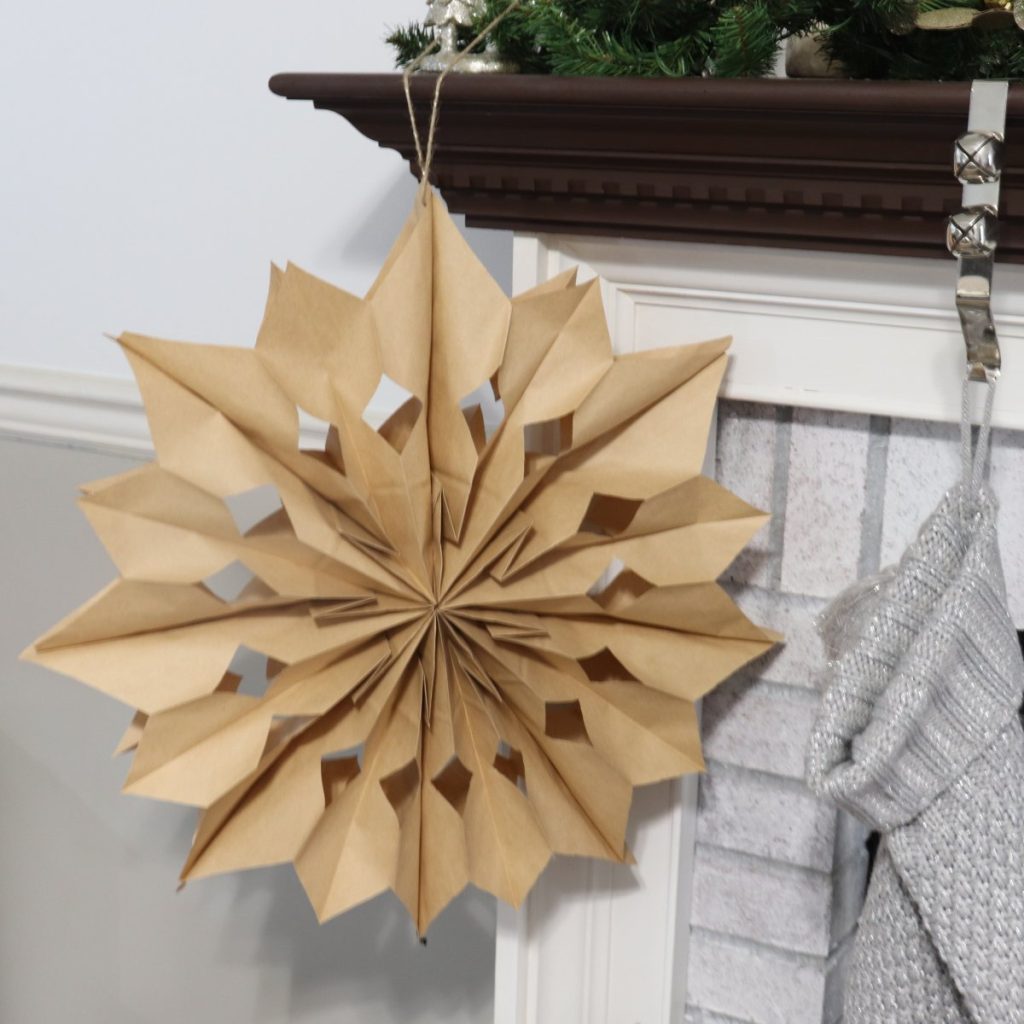
Glue the final two sides together. Punch a hole in the top and add a piece of twine or string.
Crafting Tips
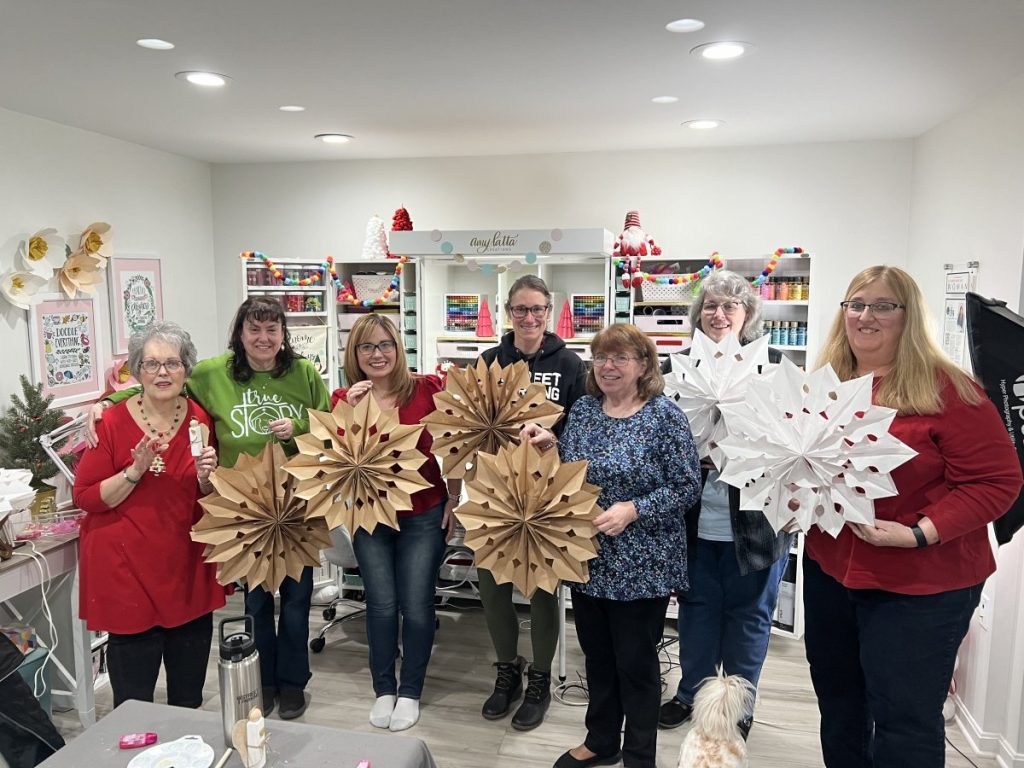
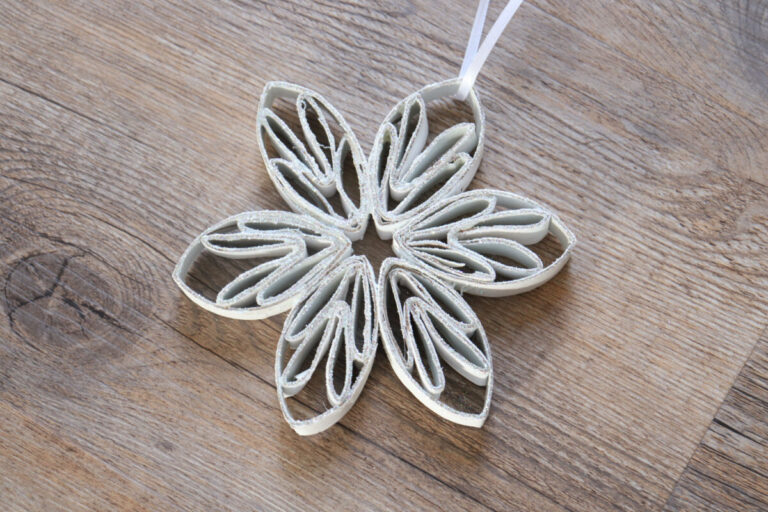
- Try using white bags for a snowflake effect!
- Experiment with different shapes and see what kind of unique designs you can create.
- I find that adhesive tape works better than liquid glue or hot glue, and makes less mess!
Frequently Asked Questions
That depends on what size bags you use. The diameter of the star/snowflake will be twice the height of your paper bags.
If you’d like easier storage, rather than gluing the final sides together, just temporarily secure them with a small paperclip or two. Then, you can easily fold the project back up into a stack of bags and store it for next year.
More Winter Projects
If you enjoyed this project, take a look at these other ideas that are perfect for the winter season.

If you try any of these projects, I’d love to see how they turn out. Hop over to the Amy Latta & Friends Facebook Group and share your project photos so we can all be inspired!

3D Paper Bag Snowflakes and Stars
Equipment
- scissors
- adhesive runner or glue
- hole punch
Materials
- 8 paper bags
- twine or string
Instructions
- Glue 8 bags together directly on top of each other to form a stack.
- Cut the top corners off to form a point.
- Cut half circles, and/or triangles along the sides of the stack.
- Gently pull the top layer upward and the bottom layer downward, opening the bags until the two ends meet.
- Glue the final two sides together. Punch a hole in the top and add a piece of twine or string.