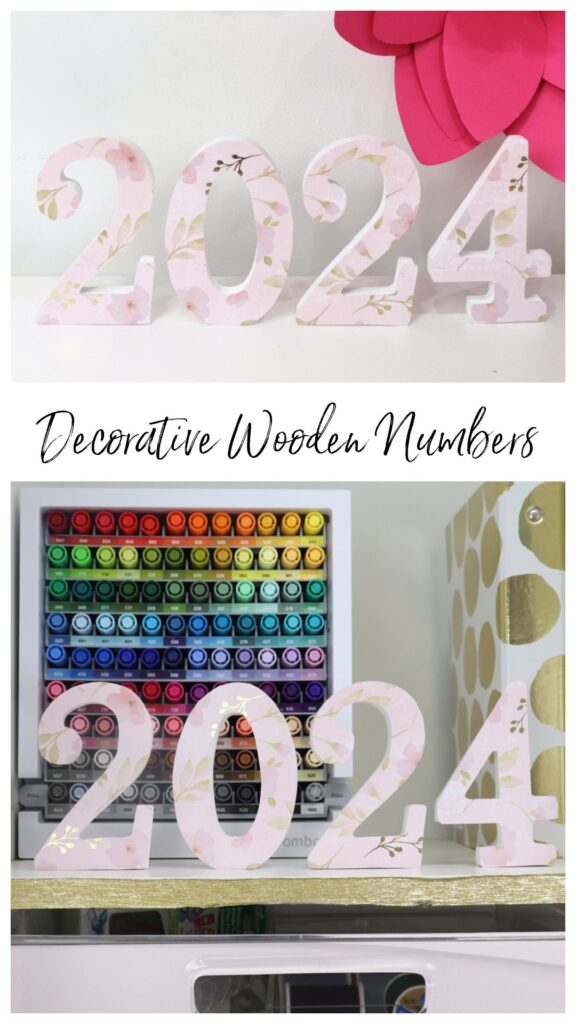
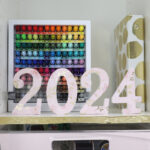
Decorative Wooden Numbers
If you enjoy creating your own personalized decor, here’s a fun project you can create to celebrate the new year (or any other occasion involving numbers).
How to Make Decorative Wooden Numbers
This project is super-simple and only requires a few really basic supplies. Just gather the materials below and let’s get started!
Materials
- wooden numbers – I used this 2024 set from Amazon
- scrapbook paper – your choice of color, pattern, and design
- pencil
- scissors
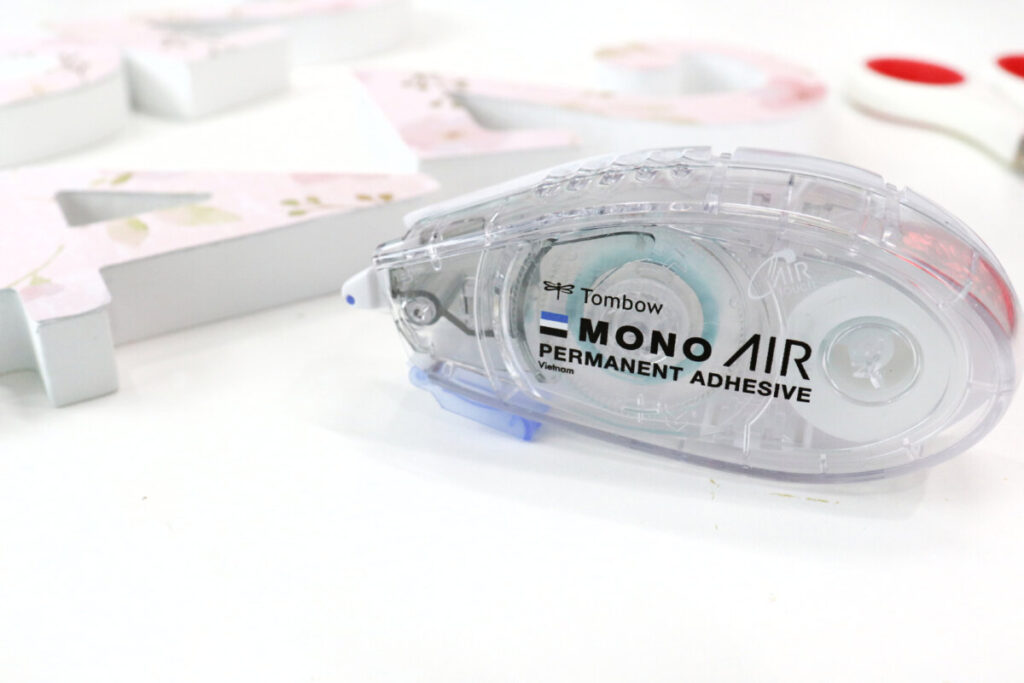
- Tombow MONO Air Touch Permanent Adhesive
Instructions
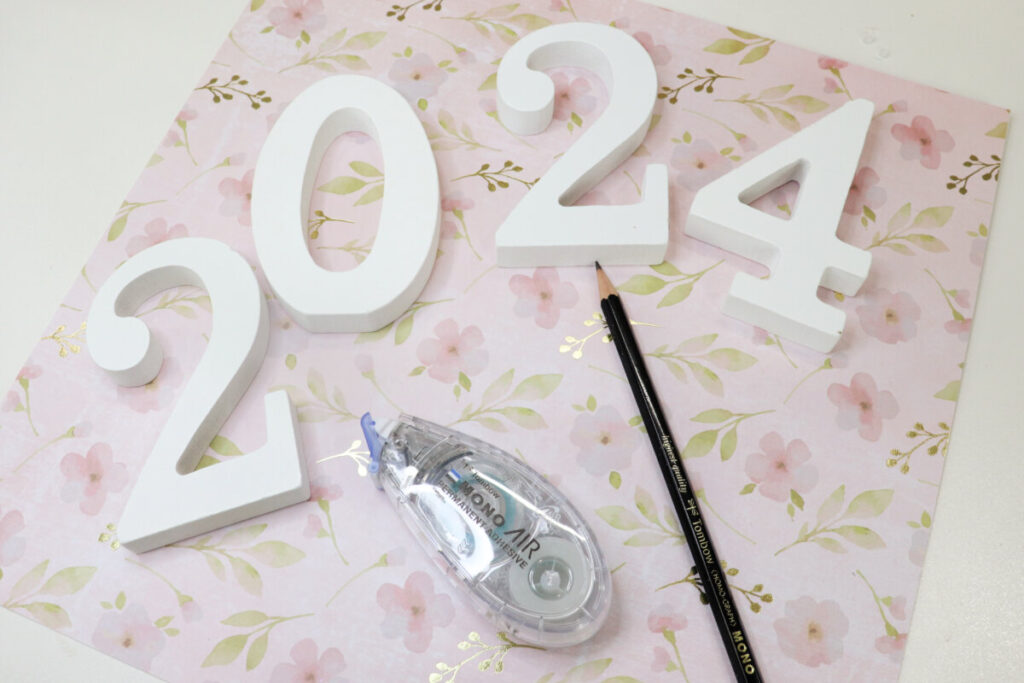
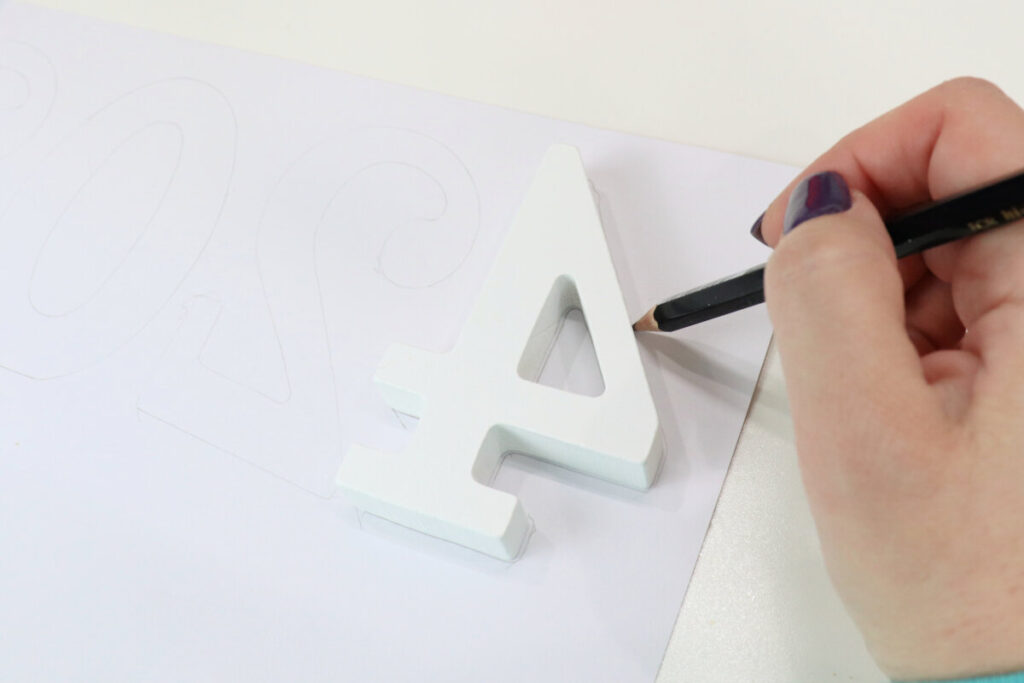
Flip each number over and trace it onto the back of the scrapbook paper.
Carefully cut out each number.
Apply adhesive to the wooden number, then lay the paper on top.
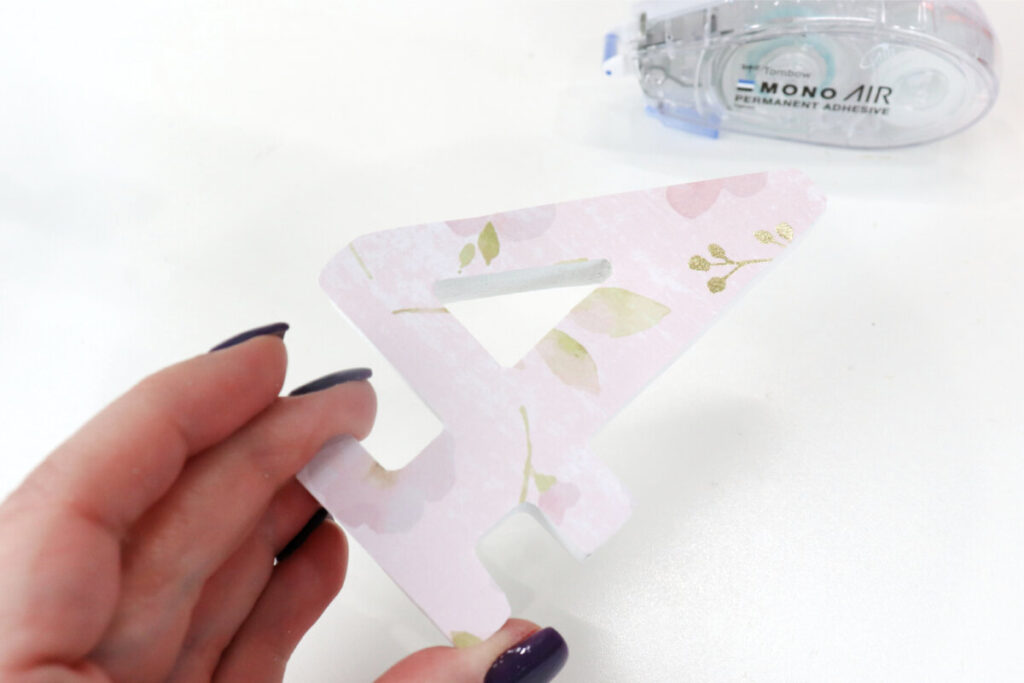
Press firmly to adhere. I used permanent adhesive, but you can use removable instead if you want to be able to reposition the paper.
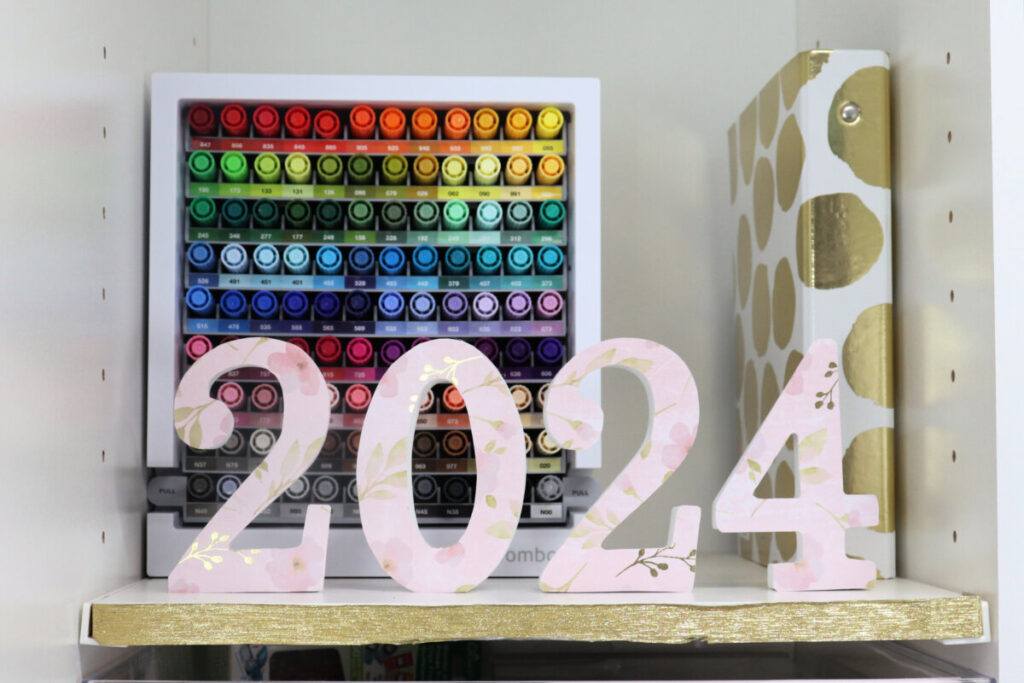
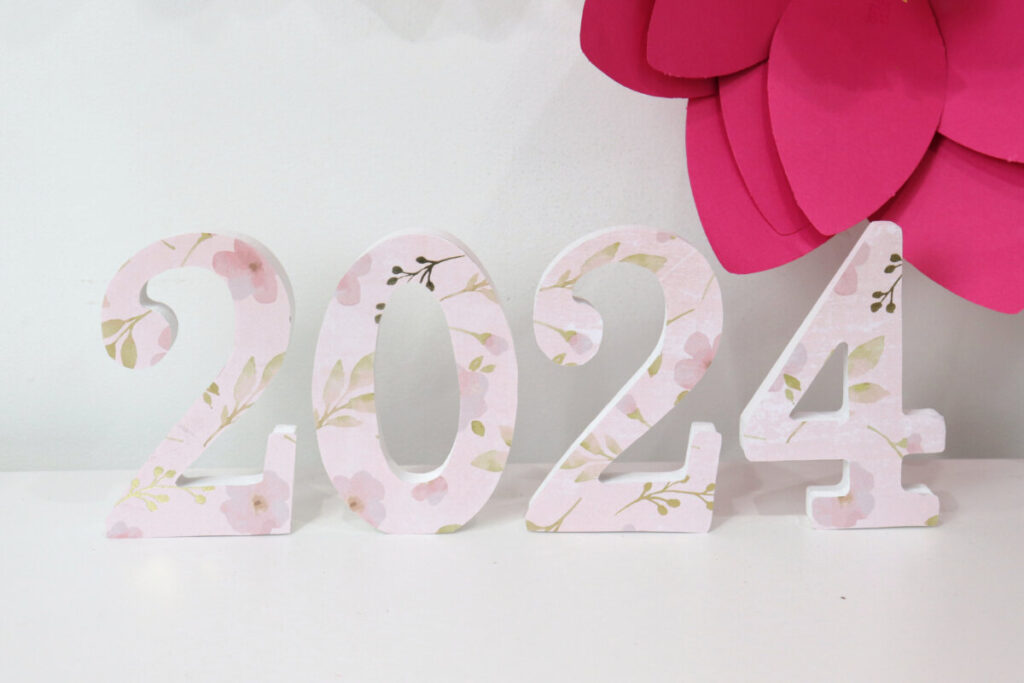
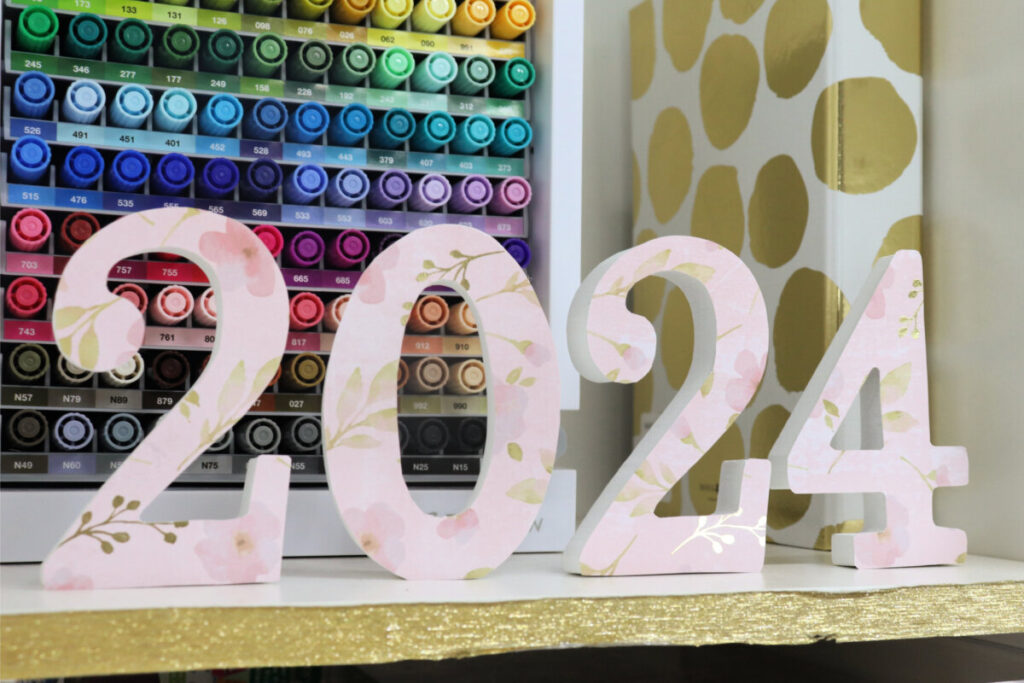
That’s literally all there is to it! Now your decorative numbers are ready to display.
I chose to do my project to celebrate the new year, but you can also do this for all kinds of other occasions. The year makes a great decoration for a graduation party, or you can use other numbers to represent birthdays, anniversaries, and more. Or, use the same basic technique with wooden alphabet letters to spell out a name or other message.
Crafting Tips
- In addition to displaying them on a shelf or table top, you can add hangers to the backs of your numbers to display them on the wall.
- If you want a distressed finish, you can go around the edges of each number and rub them gently with sandpaper.
- Instead of using the same paper for all of your numbers, try mixing and matching with different colors and designs for a unique look.
Frequently Asked Questions
My paper is from the Florals Paper Pad by Recollections, which I purchased at Michaels stores.
The numbers in my set are about 4” tall, but you can use whatever size works best for where you’d like to display your project.
Yes, but I prefer using an adhesive tape like the Tombow MONO Air Touch, because since it’s not wet, it doesn’t cause the paper to bubble or distort at all.
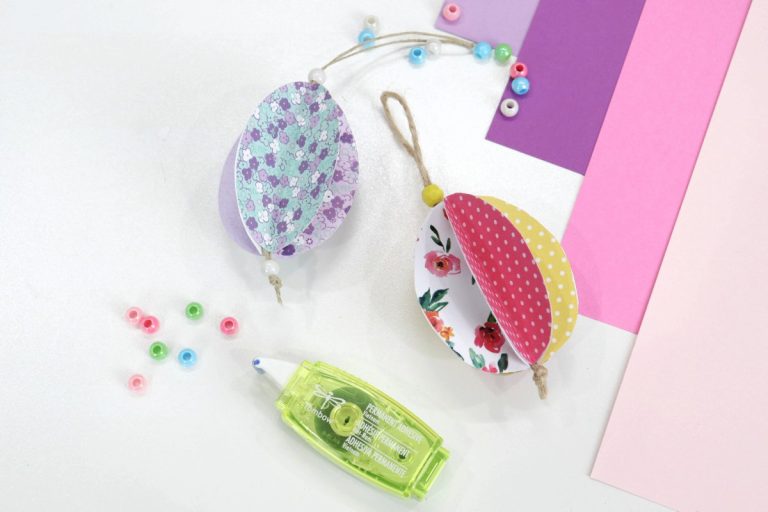
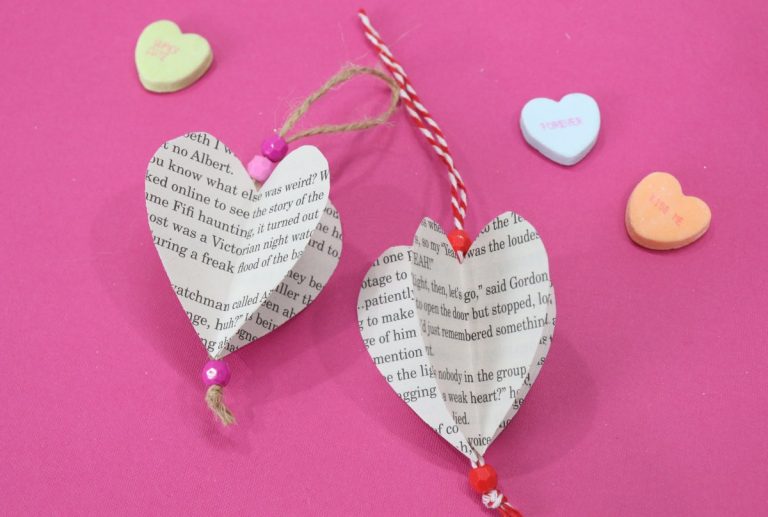
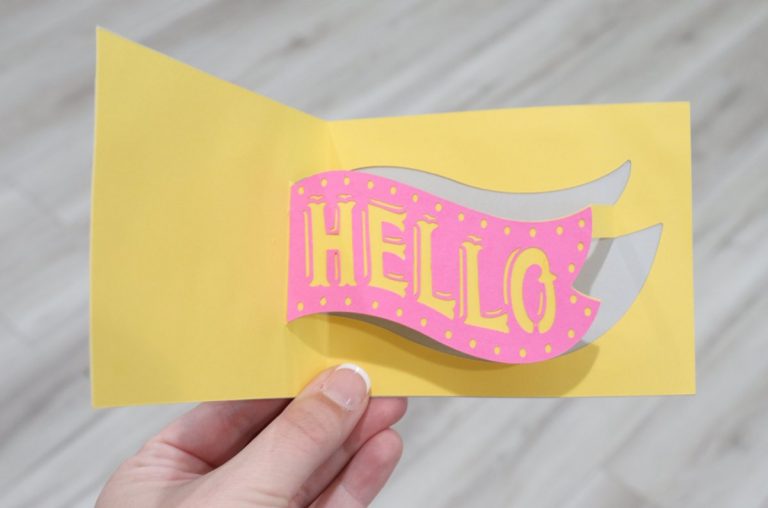
More Paper Crafting Projects
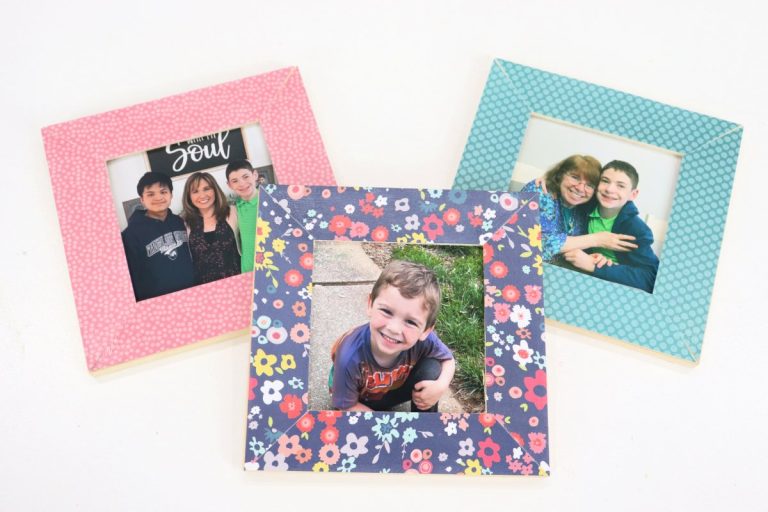
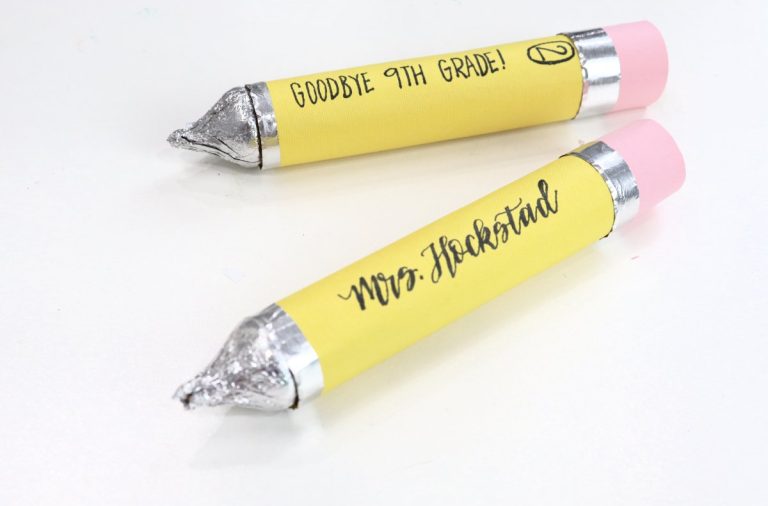
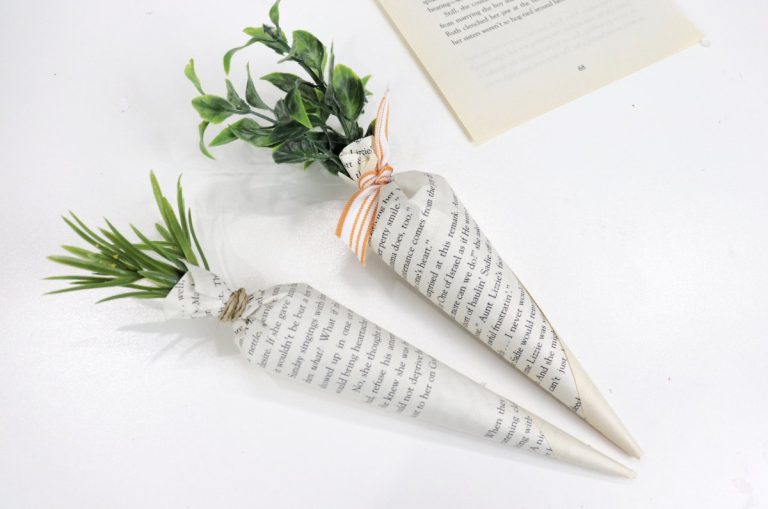
If you enjoyed this project, here are some other ideas for easy and fun paper crafts!
If you make your own Decorative Wooden Numbers, or any of these other crafts, be sure to share your project photos in the Amy Latta & Friends Facebook Group so we can all inspire each other! I hope to see you there.
Decorative Wooden Numbers
Equipment
- scissors
- Tombow MONO Air Touch Adhesive
- pencil
Materials
- scrapbook paper
- wooden numbers
Instructions
- Flip each number over and trace it onto the back of the scrapbook paper.
- Carefully cut out each number.
- Apply adhesive to the wooden number, then lay the paper on top.
- Press firmly to adhere.