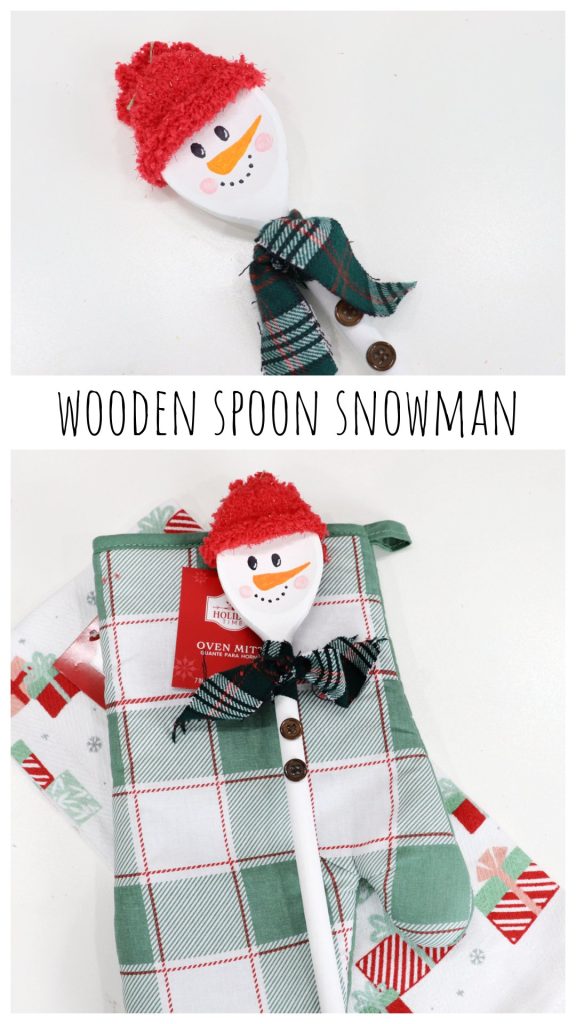
Wooden Spoon Snowman
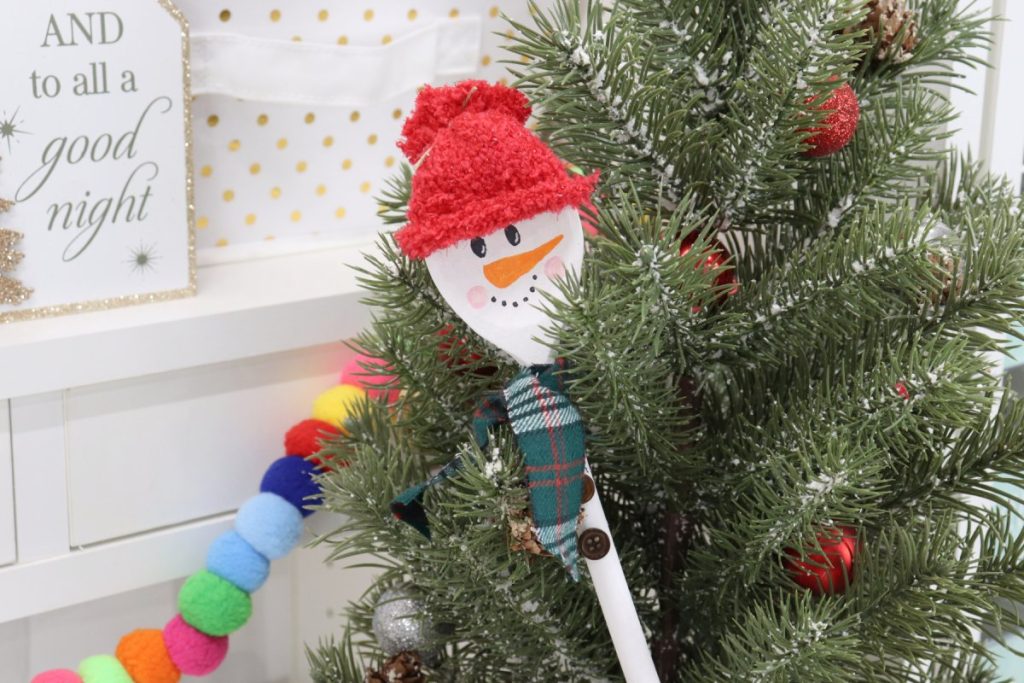
Snowmen are adorable, no matter what they’re made of. This one is created from a wooden spoon, and makes a great holiday gift idea!
How to Make a Wooden Spoon Snowman
Creating this project is quick and easy; just gather the supplies listed below, and let’s get started!
Materials
- wooden spoon
- fuzzy sock
- scrap fabric
- thread or twine
- acrylic/multi-surface paint: white, black, orange, pink
- buttons
- paintbrushes
- hot glue gun and glue sticks (I used the Surebonder Mini Cordless Hot Glue Gun)
- scissors

Instructions
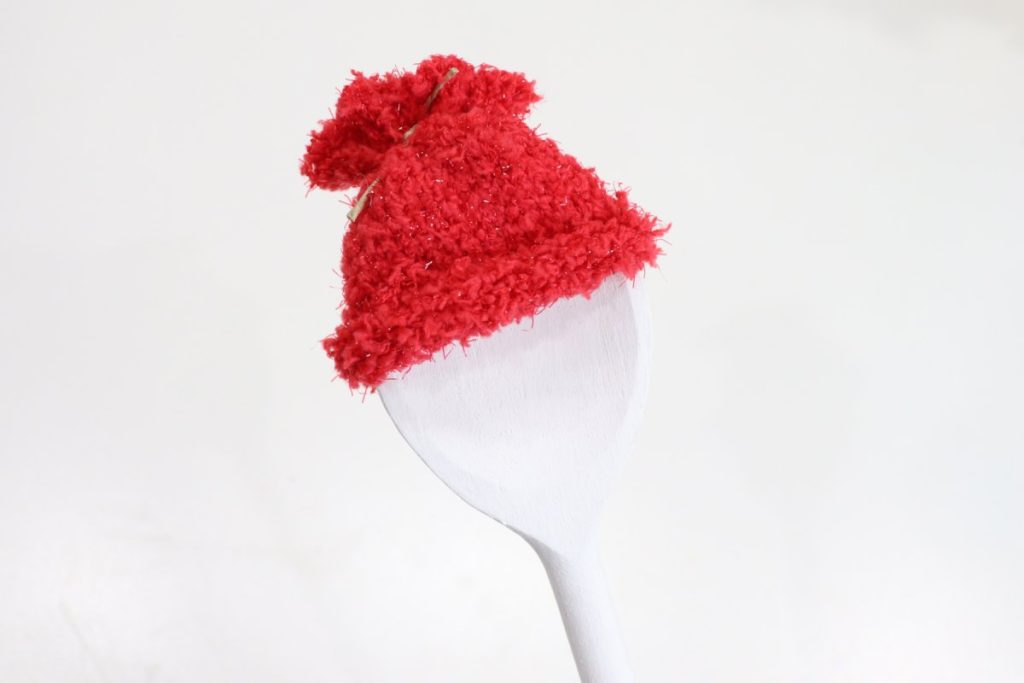
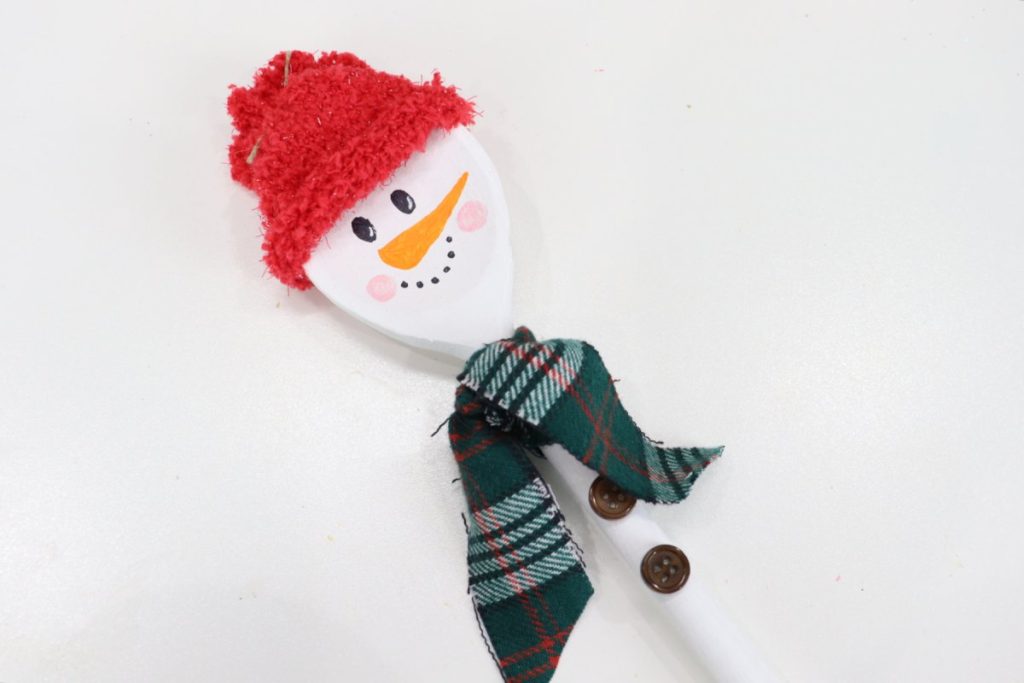
Paint your spoon white.
Let it dry completely before moving on to the next step.
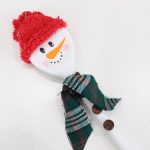
Create a hat from a fuzzy sock or scrap fabric.
Cut a rectangle of fabric and wrap it around the spoon, gluing it together in the back where the ends overlap. Gather the excess at the top of the spoon and tie with twine or thread to create the pom-pom.
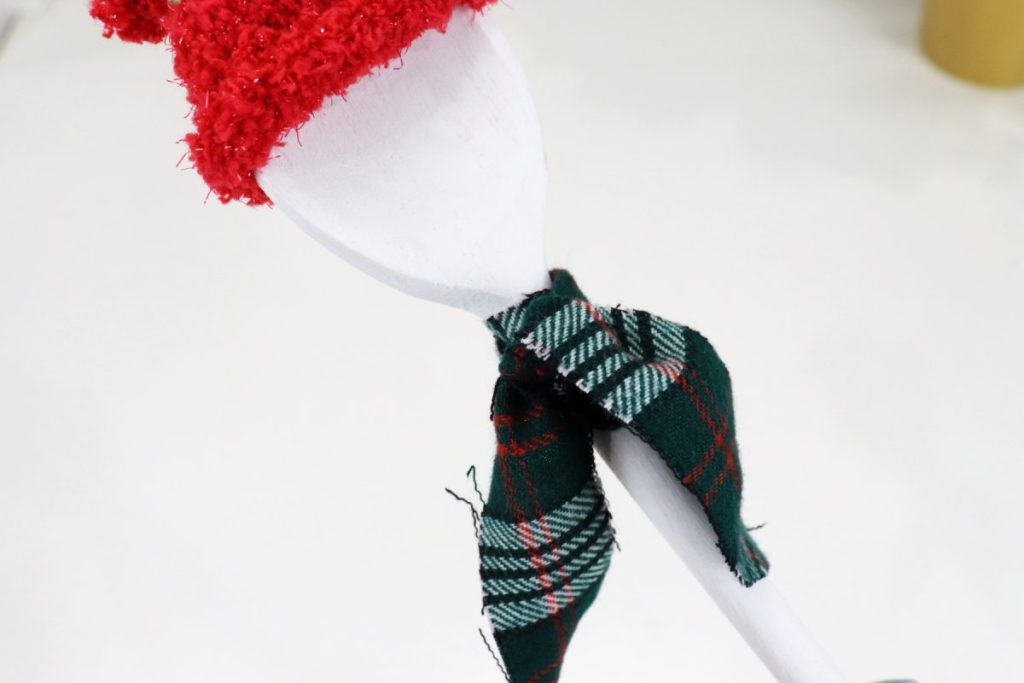
Add a scarf made from scrap fabric.
I like to use flannel for this, but you can use whatever you have. Tie it around the spoon handle at the base of the head.
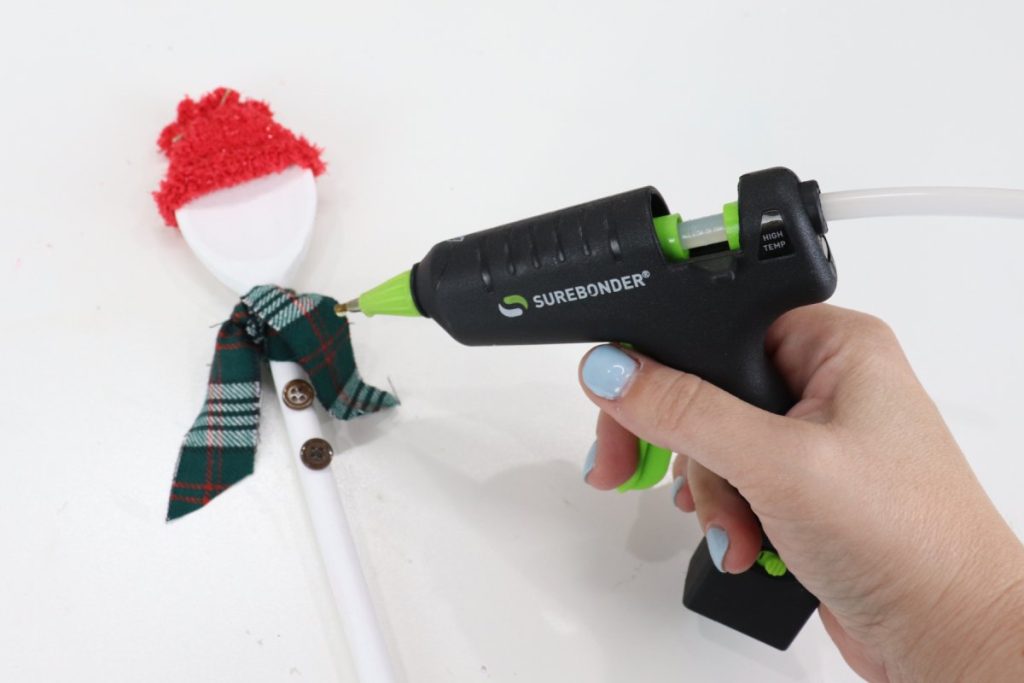
Glue buttons to the handle.
My Surebonder Mini Cordless Glue Gun worked so well for this project, because the fine detail tip is perfect for gluing small objects with precision (and no mess)! You can add as many buttons of whatever size and color as you like.
Paint a face on your snowman.
I used detail brushes and multi-surface paint for the nose and cheeks, and a black permanent marker for the eyes and smile. You can give your snowman any type of face and expression you want. I chose oval shaped eyes, a large triangle nose, and a series of dots for the smile.
Once the face is dry, your project is complete!
Crafting Tips
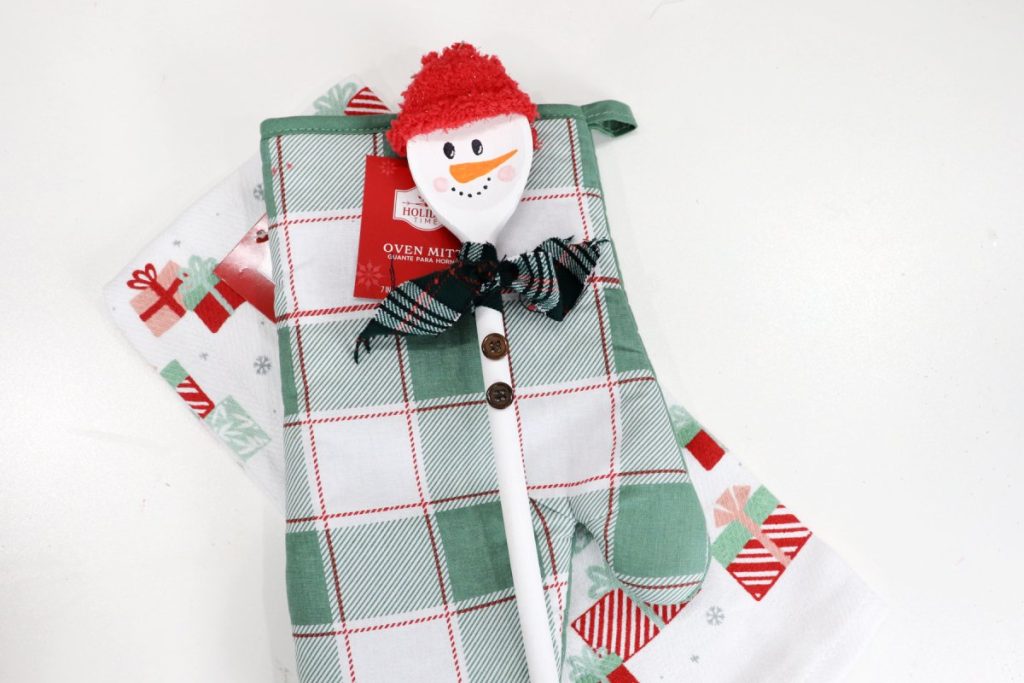
- These spoons make a great gift, especially tied together with a kitchen towel, potholder, and baking mix!
- I prefer to save painting the face for the last step, because then I know how much space I have to work with between the brim of the hat and the scarf. If you paint the face first, it may get covered by the hat.
- To make this project even less expensive, try looking for wooden spoons at your local thrift store or dollar store.
Frequently Asked Questions
Of course! Younger children will need some help with the glue gun, and perhaps with painting the face, but they can still participate. Using paint pens allows little crafters to have a bit more control as they draw.
Any soft fabric scraps will do, including flannel, felt, or fleece.
More Holiday Projects
If you enjoyed this snowman, be sure to check out these other winter and holiday project ideas.

If you create your own wooden spoon snowmen, or any other festive projects, I’d love to see how they turn out! Make sure you’re part of the Amy Latta & Friends Facebook Group so you can share your latest project photos and we can all inspire each other. See you there!
Wooden Spoon Snowman
Equipment
- scissors
- hot glue gun and glue sticks
- paintbrushes
Materials
- wooden spoon
- fuzzy sock
- scrap fabric
- acrylic paint: white, black, orange, pink
- thread or twine
- buttons
Instructions
- Paint the spoon white.
- Create a hat from a rectangle of fabric (fuzzy sock). Wrap around head, glue, and gather at the top.
- Tie on a scrap fabric scarf.
- Glue buttons to the handle.
- Paint a face.