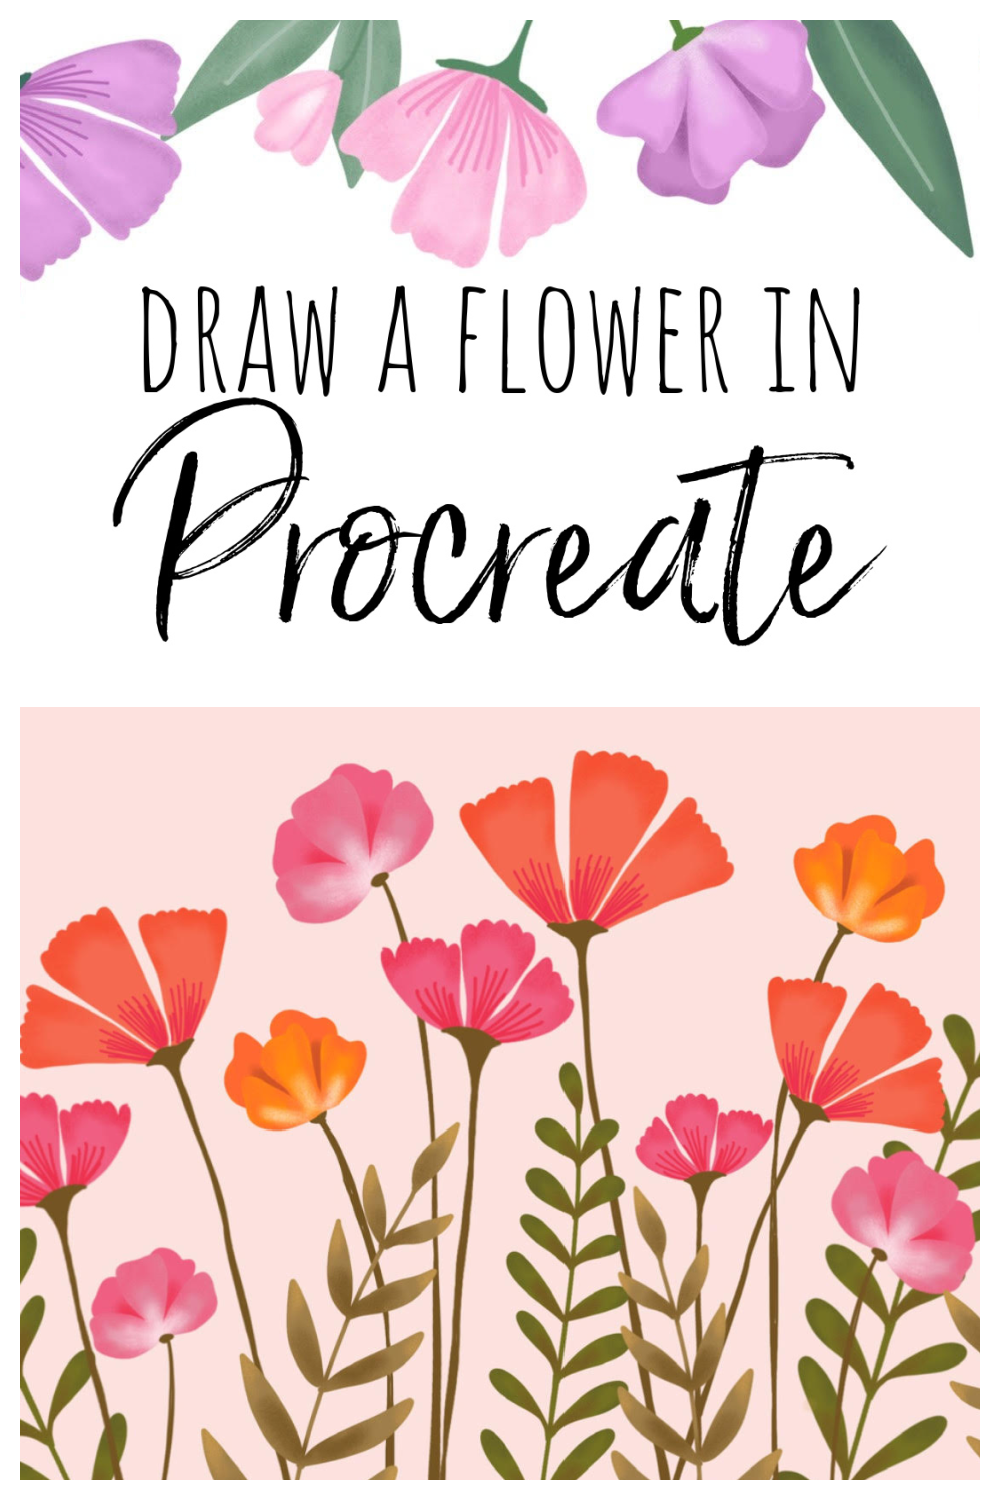
Draw a Flower in Procreate
While I love creating art using markers and paper, I also enjoy lettering and drawing digitally. I’m often asked what supplies are necessary for this kind of digital art, as well as how I create it, so I thought I’d share a simple tutorial for drawing a flower in Procreate.
First, here are the supplies you need.
THE APP: Procreate ($9.99 one time cost)
THE DEVICE: iPad
THE TOOL: Apple Pencil ($99-129)
The main thing to keep in mind is that in order for Procreate to work properly, your iPad needs to be compatible with your Apple Pencil. Here is a quick reference guide to help you make sure you have the right tools.
You can use Apple Pencil (2nd generation) with these iPad models:
- iPad mini (6th generation)
- iPad Air (4th generation and later)
- iPad Pro 12.9-inch (3rd generation and later)
- iPad Pro 11-inch (1st generation and later)
You can use Apple Pencil (1st generation) with these iPad models:
- iPad mini (5th generation)
- iPad (6th generation and later)
- iPad Air (3rd generation)
- iPad Pro 12.9-inch (1st and 2nd generation)
- iPad Pro 10.5-inch
- iPad Pro 9.7-inch
Now, let’s dive into drawing our flower!
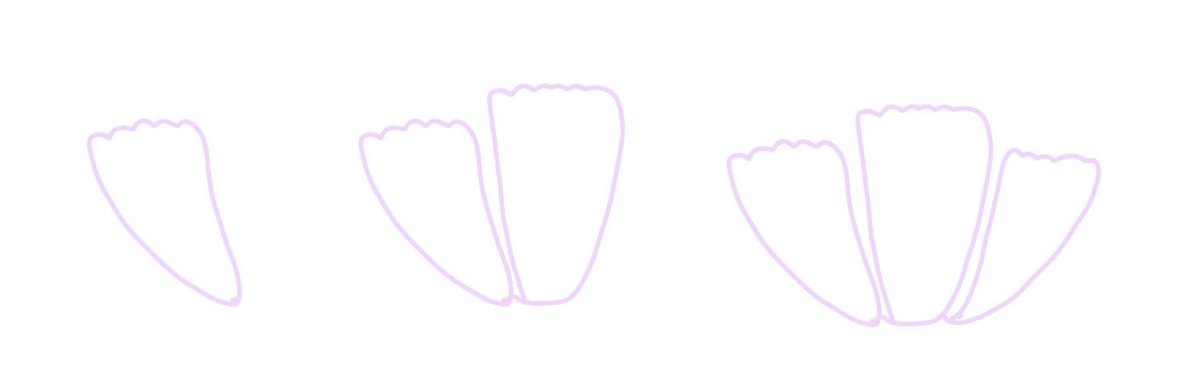
Step 1: Choose a monoline brush and use it to draw three petal shapes.
(To choose a brush, touch the icon that looks like a paintbrush in the upper right corner of the screen. You’ll see lots of choices that come with the app, and you can also purchase and upload or create your own if you want to add to your brush collection later. In the preloaded menu, there is a monoline brush in the Calligraphy brushes section.)
The center petal should be taller than the ones on the sides, and the side petals should curve a bit.
Step 2: Fill your petals with color.
To choose a color, touch the circle in the upper right corner of your screen. This will give you the option of choosing any color you like from a disc or a palette, or you can enter a specific hex code. To fill in an area with color quickly, touch that colored circle in the upper right hand corner of the screen with the tip of your pencil and drag it inside the space you want to color. This should fill the area.
Pro tip: Make sure your shape is completely closed; if there’s a spot where the lines are open, the color will flood the whole canvas.
Step 3: Create a new layer above the first one.
To do this, tap the layers icon (the two overlapping squares in the upper right corner), then the plus sign.
Step 4: Use a texture brush to add dark and light areas to your petals.
I like the Bonobo Chalk brush (in the Sketching brushes menu). I used a darker purple around the outer edges of my petals, and white for a small area in the center of each petal.
Step 5: Select this layer and choose “Clipping Mask.”
To select the layer, open the layers menu, touch the layer you want, and a menu will appear. Once you select clipping mask, this will erase any marks that went outside the edges of your petals! Magic, right? This is one of my favorite Procreate tricks!

Step 6: Use your monoline brush to add detail lines to the bottom portion of each petal.
You can draw as many or as few as you like.

Step 7: Add a stem and leaves.
I like to create a new layer for this. Then, I used a calligraphy brush for drawing this part. You can make your flower tall or short and give it as many leaves as you’d like it to have.
Step 8: Repeat the shading process for the stem and leaves.
To do this, create a new layer directly above the one where you drew the stem and leaves. Use a texture brush to add shading, then choose the layer and select “clipping mask” to erase your extra marks.
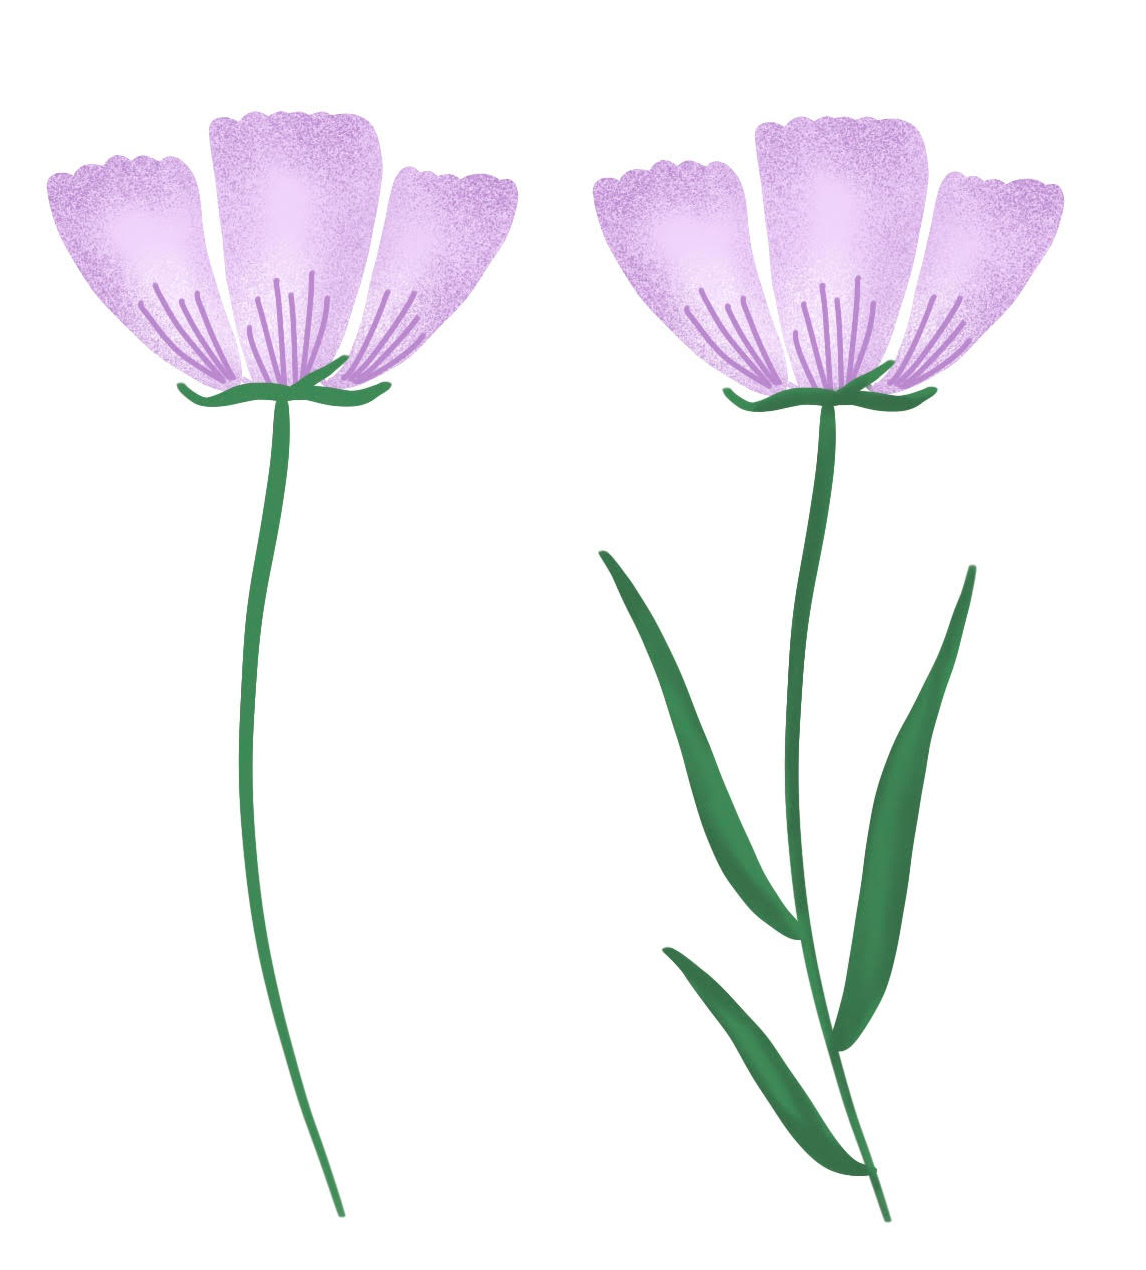
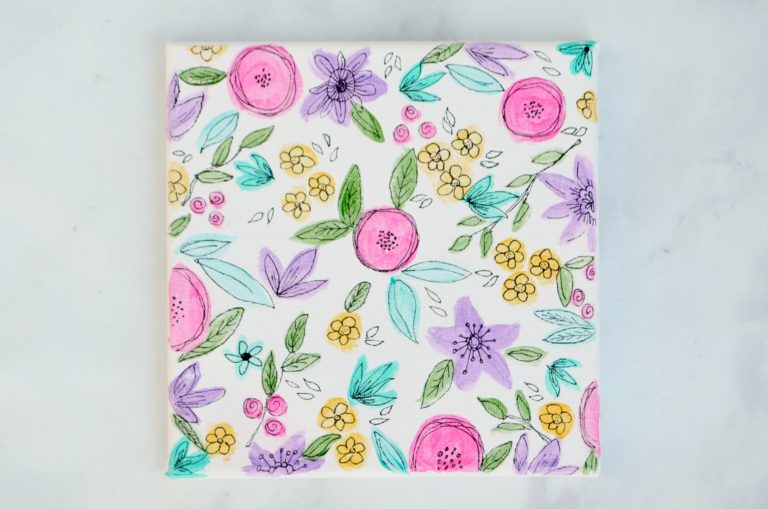
Once you get the hang of it, you’re going to love drawing this pretty little flower! Have fun drawing it in different colors and playing around with it to create borders and more. Here is an example of how I combined this style of flower with another one to create some spring art.
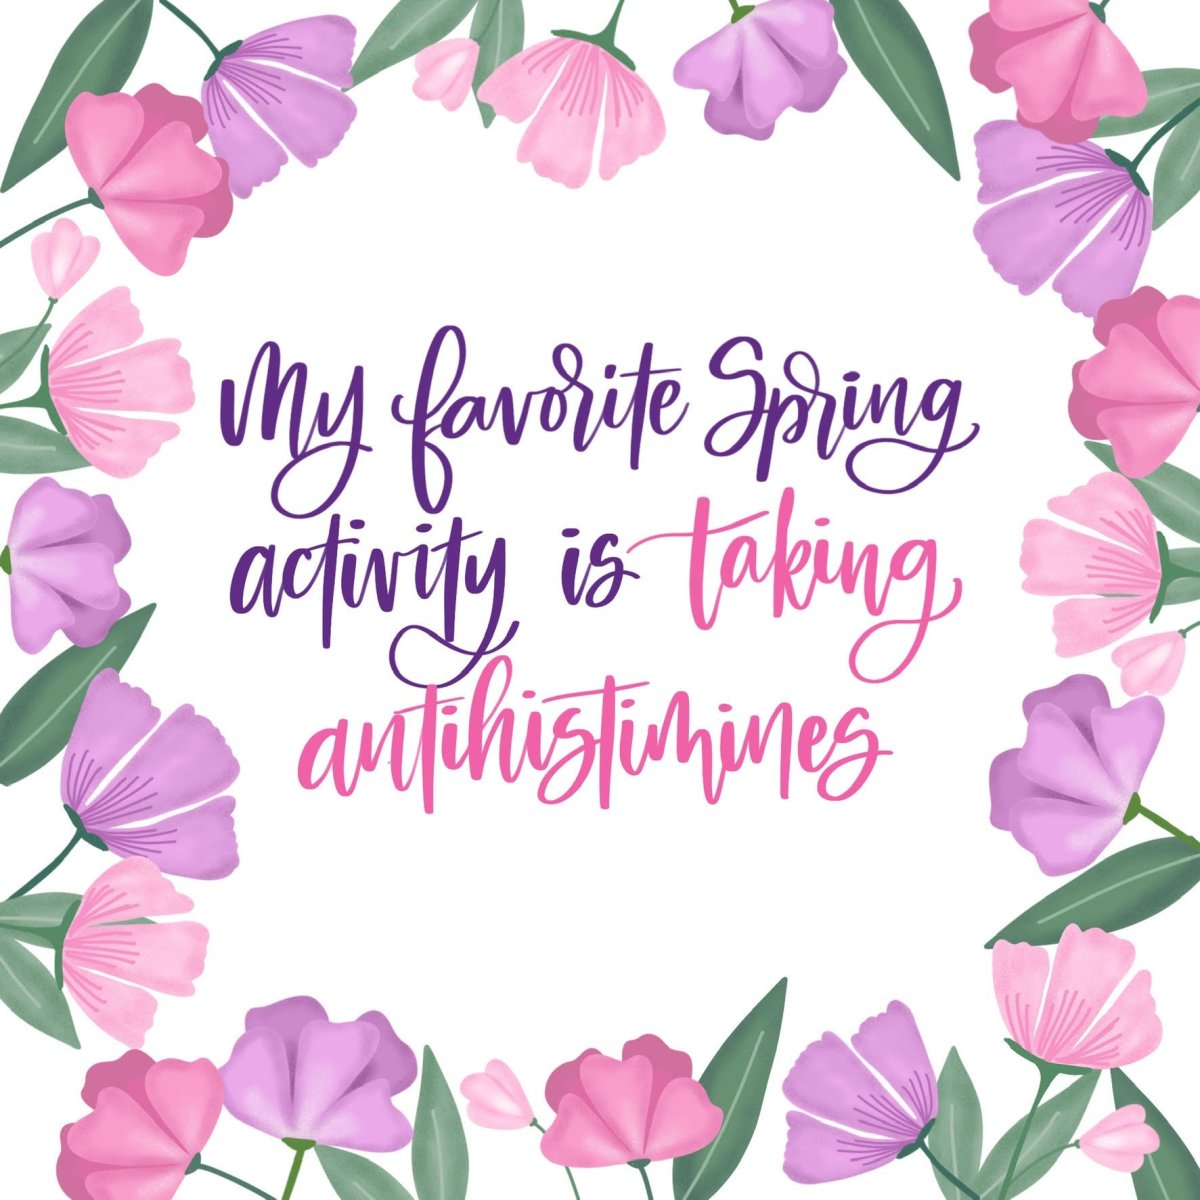
And, here is a different color scheme featuring the same flowers in a more traditional illustration.
If you try this illustration, I’d love to see how yours turns out! Make sure you’re a part of the Amy Latta & Friends Facebook Group so you can share your projects with us in the weekly show and tell thread. I hope to see you there!
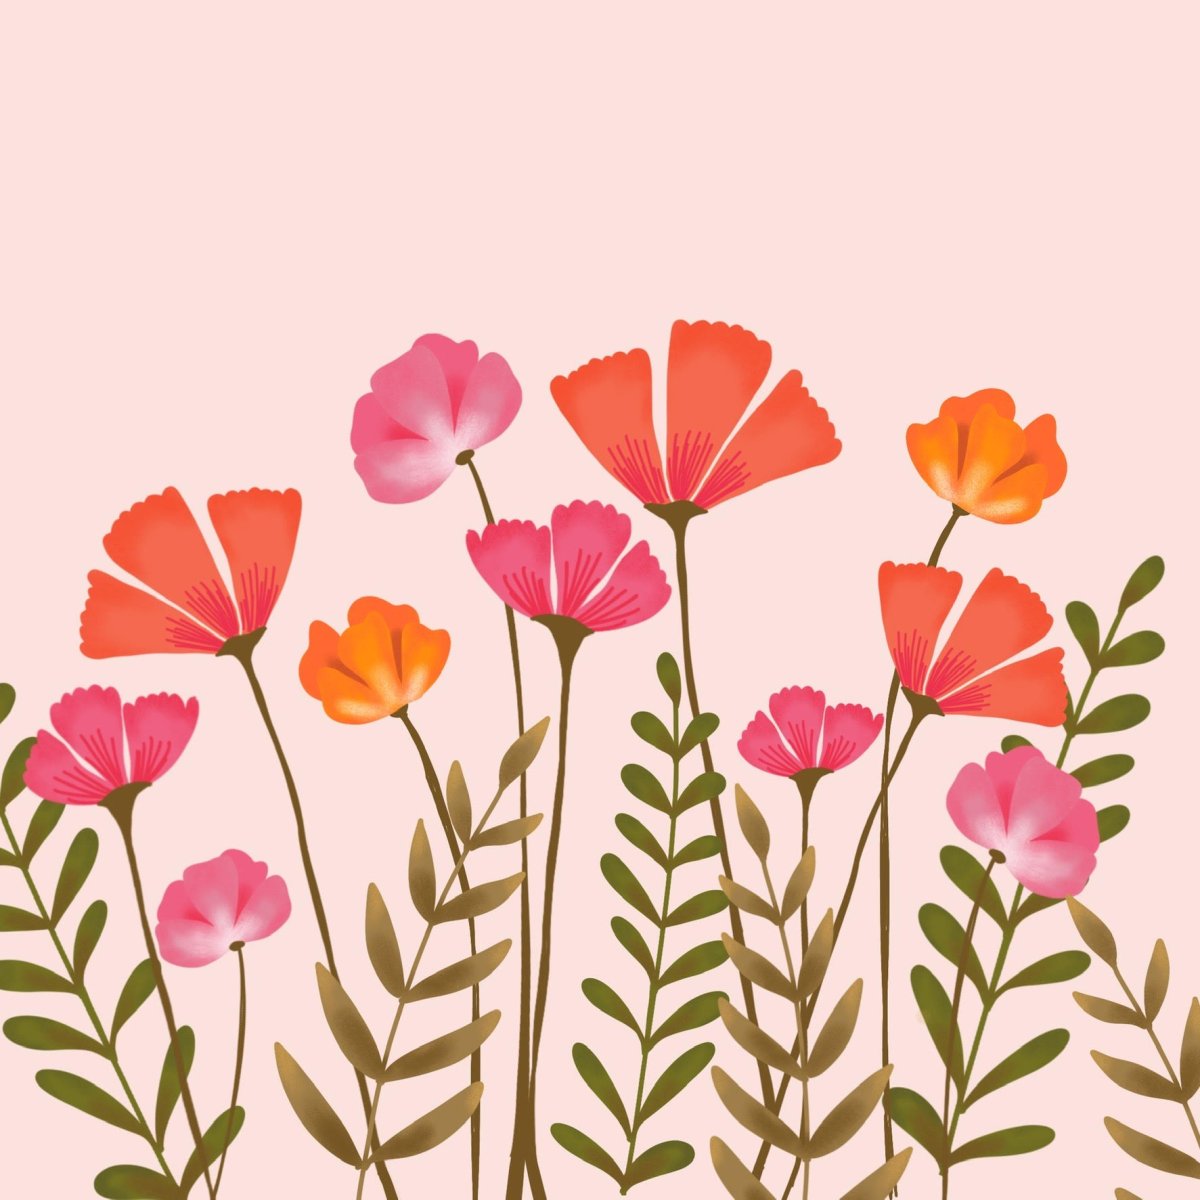
In the meantime, help yourself to this free wallpaper version of my illustration that you can use on your phone. Just save or screenshot it and it’s yours for personal use. Enjoy!

What other kinds of things would you like to learn to draw in Procreate?