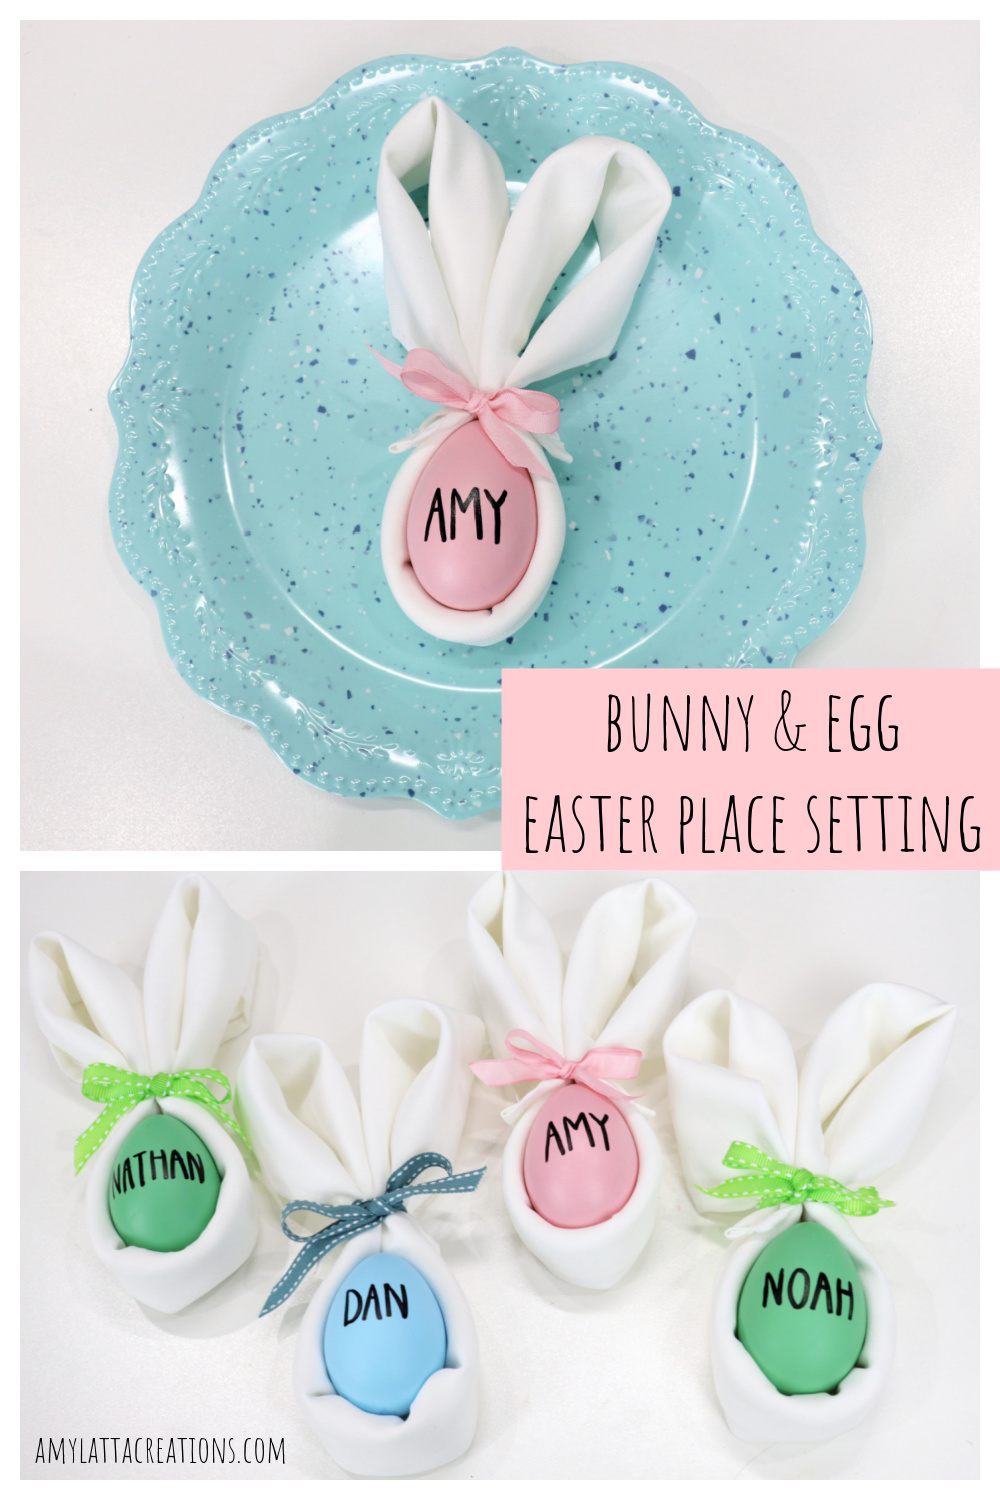
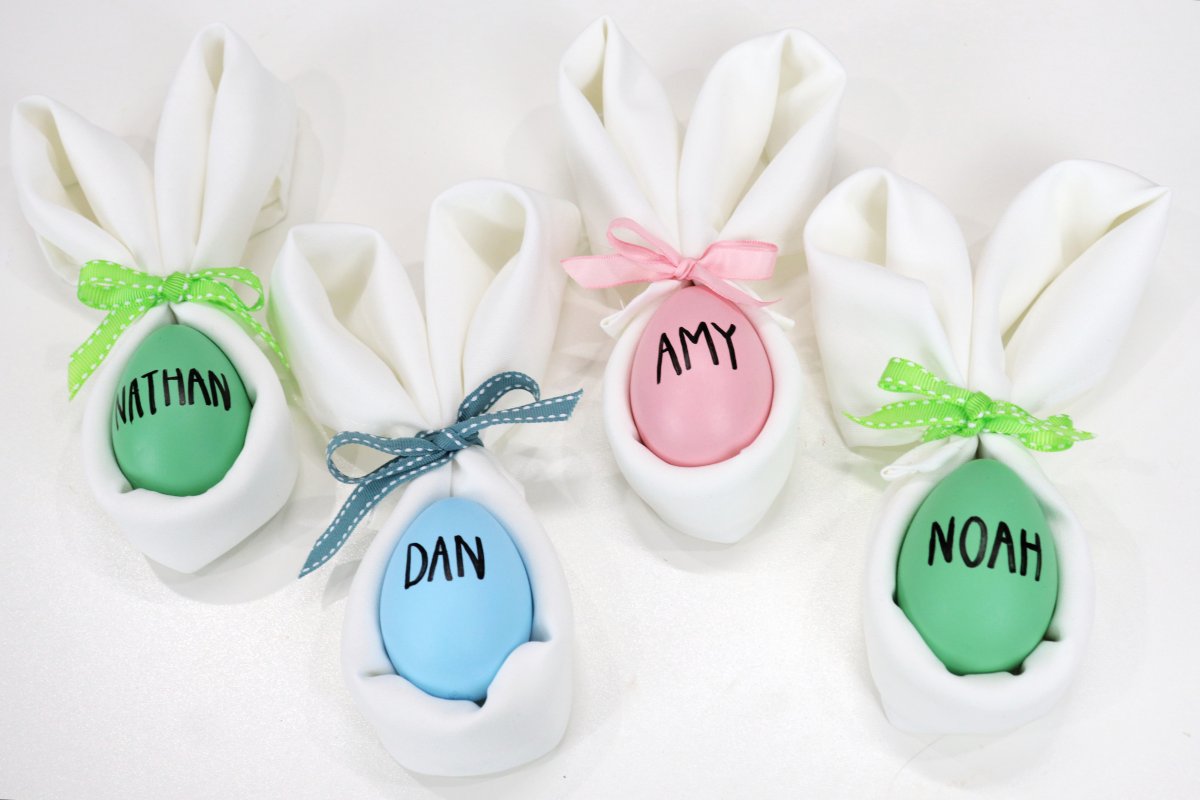
Bunny & Egg Easter Place Setting
Add a fun, festive touch to your holiday table with these Bunny & Egg Easter Place Settings! You only need a few basic supplies and less than five minutes per place setting. Take a look.
You’ll need:
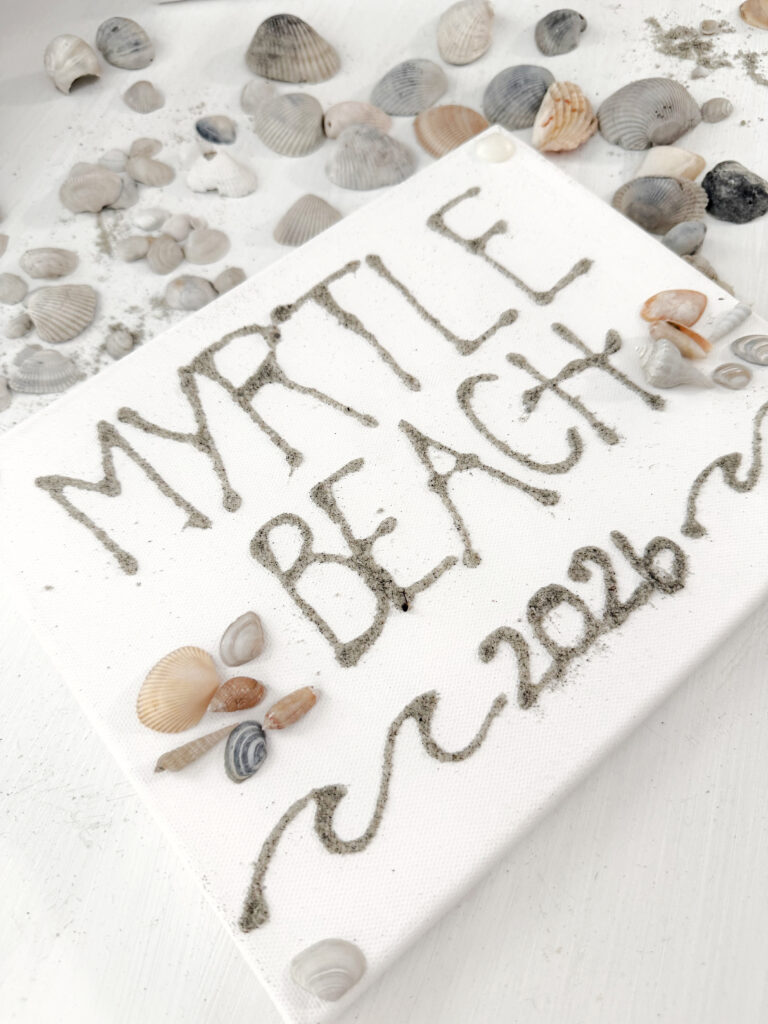
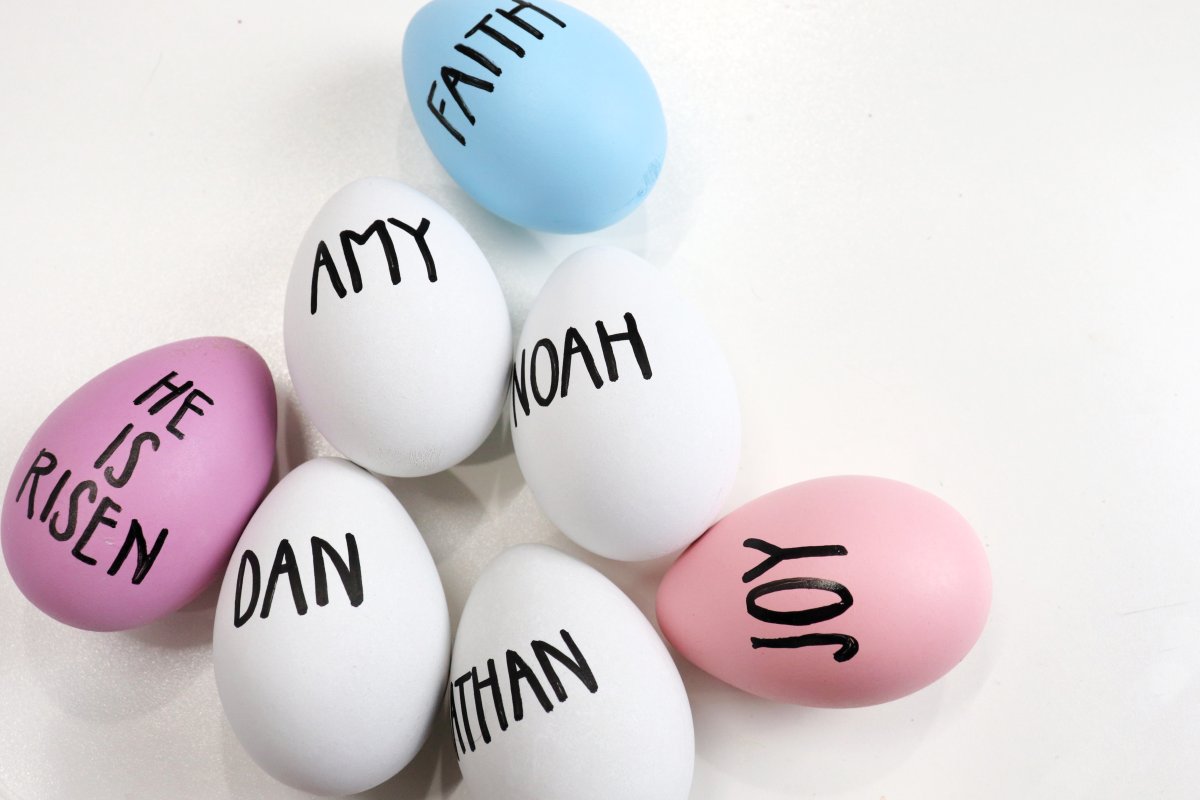
faux eggs with guests’ names (see how I made these)
white cloth napkins
ribbon
scissors
Step 1: Fold your napkin in half diagonally to form a triangle.
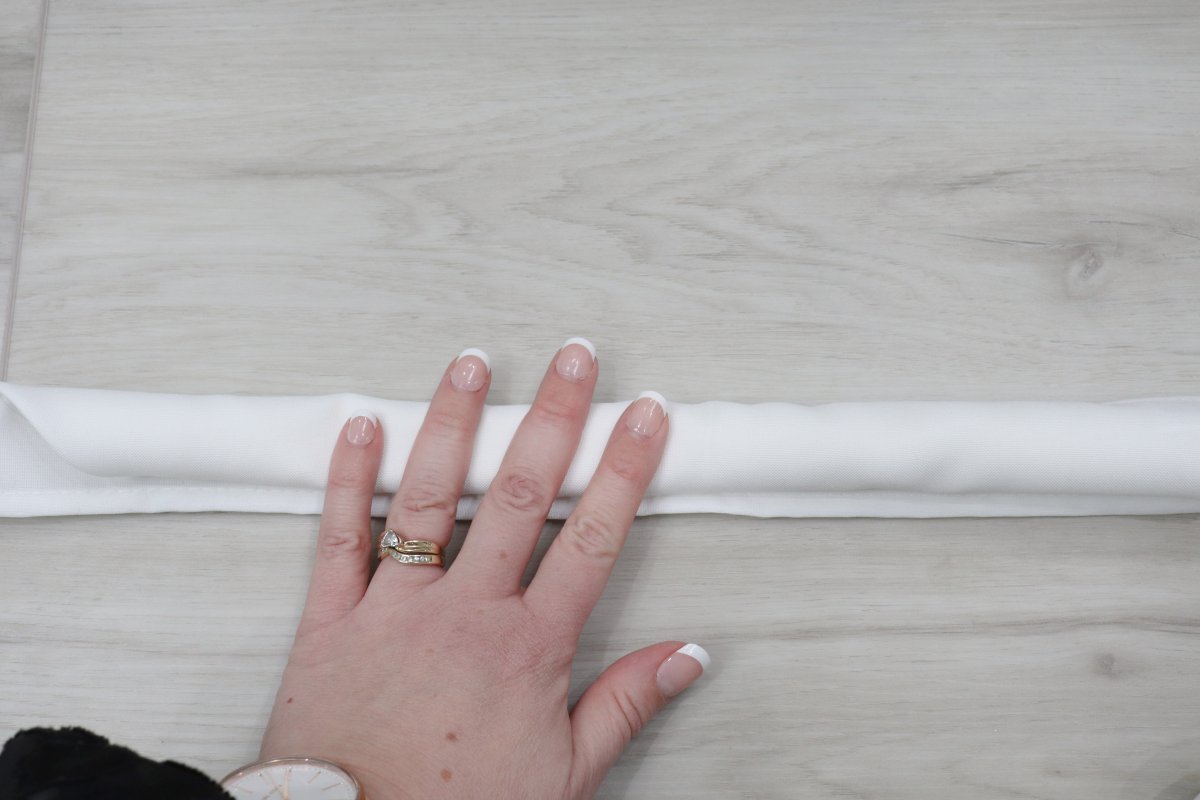
Step 2: Roll your napkin.
Starting with the point, roll the napkin until you reach the bottom of the triangle.
Step 3: Form bunny shape.
Fold the rolled napkin in half and hold it in a “u” shape. Then, fold the tips down to touch the outside of the “u”…this forms the ears.
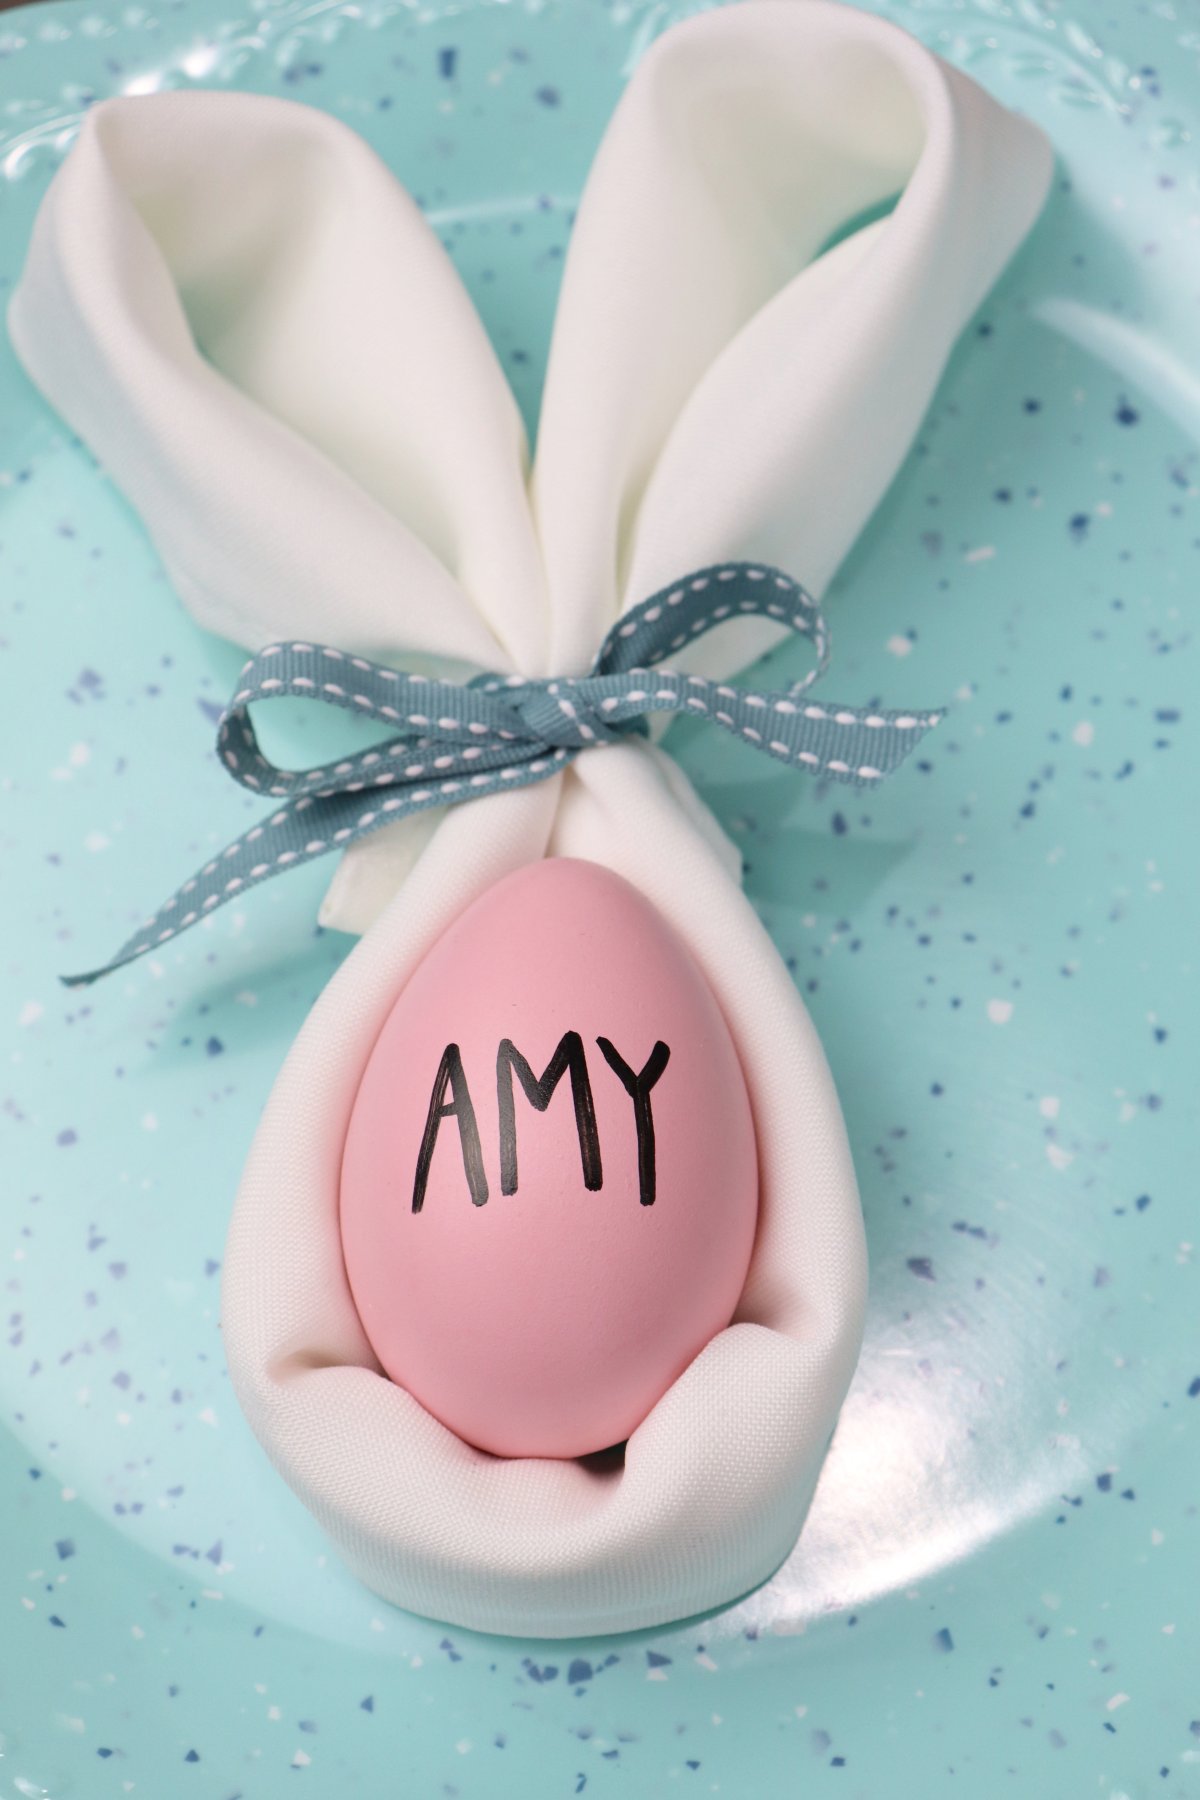
Step 4: Tie napkin with ribbon.
Add a cheerful bow in any color you like. This will hold the napkin in the folded shape.

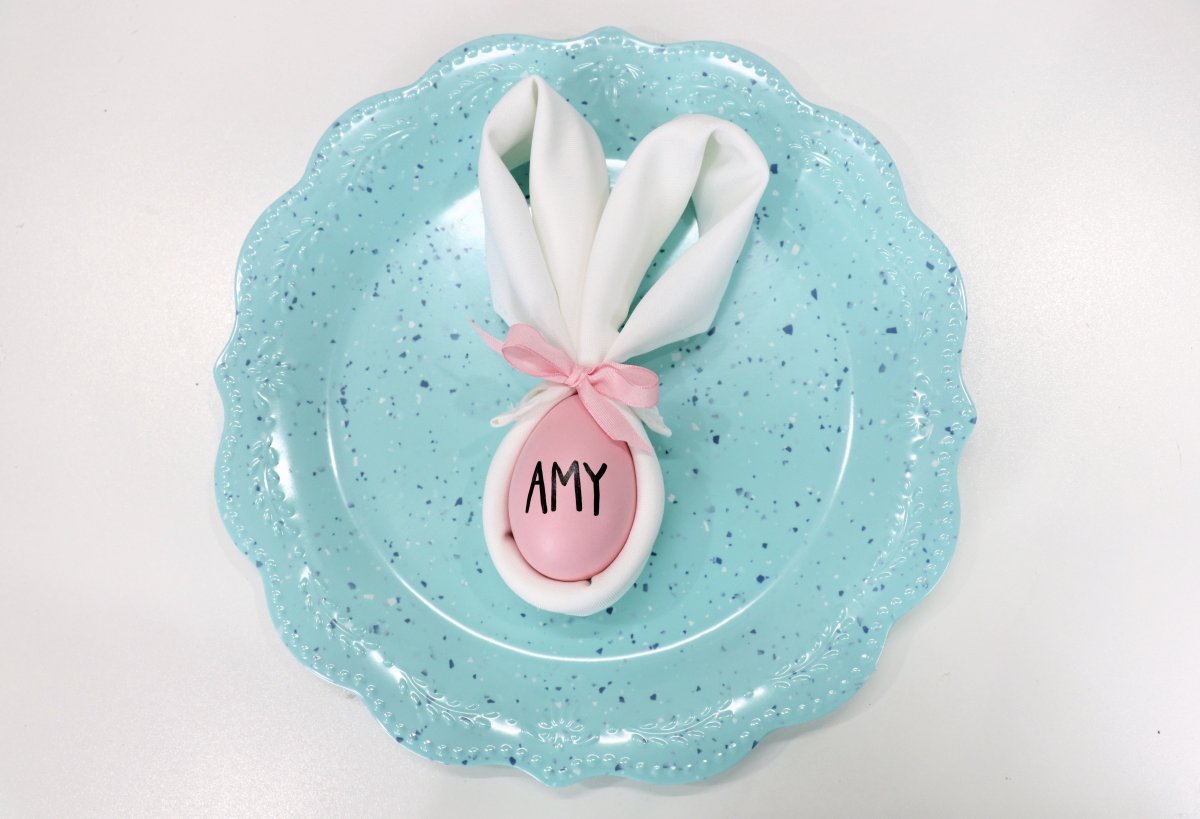
Step 5: Add egg.
Place the egg inside the opening below the ribbon bow.
You can use a white egg or a colored one; I liked the pop of color, but either way, it’ll be really cute!
I don’t know about you, but I love how these turned out, and they’re so incredibly simple to make! If you don’t love your handwriting for the eggs, you can use alphabet stickers instead, or cut the names from vinyl with your Cricut or other electronic cutting machine.
There’s no glue involved, so your guests can untie the bow and use the napkin for dinner. Then, they can take the egg home as a favor and add it to their own spring decor for years to come.
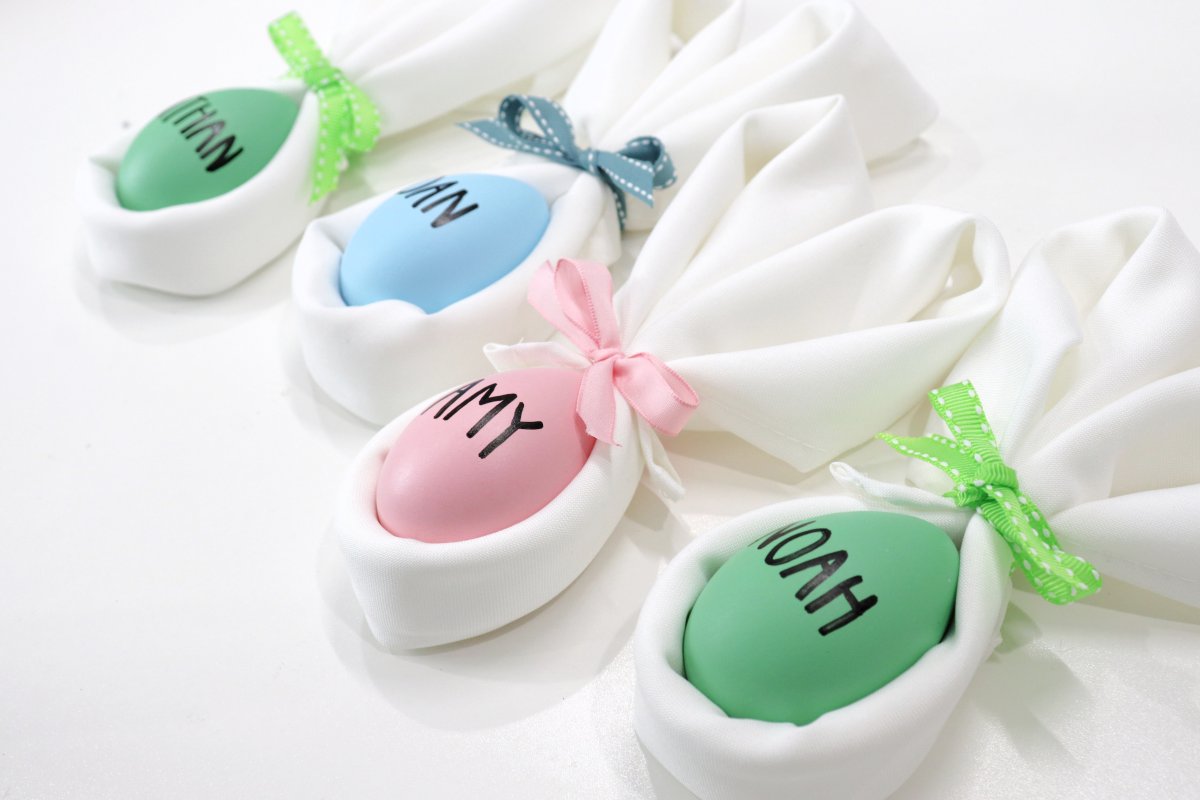
What do you think? Is this something you’ll try for Easter dinner? I’d love to see your latest spring projects; be sure to share your photos with us in the Amy Latta & Friends Facebook Group so we can all be inspired. See you there!
Before you go, make sure to check out my other spring ideas, like these:
Farmhouse Style Book Page Carrots