China Cabinet Makeover
Some furniture is just a piece purchased from the store to fill a need. Other furniture has a story. This china cabinet was given to us almost 17 years ago by the man who lived next door to my grandparents.
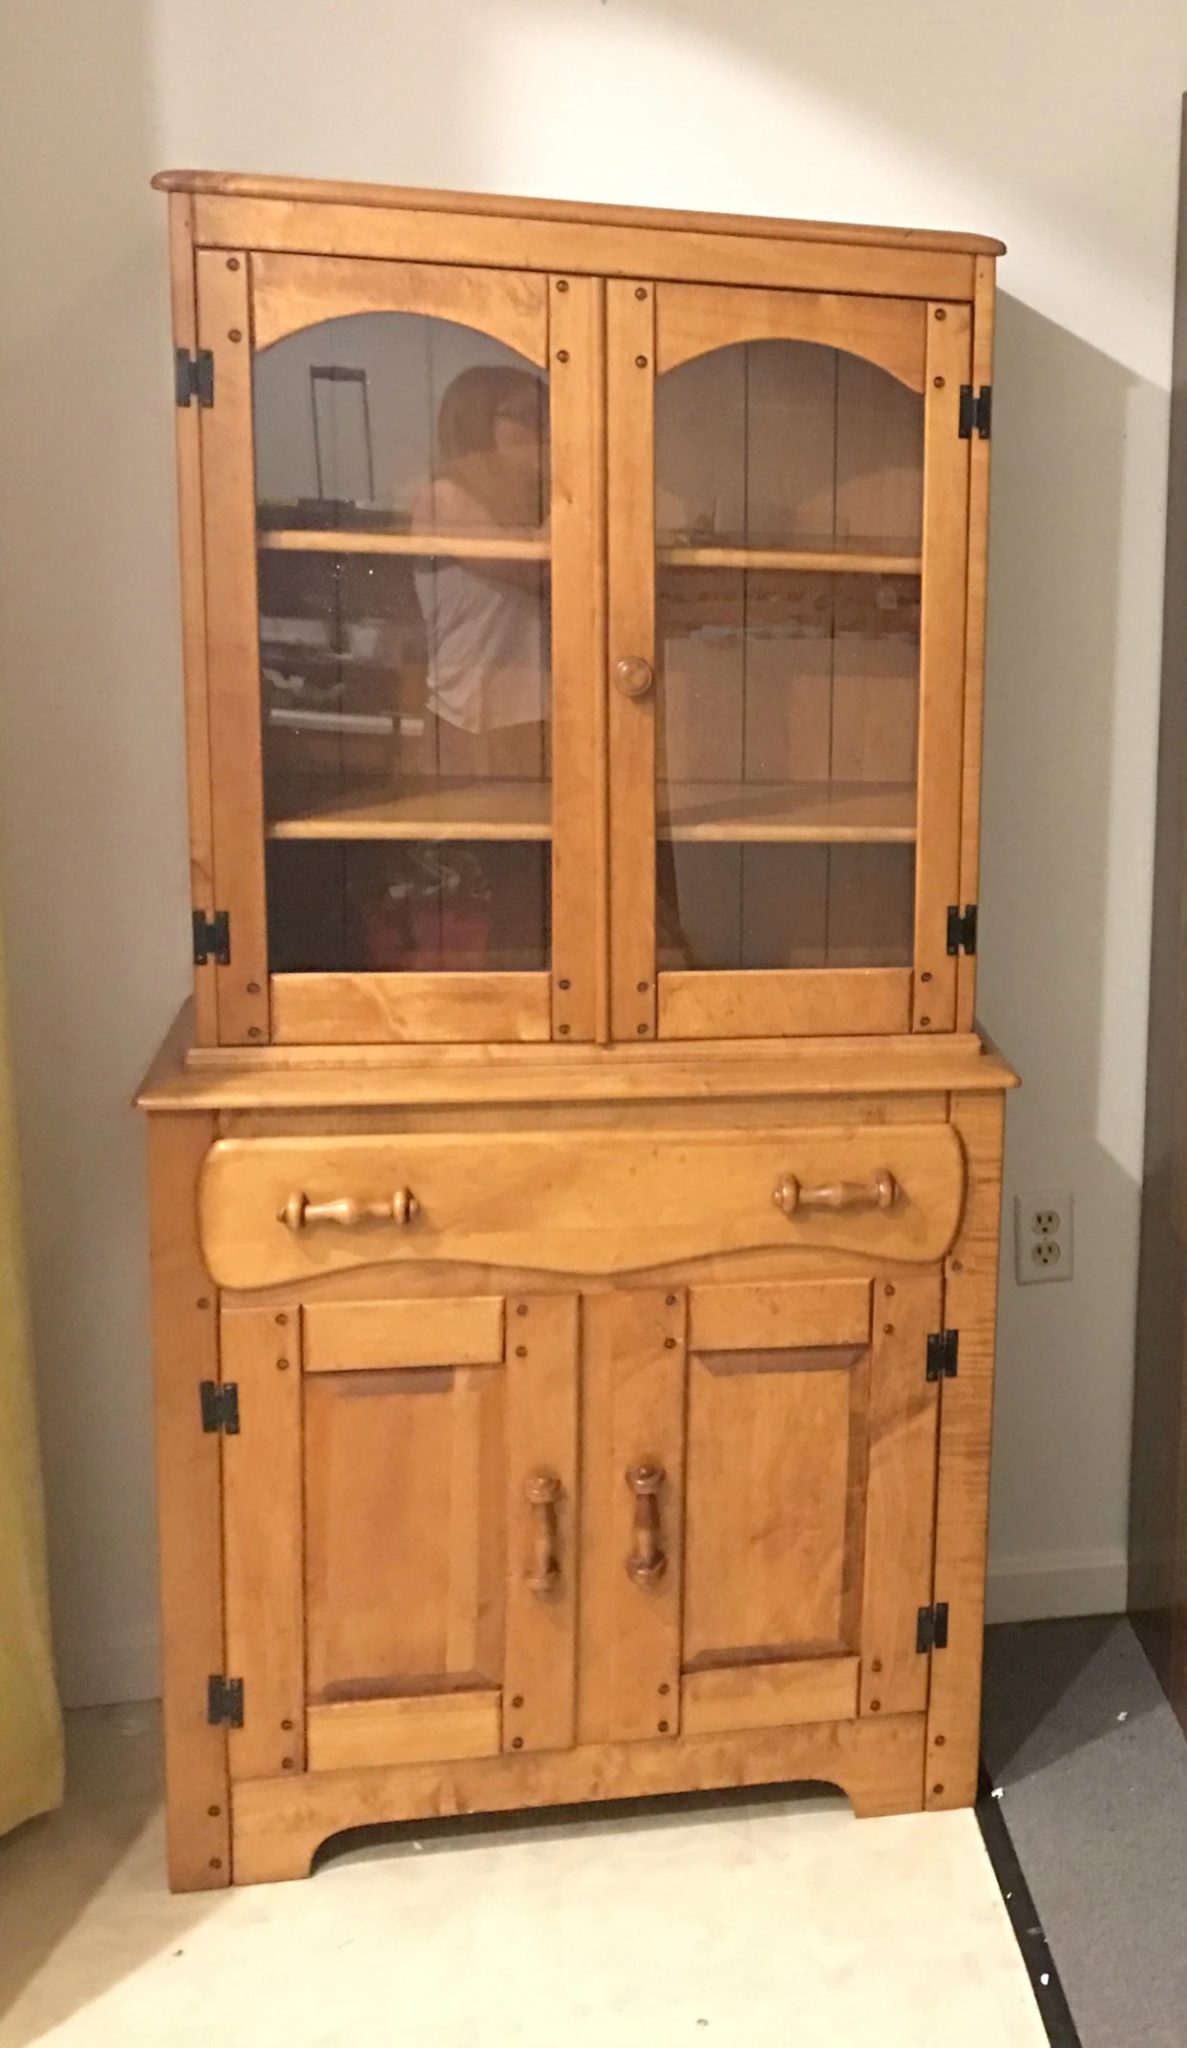
He told us the story of how when he and his siblings were younger, during the Depression, they saved up their own money and put it together to purchase the cabinet as a gift for their mother. After she passed away, he brought it into his own home as a memento, but he never married or had any children of his own to pass it along to. He had lived next to my grandparents for years, watching my cousins and I grow up, and when he heard about my engagement, he wanted to give us the cabinet as a wedding gift.
For 14 years, while we lived in our first home, the cabinet stood in our dining room holding our fine china. {Cue terrible old photo!}
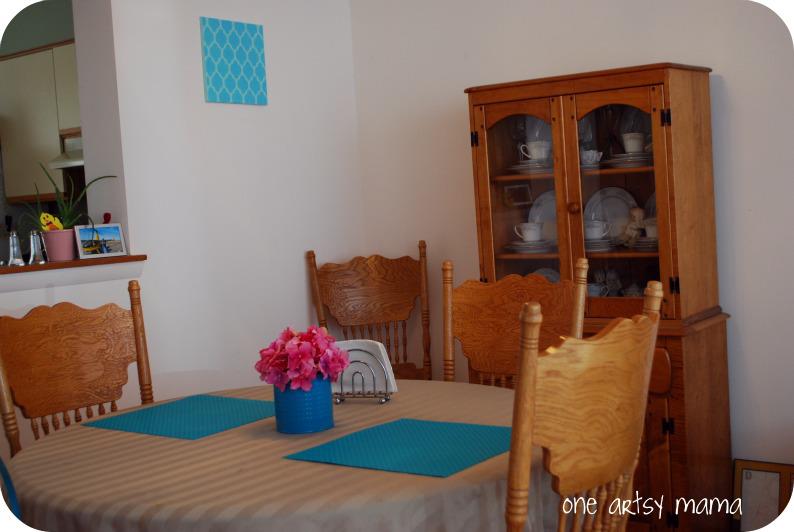
Then, in 2015, we moved to our current house and realized that the floor, the cabinet, and our dining set were all exactly the same color wood. The entire room was brown, and I hated it. Within a few months, I repainted the dining set, and I found and painted a cute little buffet that a neighbor put out for bulk trash. With that in the room, we no longer had space for this cabinet, so it made the journey down to my craft room until I could figure out what to do with it. Eventually it was just part of the scenery, until my recent Craft Room Renovation! It was definitely time to give this sentimental piece new life and a new look so it could go back on display. Here’s how I did it.
Materials:
FolkArt Home Decor Chalk paint: Parisian Grey, Adirondack White, and Dark Grey
Large Paintbrush {I love the FolkArt Home Decor Wide Chalk Brush}
Stencil {Mine is the FolkArt Handmade Charlotte Moroccan Tile Stencil}
Painters’ Tape
Soft, lint-free cloth
The Process:
Step 1: Put down a drop cloth and disassemble as much of the piece as possible.
I couldn’t remove the hardware on this particular piece, but I could take out drawers and remove doors. I completely removed the top doors with no intention of putting them back on.
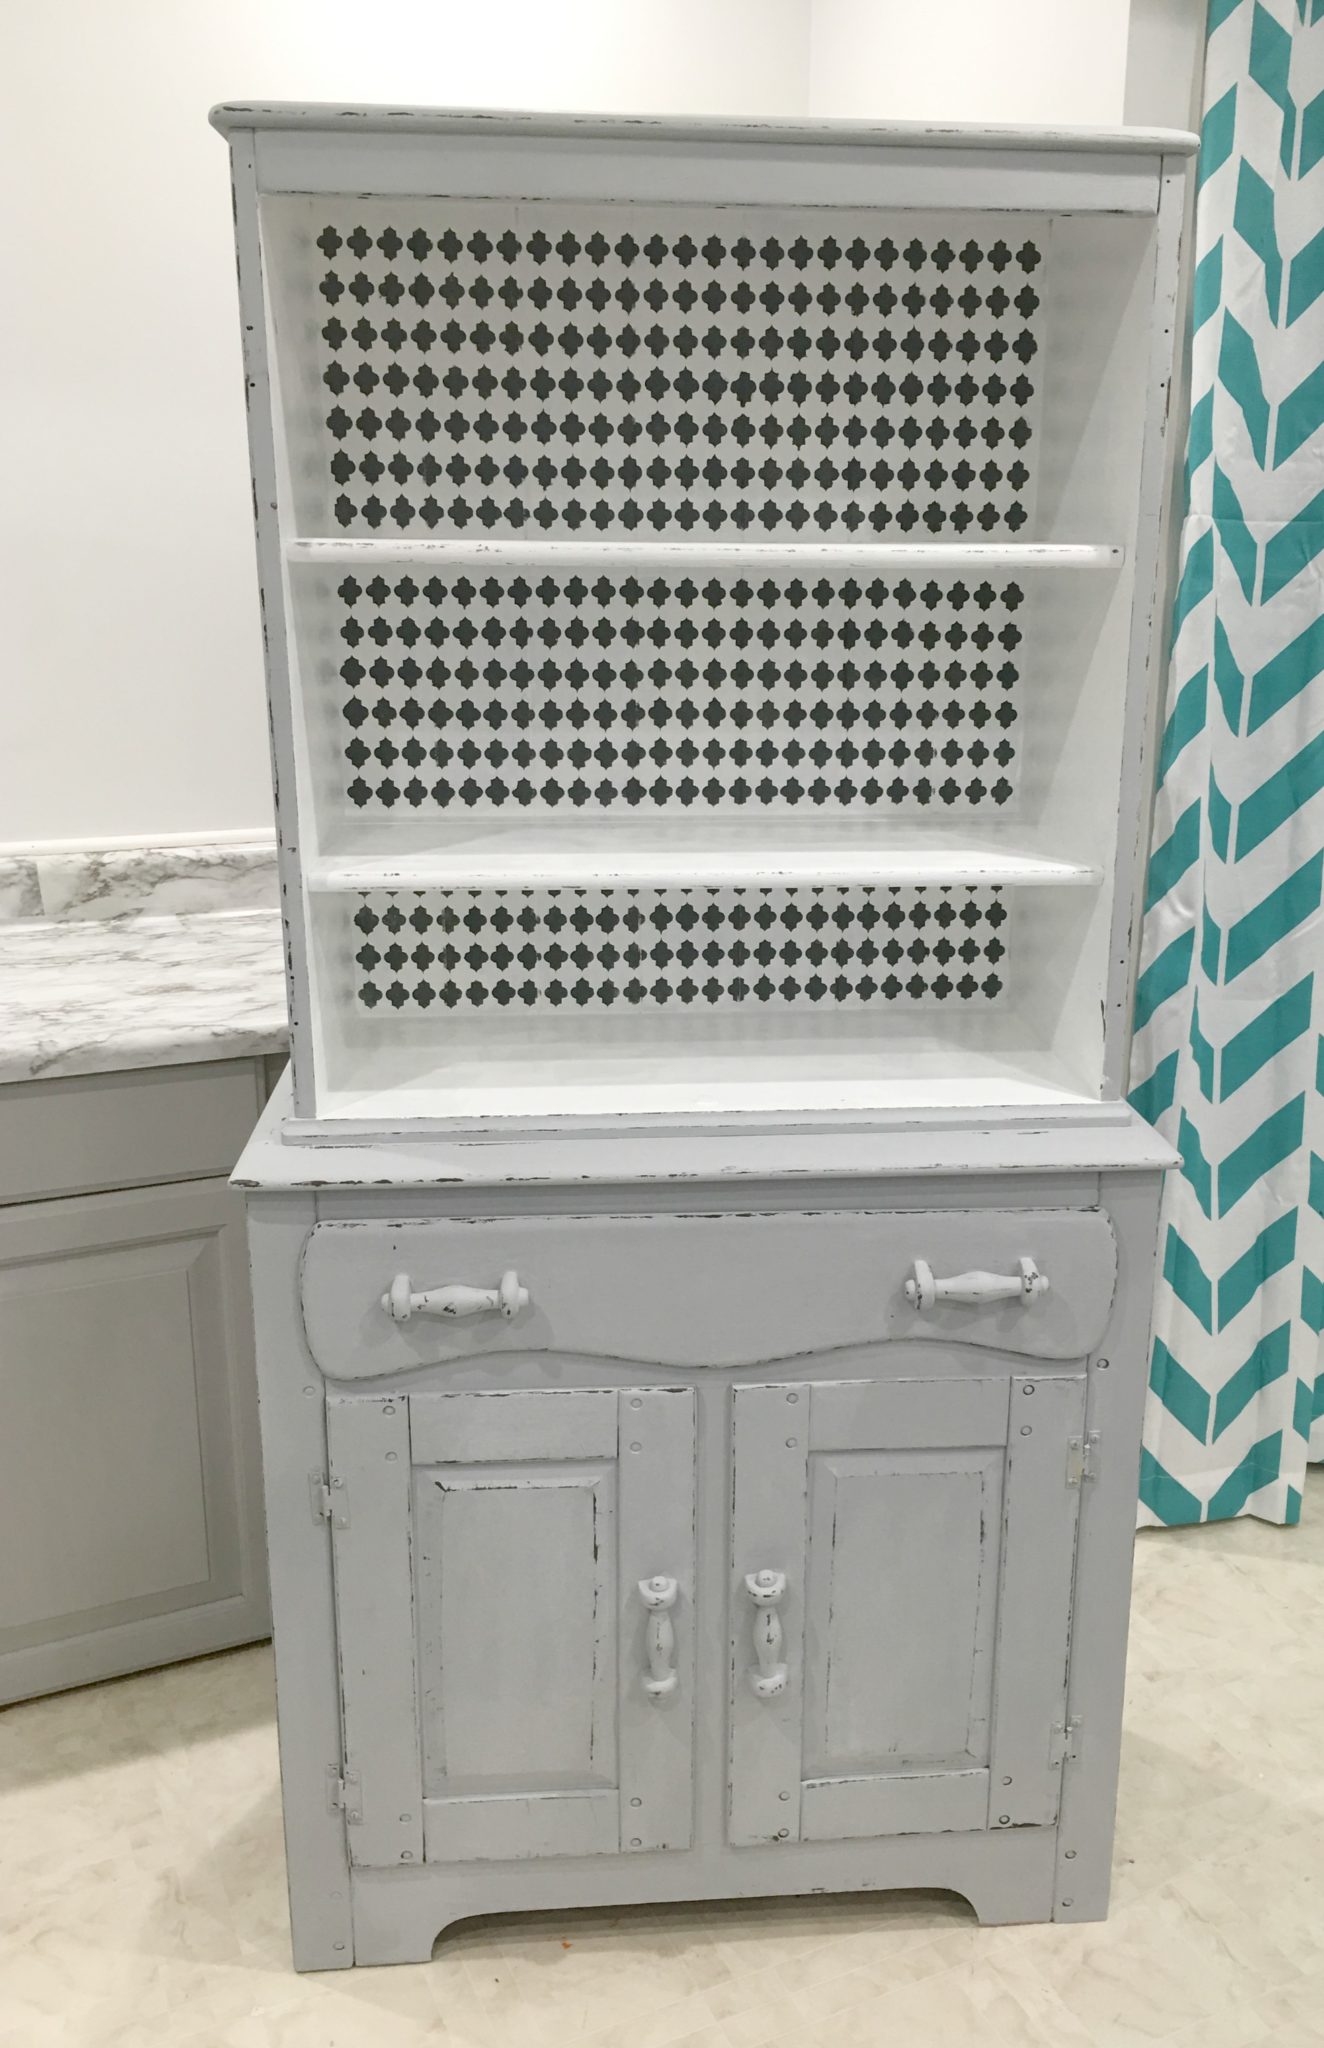
Step 2: Paint the surface of the piece in desired color{s}.
I chose a light grey for the outsides and white for the shelves and inside area. No matter what colors you use, this step always takes more than one coat, so be patient! Paint a coat, then walk away and let it dry completely. If you try to paint too much too fast, you’ll be ruining your own progress. Paint until you get the coverage you want.
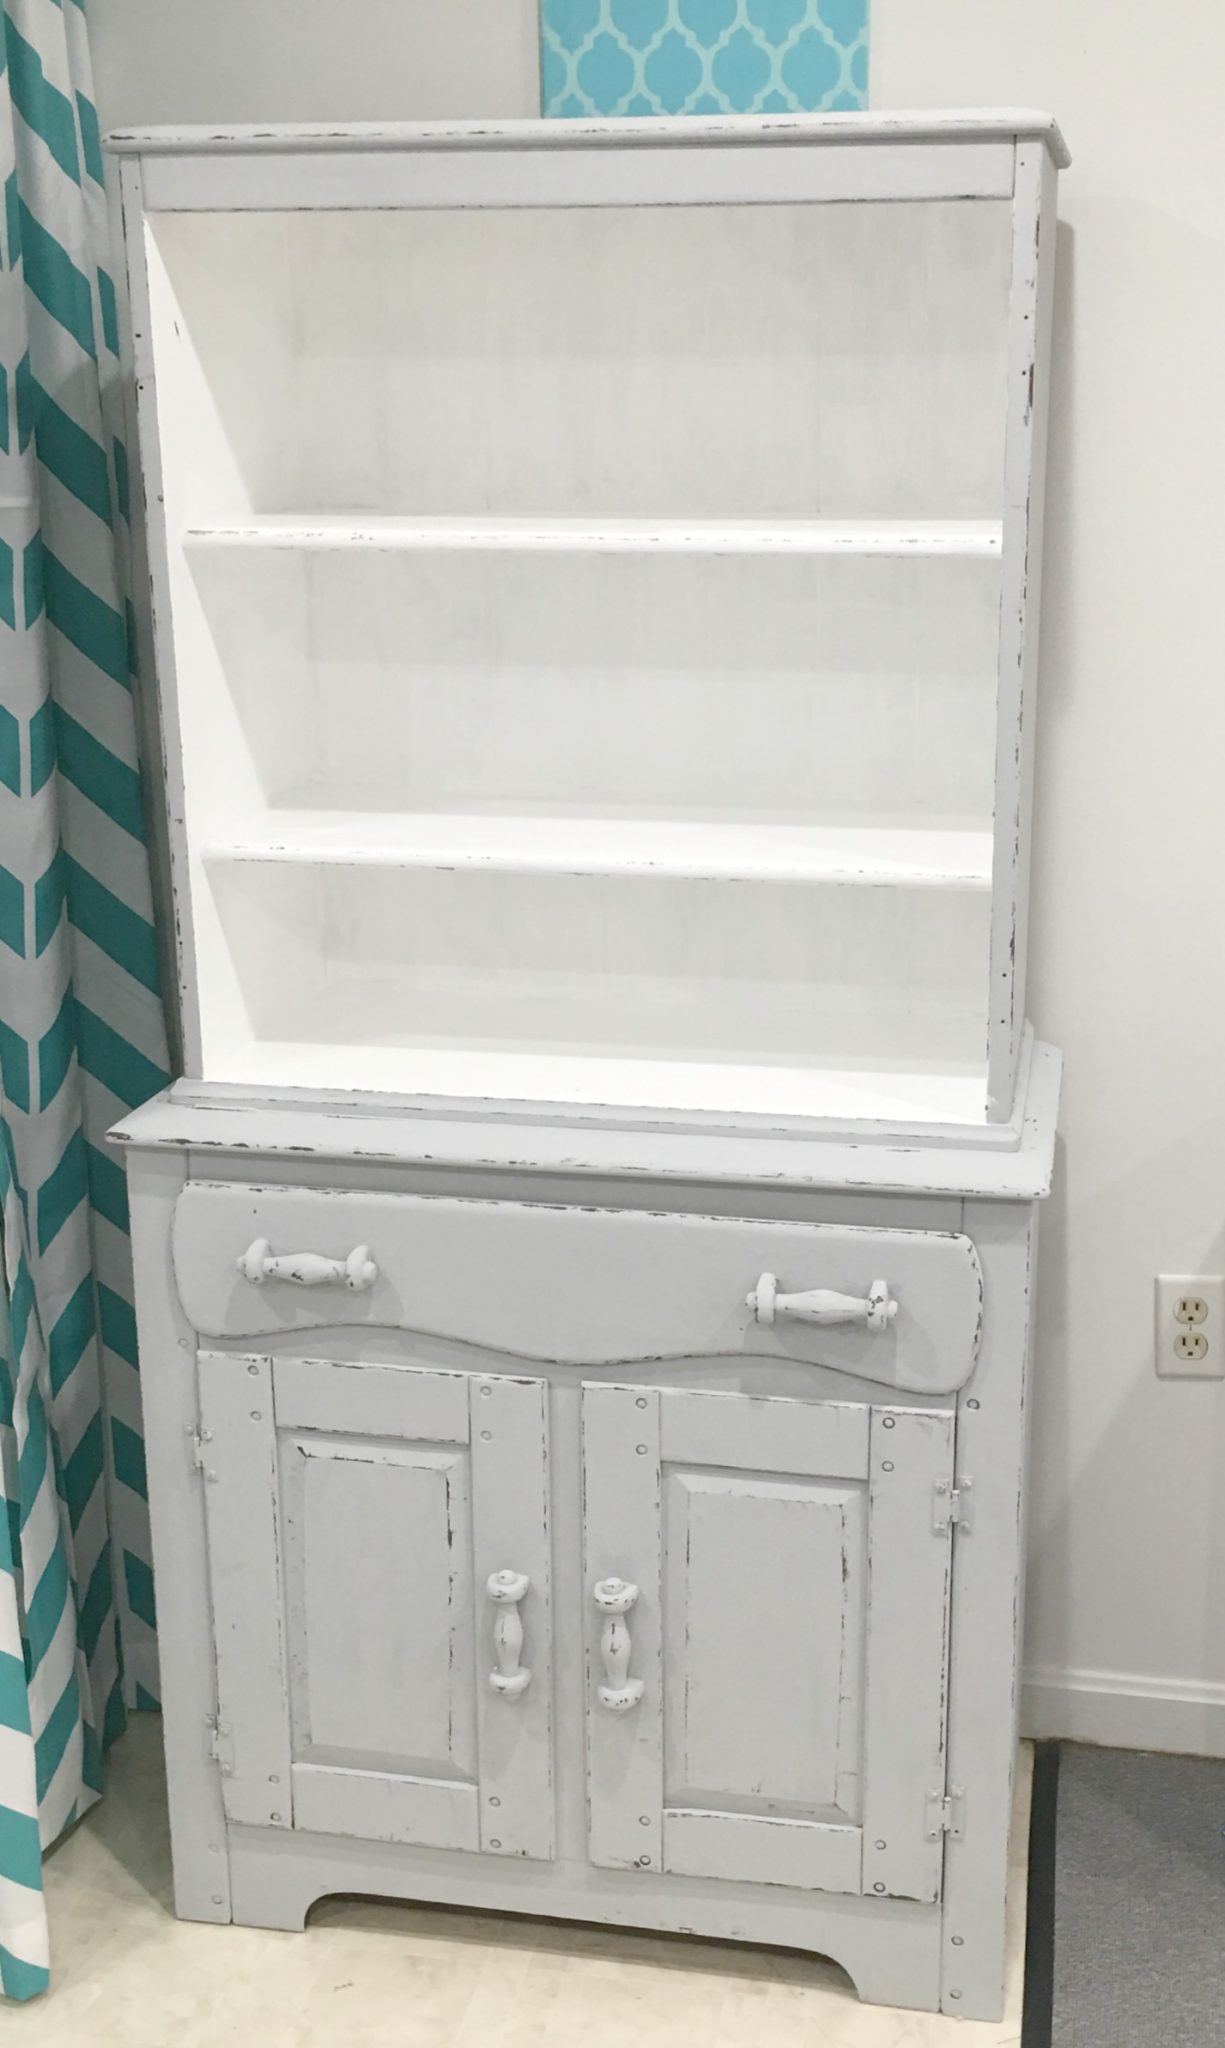
Step 3: Distress the piece as much or as little as you like.
You can do this by sanding, but I prefer using paint instead. Apply a thin layer of dark paint to your Wood Layering Block, then gently rub the block over edges and areas where the piece would naturally experience wear and tear over the years. Remember, we want it to look lovingly and naturally aged, not destroyed.
Step 4: Stencil the back.
This was hard to do because of the fact that the shelves can’t be removed. It took a lot of taping and some contortion, but it sure looks fun! Remember, when you stencil, less paint is better so you don’t get bleed through…check out my stenciling and painting tips here.
Step 5: Apply a coat of wax.
You can use a wax brush or a soft lint-free cloth to gently rub wax over the surface. Once it’s dry, buff it to the desired shine.
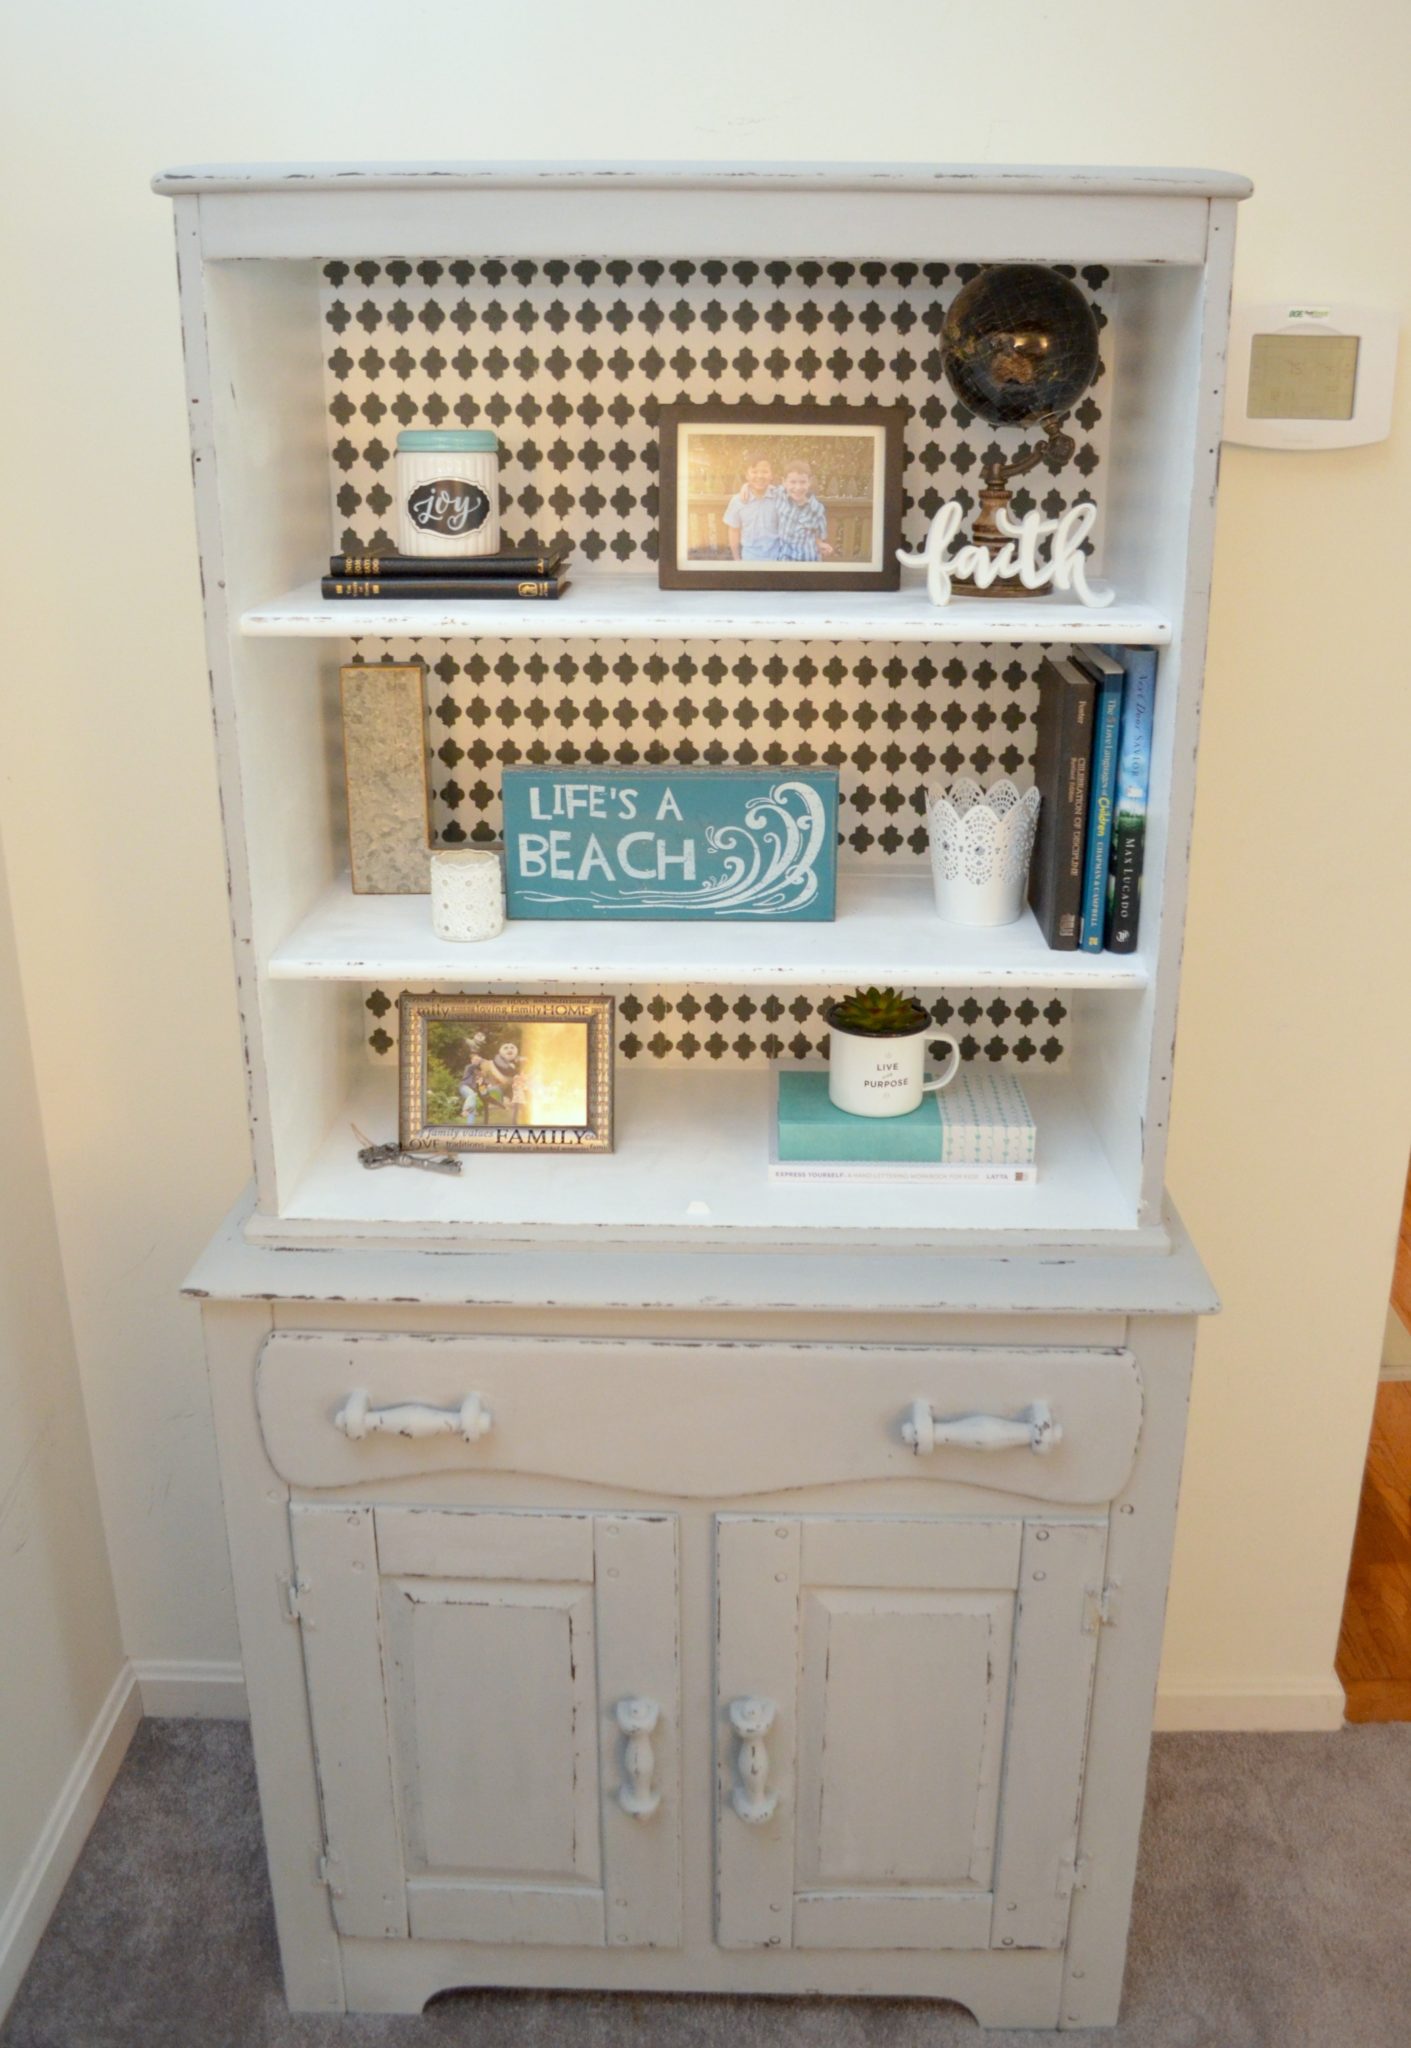
All that’s left to do is decorate the shelves! I have this piece in our living room now, where it perfectly matches the rest of the decor.
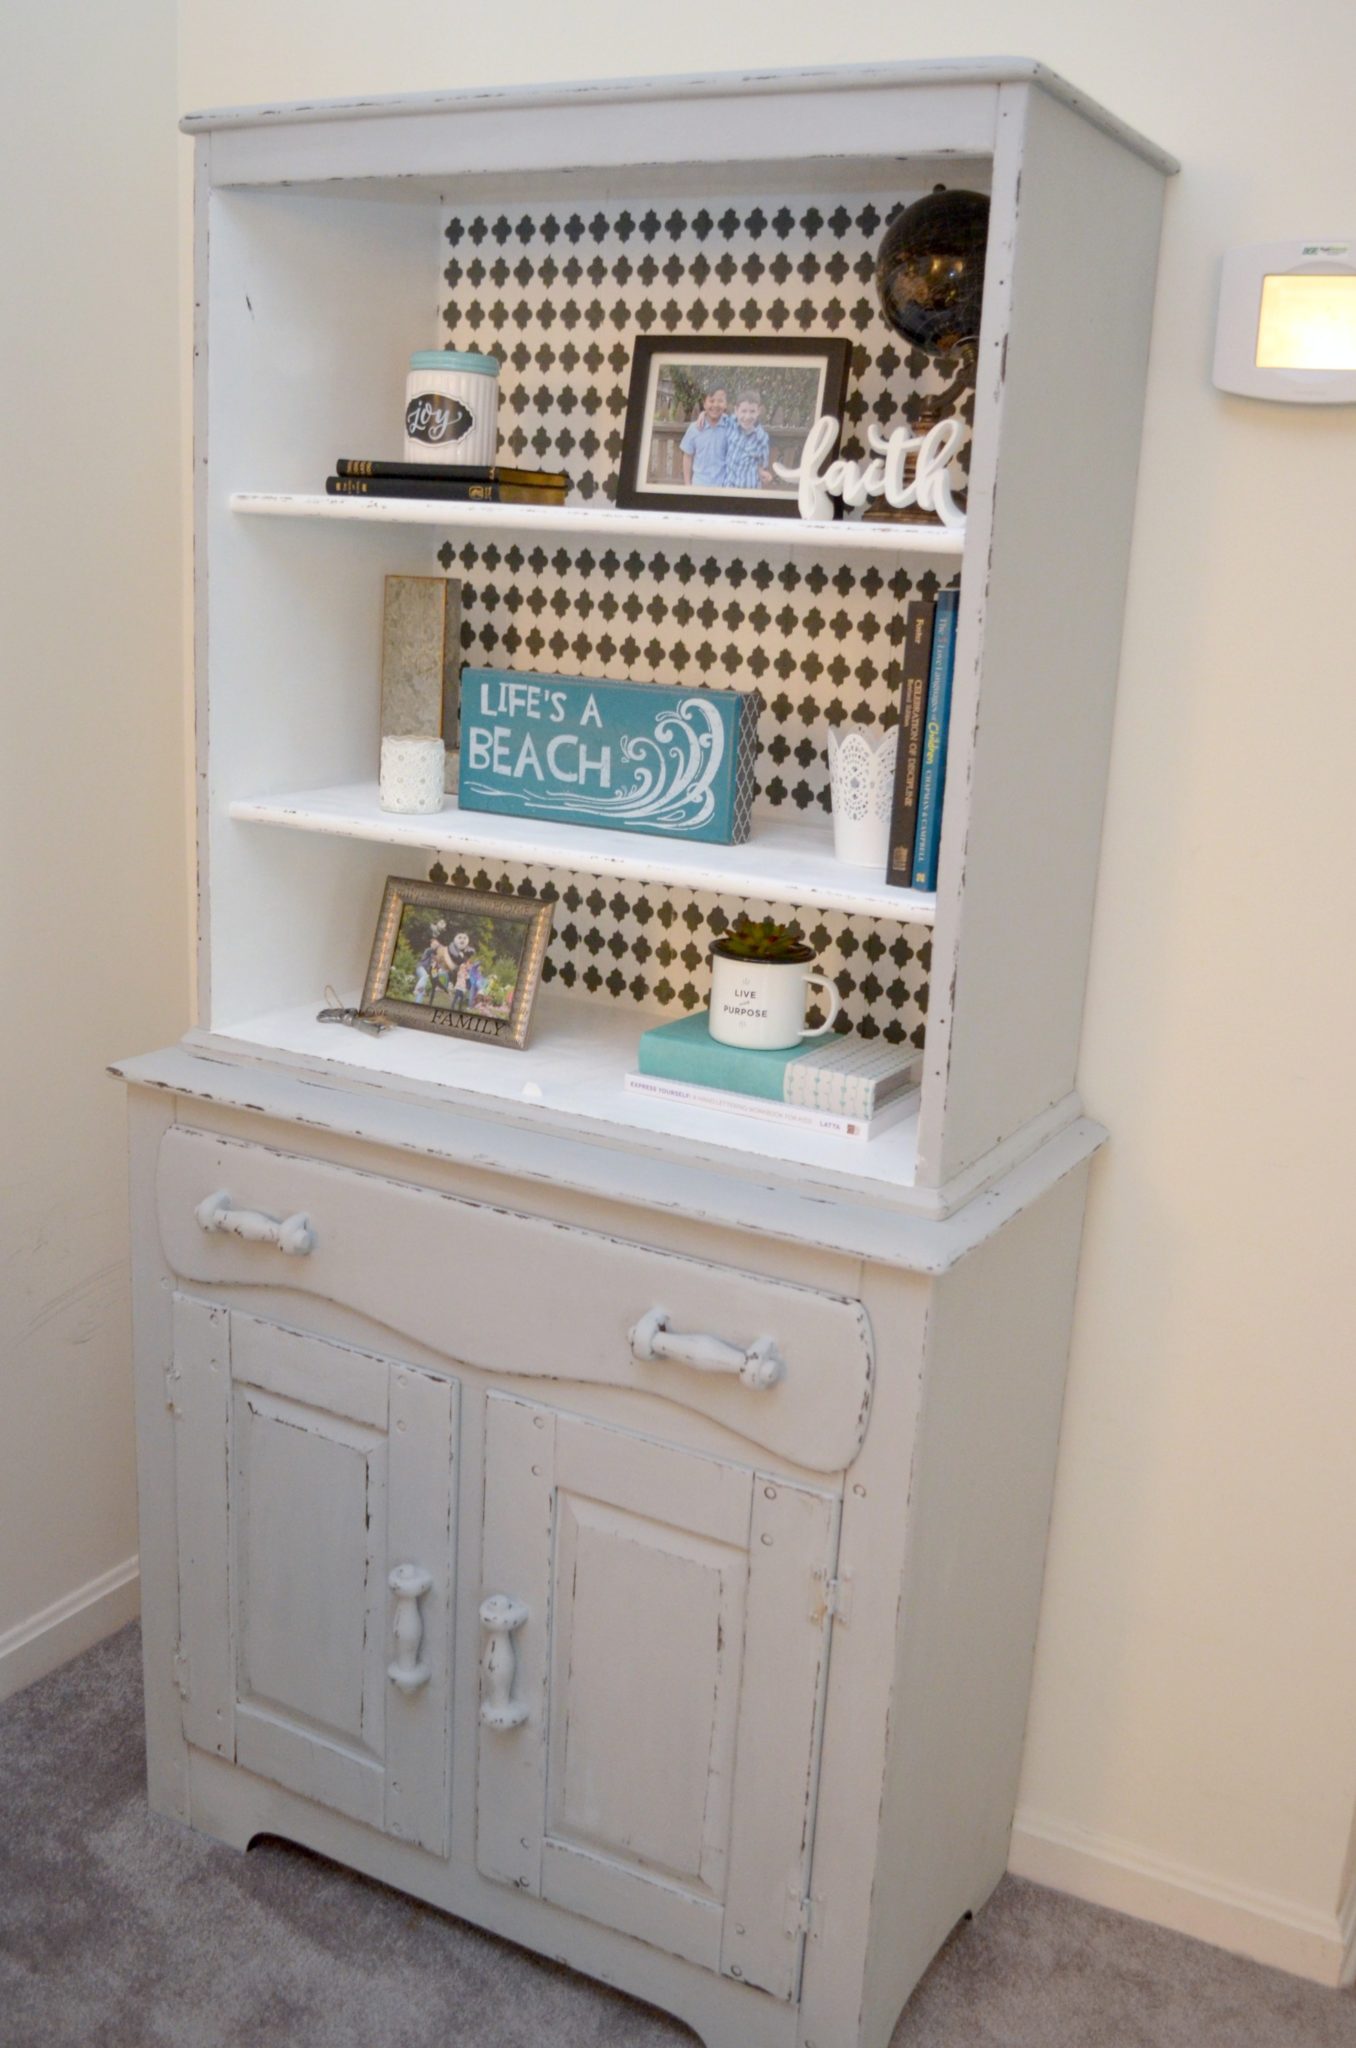
What do you think of the transformation? For lots of tips on all kinds of furniture makeovers, be sure to listen to my latest podcast episode, Furniture Makeovers 101! I’d love to see your best furniture upcycles; you can share them with us in the Amy Latta and Friends Facebook Group so we can all be inspired.