Beachy Outdoor Pillow with Oly*Fun
Friends, I am counting down the days until our beach vacation, but until then I decided I needed a little more beach around the house! I used the newest crafting material on the market, Oly*Fun, since it’s water-resistant to create a beach inspired pillow to add a little summer flair to our deck! Take a look.

Materials:
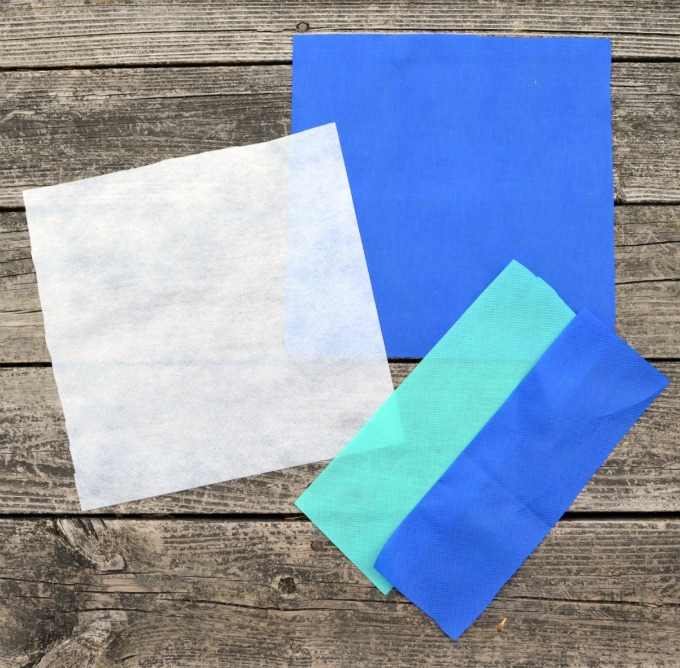
– Oly*Fun {I used Snow White, Blueberry, and Sea Green}
– Fairfiled Poly-fil
– White Thread
– Scissors
– Tape Measure
– Straight Pins and Sewing Needle
– Sewing Machine
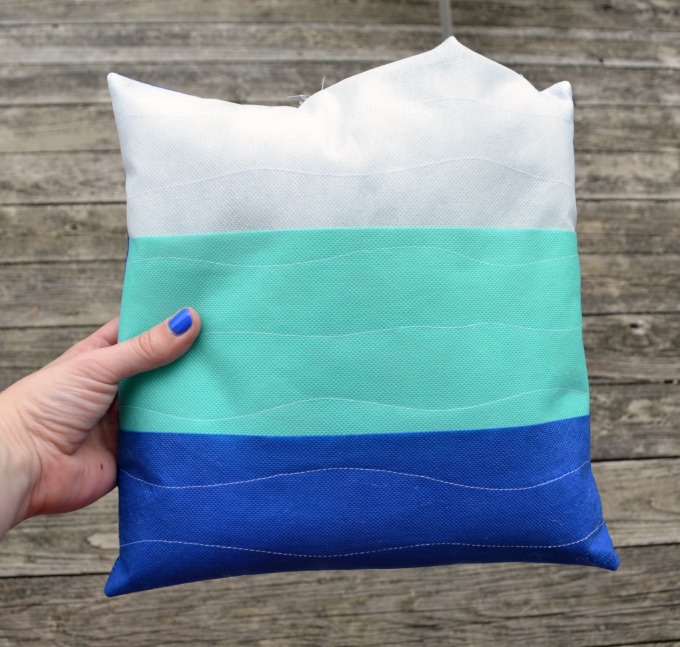
Step 1: Cut your Oly*Fun. I wanted a 12×12″ pillow, so here are the measurements I used. You can feel free to tweak them if you want a larger or smaller pillow.
12×12″ square of Blueberry for the backing
12×12″ square of Snow White for the front
4.25 x 12″ piece of Sea Green
4 x 12″ piece of Blueberry
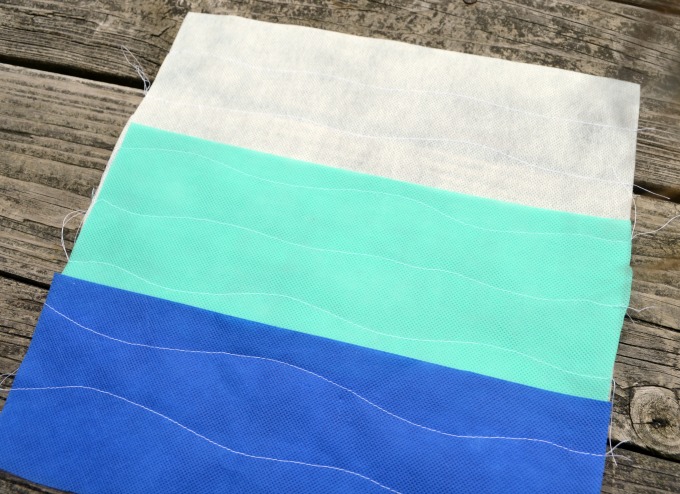
Step 2: Pin your stripes onto the white front piece. I measured 4″ down from the top and pinned the Sea Green, then measured four more inches and pinned the Blueberry. That way I had a 4″ strip of each color. {These are the four pins you’ll see going vertically in the next photo.}
Step 3: Pin your guide lines for sewing. I wanted to create the idea of waves, so I decided to do a little “free-sewing”…aka not sewing in a straight line. But I needed to make sure my lines were somewhat evenly spaced so they didn’t look funny. I measured and placed pins at 1 1/2” intervals across the pillow front to guide me and keep my stitches in the right general area.

Step 4: Machine stitch wavy lines across your pillow front at 1 1/2″ intervals with the help of your guide pins. I tried to not make all of mine look exactly alike, so I alternated curving downward and upward first. The great thing about this is that there is honestly no “right” or “wrong” with the wavy lines! They can be as wavy or as straight as you want. Just gently turn the fabric a little this way, a little that way as you guide it through the machine to create the look.
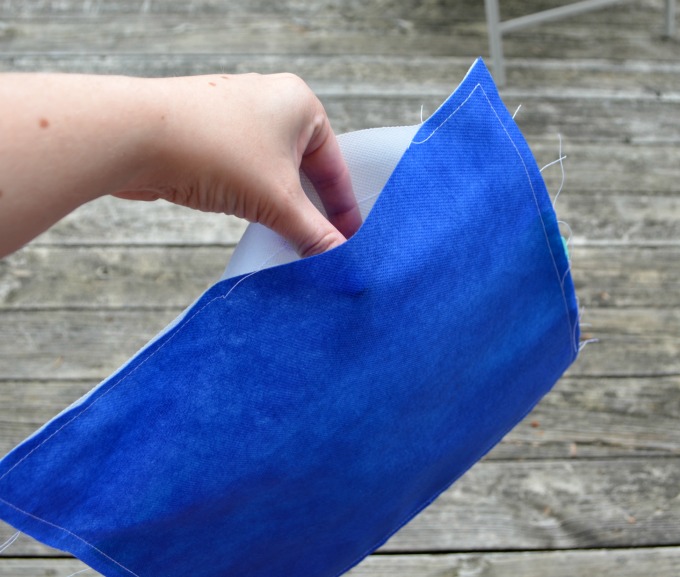
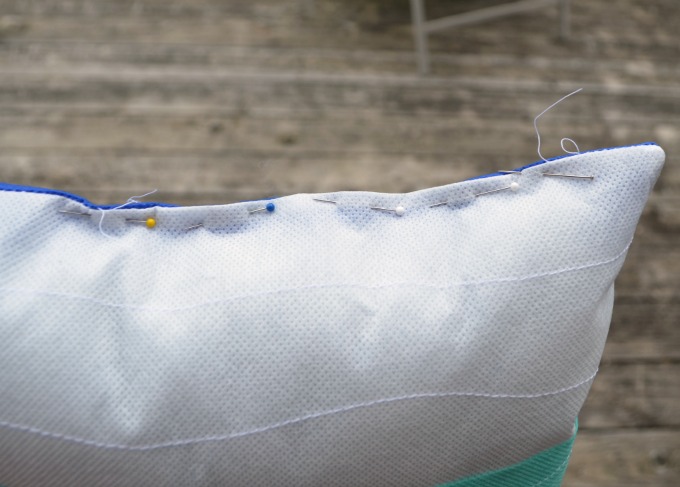
Step 5: Pin your pillow front and back together with right sides facing in and stitch a 1/4″ seam. Be sure to leave an opening for turning. The Oly*Fun doesn’t have a right or wrong side, so the blue piece can go either way, just make sure your front is facing in. I would advise leaving the opening along the bottom of the pillow. Which is what I *thought* I was doing. Oops. Even Artsy Mamas sometimes goof up and put the hole up top. Just keepin’ it real, friends.
Step 6: Turn your pillow right side out. I like to use the rounded wooden end of a thin {clean} paintbrush to help poke the corners out nicely. Some people use a pencil, but I’ve seen a sharpened pencil poke right through fabric. Trust me. No pointy things.
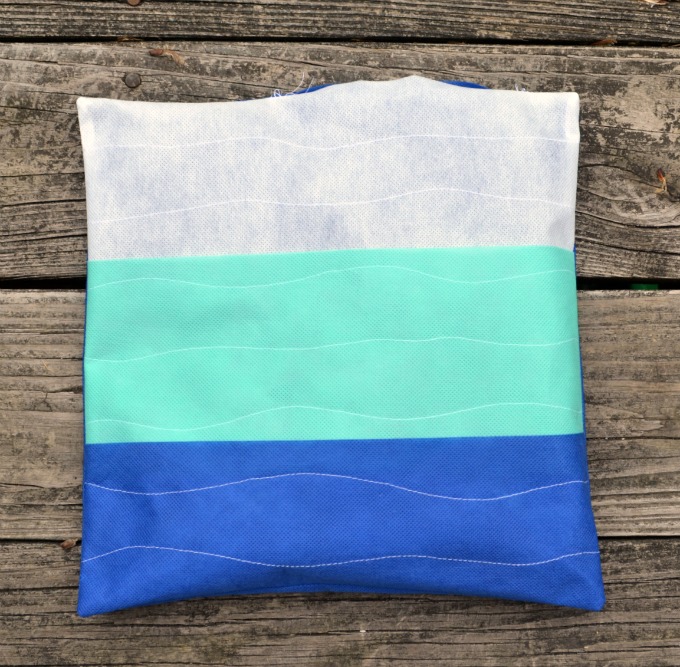
Step 7: Stuff that pillow!
Now, I know what you’re feeling. Fiber fill is fun. It’s like a big giant fluffy cloud you get to play with. You may smile…you may even be thinking, It’s so fluffy…I’m gonna die!!! {If you’re wondering what that’s all about, you need to watch Despicable Me. Now.}
But we need to practice self-control.
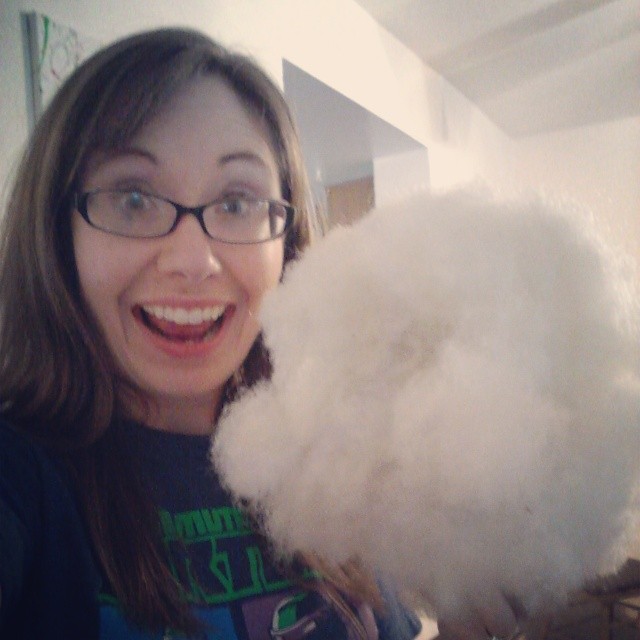
It IS possible to over stuff a pillow. Or stuffed animal. Or anything else you may be using this fun fluffy goodness for. So, we’re going to start with the corners first, using our paintbrush to make sure we get them nicely filled in, then fill in the center. A little goes a long way.
Step 8: Pin your opening shut and hand stitch it. You’ll want to tuck the raw edges under so that it looks like the rest of the seam. If you have no idea how to do an invisible hand stitch, have no fear. I’ve got you covered. Check out my “Hand Sewing an Invisible Hem” post. It’s a little different, but the same idea. You want to catch as little of the fabric as possible with your needle…just enough to hold it, but not enough to be seen. Especially if you put your opening right in the center of the top like a dufus me.
That’s it! Trim your threads, and you’re ready to enjoy your pillow!

Of course you can totally do this same exact thing with regular fabric too, but it won’t be ideal to use outdoors. I chose the Oly*Fun because it’s water-resistant, so the raindrops will just roll off! It’s also got no right or wrong side, never frays, can be sewn or glued, and has all the best qualities of both fabric and paper for crafting. {And no one is paying me to say that today!}

So, what do you think? Are you as in love with all things beach-inspired as I am? Why not whip up a few of these for your own outdoor {or indoor} furniture?


For more ideas on using Oly*Fun, you might like this post:

Love it…Have to look in the stores for some…
So pretty!
Very cute! I love the wavy stitches. Have you ever used disappearing ink fabric pens? They might be a little easier than pins for marking your lines. 🙂
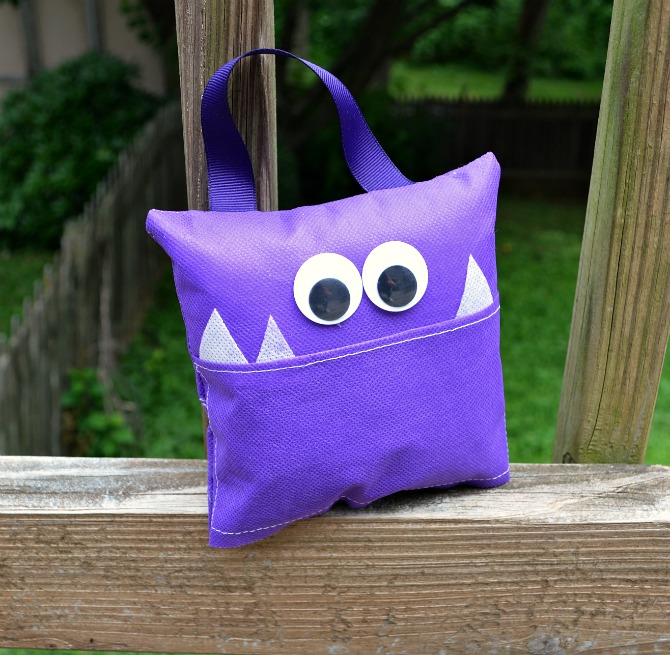
Love it!! And the lost tooth monster. He’s so cute. I was hoping to get the chance to be picked for a project for this but I am so happy that I follow you and get to see you work your magic.
I love the waves! Simple but it totally says, “beach!”
I like the wave effect you created with the thread…very cute!!
So cute!! Love the waves and the colors!!!
Fun! Great effects.
What a great idea for a summery pillow!