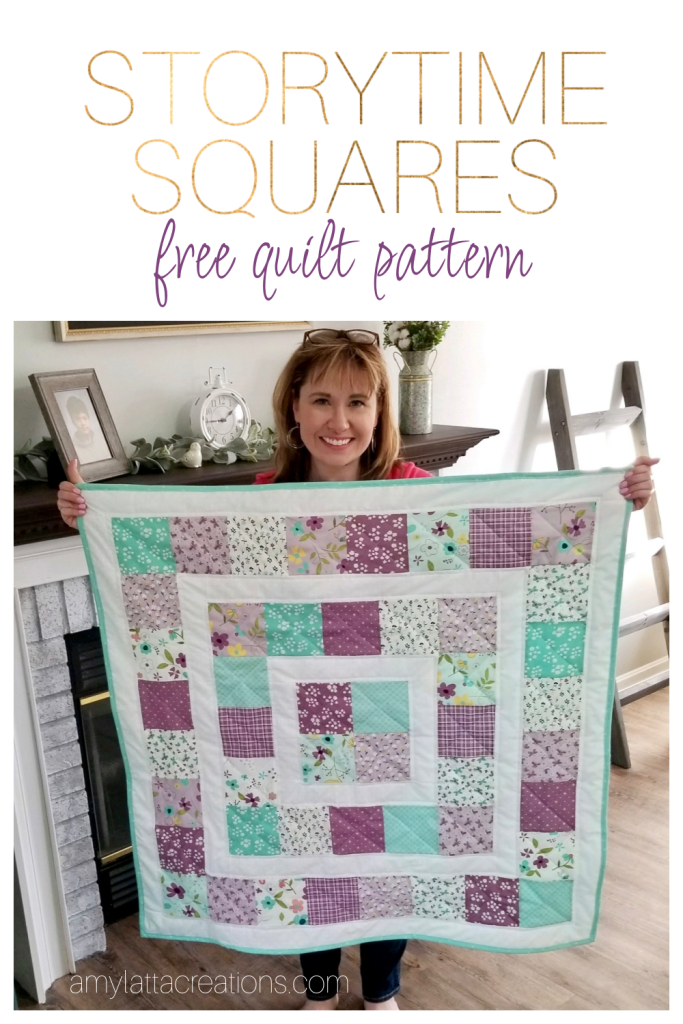
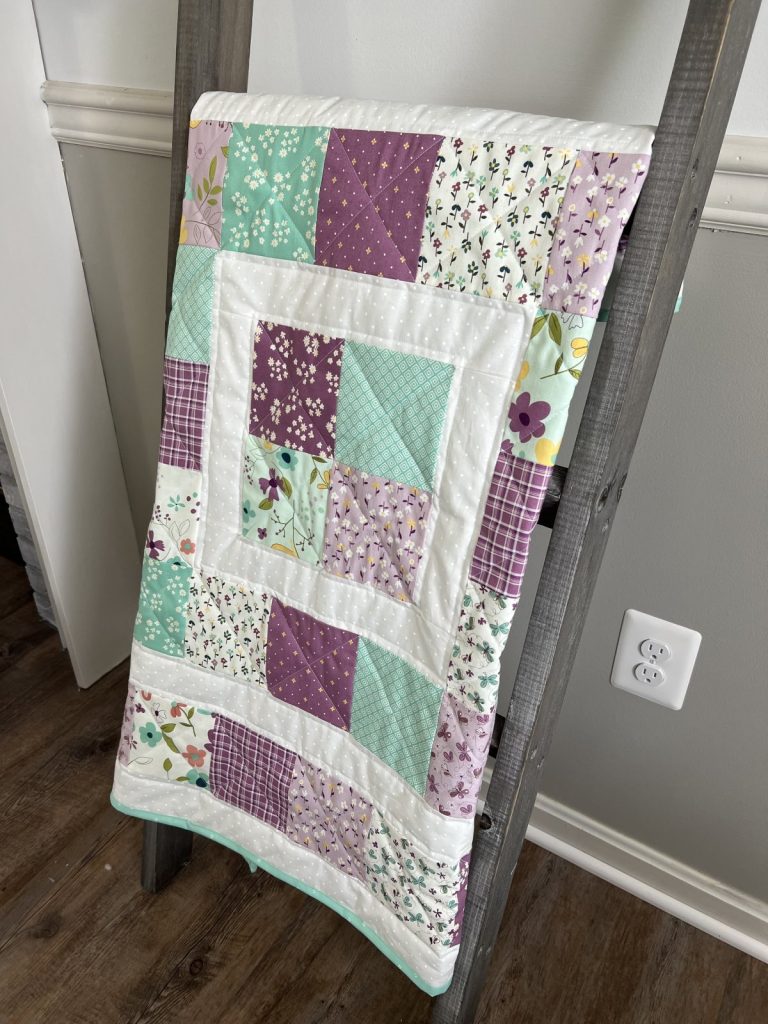
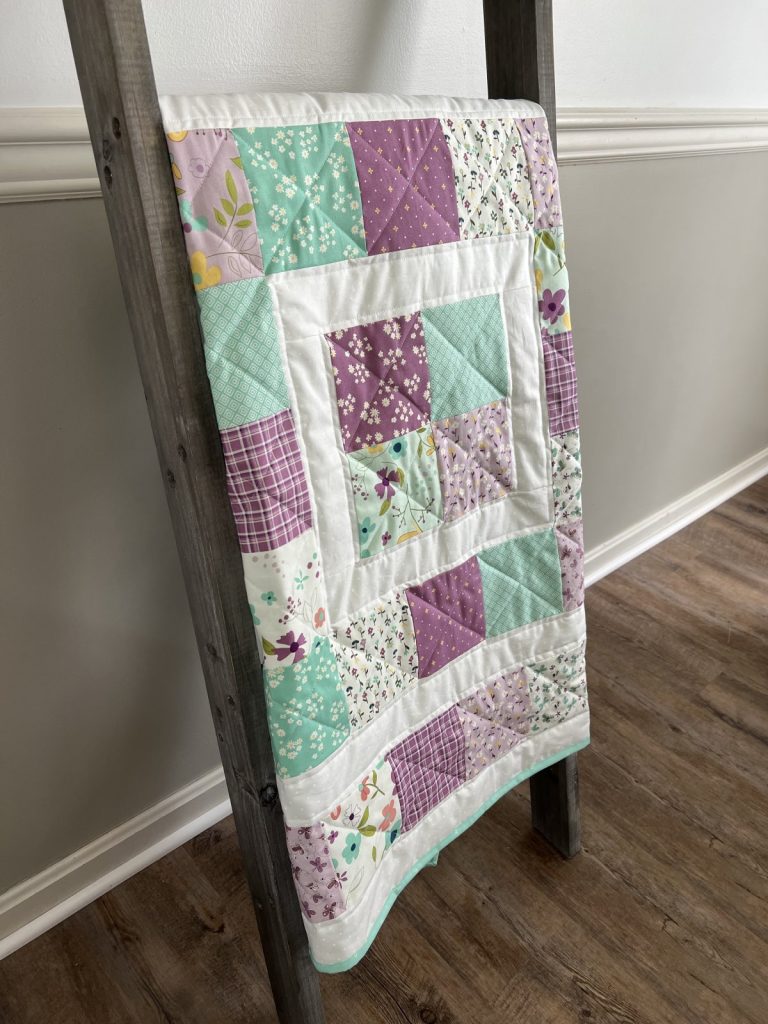
Storytime Squares Spring Quilt
Spring is here, which means it’s the perfect time to add some cheerful seasonal touches to your home decor. Now that I’ve discovered quilting, I like to have a handmade quilt on display for every season and holiday. For my springtime quilt, I used a pattern that’s all over the internet called Storytime Squares, made with the Hello Spring fabric collection from Riley Blake. It’s quick and easy to piece, and you can make it with precut fabrics to really speed up the process (I used two charm packs of precut 5” squares from Missouri Star Quilt Company). Here’s how you can make your own version!
How To Make A Spring Quilt
Supplies:
48 5” squares (2 charm packs)
1 yard white fabric
1 1/4 yards backing fabric
1 1/4 yards batting
1/2 yard fabric for binding
(Check out Missouri Star Quilt Co for all your fabric needs! Save 15% on your order with the code AmyLatta15 at checkout!)
Cutting:
Cut your white fabric into the following size strips.
(2) 2.75” x 9.5” strips
(2) 2.75” x 14” strips
(2) 2.75” x 23.5” strips
(2) 2.75” x 28” strips
(2) 2.75” x 37” strips
(2) 2.75” x 41” strips
Cut your binding fabric into the following size strips.
(5) 2.5” x 43” strips
Cut your backing and batting to approximately 43” square.
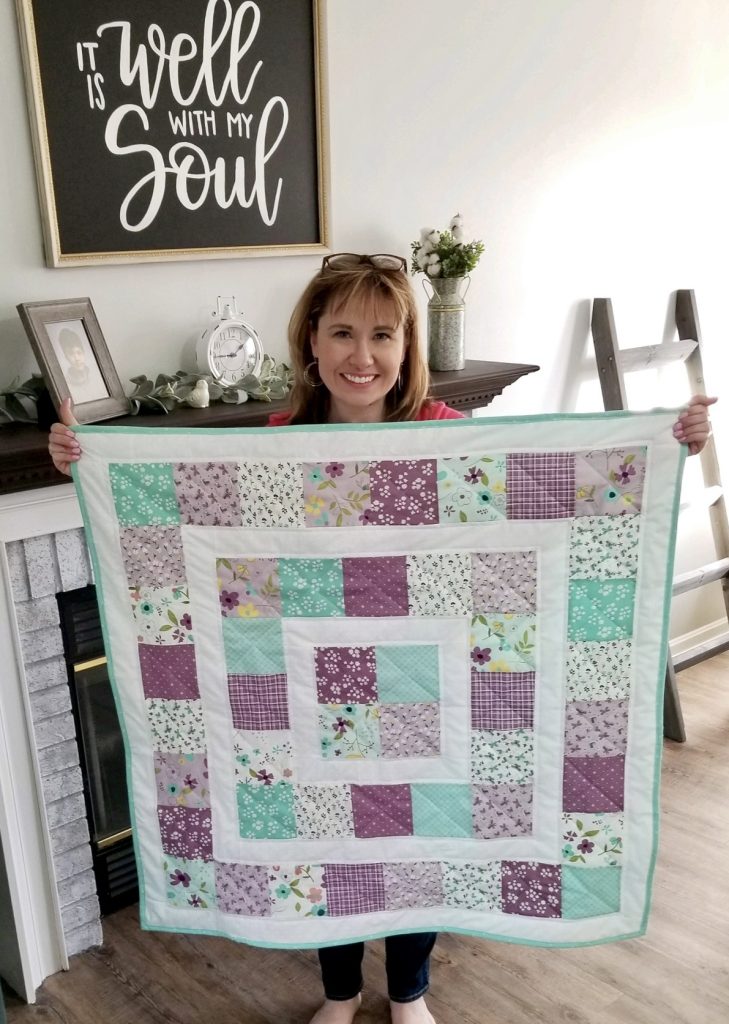
Finished quilt size is approximately 41” square. All seams are 1/4.”
Instructions
Step 1: Lay out your pattern.
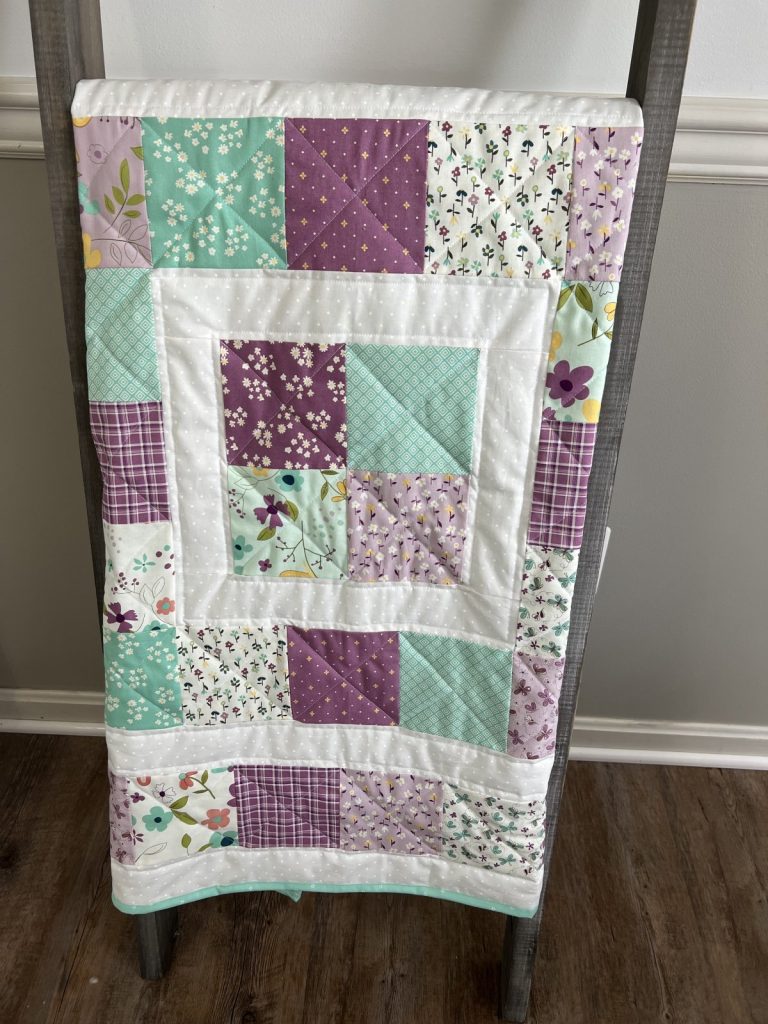
You’ll have four patterned squares together in the center with a white border around them. Then, you’ll have 16 patterned squares around that, another white border, 28 patterned squares, and a final white border.

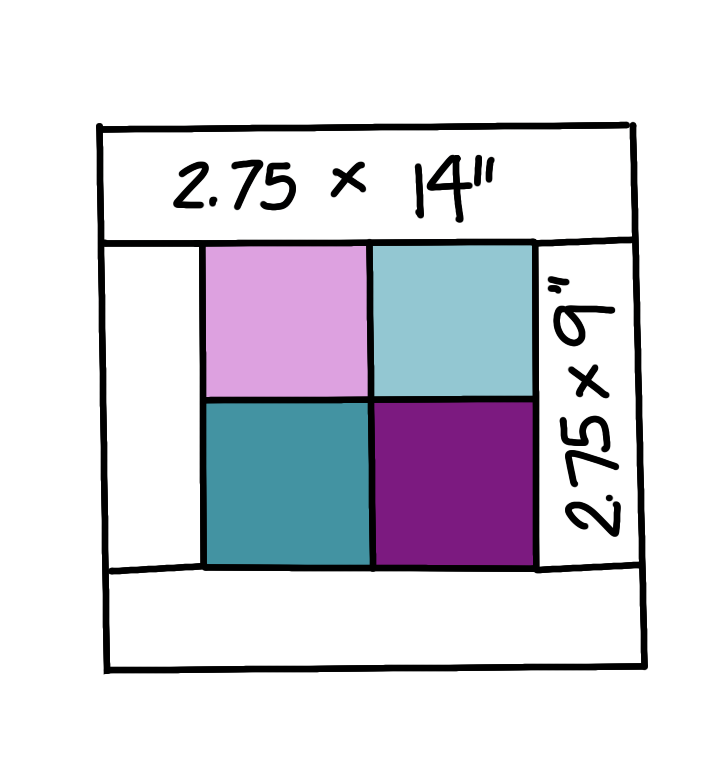
Step 2: Start by sewing the center four squares together to make a block.
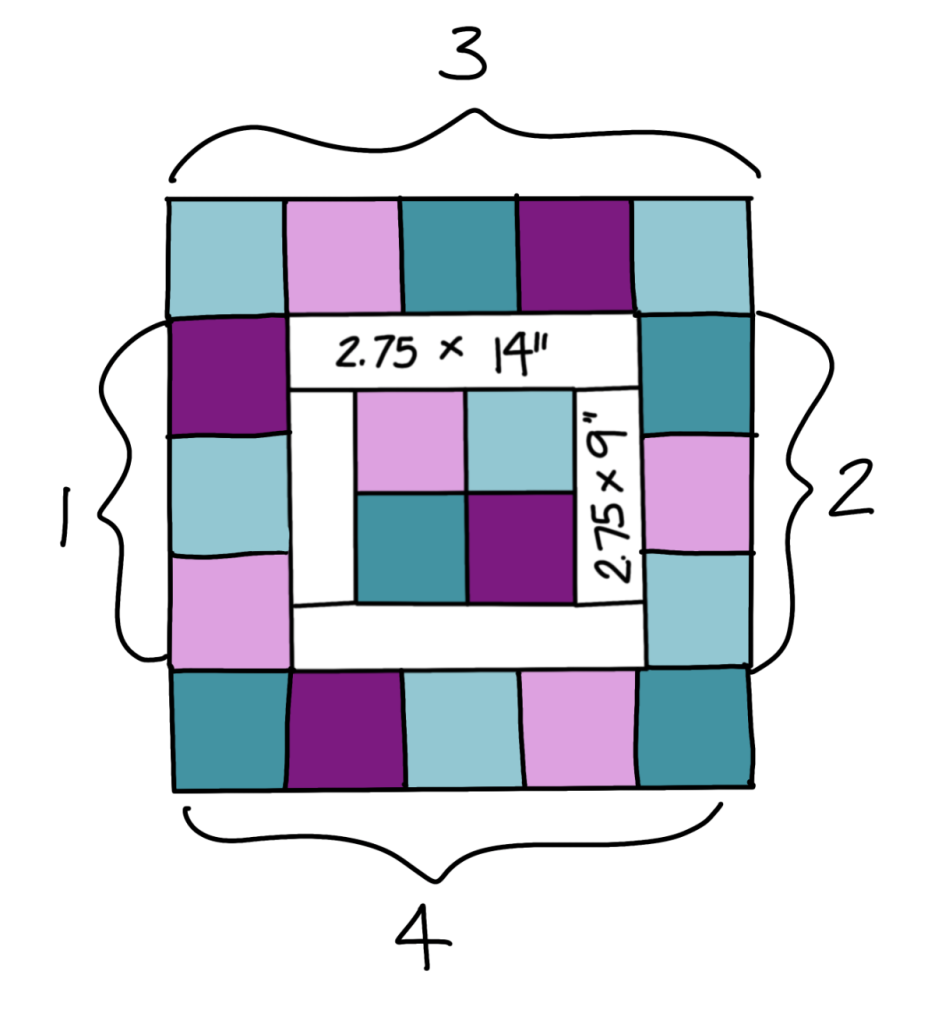
Step 3: Add sashing.
First, sew the 2.75” x 9” strips to the left and right sides of your block (right sides together). Open them up and press with an iron, then sew the 2.75” x 14” strips to the top and bottom of the block. This will give your colored block a white border.
Step 4: Sew the patterned blocks together to form two horizontal strips of five, and two vertical strips of 3 blocks each.
Step 5: Sew those strips to the white borders (right sides together).
Start by sewing the vertical strips to the left and right sides, then sew the horizontal strips to the top and bottom.
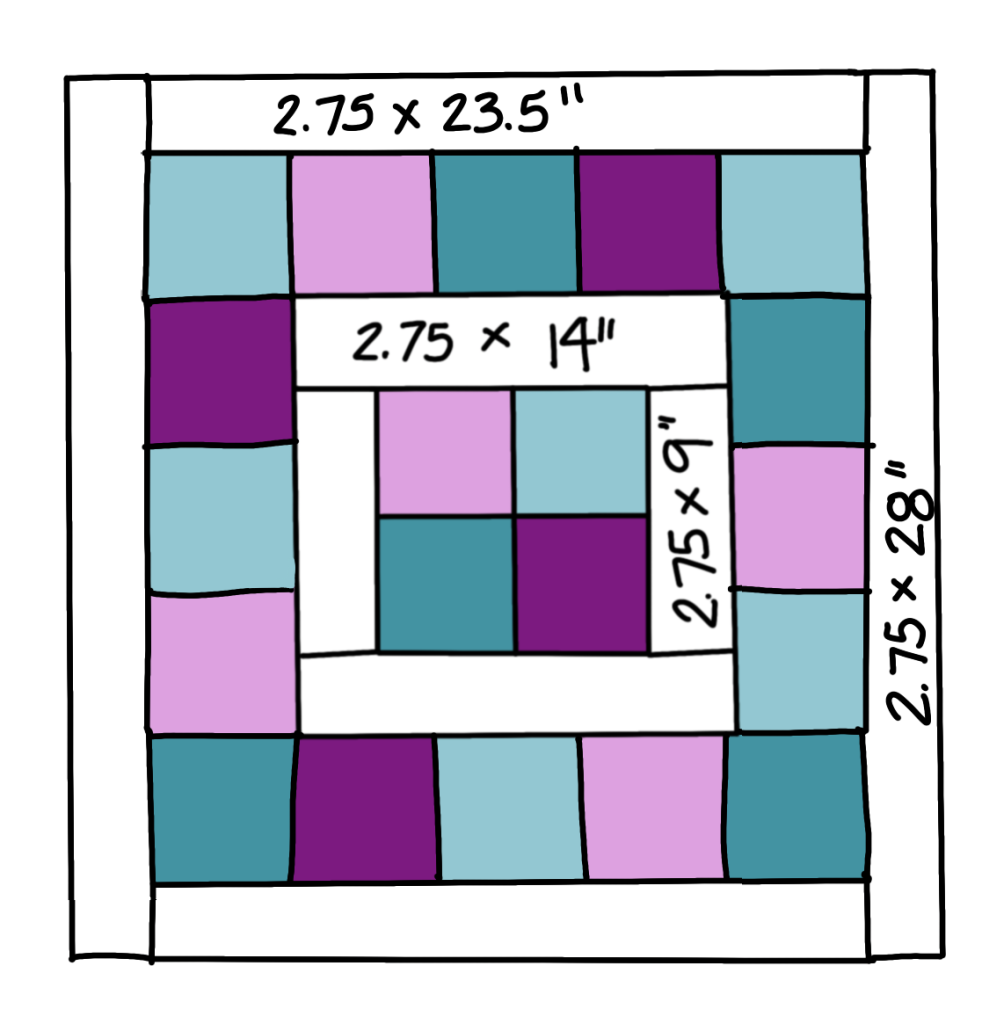
Step 6: Add sashing.
Sew the two 2.75” x 23.5” strips and the two 2.75” x 28” white strips to the block, using the same technique as before. This time, I did the top and bottom first with the shorter strips, then the sides with the longer strips.
Step 7: Sew the remaining patterned squares into two horizontal strips of 8 and two vertical strips of 6.
Step 8: Sew the strips to the square, short strips on the sides first, then long strips on the top and bottom.
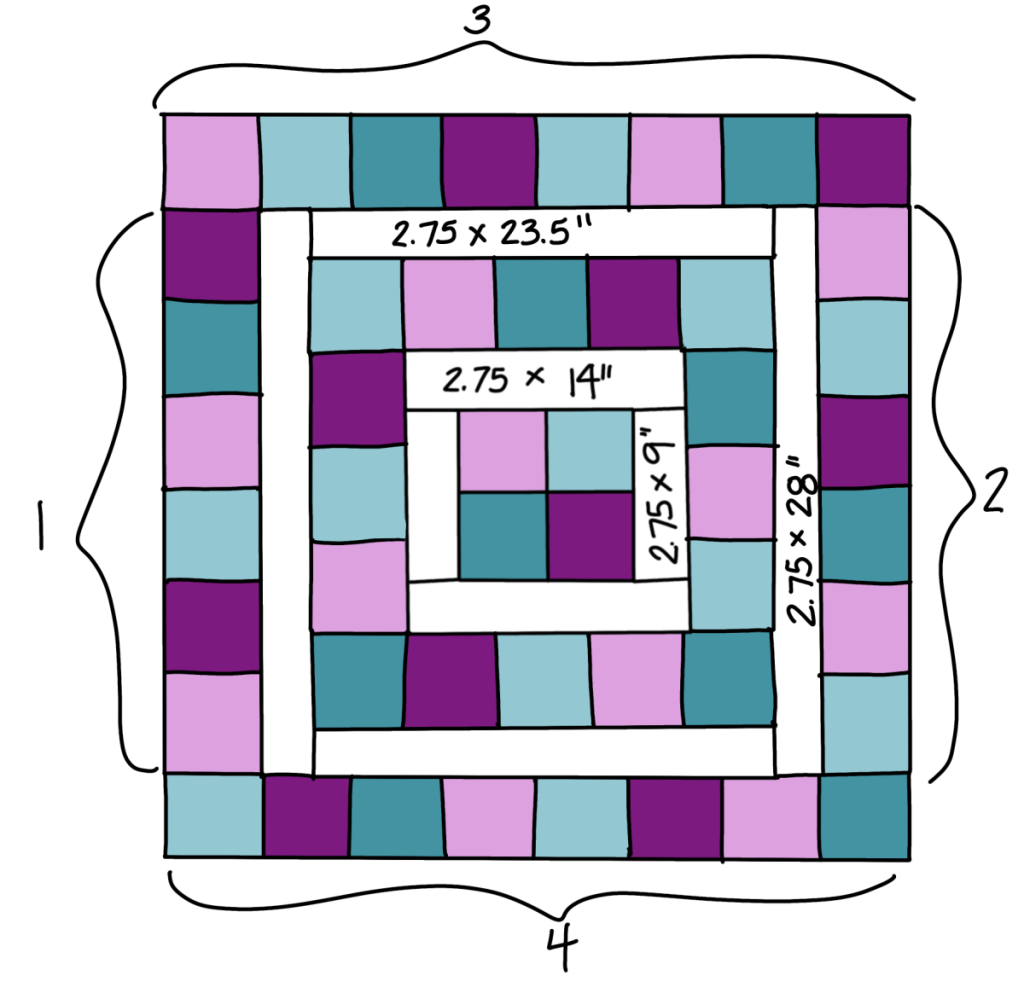
Step 9: Add sashing.
Repeat the process to add the white borders using the final four strips; two short ones on the sides, then two long ones on the top and bottom.
Step 10: Add backing and batting, then quilt as desired.
Make a “quilt sandwich,” layering your backing (right side down), batting, and quilt top (right side up) and pinning the layers together. Quilt in any way you like. I made “x” patterns through each of the patterned squares and did 1/4” seams outlining each side of the white borders. A good tip is to start quilting in the center and work your way outward.
Step 11: Bind your quilt.
If you are new to quilting, check out this video for full details on how to bind a quilt.
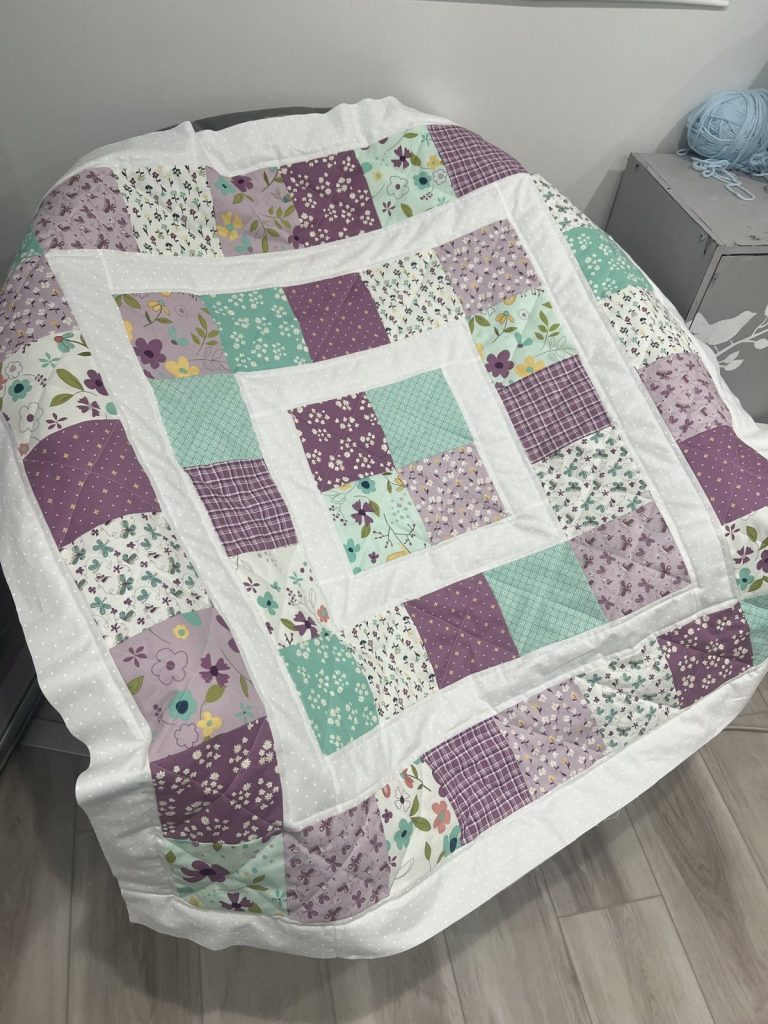
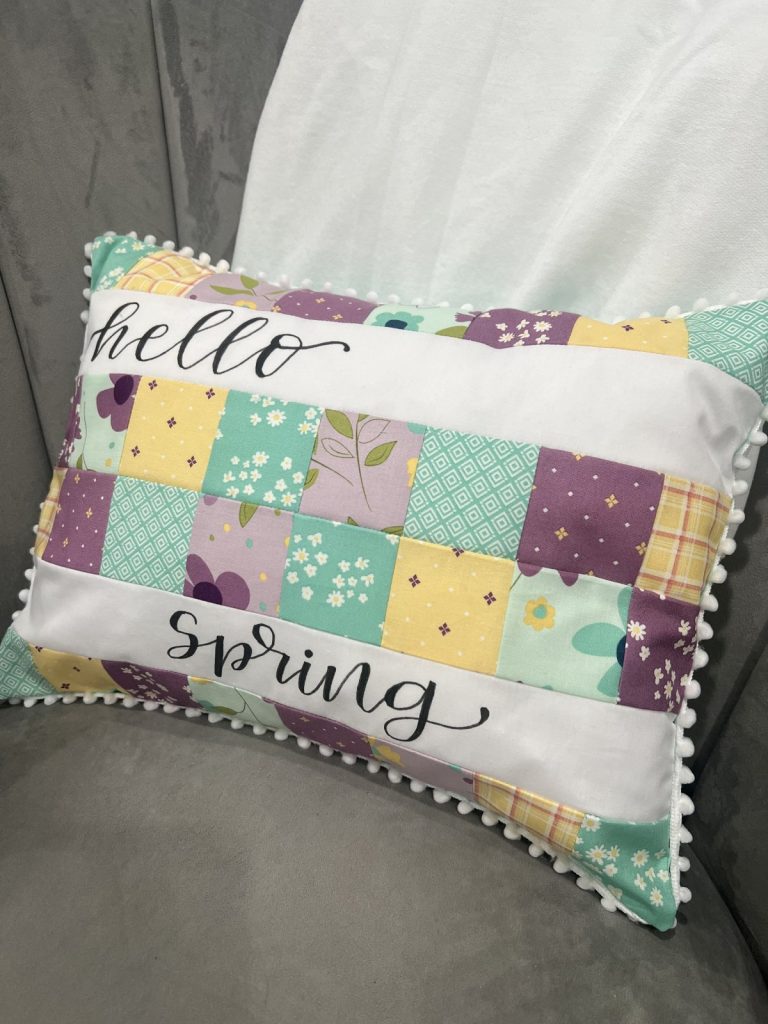
Now you have a cheerful lap-sized Storytime Squares Spring Quilt that’s sure to bring a touch of the season into your home! I used the remainder of my charm packs to create a matching patchwork pillow.
More Quilting Posts
What are your favorite kinds of home decor to create for spring? Make sure you’re part of the Amy Latta & Friends Facebook Group so you can share your project photos and we can all be inspired! See you there.