Hand Lettered Wall Art & Free Printable
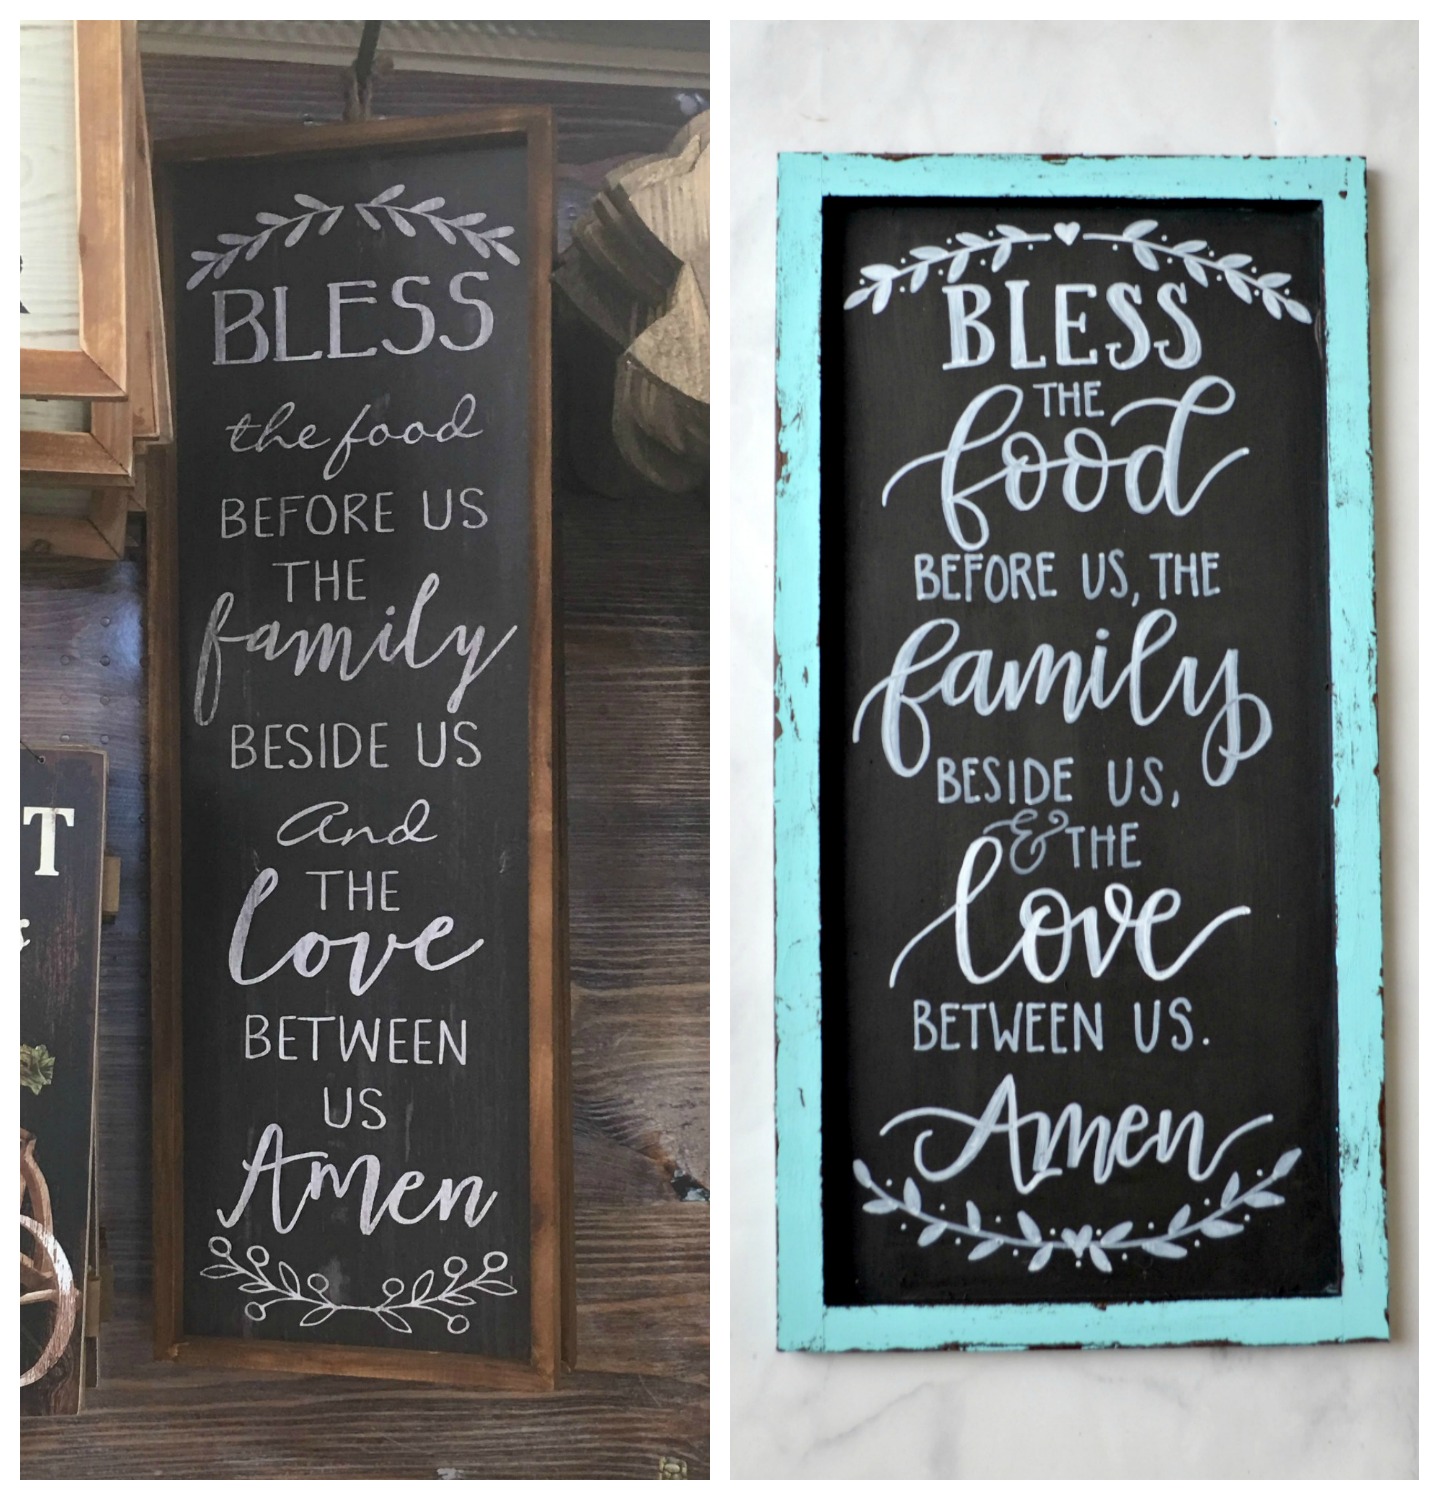
Friends, can you believe fall is just around the corner? Last week, I was in my local Michaels store and there was so much gorgeous fall decor on display. My favorite piece was the sign pictured below, but there were a few things about it that just didn’t feel quite right.
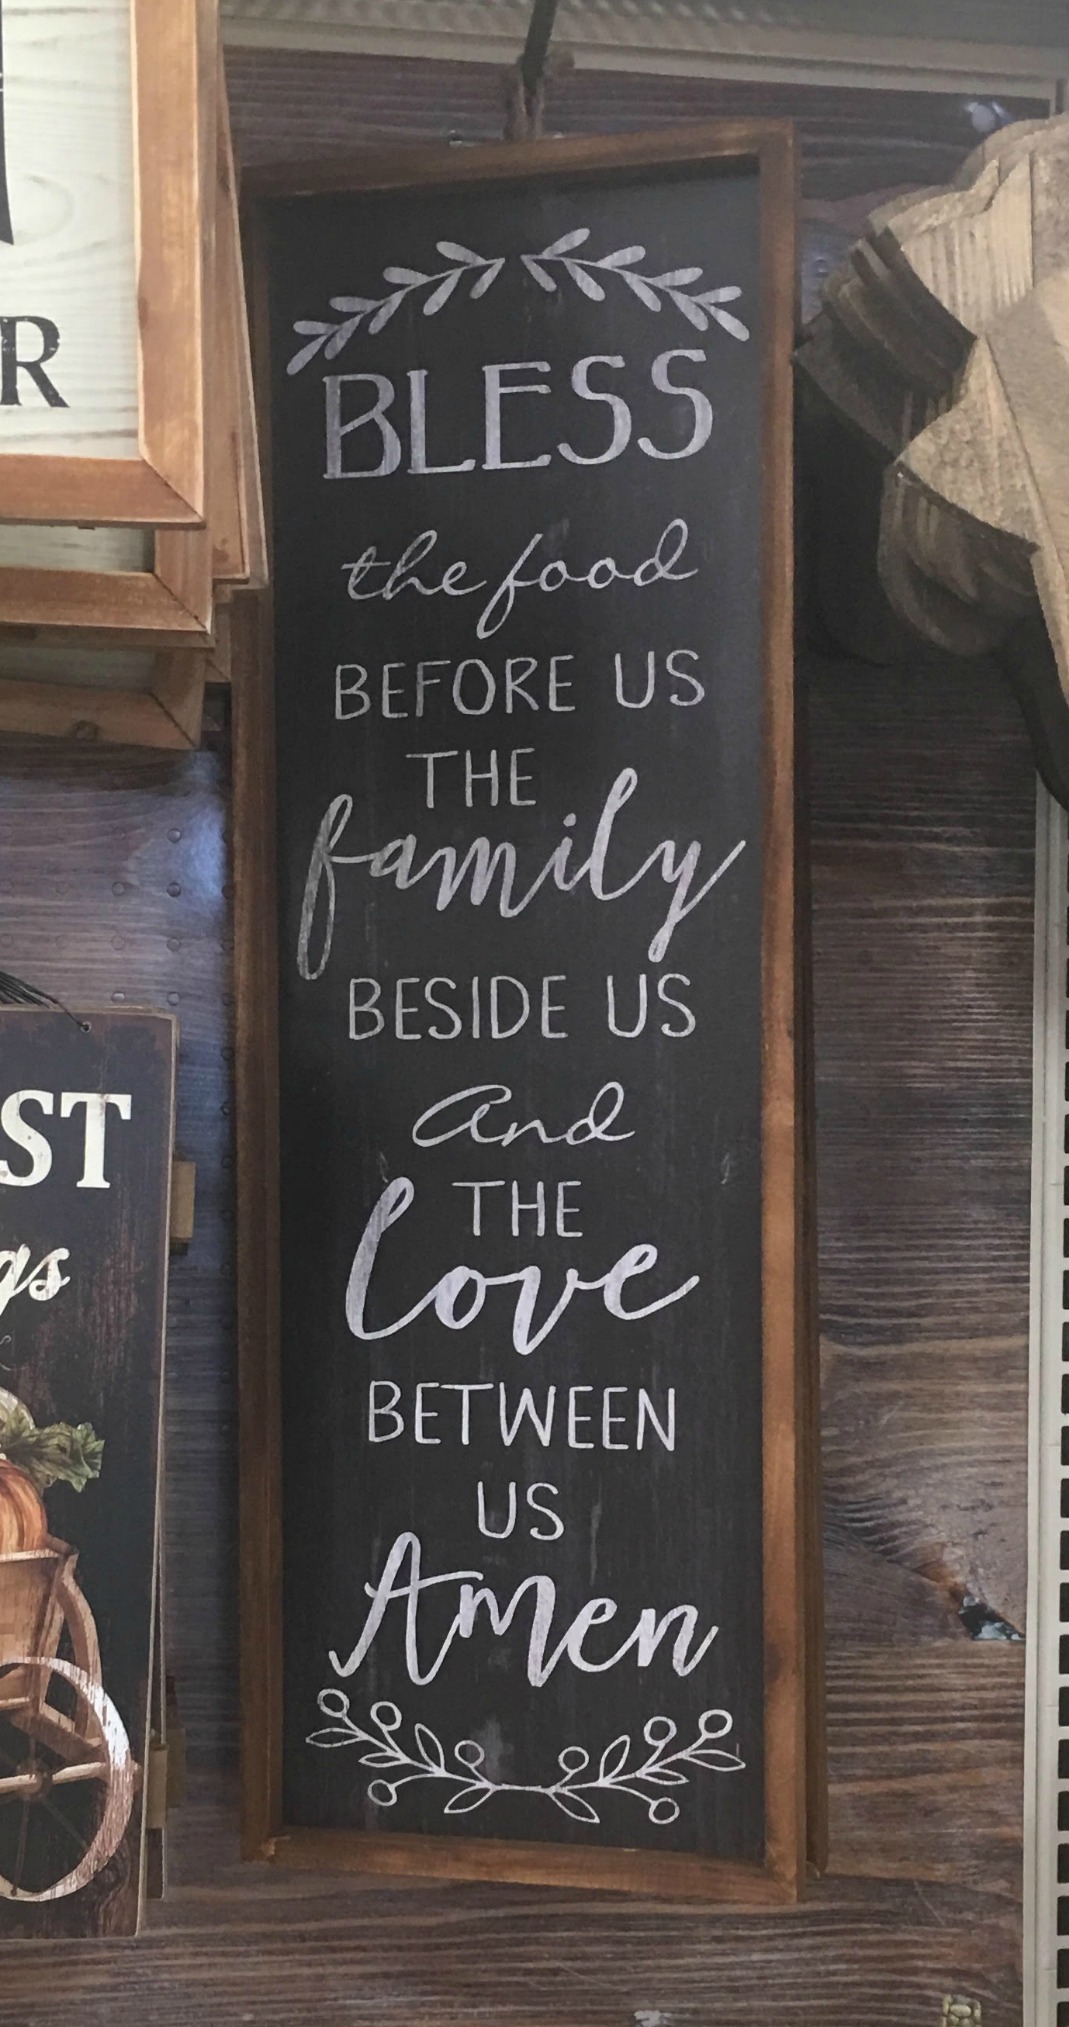
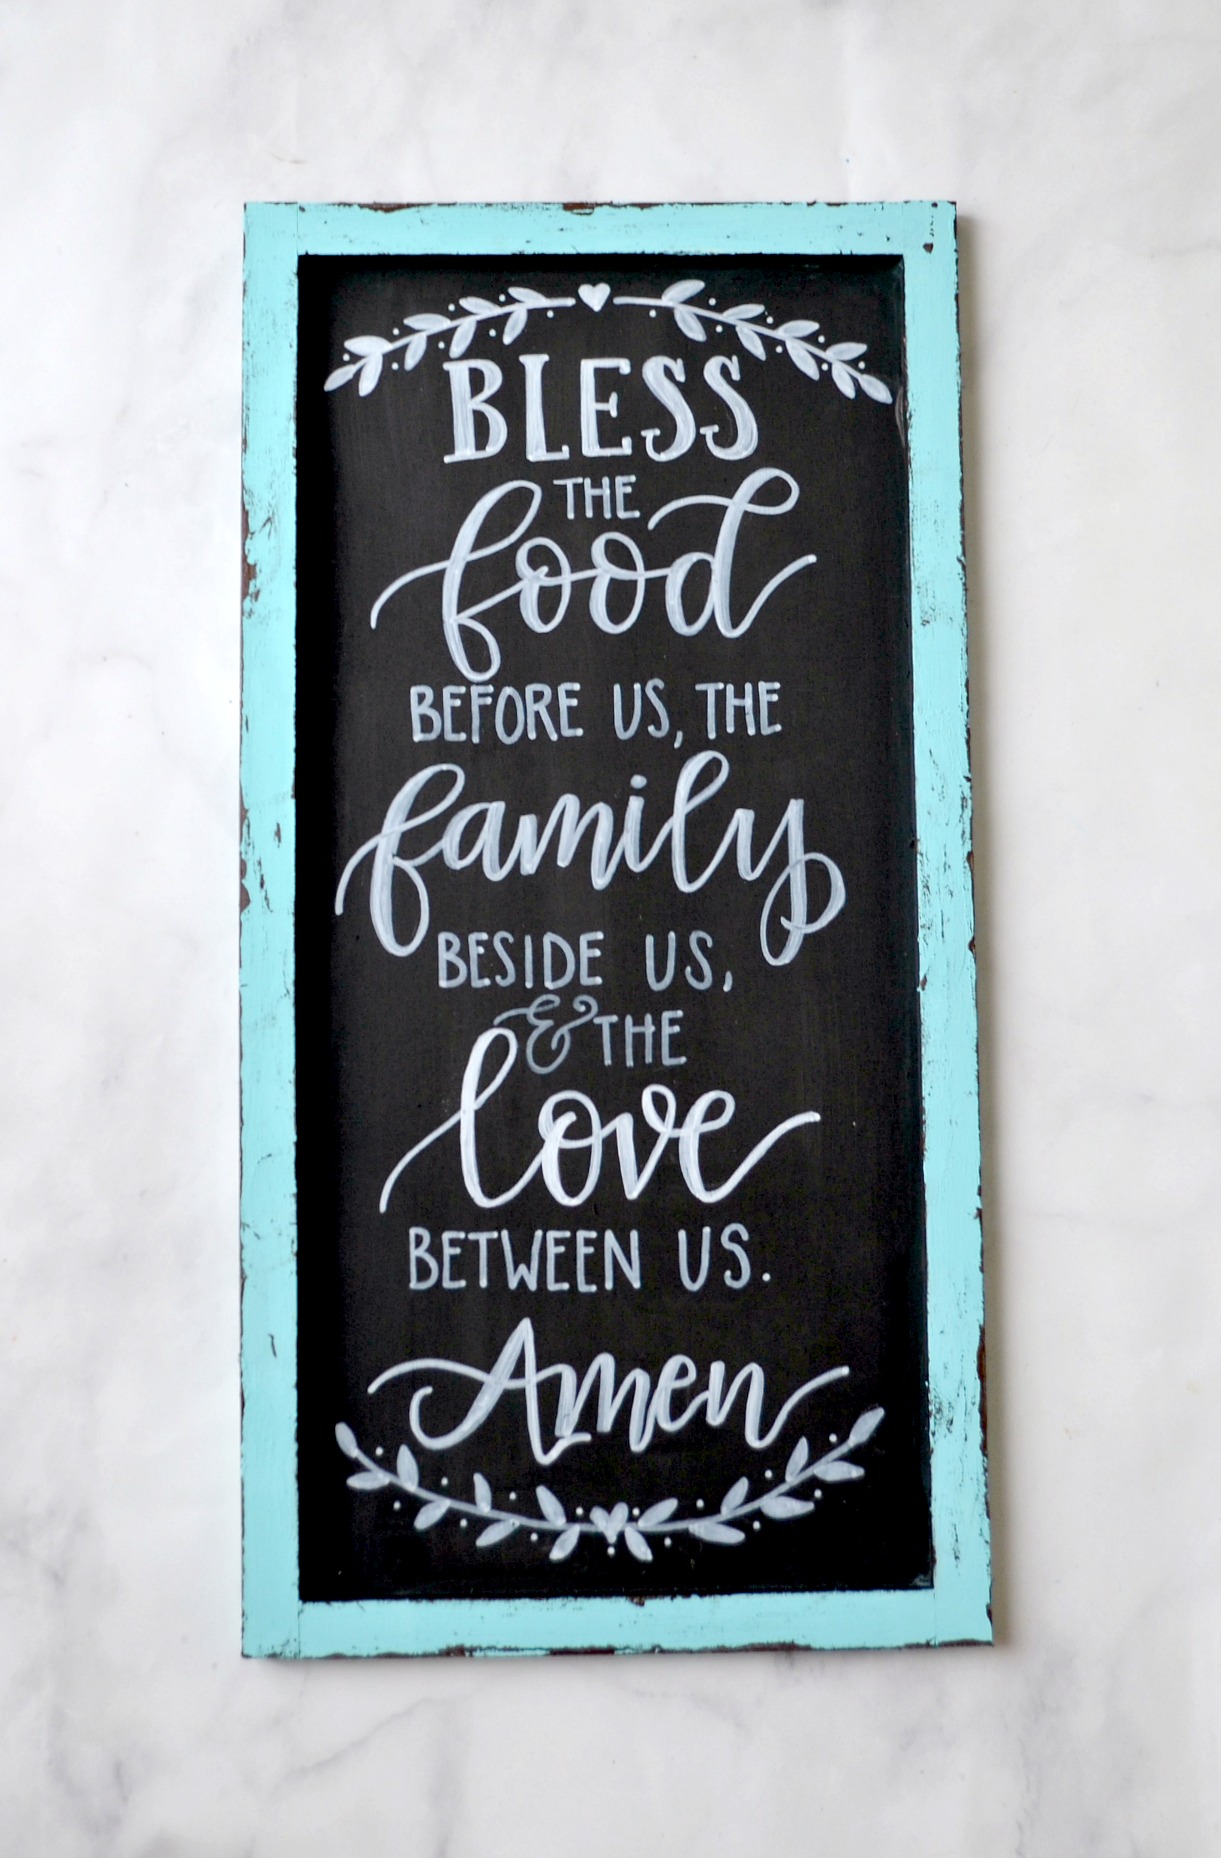
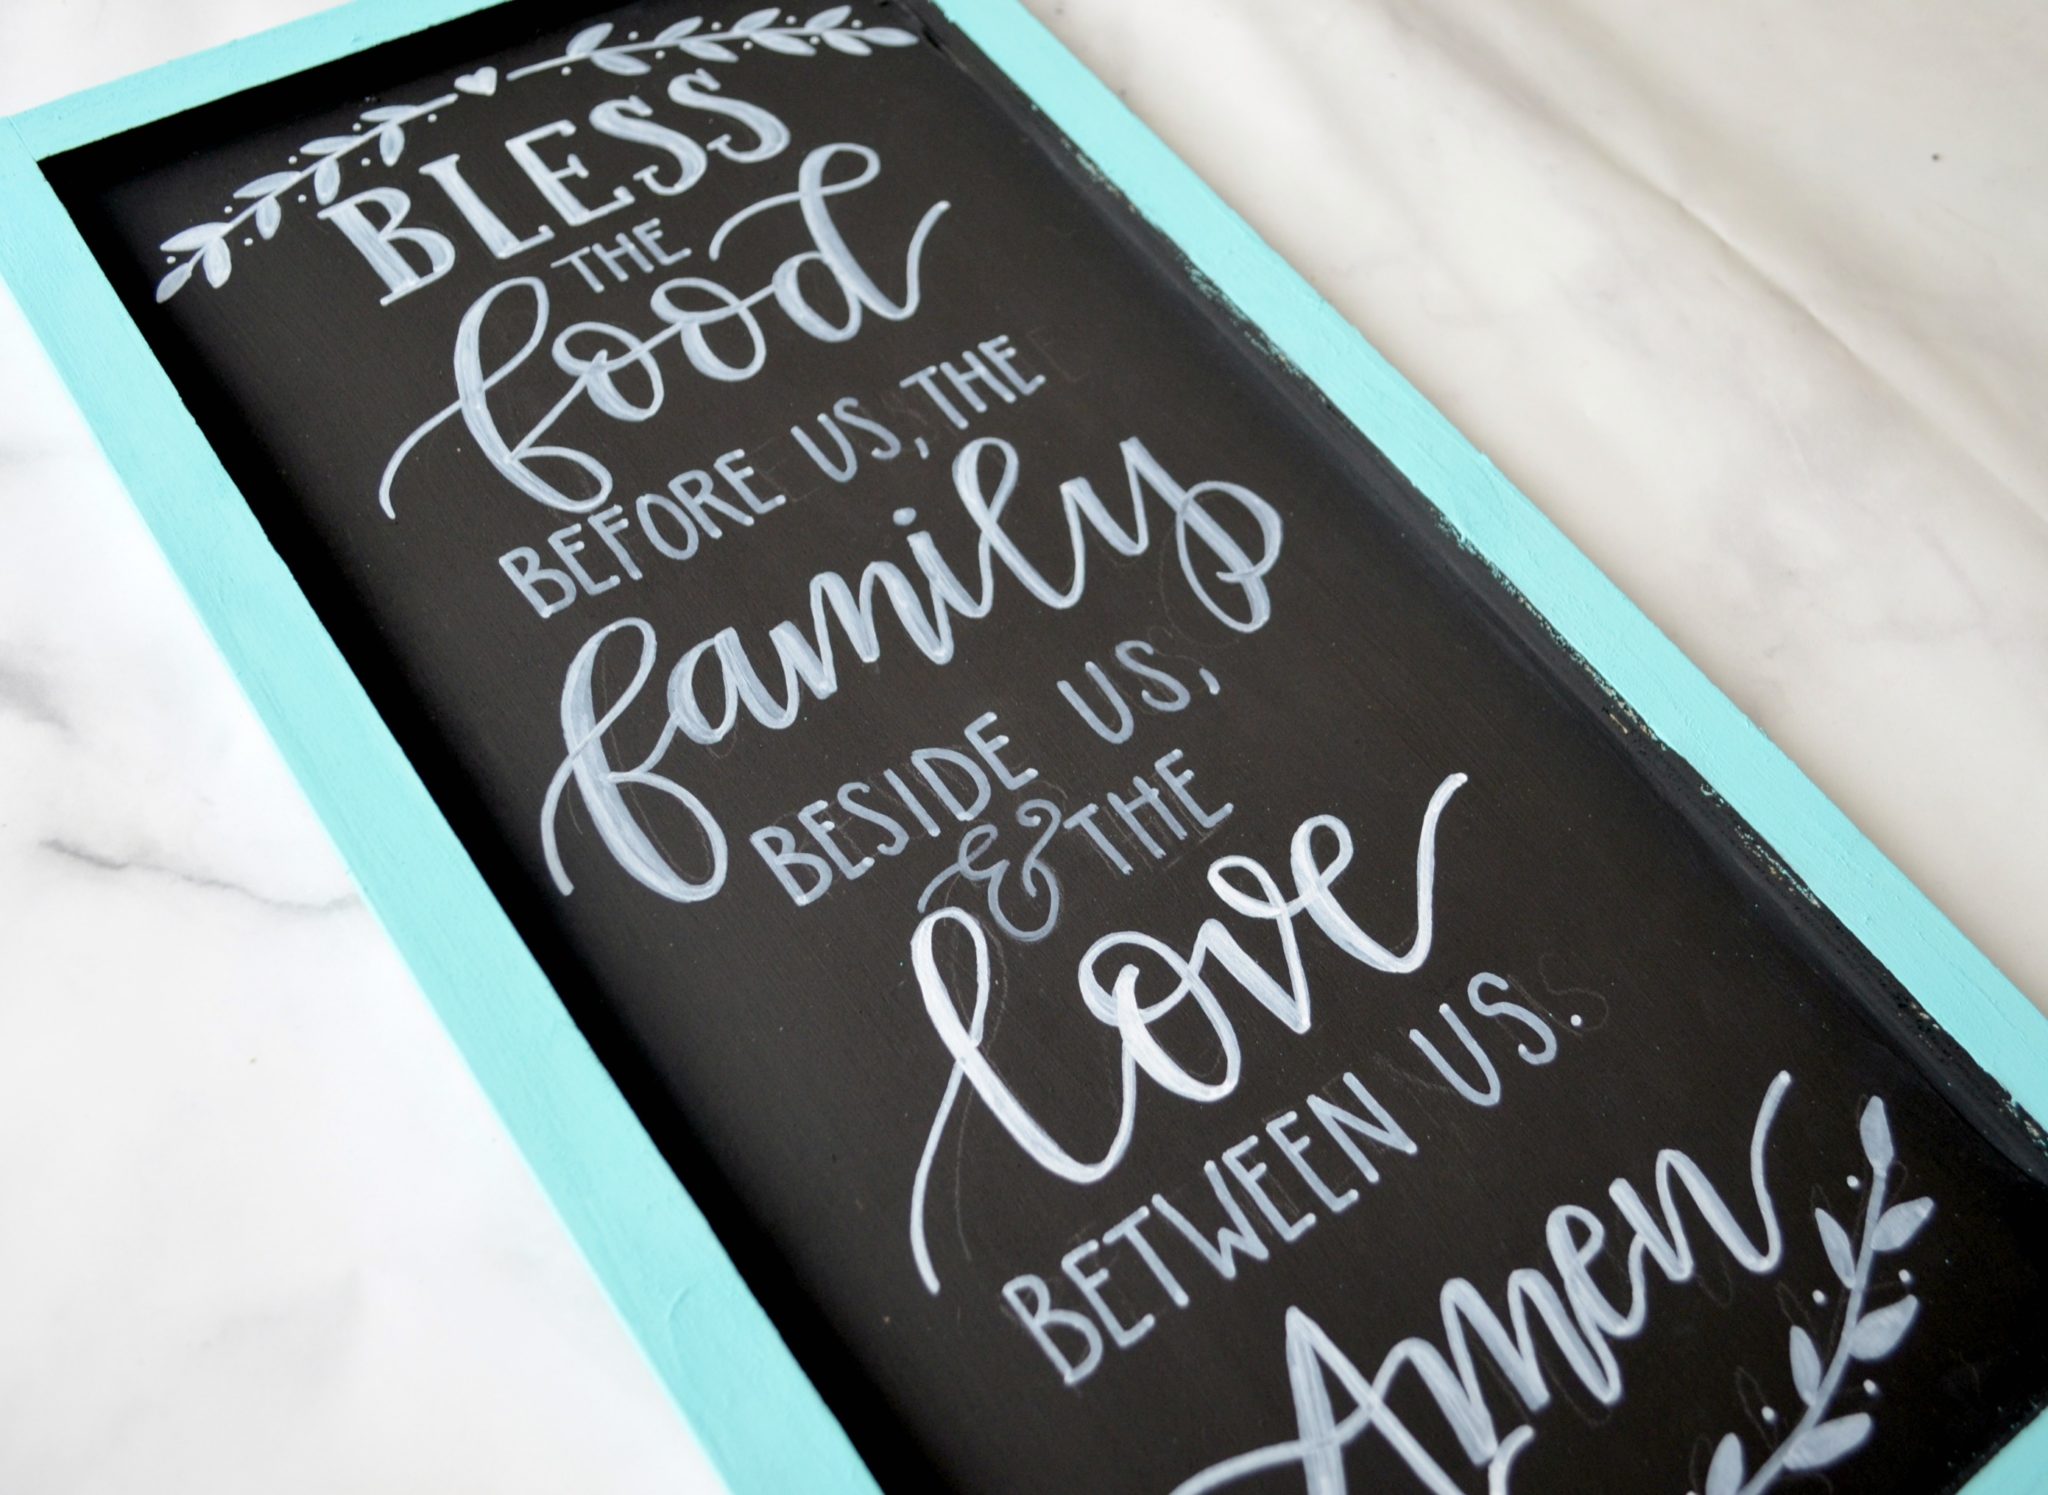
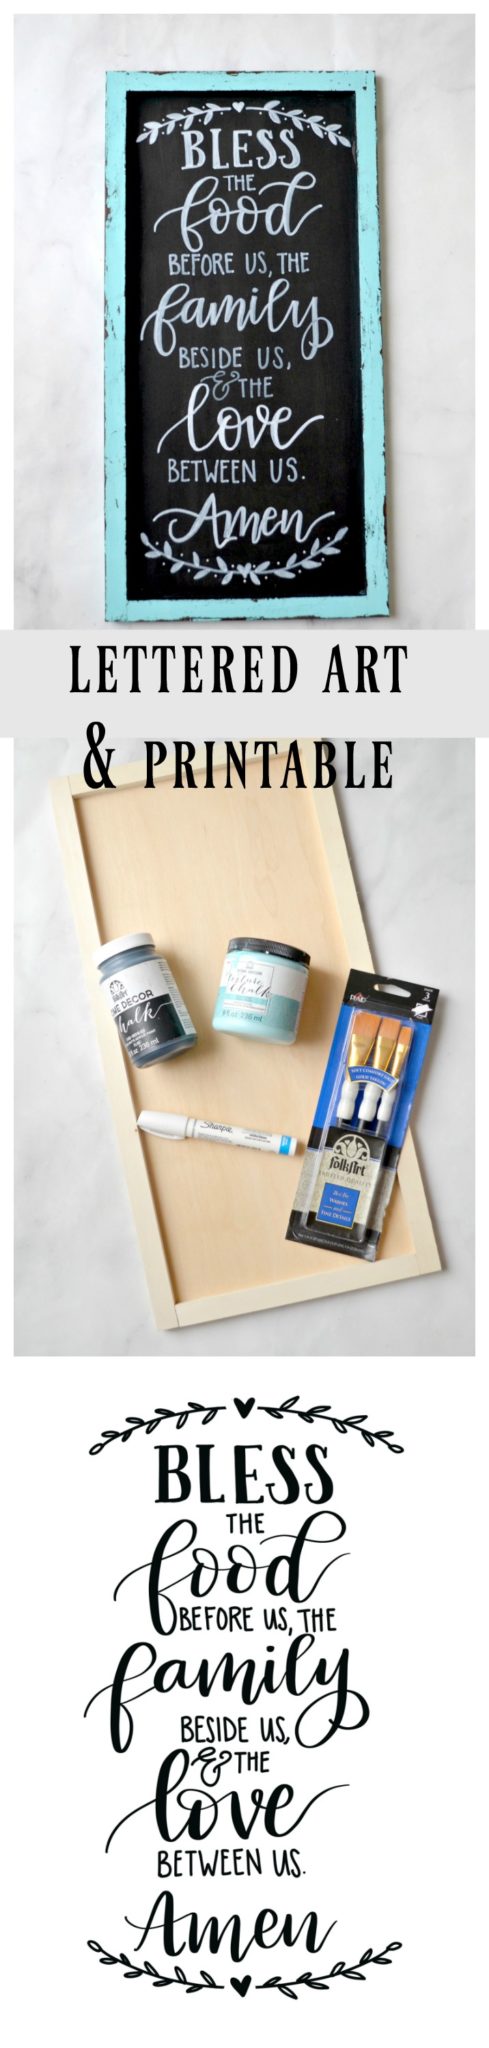
First, it wouldn’t really match the decor in my home, because while I have plenty of chalkboard type things, I have no dark wood at all. Second, it bothered my symmetrical mind that the leaf embellishments at the top were different than the ones at the bottom. I know. I have issues. Third, the punctuation was missing, which drives me crazy as a former English teacher. Finally, I felt like the balance was off…it seems to me that “food” should stand alone in a larger font like “family” and “love.” So, I decided to use the in-store sign as inspiration for creating my own similar one at home. Here’s my take on it:
Here’s how you can make one too.
YOU’LL NEED:
an unfinished wooden sign
FolkArt Home Decor Chalk {I used Rich Black & Java}
FolkArt Home Decor Texture Chalk {I used Paradise}
pencil & Tombow Mono Dust Catch eraser

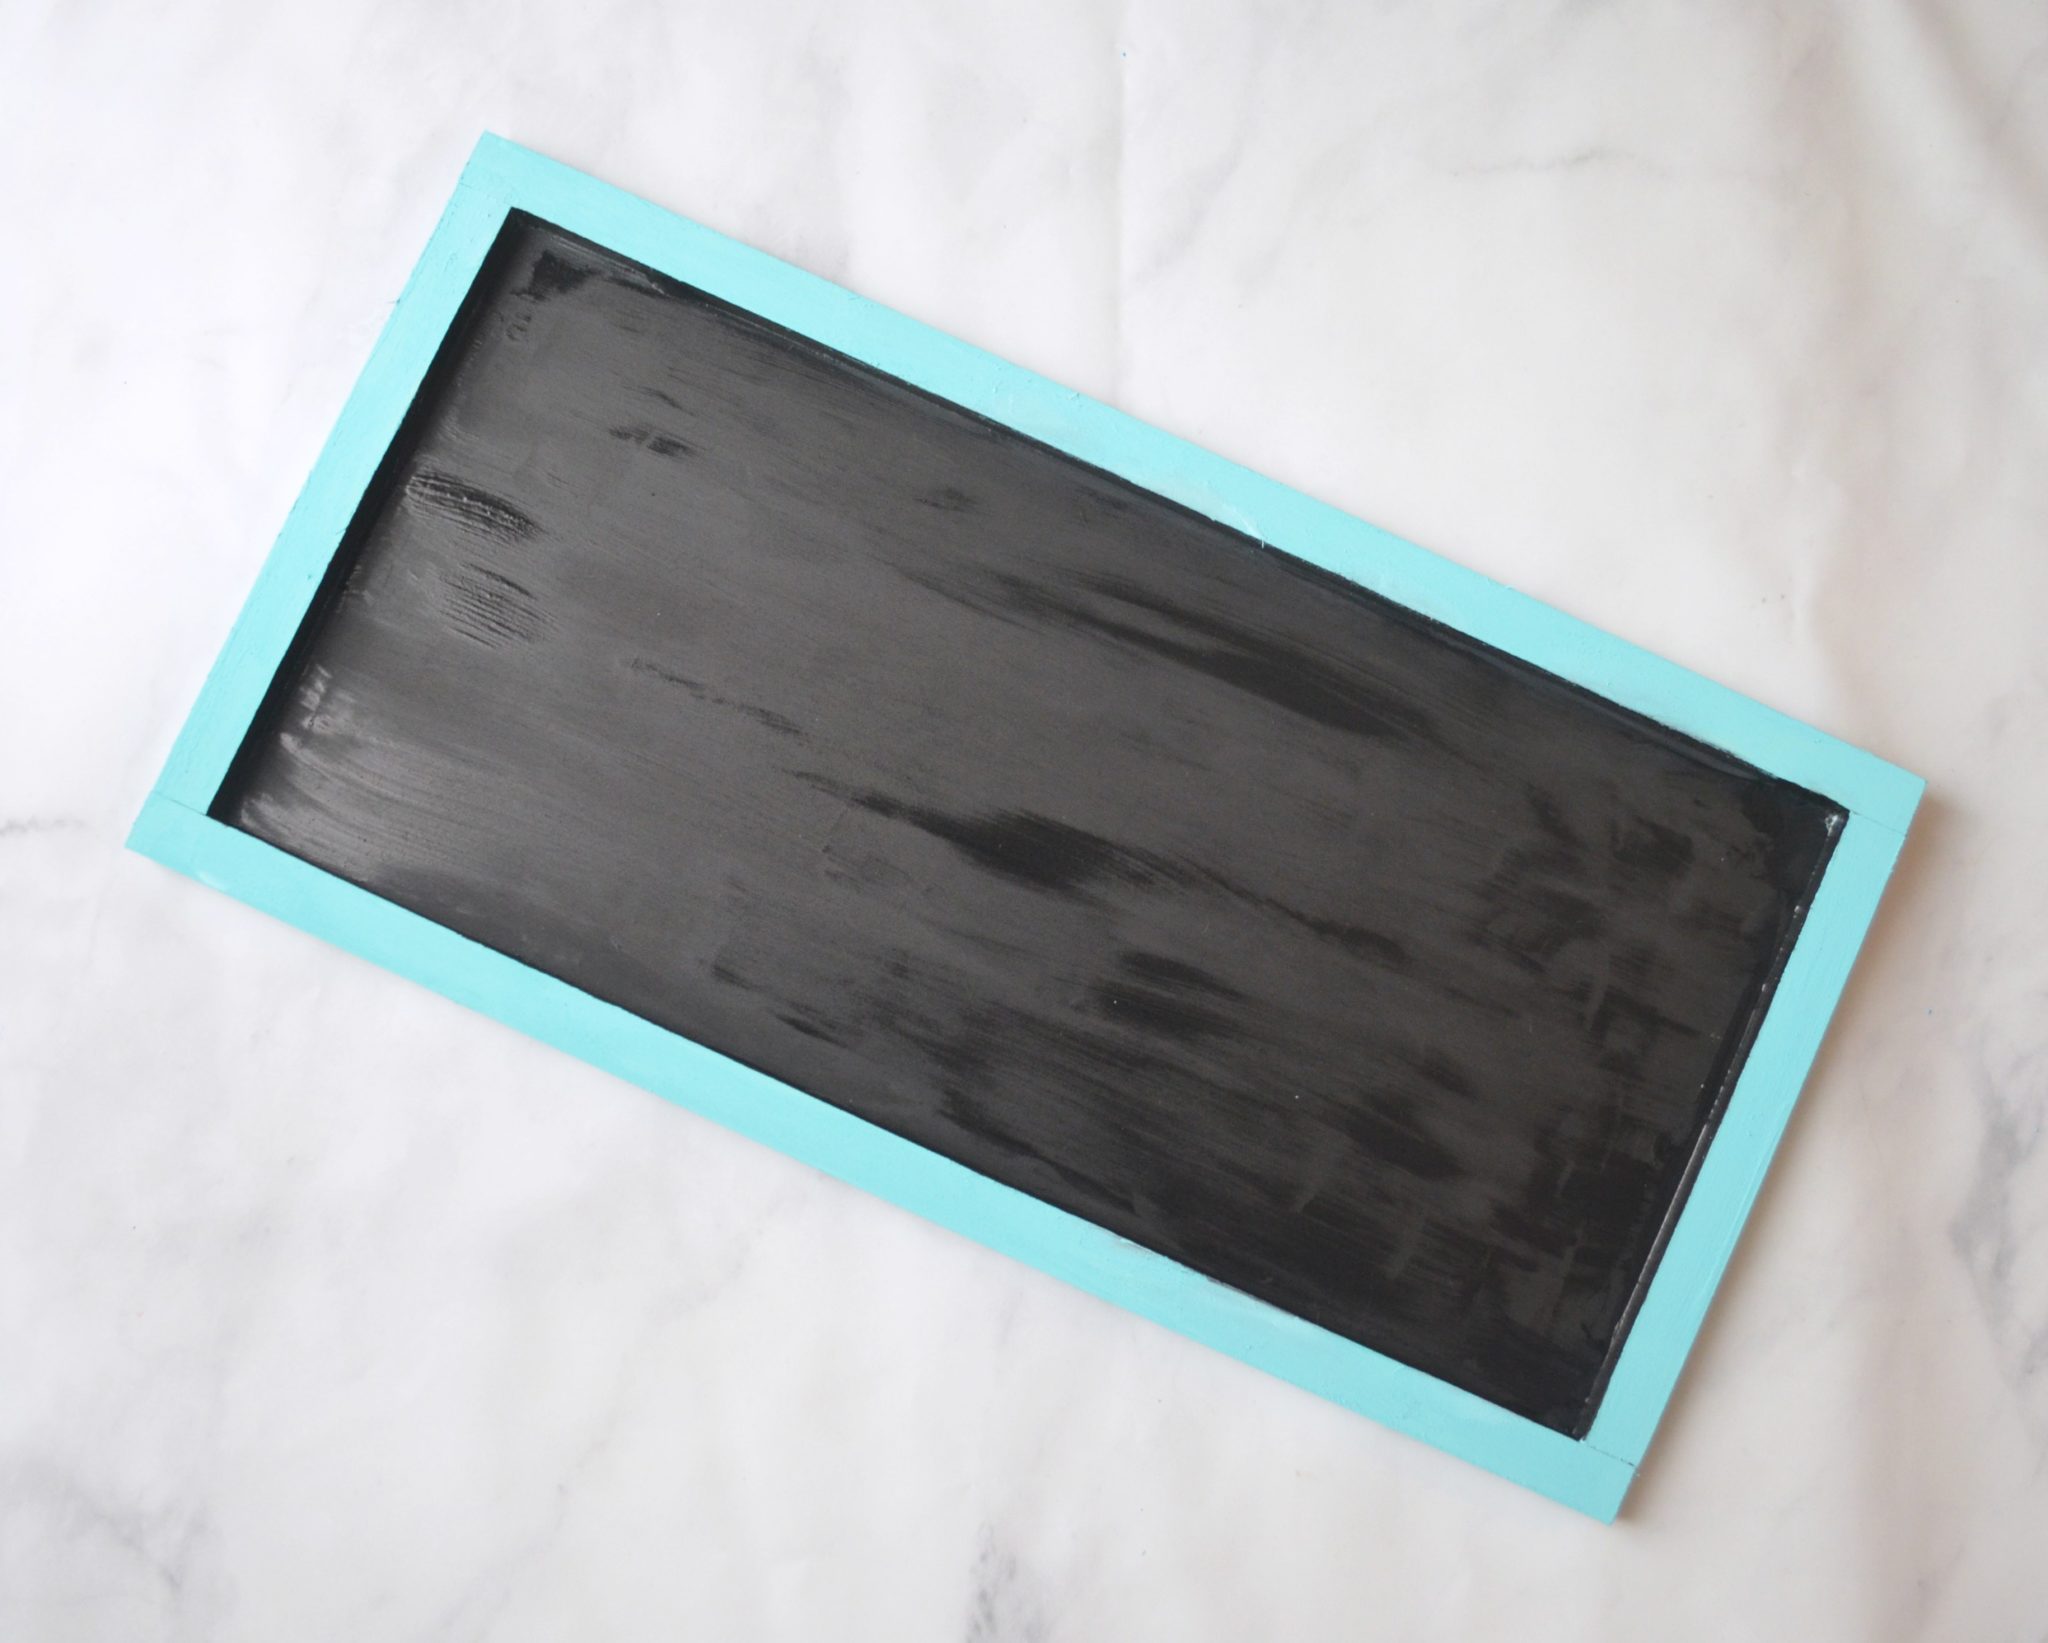
Step 1: Paint the unfinished wood.
I used black for the inside part to get a chalkboard effect, and teal for the frame. If you wanted something more similar to the original sign, you could stain the frame wood instead of painting it. Let it dry completely before moving on.
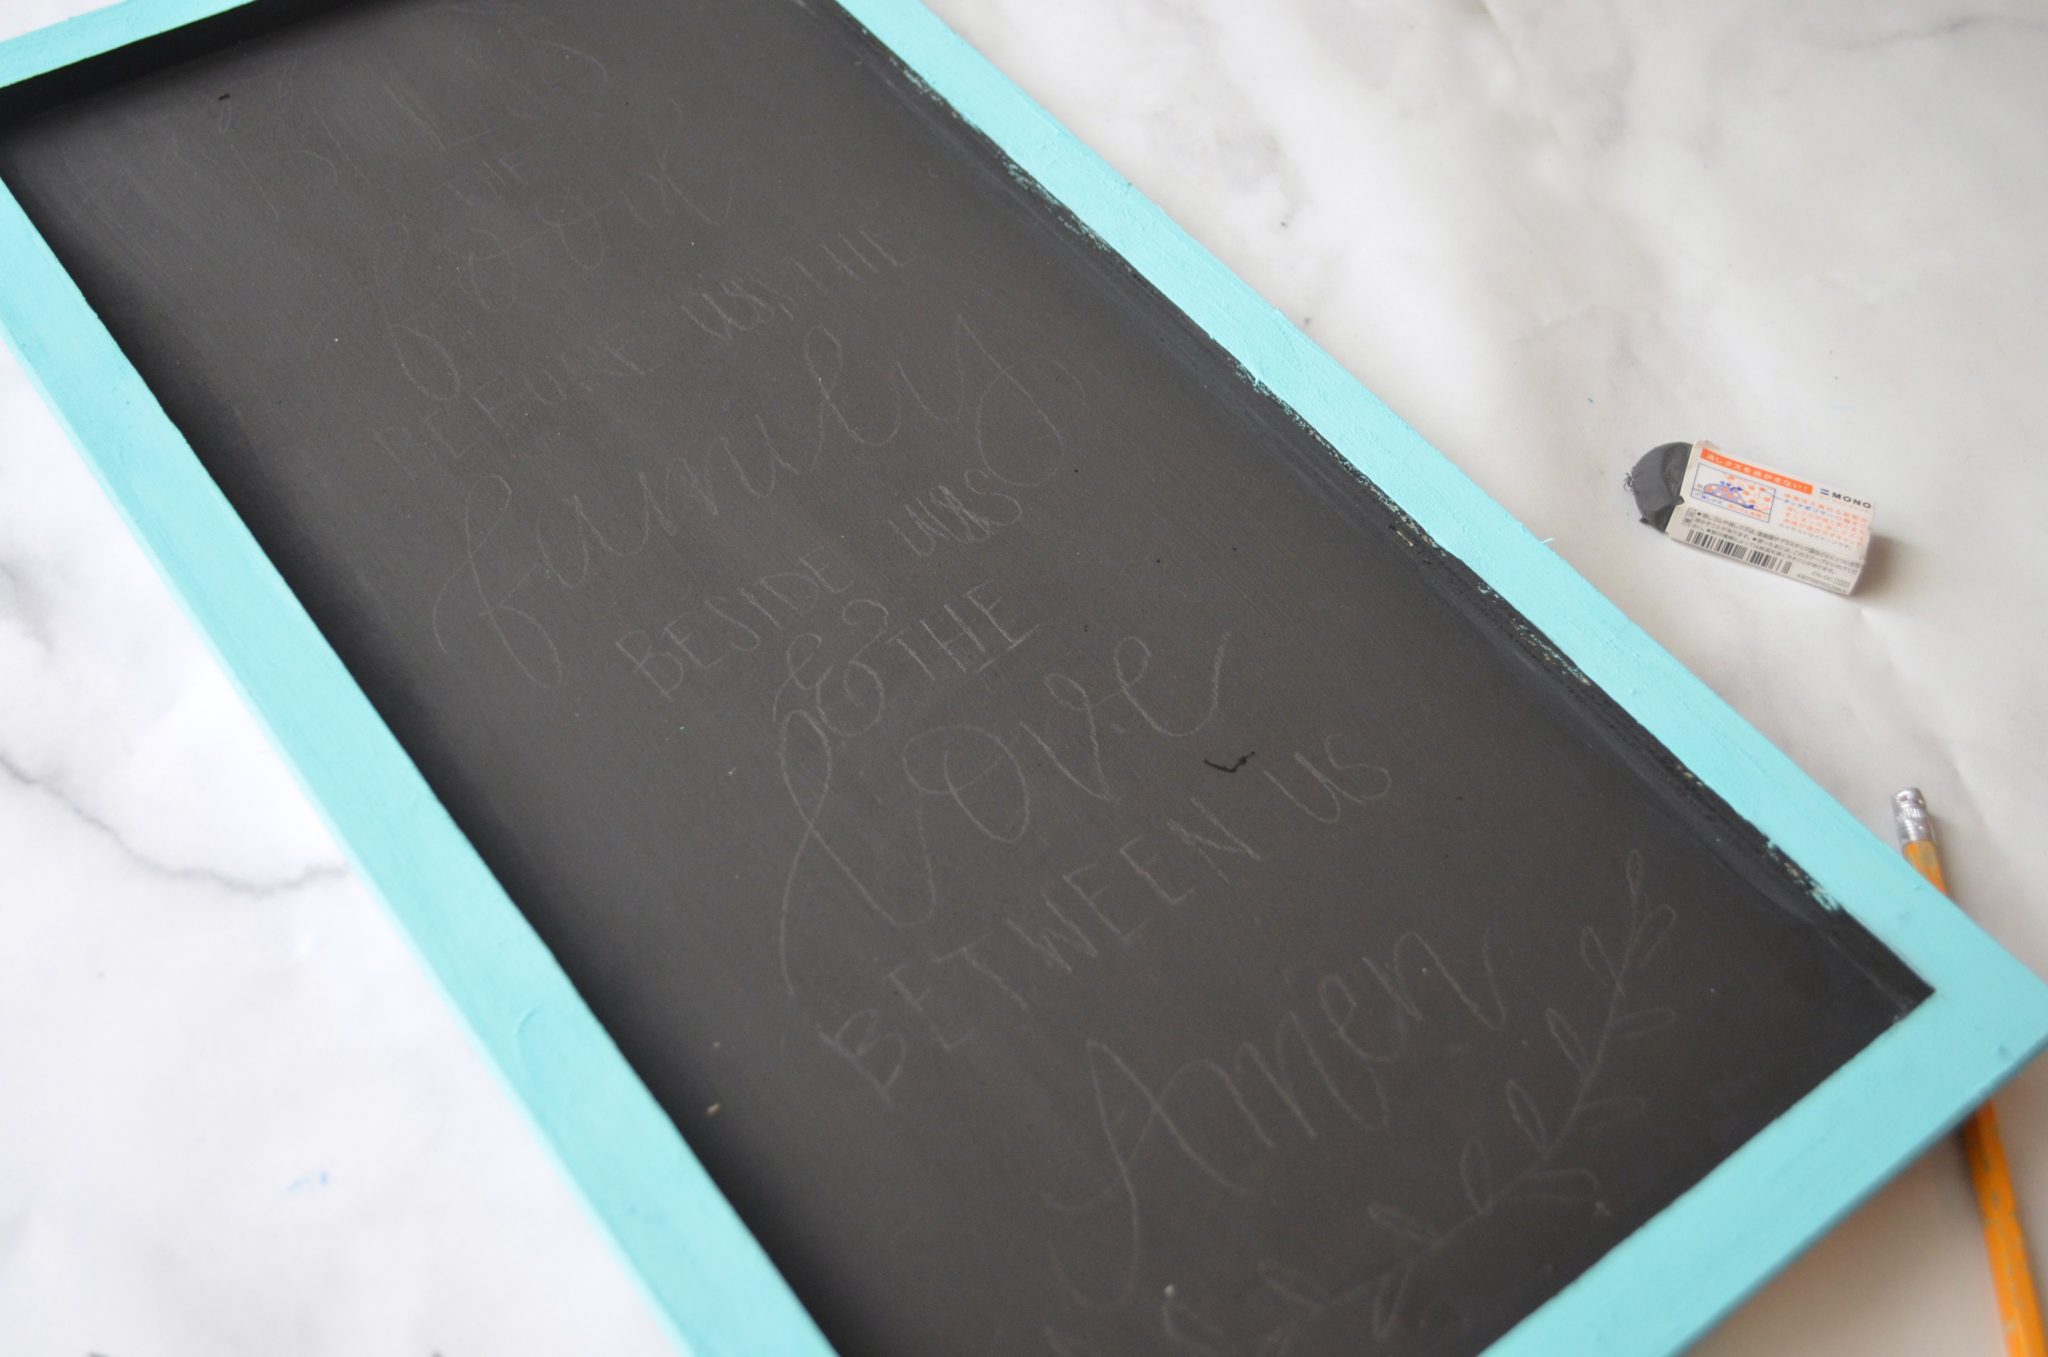
Step 2: Lightly write your phrase in pencil.
I tried to keep things centered by identifying the center letter or space in each line of text. I’d pencil that in first, then work my way out on both sides.
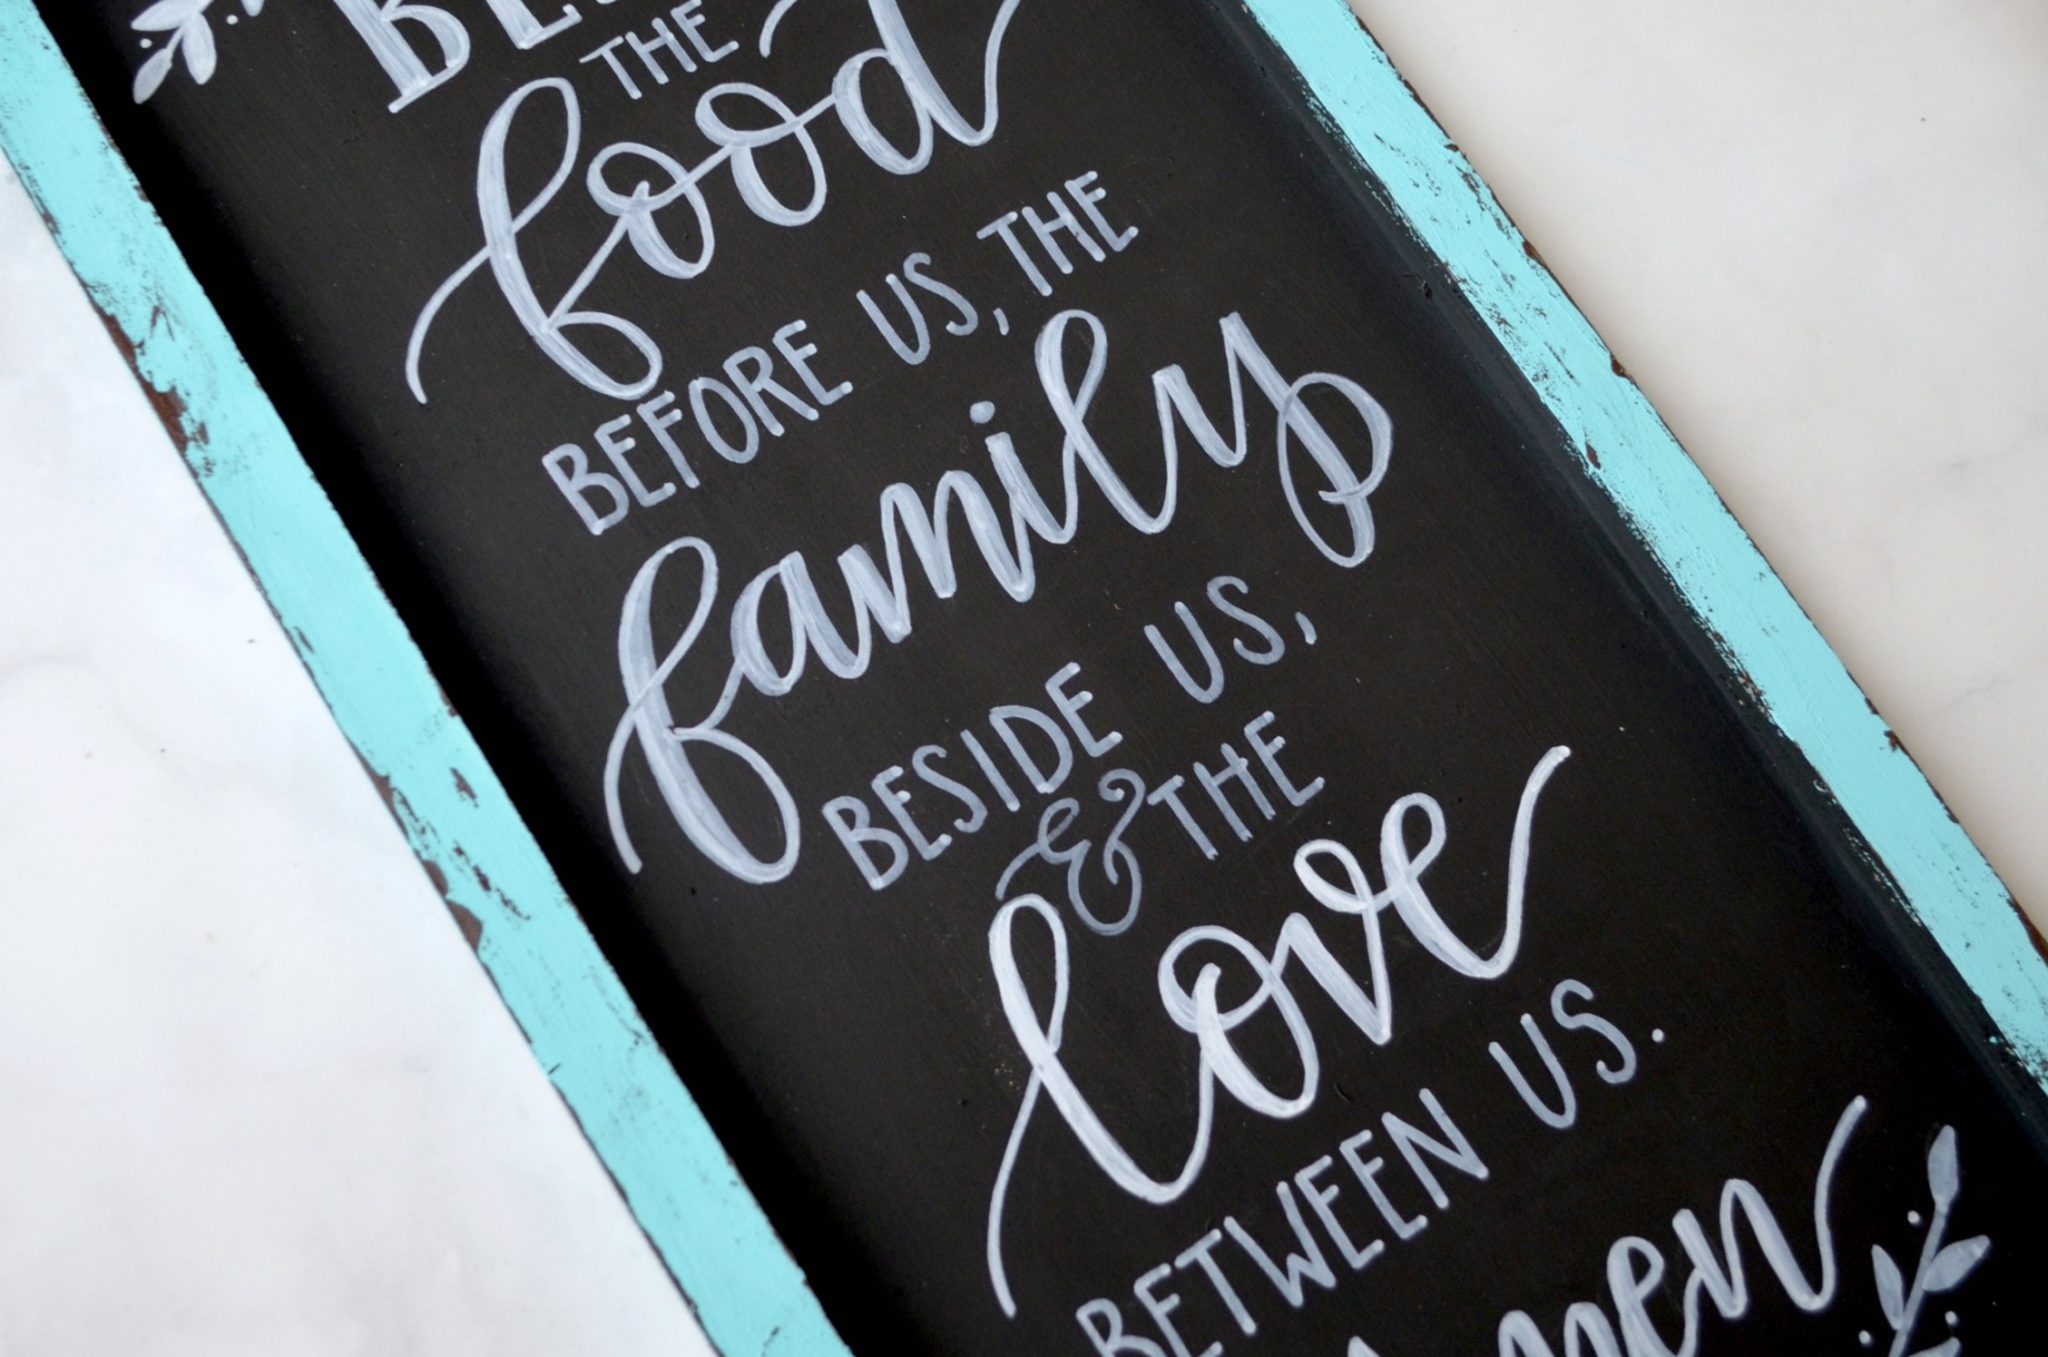
Step 3: Go over your pencil lines with a white paint pen, using Faux Calligraphy, Rae Dunn Print, and/or any font you want to use.
If you’re brand new to hand lettering, I promise it’s not as hard as it looks! Check out my beginner tutorial to get you started creating your own lettered masterpieces. Because there’s no such thing {yet?} as a brush tip paint pen, you’ll have to use Faux Calligraphy to get that pretty brush lettered look. When the words are completely dry, use the Dust Catch eraser to remove any pencil lines you can still see. You’ll love how little mess this eraser makes!
Step 4: Create a distressed look on the frame area using the Wooden Layering Block and Java chalk paint.
If you’ve never tried this, it’s a really fun technique! All you do is place some paint on a paper plate or palette, then rub your wooden block around to load it with paint. Offload any excess, then just rub the block all over the area you want to distressl This gives the look of removing paint, when you’re actually adding more!
The final step I did was to hot glue a piece of cord to the back as a hanger because the particular wooden sign I used didn’t come with one. Then it was ready to display!
There you have it: my original inspiration. What do you think?
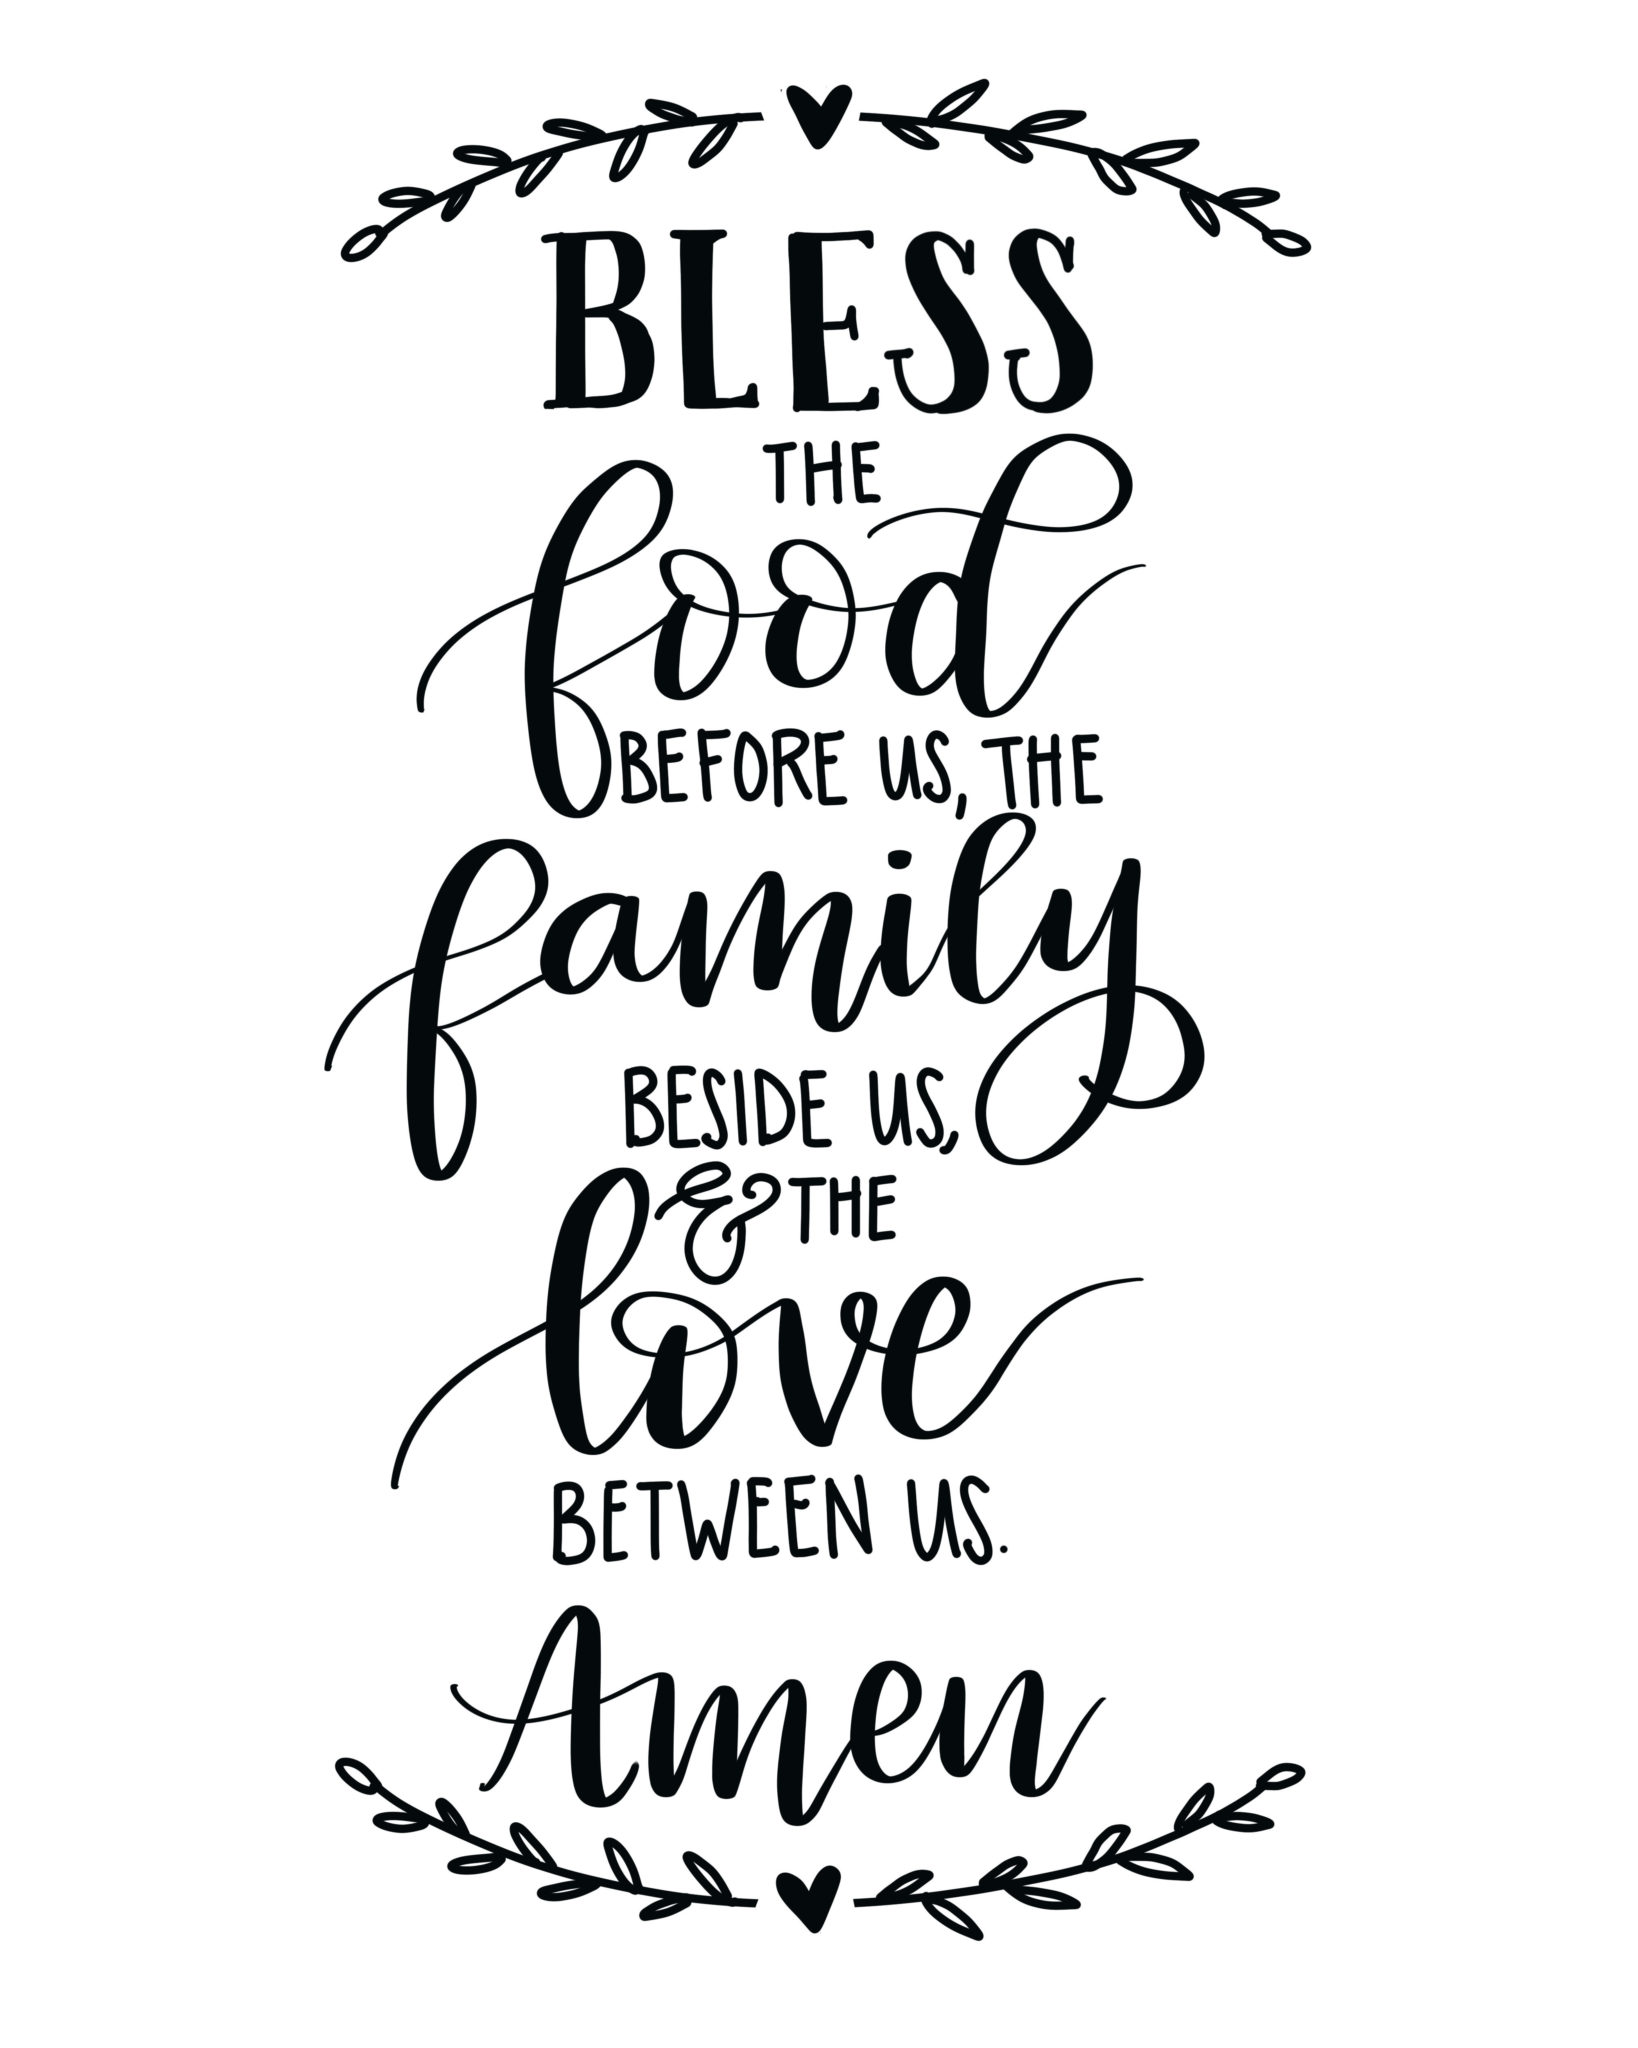
For those of you who may want an easier option, I’m also including my take on the design as a free printable below. You can print it out and trace it onto a wooden sign, or you can simply print it and place it in an 8×10 frame. Use it any way you like.
Download the 8×10 printable here.
Hope you enjoy the printable, and if you give the project a try, I’d love to see how yours turns out. As always, feel free to share your latest and greatest creations with us in the Amy Latta & Friends Facebook group. See you there.
Don’t forget…if you like it, then you oughta put a Pin on it!


Thanks for sharing the printable…I love it !
Hi Amy I love this!!!! I can’t wait to do my own!!!! Thank you so much for this site and this project. Have a wonderful weekend!!!! Warmly Sue