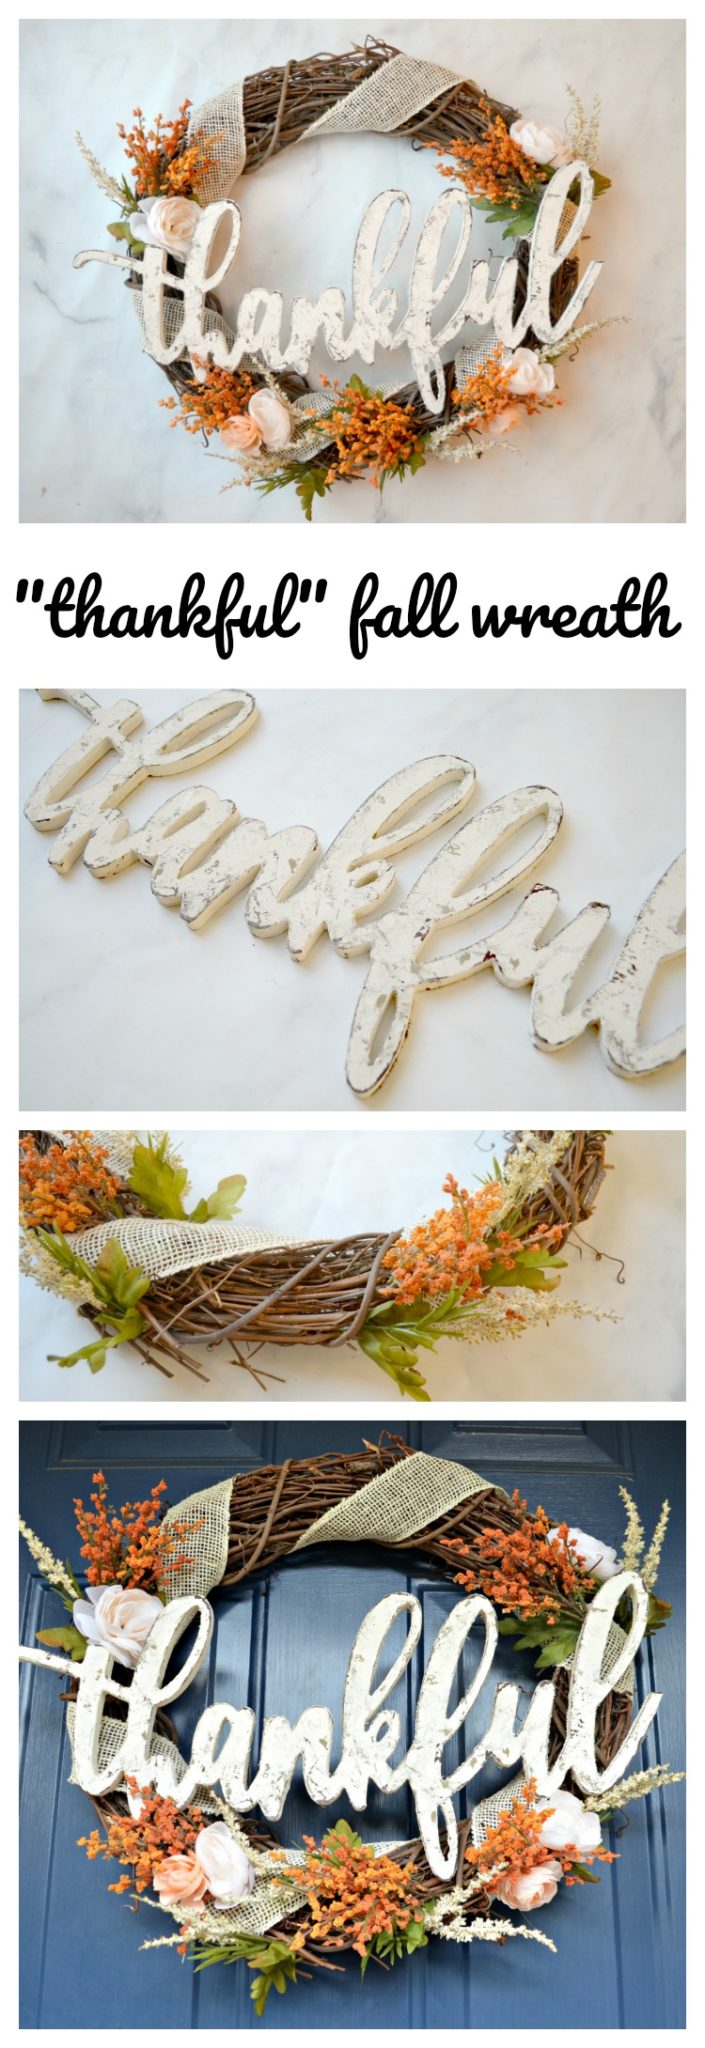
“Thankful” DIY Fall Wreath
September is here, friends! The kids are back in school and my favorite drink is back at Starbucks, so that can only mean one thing…it’s time to start thinking Fall! Despite the fact that the heat index here yesterday was 105 degrees, I couldn’t resist working on a little seasonal decor. I wanted a fresh new wreath for the front door, so I took a little field trip to Michaels with my mom and bought the supplies to make one. Here’s what I created:
“THANKFUL” DIY FALL WREATH

Want one of your own? Here are some quick instructions so you can whip one up in no time. The best part is that since I already had some of the paints and supplies at home, it cost less than $30!
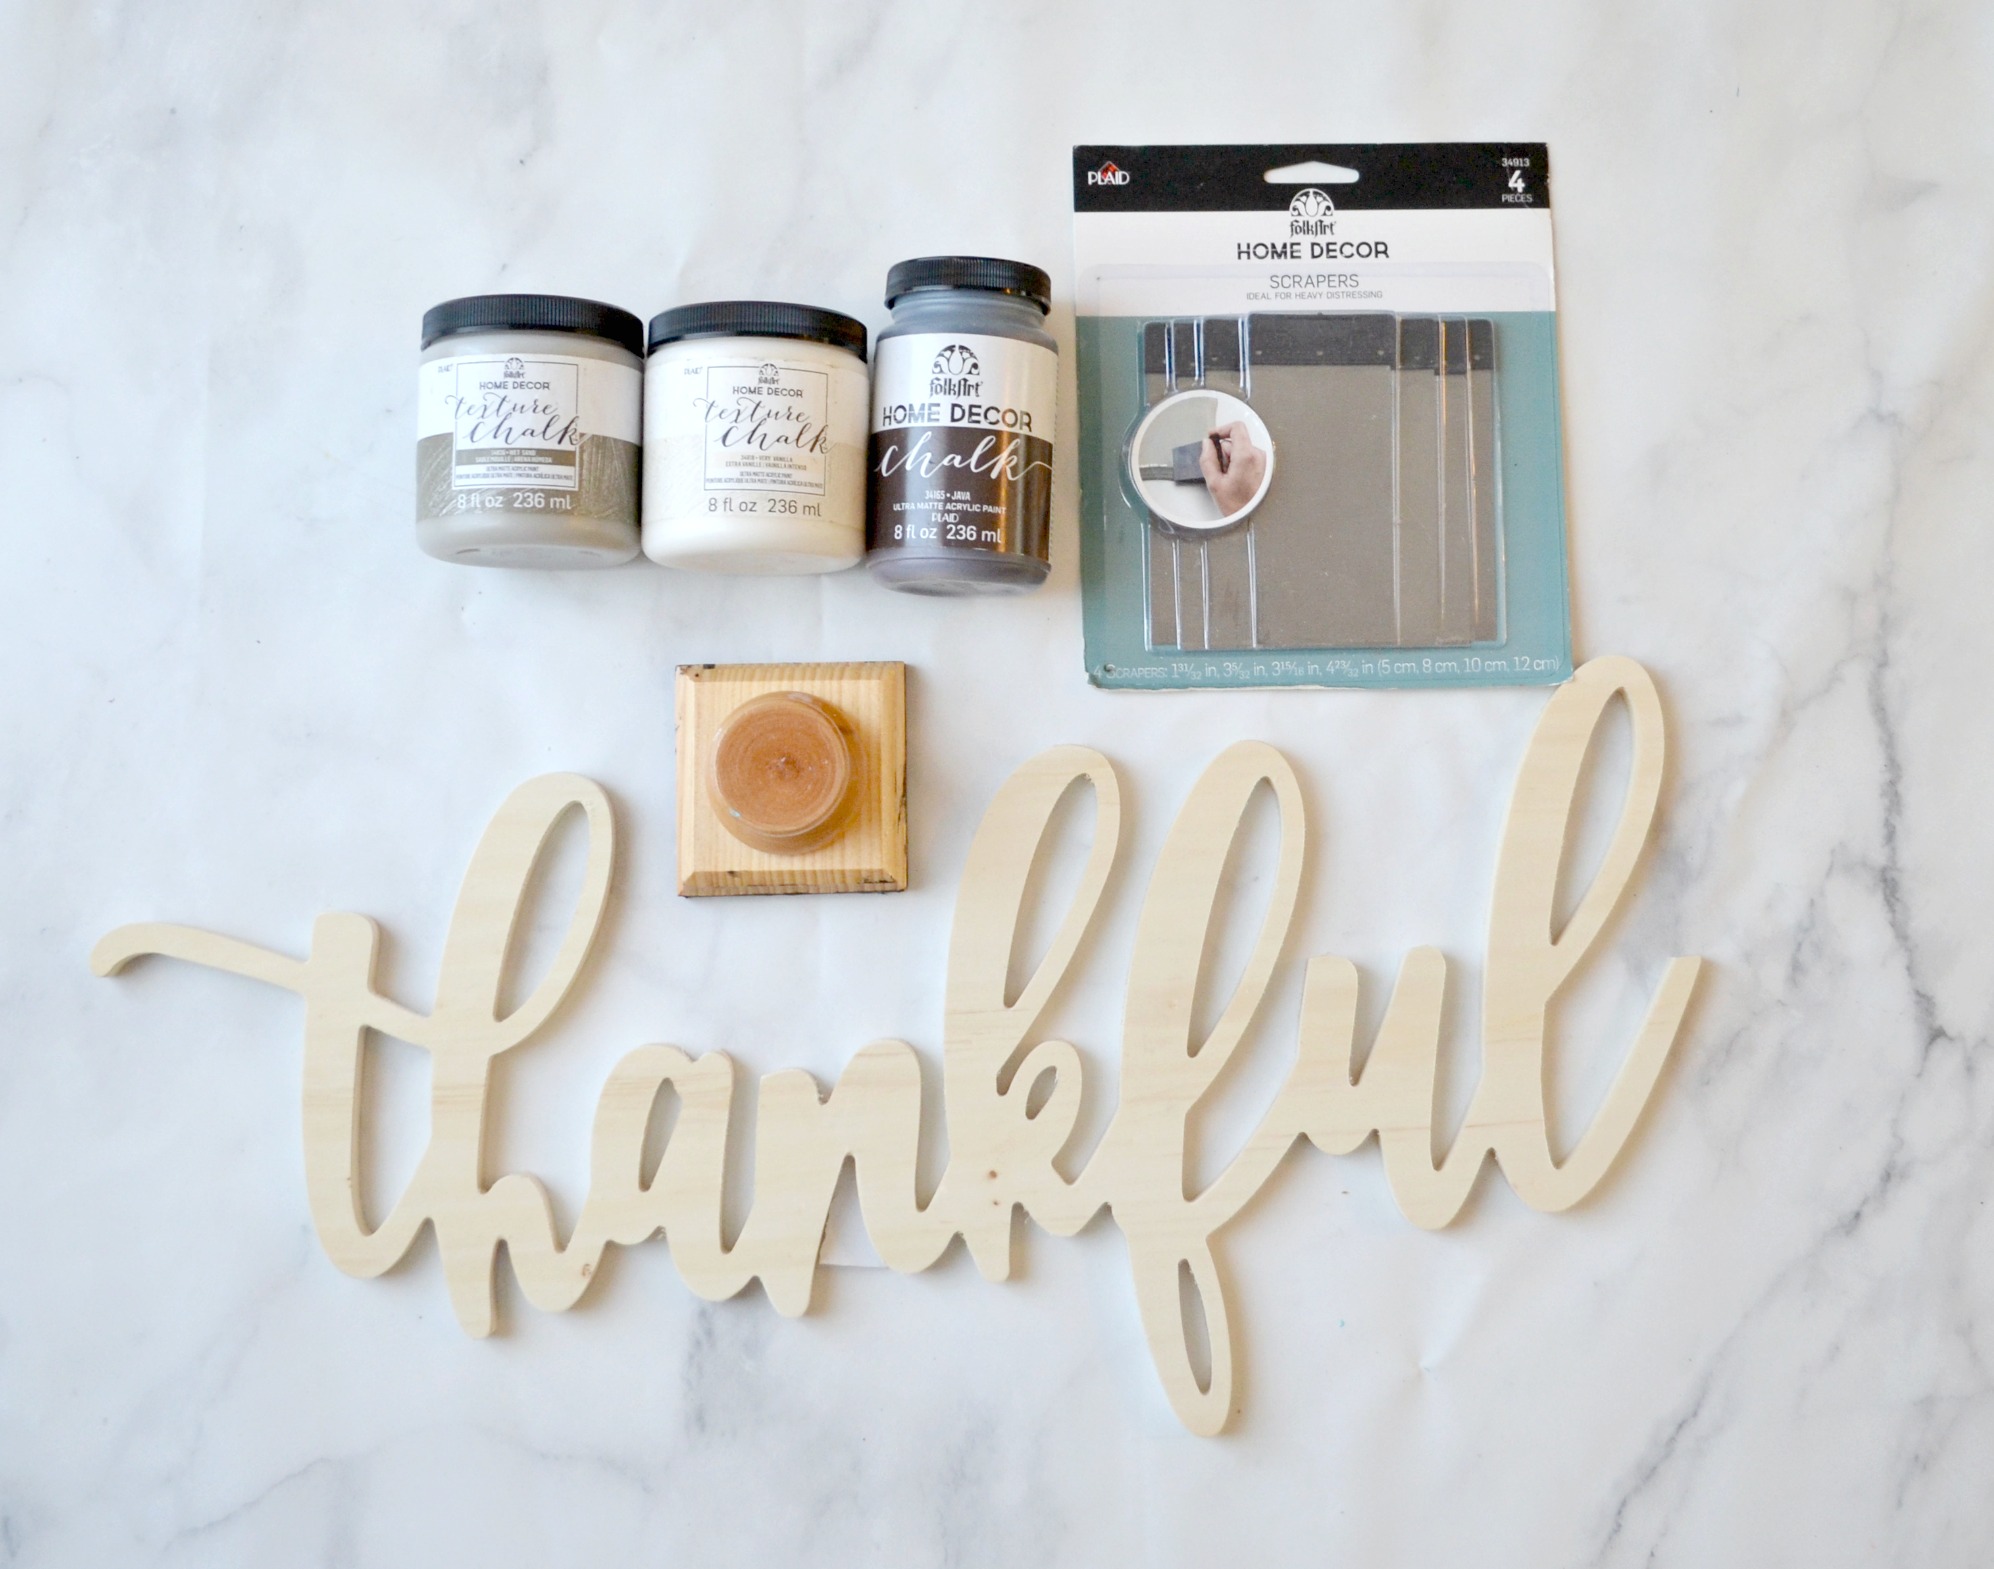
You’ll need:
assorted silk or dried flowers
FolkArt Home Decor Texture Chalk: Wet Sand, Very Vanilla
FolkArt Home Decor Chalk: Java
Paintbrush
FolkArt Home Decor Wooden Layering Block

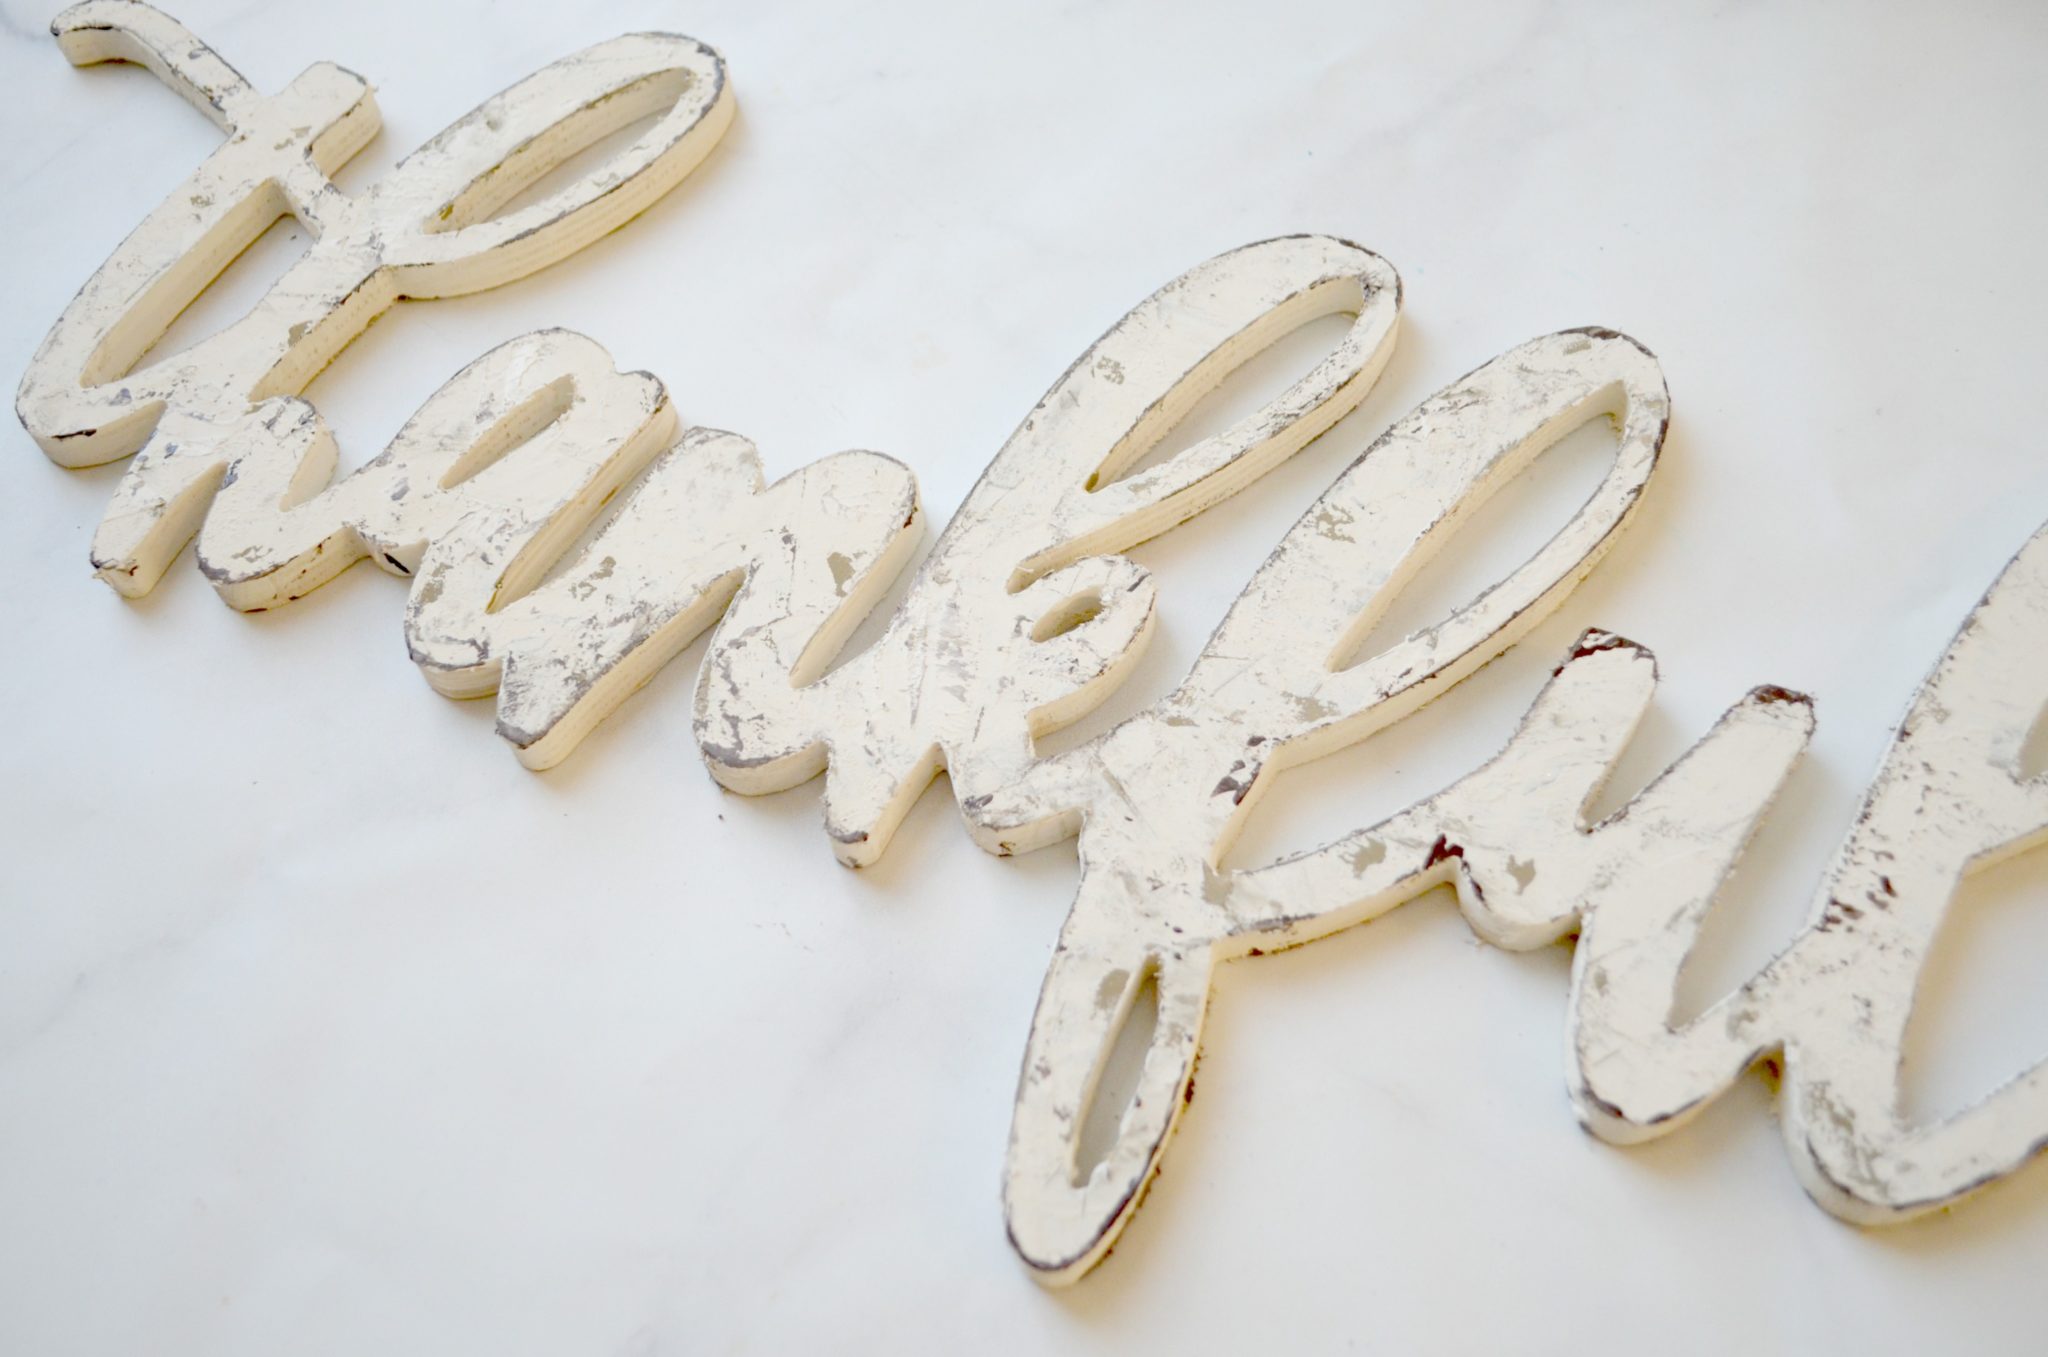
The first thing you’ll want to do is prepare your wooden word. I used a fun, multi-step process to paint mine so that it looks aged and distressed with layers of different colored paint. It’s much easier than it looks to achieve this effect, and once you try it, you’re going to want to do it to everything! Take a look…
Step 1: Apply your bottom layer of paint using the scraper.
This color will not be the main thing you see on the word; instead, it’s the color that peeks out from behind your main color to suggest that the piece has been repainted over time. It will only be visible in some places. You’ll want to use the scraper to spread this color onto the surface of the wood, allowing it to be thicker in some places than others. It’s okay to leave parts of the wood unpainted.
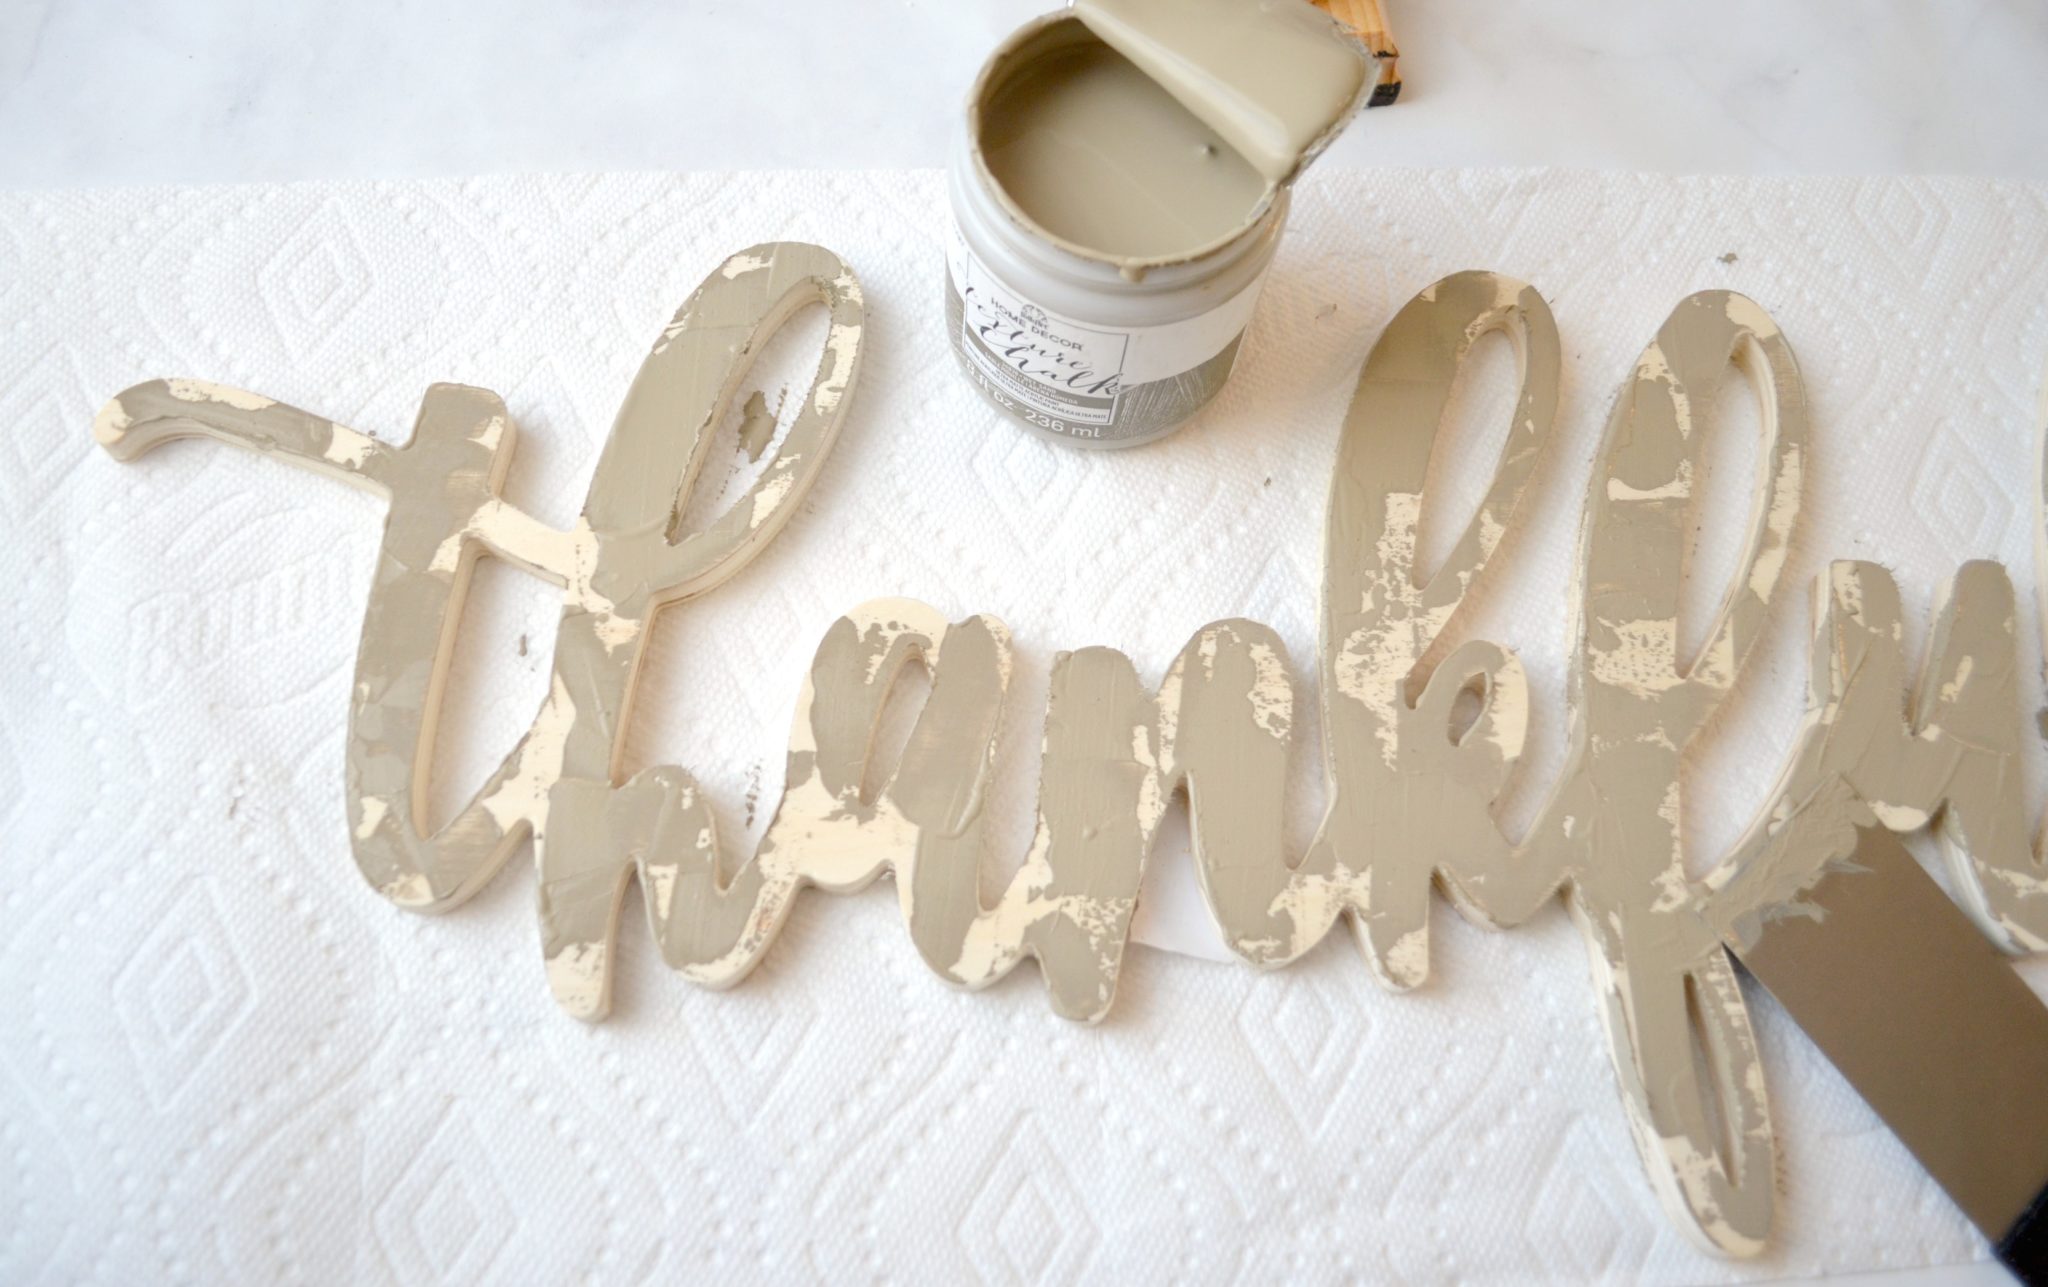
Step 2: Add a second, different colored layer over top of the first one.
Make sure the first layer is completely dry before you do this so that the colors don’t mix together. You’re going to use the scraper to apply the paint again, letting some areas get thicker than others and leaving some spots unpainted so that the bottom layer shows through.
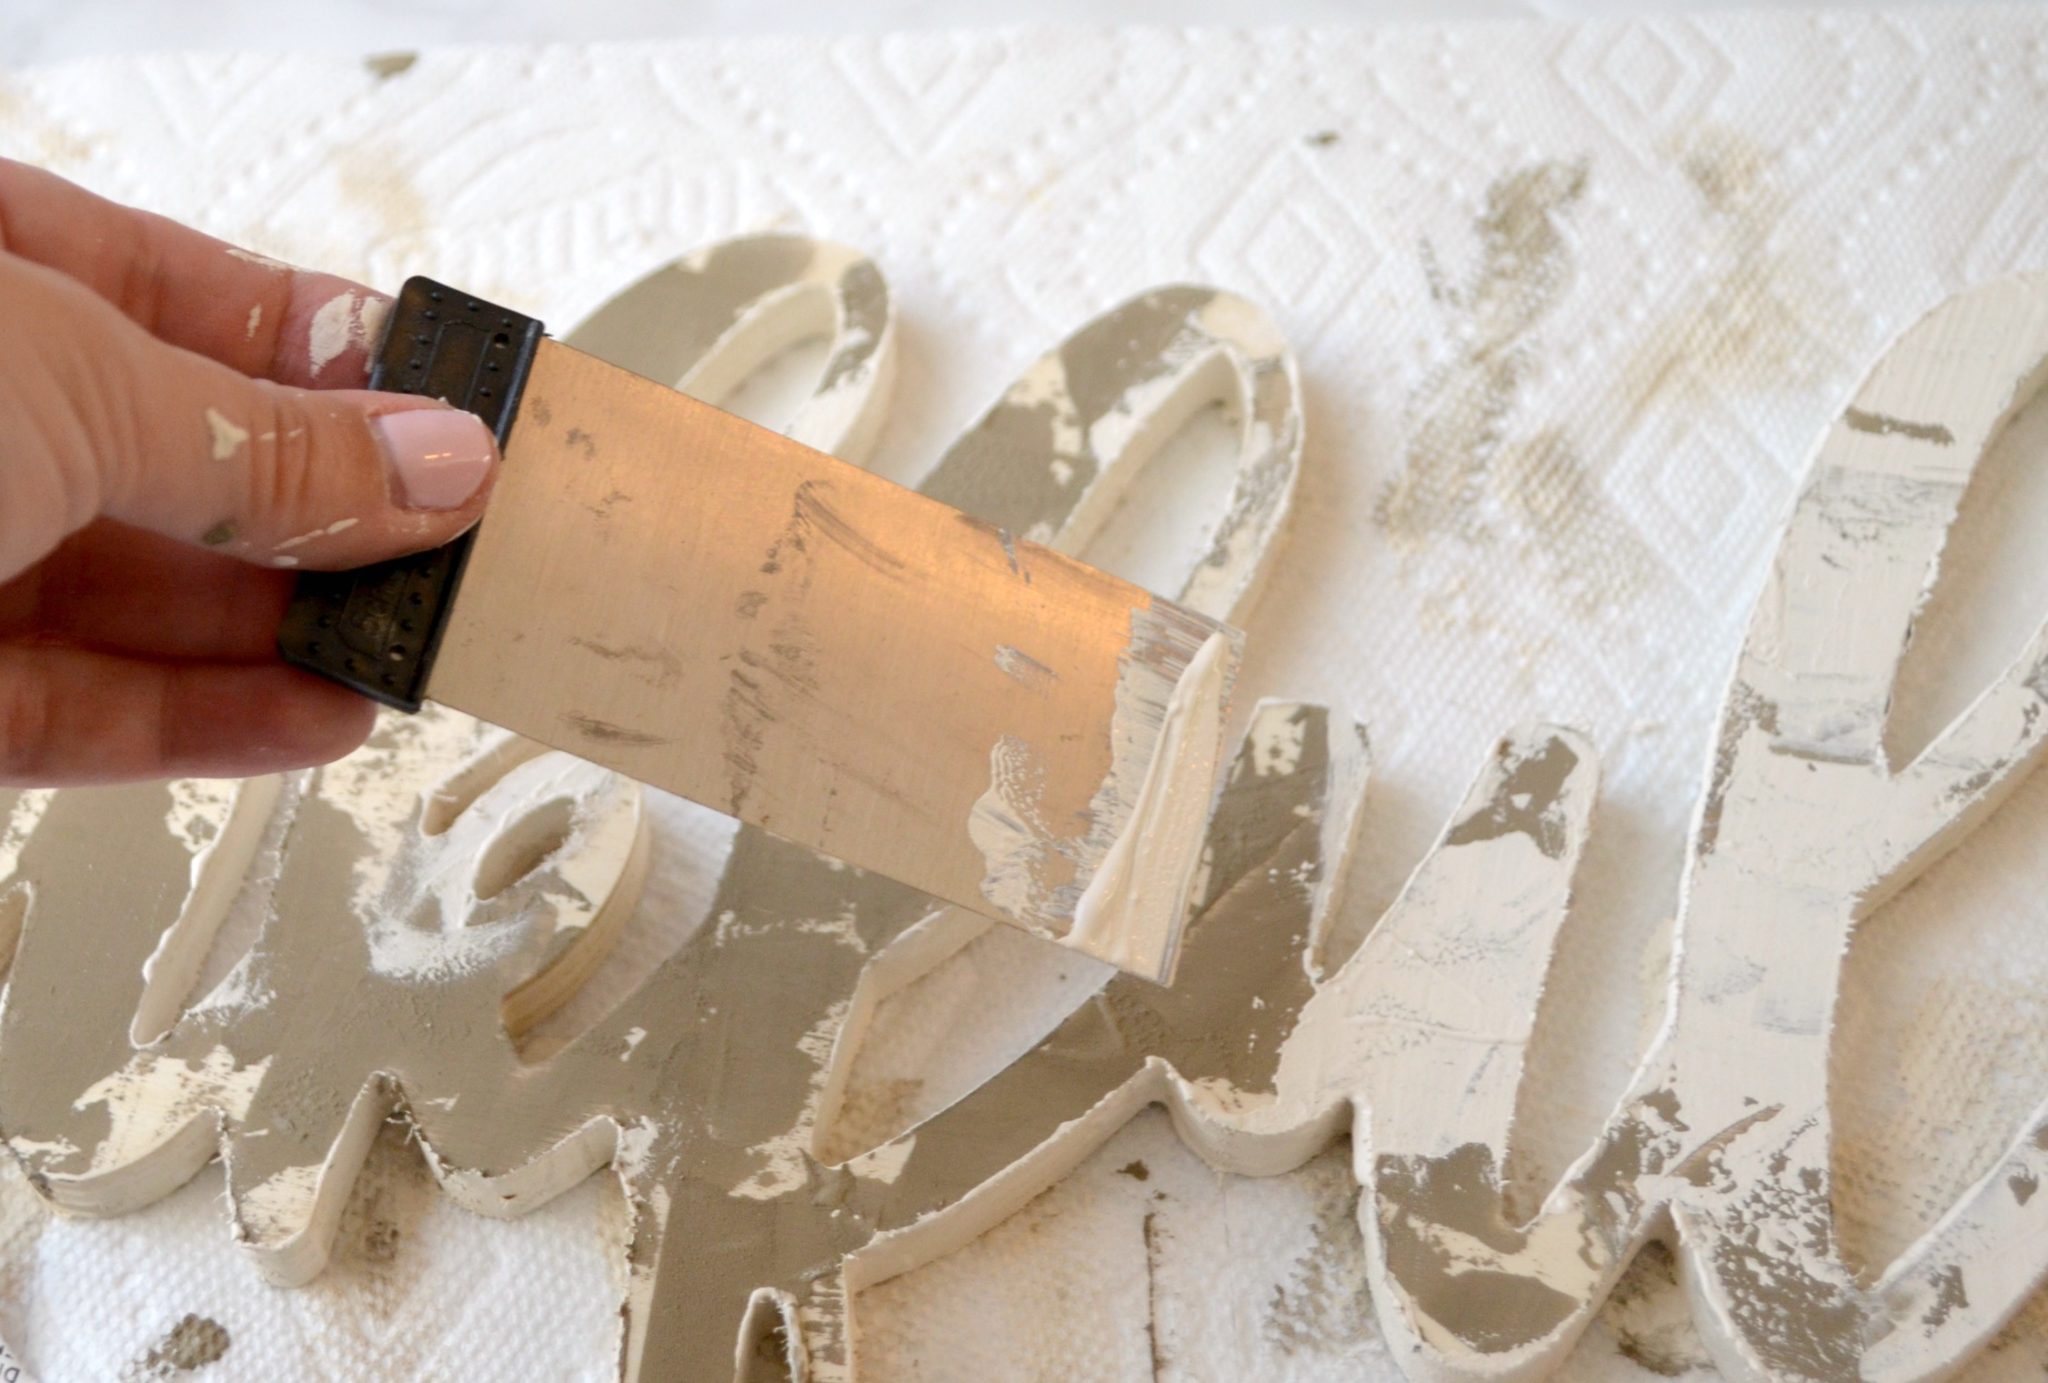
Use a small paintbrush to paint the edges and inside the loops of each letter. Then, while all that layer of paint is still wet, gently run the scraper around the edges of each letter to remove the top layer and reveal the color below. This is how my word looked after the first two steps were completed.

Step 3: Use the Layering Block to apply Java paint to the edges of the letters and anywhere else you like.
If you’ve never used this tool before, you’re going to love it. Just squeeze your paint onto a palette or paper plate, then rub your block in it. Offload it a bit, then rub it along the areas you want to appear distressed. Once again, be sure the previous layer of paint is dry before attempting this step.
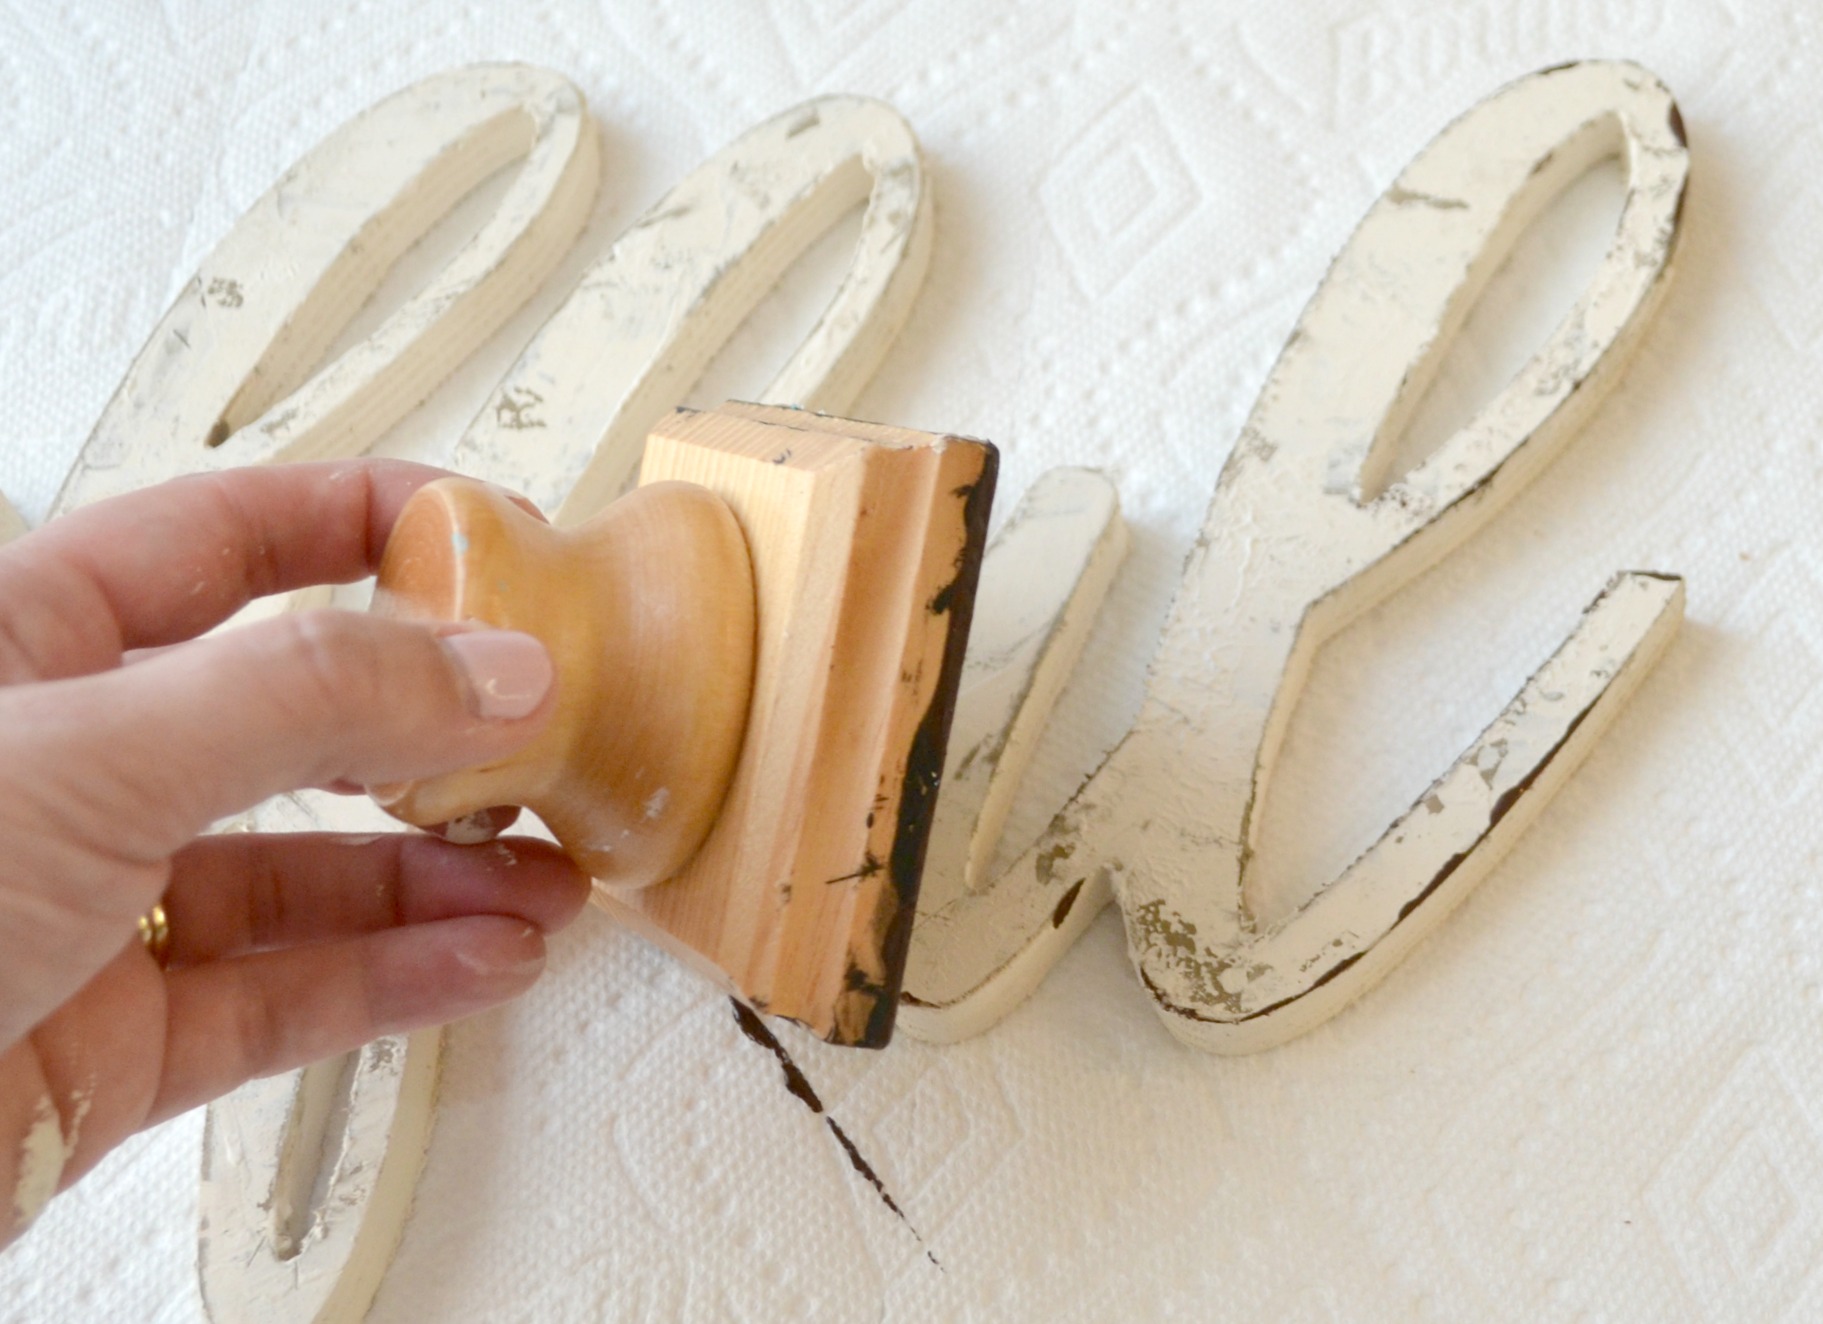
You can do as much or as little distressing as you like. I love how easy it is to get this gorgeous, layered look without sand paper! It’s all done with the paint itself.
Once the word is painted the way you want it, all that’s left is to assemble the wreath.
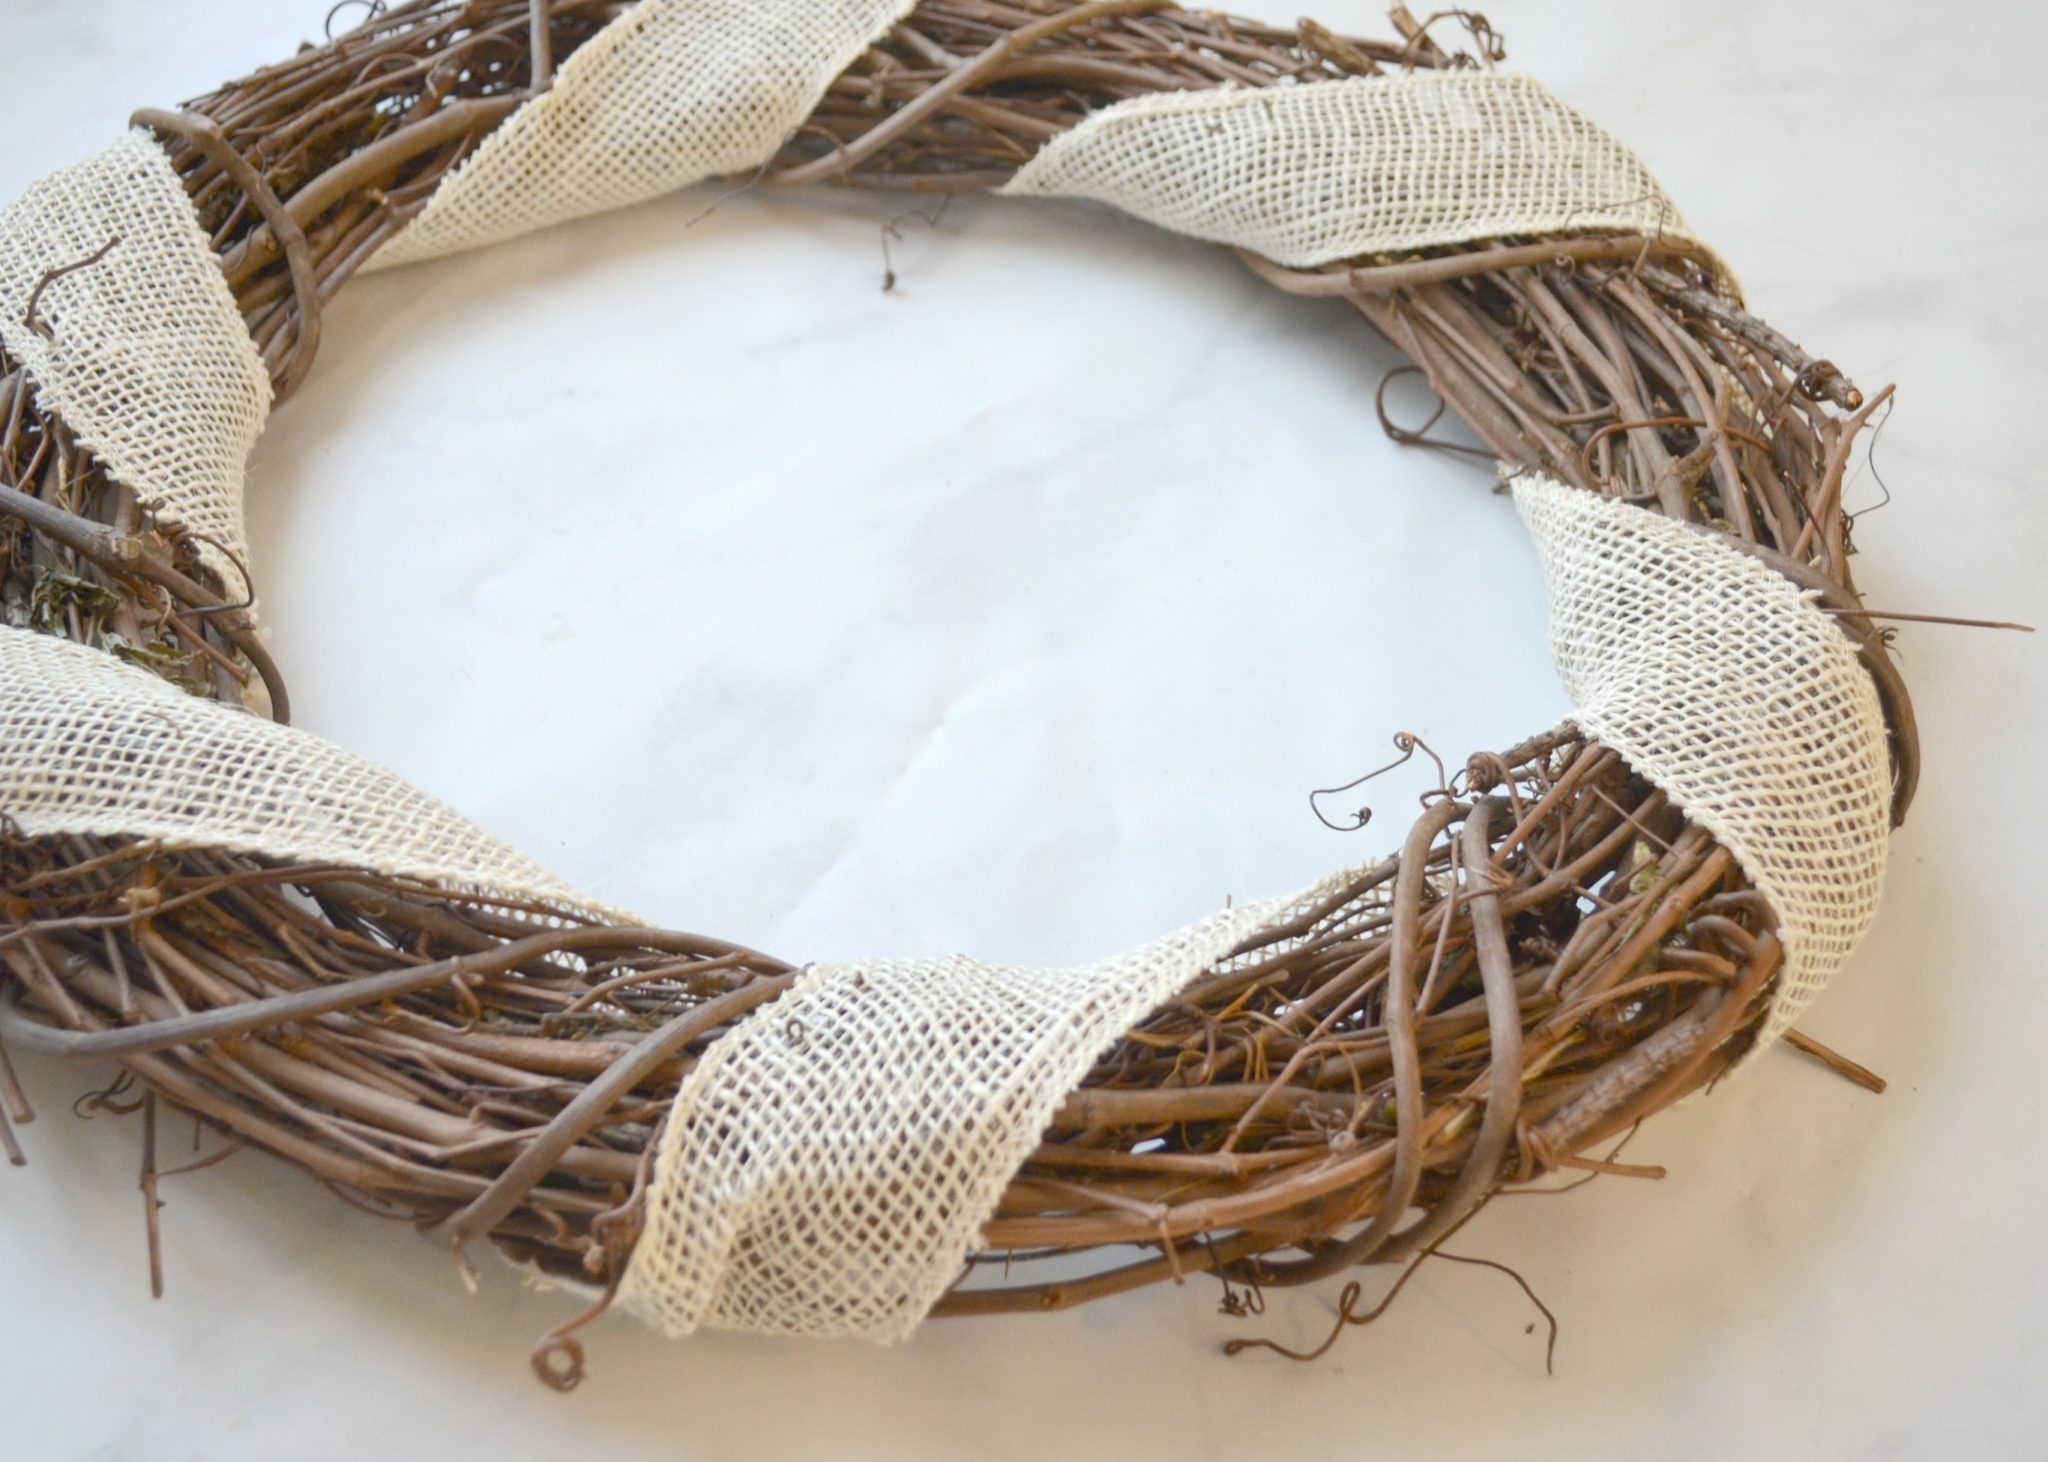
Step 4: Wrap the wreath with burlap ribbon, gluing the ends in place.
Be very careful when you apply the hot glue, because burlap has holes! The glue will come through and burn your finger if you don’t use something else to press the ribbon in place. I mean, I assume it would…ahem.
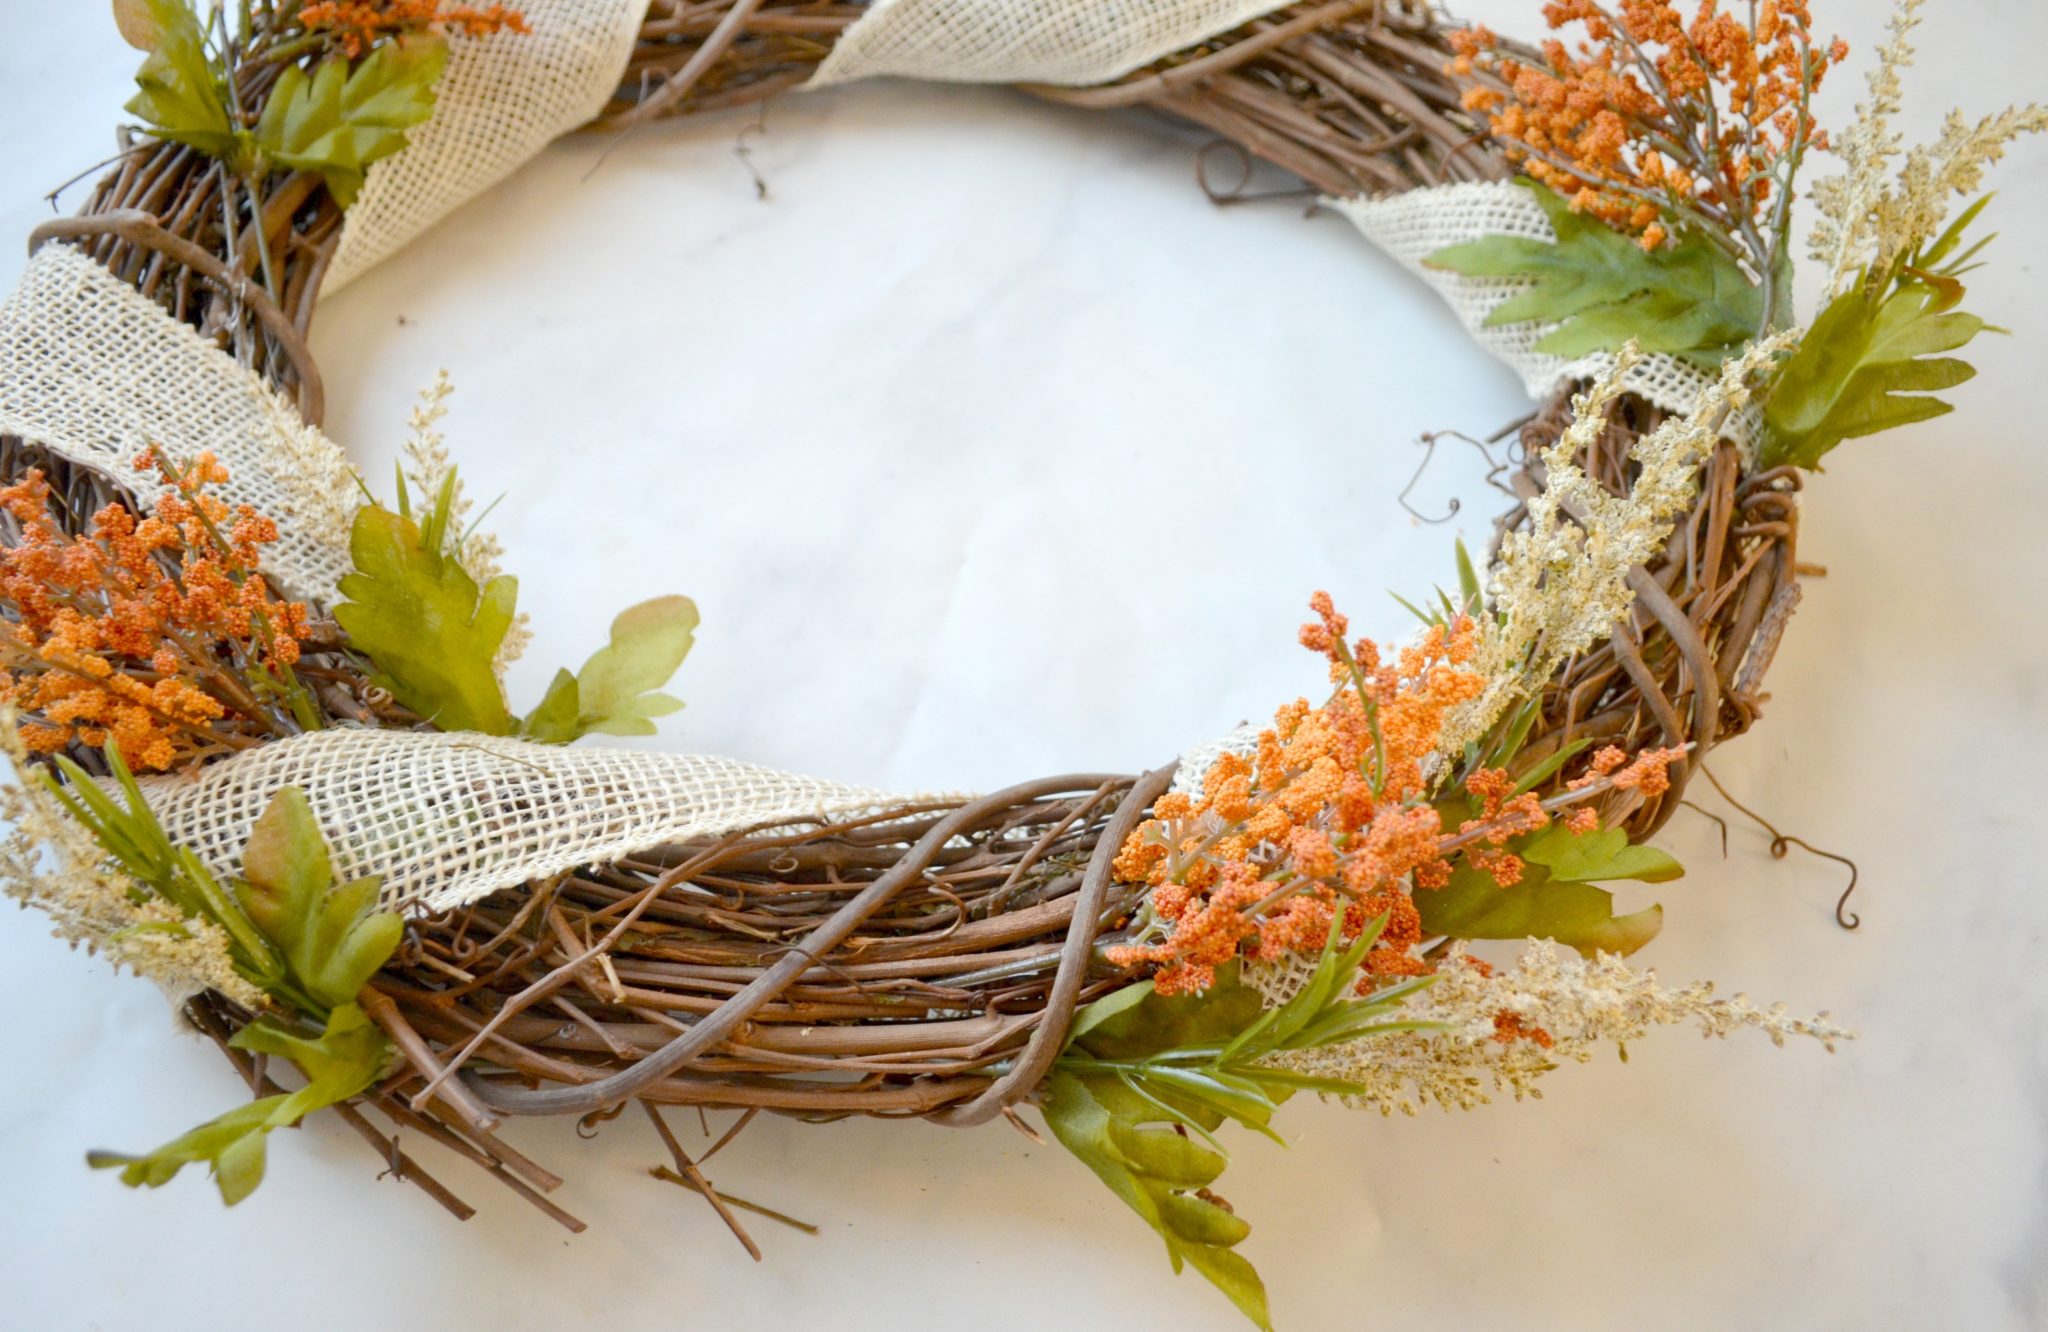
Step 5: Arrange and glue your flowers in place.
I sat my word on top to get an idea of placement, then glued flowers just above and below it.
Step 6: Glue your word in place.
This was actually the hardest part, because due to the texture of the wreath, there’s not much of the word actually touching it. I had to re-glue because the first time, I didn’t use enough and my word fell off. See, even “professional crafters” have fails!

That’s all there is to it! Your wreath is ready for display!

I love the pop of orange against my blue front door. I also like having a pretty, elegant wreath that will last all season and remind us of our blessings. What do you think?

Don’t forget, if you like it, then you oughta put a Pin on it!


2 Comments