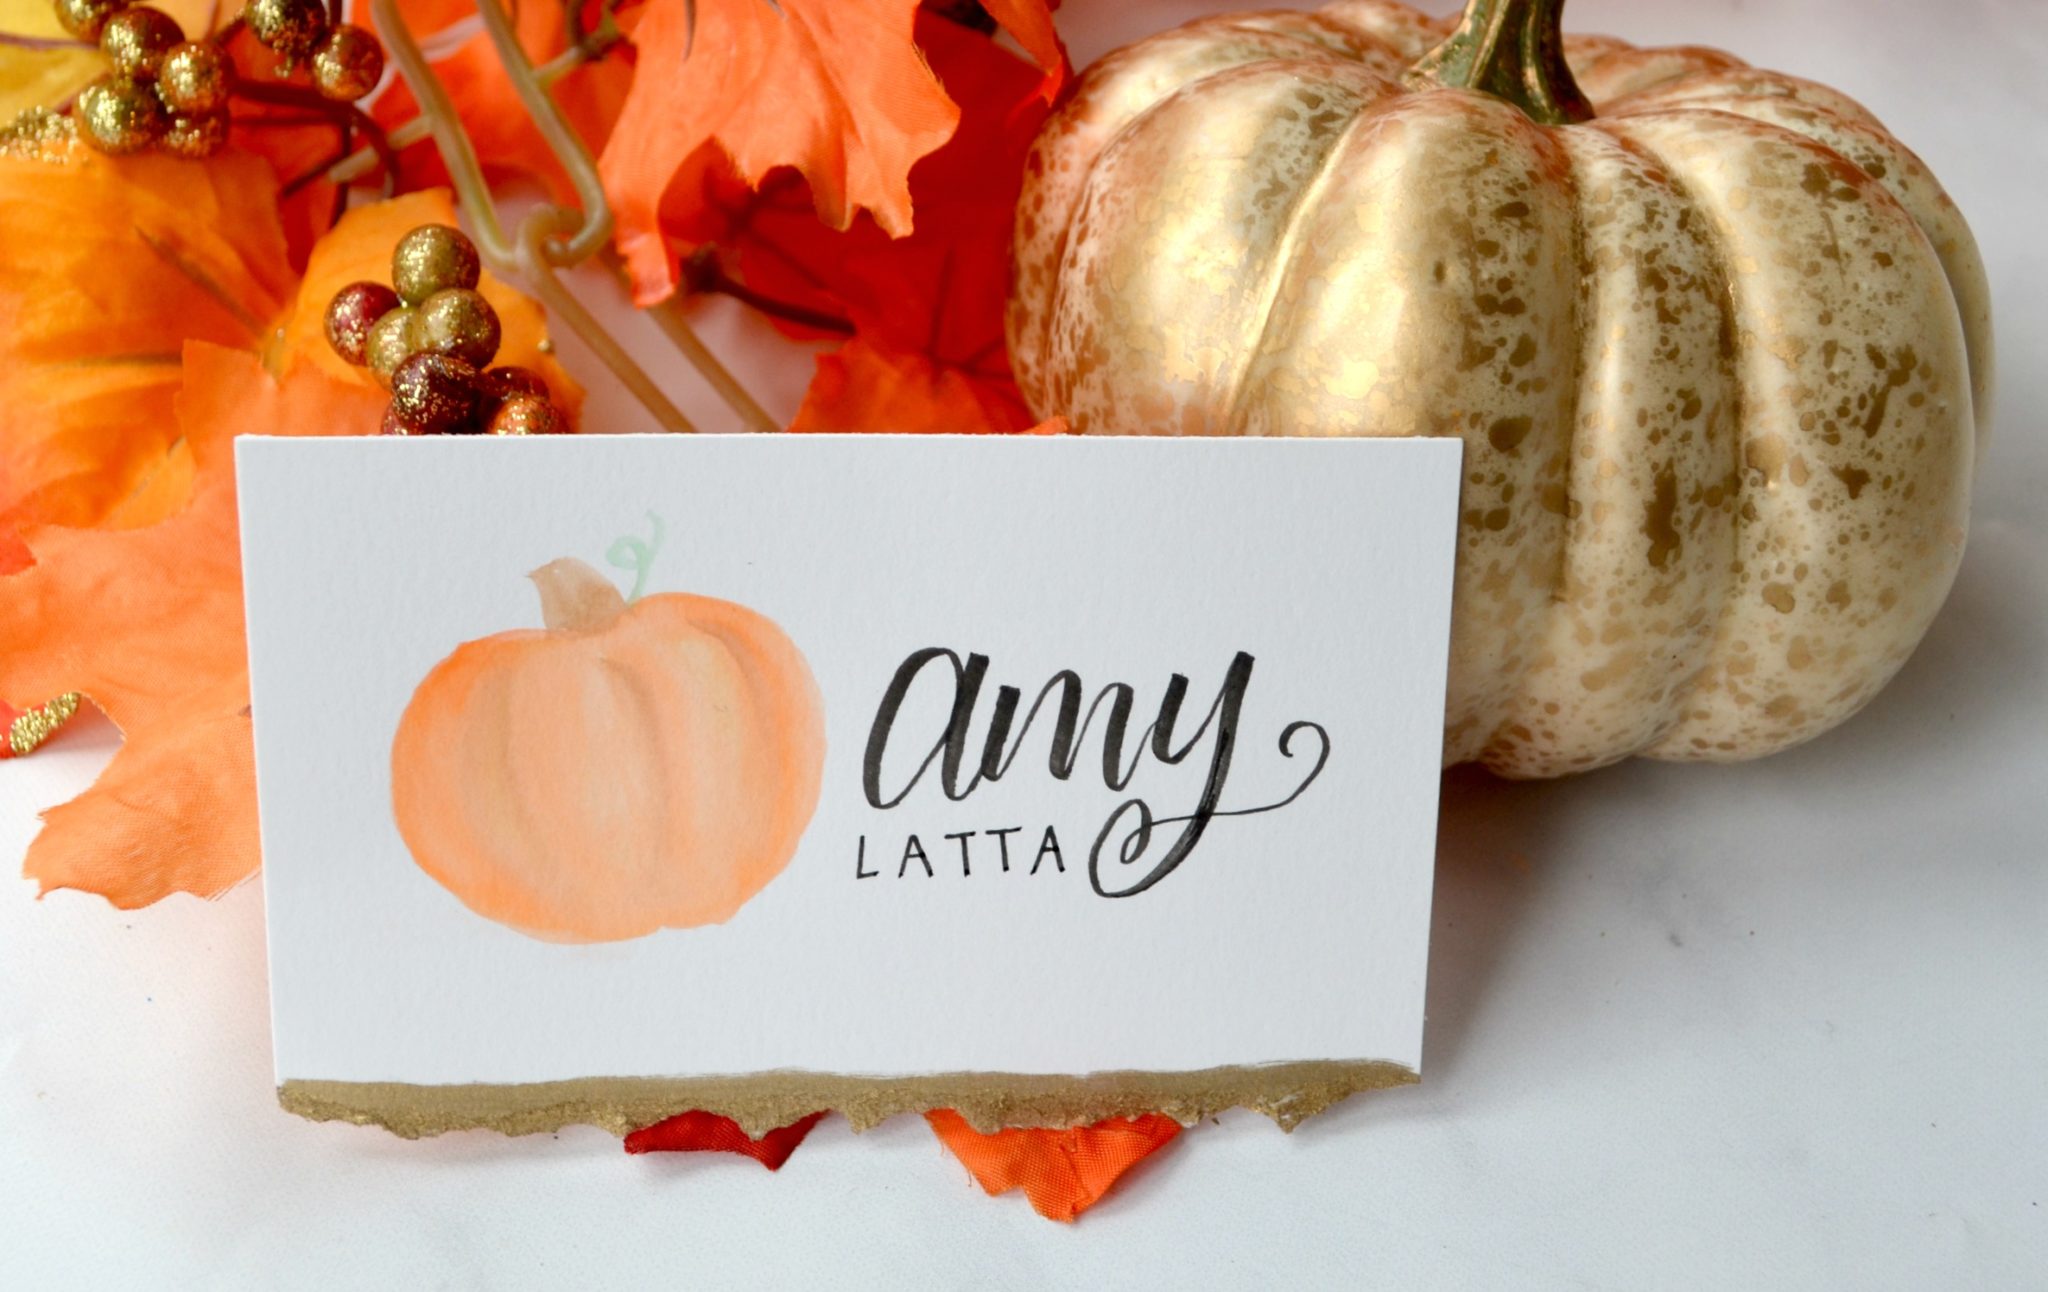
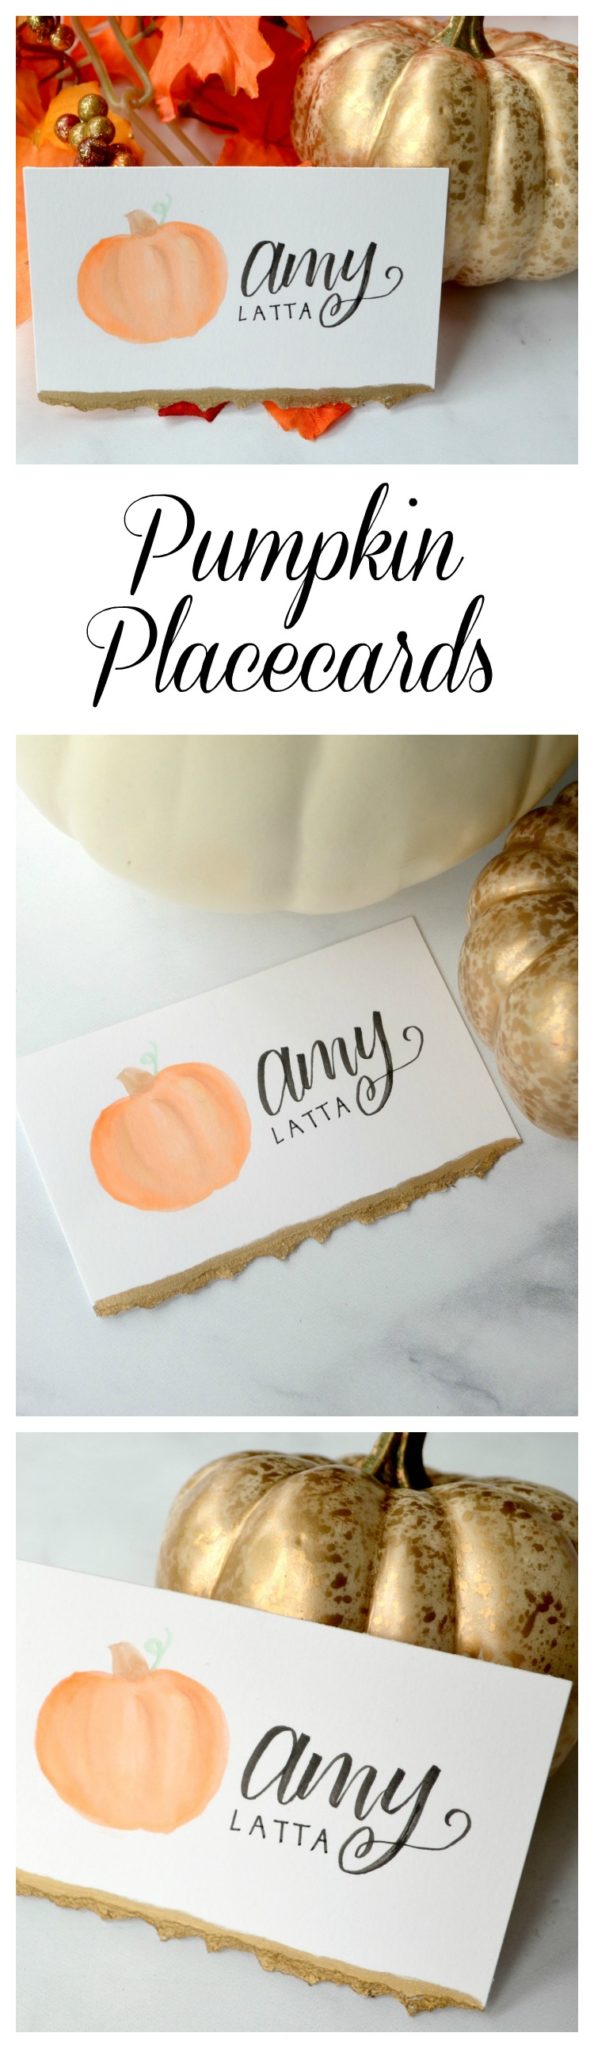
DIY Pumpkin Placecards
September is almost half over already, which means it’s time to start thinking about all things Fall! Here is a quick and easy placecard idea you can use to decorate your table for any occasion this season. It’s inexpensive and simple to do, and your guests will love having their own miniature works of art to take home. Take a look…
DIY PUMPKIN PLACECARDS
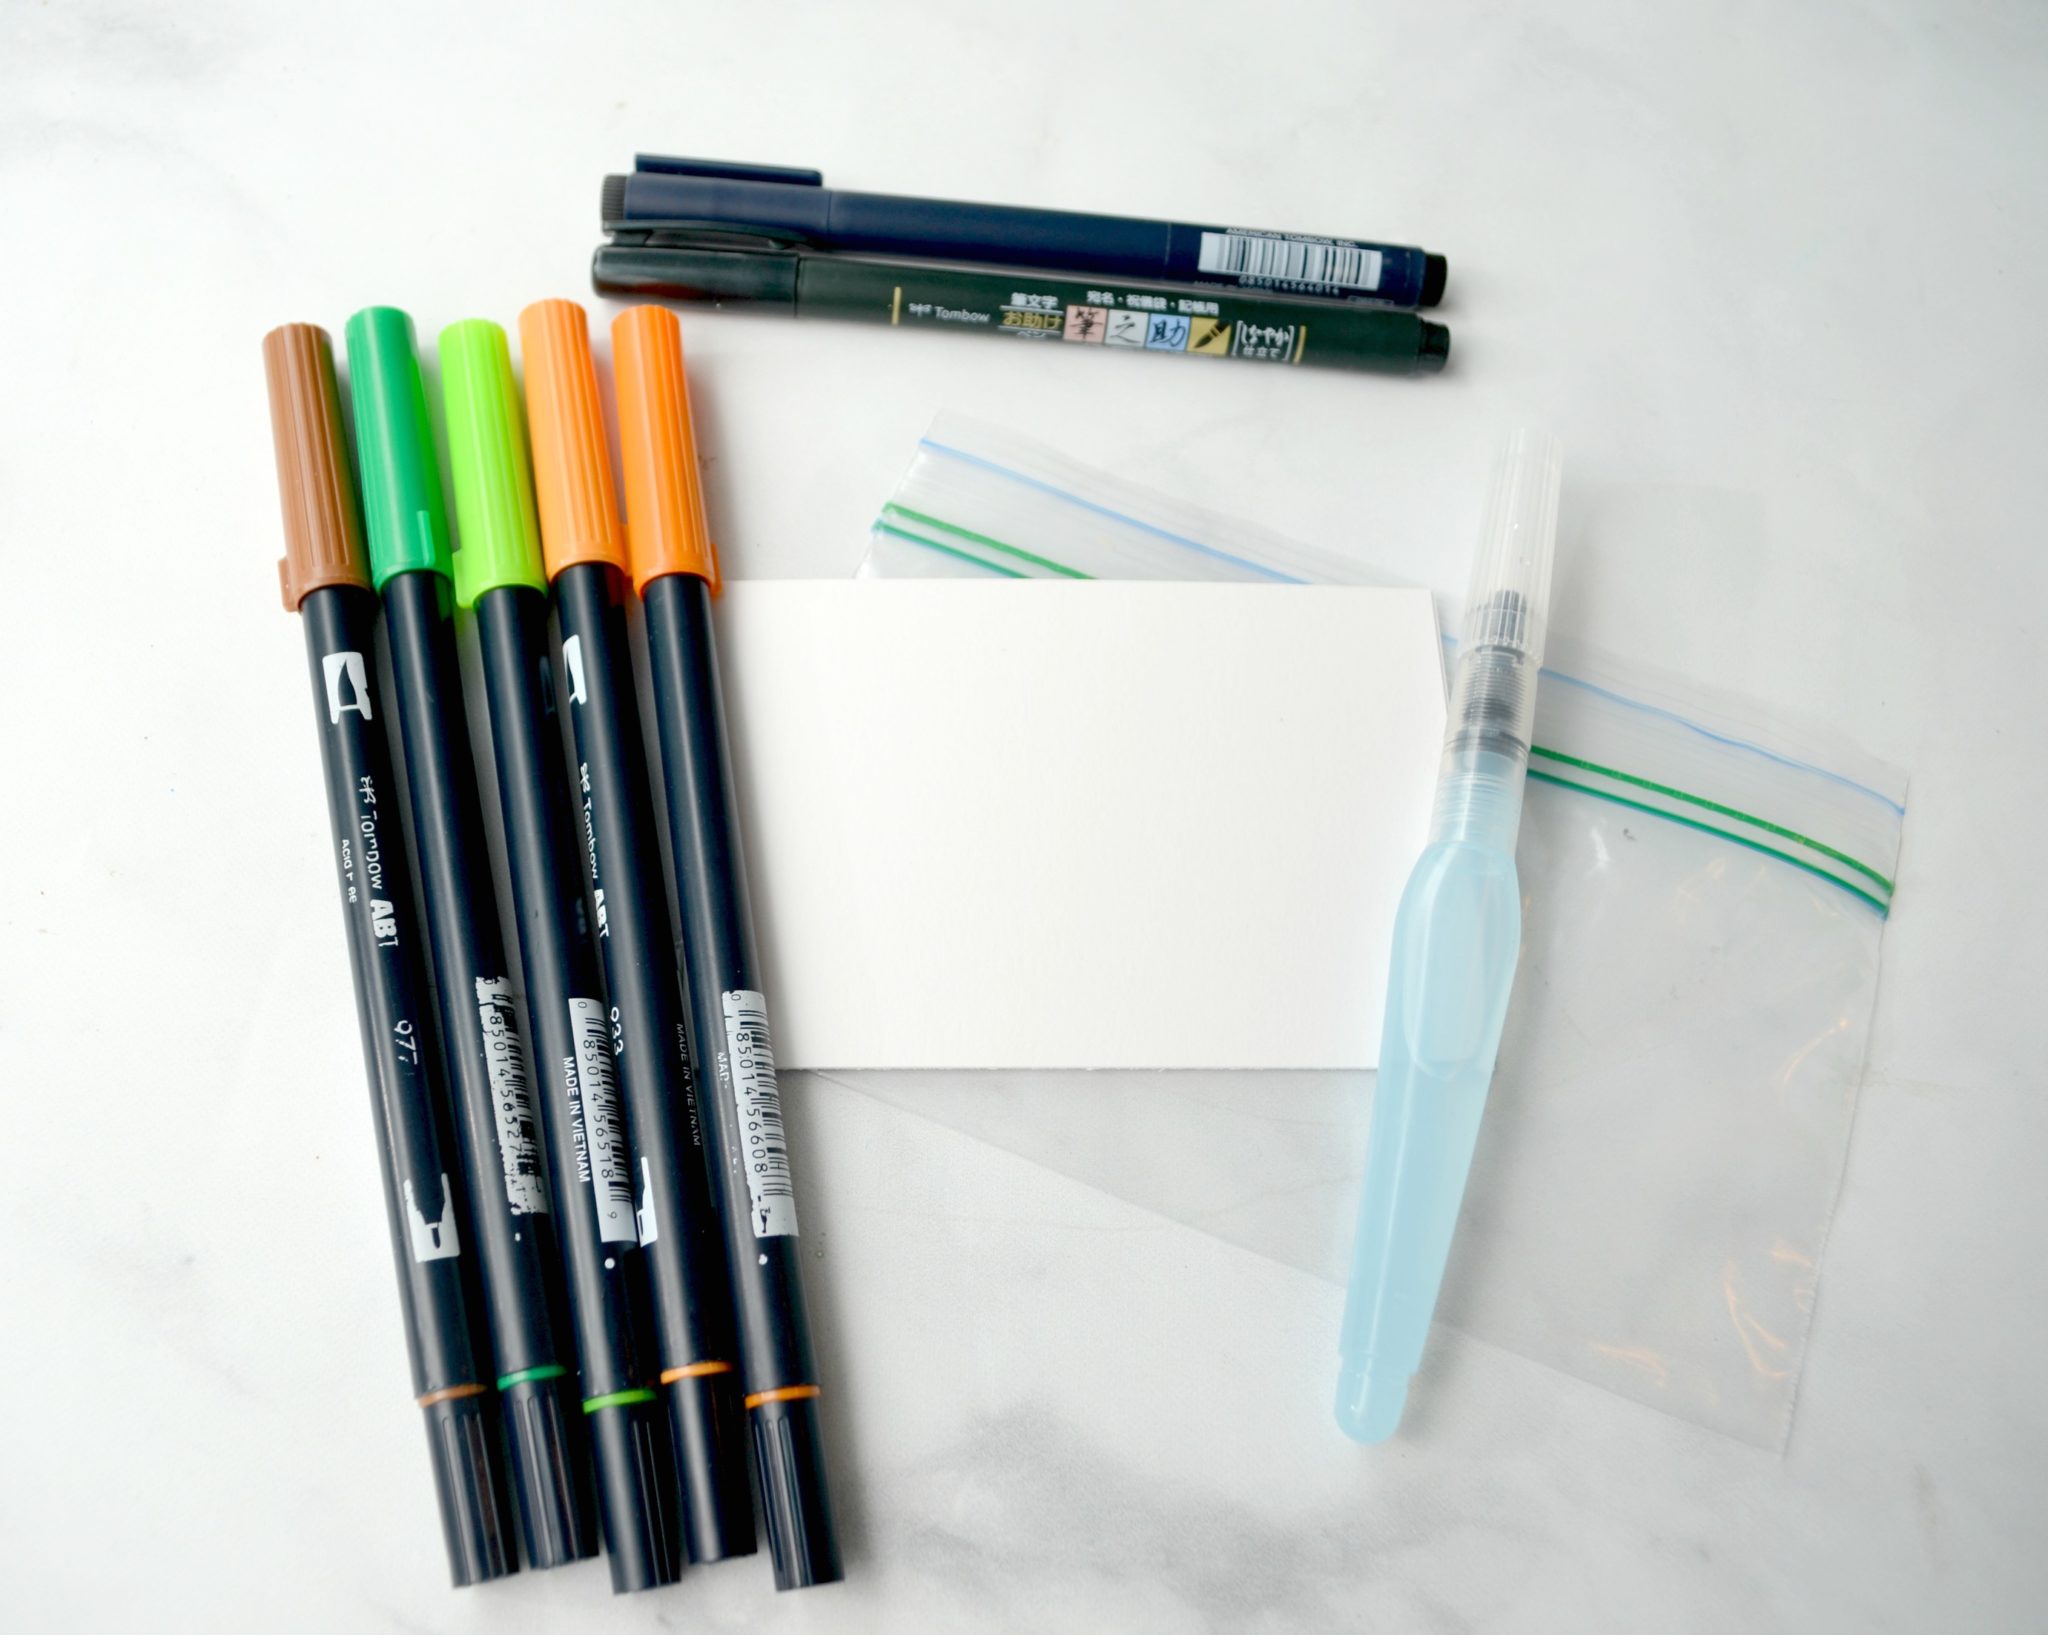
YOU’LL NEED:
white cardstock or bristol board cut into 3″ x 4.5″ pieces
scissors or paper cutter
plastic baggie
Water Based Markers {I used Tombow Dual Brush Pens}
Black Brush Pen {I used the Tombow Fudenosuke Soft Tip}
Fine Black marker {I used the Tombow Mono Drawing Pen 03}
Gold Metallic Paint Pen {I used Elmers Painters}
Aqua Pen filled with water {I used the Pentel Aquash}
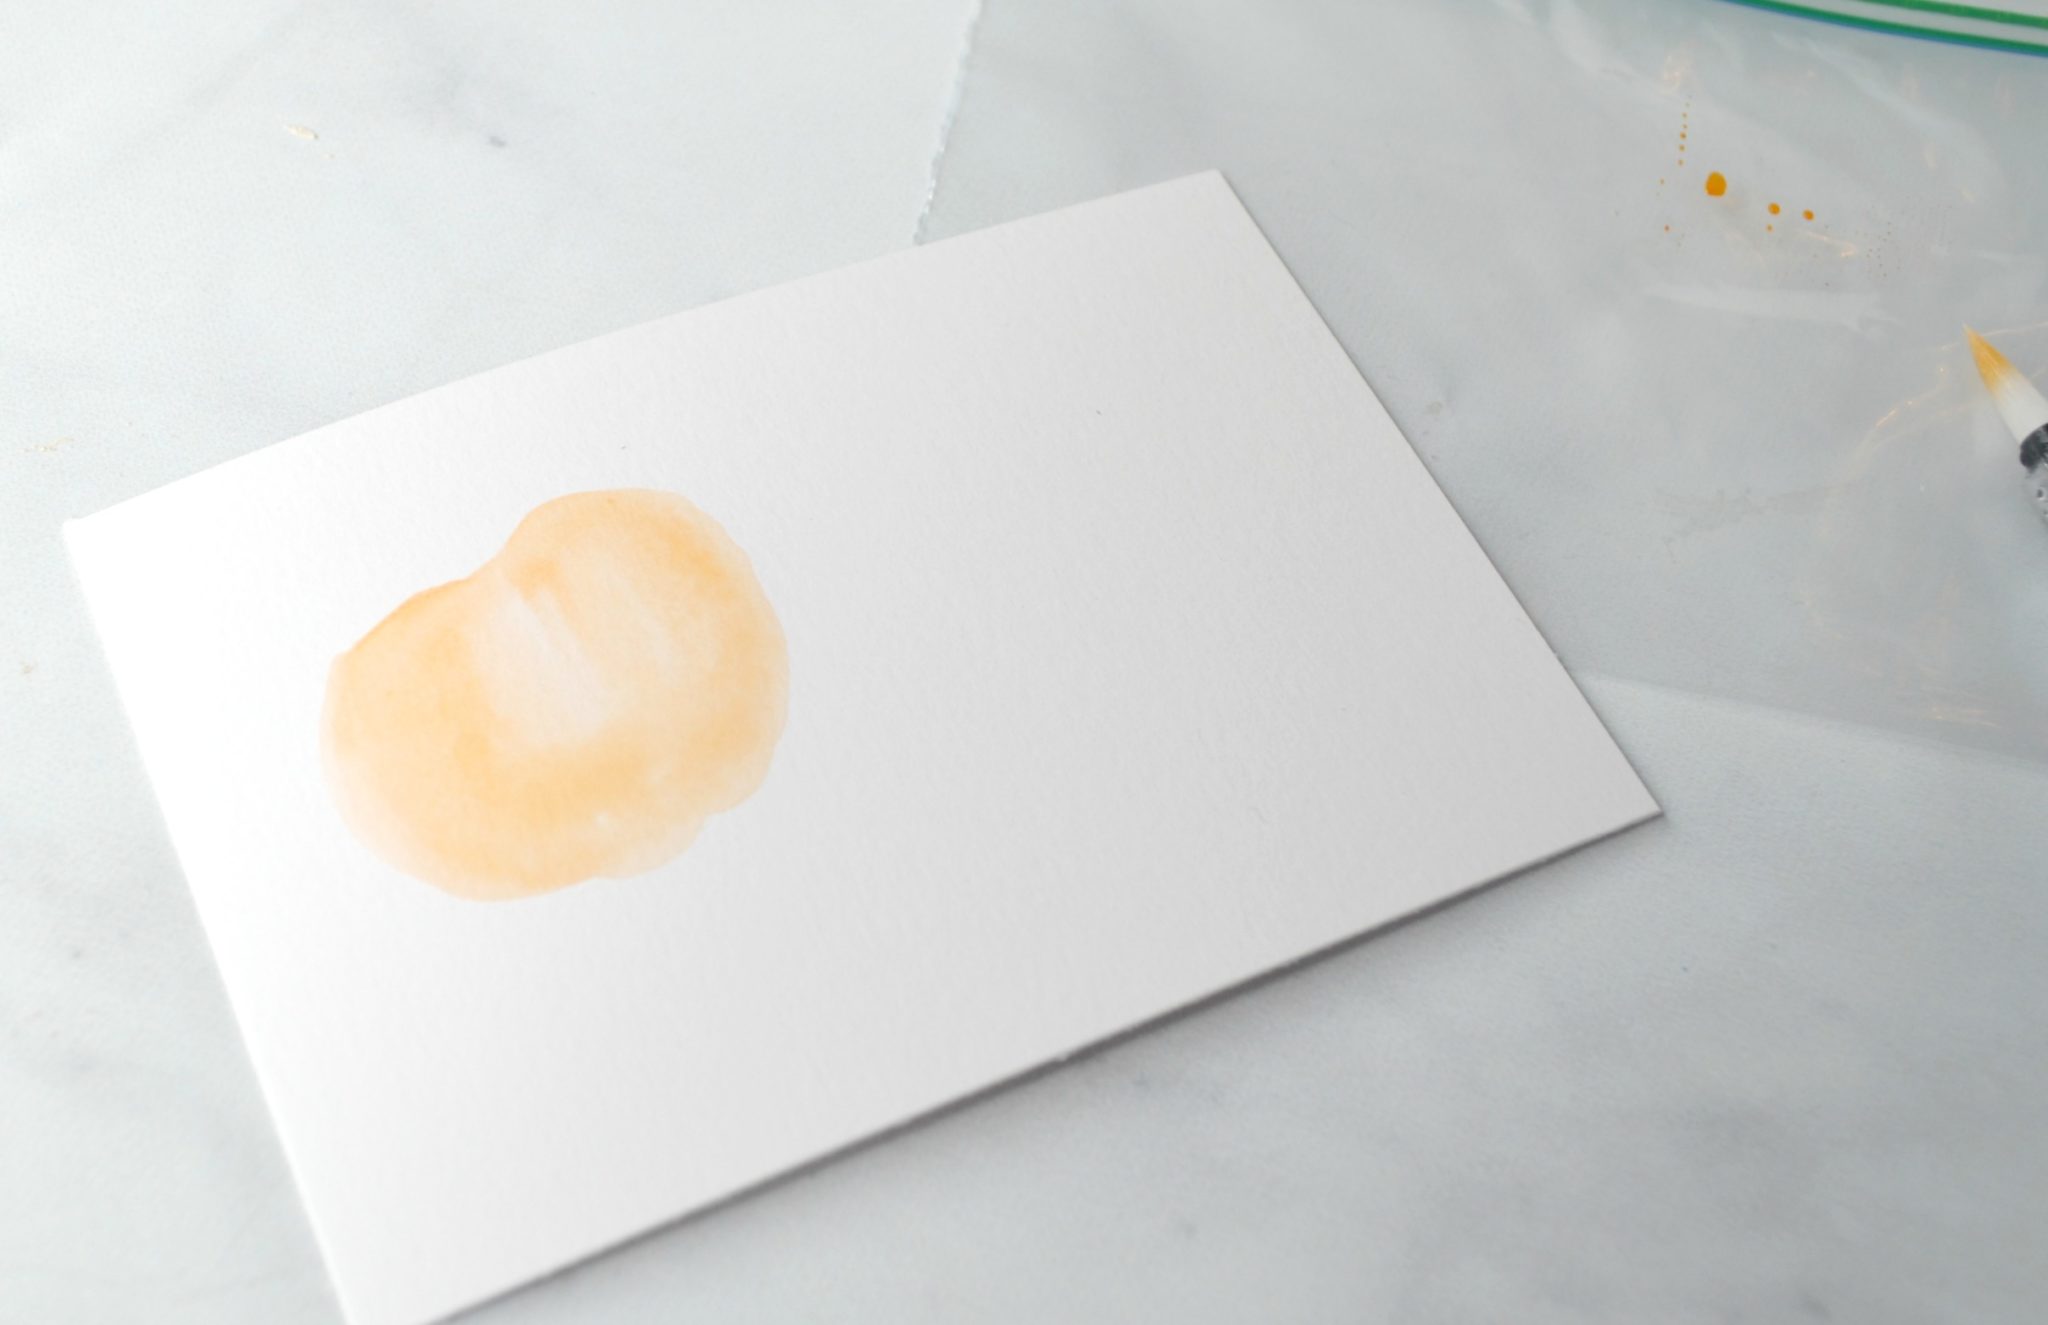
Step 1: Scribble on the plastic bag with your light orange marker.
Because the bag is not absorbent, the ink will sit on top in little droplets, as you see in the photo below. In place of a baggie, you can use any other non-absorbent surface, like the Tombow blending palette or the lid of a plastic container.

Step 2: Dip your Aqua Pen into the orange ink so that it picks up the color, then use the brush to paint a basic pumpkin shape.
This is art, not an exact science, so don’t worry if it doesn’t look perfect. Just paint something that looks round/oval and is orange. If you run out of ink, re-load your Aqua Pen by dipping it into the orange ink on the baggie again.
Step 2: Repeat the same process using a darker orange ink, using it to make the edges of the pumpkin darker.
You can also make some darker shadows in the center area of the pumpkin if you like.
Step 3: Add a stem.
I used a light brown marker and repeated the same steps, painting a little rectangle that is larger at the bottom than the top. I also made a few brown lines on my pumpkin to create some shadows.
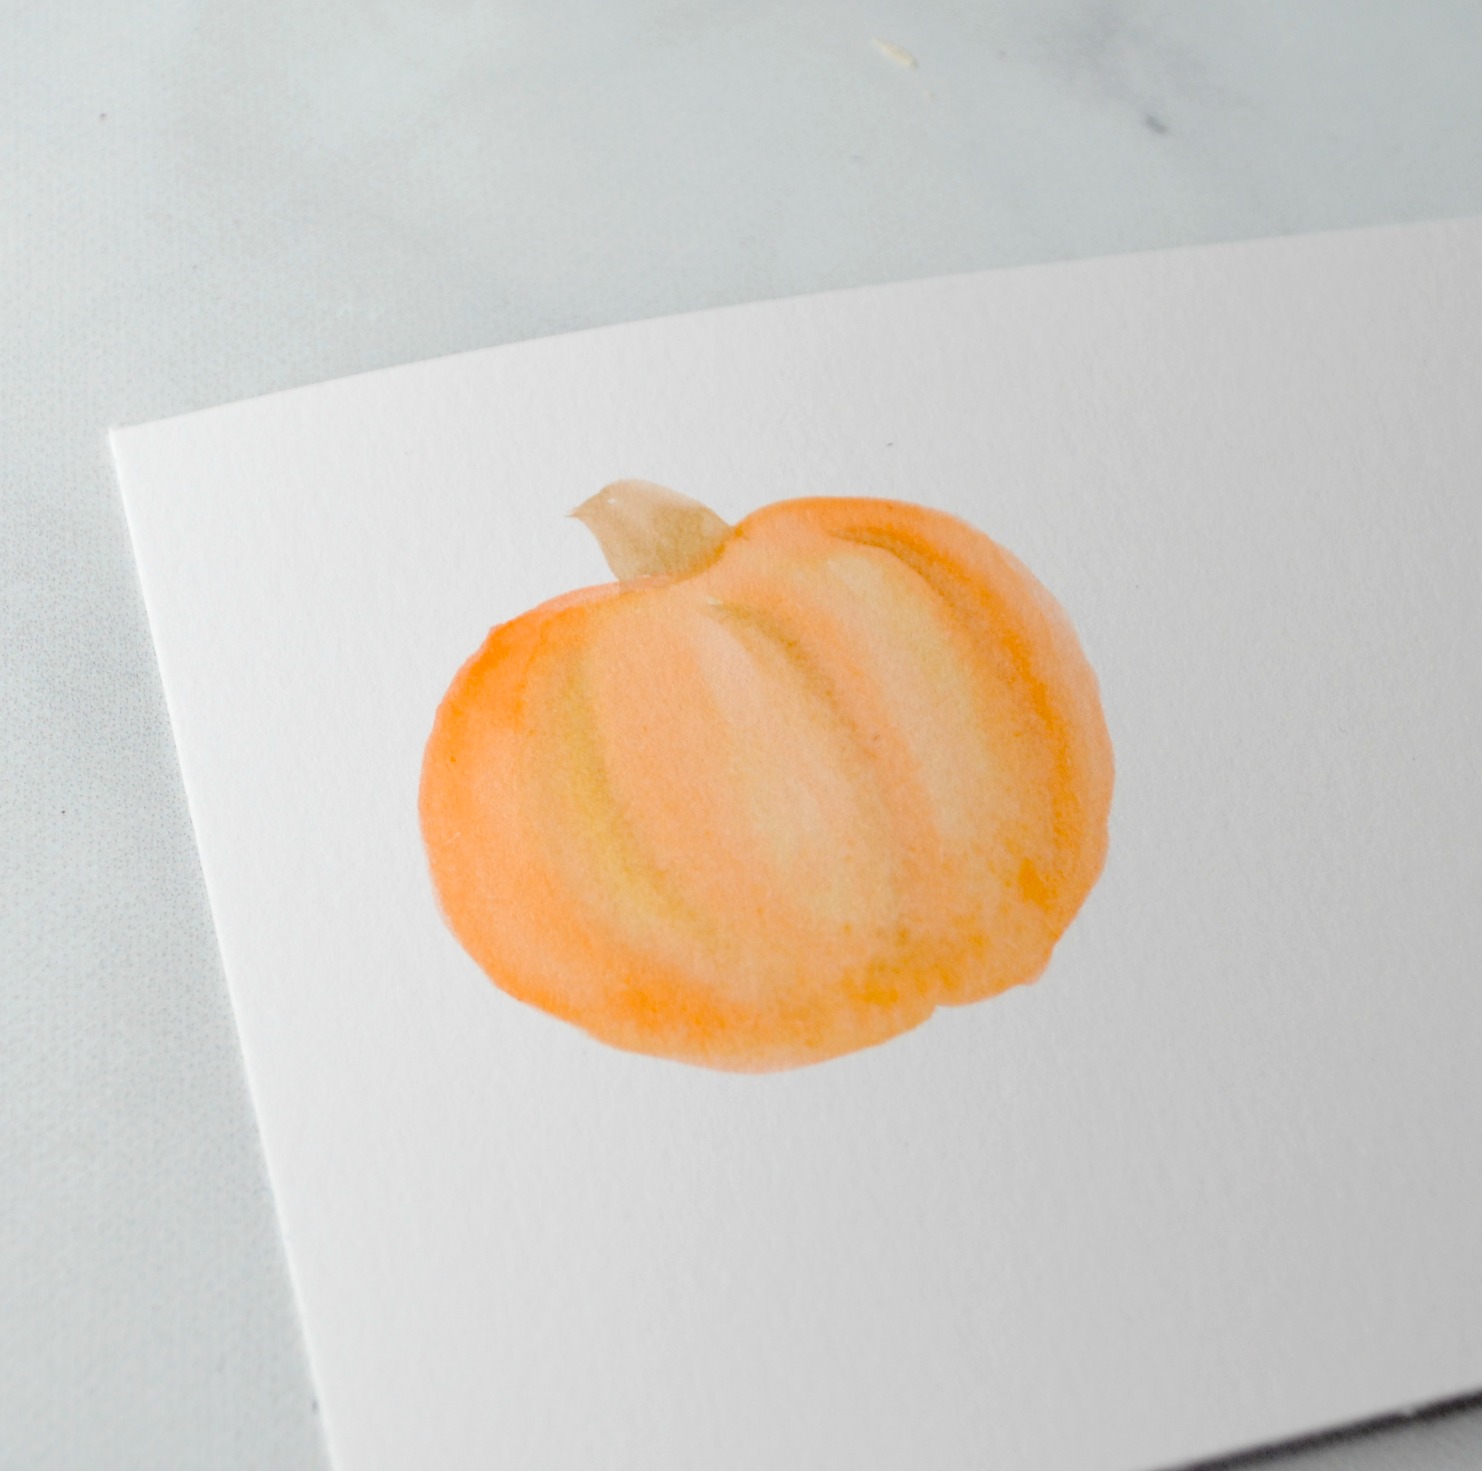
If you like, you can use a green marker to add a little curling vine next to the stem.
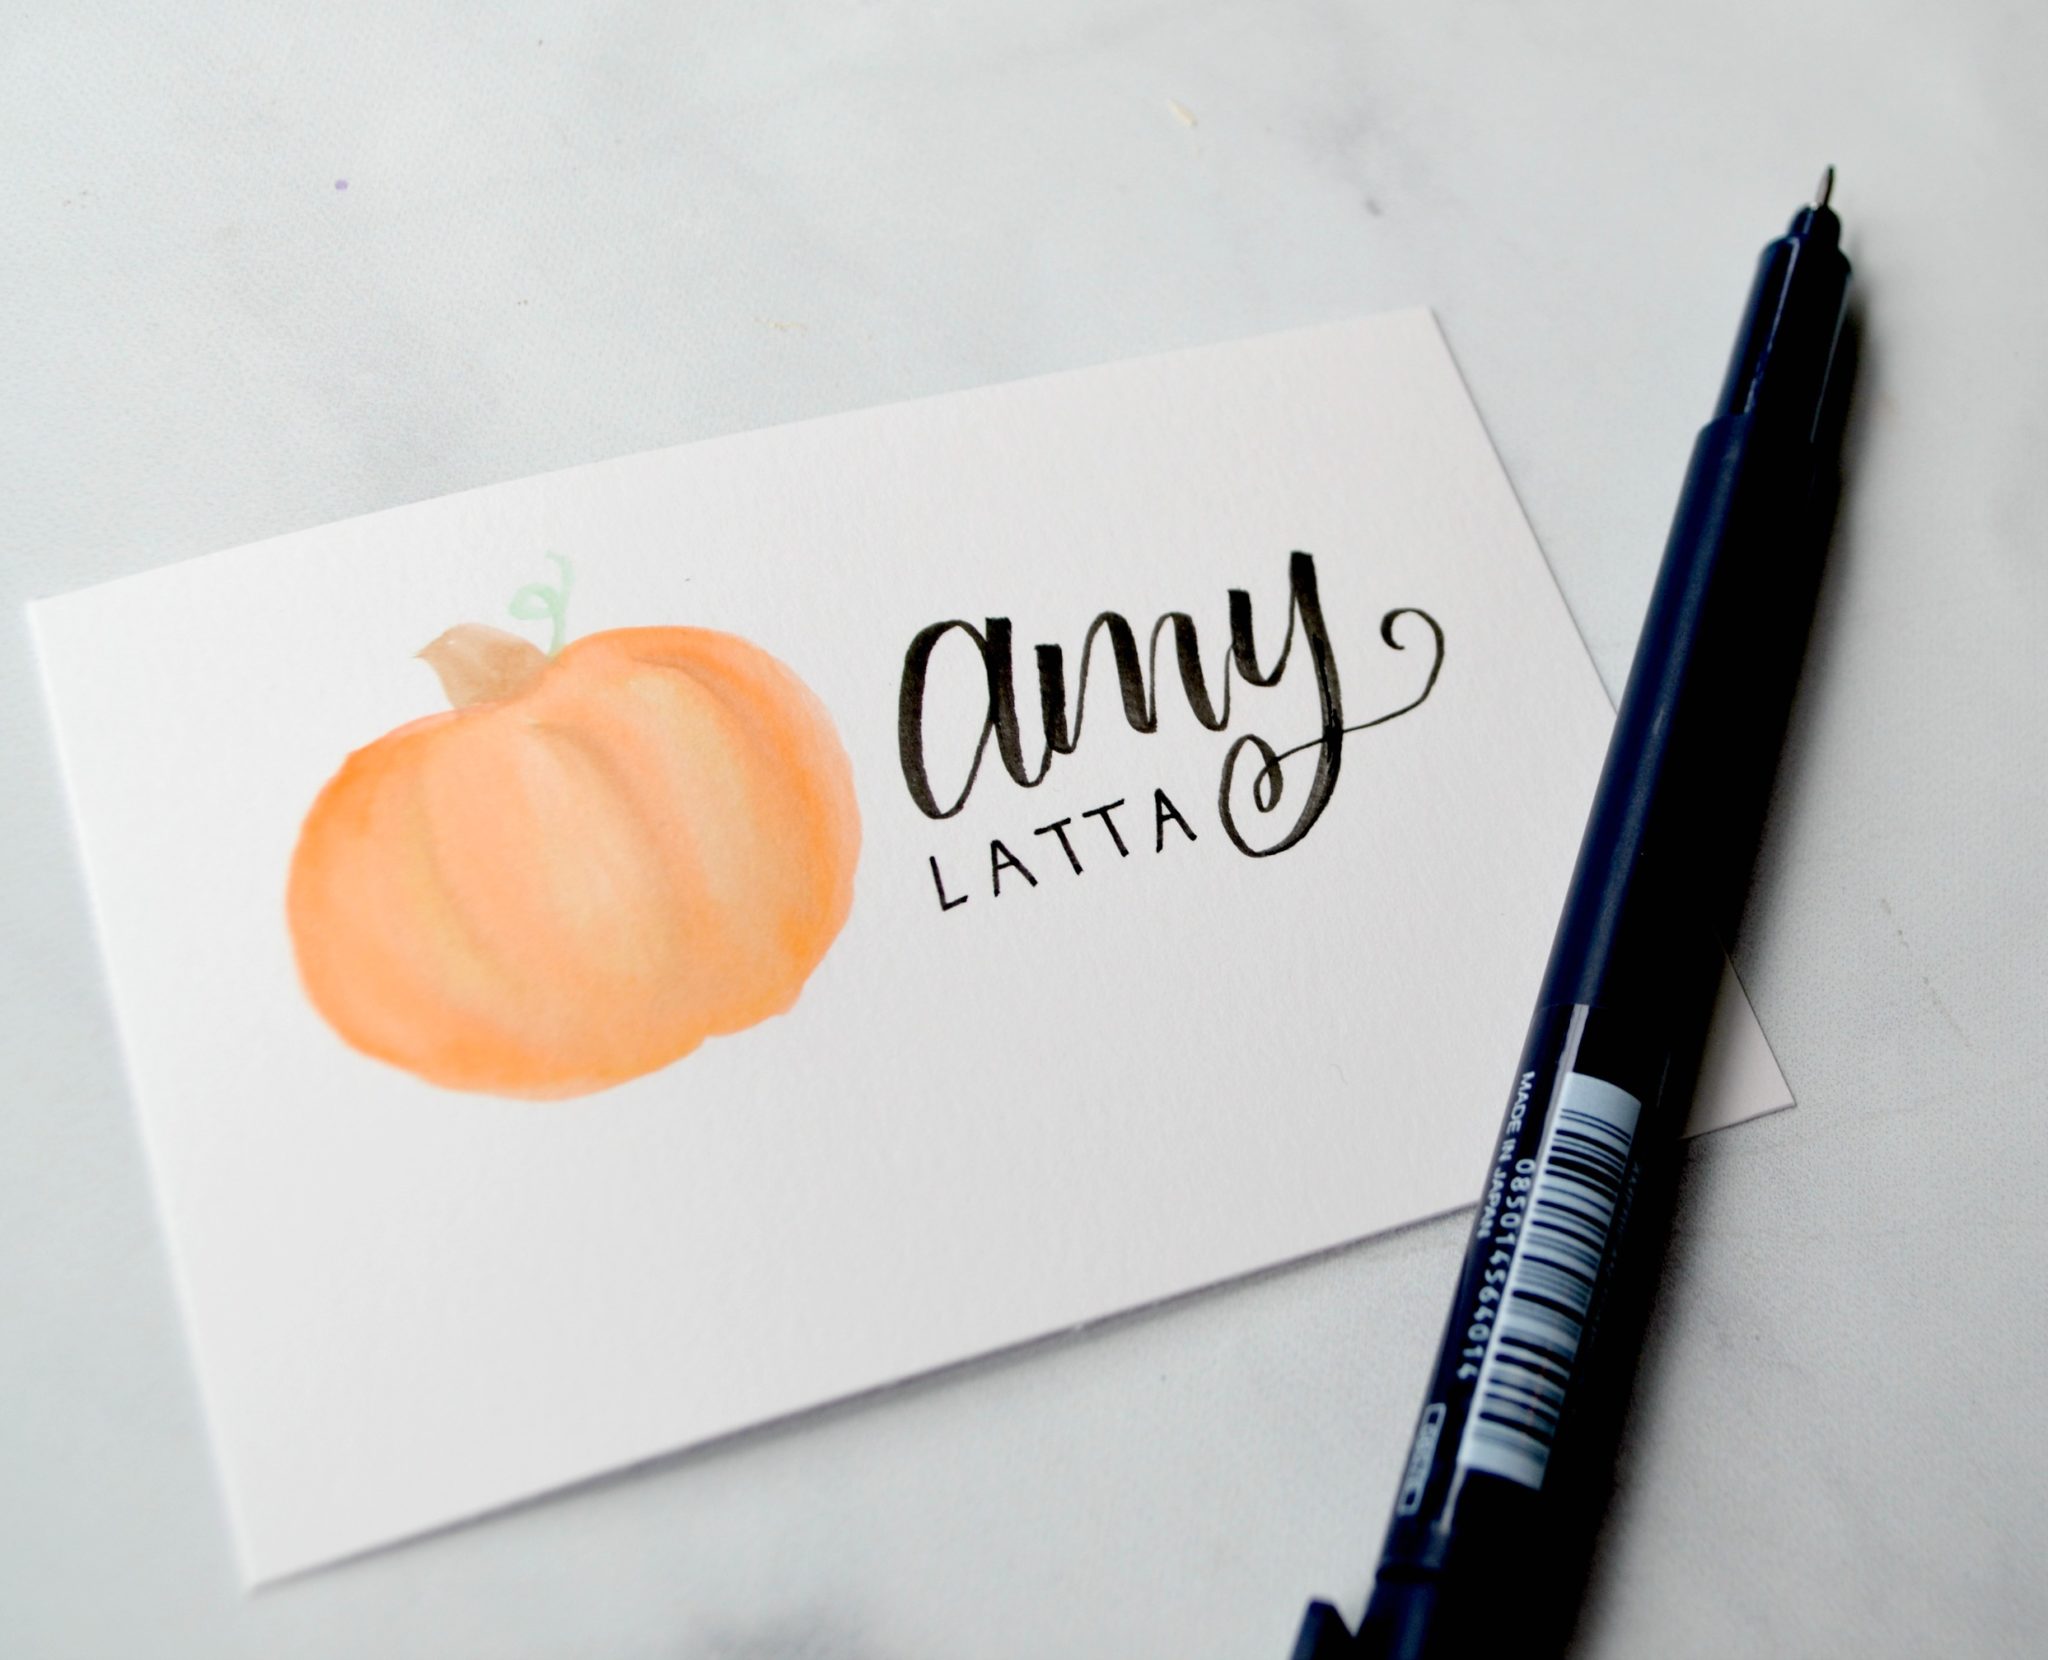
Step 4: Hand letter your guest’s name to the right of the pumpkin.
I used Brush Script for the first name, then printed the last name in small capital letters below it. If you’re new to lettering, trust me, it’s totally do-able! Check out my Faux Calligraphy tutorial and you’ll be creating beautiful letters in no time. Or, if you want to try the real brush technique, check out my brush lettering tutorial here.
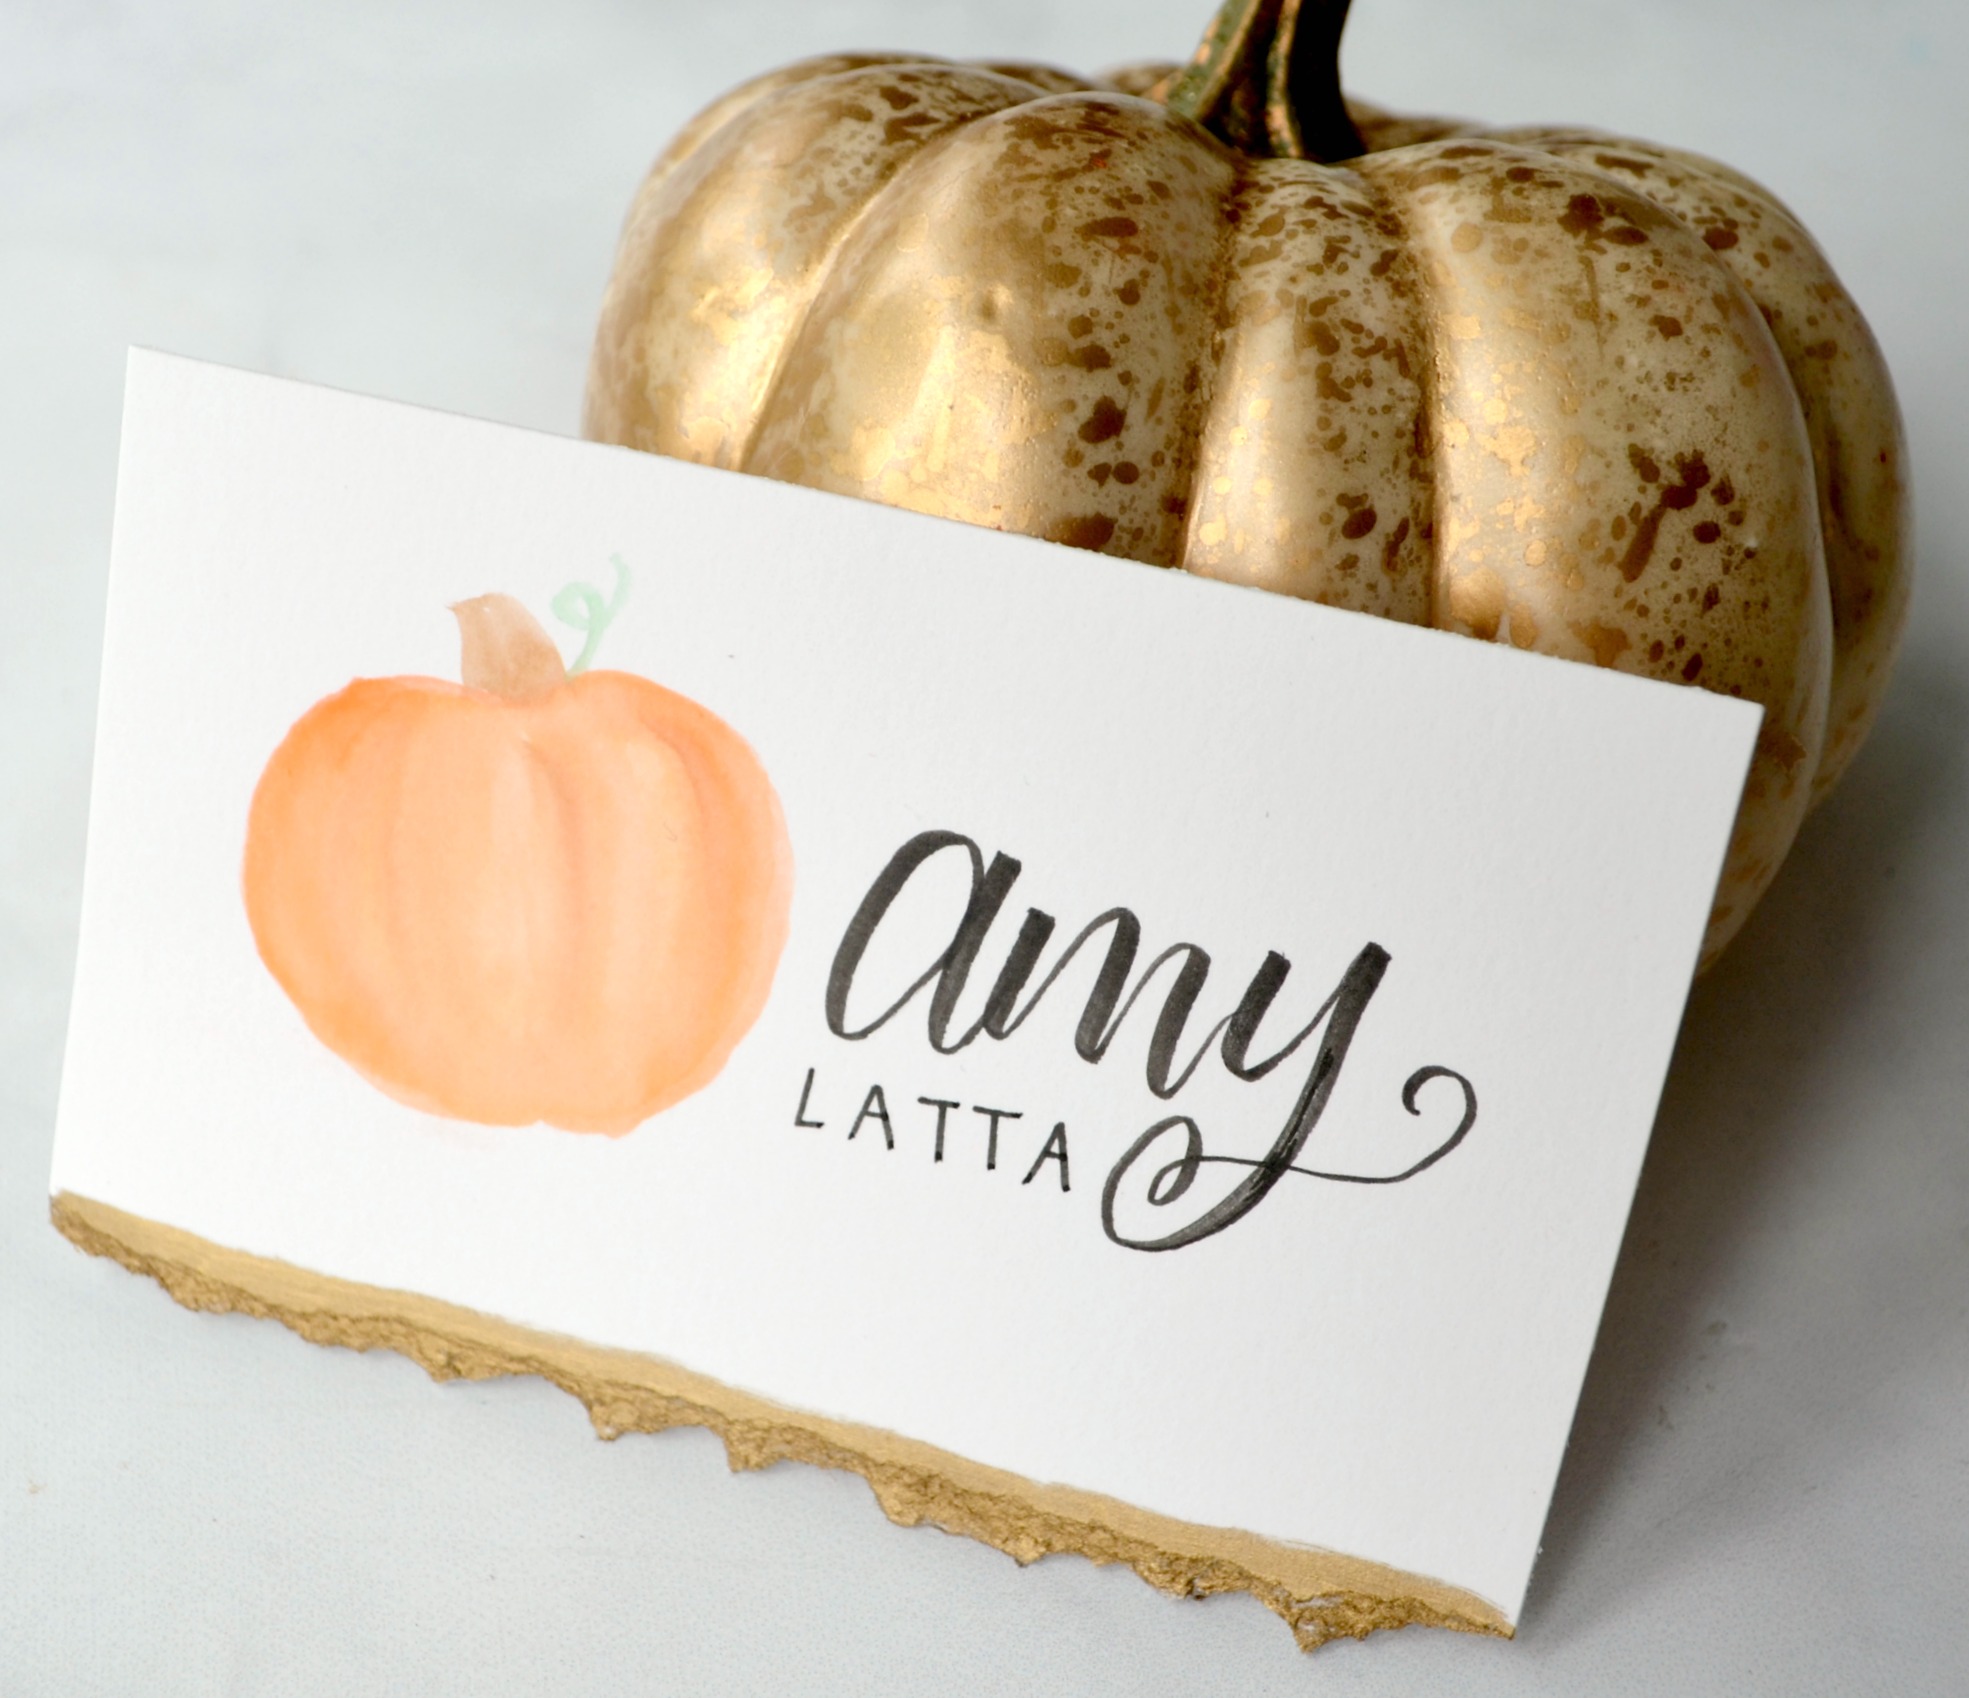
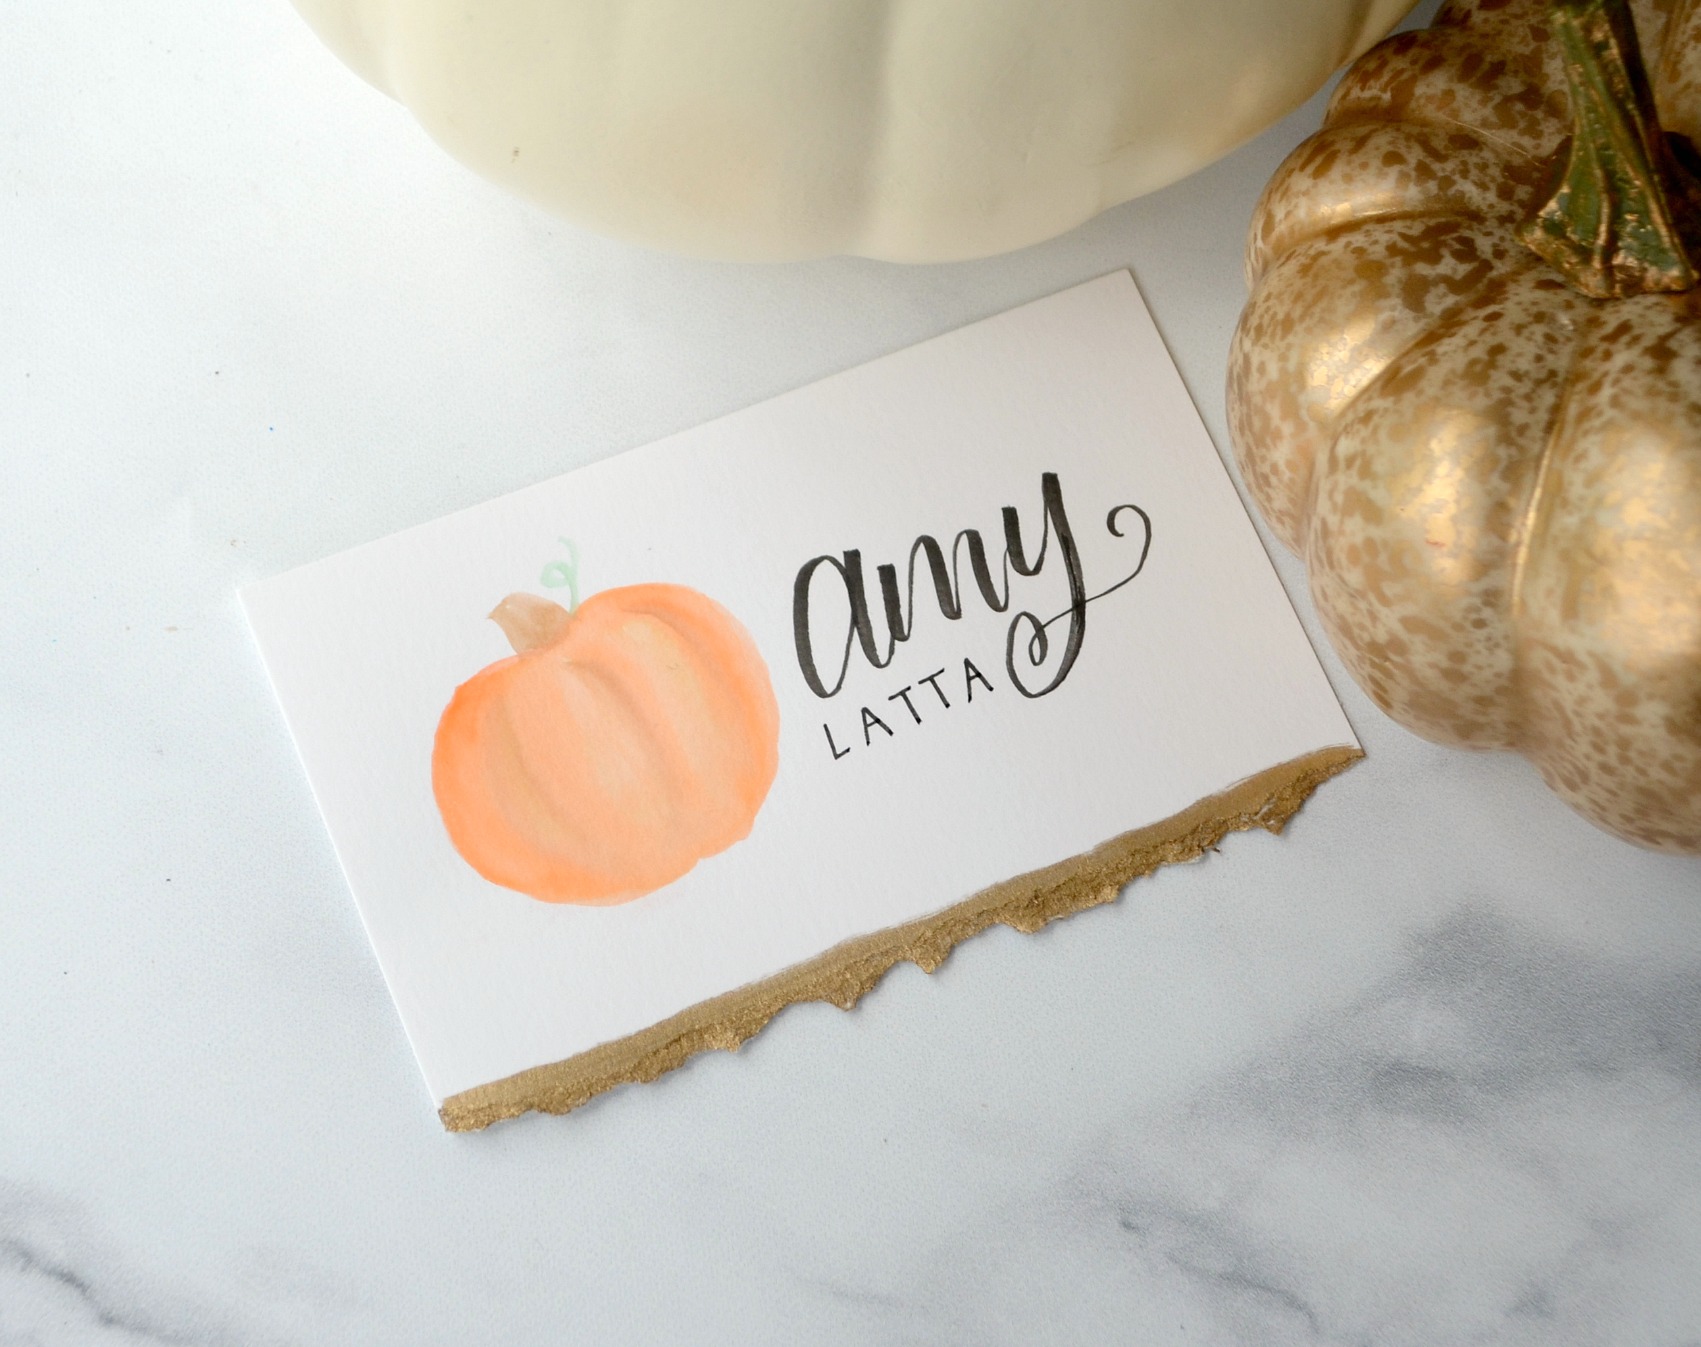
Step 5: Carefully rip the bottom edge of the paper.
You’ll want to tear toward yourself, ripping slowly and carefully to keep it pretty even.
Step 6: Color the ripped edge with a gold paint pen.
This will make it shine and give it an added touch of elegance!
That’s all there is to it! Now you’re ready to set your table for fall entertaining!
The best part is that each placecard will be one of a kind, and you can vary the sizes and positions of the pumpkins if you really want to make them unique. They’re super quick and inexpensive to make, and your guests will want to save them forever. What do you think?
I’d love to see your photos of this or any other projects you’re creating in the Amy Latta & Friends Facebook group. Don’t forget, before you go…
If you like it, then you oughta put a Pin on it!

2 Comments