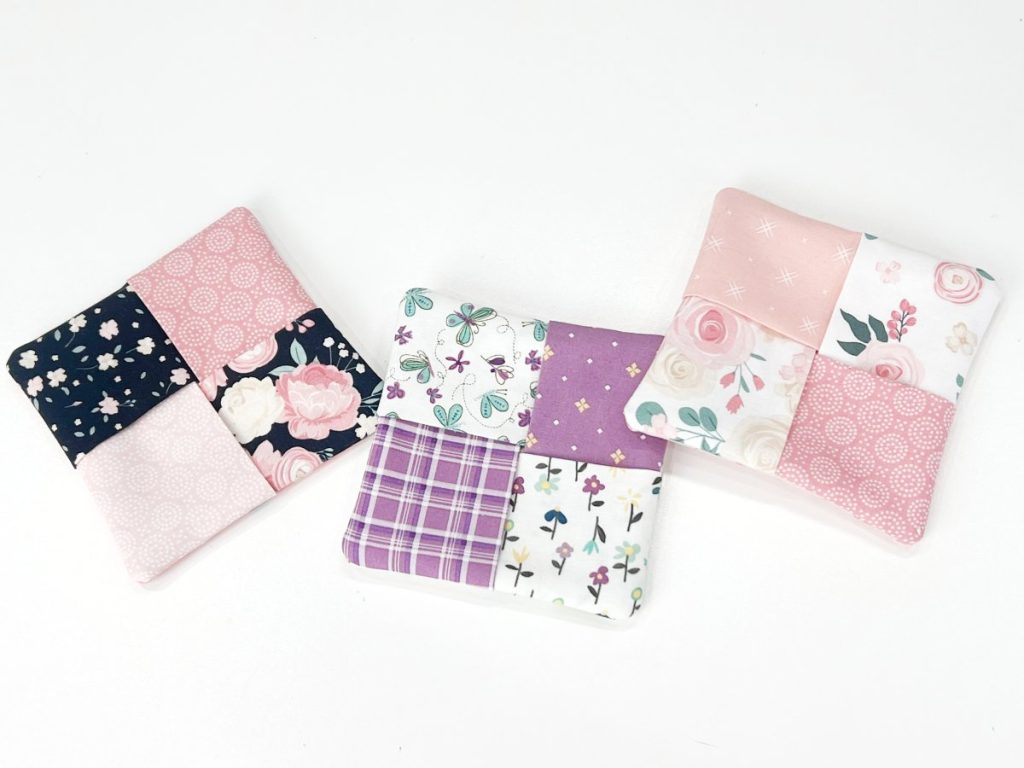
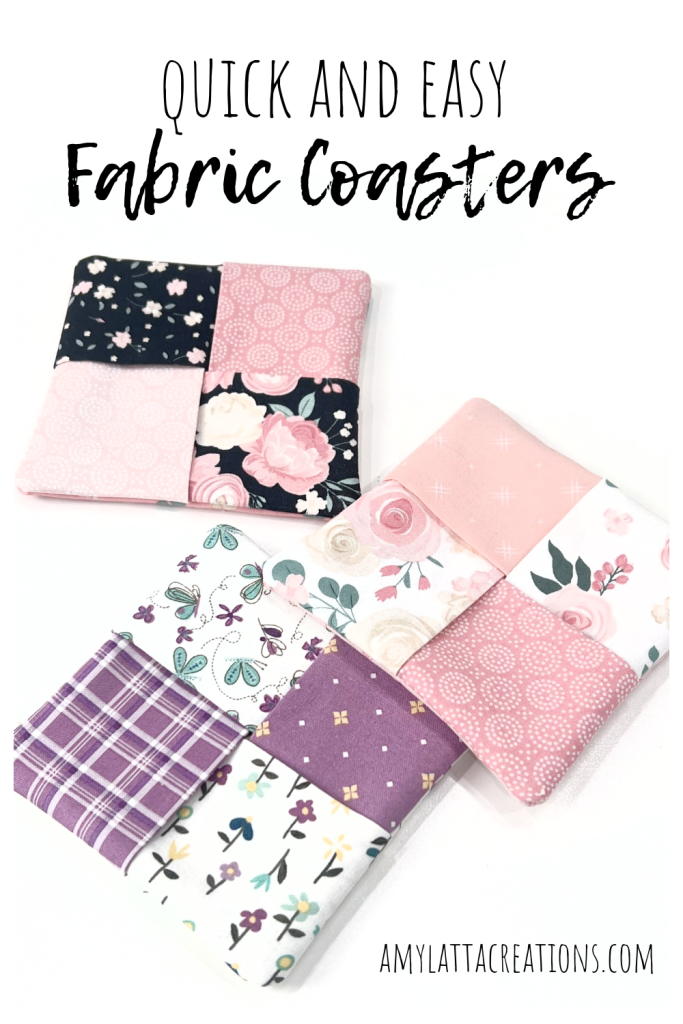
Easy Fabric Coasters
Here’s a quick, super-easy sewing project that anyone can create. Make these fabric coasters using just six squares of fabric and a small piece of batting. Take a look:
How To Make A Fabric Coaster
Supplies:
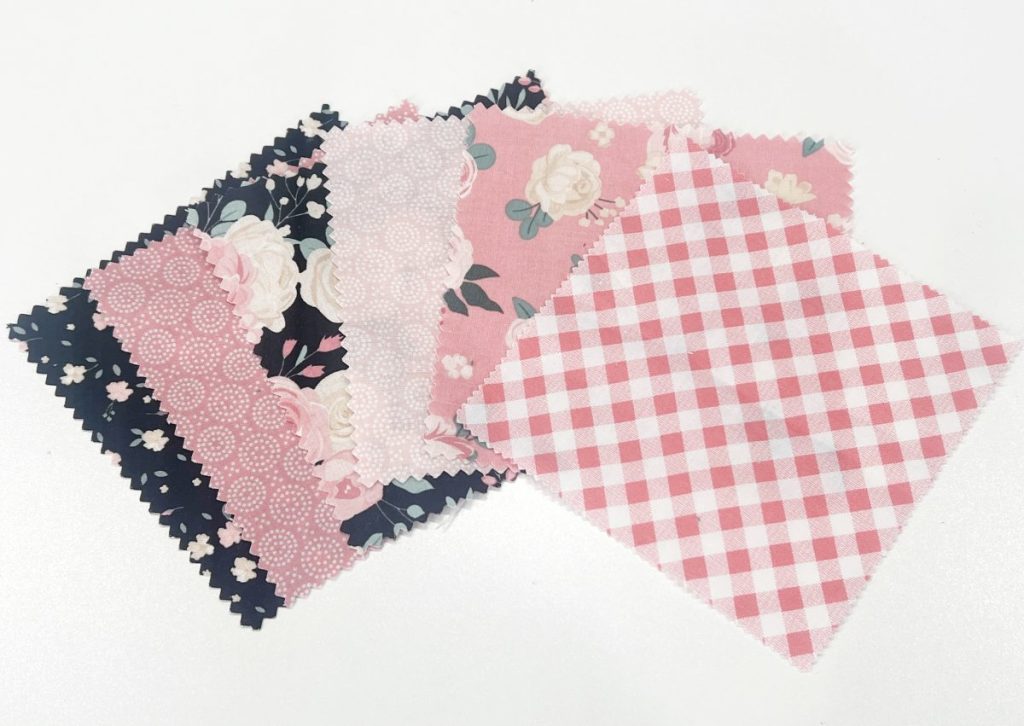
(6) 5” squares of fabric
(1) 5” square of batting
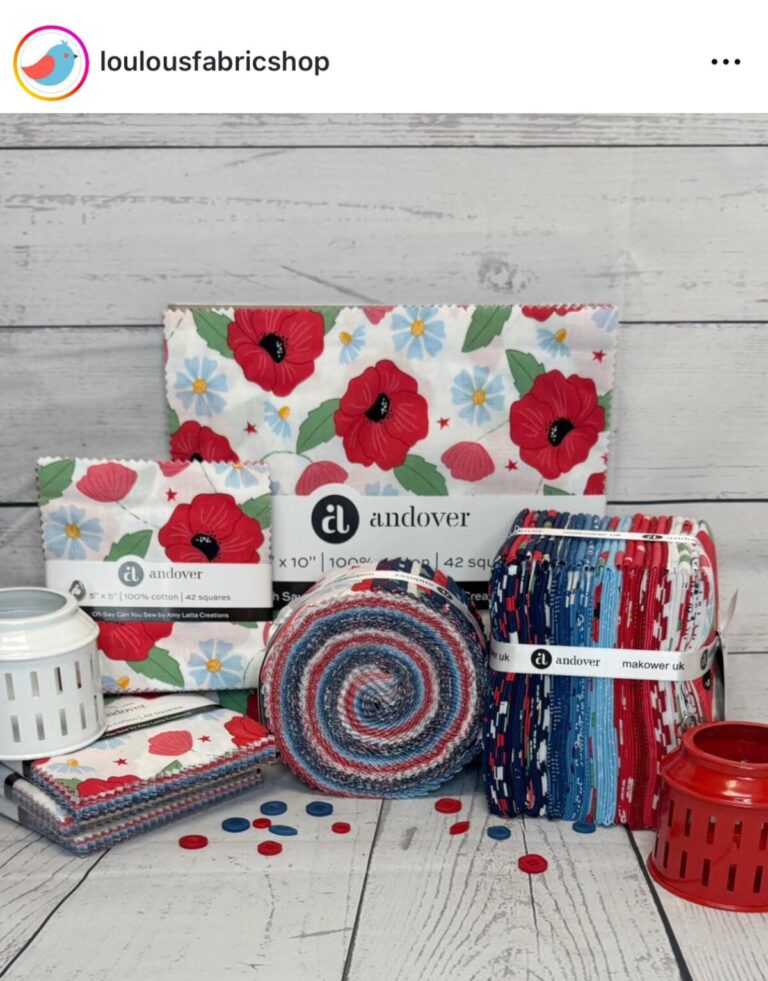
I like using charm packs, which are precut 5” squares from a collection of coordinating fabrics. One of the squares will be the back of the coaster, four will be visible on top, and one will be completely hidden inside. (You can find tons of fabulous charm packs on the Missouri Star Quilt Company website.)
Instructions
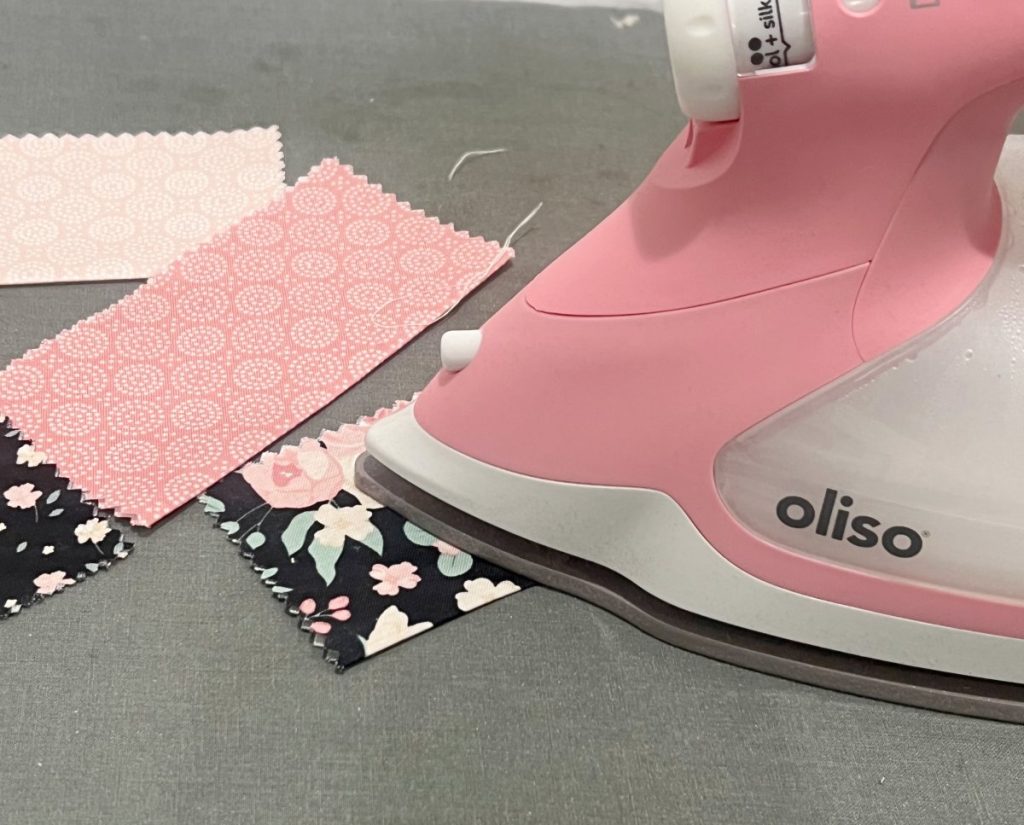
Step 1: Choose your top 4 squares and press them in half, with the right sides facing out.
I like to use two darker fabrics and two lighter ones, but you can use anything you like. You can use four different patterns, or use multiple squares of the same fabric.
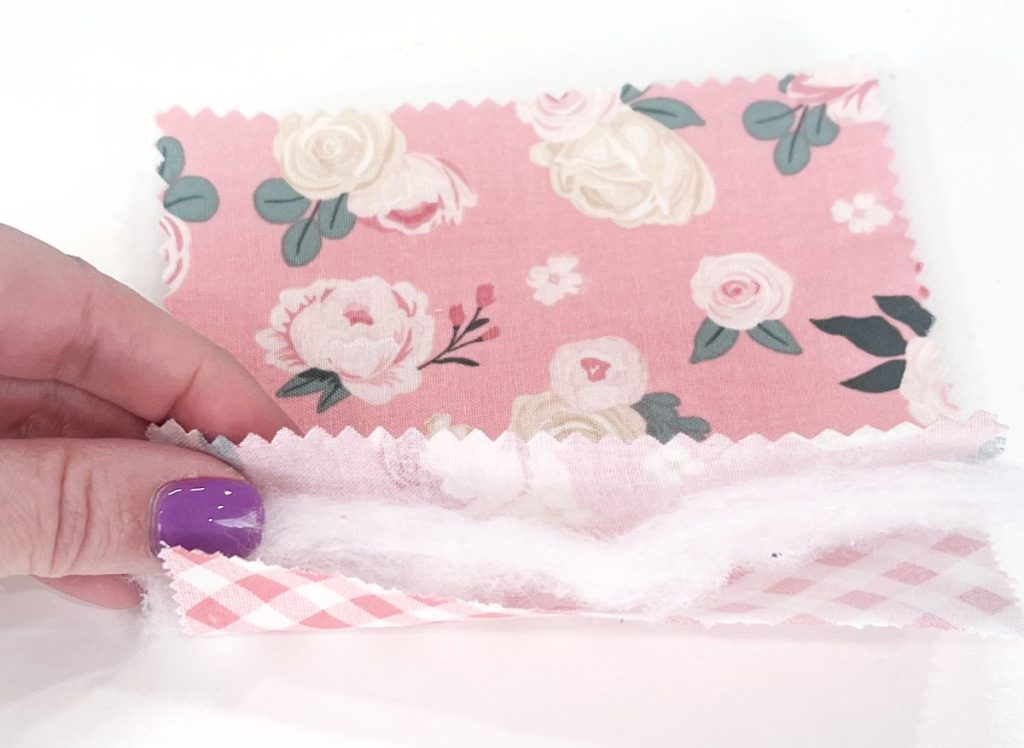
Step 2: Stack your backing, batting, and inside squares.
Start with the inside square on the bottom, face down. Then, put the batting in the center, and the backing piece on top with the right side facing up.
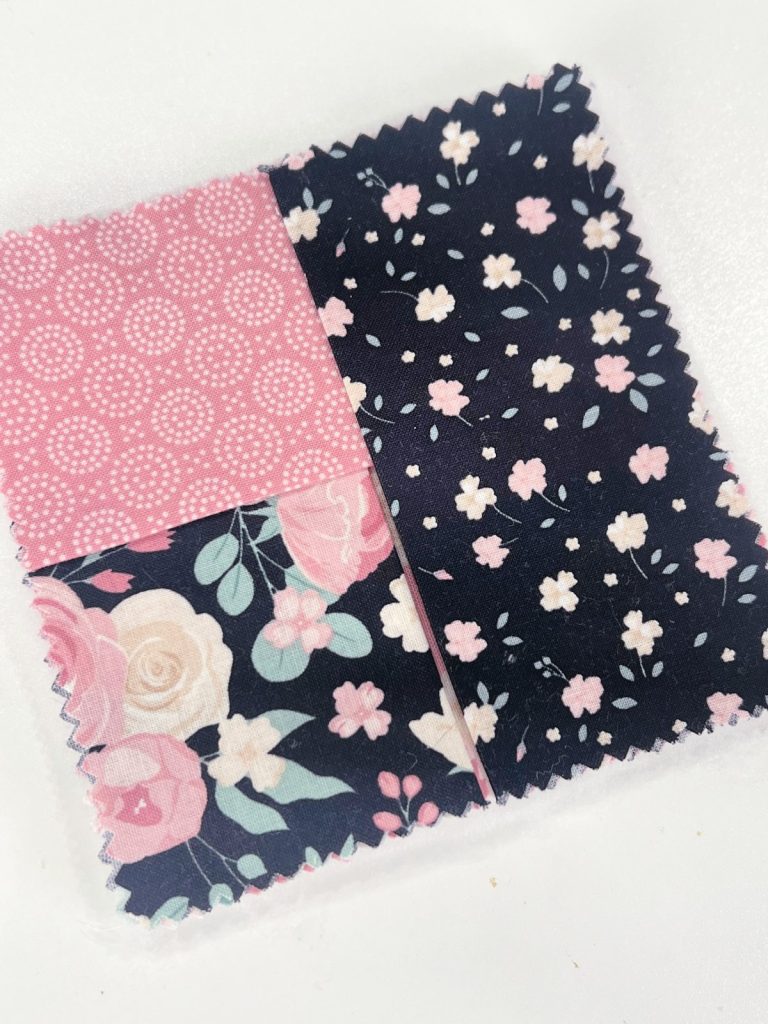
Step 3: Weave your folded pieces.
Now, lay the folded pieces on top of that stack. Place them one at a time with the fold always facing in toward the center. Start on the left, then lay a piece across the top, and a piece on the right side.
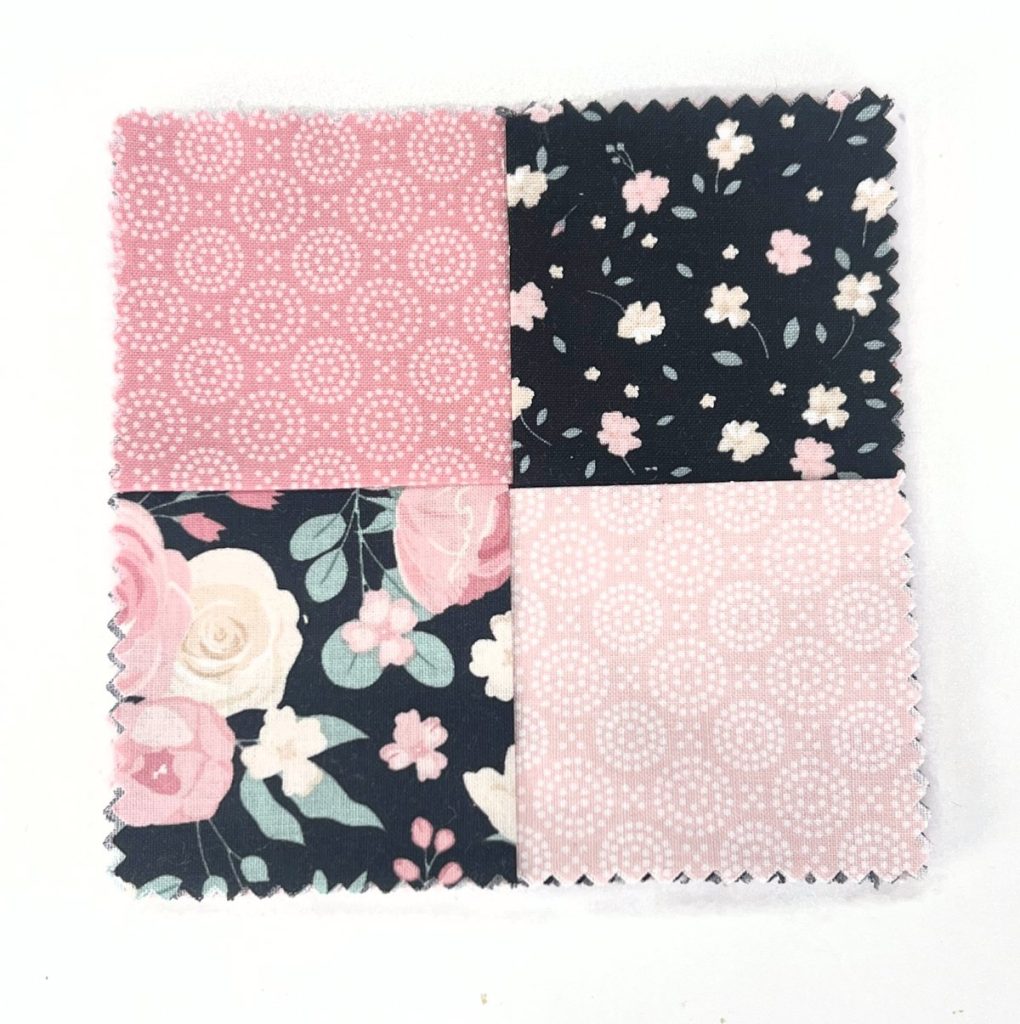
Lay the fourth piece across the bottom. Lift up the piece you started with on the left and tuck this last piece underneath. This will give you a view of all four fabrics, as shown below.
Step 4: Clip or pin the layers together and sew around the edges.
Sew a 1/4” seam around all four edges.
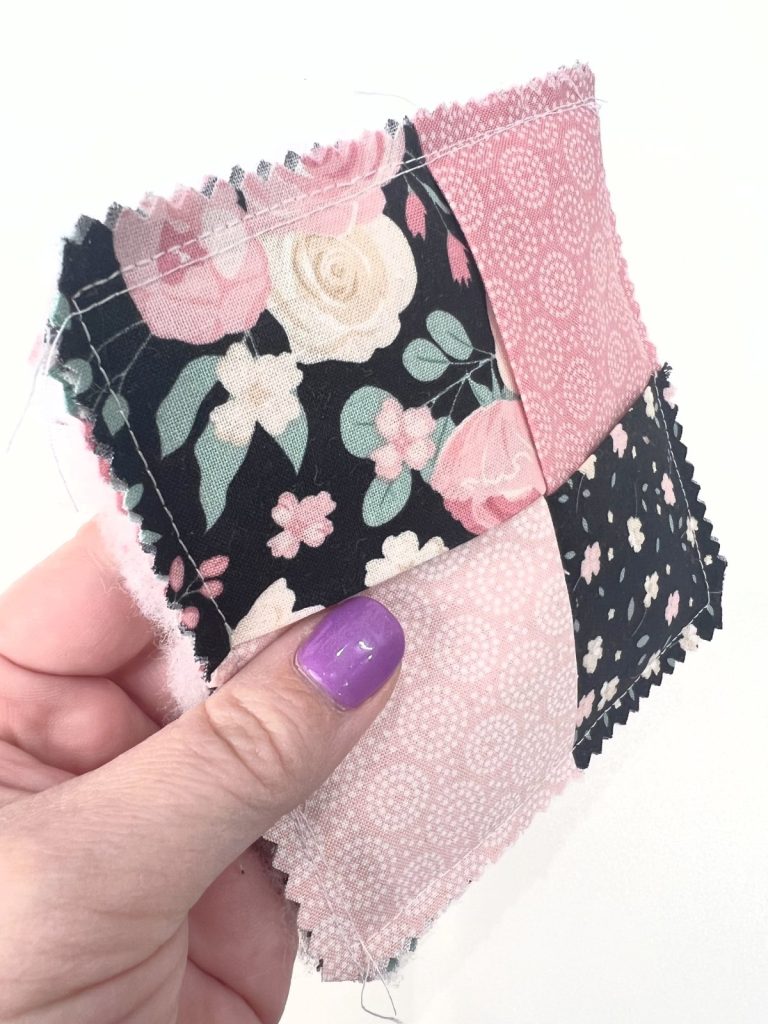
Step 5: Turn right side out.
I like to clip the corners first to get rid of the extra bulk. The corners will be somewhat rounded rather than pointed.
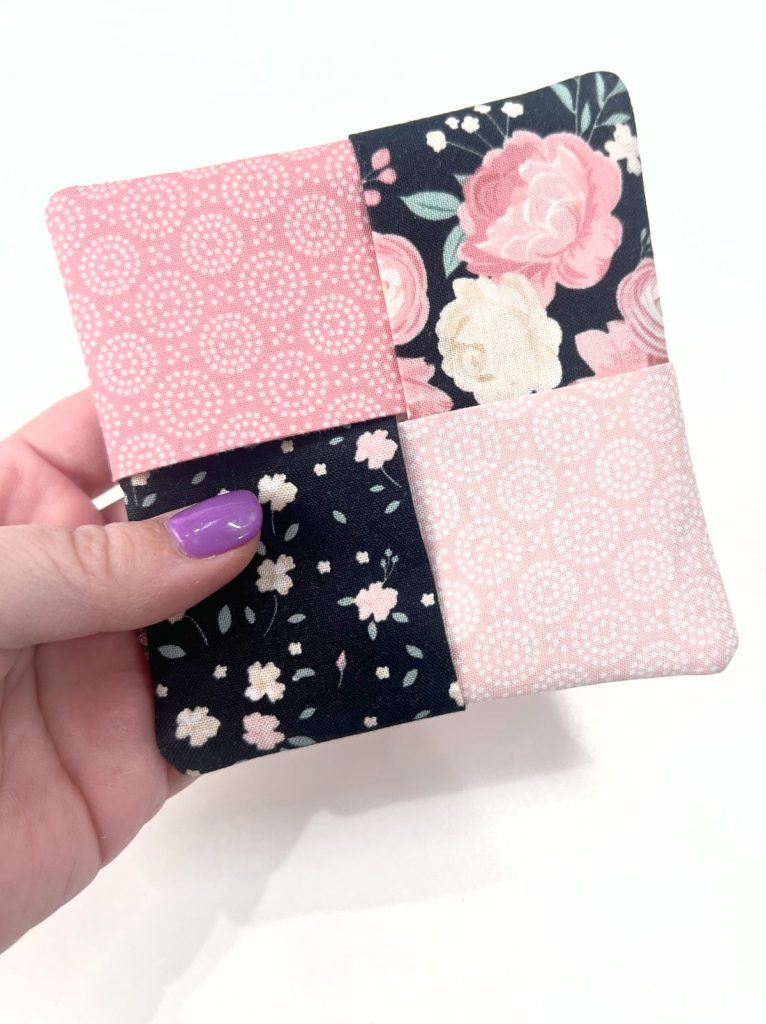
Step 6: Press your coaster to help it lay flat.
Now it’s ready to use!
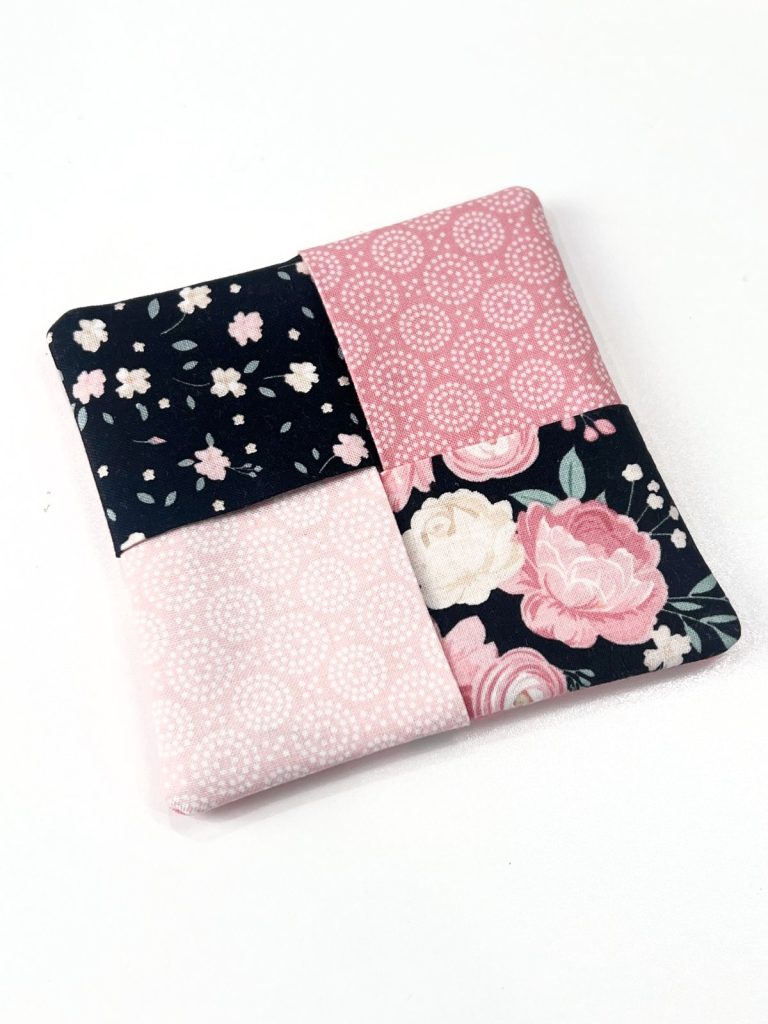
These are so quick and easy to create that you’ll want to make a whole set! They’re also a great little gift for the coffee and tea lovers in your life. I like creating seasonal ones, like these florals for spring, as well as others using holiday fabrics so I can rotate them throughout the year.
More Quilting Projects
If you try this project, I’d love to see how your fabric coasters turn out. Make sure you’re part of the Amy Latta & Friends Facebook Group so you can share your project photos and we can all be inspired. Also, check out these other spring and seasonal projects.


Thank you, Amy, for these direction! I have made them before and for some stupid reason, this time, I couldn’t get anything right. Have spent more time, picking and/or just recutting all my fabric! This step-by-step is just wonderful! Will be looking at your site a lot more now. 🙂
I’m so glad it was helpful for you!