Quilt-Inspired Wood Block Pumpkins
Let’s celebrate fall with these fun and simple Quilt-Inspired Wood Block Pumpkins!

How to Make Quilt-Inspired Wood Block Pumpkins
These little wood block pumpkins are quick and easy to create, and you probably already have most of the supplies in your home. Little crafters can enjoy this project too, just make sure they’re supervised with the hot glue.
Materials
- scrap wood blocks, approximately 3” x 3″
- sand paper
- pencil with eraser
- ruler
- paint pens
- wooden stick
- twine and/or ribbon
- scissors
- hot glue gun and glue sticks

Instructions
Sand your block and paint it orange.
Or, if you prefer to have a different colored pumpkin (ie: white), feel free to paint it however you like.
Use a pencil and ruler to mark off a 3” square in the center of the block and divide it into 9 sections.
You’ll have three rows of three 1” squares.
Sketch an “x” inside four of the squares, as shown in the diagram below.
Or, you feel free to sketch a different quilt block design!

Use paint markers to fill in the shapes in any colors you like.

Glue a stem to the top of the block, then decorate with twine and/or ribbon.
I used sticks found in my backyard!
Now, your pumpkin is ready to display. Just get ready for all of your friends to ask for one.

Crafting Tips
- Try personalizing your pumpkins with other quilt square patterns and/or design types.
- The finer tip your paint marker has, the easier it will be to color in the smaller spaces in your design.
- Make sure your base coat of paint is completely dry before attempting to sketch your pattern on top.
Frequently Asked Questions
I used Artistro fine tip paint markers.
Mine were scraps that were left over from a project my husband did around the house. You can also purchase a piece of 2×4 lumber at the hardware store and cut it to the size you want.
If you are using your pumpkin indoors, which I recommend, no. If you’d like to give it a glossy finish, you can feel free to use an acrylic sealer, but otherwise, it should be just fine.
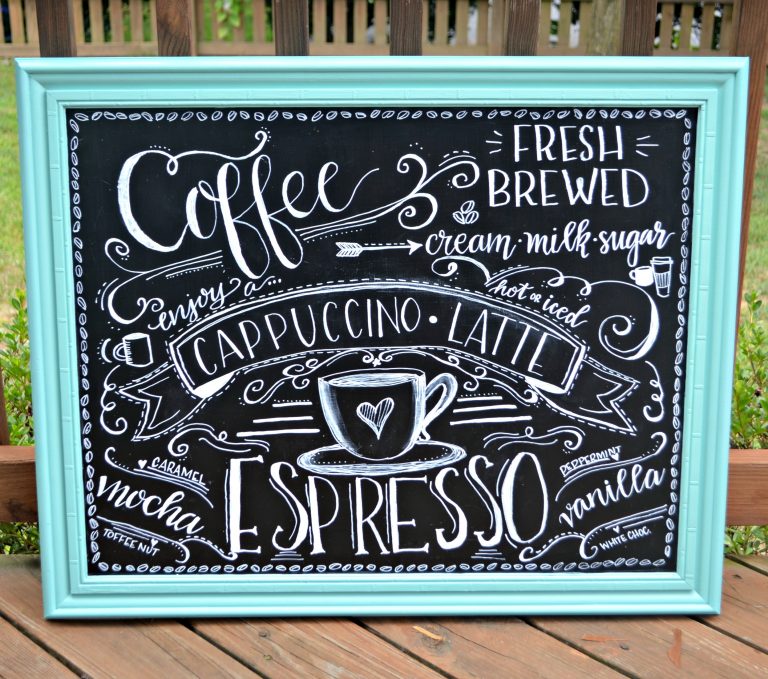
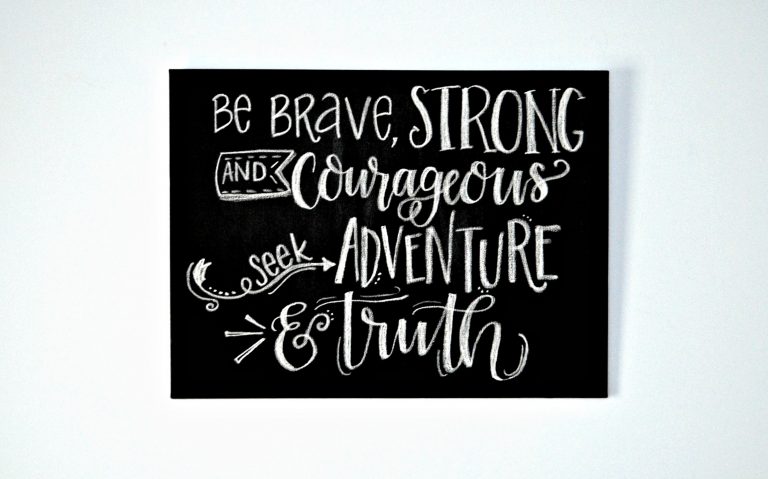
More Fall Projects
If you liked this project, here are some other fall crafts to inspire you all season long.


If you try these Quilt-Inspired Wood Block Pumpkins, or any of the other fall crafts, I’d love to see how they turn out. Make sure you’re part of the Amy Latta & Friends group on Facebook so you can share your project photos and we can all inspire one another. See you there!

Quilt-Inspired Wood Block Pumpkins
Equipment
- scissors
- hot glue gun and glue sticks
- sand paper
- ruler
- pencil
Materials
- 3” wood block
- orange paint
- assorted paint pens
- wooden stick
- twine/ribbon
Instructions
- Sand your block and give it a base coat of paint.
- Use a pencil and ruler to mark off a 3” square in the center of the block and divide it into 9 sections.
- Sketch an “x” inside four of the squares to form the quilt block design.

- Use paint markers to fill in the shapes in any colors you like.
- Glue a stem to the top of the block, then decorate with twine and/or ribbon.