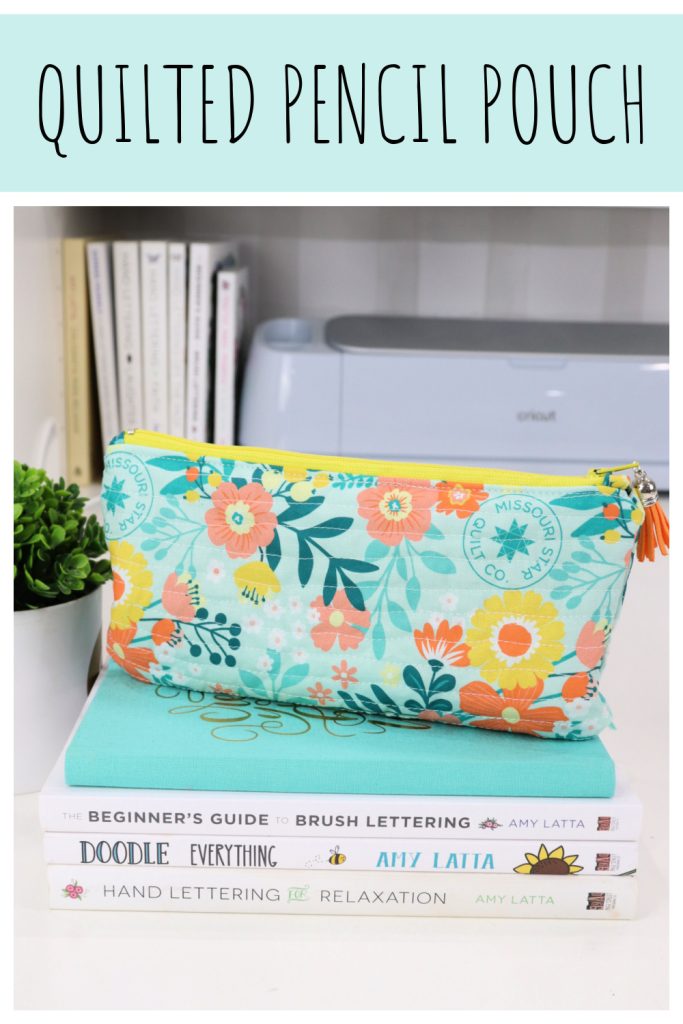
Easy Quilted Pencil Pouch
Looking for a place to store your pencils, pens, and markers? Why not create your own DIY pencil pouch? Here’s a free sewing pattern with step by step instructions to follow. You can totally customize it by using your choice of fabrics for the outside and inner lining.
How to Make a Quilted Pencil Pouch
This pencil pouch is a fun sewing project that can be completed in 1-2 hours, depending on how much sewing experience you have. Let’s get started!
Materials
- 2 fat quarters (or 2 cuts of fabric that are 1/4 yard each)
- zipper (minimum 9”)
- Fairfield World Low Loft Quilt Batting
- tassel and jump ring (optional)
You’ll also need:
- sewing machine
- thread
- scissors
- straight pins
- rotary cutter and cutting mat (optional)
- iron
Instructions
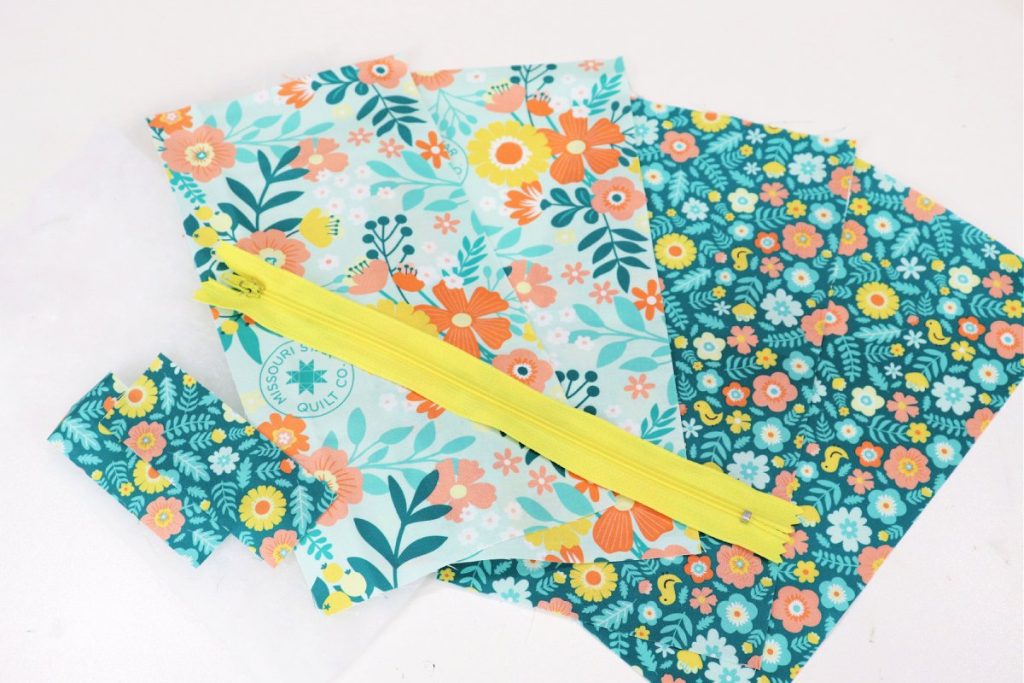
Cut your fabric. (Mine is from the MSQC Quilt Town Collection)
Pouch outer fabric: Cut 2 – 10” x 5”
Inside lining fabric: Cut 2 – 10” x 5”, Cut 2 – 1.5” x 3.5″
Batting: Cut 2 – 10” x 5″
You’ll also want to trim your zipper so that it is 9” from end to end. To do this, slide the zipper pull down and trim the excess from the top end. Never cut the bottom end, because without the metal stopper, the zipper won’t work.
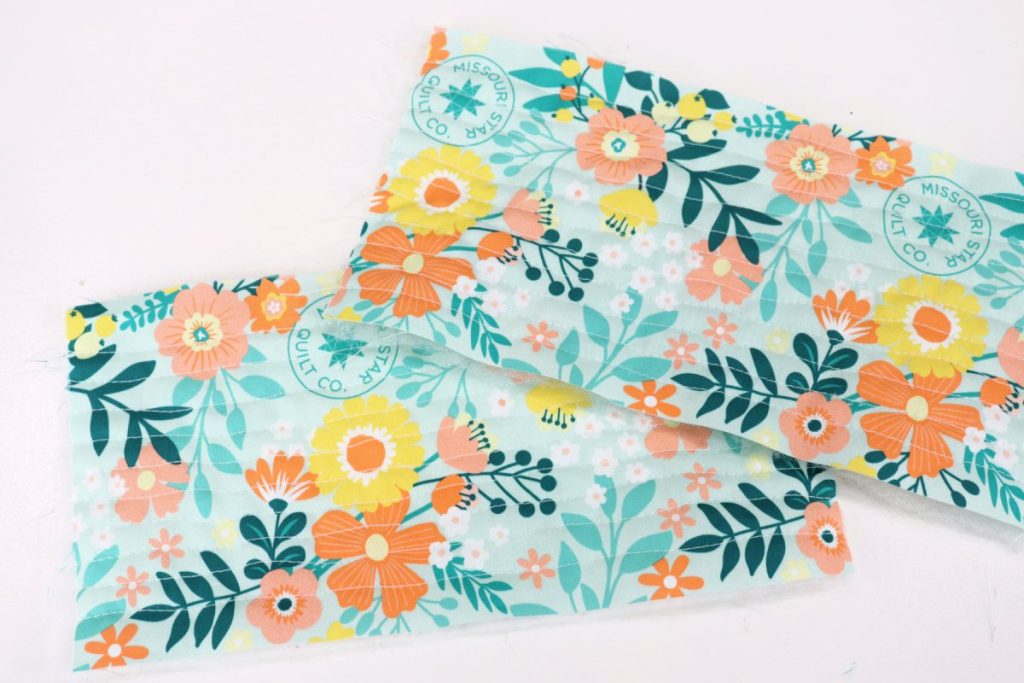
Place each of your two outside pieces on top of a piece of batting, and quilt as desired.
If you’ve never quilted before, all it means is that you are sewing through multiple layers of fabric and batting. You can stitch any design you like; straight vertical or horizontal lines, an “x” or checkerboard pattern, or wavy lines like mine. The purpose of this step is to adhere the batting to the fabric, strengthening it and adding thickness/padding. I sewed a series of wavy lines by gently moving the fabric from side to side as the machine stitched.
Note: If you prefer to skip this step, you can substitute fusible interfacing for the batting. Iron it to the backs of your fabric pieces using the manufacturer’s instructions. Then, no sewing is required to hold the layers together, and you can move on to the next step.
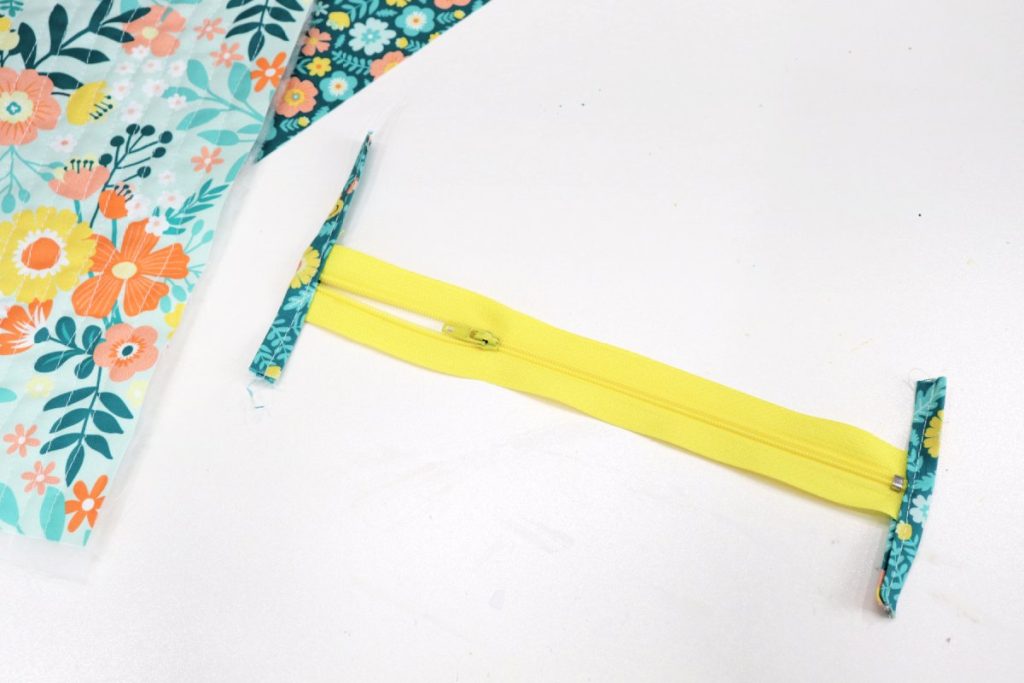
Press the 1.5” x 3.5” strips to create a bias fold.
To do this, first, you’ll fold the strip in half vertically and press. Open it back up and fold the edges in to meet at the center crease. Press, then fold along the center crease again.

Place the ends of the zipper inside the fold and sew a 1/4” seam.
This will create a fabric tab on either end of your zipper.
Layer one outer piece on top of a lining piece, and place the zipper face down on top. Sew the zipper in place with a 1/4” seam.
The lining piece should be face down on the table, then the quilted fabric/batting piece goes on top, right side up.
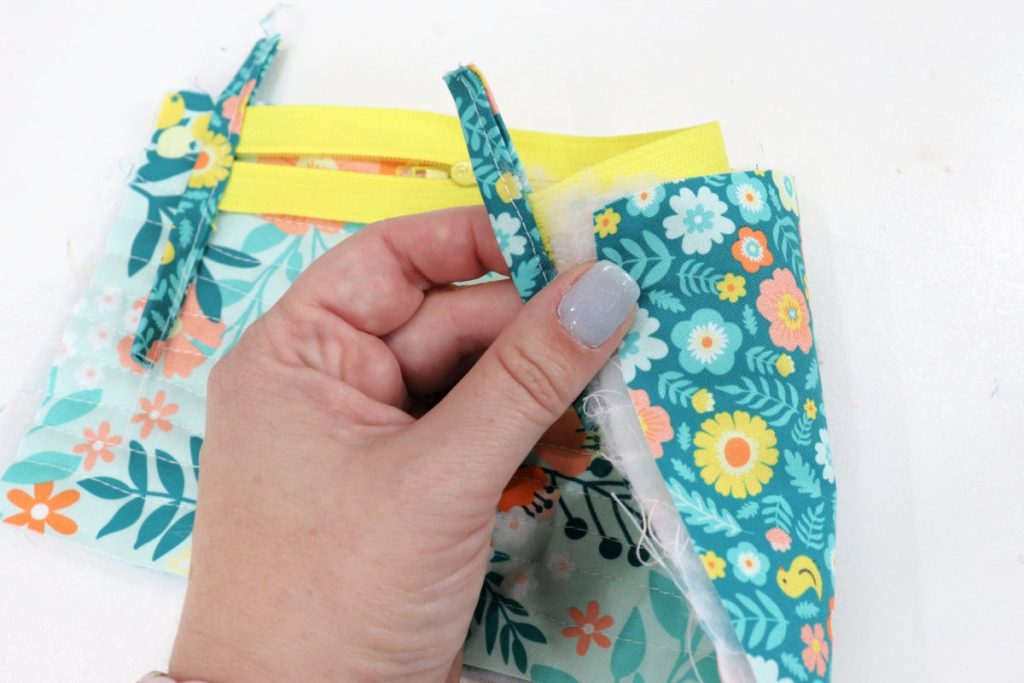
The zipper should be centered, lined up with the tops of the other layers.
Repeat for the other side.
Lay the lining piece face down, the quilted piece right side up on top, and the other edge of the zipper face down. Pin in place, and sew a 1/4” seam.
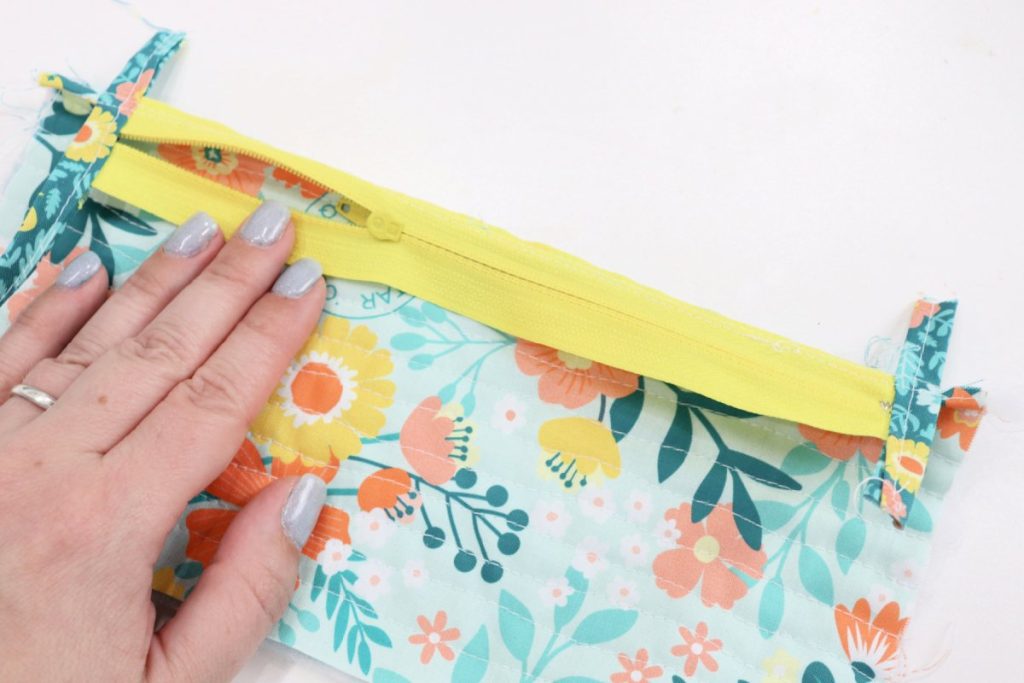
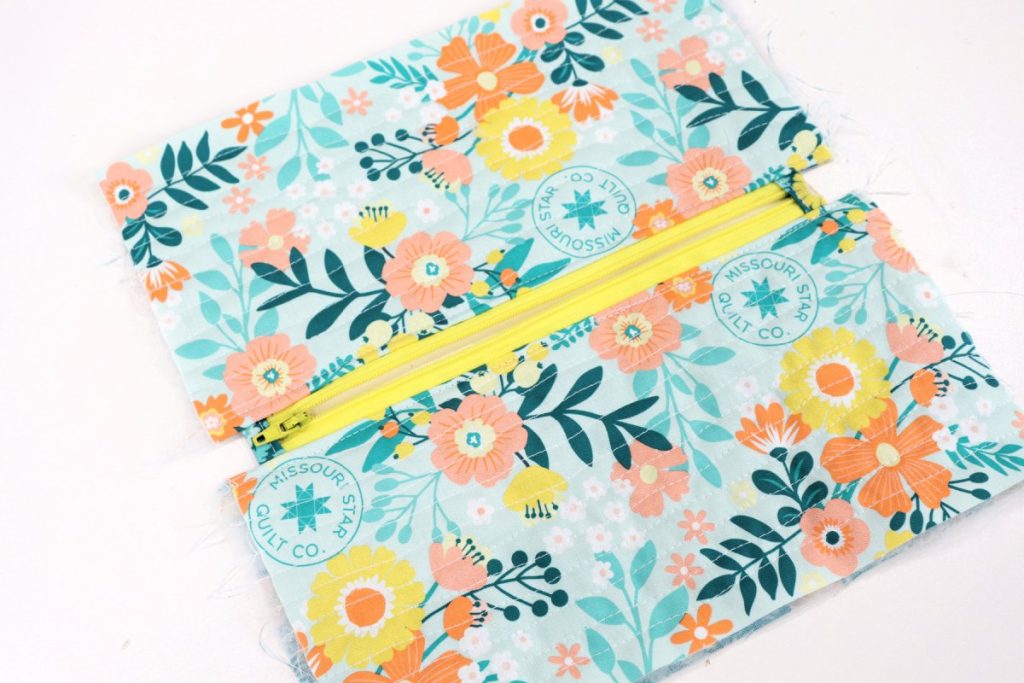
Top stitch along the edges of the zipper.
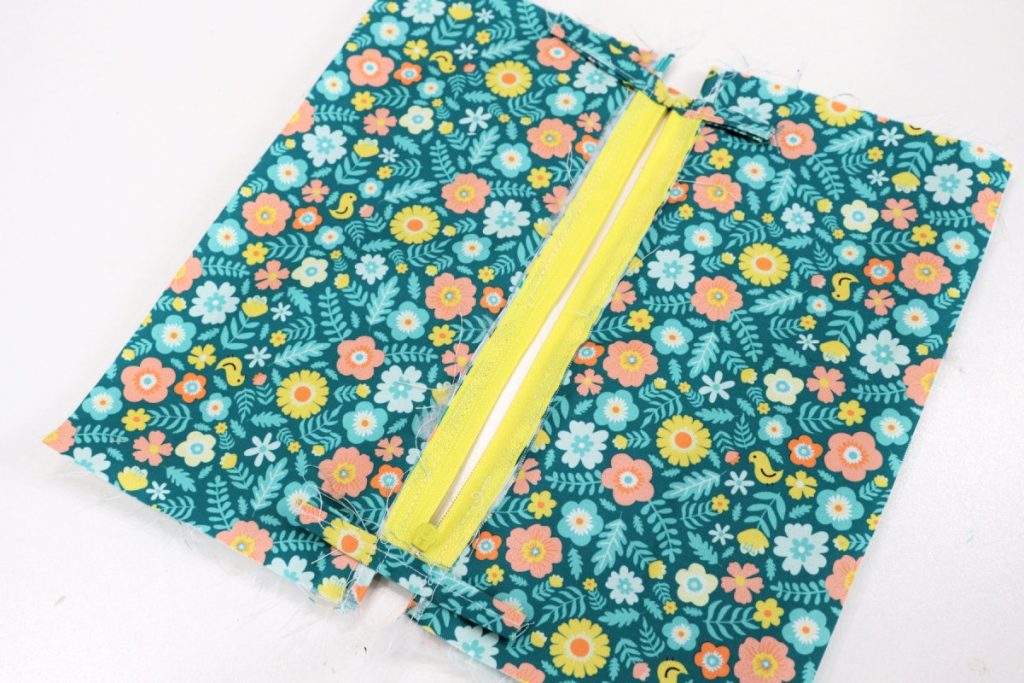
Open up your fabric so that it looks like the image below, with the zipper in the center. Sew an 1/8″ seam on either side of the zipper to help hold the edge/lining fabric down and keep it from catching in the zipper when you use the pouch.
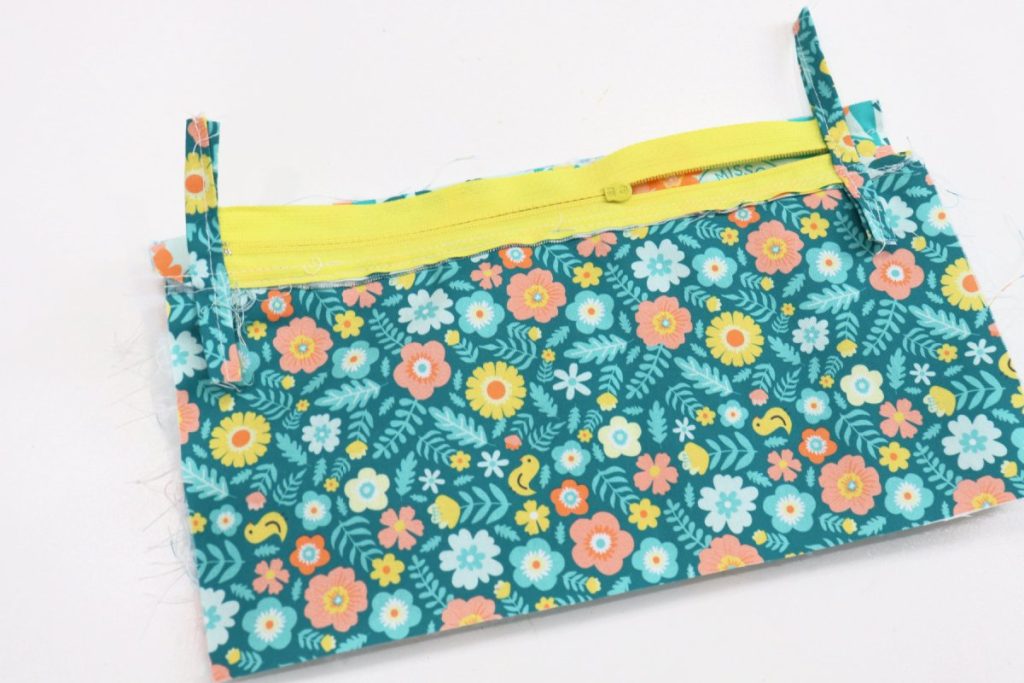
Here’s what it should look like from the other side.
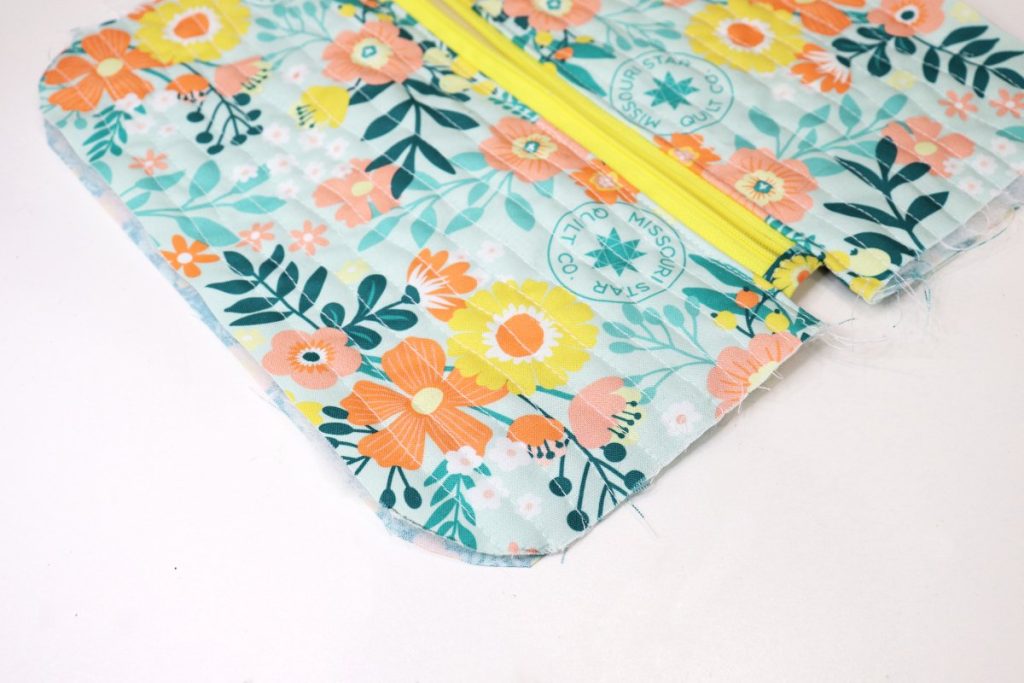
Round your bottom corners (optional).
If you want your pouch to have rounded corners, now’s the time to trim your fabric. I used a coffee mug to create the curve and traced it onto my fabric with a heat-erase pen. Cut off the excess fabric.
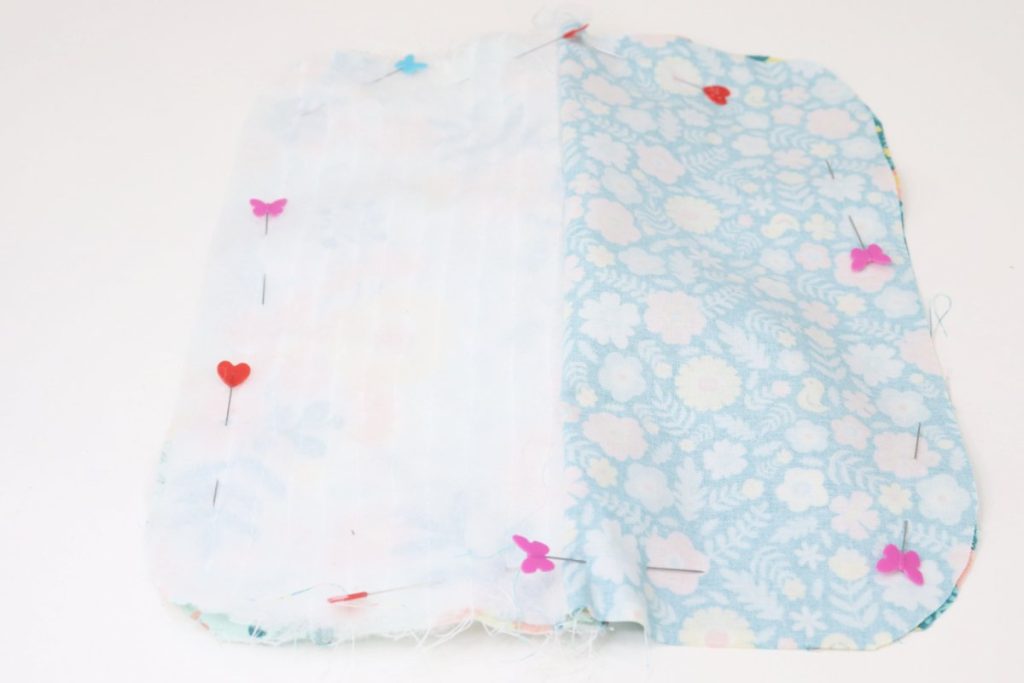
Flip your fabric so that the outside pieces are together and the lining pieces are together, then pin and sew around the project with a 1/4” seam, leaving a small opening on one short side of the lining.
The zipper will stay in the middle, just match up the front and back of the pouch with the front and back of the lining.
Make sure your zipper is at least partially unzipped for this step, or you won’t be able to turn your pouch fully right side out!
Turn your pouch right partially right side out, and sew the opening shut.
Using the opening you left, push the fabric through, leaving the lining outside of the pouch as shown. Turn the raw edges under 1/4” and either hand or machine stitch the opening closed.
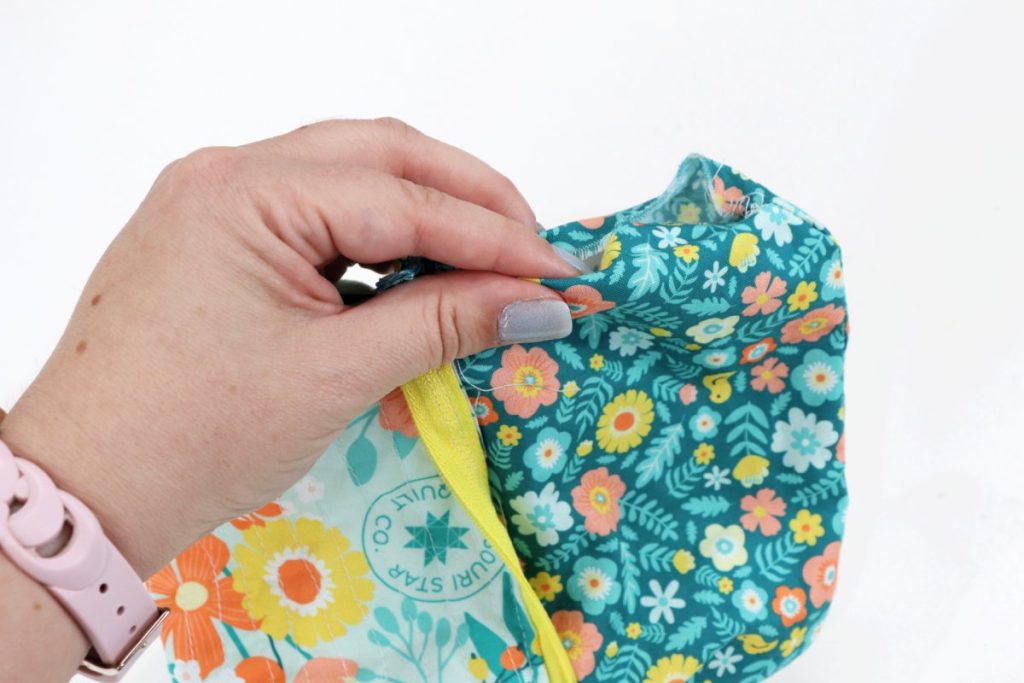
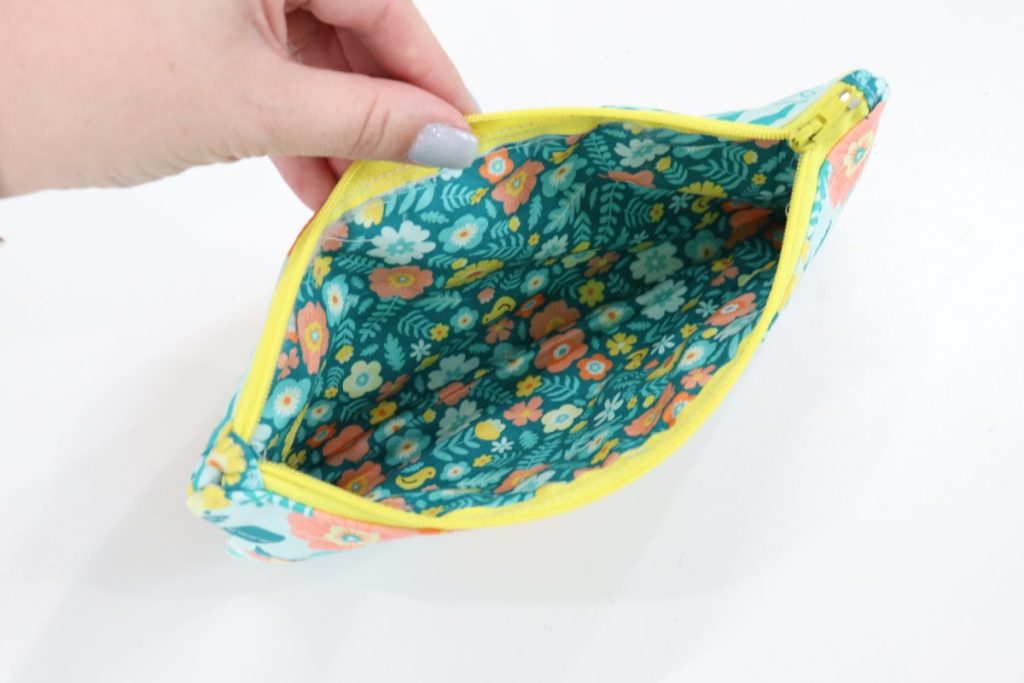
Tuck the lining into the pouch.
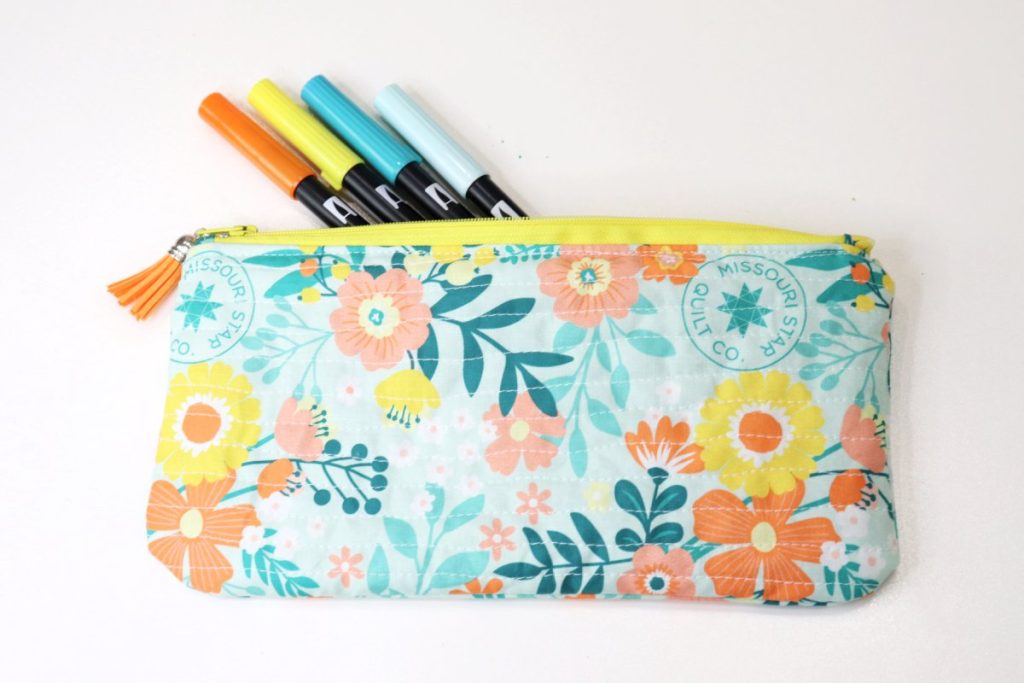
Push the lining down inside the open zipper, and ta-da! Your pouch is complete!
Add a tassel (optional).
For a little extra pizazz, add a tassel or other embellishment to the zipper pull.
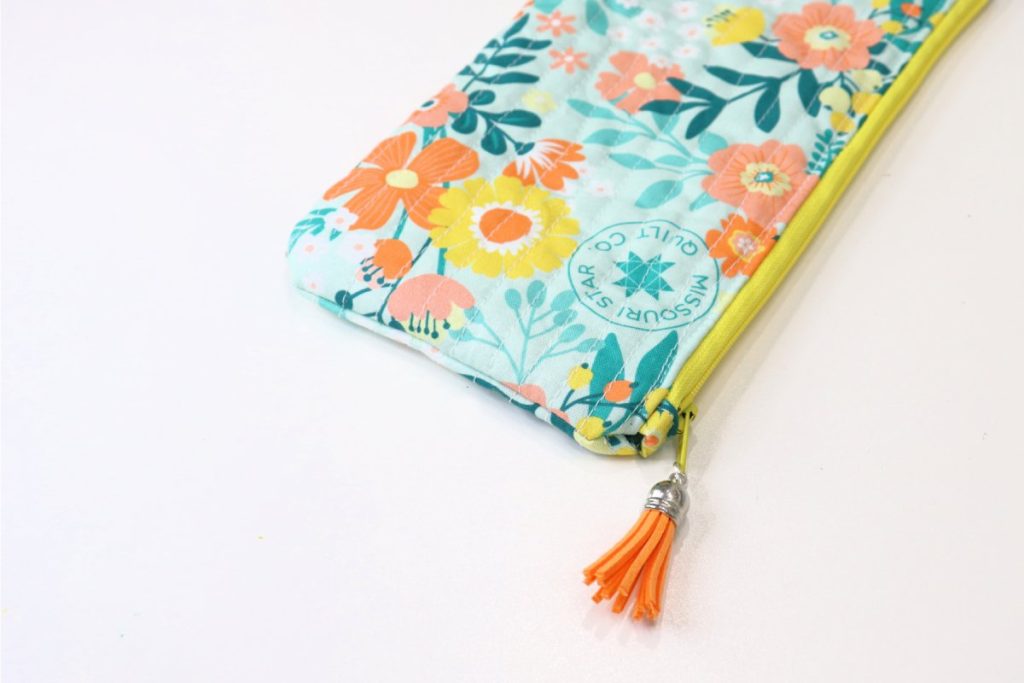
This size pouch is perfect for markers, pens, pencils, colored pencils, glue sticks, and even small pairs of scissors. What would you store inside yours?

Crafting Tips
- When sewing the zipper in place, you’ll need to move the metal pull as you go, or it will prevent you from making a consistent 1/4” seam. I usually start with it at the bottom, then when I get close to it, I move the pull to the top to finish my stitching.
- Heat-erase pens are a great tool for marking where you’d like to quilt! You can use a ruler or any other tool you like to draw your lines in place, then just apply an iron when you’re finished and the lines will disappear completely!
- Make your pouch totally unique by choosing different colors and patterns of fabric. These make a great gift for friends, teachers, classmates, or anyone else in your life.
- You can personalize your pouch further by adding an iron-on vinyl monogram or other iron-on patch.
Frequently Asked Questions
My fabric is from the Missouri Star Quilt Company Quilt Town Collection. The outer fabric is Missouri Star Large Floral Mint, and the lining is Missouri Star Small Floral Teal. You can save on any order at MSQC online with the code AMYSUMMER15.
The completed pouch measures 9 1/2” x 4 1/2”.
Yes! But I do recommend removing the tassel first.
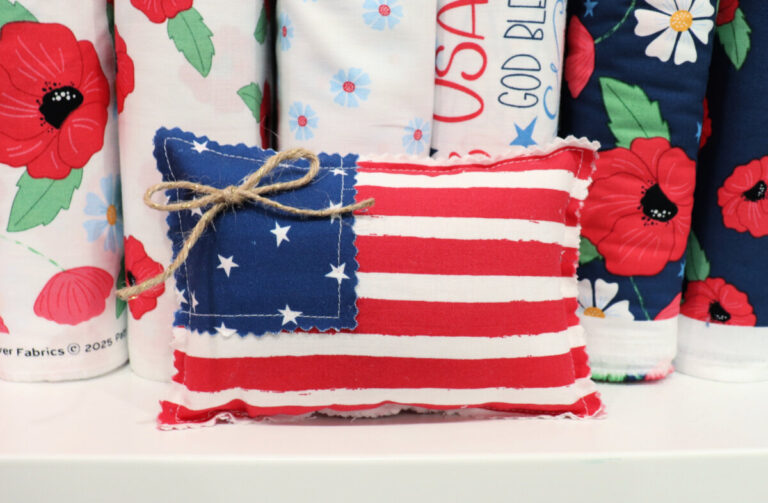
More Sewing Projects
If you enjoyed this project, check out these other sewing tutorials!


If you try this project, I’d love to see how your pouch turns out! Make sure you’re part of the Amy Latta & Friends Facebook Group so you can share your photos and we can all be inspired. See you there!

Easy Quilted Pencil Pouch
Equipment
- sewing machine
- thread
- scissors
- straight pins
- rotary cutter and mat
- iron
Materials
- 2 fat quarters or 2 1/4 yard cuts of fabric
- zipper minimum 9"
- Fairfield World Low Loft Quilt Batting
- tassel and jump ring
Instructions
- Cut your fabric: 2 – 10” x 5” outer fabric pieces, 2 – 10” x 5” lining pieces, 2 – 10” x 5” batting pieces, 2 – 1.5” x 3.5” zipper tab pieces
- Cut your zipper to 9” from top to bottom. Make sure to move the zipper pull down and cut from the top, not the bottom.
- Place each of the two outer pieces on top of a piece of batting and quilt as desired.
- Press the 1.5” x 3.5” strips to create a bias fold.
- Sew the bias fold strips to the ends of the zipper with a 1/4” seam.
- Layer a lining piece (face down), an outer piece (face up) and a zipper (face down). Sew across the top with a 1/4” seam.
- Repeat with the other outer and lining pieces.
- Top stitch along the edges of the zipper.
- Round the bottom corners of each side (optional).
- Pin the outer layers together and the lining pieces together, with the zipper in the center, and sew around the outer edges. Make sure the zipper is open! Leave a small opening in one side of the lining.
- Turn right side out and sew the opening shut.
- Tuck the lining inside the pouch.