Mummy Treat Box
I always say that one of the best things about blogging is making new friends! And it’s really true! Recently, I connected with the fabulous Laura from Laura Kelly Designs when she was a sponsor for BloggyConference 2013. Imagine how thrilled I was when I got an email from her asking for my address because she wanted to invite me to participate in a fun crafty challenge! Of course, I said yes…here’s how it works!
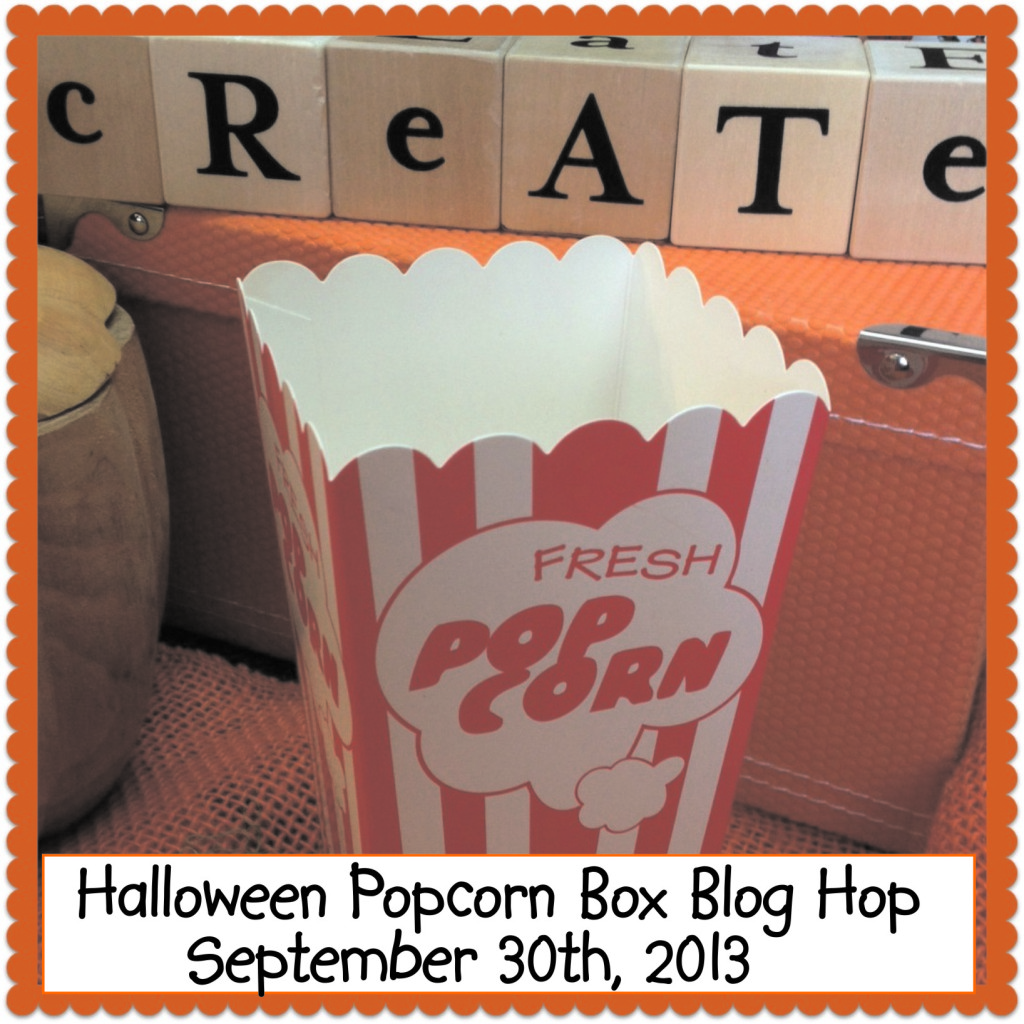
Laura sent each participating designer, artist, and blogger a little goody package in the mail containing this month’s featured material: a cardboard popcorn box! She also sent some cute buttons, rhinestones, and ribbon to get our creative juices flowing. The challenge was to decorate the box for Halloween using anything we wanted! Then, we each post our project and share it in a linky so you guys can see ALL of the fabulous projects! And, there’s a giveaway to top it all off…a $100 Disney Gift Card sponsored by Cre8time.
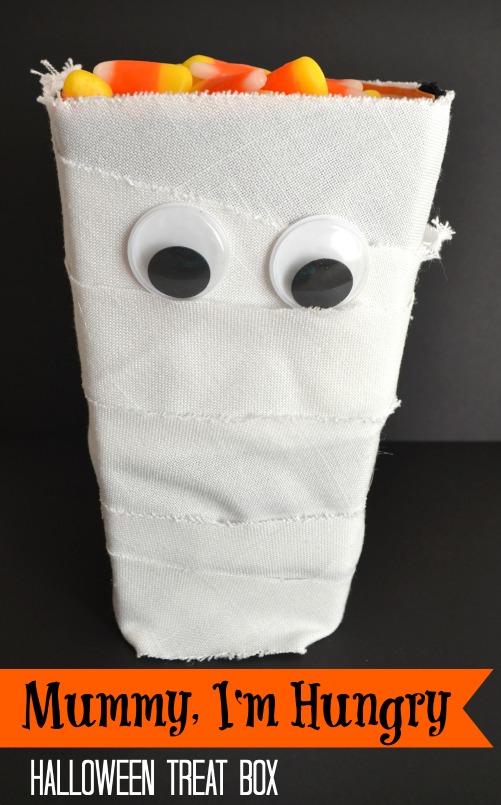
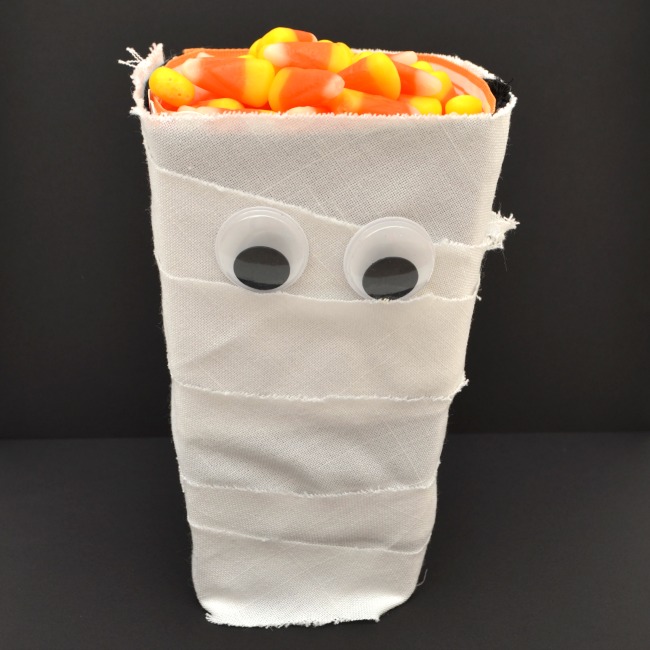
Here’s what I did with my box:
Materials:
– popcorn box
– black or other solid colored fabric
– white fabric
– scissors
– hot glue
– large google eyes
– ribbon
I fully intended to have step by step photos for you, but this ended up being one of these projects where I was so excited about it and got ahead of myself, which means I forgot to stop and photograph in the middle. Bad blogger {hanging my head in shame}. Fortunately, I’m so confident in your crafting prowess that I know you can do it without the instructional photos!
Step 1: Cover your box with solid fabric. You can use any color and type your want, as long as the box doesn’t show through. The sole purpose of this layer is to cover up the stripes on the box that would otherwise be visible through white cotton fabric. I used some black fabric I had on hand after trimming and hemming a {very long} dress for a friend of mine. Anything solid will do; it won’t really be seen.
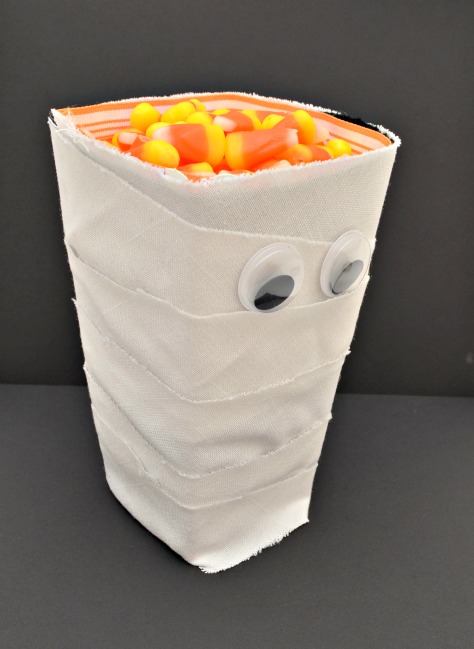
Step 2: Rip or cut your white fabric into long strips. Don’t make it too neat looking and even, remember…it’s a mummy. Boo.
Step 3: Wrap your white fabric around the box and glue in place.
Step 4: Add google eyes
Step 5: Add a festive colored ribbon around the inside edge. I suppose you don’t really *need* to do this step, but I thought it gave a more finished looking project. Plus, it adds a little color to an otherwise very white box. If you don’t add the ribbon, you’ll see the scalloped top of the original box, so this evens up the edges too.
Step 6: Fill with your favorite treats and enjoy! I mean, who wants popcorn when you can have CANDY corn instead, right? Right.
Be sure to hop over to Laura’s blog and take a look at all the other fun projects made using the very same base supply!




Amy, this is so adorable and sweet and spooky. Thanks for contributing to the party. You are so much fun to play with. 🙂
Cute! I LOVE it!
I love this and have all of these supplies on hand. Definitely going to make one this weekend!
Too Cute, you box came out fabulous :-)))) Lisa
Thanks so much, Lisa!!
He is absolutely adorable!
Love his googly eyes! So cute!
Googly eyes are the best!
So very cute. 🙂 Excited to be hopping with all of you.
Me too! What a fun challenge this was!!
Love your mummy!
Thanks girl!
“Mummy I’m hungry” — ha, ha! Love that your mummy has a sense of humor (and a yummy looking stash of candy corn. Perhaps he’s a “Yummy Mummy?”
Ha! Love it! Yummy Mummy!