Dimensional Magic
As you know, I have a crafty love affair with Mod Podge. It’s like duct tape, you can find a million uses for it! From Noah’s crafts to my own projects, I feel like I’m constantly applying it. {Wish it smelled better!}
Anyway, there’s a semi-new and very exciting Mod Podge product out there…Dimensional Magic.
Like its predecessors, it can be used in a variety of ways to accent all kinds of different projects, but my favorite use for it is in jewelry making. I had seen several pictures and posts where other people had done some very cool things with it and was just itching to try it myself. Here’s my first attempt:
DIMENSIONAL MAGIC RING

Materials:
sheet music or your choice of decorative paper
ring base {available for $3.99 at Michaels}
Mod Podge Dimensional Magic
scissors, pencil

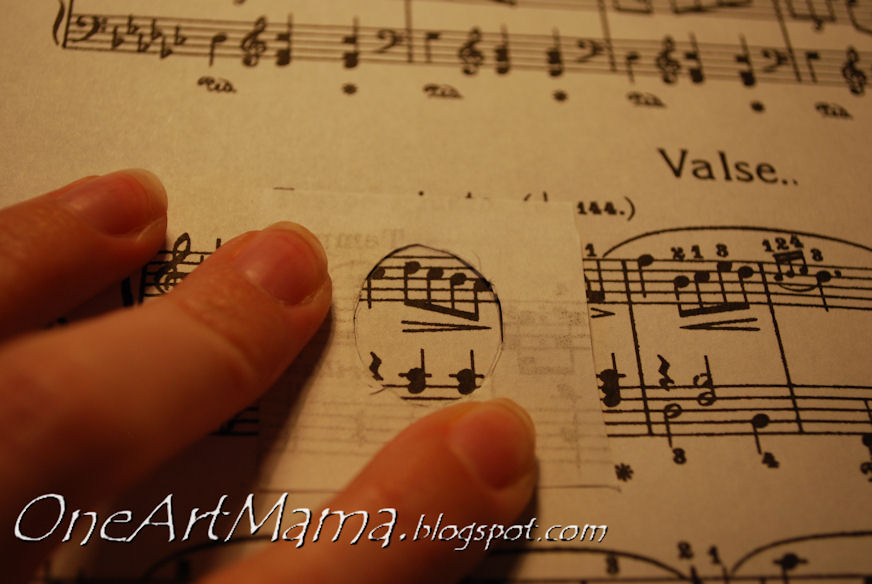
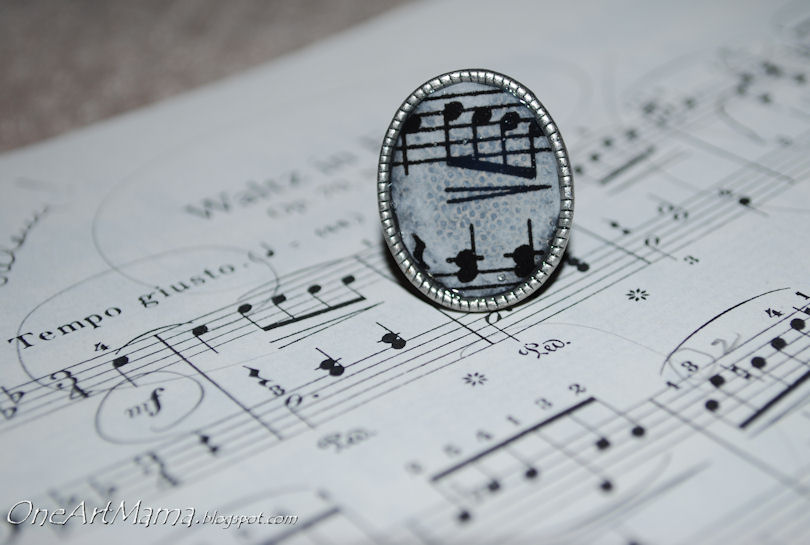
STEP 1: Choose your decorative paper or sheet music. I actually downloaded mine for free. You can use basically anything, but if you want lots of little notes and both clefs, you should look for classical music designed for piano. Since I started playing the piano at the age of 3, music is very meaningful to me and I wanted to choose something that I had a connection with rather than a random piece. I selected my very favorite classical piece to play, Chopin’s Waltz in F minor, Op. 70, No.2. I learned it in college under the instruction of an amazingly talented professor and I just love the sound of it.
STEP 2: Use a scrap piece of paper to trace and cut out the correct size and shape to fit your jewelry base. Then, trace that onto another piece of paper and cut it out as a “window.”
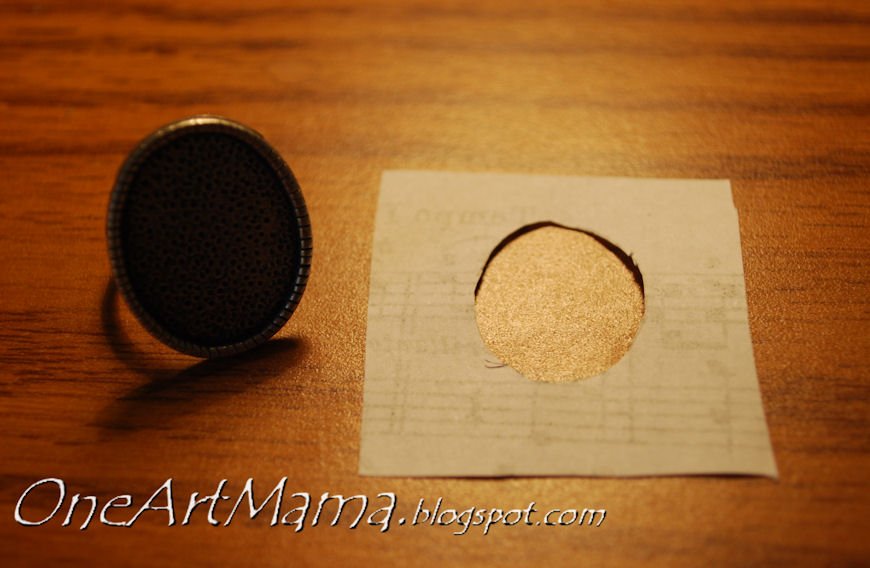
STEP 3: Trace the window onto your sheet music or scrapbook paper. This allows you to see just what will be in the oval, rather than trying to guess.
STEP 4: Cut out shape and use a thin coat of regular Mod Podge to adhere it in the jewelry base.
STEP 5: Fill base with Dimensional Magic and let dry for at least 3 hours.
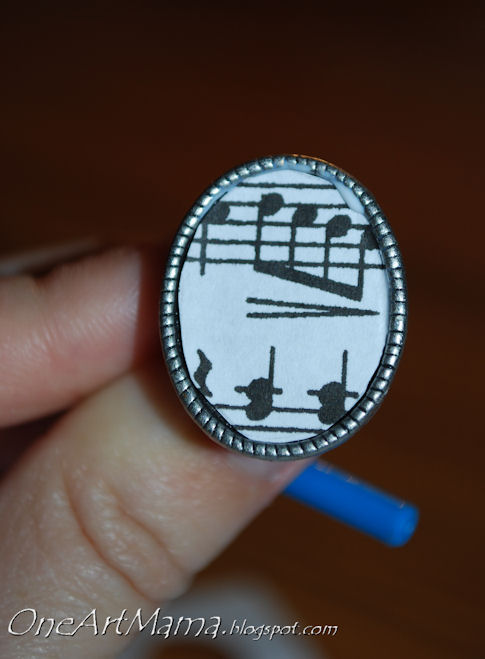
At this point, I realized that it was going to be tricky finding a way to sit the ring down and let it dry while remaining flat…here’s what I came up with. 😉

The hardest part was being patient and not touching it while it dried…
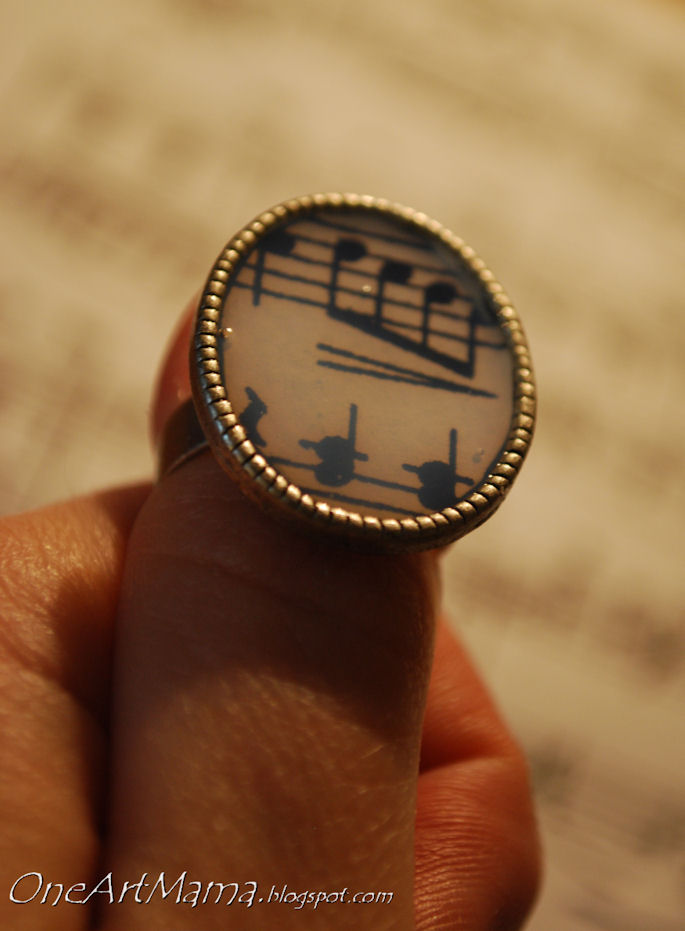
Here’s the end result!

Because it was just thin regular computer paper, when the Mod Podge made it wet, it picked up some of the pattern from the back of the ring itself…see the gray dots? But you know what? I love that! I think it adds texture and some antique-ness to it. I chose not to tea stain the music because I didn’t want the yellowed look, but I really like the effect this gave.
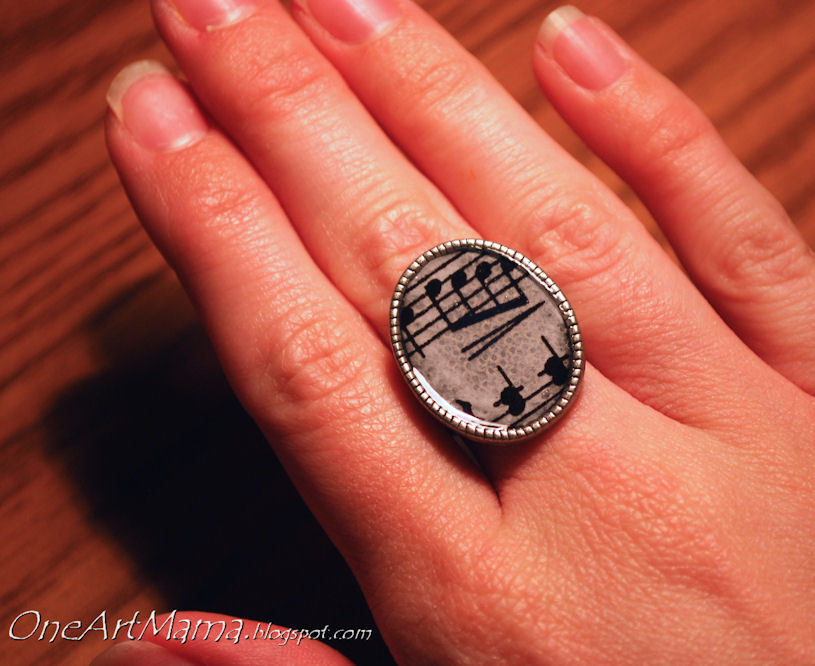
I. love. it.
I have a new obsession.
What do you think? Should I add some of these to Etsy? Of course, now you know how to make your own…:)

I think it turned out great. I love Dimensional Magic. If you didn’t want the gray dots, I wonder if you mod podge it first then use DM?
Awesome! My sis would LOVE this…I see a Christmas Gift in my future! 🙂 Popping over from Crayon Freckles where you and I were given an award! Have a wonderful Day!!
Oooh, look at you getting all fancy with your creativity. I love the apparent ease of the dimensional magic compared to the scariness of resins. And I say add this to your Etsy shop. People often like things but do not want to be bothered with making them.
That’s awesome! Great idea!!
That is super cute!
Came out great. I have been playing around with glossy accents, a similar product and I love it. Thank u for sharing.
So cute I want to make one now. I am your new follower form http://sewstylishboutique.blogspot.com/
Rose and Heather
am sooooo gonna have to try this. looks like so much fun! my mind is spinning thinking of all of the rings and necklaces pip and i can make for her friends!!! yaya! you’re so awesome!
I am wanting to make this for my very musical friend, and I’m a little confused about the “fill it with dimensional magic.” Did you actually fill it, or did you just brush the paper with the stuff?
Thanks!! It looks absolutely great. What a wonderfully creative idea!
This looks really cute and seems like one of the best gift for anyone who loves music!!!