Yarn Wrapped Monogram
I love a good sale, don’t you? The other day, as I was hunting for jewelry making supplies in Hobby Lobby, I saw a bunch of paper mache letters on sale for 30% off…which made them less than $2 a piece! I had to have one! After all, I’ve seen so many cute yarn wrapped monograms all over blogland and Pinterest; the artsy family needed one too!
Here’s a quick look at what I did with it:
YARN WRAPPED MONOGRAM

MATERIALS:
– paper mache letter
– yarn {I used the leftover yellow from my spring wreath}
– hot glue gun/glue sticks
– fabric scraps

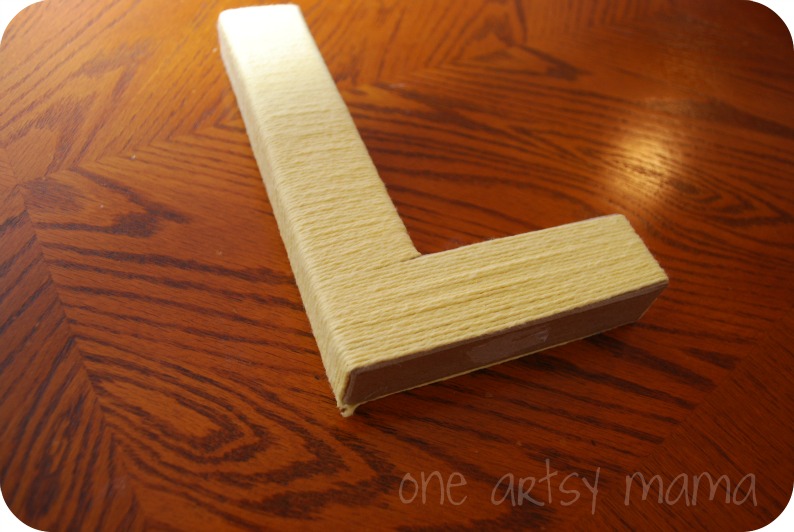
STEP 1: Hot glue yarn to the back of the letter and begin wrapping it around {and around and around}.

Eventually you’ll end up with much of the letter covered, like so. Only the top and bottom surfaces will still be visible.
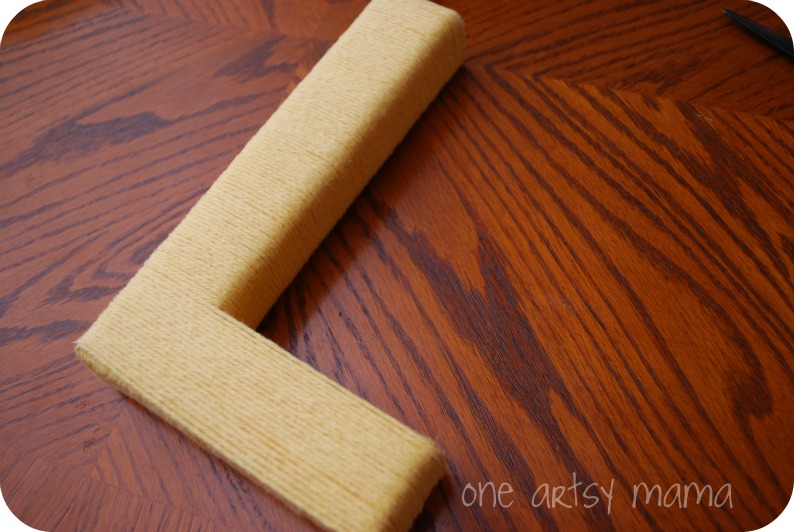
STEP 2: Wrap entire letter going the other way. I started horizontally, so my second time was vertical. This covered all the brown. At this point you could stop, but I found that I much preferred the look of the horizontal wrapping down the long side of the L, so I wrapped the whole thing a third time {I’m a glutton for punishment and hand cramps, apparently!} Glue end of yarn down on the back of the letter to secure it when you’re finished.
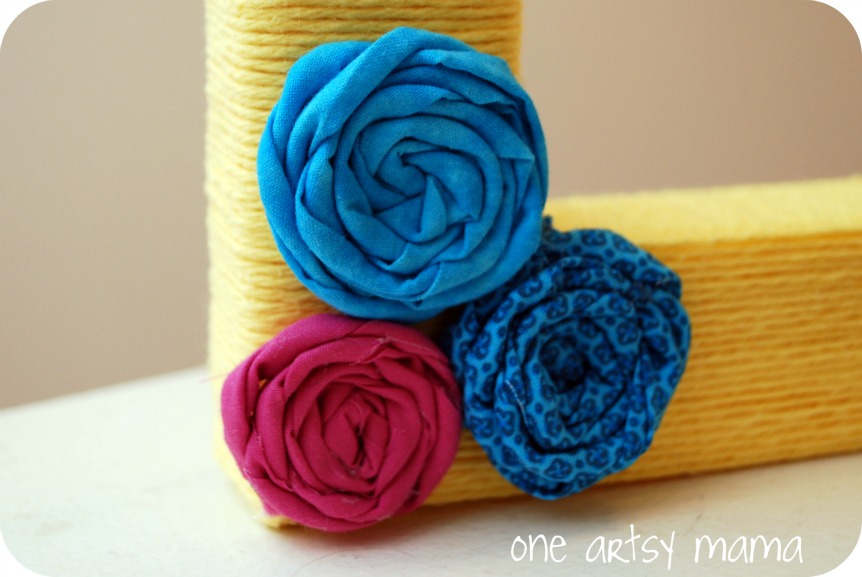
STEP 3: Create fabric flowers to decorate your letter. You can make whatever kind and colors you like; I decided on rosettes. If you’ve never made them before, just cut your fabric in a long thin strip. Fold it in half lengthwise, then again. Start rolling it up to create the center, then continue rolling, twisting the fabric as you go. You’ll need to hot glue every so often to hold it in place. Once your flowers are made, glue them where you want them on your letter.
Ta-da! That’s all there is to it!
Now we have a fun monogram!
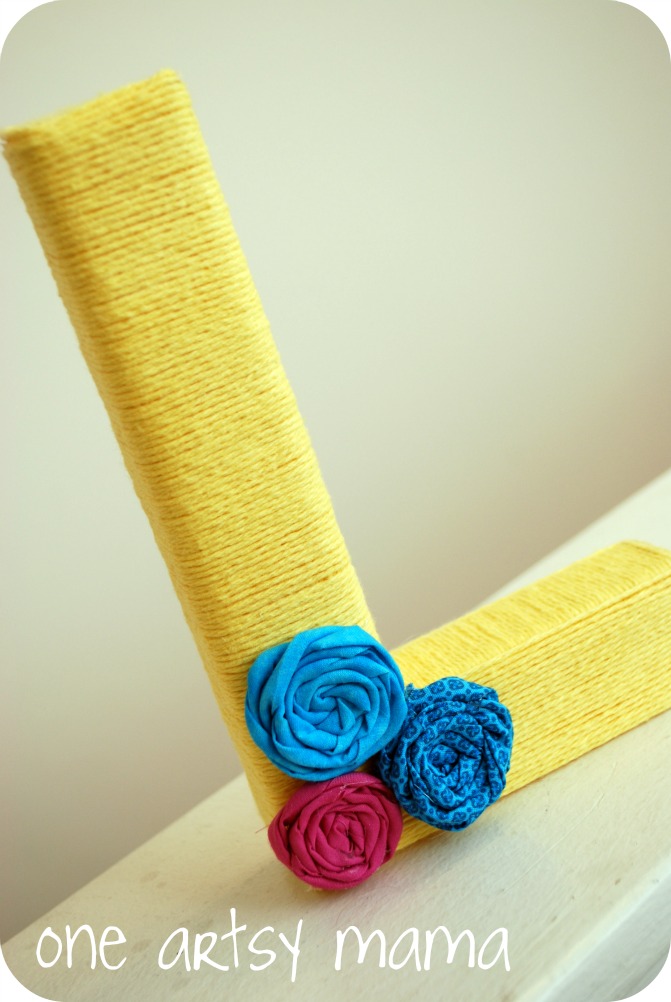
I may eventually put a ribbon on it and use it to decorate the door for summer, but for now, it matches my dining room so well I think it will live there and add a cheerful touch!
Happy Crafting!


I love it, great job mama!!
Amy – you are Awesome! Simply awesome with this cute letter! So cheerful, bright and FUN! Thanks for sharing it with us..I may have to steal your idea! 🙂 Love it!
So cute!
So pretty! You wrapped it perfectly! Turned out great!
Turned out really cute!
Love your attention to detail Amy !!! Lokks very cheerful and springy!! 🙂
Bonnie @ Uncommon
http://www.uncommondesignsonline.com
Cute! Thanks for the tutorial. I have seen something similar but wasn’t sure how they covered all the ends, etc. I’m pinning it so I can find it again when I am ready to make the letters I want to make.
This is so pretty! nice and springy 🙂
Love it!
Gorgeous monogram, very cheery! Love the colours and your rosettes.
This is so pretty. I love the choice of colours, so cheerful.
Very cute! I love it!
I love this – it is such a cute project!
I would love if you came by my Creative Inspirations linky party to link it up – the party is happening NOW! I would love to have you there!
Stacey of Embracing Change
http://staceyembracingchange.blogspot.com
Super cute- love the colors! Glad to have you at Things I’ve Done Thursday!
As all the projects you post–fantastic! It just so happens I could use that pretty “L” since that is my initial. Might have to do one like this soon. Great post.
http://www.itsybitsypaperblog.com
Wow, this looks great. I did an S for my daughter’s room. Boy or boy, that was hard going around the curves. 🙂
This is fabulous. I am going out for supplies today. I want to make one for my mother-in-law too. We have the same initial “L” and I was wondering how you’d put a ribbon on this if you wanted to hang it from a door as a wreath? I can’t quite figure out how to make a ribbon look cute on an L.