A few weeks ago, as I took the shamrock down from my front door, I found myself
in need of really wanting a new Spring wreath! My last several wreaths have involved yarn or ribbon wrapping, but this time I wanted something more rustic and natural. I started browsing Pinterest, found
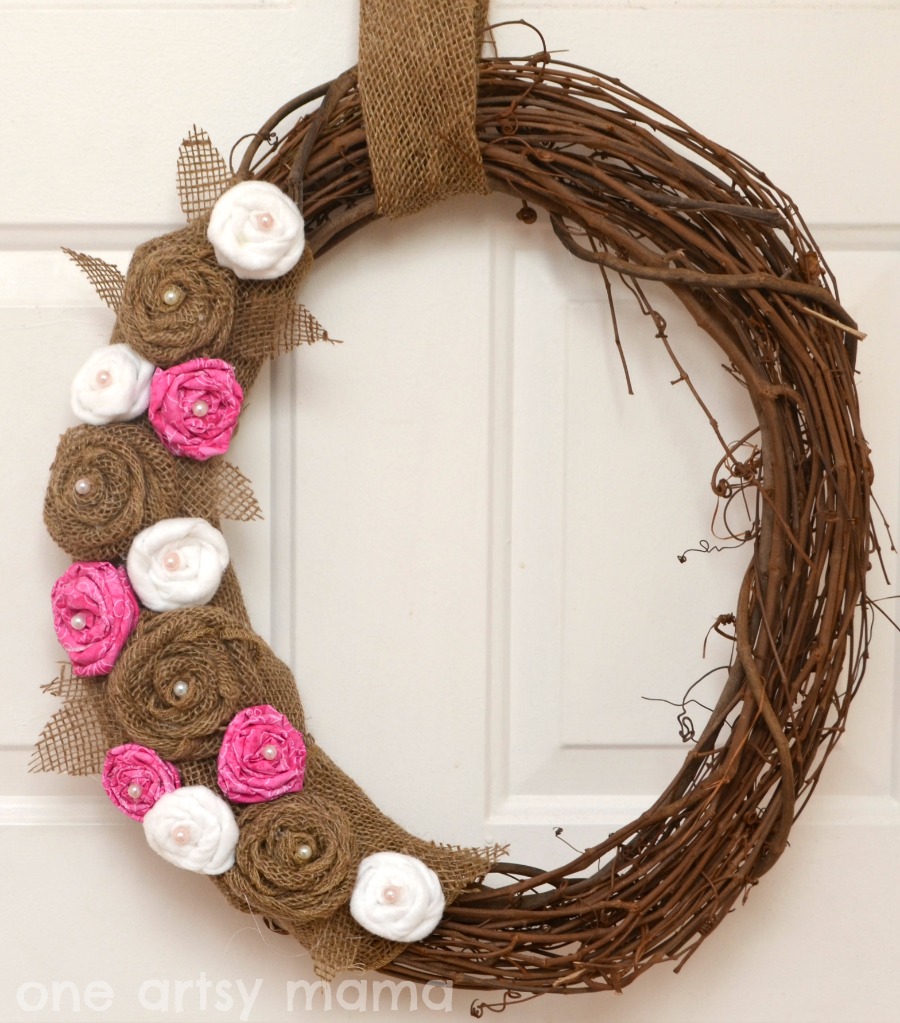
some inspiration, and ended up with this:
Here’s how I made it:
Materials:
– grapevine wreath
– burlap
– white felt
– pink fabric
– pearls
– scissors
– hot glue and glue gun
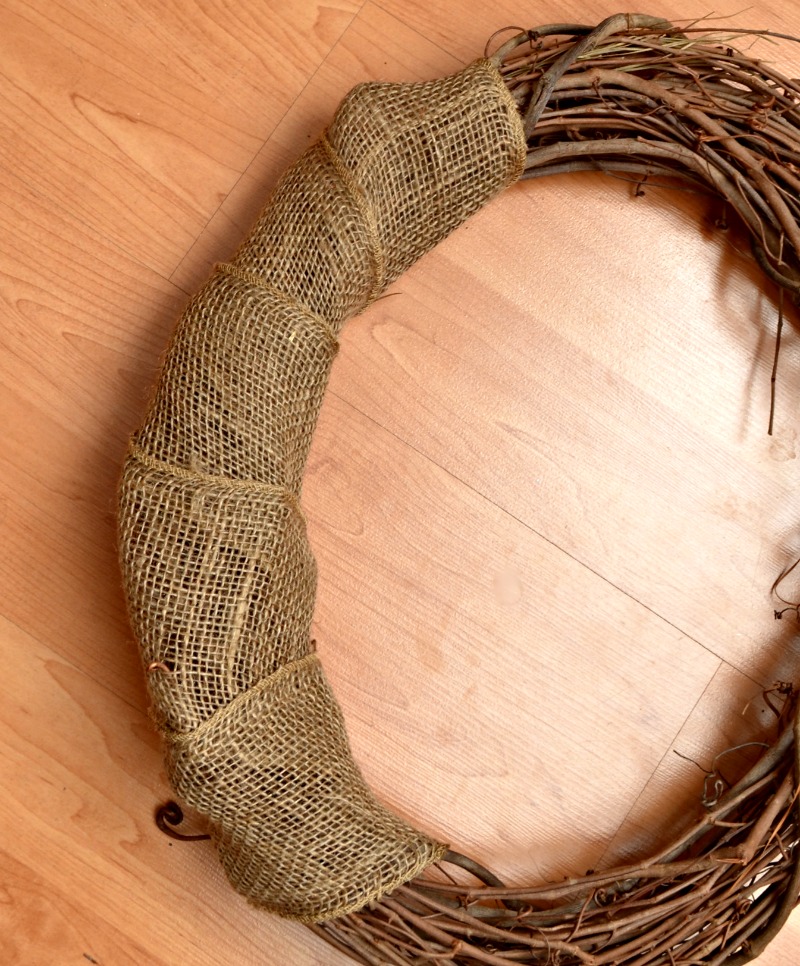
Step 1: Wrap one side of your wreath with burlap and glue it in place.
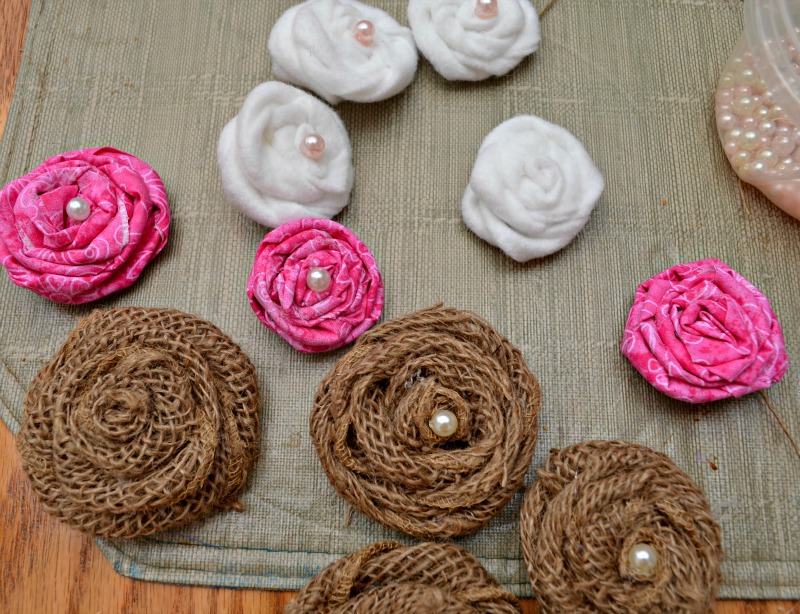
STEP 2: Create rosettes from your felt, fabric, and burlap. Glue a pearl in the center of each one.
To do this, simply cut long strips of the material and fold it in half lengthwise. Begin at one end, rolling it and twisting as you go. Here’s a great photo tutorial if you don’t know how to make them.
STEP 3: Cut leaves from burlap. Arrange flowers and leaves on the side of the wreath you wrapped.
Play around with your design until you get something you like before gluing anything down. For my particular wreath, I used four burlap flowers, four fabric flowers, and five felt flowers, but you can use more or less, depending on your wreath size and the look you want.
STEP 4: Glue everything in place. Add a hanger and display on your door or wall!
Easy-peasy, right? I love the rustic elegance of the burlap combined with the pearls, and the pop of pink makes me smile every time I see it. Not just because it reminds me of Spring, but because it’s excess fabric from one of the
pillowcase dresses I made to send to Uganda with
Project Yesu. When I see it, I remember to pray for the little girl halfway around the world who will be wearing the other part of that fabric.
What do you think? What’s on your door this season?
Hugs & Glitter,


It’s beautiful! Great job:)
LOVE IT! Yep…I can definitely hear Hobby Lobby calling my name…..ha!
Oh I absolutely love this Amy! The colors & textures are perfect for spring!
This wreath is so cute!
Very pretty! I like the rustic charm of it as well. And the pink takes it over the top!
I LOVE this Amy! You did a great job. I totally want to run out and make one. My door is so sad looking right now. Thanks for the awesome tutorial!
It is beautiful and perfect for spring!
oh my.. funny thing I missed this entry in my feed and saw the pic @ chase the star.. figures you made it 🙂 LOVE LOVE LOVE.
There is something about burlap I just love!
very beautiful!
If you want you can share it in my italian link party 🙂
http://www.paroladilaura.it/2013/04/share-your-link-16/
It’s spring here today and this wreath would look so nice in my front door! I think I need to make one, don’t you?
This turned out SO cute! I love the rosettes and the burlap.:)