Easy Spring Garland
Decorate your home with this easy Spring Garland, made from pretty scrapbook papers and twine.

How to Make an Easy Spring Garland
This spring garland is a very simple project, and can be completed in about half an hour. Just gather the materials below, and let’s get started. If you don’t have scrapbook paper, you can reuse the fronts of floral/spring greeting cards.
Materials
- assorted scrapbook paper
- circle punch (mine is 1 3/4”)
- twine
- tape, adhesive runner
- scissors
Instructions
Punch 36 circles from assorted patterns/colors of scrapbook paper.
I used 12 circles each of three different paper patterns, but you can use as many or as few as you like.

PRO TIP: Turning the punch upside down allows you to see exactly which part of the pattern will be inside your circle.

Cut a piece of twine the length you want your garland to be. Mine is about 68”, but you can make yours longer or shorter, depending on where you plan to hang it.
Place a circle face down and tape the twine to the back. Continue taping circles to the twine, leaving about 1.5” of space in between.

Apply adhesive to the back of each circle. Adhere a second circle (from the same paper pattern) to each back, which will make your garland double-sided.

Once all of your circles are attached, your garland is complete! You can use more or fewer circles than I did, depending on how long you want yours to be.

All that’s left to do is put it on display!

Crafting Tips
- Using different combinations of colors and patterns will give you a totally unique garland. Try making one with pastels and another with bold, bright colors.
- Feel free to experiment with the spacing of your circles, making them closer together or farther apart than mine.
- Substitute ribbon or macrame cord for the twine to get a different effect.

Frequently Asked Questions
You can find it at your local craft store, or from an online retailer. It’s available in individual sheets, or you can find packs of coordinating papers.
Mine is from a pack called Recollections Florals.
No problem! Just find something small and round to trace to create your circles and cut them by hand.
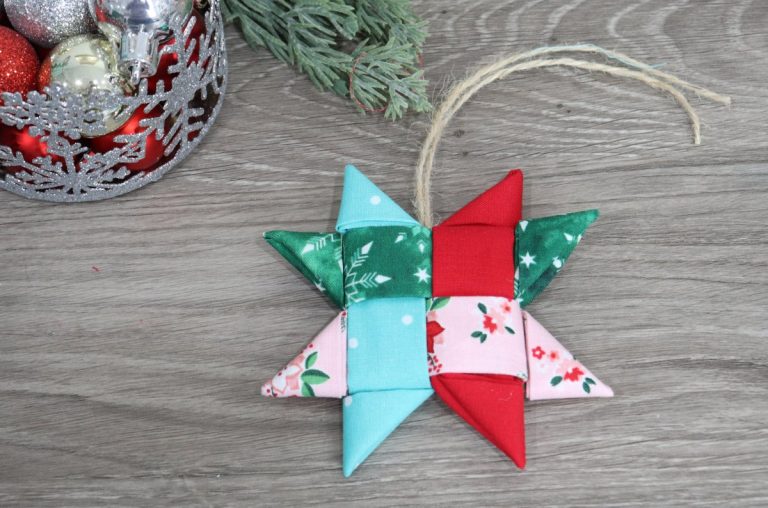
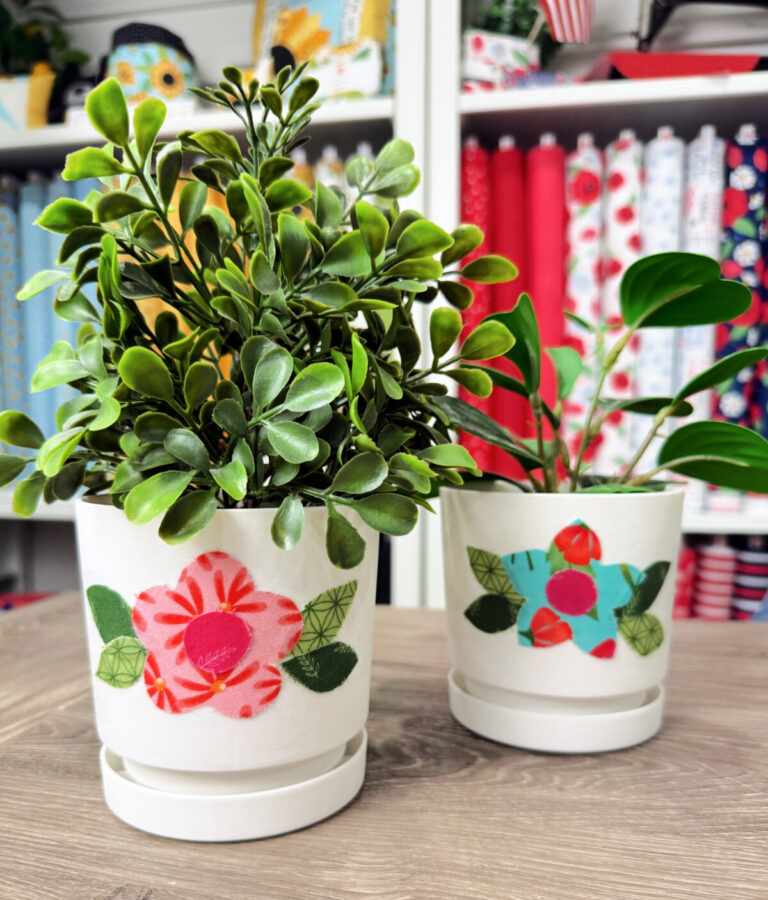
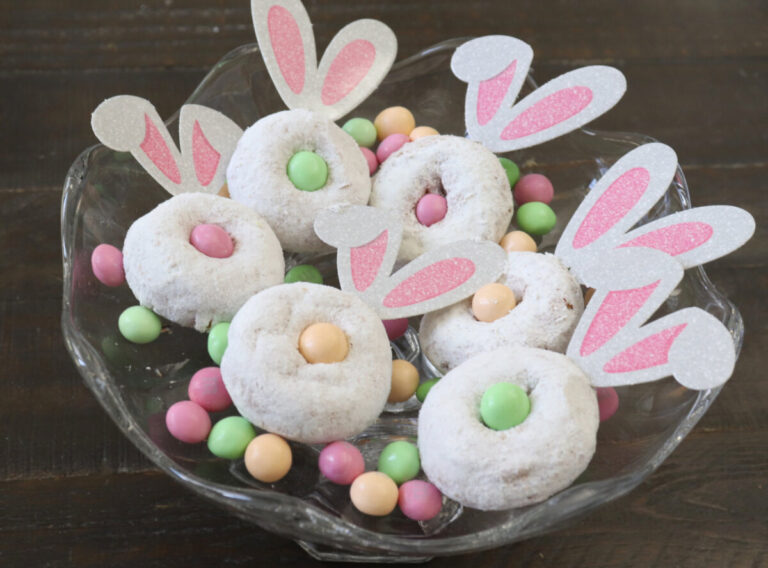
More Spring Projects
If you enjoyed this craft, here are more ideas for easy Spring projects to try.


If you try this project, or any of the other Spring crafts, I’d love to see how it turns out! Make sure you’re part of the Amy Latta & Friends Facebook Group so you can share your project photos and we can all inspire one another. See you there!

Easy Spring Garland
Equipment
- 1 3/4” circle punch
- adhesive tape runner
- scissors
Materials
- scrapbook paper
- twine
- tape
Instructions
- Punch circles from assorted patterns/colors of scrapbook paper.
- Cut a piece of twine the length you want your garland to be.
- Place a circle face down and tape the twine to the back. Continue taping circles to the twine, leaving about 1.5” of space in between.
- Apply adhesive to the back of each circle. Adhere a second circle (from the same paper pattern) to each back, which will make your garland double-sided.