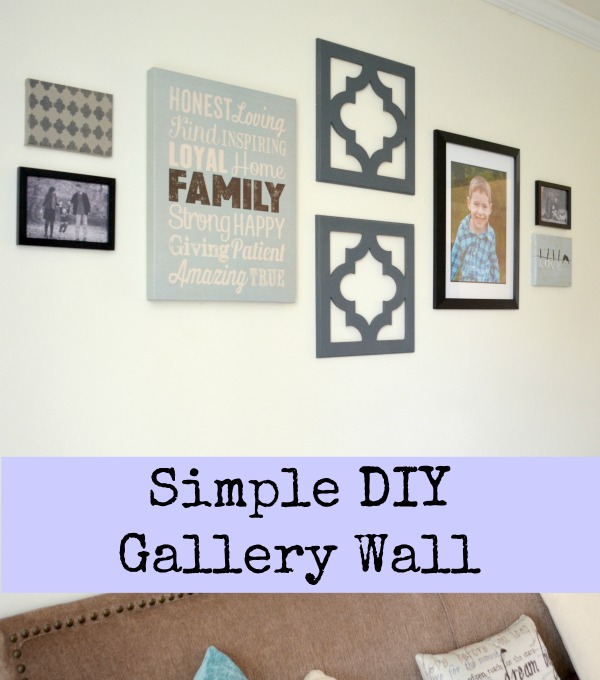
Simple DIY Gallery Wall
Friends, did you see the way I gave our new living room a total makeover for less than $150? I’ve gotten all kinds of great feedback and it seems like the general consensus is that the Gallery Wall above the couch is a hit! Honestly, I was completely intimidated by the idea of creating a Gallery Wall {just ask Erin!} but it was easier than I thought, so today I’m going to share with you how I put it together.
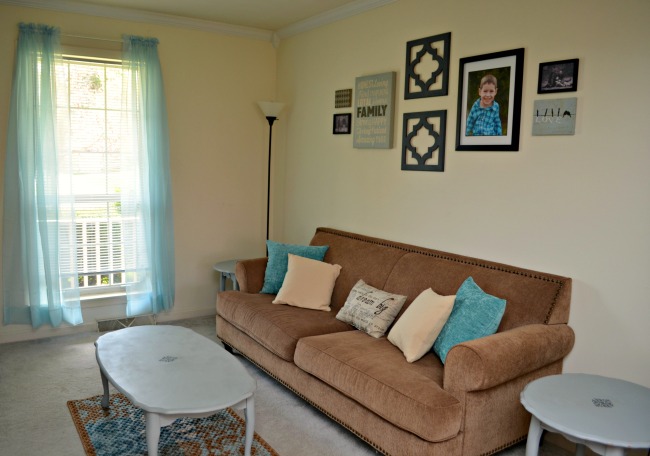
I’ve been drawn to the idea of a Gallery Wall for several years now but we didn’t have a good space in our old house to put one. As soon as I started decorating the new living room, though, I knew the large wall space behind the couch would be the perfect spot. I searched Pinterest for all kinds of ideas, and found that I either loved or hated the ones I saw. I was drawn to simple layouts that were symmetrical and organized and felt cohesive. Walls that felt too cluttered or thrown together haphazardly {even if they weren’t} didn’t appeal to my style. I knew I wanted no more than 10 things on my wall {I ended up with 8}, and that I wanted balance and unity. At first, I had no idea how it was all going to play out; here’s how I ended up with what’s on the wall:
Step 1: Determine what pieces you already know you want to display.
I had ordered an 11×14 of LC’s school picture that I knew I wanted to use, and I also wanted to incorporate some black and white photos from our family session back in November. I wasn’t sure yet what size. I also had some cut out wall decor that was just waiting to be painted and displayed.
Step 2: Go shopping!
I went {believe it or not!} to Walmart, where I picked up two canvases I loved in the color scheme I was working with and three photo frames.
Step 3: Lay it out on the floor.
Once you have the pieces in front of you, lay them out, move them around, and see how they work together visually. Then see if you need to add or remove anything. I realized that to make my wall symmetrical and balanced, I needed another 5×7 canvas. I happened to have one downstairs, so I painted it. More on that in a minute…
Step 4: Hang it on the wall!
Some people like to cut out their shapes from paper bags or other materials and tape them on the wall first to get the spacing right. If you are that patient, congratulations. Go for it. The best I did was measure the wall to find the center. Then we hung the center pieces first, followed by one side, then the other. We did measure the spacing to keep things even and hubby is really good at eyeing things up.
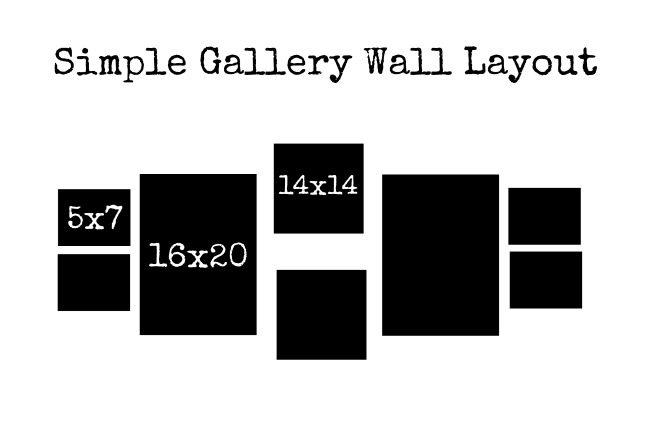
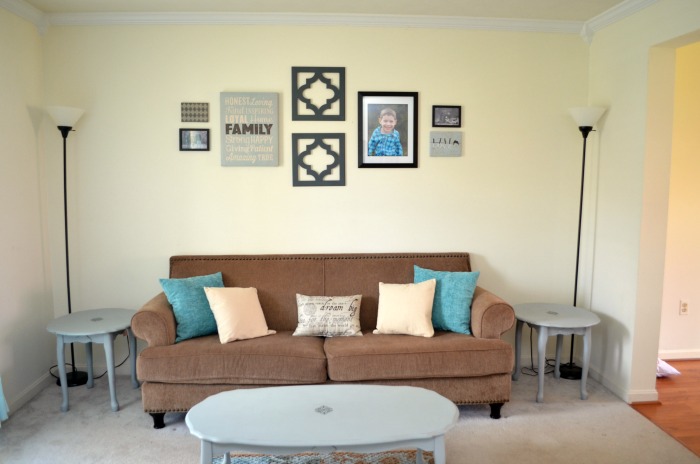
Here is the layout I came up with based on the pieces I wanted to use:

Now, let’s talk about the specific pieces I used, in case any of them catch your interest!
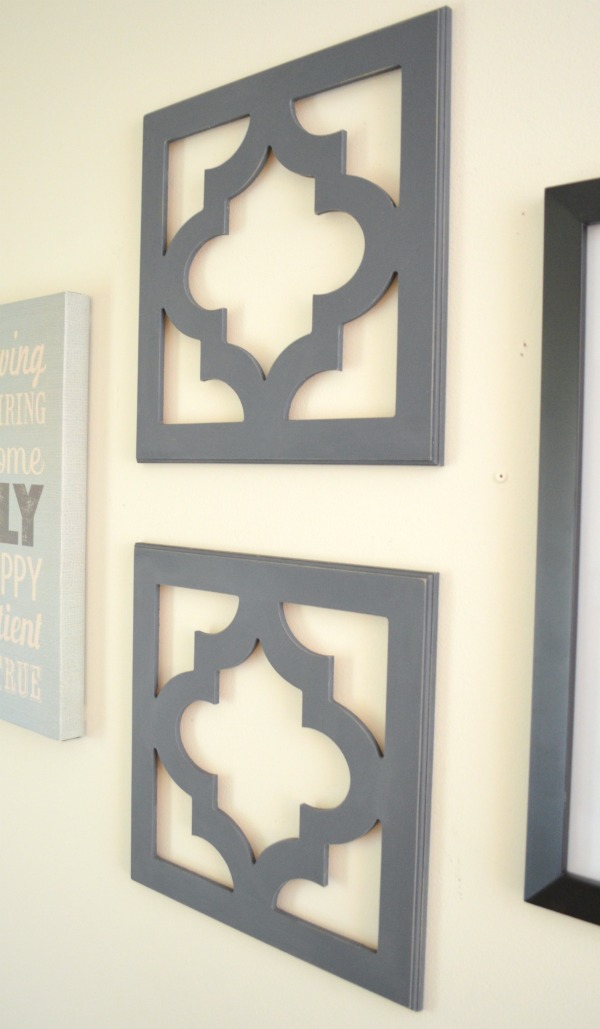
The 14×14 Pieces:
{I received mine free of charge.}
These pretty cutouts are from Cut It Out; they’re called Athens Wall Decor, and they sell for $12.99 each. They are unfinished when you receive them, so you can give them any look you like, from chalk paint like mine to metallic or even glittered! The other cool thing about them is that they have a 12×12 “pocket” in the back so that if you want, you can insert a mirror, a piece of glass, a piece of fabric, scrapbook paper, or anything else you want to customize them even more. I painted mine with Martha Stewart Vintage Paint in Charcoal, sanded them, then applied a coat of clear wax as a sealer. I also have two of these in our master bedroom painted turquoise, which I’ll be sure to show you another day! Cut It Out offers these in two other designs as well, Salem and Madison, but this one is my favorite!
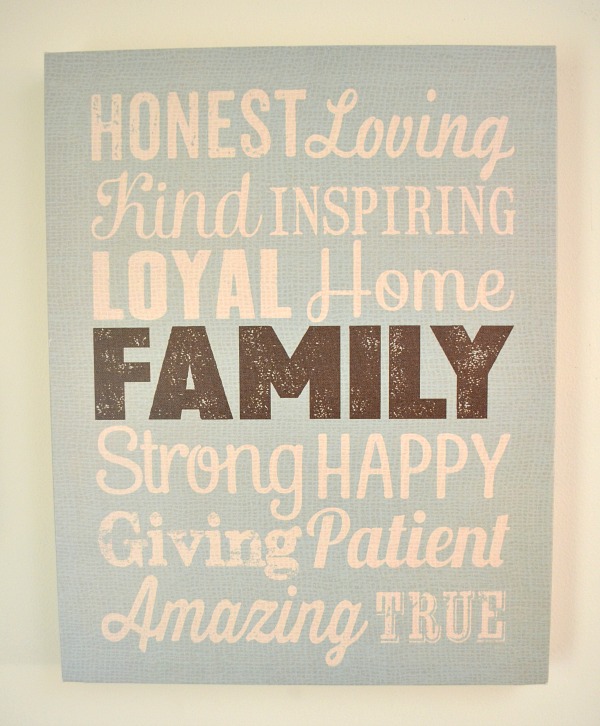
The 16×20 Pieces:
1. I found this “Family” canvas at Walmart for $11.99. The colors were absolutely perfect; they match the pillows, rug, and curtains I got for the room, and I loved the sweet sentiments about family. I’m a sucker for subway art anyway, so it was a no-brainer, especially for that price.
2. LC’s School photo this year, taken by Sweet Captures Photography, turned out SO adorable…I want to know how the photographer got him to smile like that for the camera! I need to learn her tricks! Since the canvas was 16×20 and my photo was only 11×14, I bought a larger frame with a mat to even things up. I ordered my print, as always, from Shutterfly and couldn’t be more pleased with the quality. Wasn’t it nice of him to coordinate his outfit with my decor?

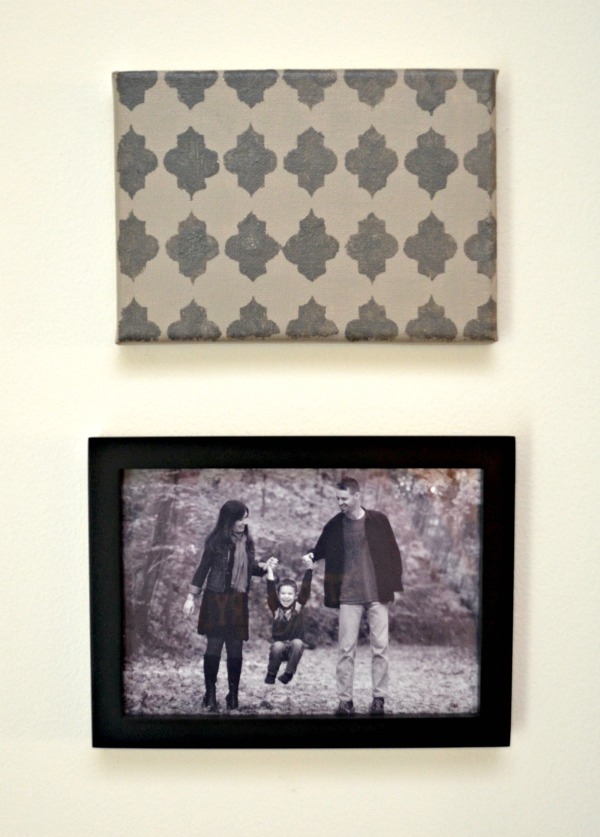
The 5×7 Pieces:
Family Photos – I knew I wanted to use two of my favorites from our amazing photo shoot with Jen Snyder, so I printed them out in black and white and hung them in simple black frames.
Canvases: I found the LOVE canvas for just $3 at Walmart! Being who I am, my first thought was, ooh, I could make something like that. My second thought, though, was, “But this one is just $3!” There’s no way that I could create my own for that kind of price, especially considering the time and effort it would take. So, I bought it!
The other canvas, I did make. First, I painted the entire thing a light shade of greyish/tan. Then, I used a quatrefoil stencil from Stencil1 and painted it in grey over top once the initial coat of paint was dry.
Here’s the wall with all the pieces together. For balance, I separated the two blue canvases to spread out the pops of color, and I alternated the position of the 5×7 photos on each side. What do you think? What’s your favorite part of the wall? Do you have a Gallery Wall in your home?
Wow, those look fantastic. We are redoing our living room and I have two big blank walls that need to be filled. I really like the cutouts!
thanks for the details on the cut outs.