Cinnamon Salt Dough Recipe
One of my favorite things to craft with this time of year is salt dough! It can be used to make everything from place cards to jewelry and ornaments. I’ve shared a simple salt dough recipe in the past, but this year I want to share a little variation that smells wonderful for the holiday season…Cinnamon Salt Dough! Then, once we learn to make it, I’m going to be sharing a variety of project ideas you can use it to create. Ready?
You’ll need:
1 cup flour
1 cup salt
1 cup warm water (may not use it all!)
Cinnamon
Food coloring (optional)
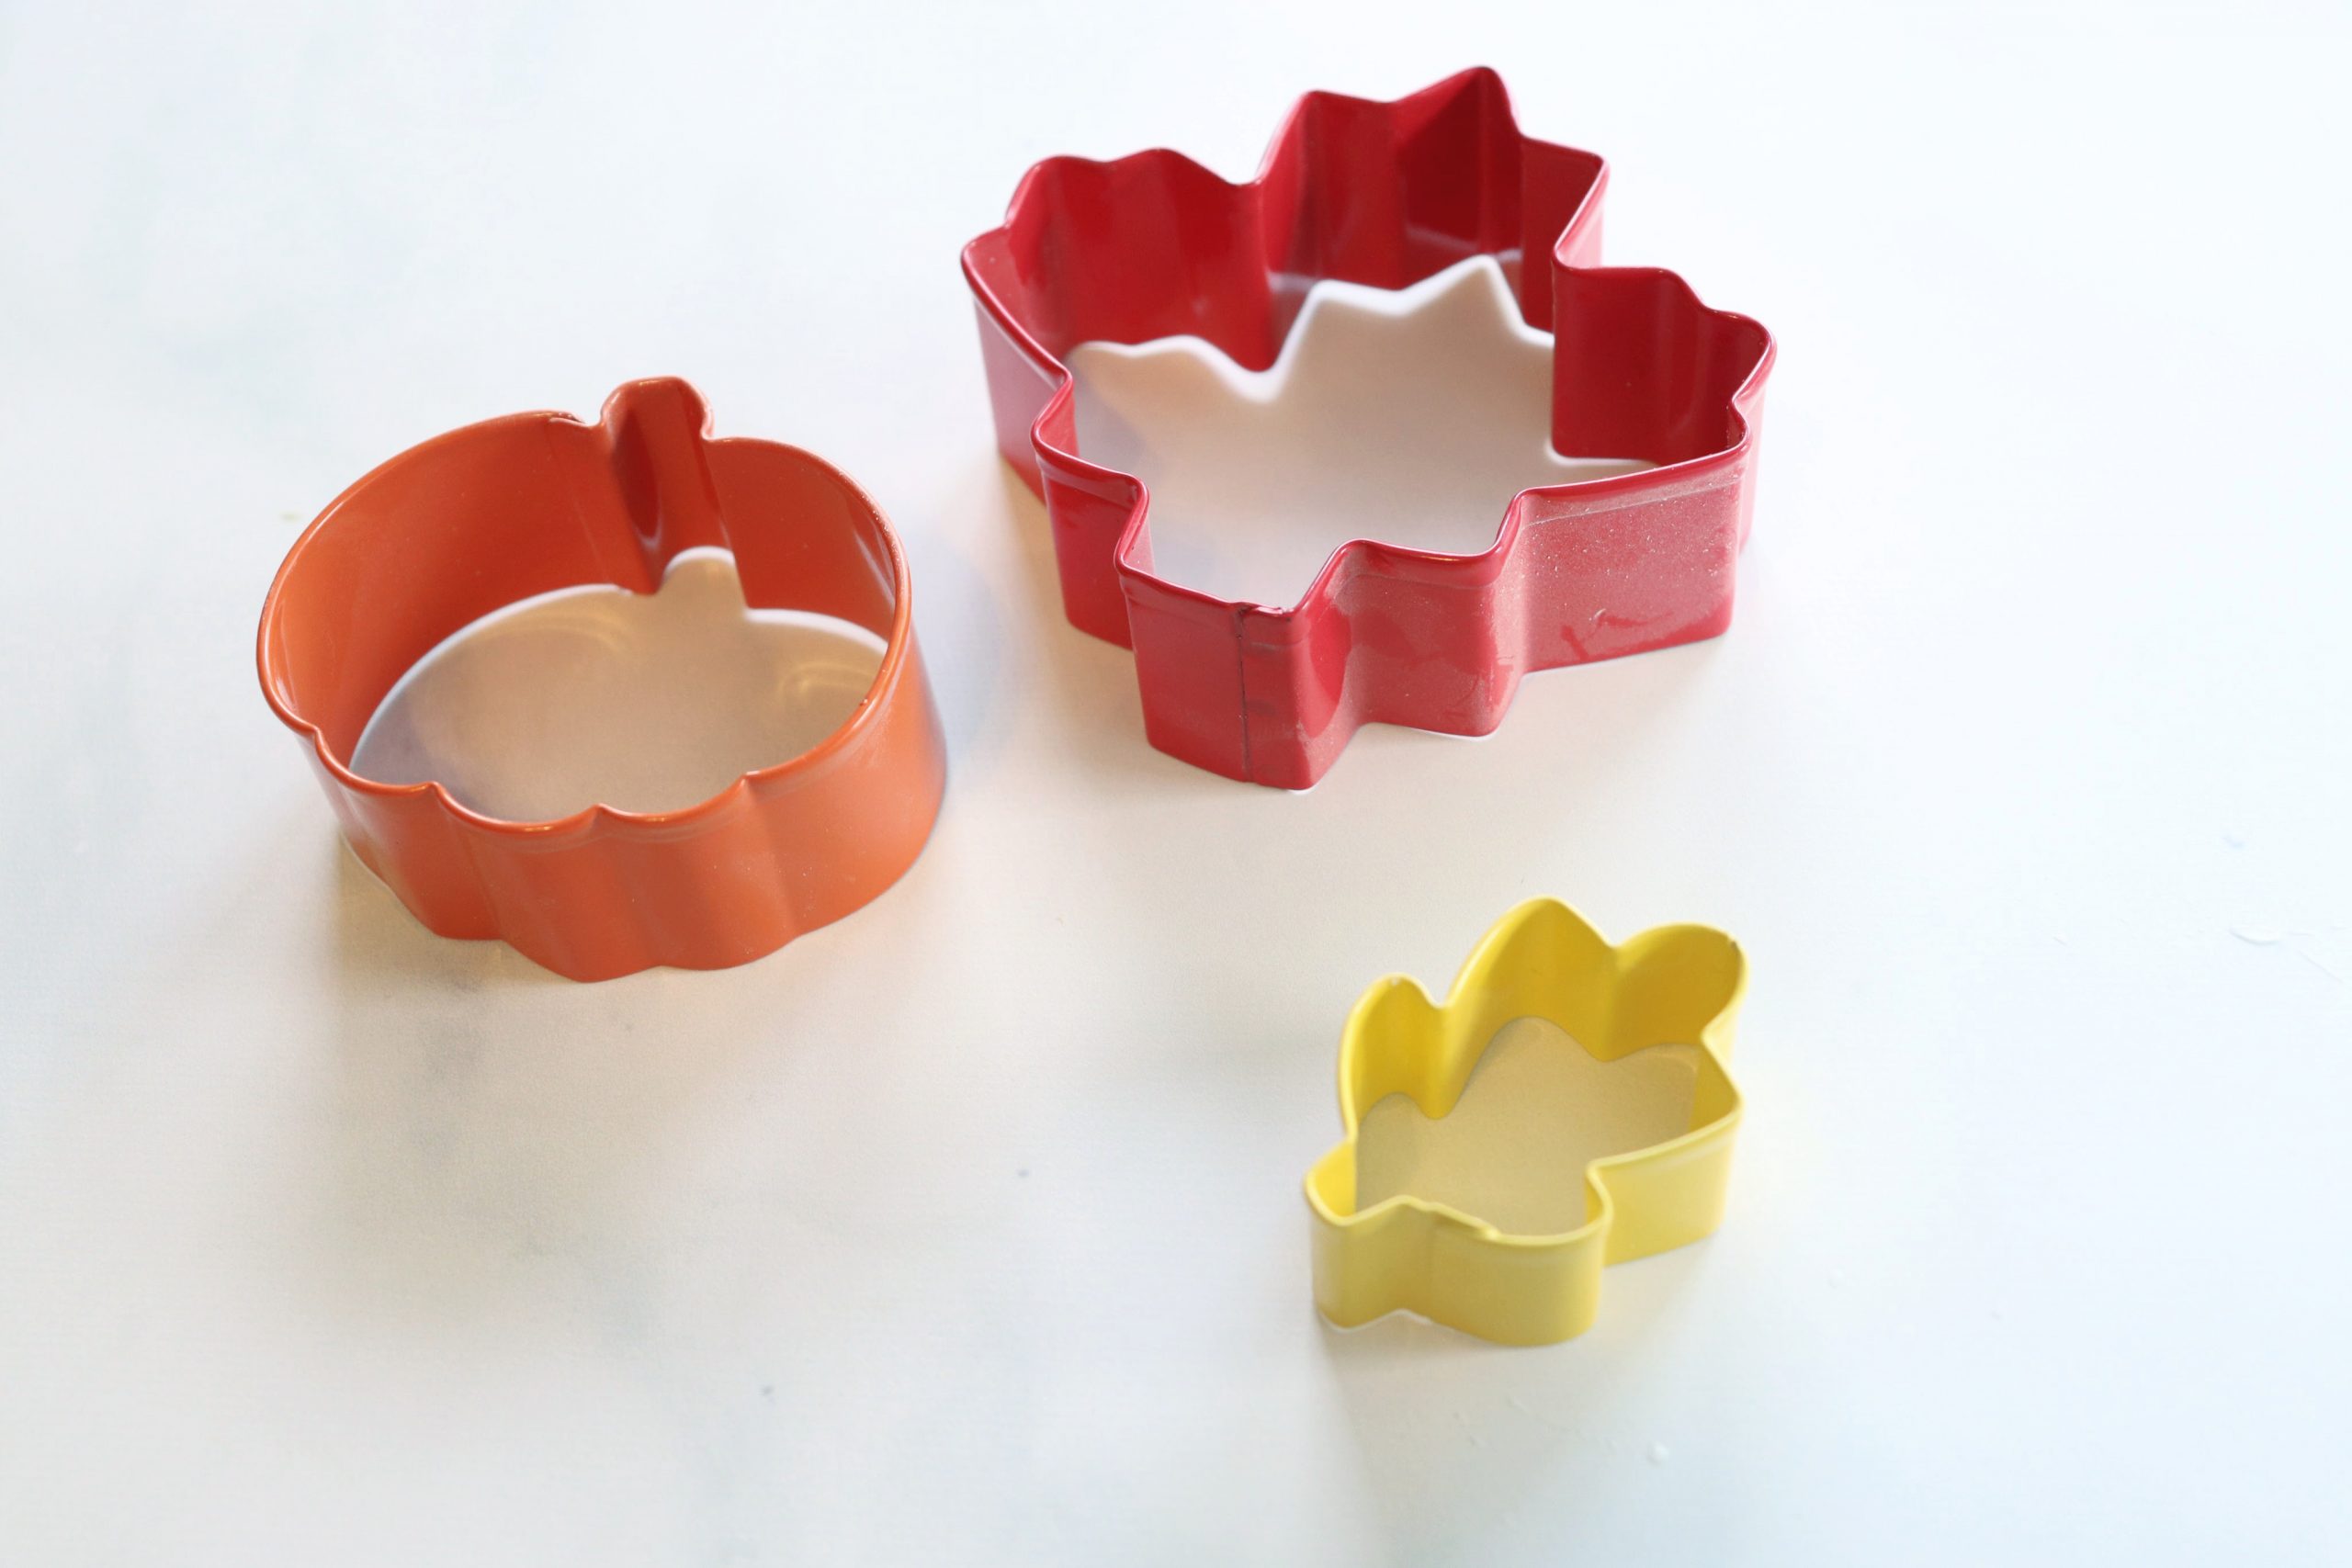
Cookie cutters
Rolling Pin
Cookie sheets and parchment paper or silicone baking mat
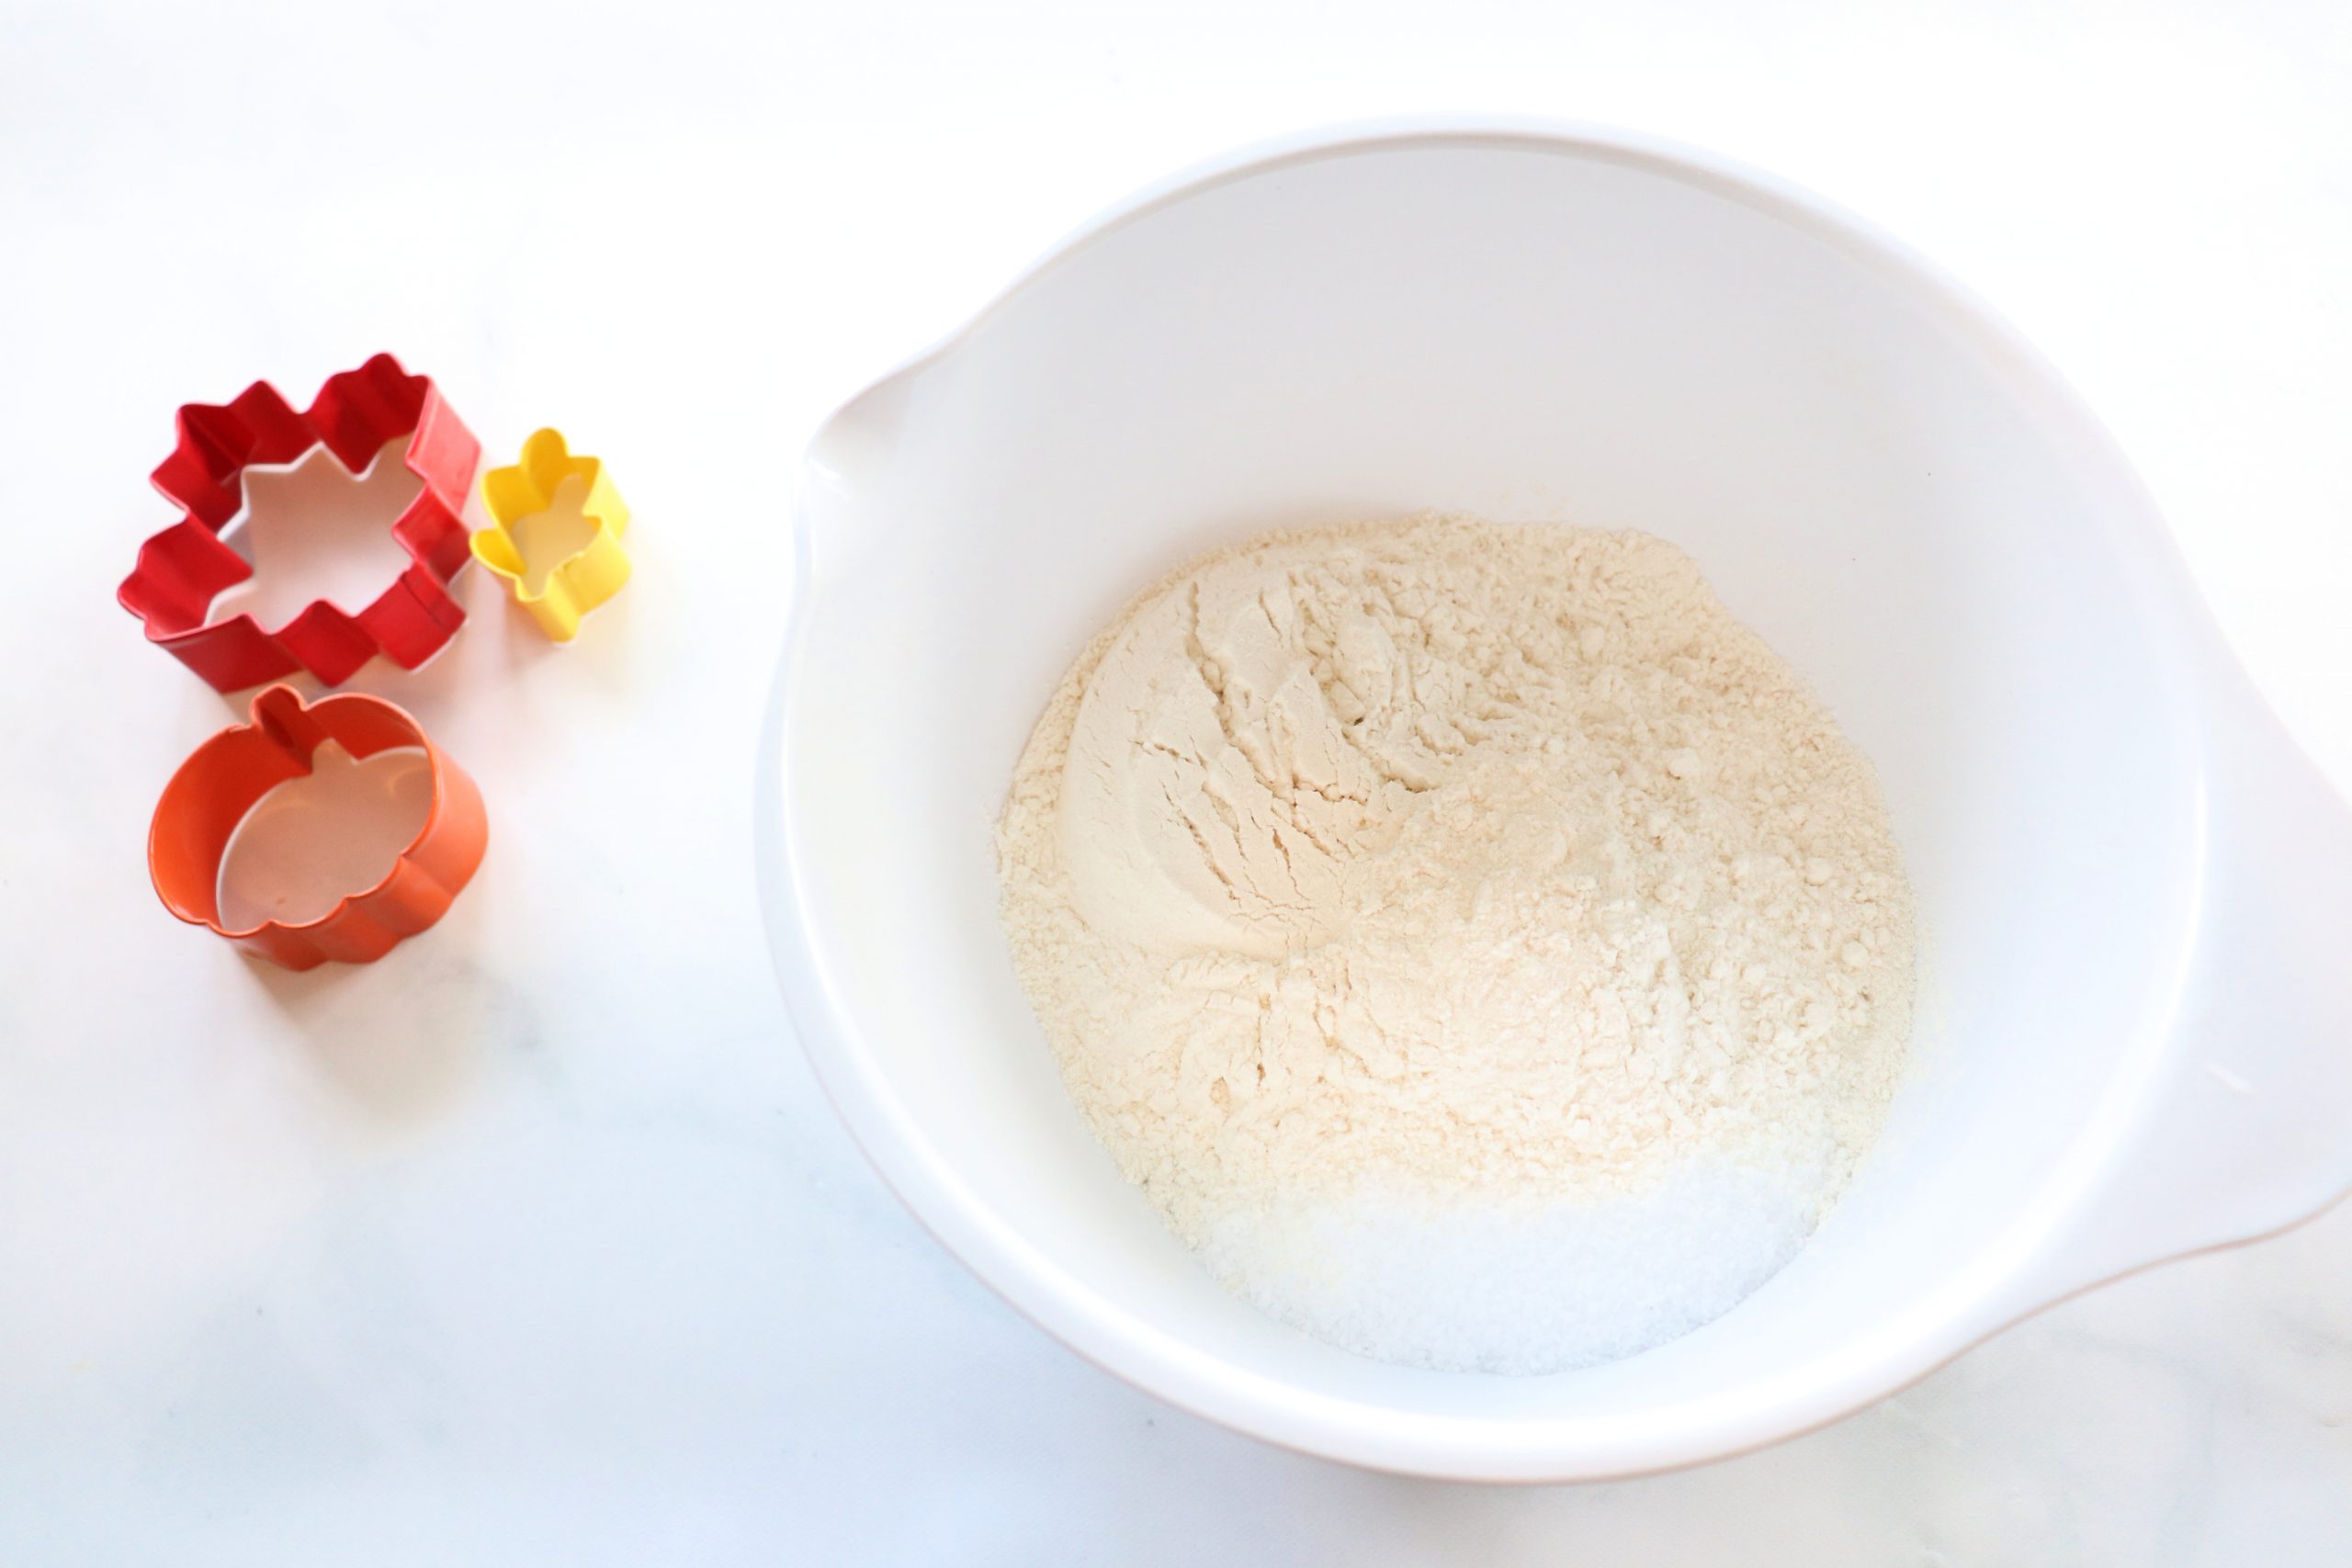
Step 1: Combine 1 cup flour and 1 cup salt in a bowl.
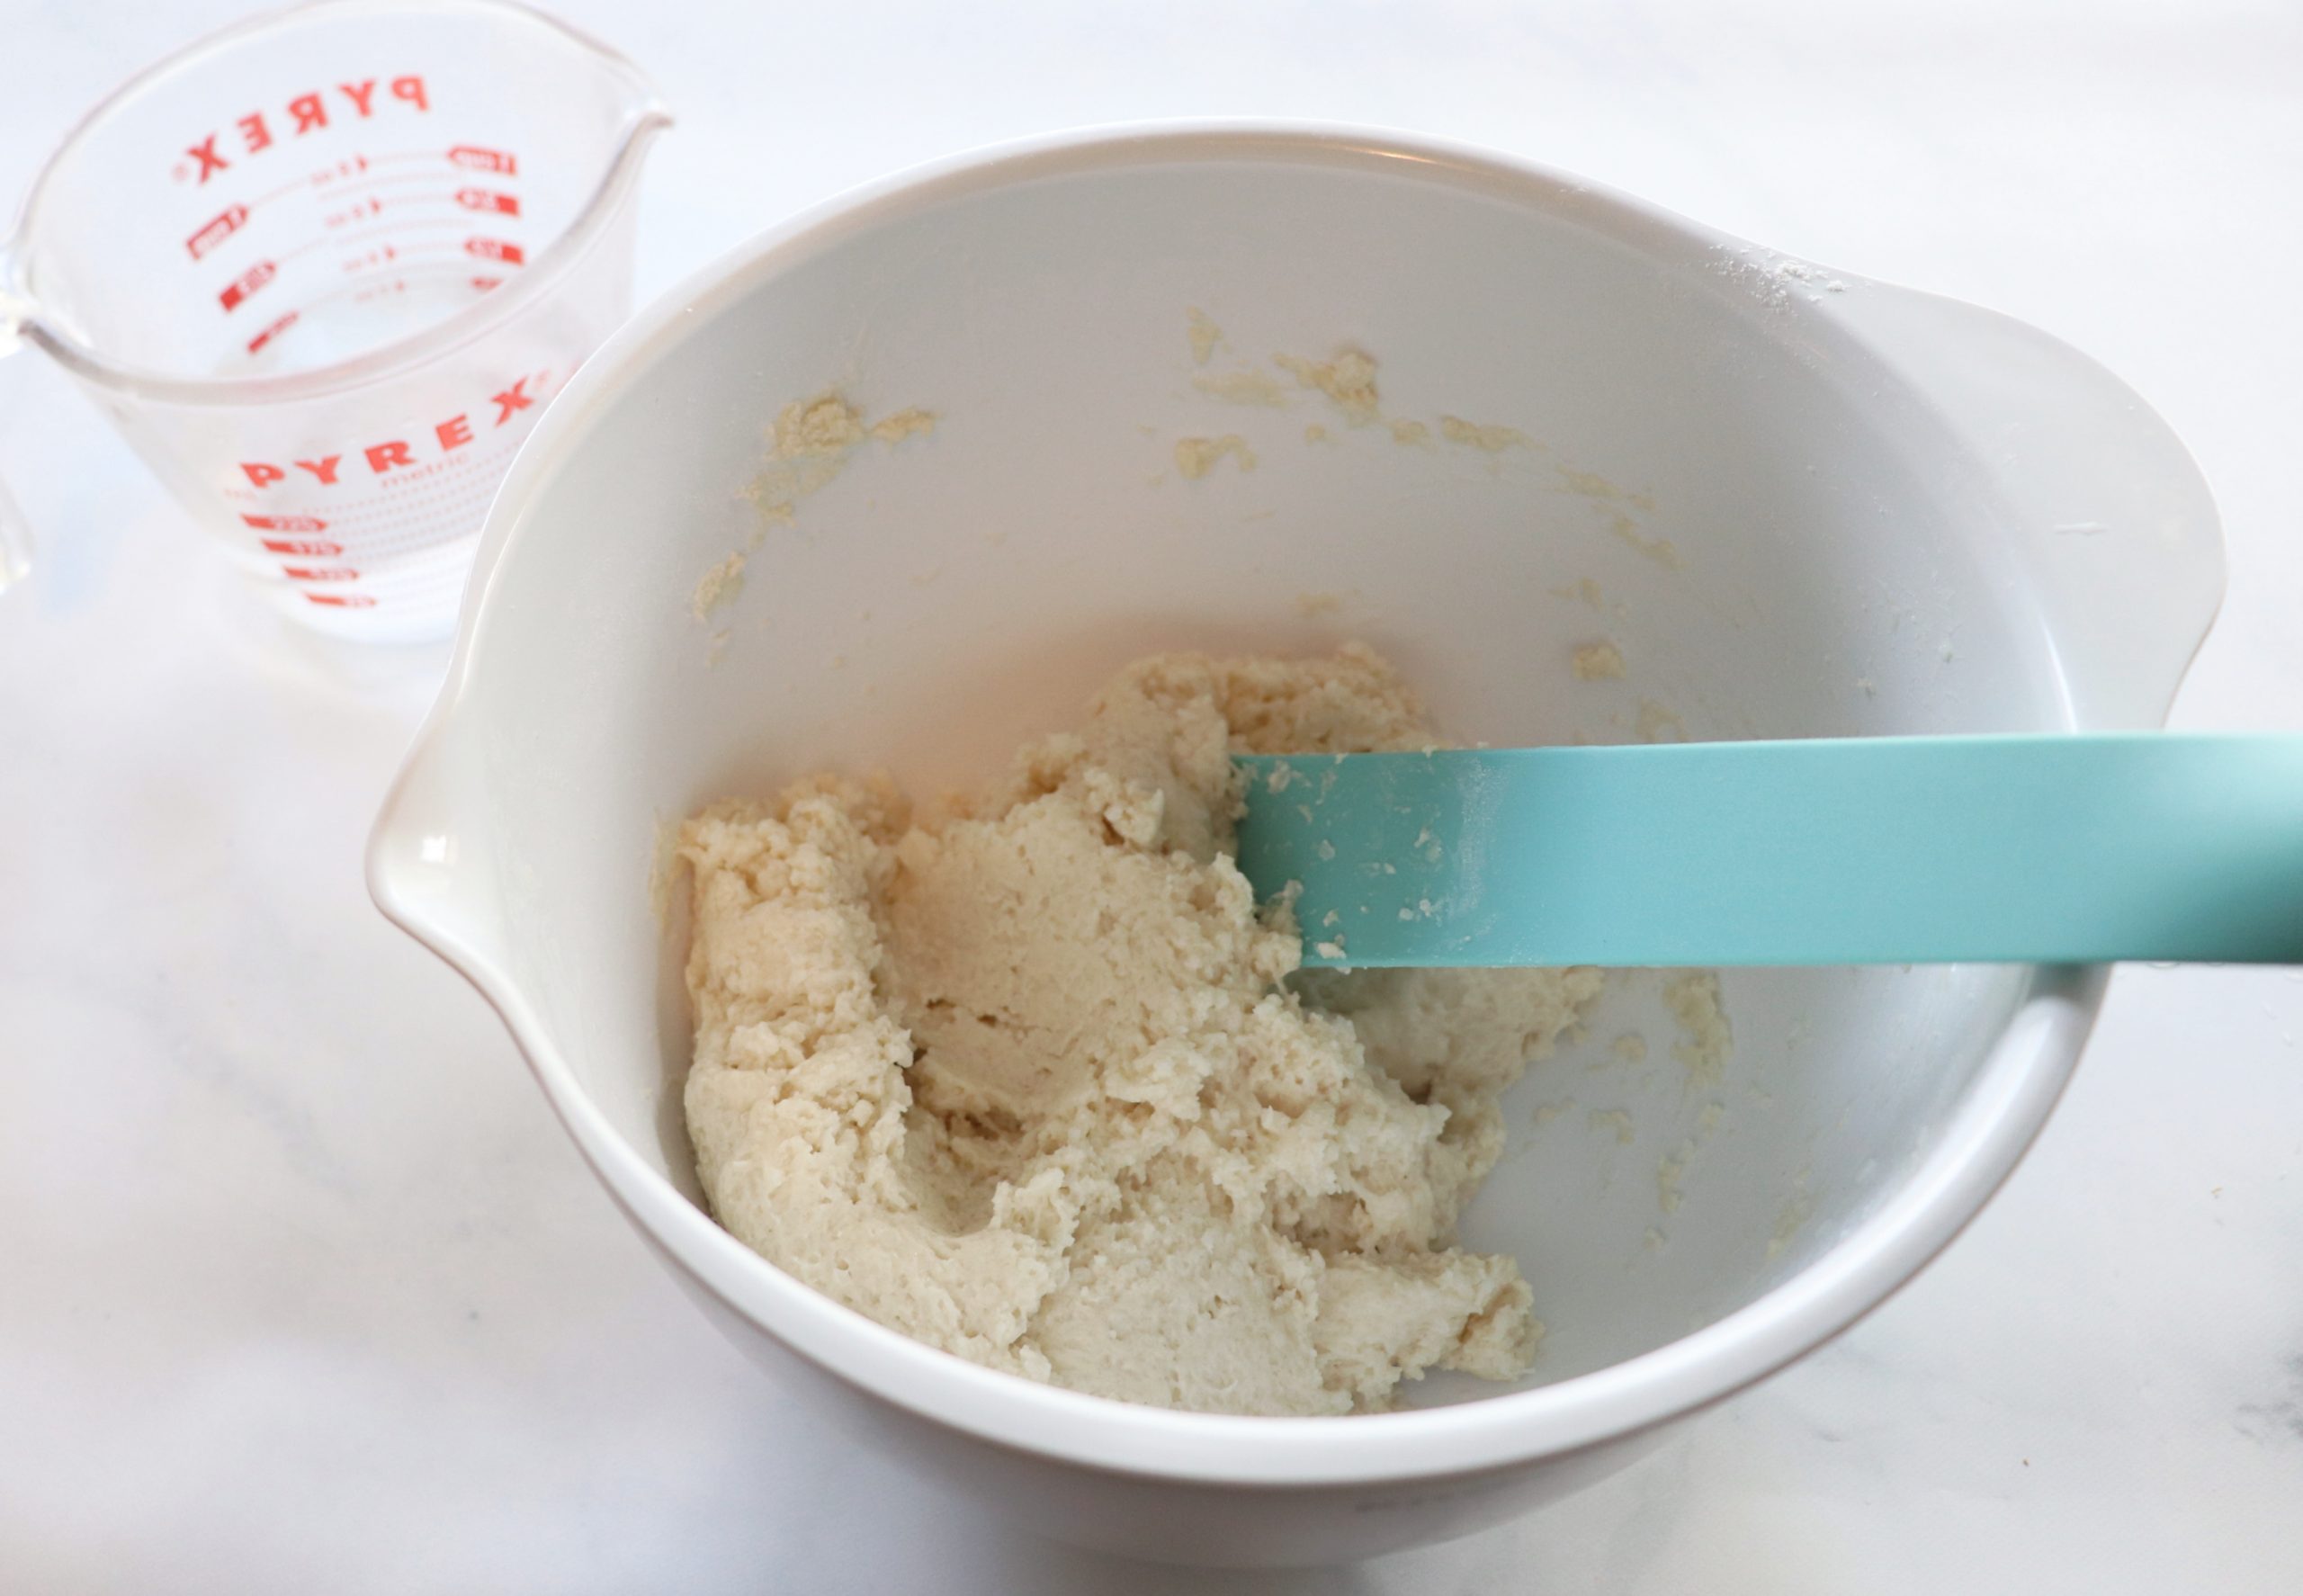
Step 2: Gradually add warm water, a bit at a time, and mix.
When your ingredients form a dough that’s not too crumbly, stop! I had about 1/4 cup of water left over. If your dough gets too sticky, add a bit more flour until you get a good consistency that feels like rolled cookie dough.
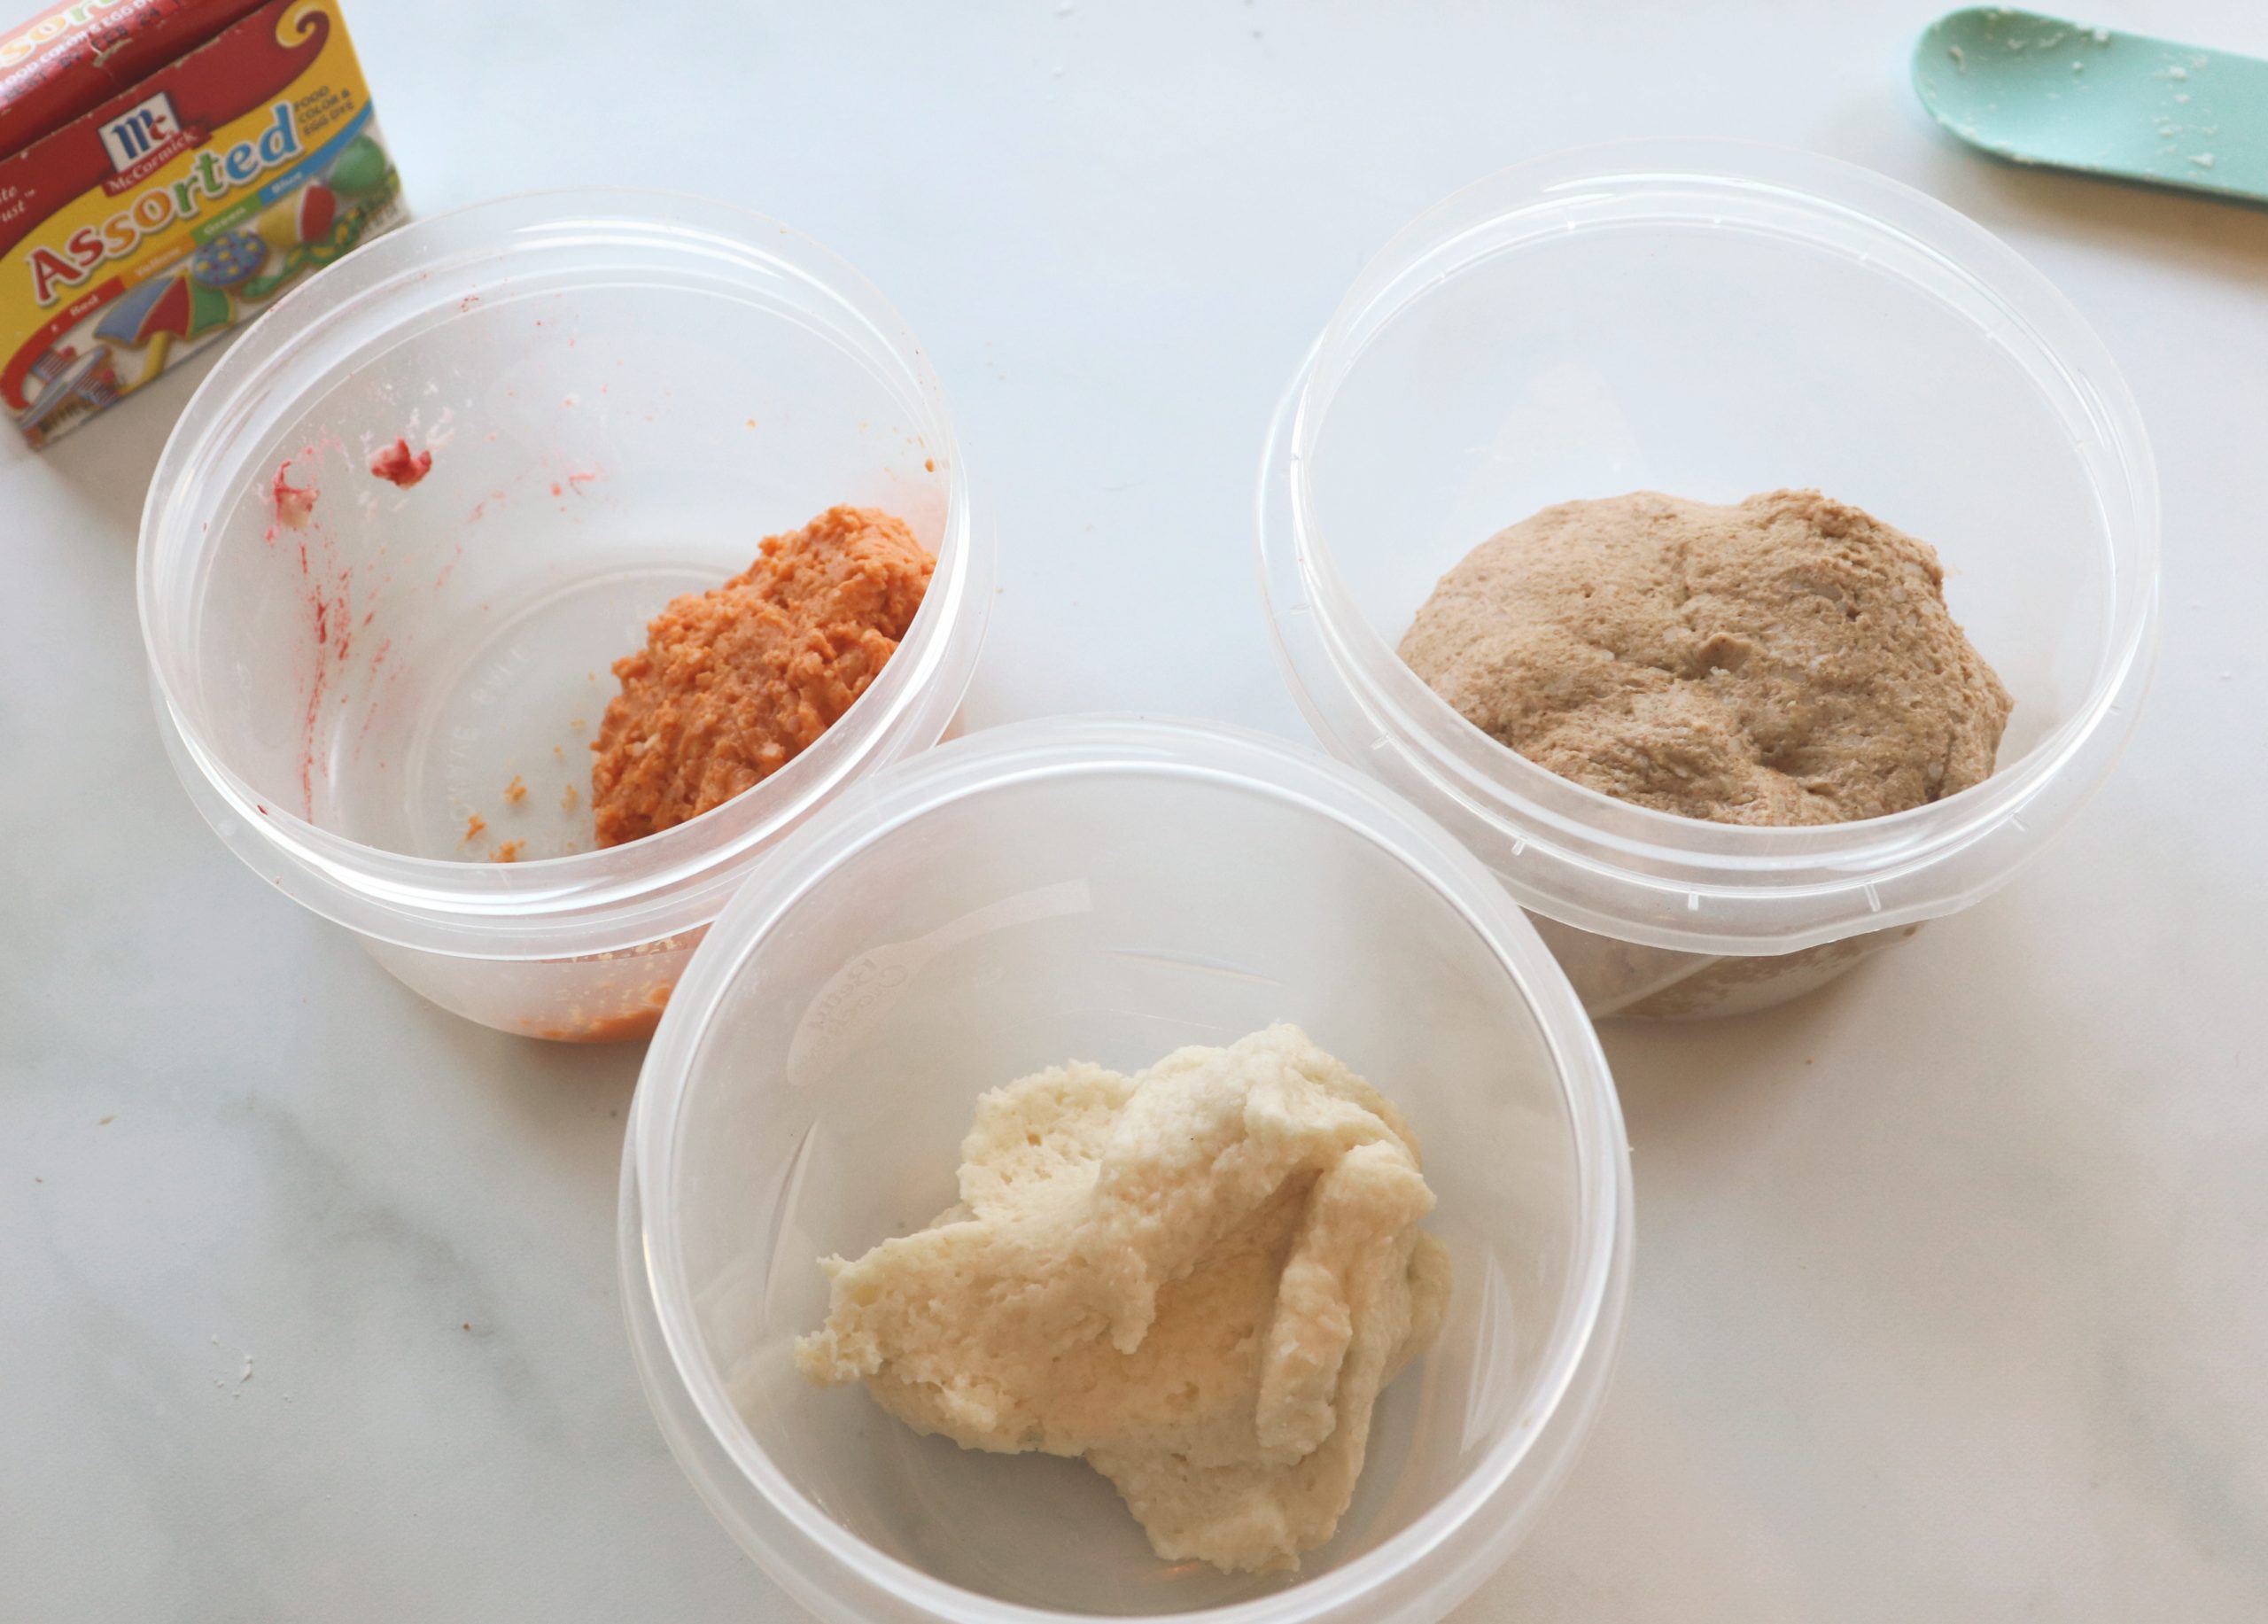
Step 3: Add food coloring and cinnamon.
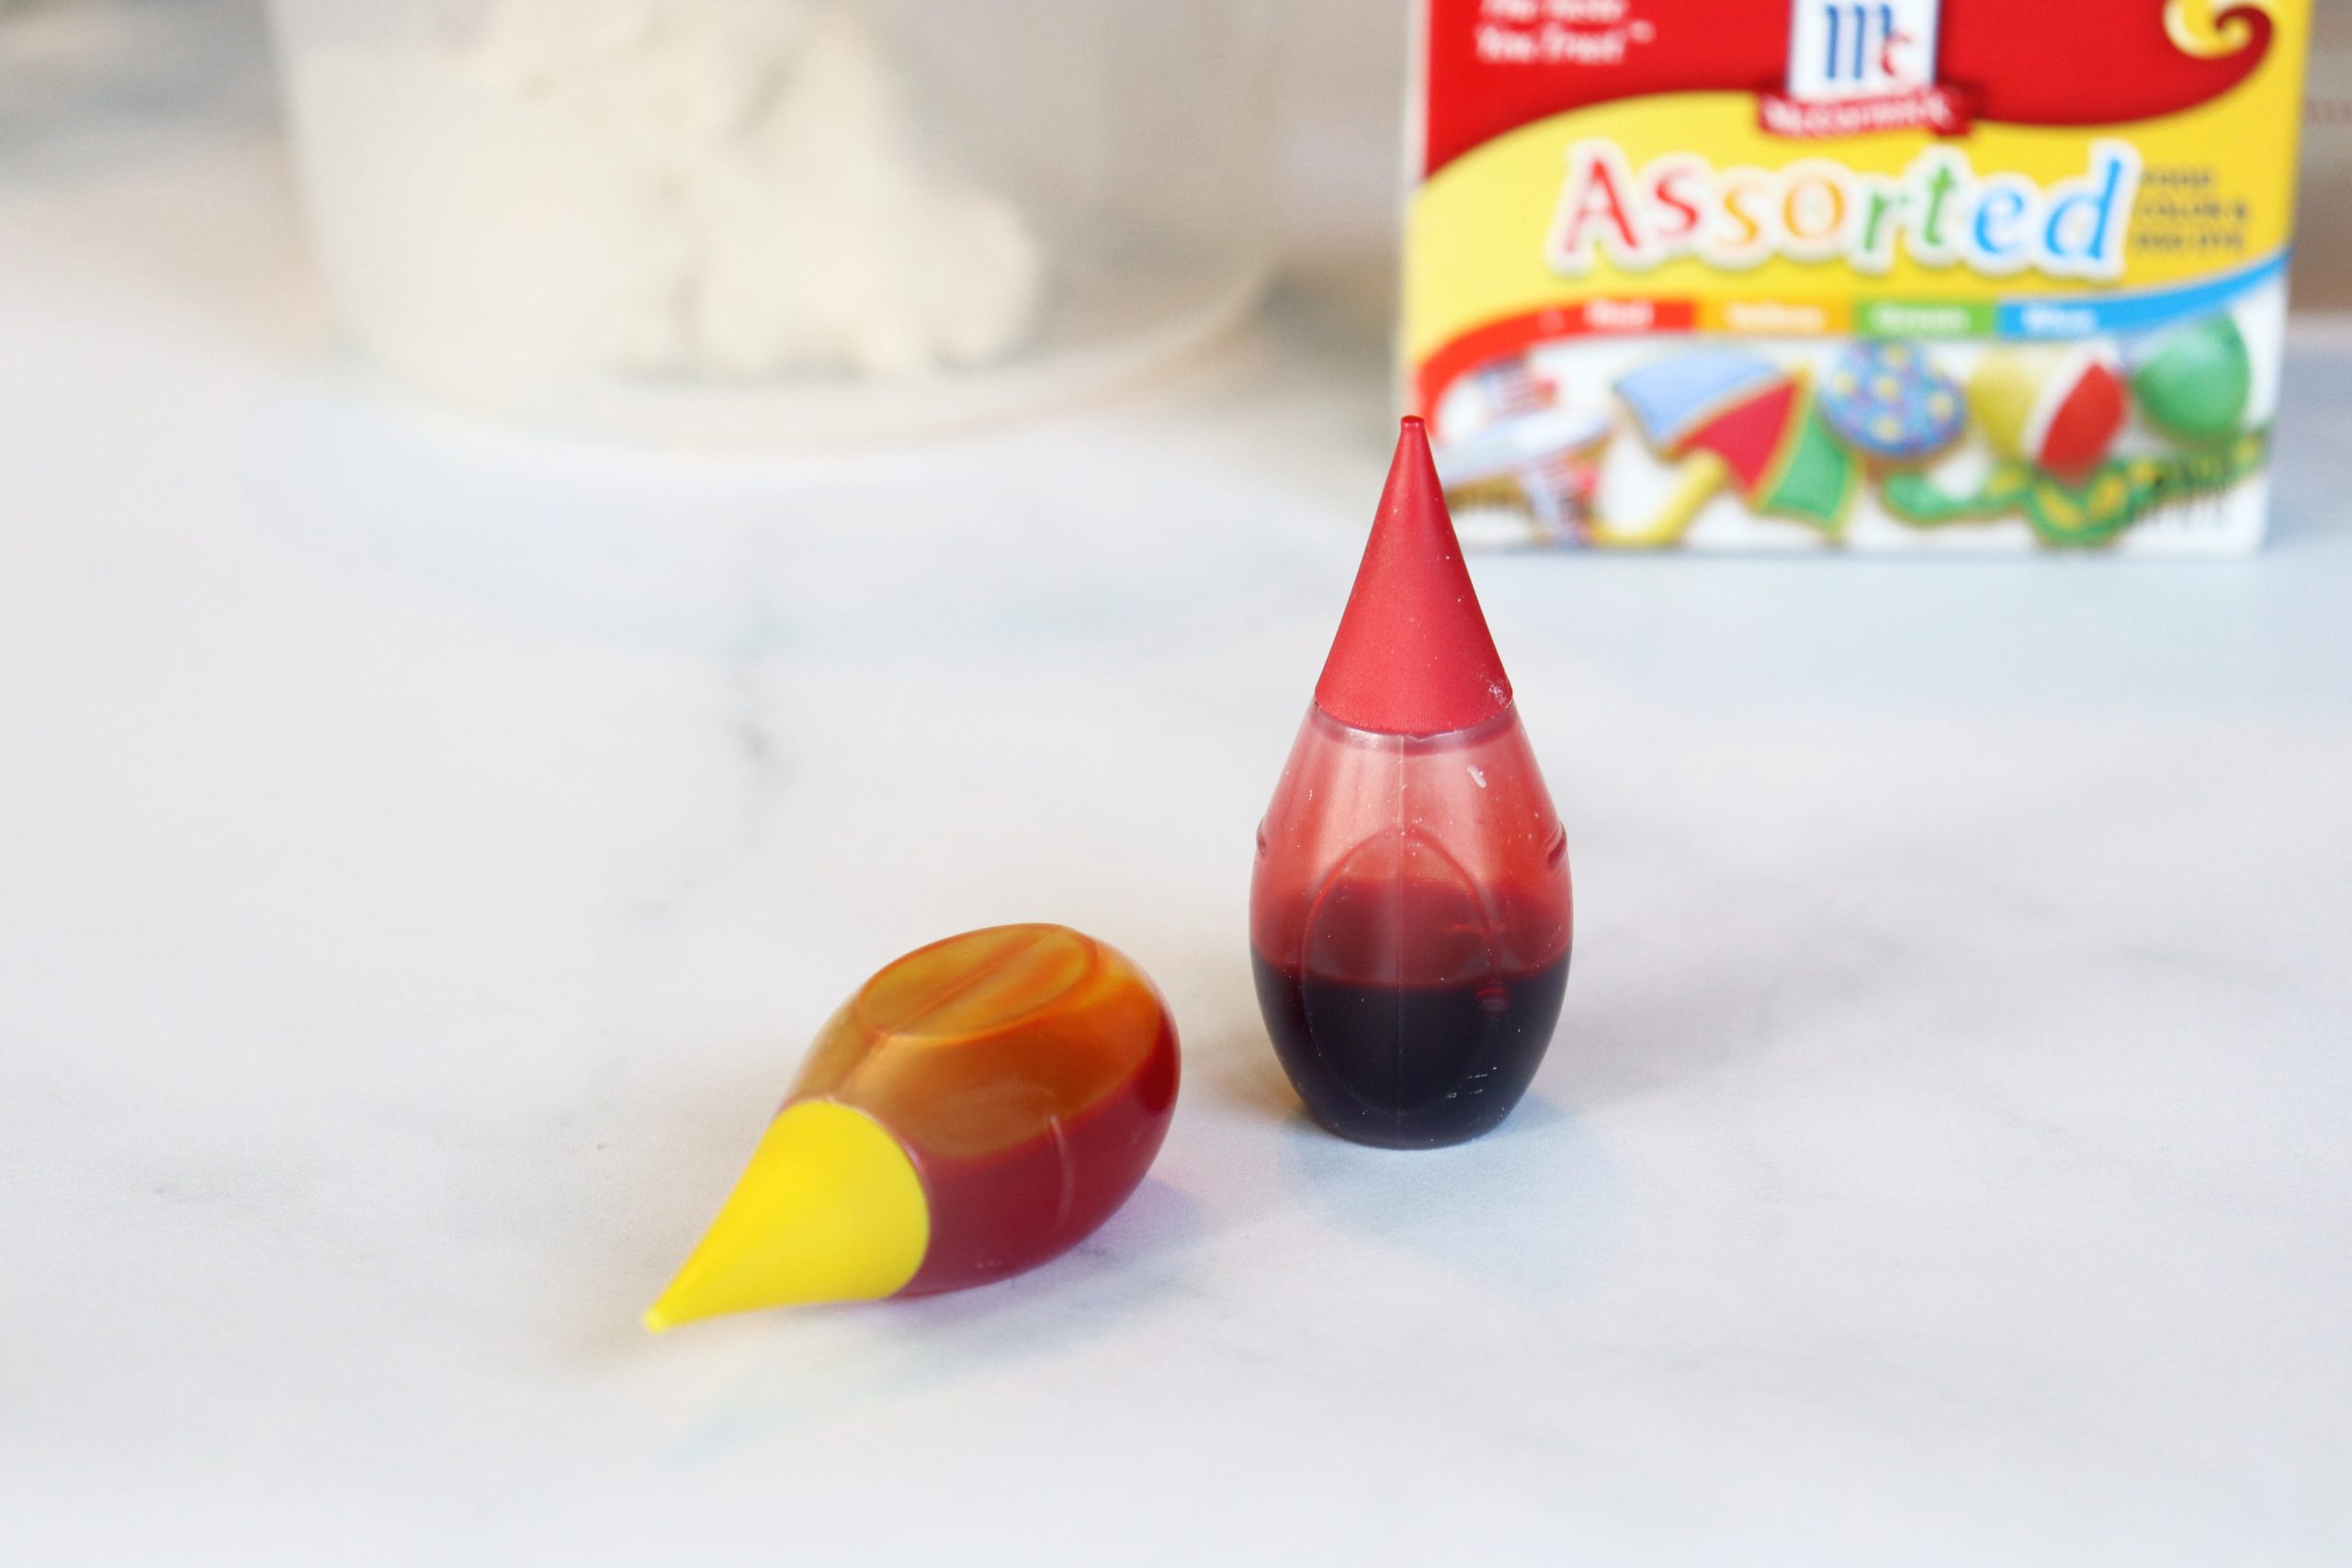
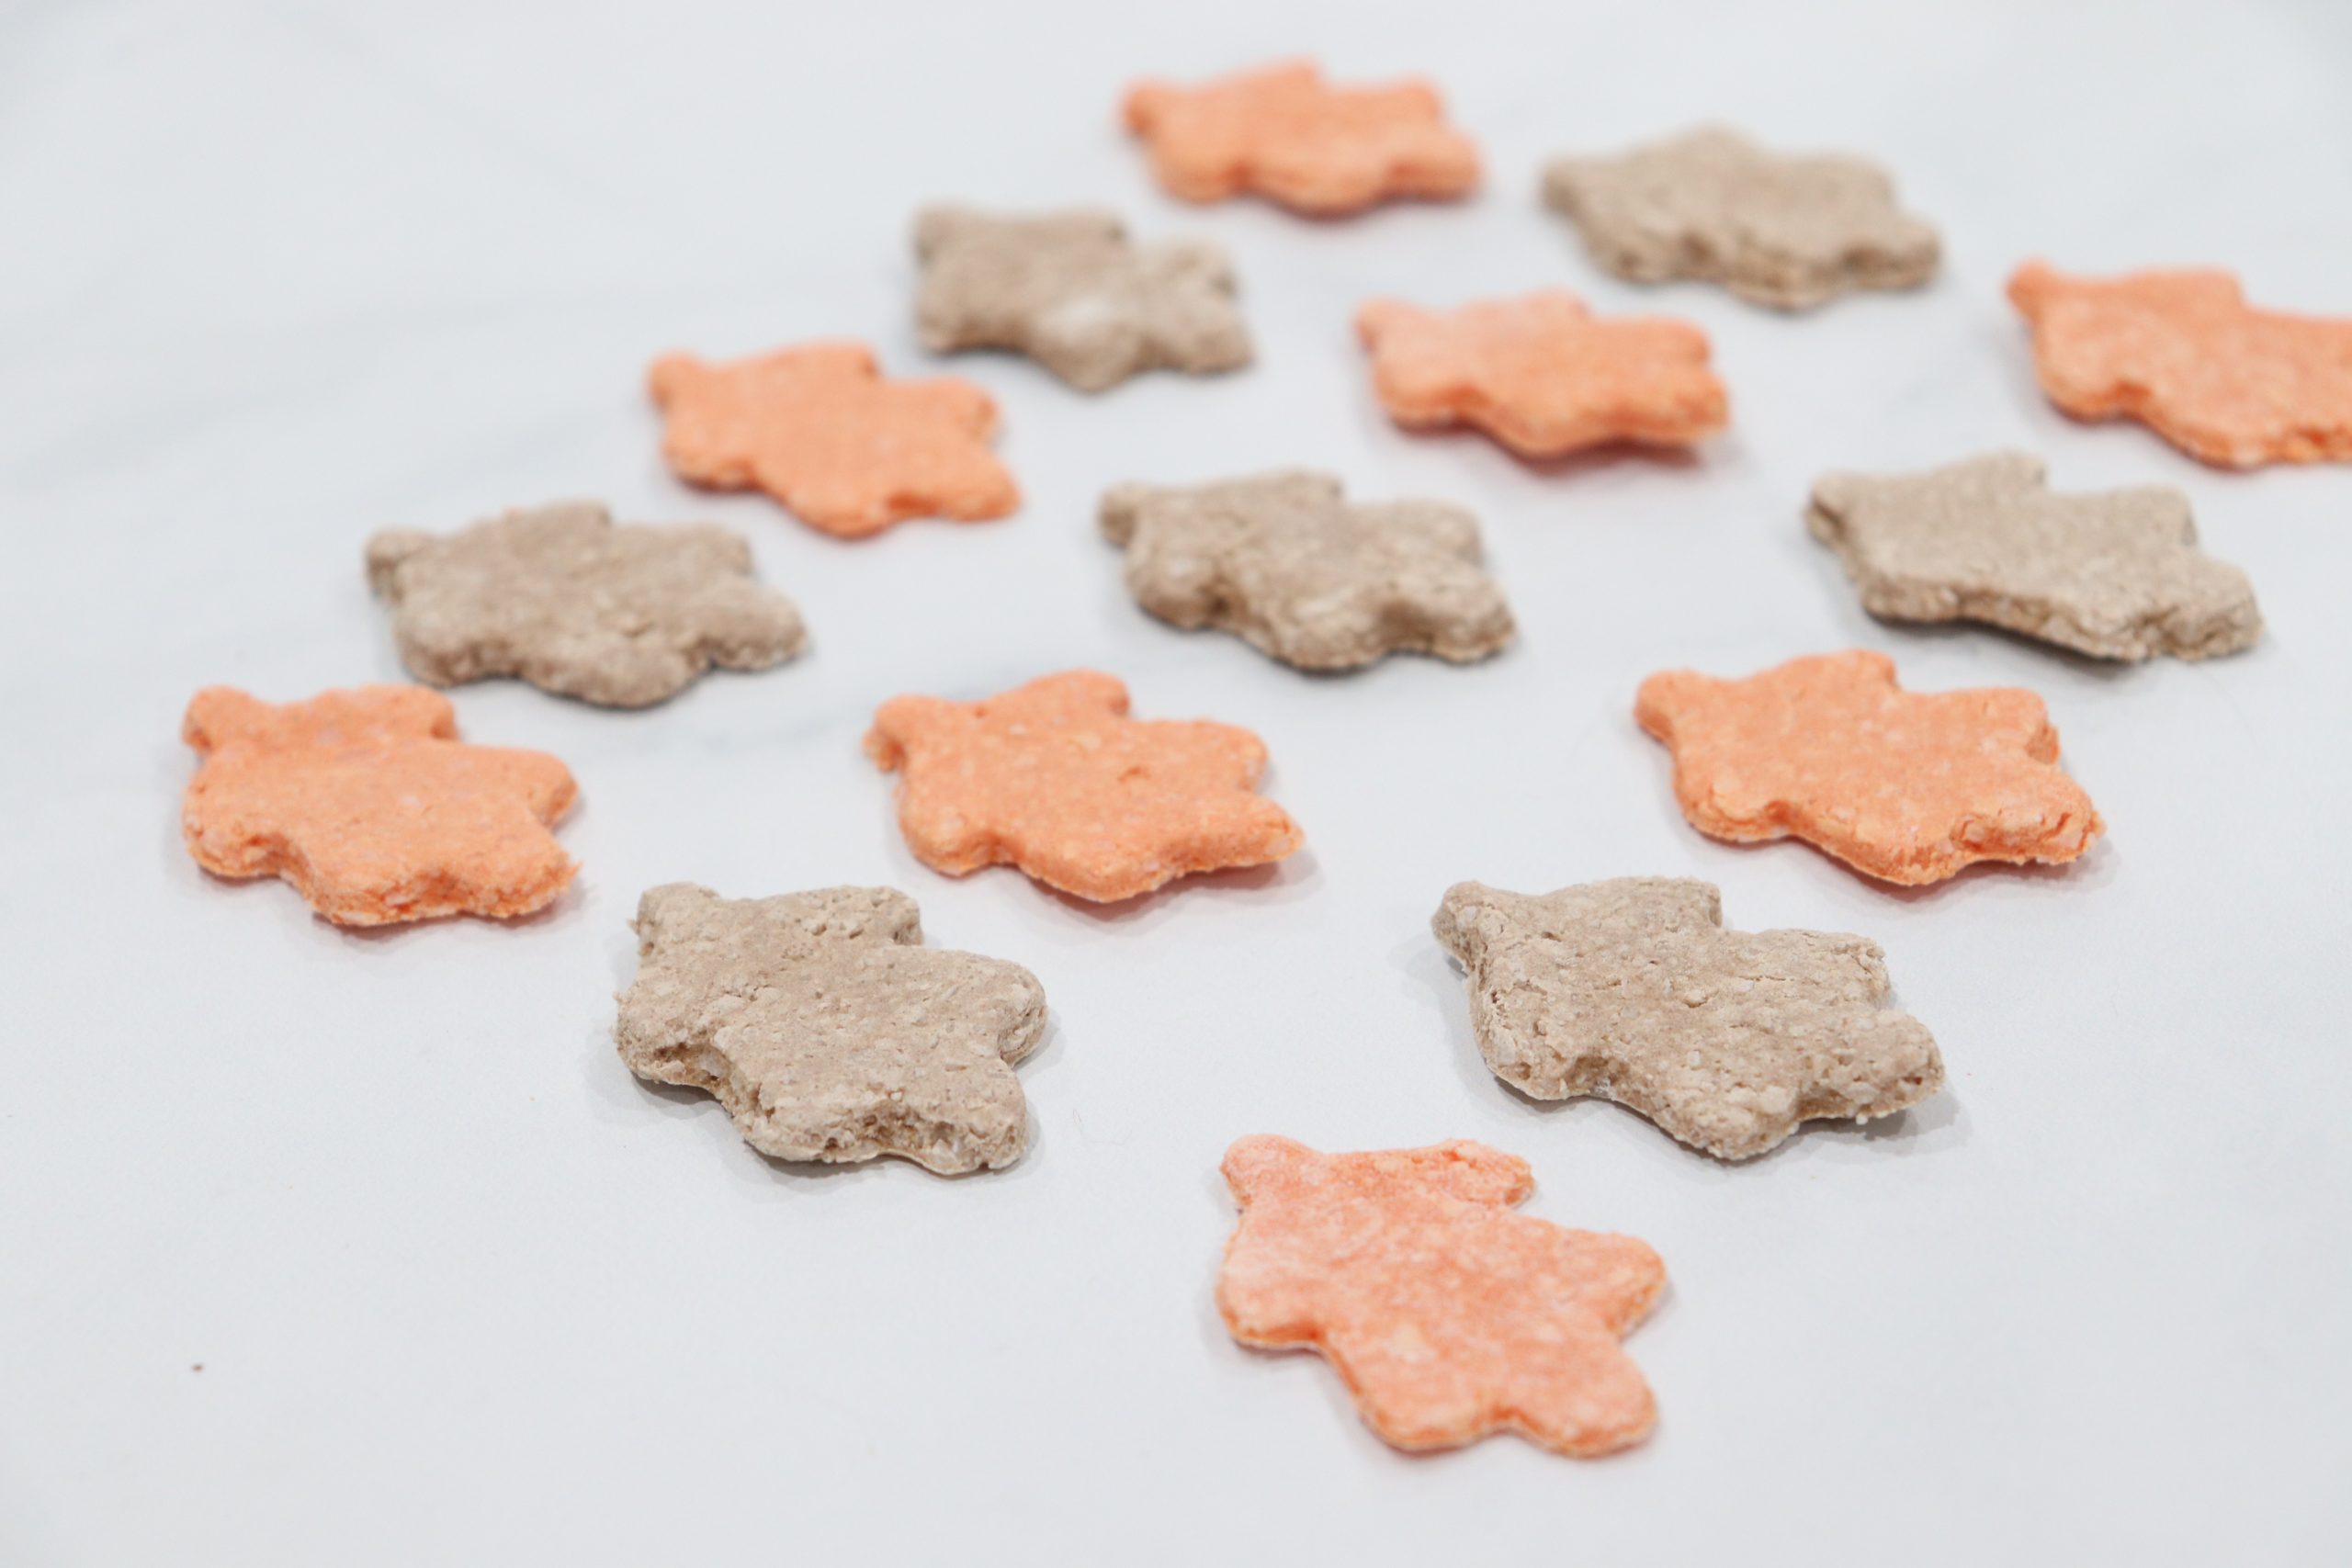
I decided to split my dough and make different colors. For orange, I mixed about 10 drops of red food coloring and 5 drops of orange, but you can play around with the ratio to get the color you want. I added a sprinkle of cinnamon; enough to smell good, but not enough to affect the color too much. For the brown dough, I added about 1 1/2 T of cinnamon. You can add more or less depending on the color you want. I also added about 1 tsp nutmeg. You can also leave your dough plain and uncolored, then paint it later (or keep your shapes white).
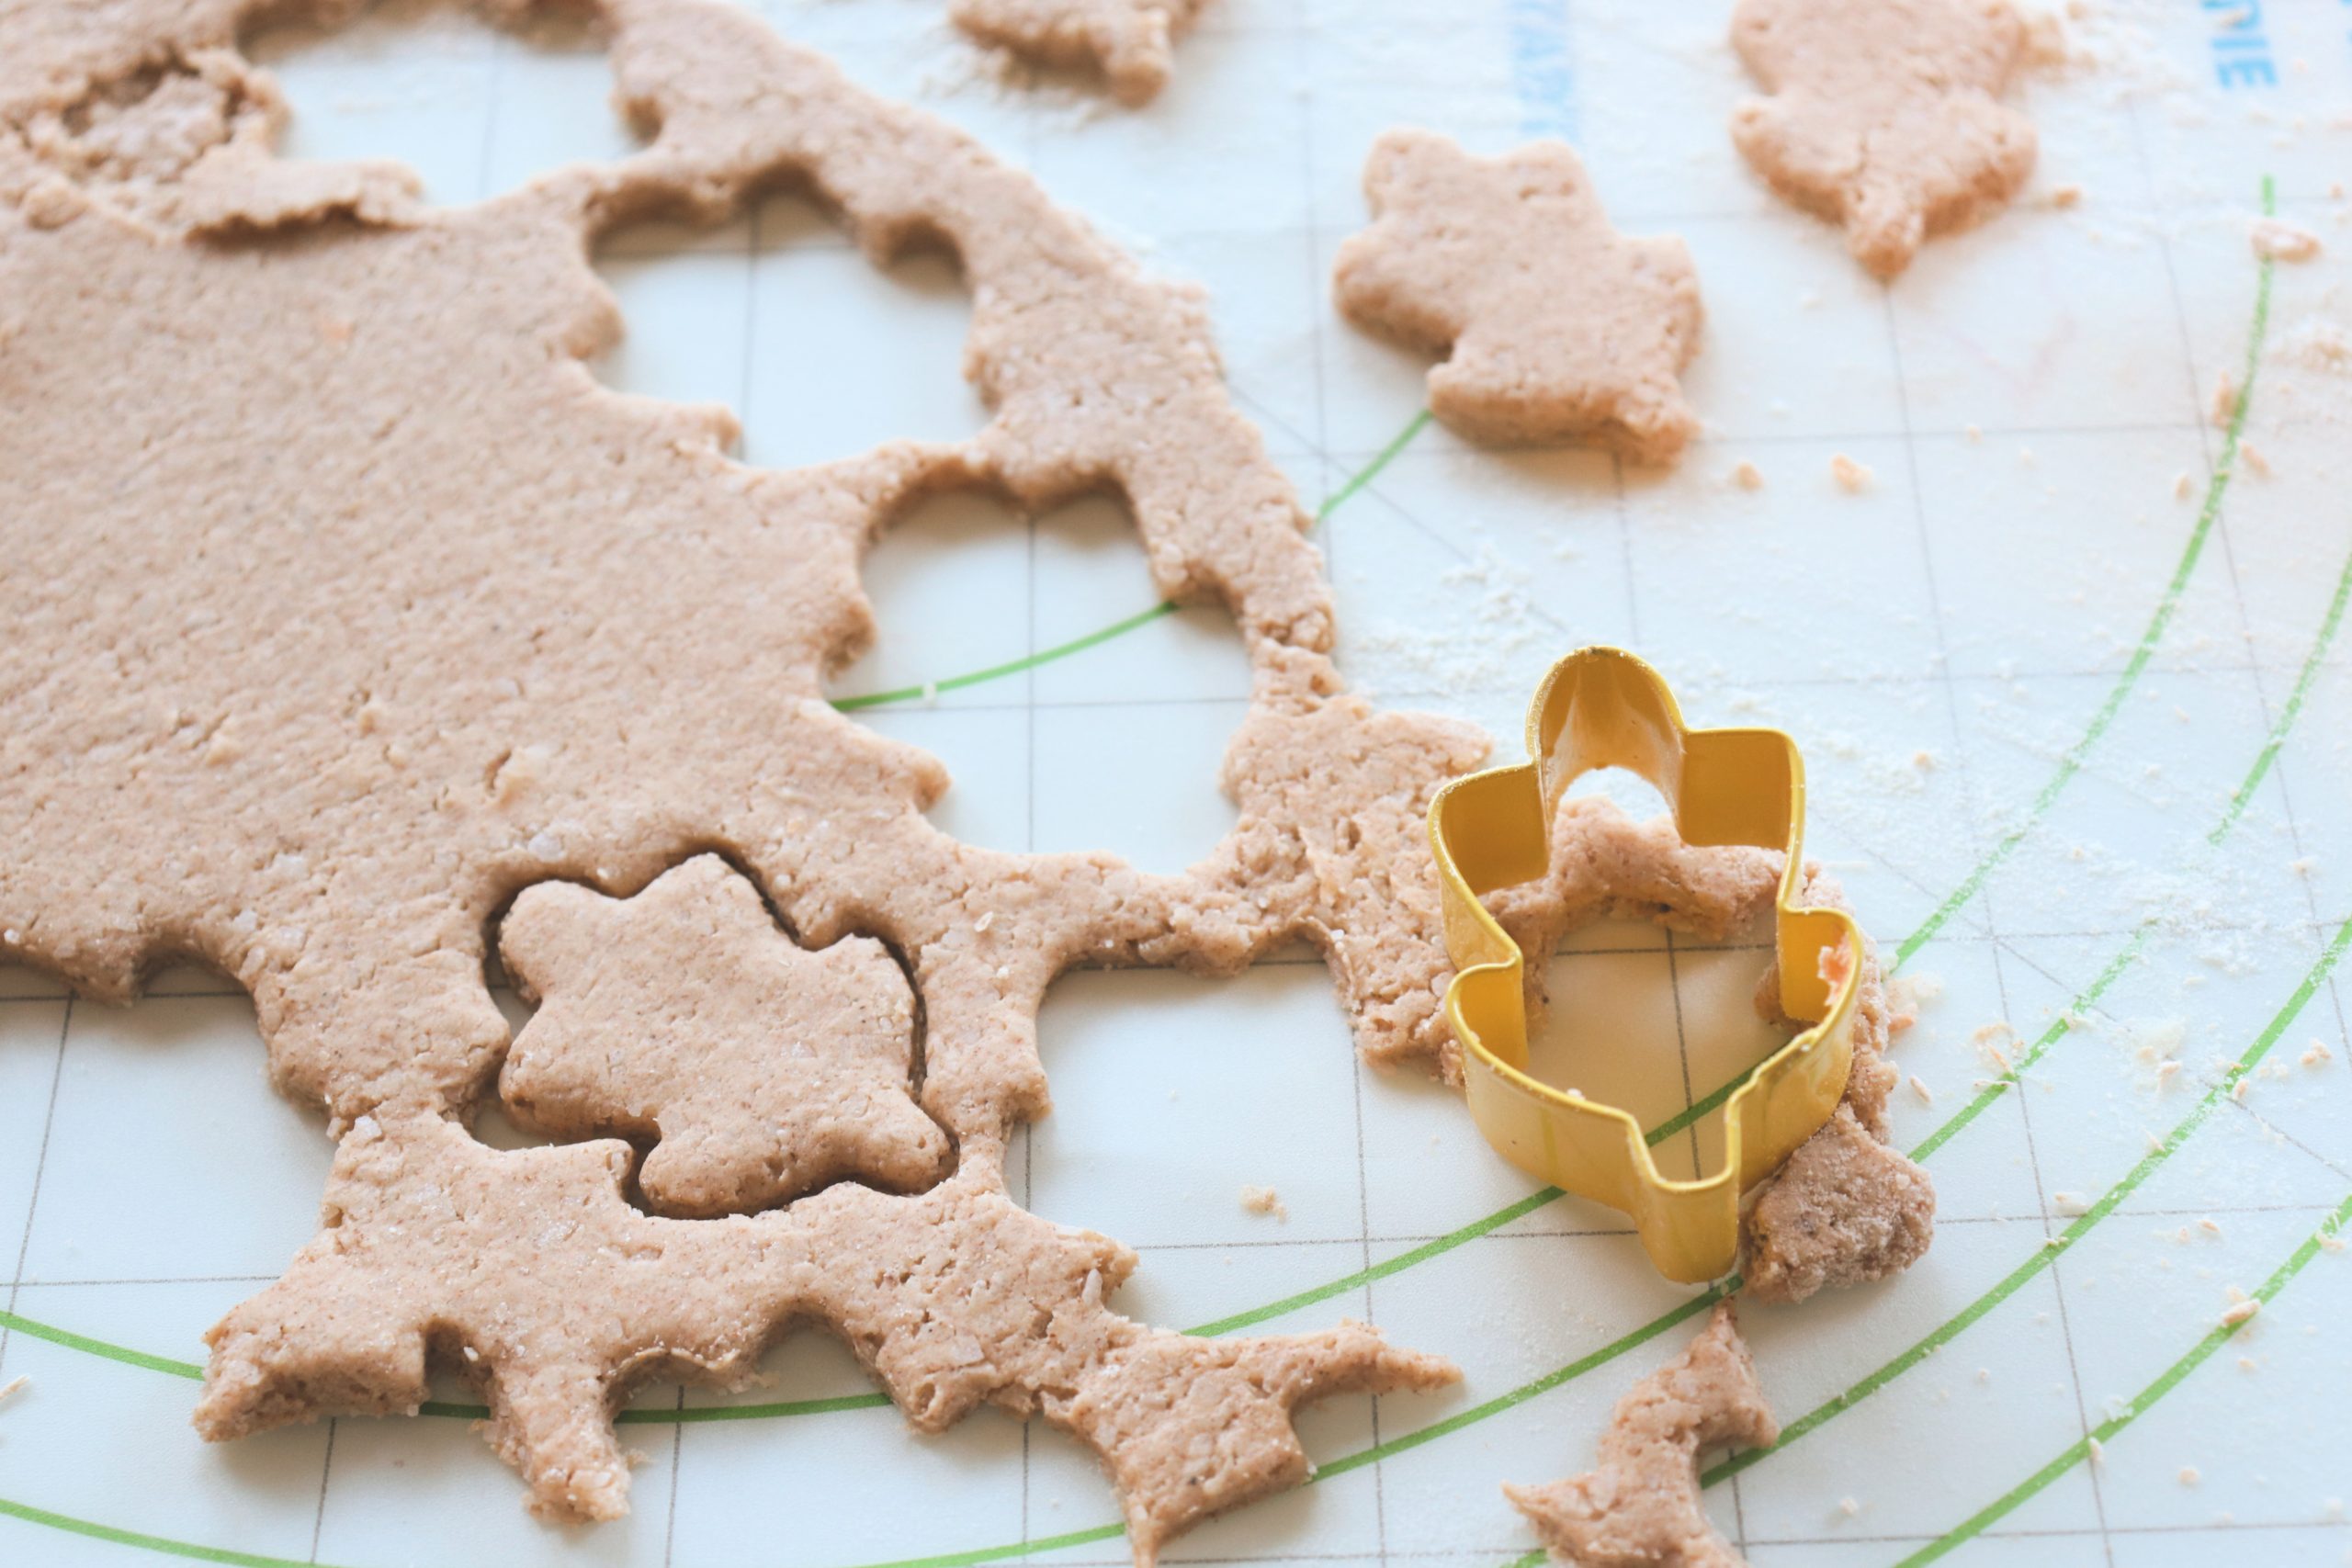
Step 4: Roll and cut your dough.
This part should feel just like making rolled sugar cookies. Roll out the dough to about 1/4″ thickness, then use your leaf and/or pumpkin shaped cutters to cut out shapes. If you know you’re going to want to use these to make ornaments or jewelry, use a toothpick to gently poke a hole in the dough near the stem.
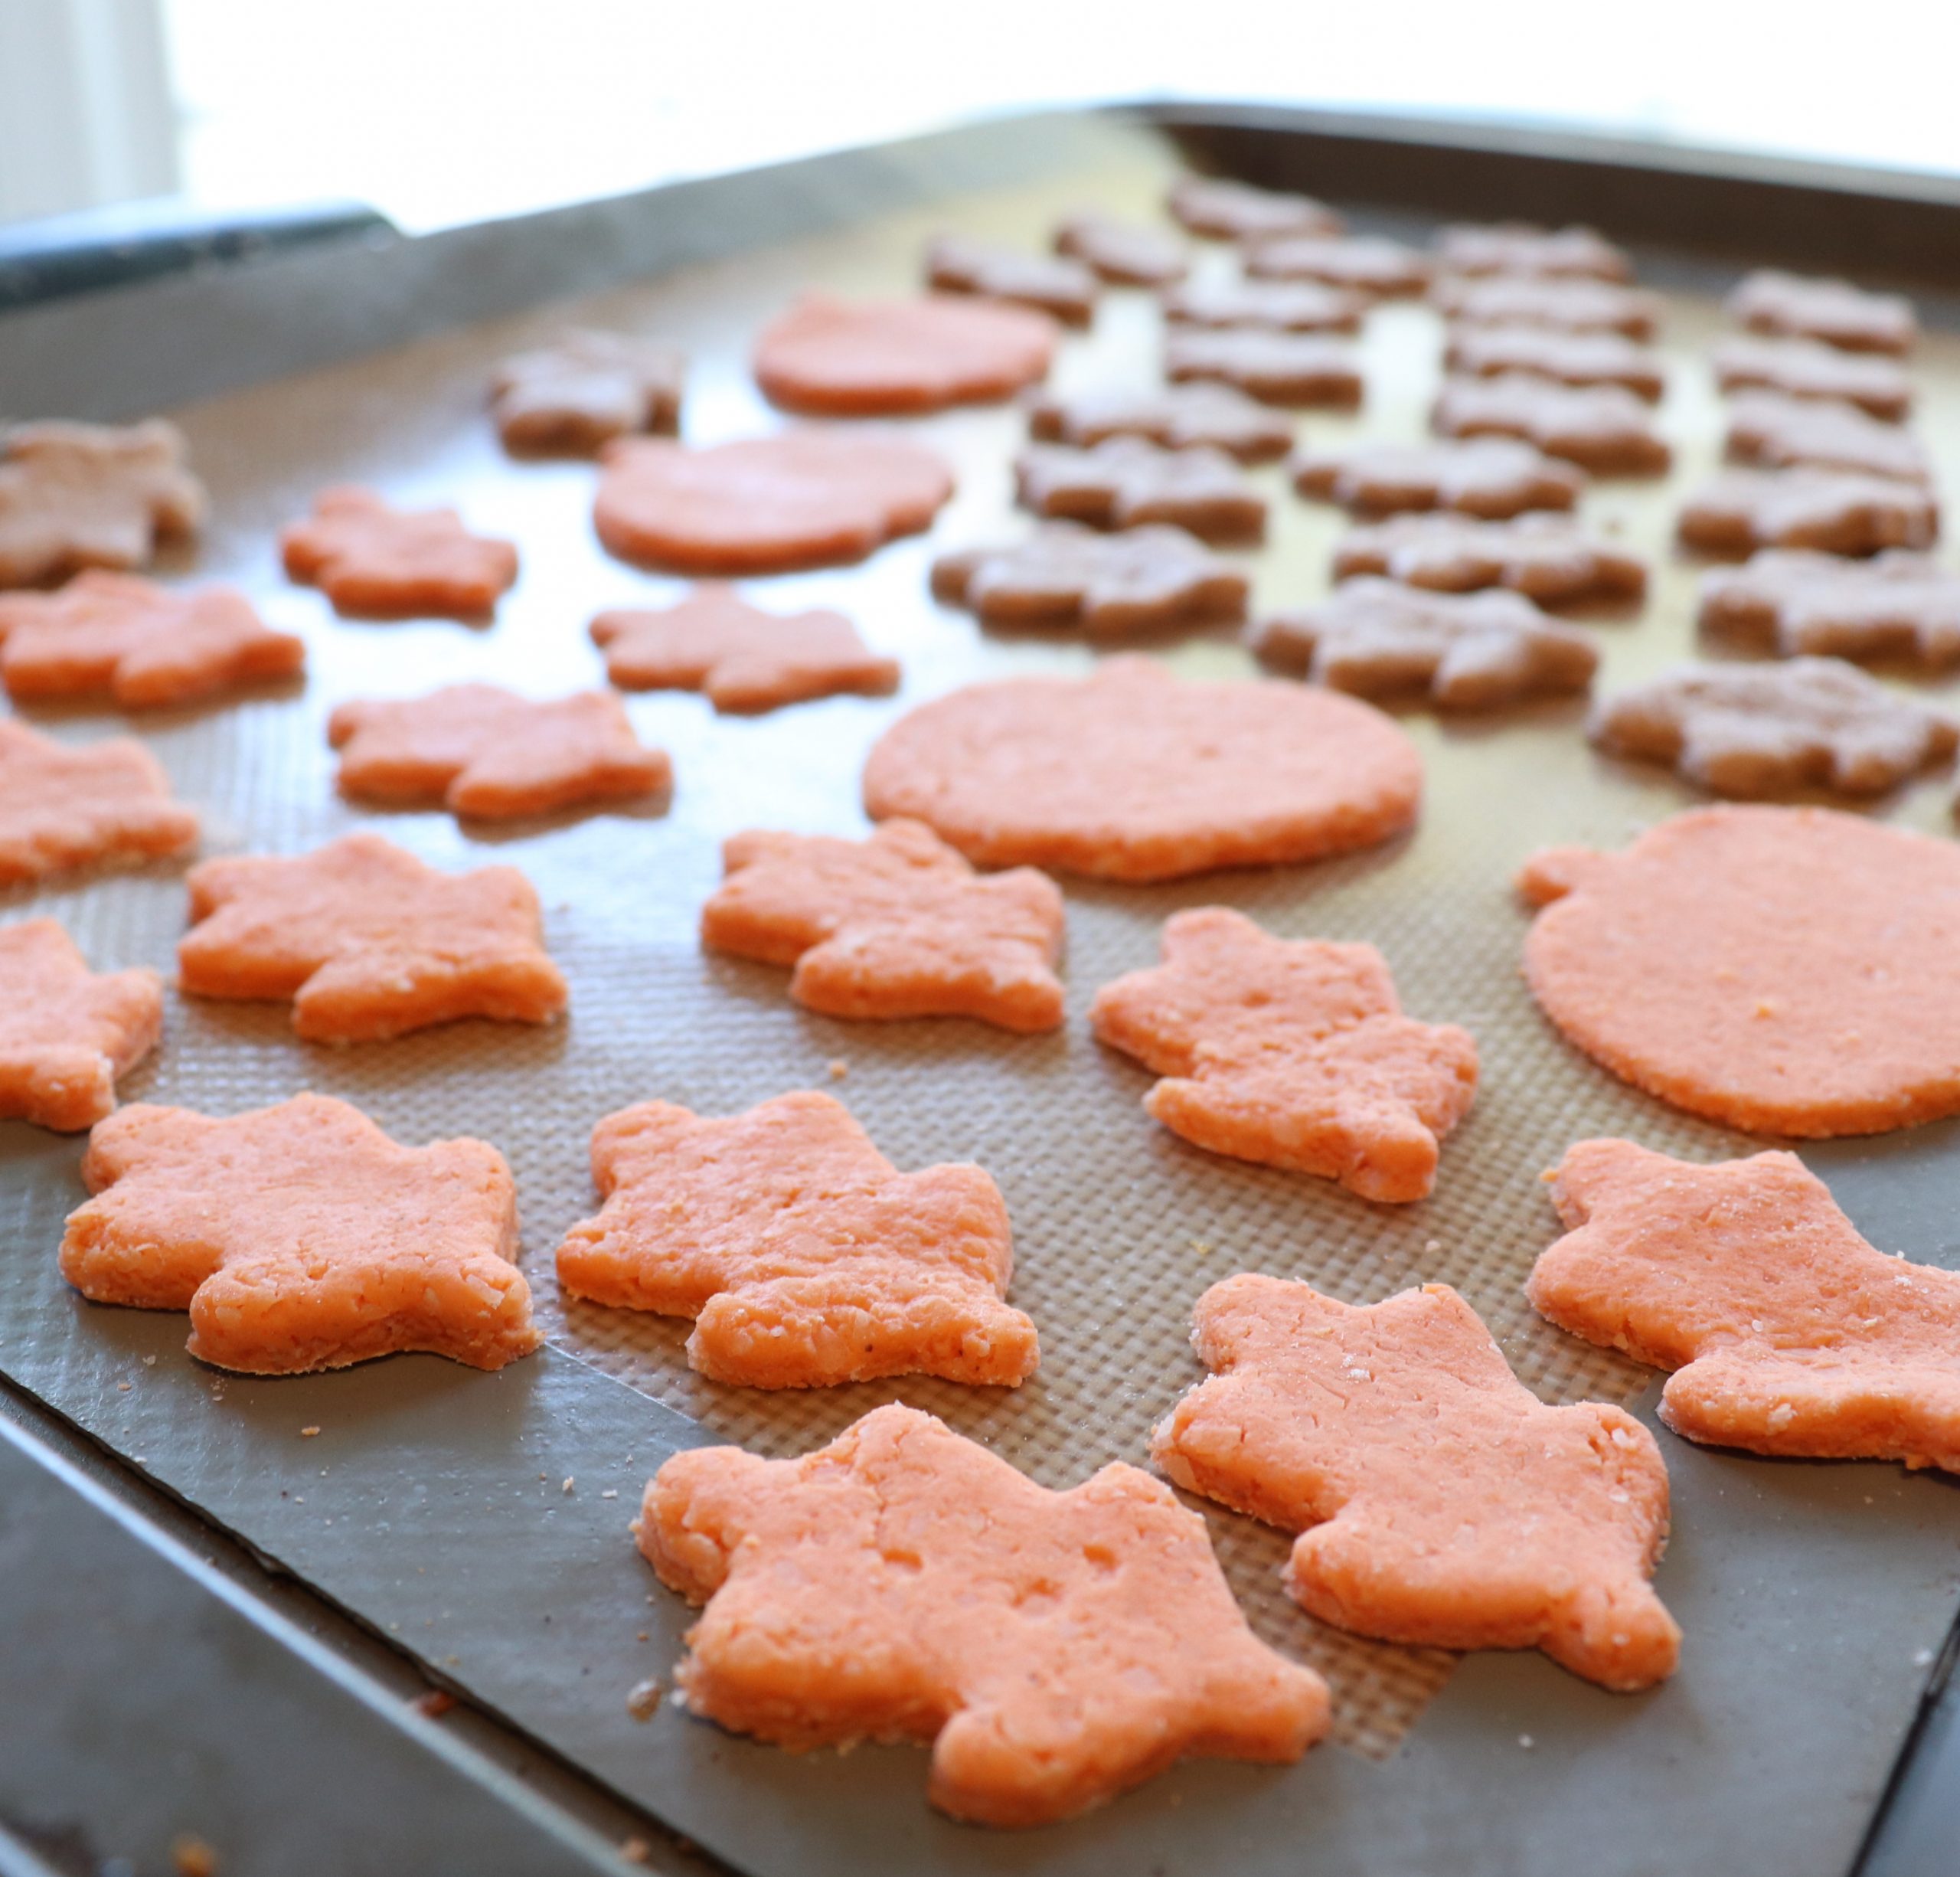
Step 5: Bake at 275 degrees Fahrenheit for about 3 hours.
I placed mine on a cookie sheet with a silicone baking mat so they wouldn’t stick. The idea is to remove all the excess moisture from the dough so it becomes dry and hard. If your shapes still feel doughy, bake them a bit longer.
Step 6: Get your craft on!
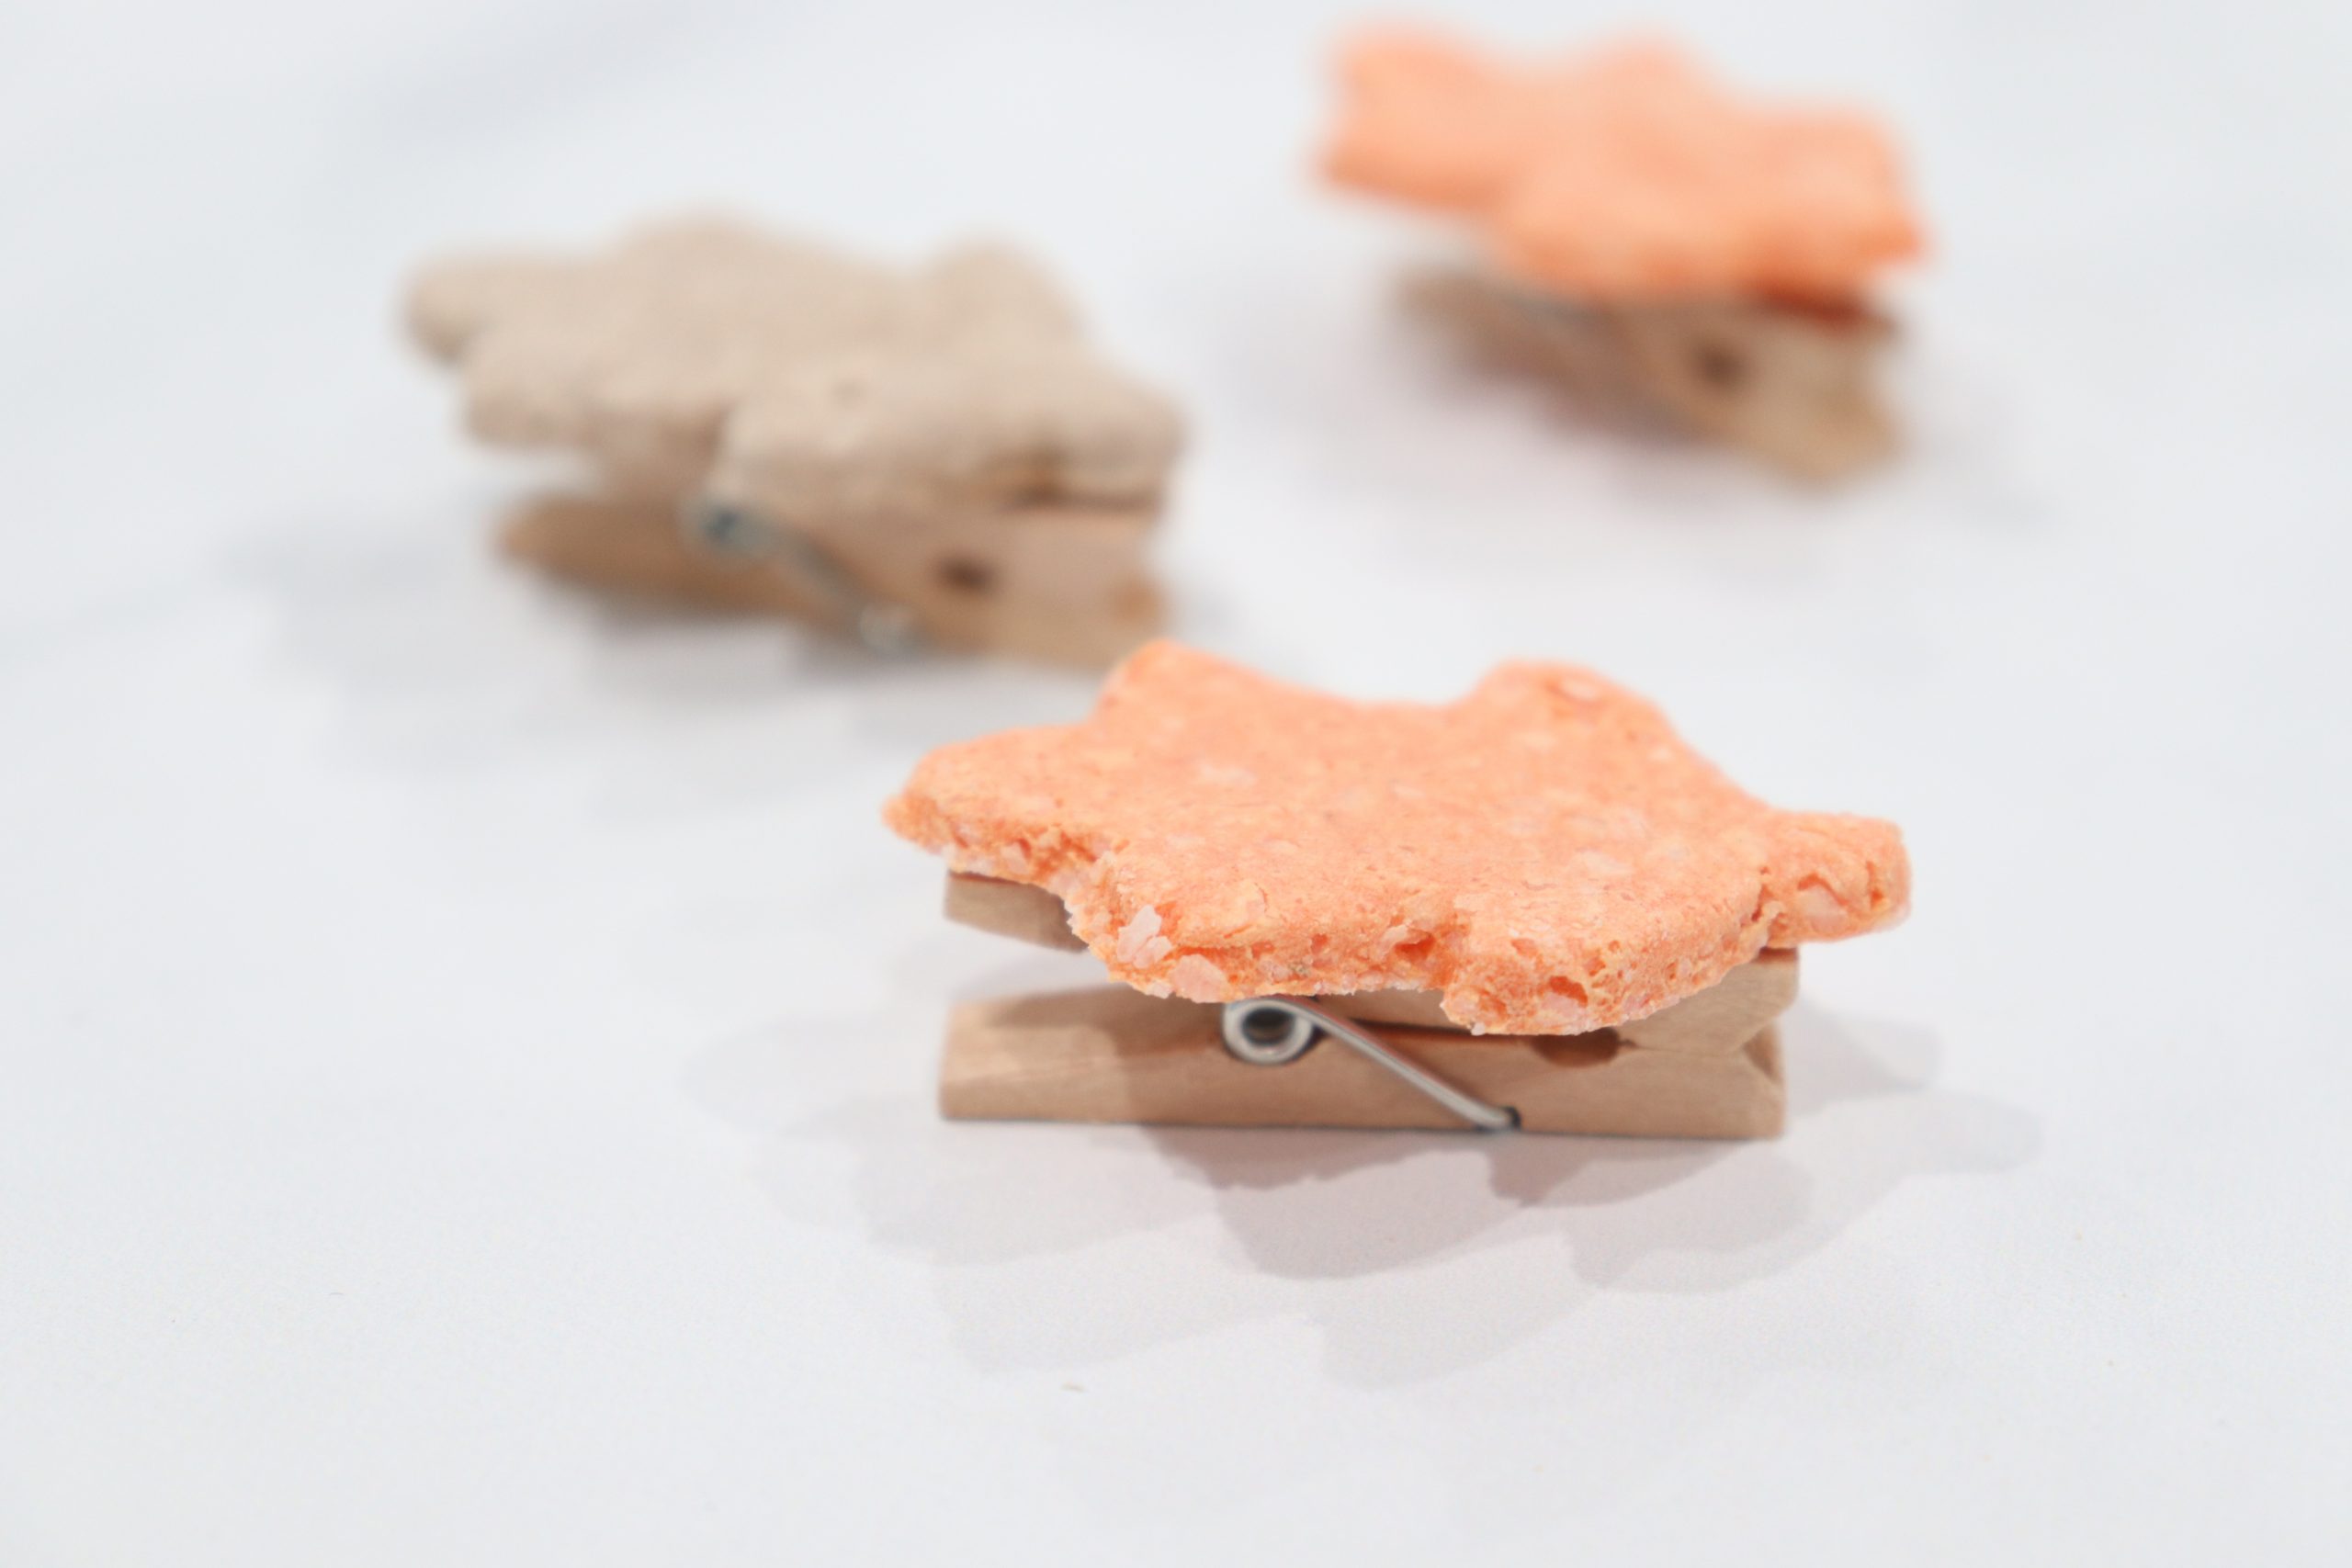
Once these shapes are baked, you can use them for all kinds of fun fall projects, like making a blessing tree, place cards, napkin rings, jewelry, and more! Stay tuned for some posts sharing each of these project ideas, coming soon. In the meantime, one super-simple thing to do is glue a magnet on the back, or glue the leaf to a tiny clothespin!
This dough is so quick to whip up (although it does take a while to bake) and the creative possibilities are endless. Don’t forget to pin this Cinnamon Salt Dough recipe for later so you can find it when it’s time to make those fun projects!