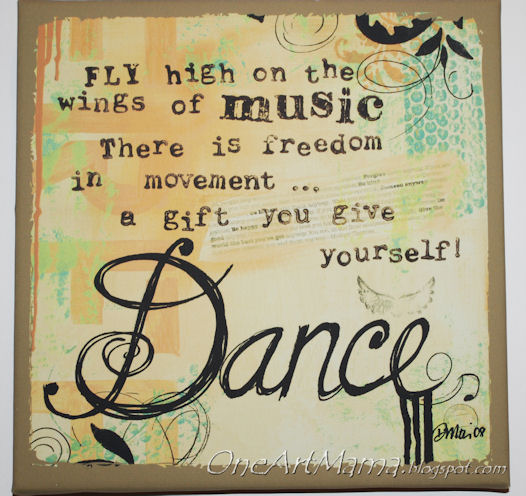
Dance. Art. Two things I’m passionate about. It’s no surprise, then, that whenever I find art about dance, I get ridiculously excited, buy it, and put it on my walls. Most of what I’ve found are paintings and photos of people dancing {which I love}, but I was excited last year to find this piece at Target, of all places. I liked the quote, and I also enjoyed the feel of it; the colors, the mixed media, the spontaneity.

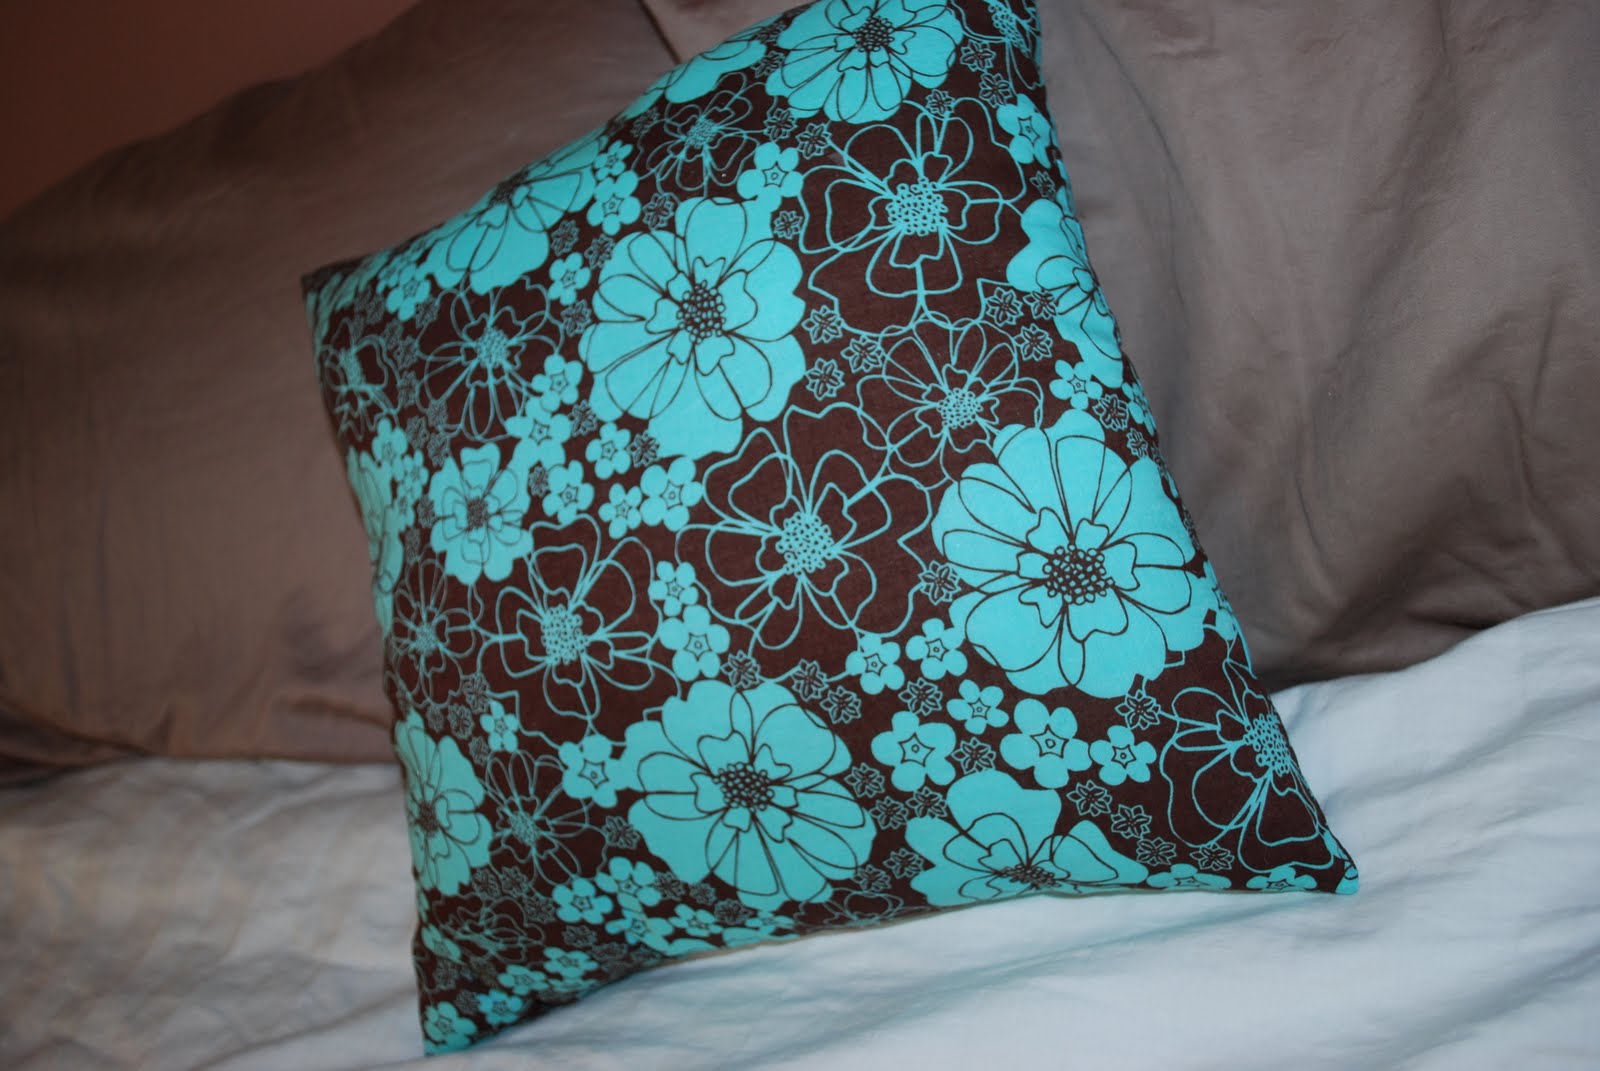
I decided then and there that one of these days I’d try painting something similar myself, just to see if I could do it. Then life intervened. As you know, Noah keeps me hopping, so it’s rare that I get to work on my own art; we focus more on his or on things we can do together. But last week, I decided to give our bedroom a little update; it’s been just shades of brown and white up to this point and I wanted to add a splash of color for Spring. I started by making this pillow, which brings a bright shade of turquoise into the mix. Then I made a photo plaque that brought in just a touch of turquoise and a slightly darker blue.

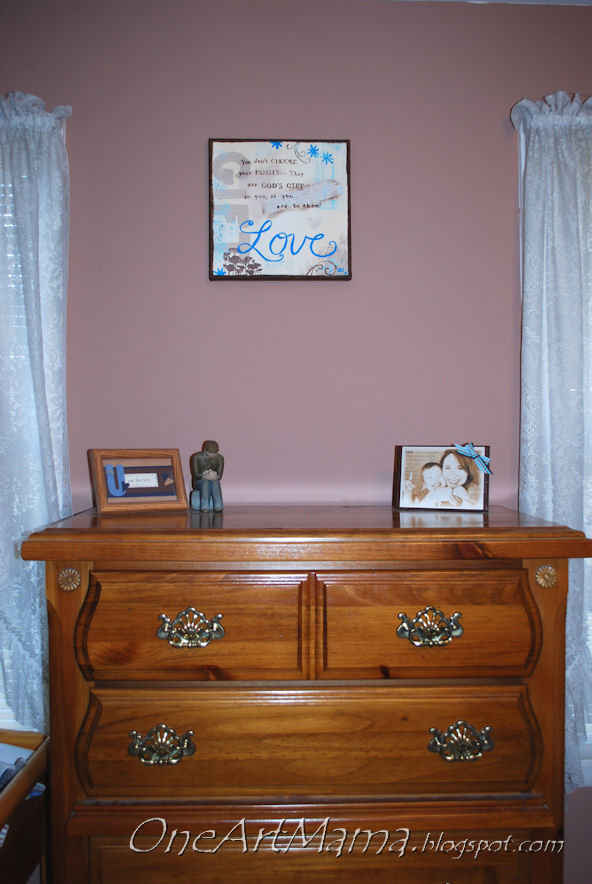
There was one thing still bothering me, though…over hubby’s dresser was a framed scrapbook page I made him many Valentines’ Days ago. I really like the page itself, but it never quite went with the room, and it most definitely didn’t go with the new turquoise additions. I needed something else for the wall…what to do? I decided the time had come to make a knock-off version of my fun dance art. Here’s how I did it:
MATERIALS:
– 12×12 canvas (mine was 70% off at Michaels!)
– paintbrushes: specifically a large flat one, a long skinny one, and a sponge brush
– acrylic paints: I used two shades of blue, two browns, and white
– various stamps you like
– alphabet stamp set
– pencil
– stipple brush
– computer paper/printer/word processing program
STEP 1: First I had to choose a quote for my art. I already had a dance one, so I decided to make this one about family and love. I found a quote, “You don’t choose your family, they are God’s gift to you as you are to them.” Then I decided on the words “Gift” and “Love” to go along with it.
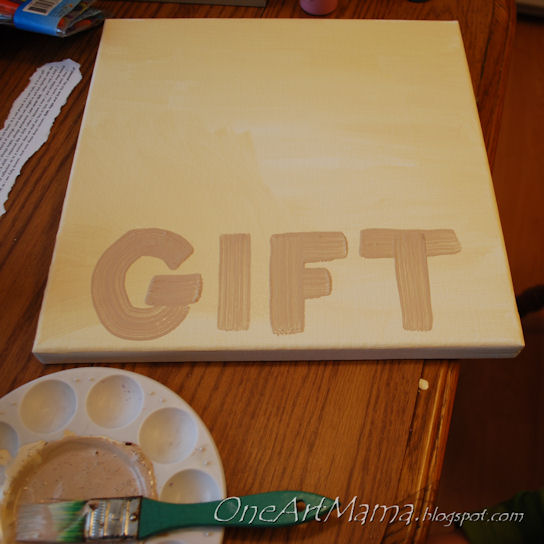
STEP 2: I mixed white paint with a butterscotchy brown to get this really light shade. I painted the entire canvas with it using a large flat brush.
STEP 3: If you look at the original, you’ll see that the word “FREE” is written sideways on the left. This is what I wanted to do with the word “GIFT.” I mixed together some white and chocolate brown paint and used my large flat brush to write these letters. I freehanded it because I don’t have stencils, which was scary but turned out ok. But you could also use stencils if you have them.
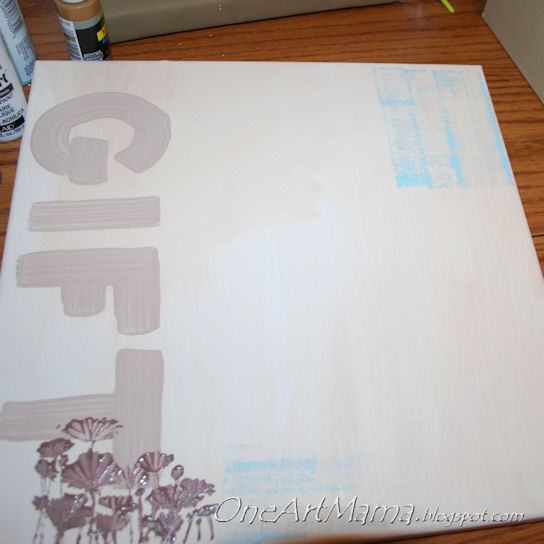
STEP 4: I chose a really fun daisy silhouette stamp I have to go in the bottom left corner. I dipped it in chocolate brown paint and stamped it on. Fail. I learned the hard way; ink your stamp using a sponge brush. The result will be much better. {PS -All the stamps I used are from my days as a Stampin’ Up! consultant}.
STEP 5: I went back with a brush and fixed up the image, since it didn’t turn out quite right. Lesson learned.
STEP 6: You’ll notice the original has some texture in the upper right corner and other places as well. I used my light blue paint and this fun stamp. You can see I used the trusty sponge brush this time. Much better.
STEP 7: Since the stamp was long and thin, I stamped it several times vertically, then I also went back and stamped over top of that horizontally to add even more texture.
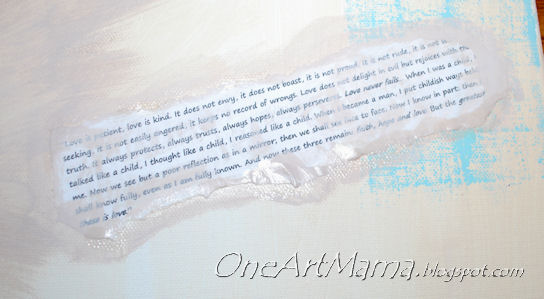
STEP 8: Choose a quote that goes along with your theme; type it in a word processor and print. I chose a piece of 1 Corinthians 13. Then, rip around the edges, always tearing toward yourself.
STEP 9: Paint some Mod Podge on the canvas where you want the quote to go, press the quote on top and smooth it out. Gosh, I love Mod Podge. If you need to apply a bit on top of the quote around the edges, that’s ok too to help it lay flat. Then paint around the edges and over top of some of the quote too. It’s kind of hard to see, but I used a very light mixture of white and chocolate so you can still see the quote.
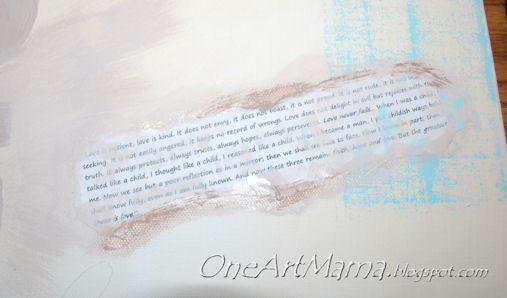
STEP 10: Then, I took some darker brown ink, as well as some blue and added touches of it over the quote.
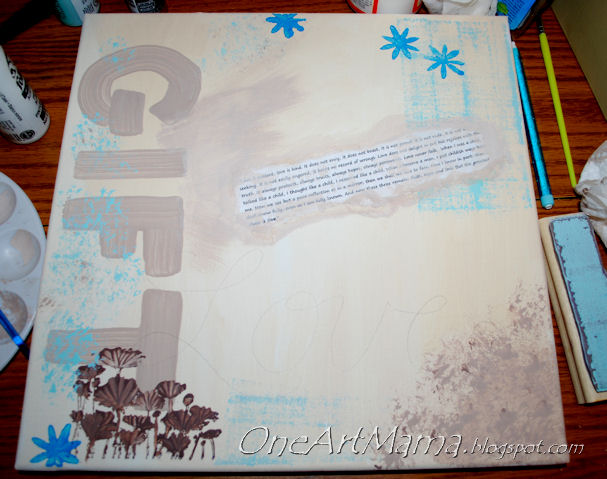
STEP 11: I inked a flower stamp and stamped three flowers toward the top and one at the bottom of the canvas in the brighter turqouise paint.
STEP 12: Then it was time to play with a favorite tool of mine, the stipple brush. I dipped it in light brown and stippled in the bottom right corner. This didn’t turn out quite as expected because of a 2 year old who woke up from his nap early and insisted on clinging to my neck as I worked. Literally. Then I stippled some light turquoise along the left side over the “GIFT” letters and a bit at the top. Just kind of eye it up and see where you need color.
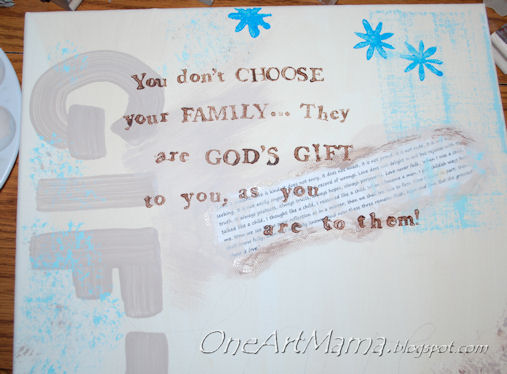
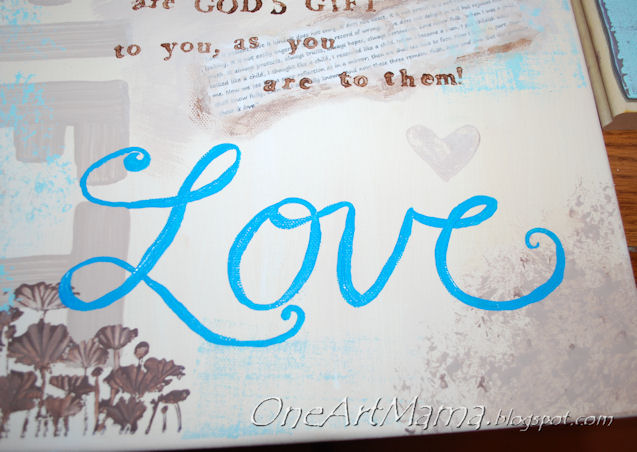
STEP 13: Time to add the quote. I painted each stamp with chocolate brown and stamped out the phrase. You can see that in the original, nothing is totally straight, so I followed that example. I didn’t plan it out first, although I probably should have…I tend to be a do now, plan later kind of artist, which can turn out okay, like this did, or can mean there are holes in my kitchen wall from where I impatiently painted before spackling. :)
STEP 14: Time for the big word. I did pencil this in first, honest. Then I painted over it with my long thin brush and some dark turquoise paint. After that, I added a heart stamp in light brown/white above it to fill that empty space.
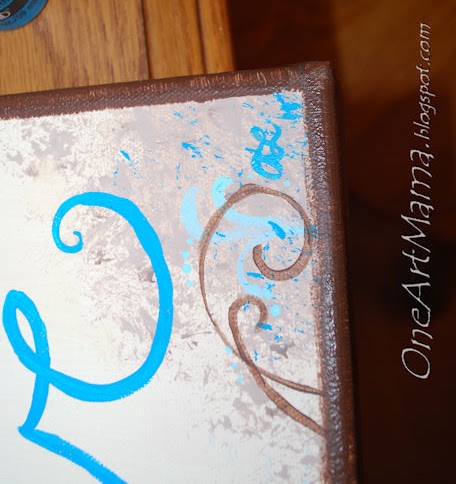
STEP 15: Last minute embellishment time: I added some dark blue stippling along the left side and in the bottom right corner. I also made swirlies at the top and in the bottom corner.
STEP 16: The finishing touches: I painted the sides and edges chocolate brown using a sponge brush and added my initials in the corner.
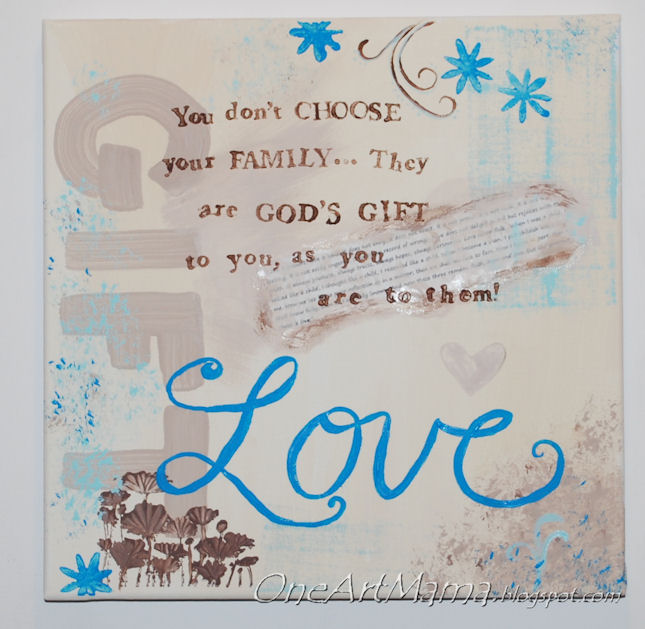
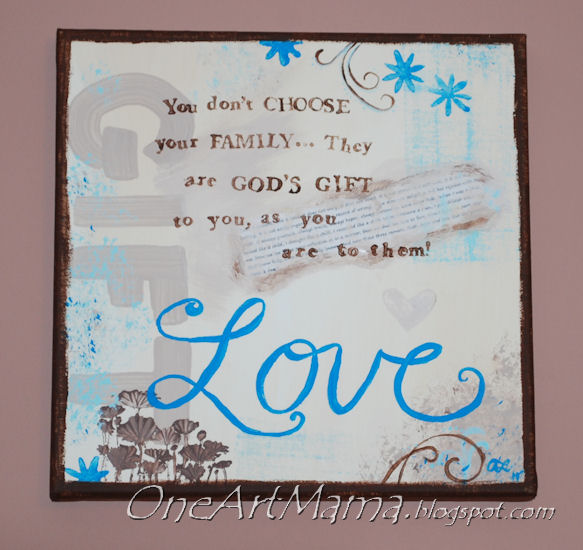
Here’s the finished product in its new home:
I was surprised by how easy it actually was; it was more stamping than painting, and it only took me a few hours to complete…hard to say exactly how long since I got interrupted by the grumpy no-nap monster. 🙂
If you decide to give something like this a try, I’d love to see!
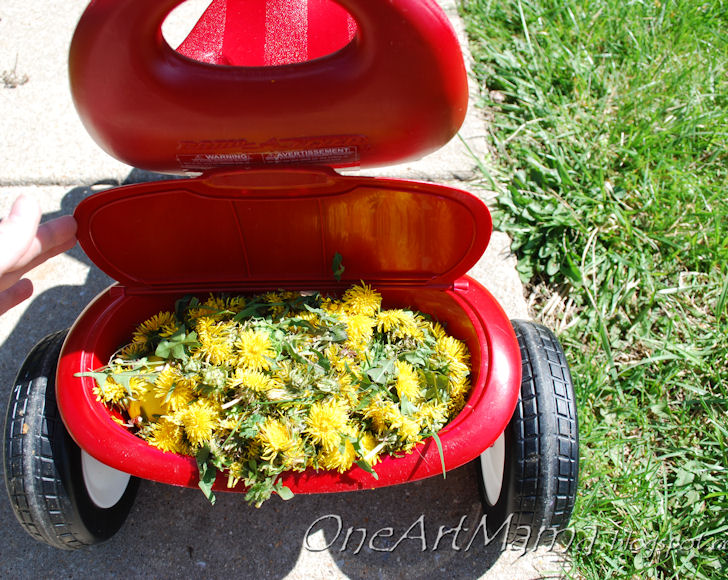
Meanwhile, Noah and I are having more than our fair share of fun today. He told me he wanted to go to the playground but got totally fixated on pulling up every dandelion between our house and the end of the street.
got dandelions?
PS: I shared this idea here:


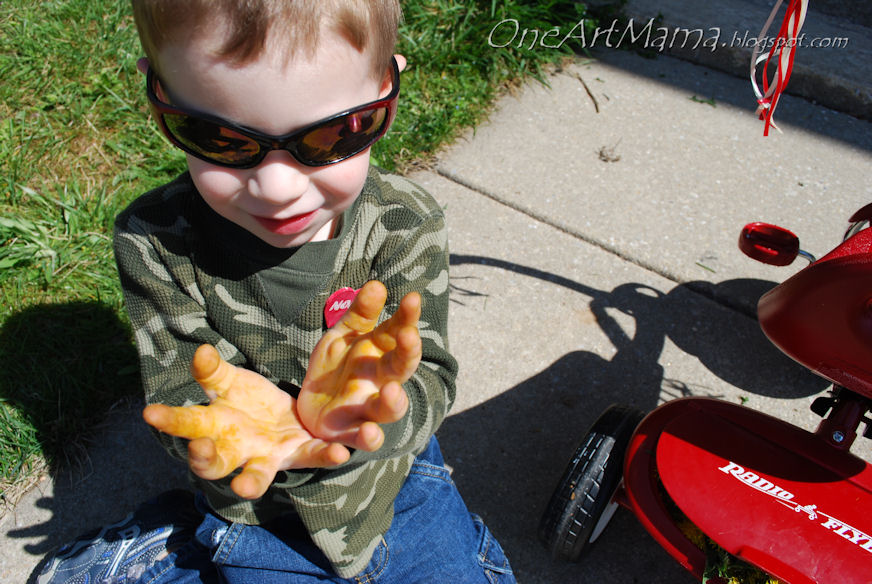


My little girl has yellow hands today, too! 🙂 This is just beautiful! Thanks for linking!!
I love it…It goes so well there.
Very creative…
Love it! I may have to try this project, I also have been adding some new items to my bedroom. I love the dandelions, how adorable!! I have three boys and my youngest (2) loves that sort of stuff!! =)
~Jan
Love it!
Haha, we’re yellowhanded over here today too!
Thanks for stopping by my blog and following! I am following you back! I love your wall art too, is super cute! I a have another canvas maybe I’ll have to make one like you did! TFS!!
Erin
That’s fantastic, Amy! I love it. I’m a big fan of the mod podge too 🙂
This is so cute! And you have the satisfaction in knowing you made it. 🙂
Thanks for stopping by! Can’t wait to see what other projects you share with us!
Lisa
http://chicmagnifique.blogspot.com
Love me some mod podge…thanks for sharing Amy with my newbie party. Have fun!
Hi, friend! You’ve got a lot of informative & creative posts so why
not show them off at the Creative Bloggers’ Party & Hop? My co-host
this week is Amber from Lucky Lees To Be.
This is a combination of linky party (where we can show off our
creations) and of blog hop (where we can follow as many excellent
bloggers as we like), hence the name Creative Bloggers’ Party & Hop.
It’s a great way to meet awesome creative bloggers like you and
increase your followers in the process.
All you have to do is 1) link up whatever creative post you’d like to
share – can be a DIY project, decor, photography, crafts, recipes,
poem, thrift finds, tips, or that informative syndicated post that can
make us laugh, or cry – in short, whatever you’re proud of! 2) Then
follow as many blogs as your heart desires, preferably starting first
with the one before you and after you, and leave a comment to them
that you’re doing so.
You’re not required to include the party button – you read that right
– not required to include the party button but if you’re so inclined
to display it in your blog or your post, you’re very much welcome to
do so 🙂
See you at http://www.homemakeronadime.com/2011/04/creative-bloggers-party-hop-041711.html
Love this wall art. Turned out really cute! Thanks for sharing.
~Jess @ makingoverthemartins.blogspot.com
Thanks for sharing this. I’ve been stuck on the same canvas for weeks and just can’t get it to come to life. This is really inspiring. 🙂