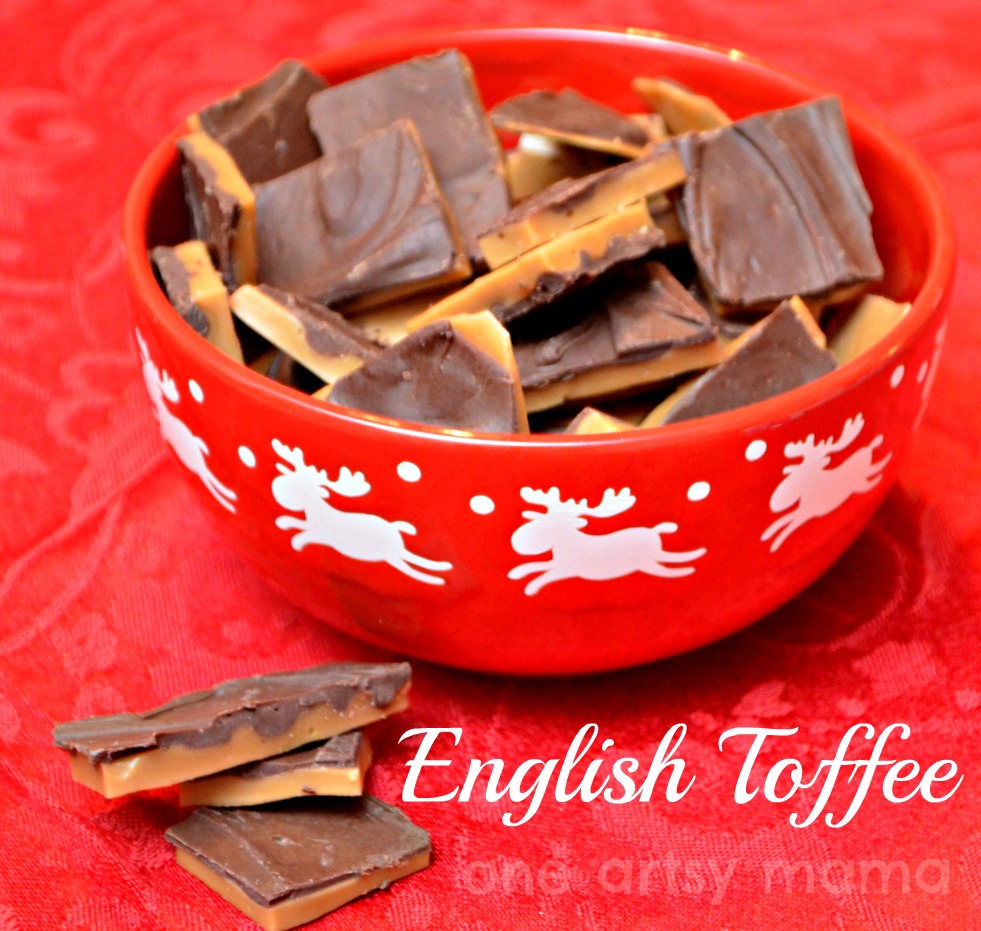
Totally Irresistable English Toffee
Calling all Toffee Lovers! And chocolate lovers! And candy lovers!
Boy, oh boy, do I have a real treat for you today! This recipe is going to make your taste buds do cartwheels and your hips say, “oh, nooooo!”
#2: You know I’m not much of a chef, so it may not surprise you that I was not the maker of the toffee you see in the following photos…my wonderful mama was. Those are her hands you’ll see doing all the hard work. My contributions consisted of photographing, occasionally holding the candy thermometer, and quality testing the end result.
Whew, I feel better now. On to the recipe!
English Toffee
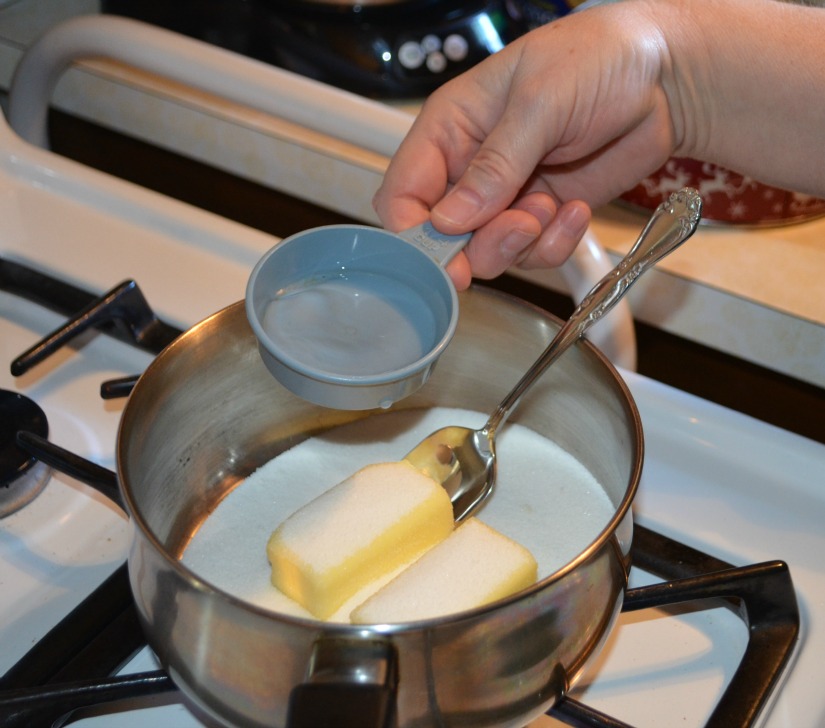
1 cup sugar
1 cup butter
1/4 cup water
1 pkg milk chocolate chips
STEP 1: Mix together sugar, butter, and water in saucepan.
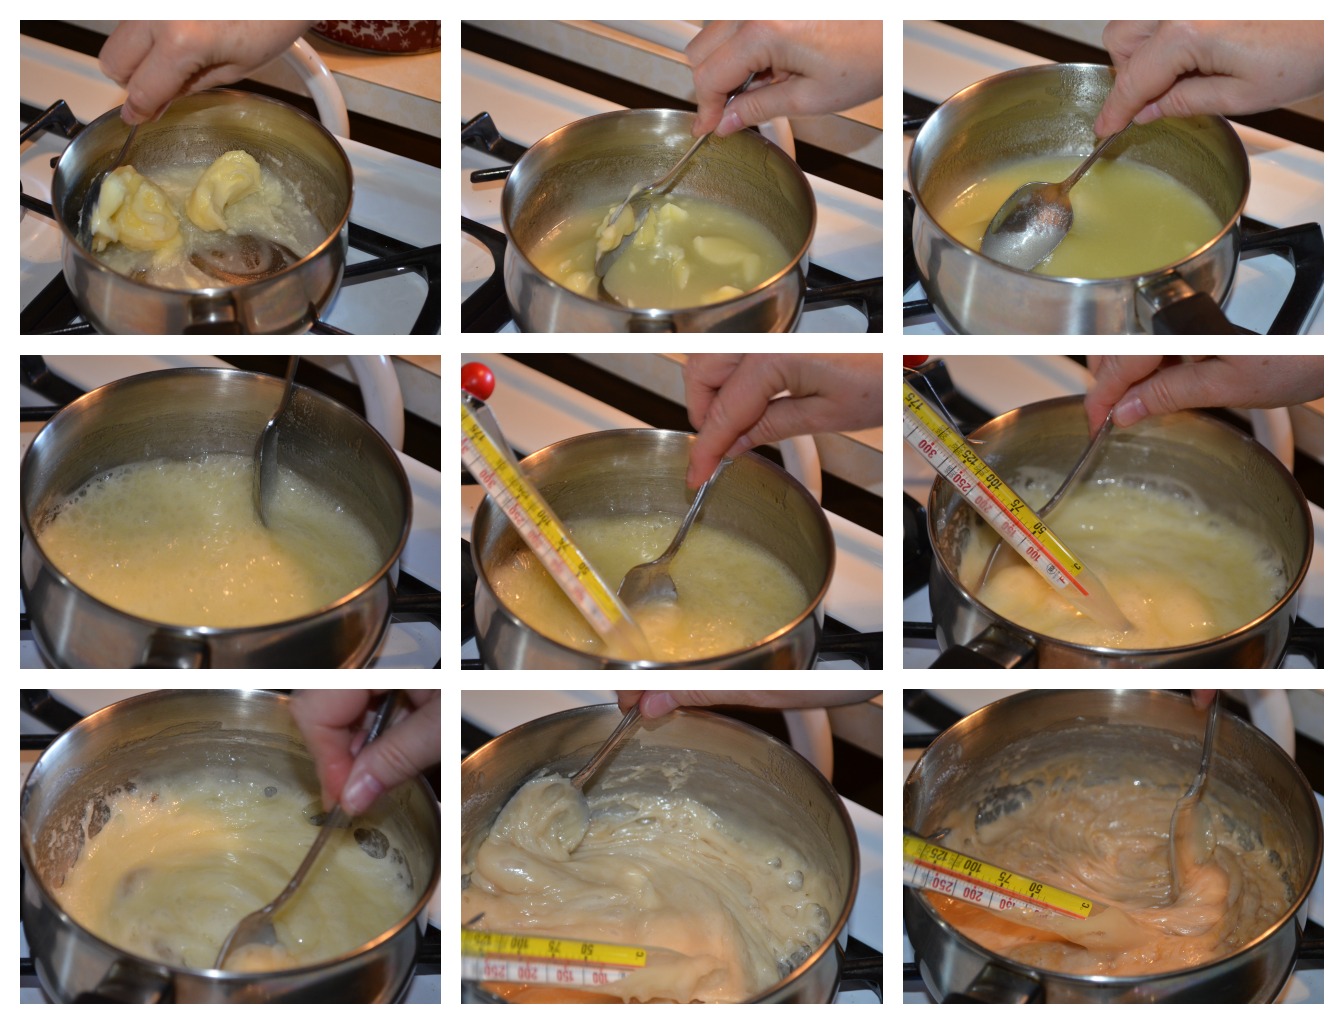
STEP 2: Stir constantly until temperature reaches 300 degrees Farenheit.
I took these photos to show the process…at first it just looks like melted butter. Then it starts to bubble. Once the boiling starts, it takes about 4-5 minutes to reach 300 on the candy thermometer. As it heats up, it will thicken and begin changing color to become more brown. {Funny side note – when Pinwheel first told my mom how to make it, Mom mistakenly thought she said it took 45 minutes instead of four TO five…lol. She was pleasantly surprised not to have to actually stir that long!}
STEP 3: Spread mixture about 1/4 inch thick onto a cookie sheet lined with parchment paper. Make sure you work quickly and do it on a heat resistant surface.

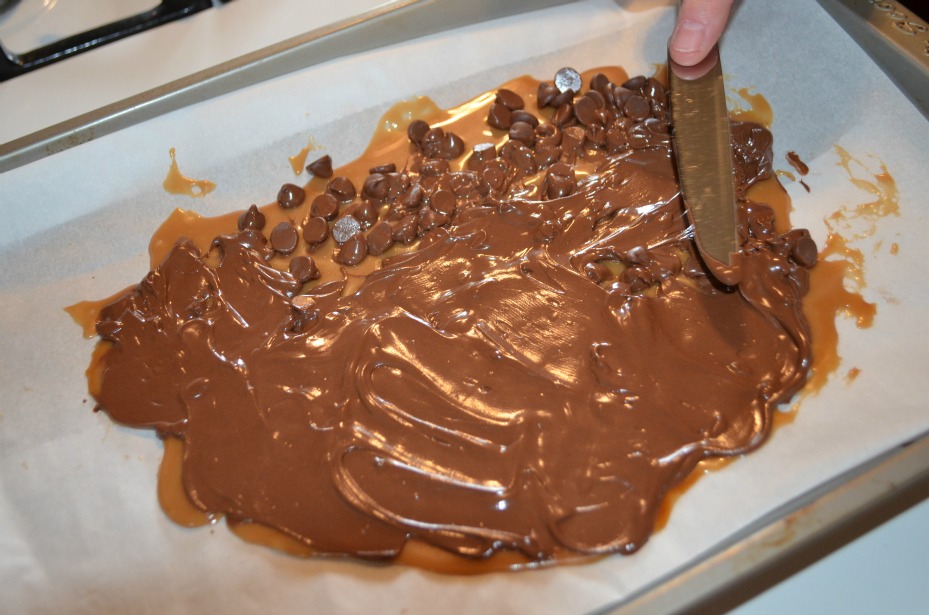
STEP 4: Allow toffee to cool for 3-4 minutes, then sprinkle with chocolate chips.
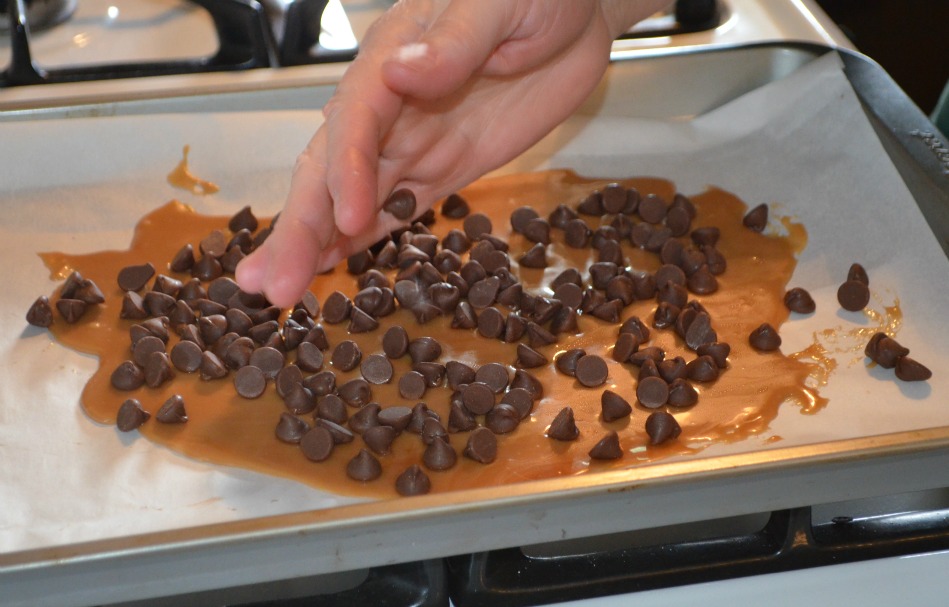
STEP 5: As chips melt, spread them out evenly.
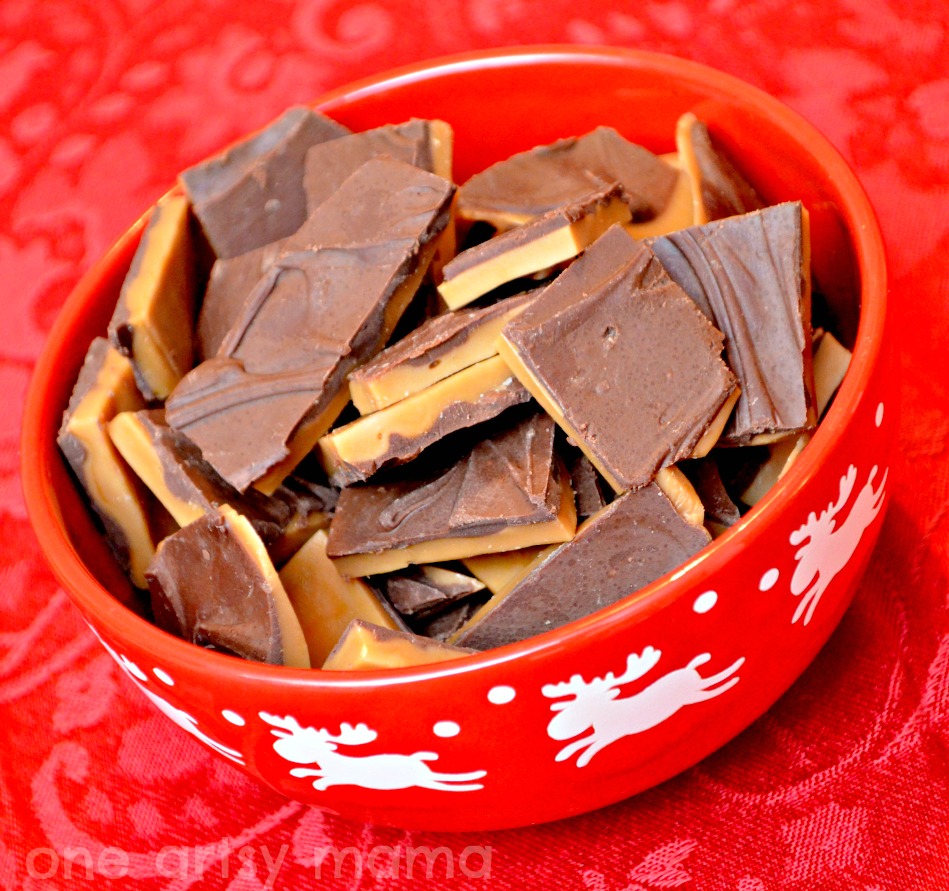
STEP 6: Refrigerate for about an hour. This is how it will look when it’s ready.
At this point, my dad walked by and asked me why in the world I was taking a picture of that. I told him it was for the blog, to which he replied, “so people can say, oh, what a nice cow patty?”

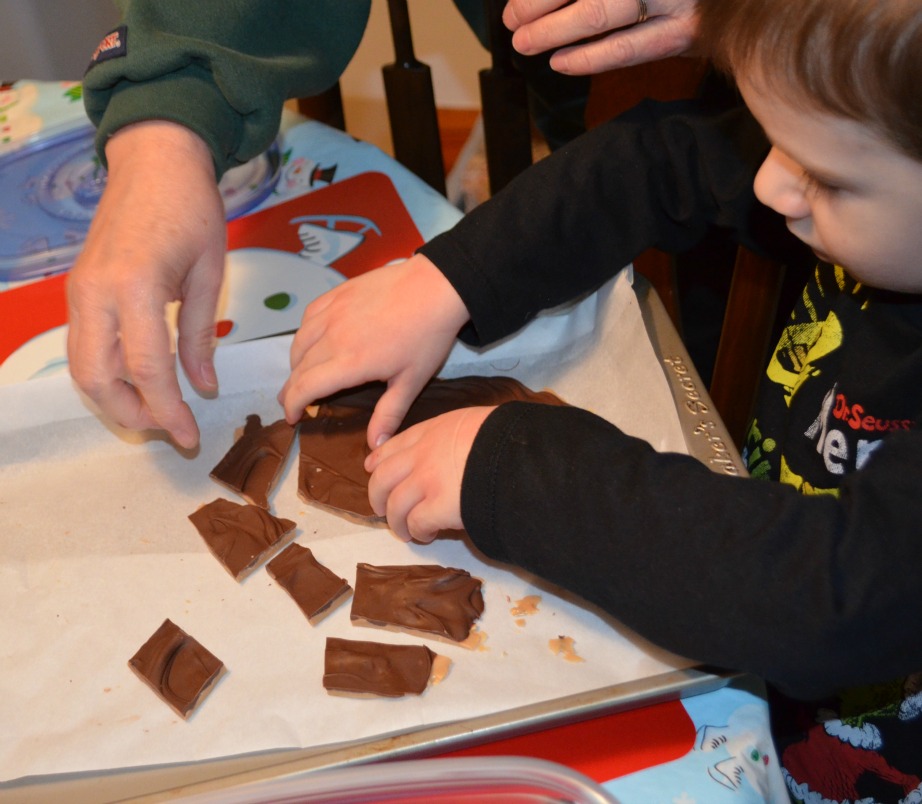
STEP 6: Break into bite size pieces.
This is a great job for little helpers who can’t be involved in the actual making of the candy since everything gets so hot!
STEP 7: EAT! And eat and eat and eat and eat some more!
Thanks to Pinwheel for the delicious recipe, to my mom for being wonderful and making it, and to Little Crafter for breaking it up so nicely. And to dad too, who let me come over and photograph these “cow patties” for you.
What’s your favorite holiday treat?


Yes, I do love toffee, chocolate and candy. Thanks for sharing this recipe, I am going to pin it for later use. Happy Holidays. ;o)
Ha ha ha, cow patties, I love it! I love toffee, but I have horrible luck making it myself. It tends to turn grainy and crumbly.
Oh these look and sound fantastic!
This looks delicious. I’m baking and candy making tomorrow so pinning this!
OK couldn’t wait. Made it tonight! Had to shoo the hubs away to let it cool. It turned out great!
This recipe looks delicious. I have a link party called Wednesdays Adorned From Above Blog Hop and would love to have you share this with everyone. It runs from Wednesday through midnight Sunday. Here is the link to the party.
http://www.adornedfromabove.com/2012/12/6-crafts-and-recipes-and-wednesdays.html
Debi @ Adorned From Above
I just made toffee for the first time last week…and ate every last piece (OK with help from the family)…how delicious!
This is my new favorite recipe…I love it…
Pinned this, going to make some this weekend! Thanks for posting
This look delicious! I love toffee! I need to make it! Visiting from The Creative Headquarters Blog Hop 🙂
This sounds fairly easy – I just may have to try it. (and by the way, you made me laugh at the cow patty thing!)
Thanks for sharing! 🙂
It looks really good!!!!!! I have to wait to make this until it has been a little longer after Easter so we don’t get sick. The same thing with the crispy peanut butter balls.
Lol! Well, whenever you make them, enjoy!