Valentine Mailbox
I’m so excited to be a part of the Elmer’s “Crafty Mamas” Blogger Crew this year, bringing you fun and seasonal projects you and your kids can create using Elmer’s products! This is a sponsored post, for which I have received supplies and compensation, but the ideas and opinions are 100% my own.
Valentine’s Day is just around the corner, friends! It’ll be here before we know it! So, the other day when we were snowed in together, Little Crafter and I decided to break out the glitter and glue and make a fun, festive Valentine Mailbox!

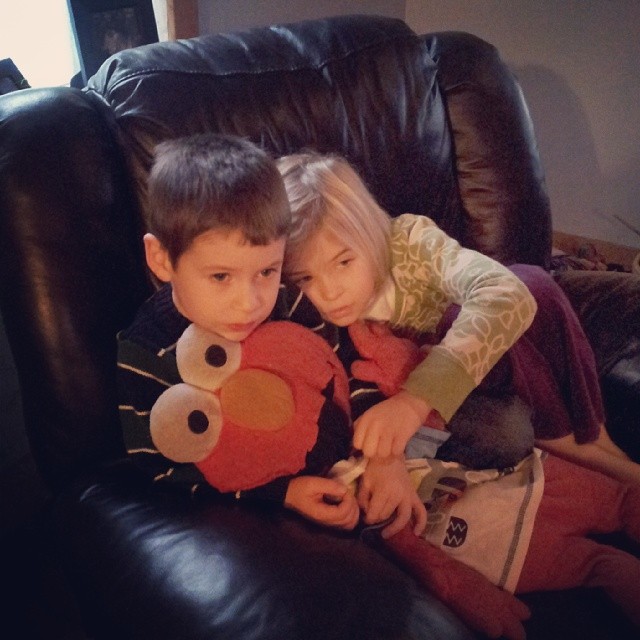
Little Crafter was all about the idea…in case you didn’t know, he’s got himself a girlfriend. He and Princess S. are the best of friends and reportedly hold hands in the hall every chance they get at school. Here they are cuddled up together and watching a movie at a recent playdate. Seriously. How cute are they?
Recently, Little Crafter asked me, “What’s a Valentine?” When I told him it was like a little love note you give to someone you care about, he told me he better have a mailbox to hold them all because he just knows Princess S. is going to give him a LOT of those. And so, we got to work. Here’s how we made ours and you can too!

Materials:
– Elmer’s Glue-All Multi-purpose glue
– Elmer’s Colored Glue Sticks
– Elmer’s Glitter Glue
– Elmer’s Brilliant Glitter Shakers
– 12×12 white cardstock, black cardstock {mine was adhesive, but you can also use regular}
– 3 small black pom-poms, 1 small orange pom-pom
– 2 small google eyes
– brown and black markers
– electronic cutting machine and software

Step 1: Cut the mailbox shape from your white cardstock. Assemble the basic box and glue it together with Glue-All. If you have a Silhouette, you can download the same mailbox we used from the online store. If not, I saw some other free printable mailboxes that are the same basic shape on Pinterest.
Step 2: Decorate your add-ons. The mailbox we used came with three hearts, a flag, a latch, and a rim for around the door. If you are using a different one, it’s easy to cut out heart shapes and a flag! Little Crafter decided that the first thing he wanted to do was use a pink colored glue stick. He was pretty enthralled that instead of drying clear, it dries the color it is when you apply it.

He spread the glue stick over his shapes first, then sprinkled glitter on top.

How fun is that?! We loved trying different glue and glitter combinations to see how different they looked. He also decided to use some silver glitter glue for a few of the accents.

Step 3: Adhere your add-ons. Since I used adhesive backed cardstock, ours worked like stickers. If you’re using regular cardstock, just use a regular {or colored} Elmer’s glue stick or your Glue-All to put them wherever your little crafter wants them to go.

Step 4: This is really where it got fun! Cut and decorate Olaf!
In our house, we {and I do mean we!} have a little love affair going on with Olaf, the snowman from Frozen. I put an image of him into my Silhouette software, traced it, and cut him out. Then, to make him look like himself, all we had to do was color his arms, “hair”, and eyebrows, draw on his mouth, and add some eyes and pom-poms for his nose and buttons using our Glue-All.

Since glitter makes everything {even Olaf} better, I couldn’t resist sprinkling some white glitter on him. Once he was adhered to the side of the mailbox, Little Crafter insisted we use the words, “I like warm hugs,” which is his favorite line from the whole movie.
I figure there’s no sense in making you do extra work that I’ve already done, so feel free to download this cuttable file of Olaf’s outline and the words we used.
That’s it, friends! A simple project that’s oh-so-fun for your little crafters to decorate! If you want to keep it more simple, you can leave off Olaf and the words, and just decorate with hearts! We had a blast playing with the colored glue and the glitter; I know he’s going to want to pull those out again soon for sure. So, now we’re ready and waiting for Valentine’s Day…wonder how many love notes Princess S. will have up her sleeve!

For more fun ideas and news about products, sign up for the Elmer’s e-newsletter. You can also connect with Elmer’s on Facebook, Twitter, and Pinterest.
{Warm} Hugs & Glitter,

Such a cute mailbox…I love Olaf too… 🙂
AWW That turned out SO cute!! Pinning! EMily
So cute! Kate loves Olaf, so I’m sure we will be replicating this one for sure…pinned!
Yay! Glad you like it! Thanks so much for stopping by!
Adorable! I love Olaf, and Sven even more. THe perfect addition to your mailbox.
What a cute Idea! I never would have thought about it and just love the idea! 🙂
Thanks so much, Ciara!
I remember making these with my kiddos when they were younger! Thanks for sharing.
You bet! Thanks for stopping by, Becky!
Super cute!! Would it be weird if I went to see Frozen by myself? We tried taking my boys to a movie a couple months ago and they sat through about 5 minutes of it 😐
How ADORABLE!
So cute! I love the pom poms and glitter – and Olaf!
So super cute, both LC and the Valentine’s Day box. Pinned. I can’t wait until my kiddo is a few years older!
SQUEEEEE love Olaf!!
Me too, Jamie!!!
OH that is so cute. We have a way to go before I’ll let my daughter loose with glitter, but she’s doing well with the glue sticks for other crafts!! 😉
Love the Olof! Adorable and LC will definitely need this mailbox, he is so cute!
How fun! We love Olaf!
Most adorable thing ever! Lc with his girlfriend cuddled up- that doesn’t put a lump in your throat or anything, does it?! Such a fun post, Amy!
I absolutely LOVE Olaf!!! So dang cute, I’m glad I found all your fun Olaf ideas…glad I’m not the only one ‘obsessed’ with him 😉
Lol! Definitely not the only one…I’m crazy about Olaf!
Super cute mailbox!! Little Crafter and his girl are super cute too!
That turned out darling! I remember the days of making those. Your little crafter and the princess are too cute!
Could you email the docs you used. For some reason google docs isnt working for me. Thanks!!! This will be a hit with my daughter’s class!