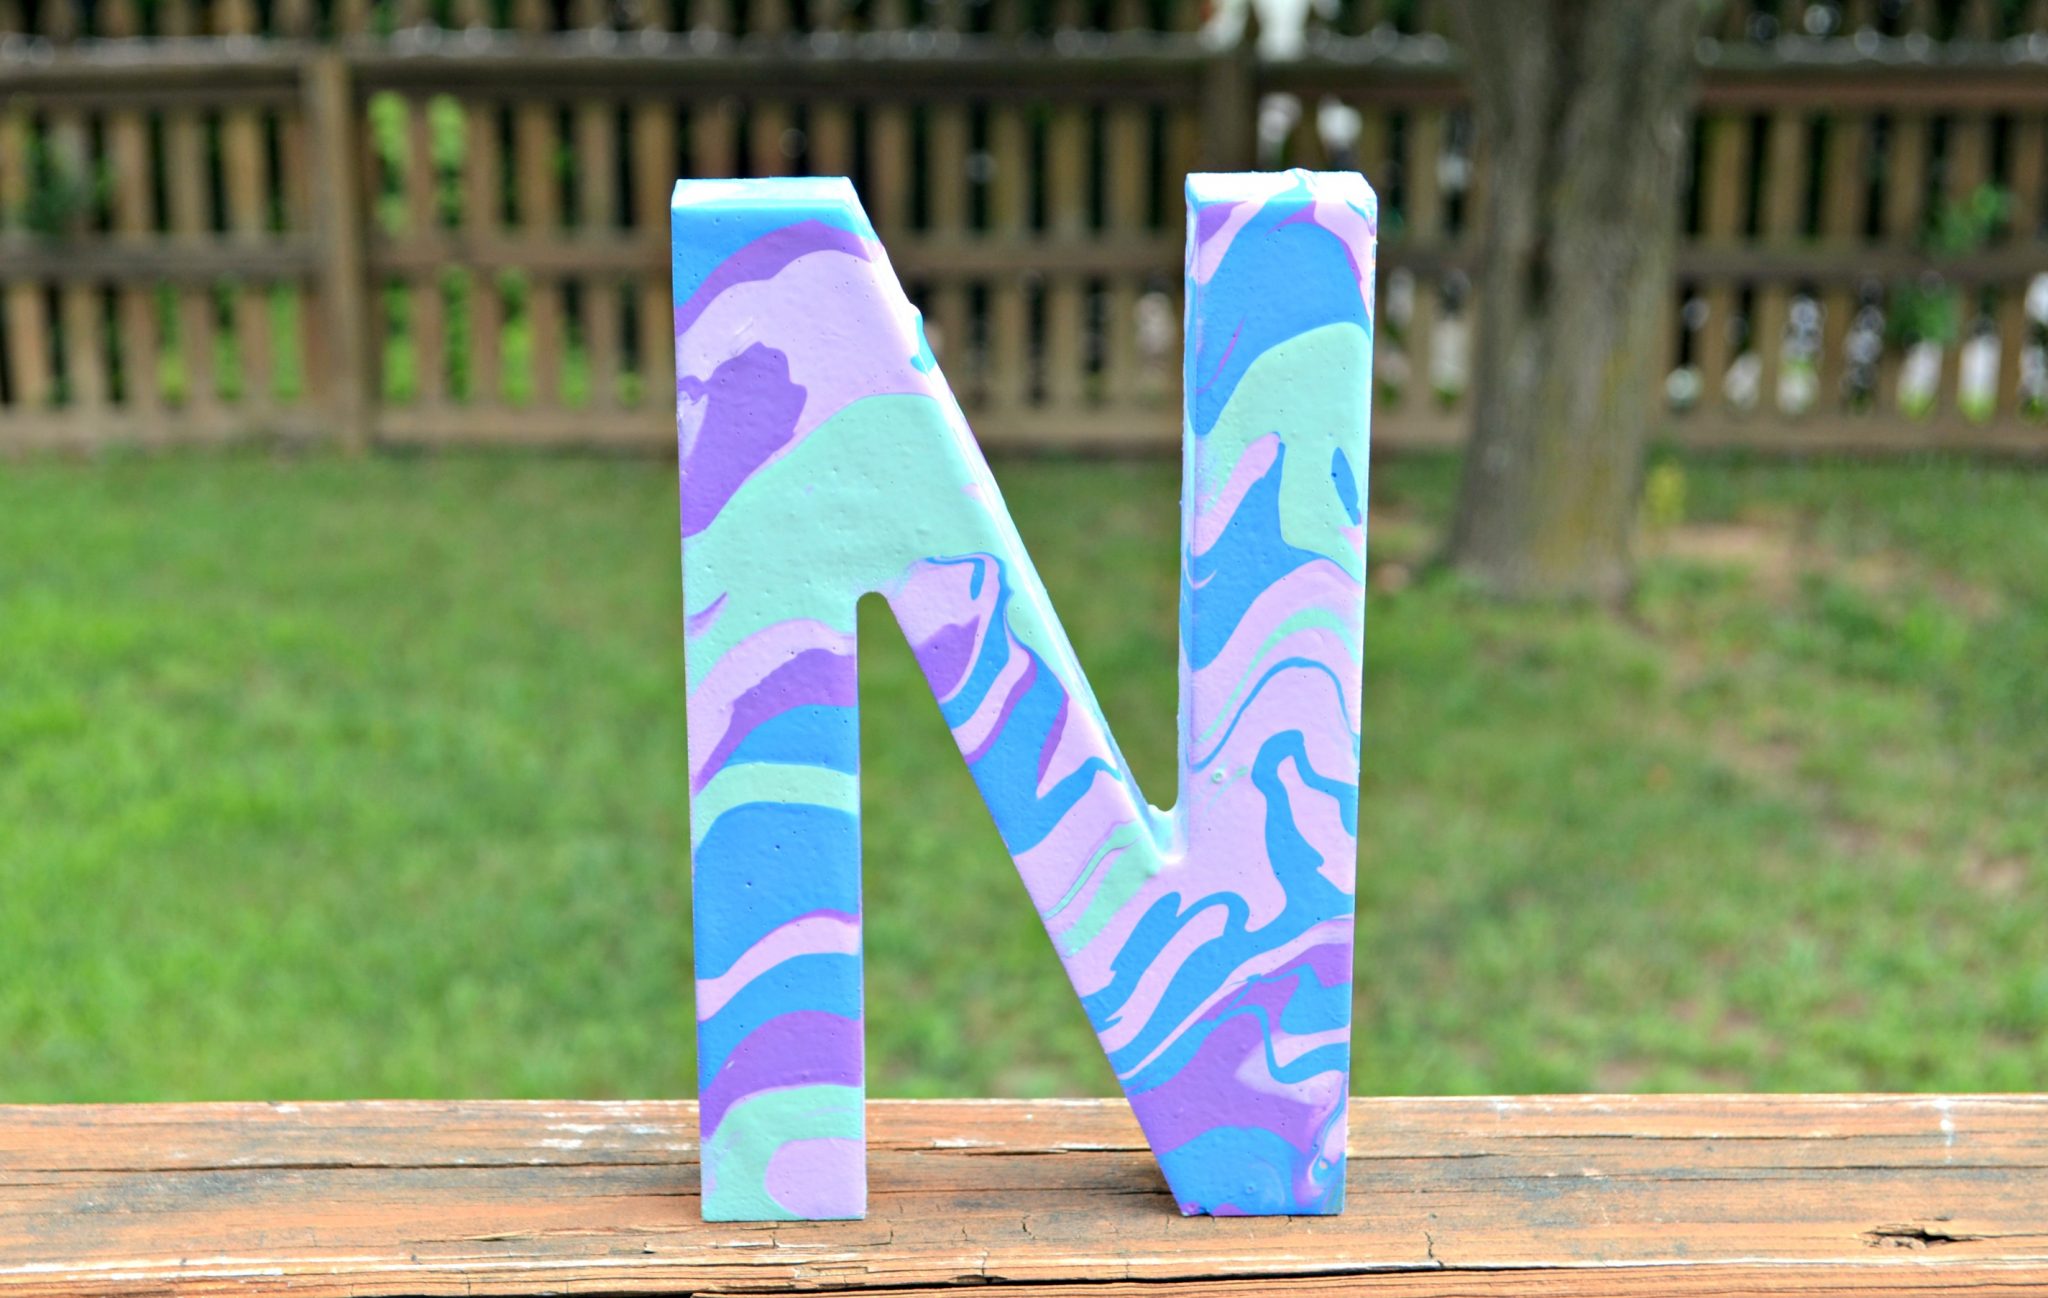
Marbled Monogram with new Martha Stewart Marbling Medium
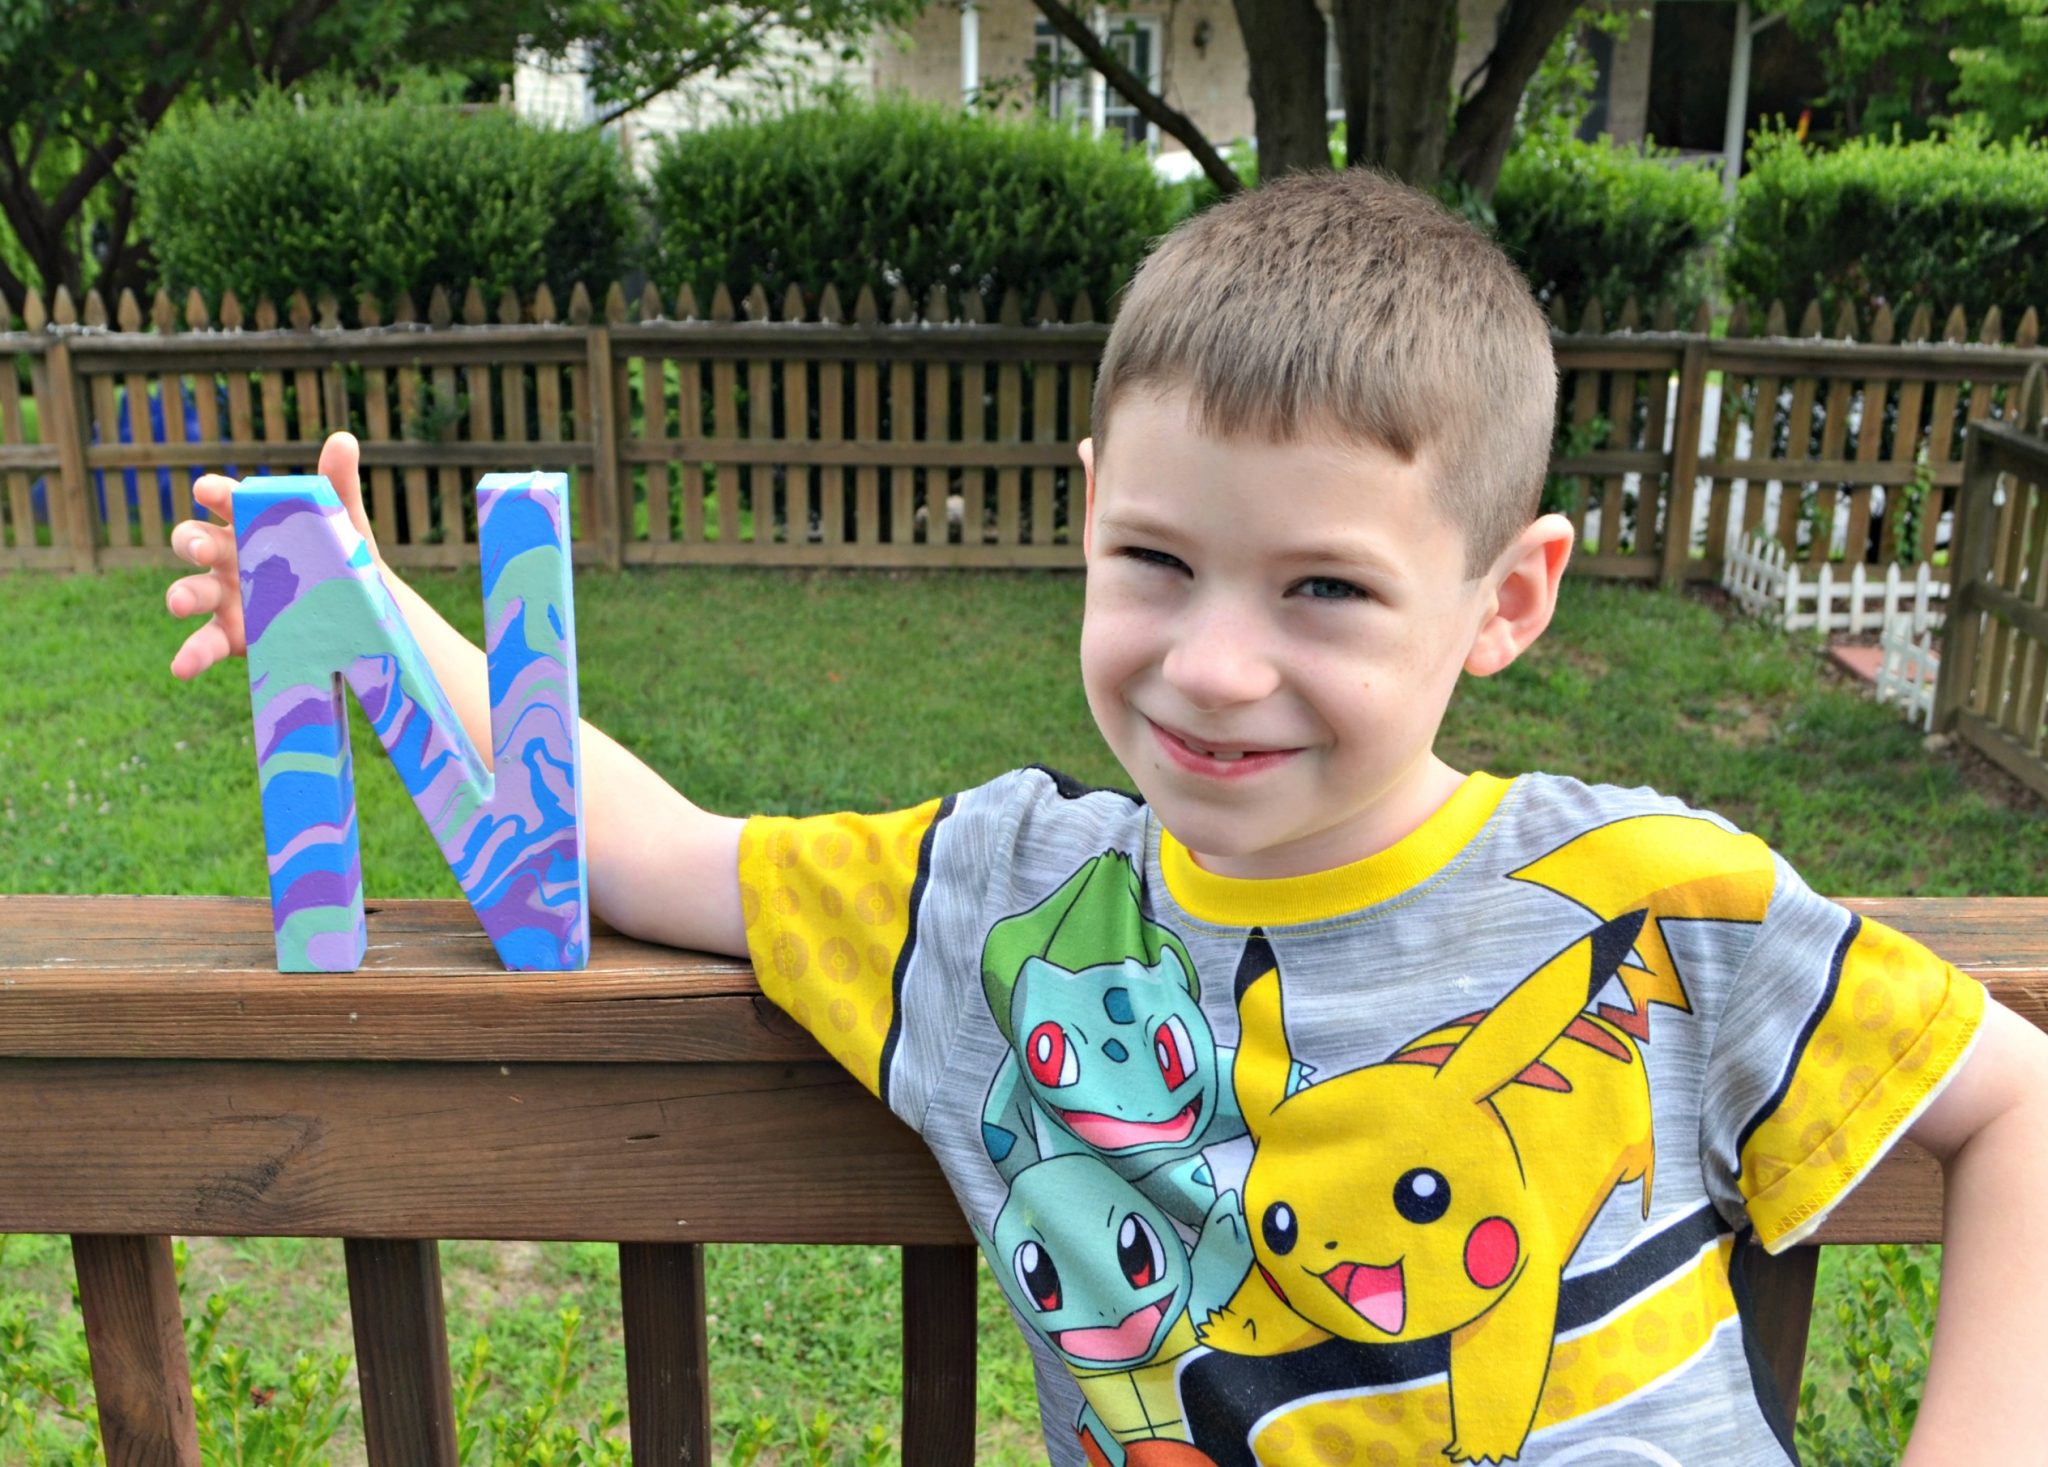
Friends, I’ve got the perfect summer project for you today! It’s something you can create on your own as a fun piece of home decor, and it’s also a great craft to do with your kiddos. Little Crafter, my 8 year old son, is the creator of the project we’re sharing, and he did an amazing job. If you like color, fun techniques, and getting a little bit messy, you’ll want to put this on your to-do list immediately…take a look!
Marbled Monogram with Martha Stewart Marbling Medium
You’ll Need:
{affiliate links}
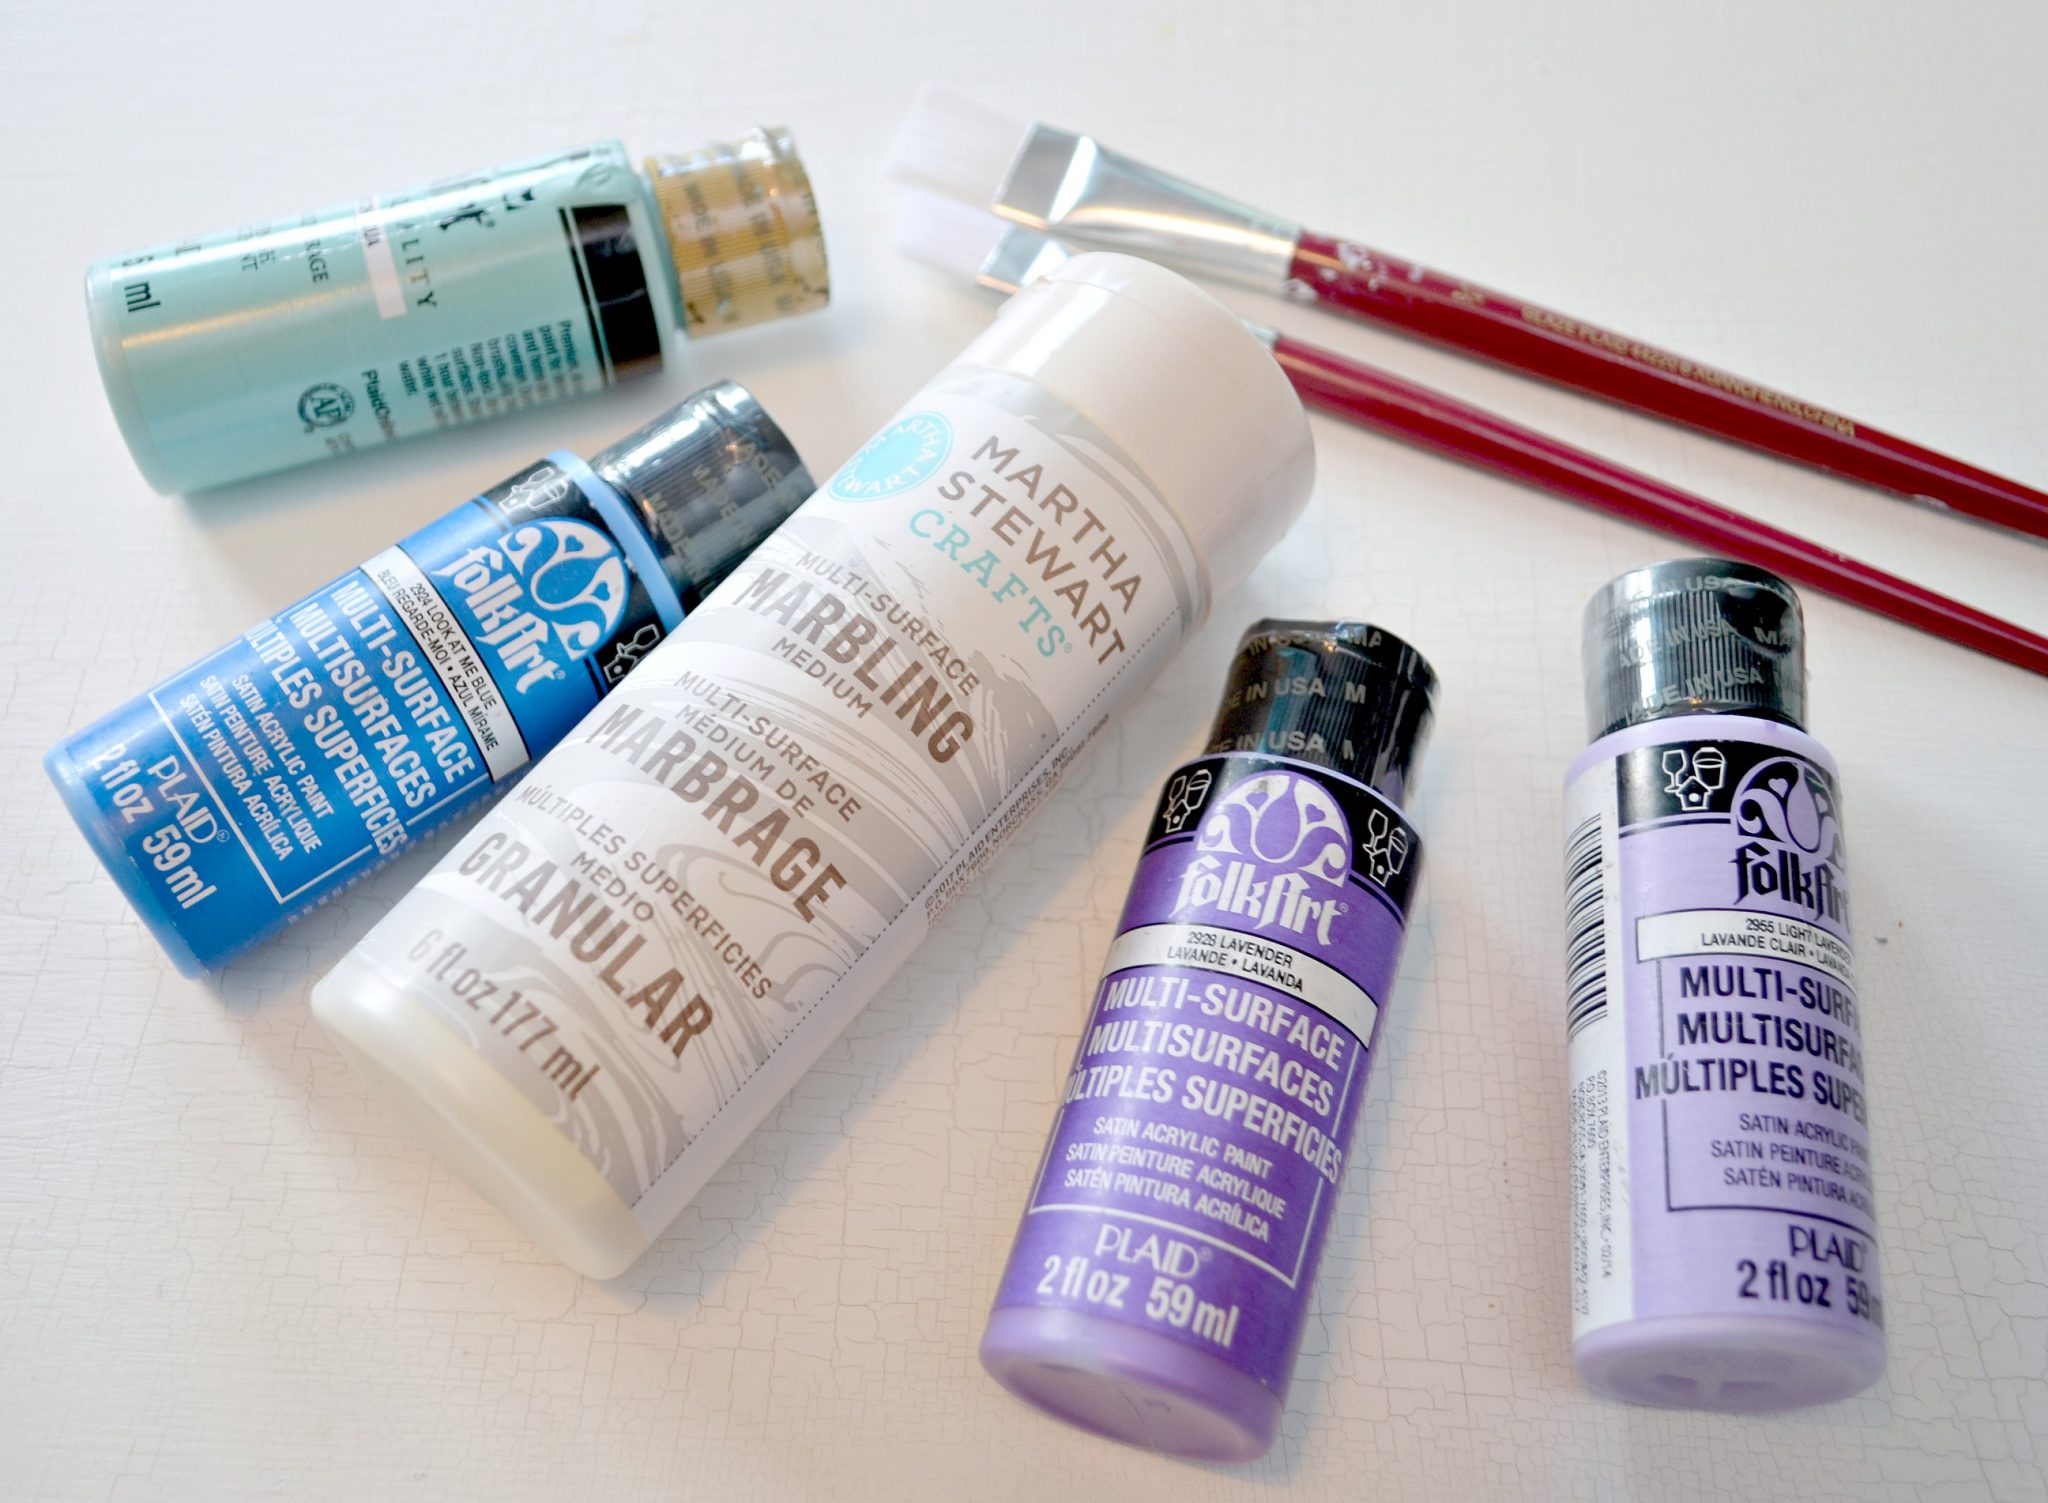
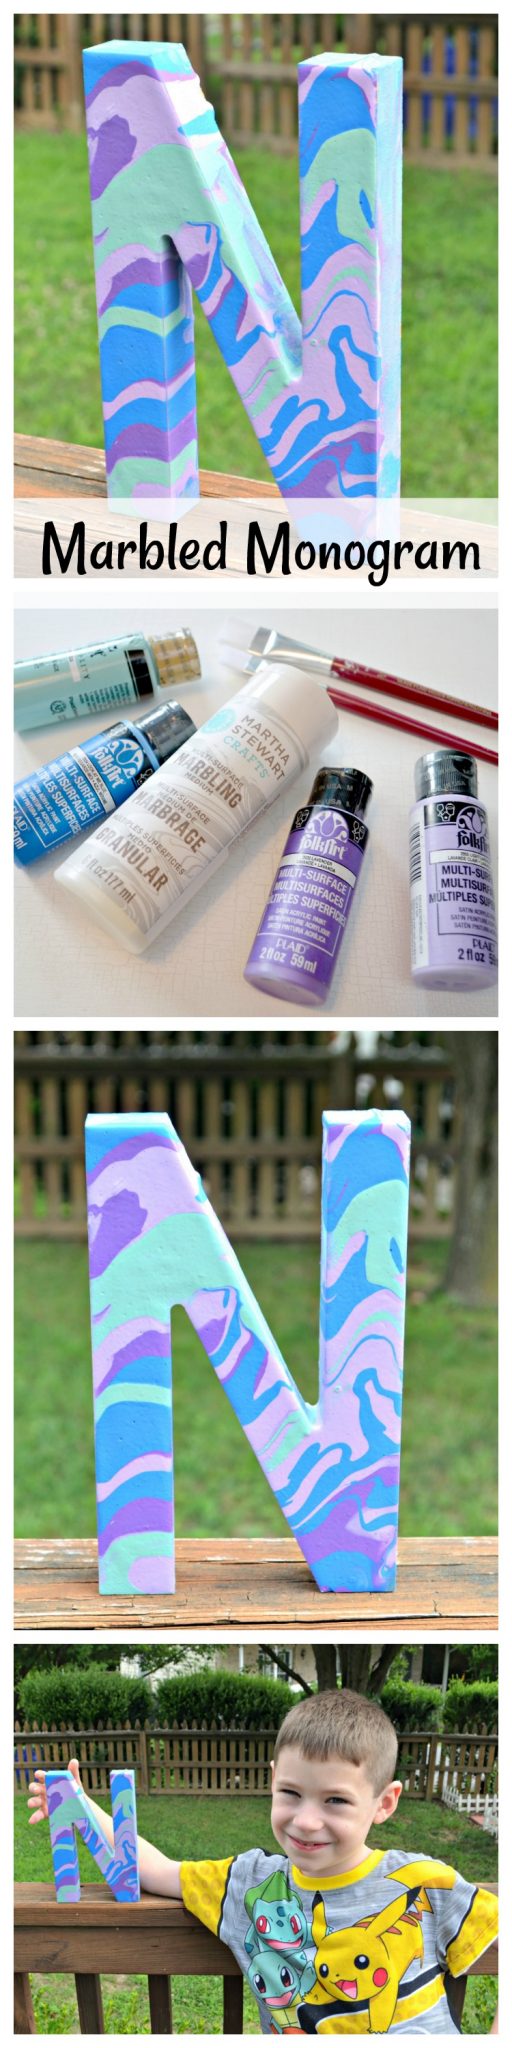
Wooden or Cardboard Letter
FolkArt Multi-Surface Paint {3-4 colors}
Martha Stewart Multi-Surface Marbling Medium
Paper or Plastic Cups
Disposable baking pan or cookie sheet covered with foil
Paintbrushes or craft sticks
Disposable Gloves
Plastic Fork {optional}
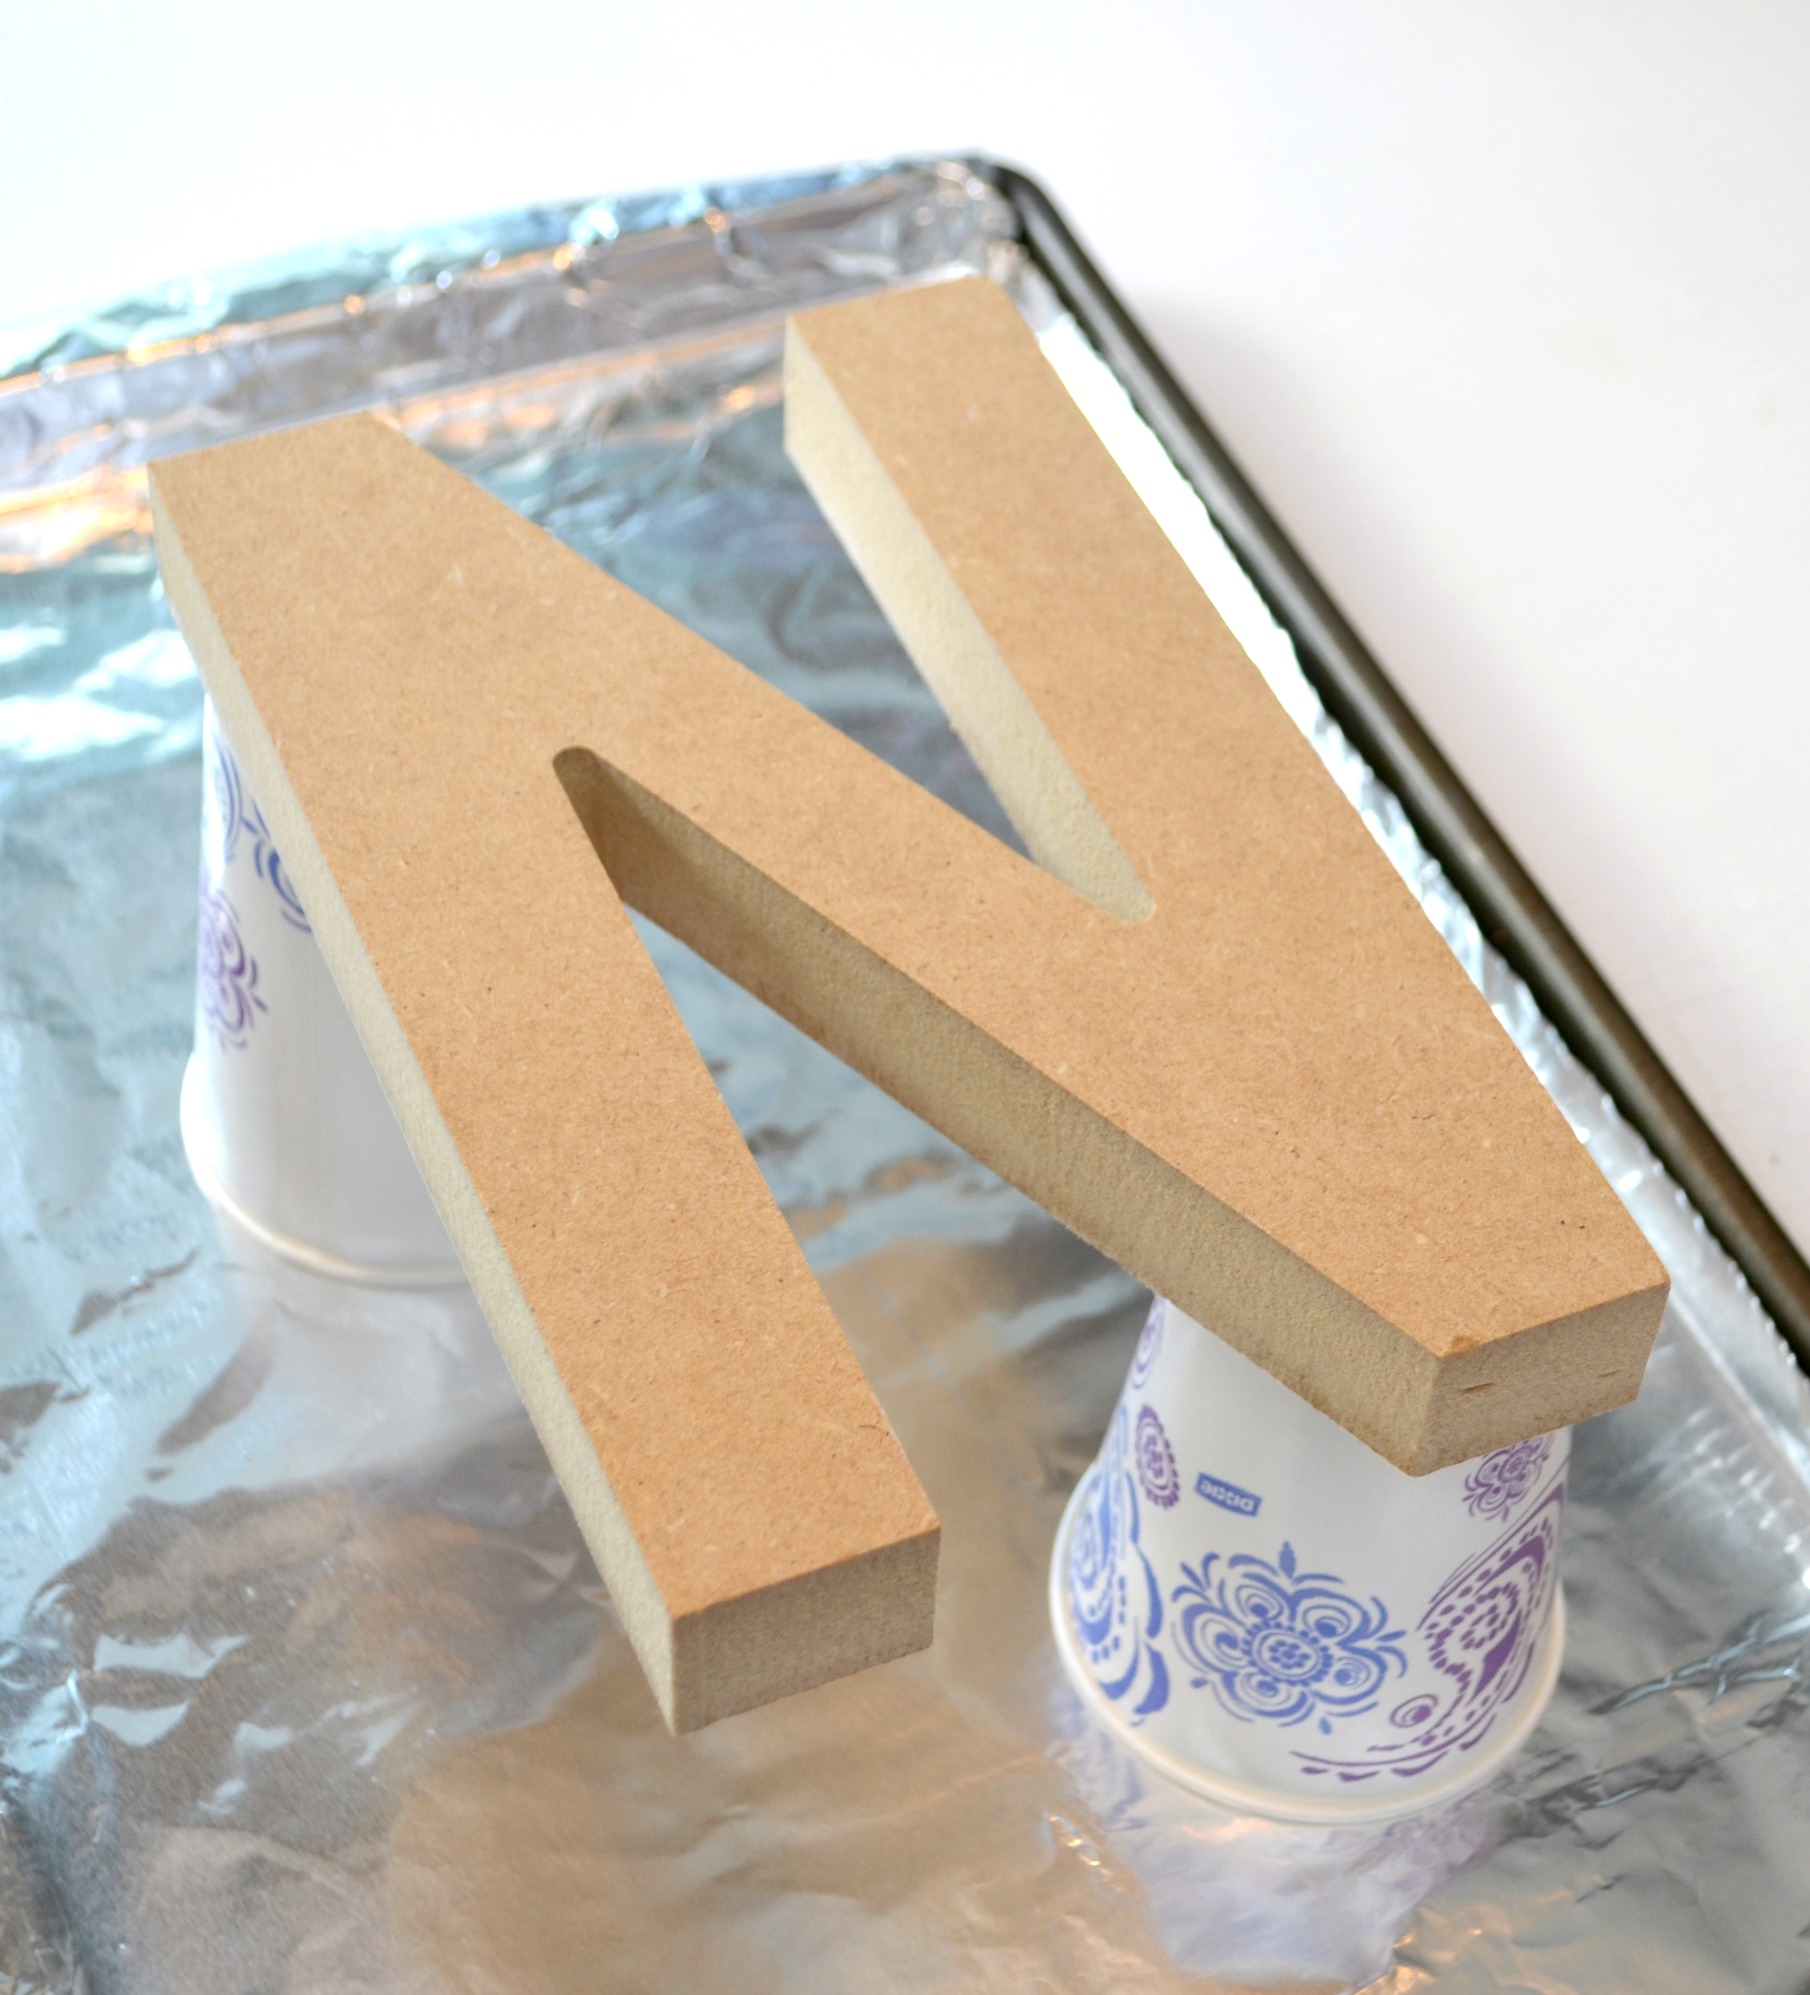
Step 1: Prepare your workspace.
You’ll want to start with either a disposable baking pan or a cookie sheet covered in foil. This will catch all the excess paint that runs off of your project, and trust me, there’ll be a lot! Place a few of the cups upside down on the tray and use them to prop up your letter as shown below.
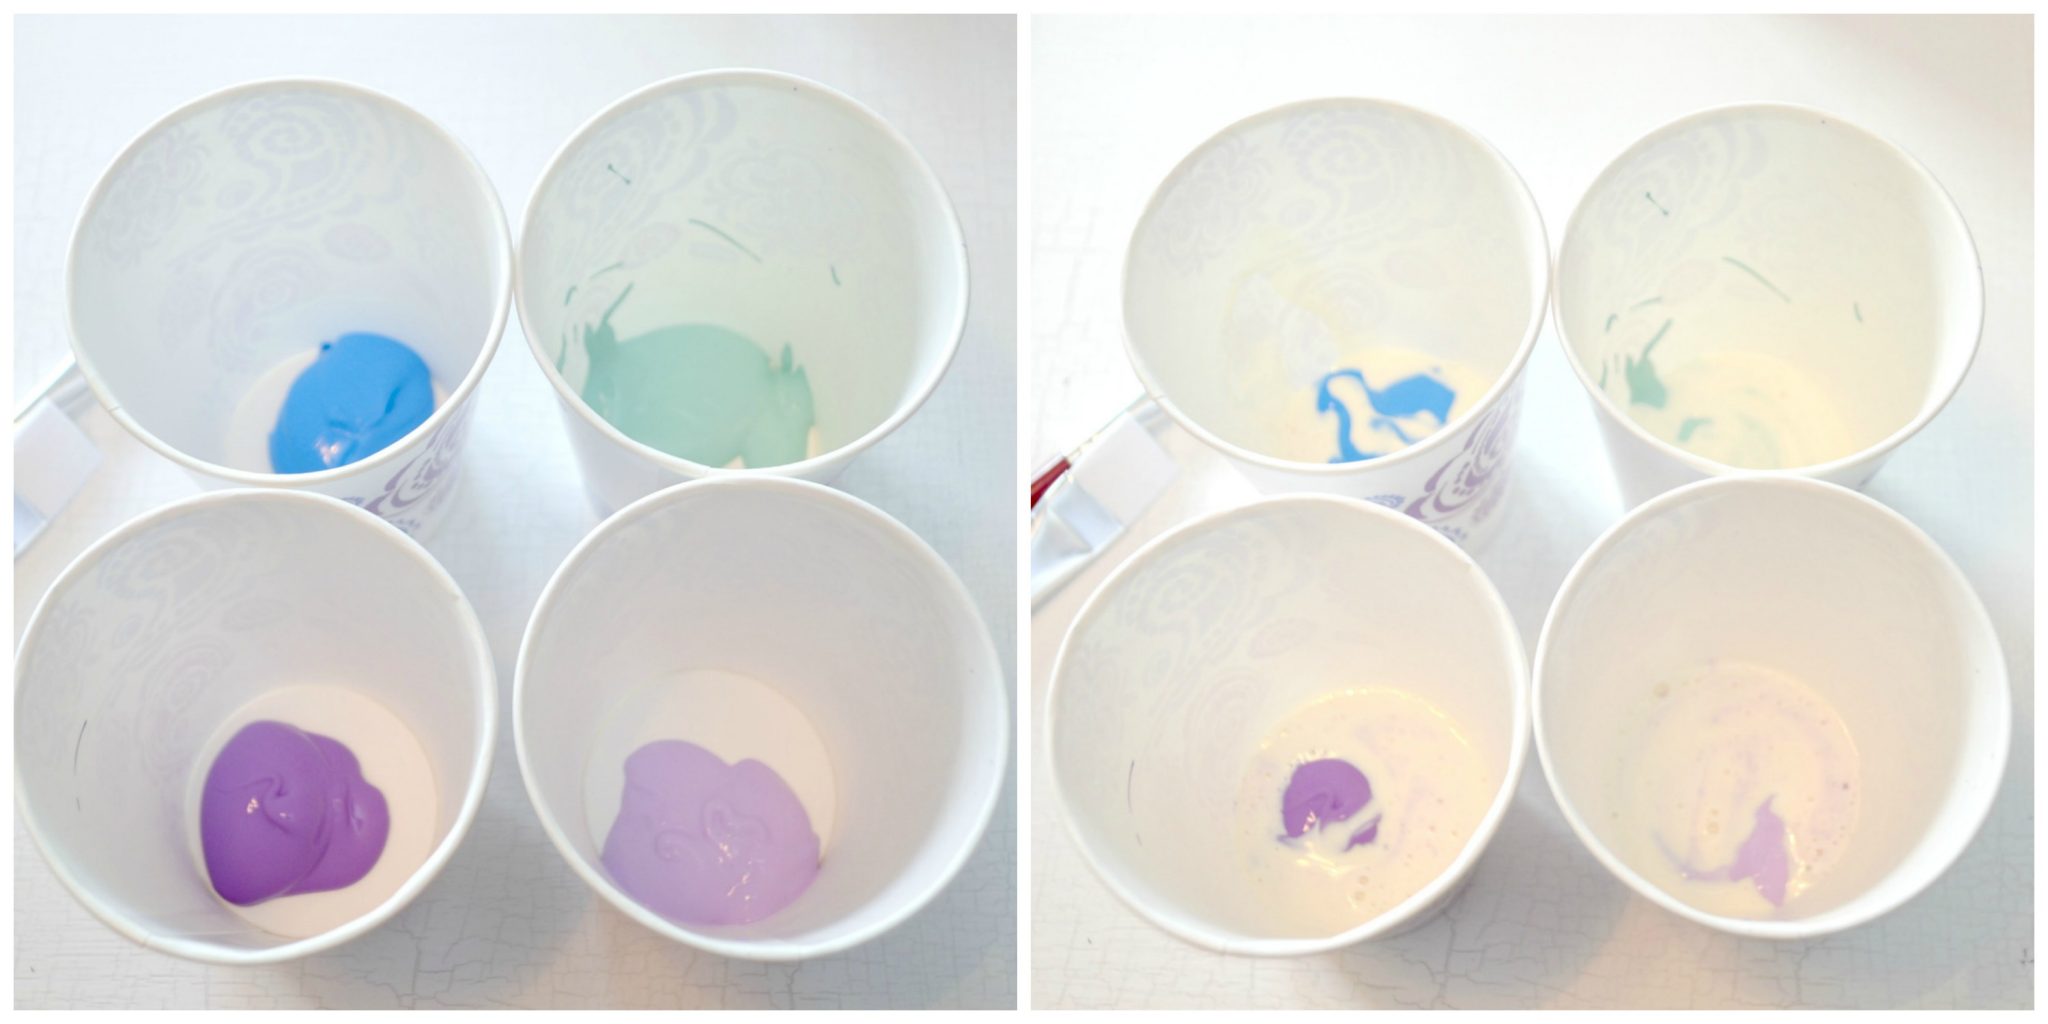
Step 2: Prepare your paints.
Choose 3-4 paint colors you’d like to use. Because of the marbling medium, the colors won’t mix together, so you can feel free to choose anything you like! You can use contrasting colors, colors from the same “family,” or even go with a monochromatic look where you just use different shades of the same color. It can also be nice to add in a neutral color, like white, cream, grey, or black.
Squeeze a small amount of each color into its own disposable cup. The size of the surface you’re marbling will determine how much paint you need. Start with less, then you can always mix up more if you need it.
Step 3: Add marbling medium.
Squeeze Martha Stewart Marbling Medium into each cup. The instructions on the bottle say to use two parts of marbling medium for every one part of paint, but we used a little less than that and it worked just fine. The more you use, the more runny your paint will be, so it depends on how much you want to be able to control the marbling. As long as the paint is thin enough to flow freely, you’re good to go! You can’t mess this up.
Stir the paint and the marbling medium together using a paintbrush or craft stick until you have a mixture that is smooth, thin, and the color of your original paint.
Step 4: Pour your paints onto the surface one at a time.
We definitely suggest wearing disposable gloves from this point on! If not, trust us, you’re going to get really messy really fast!
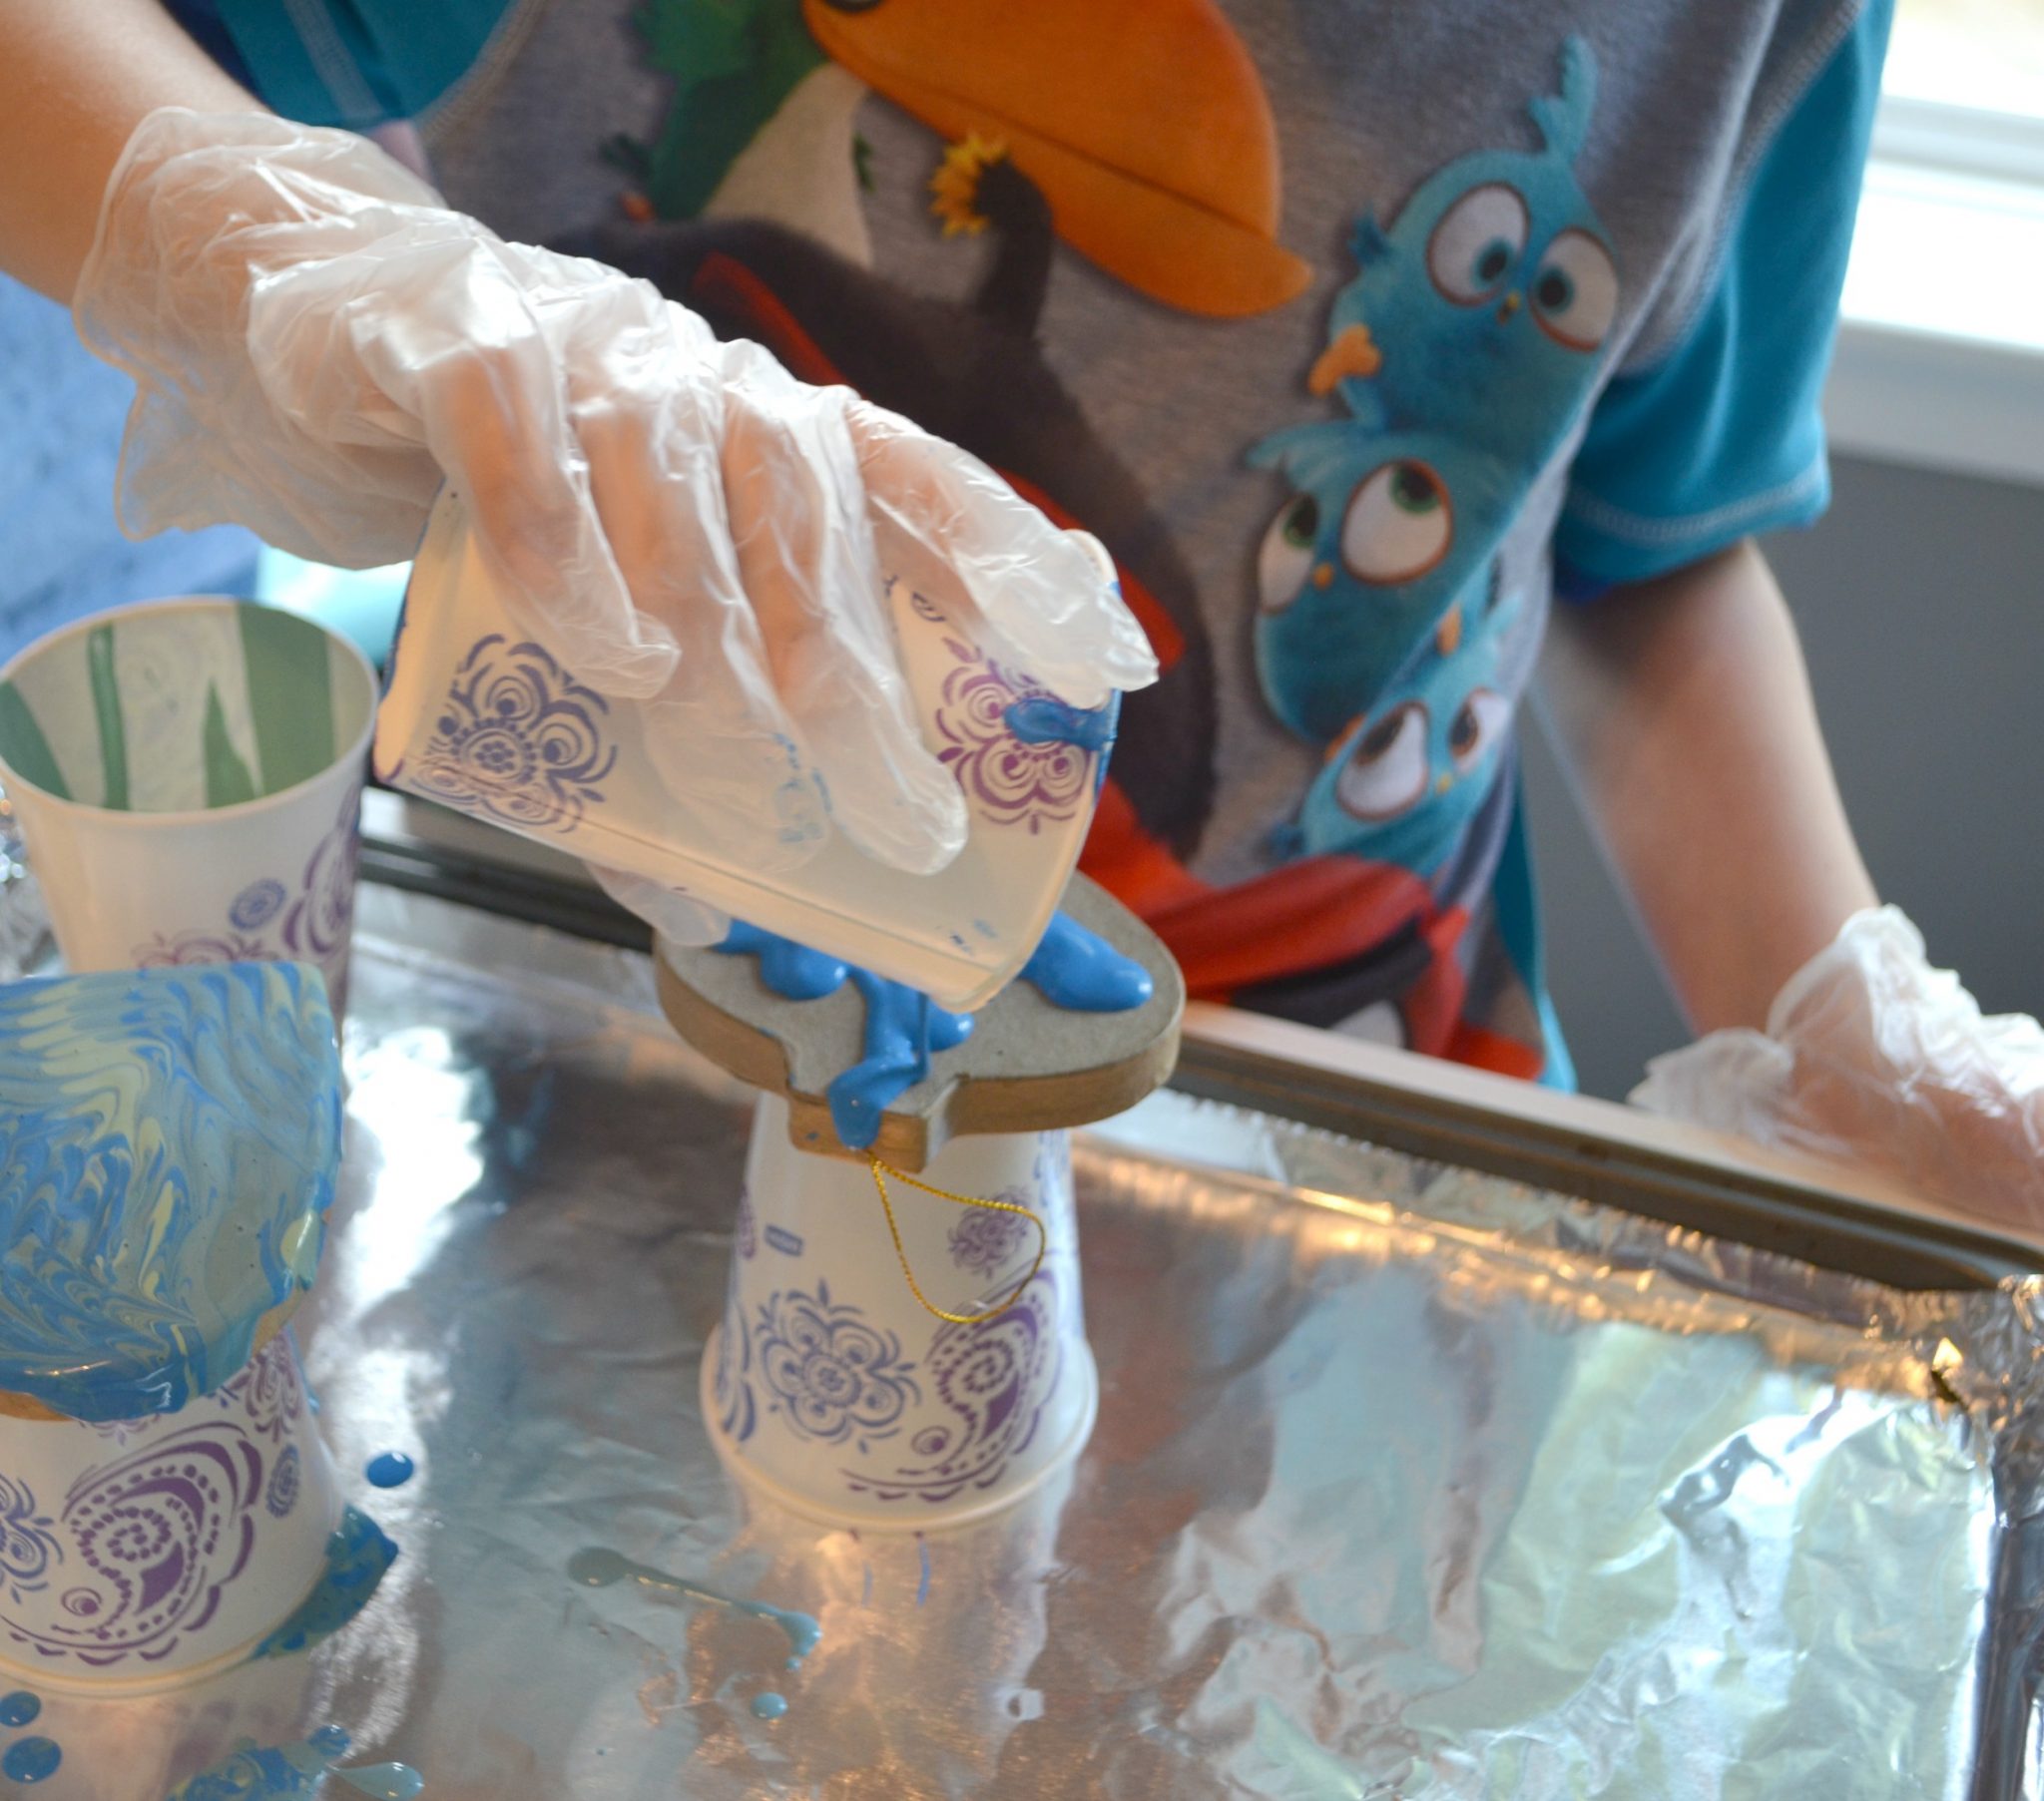
It doesn’t matter which color you start with. Just begin pouring it over the surface, moving it around as you go.
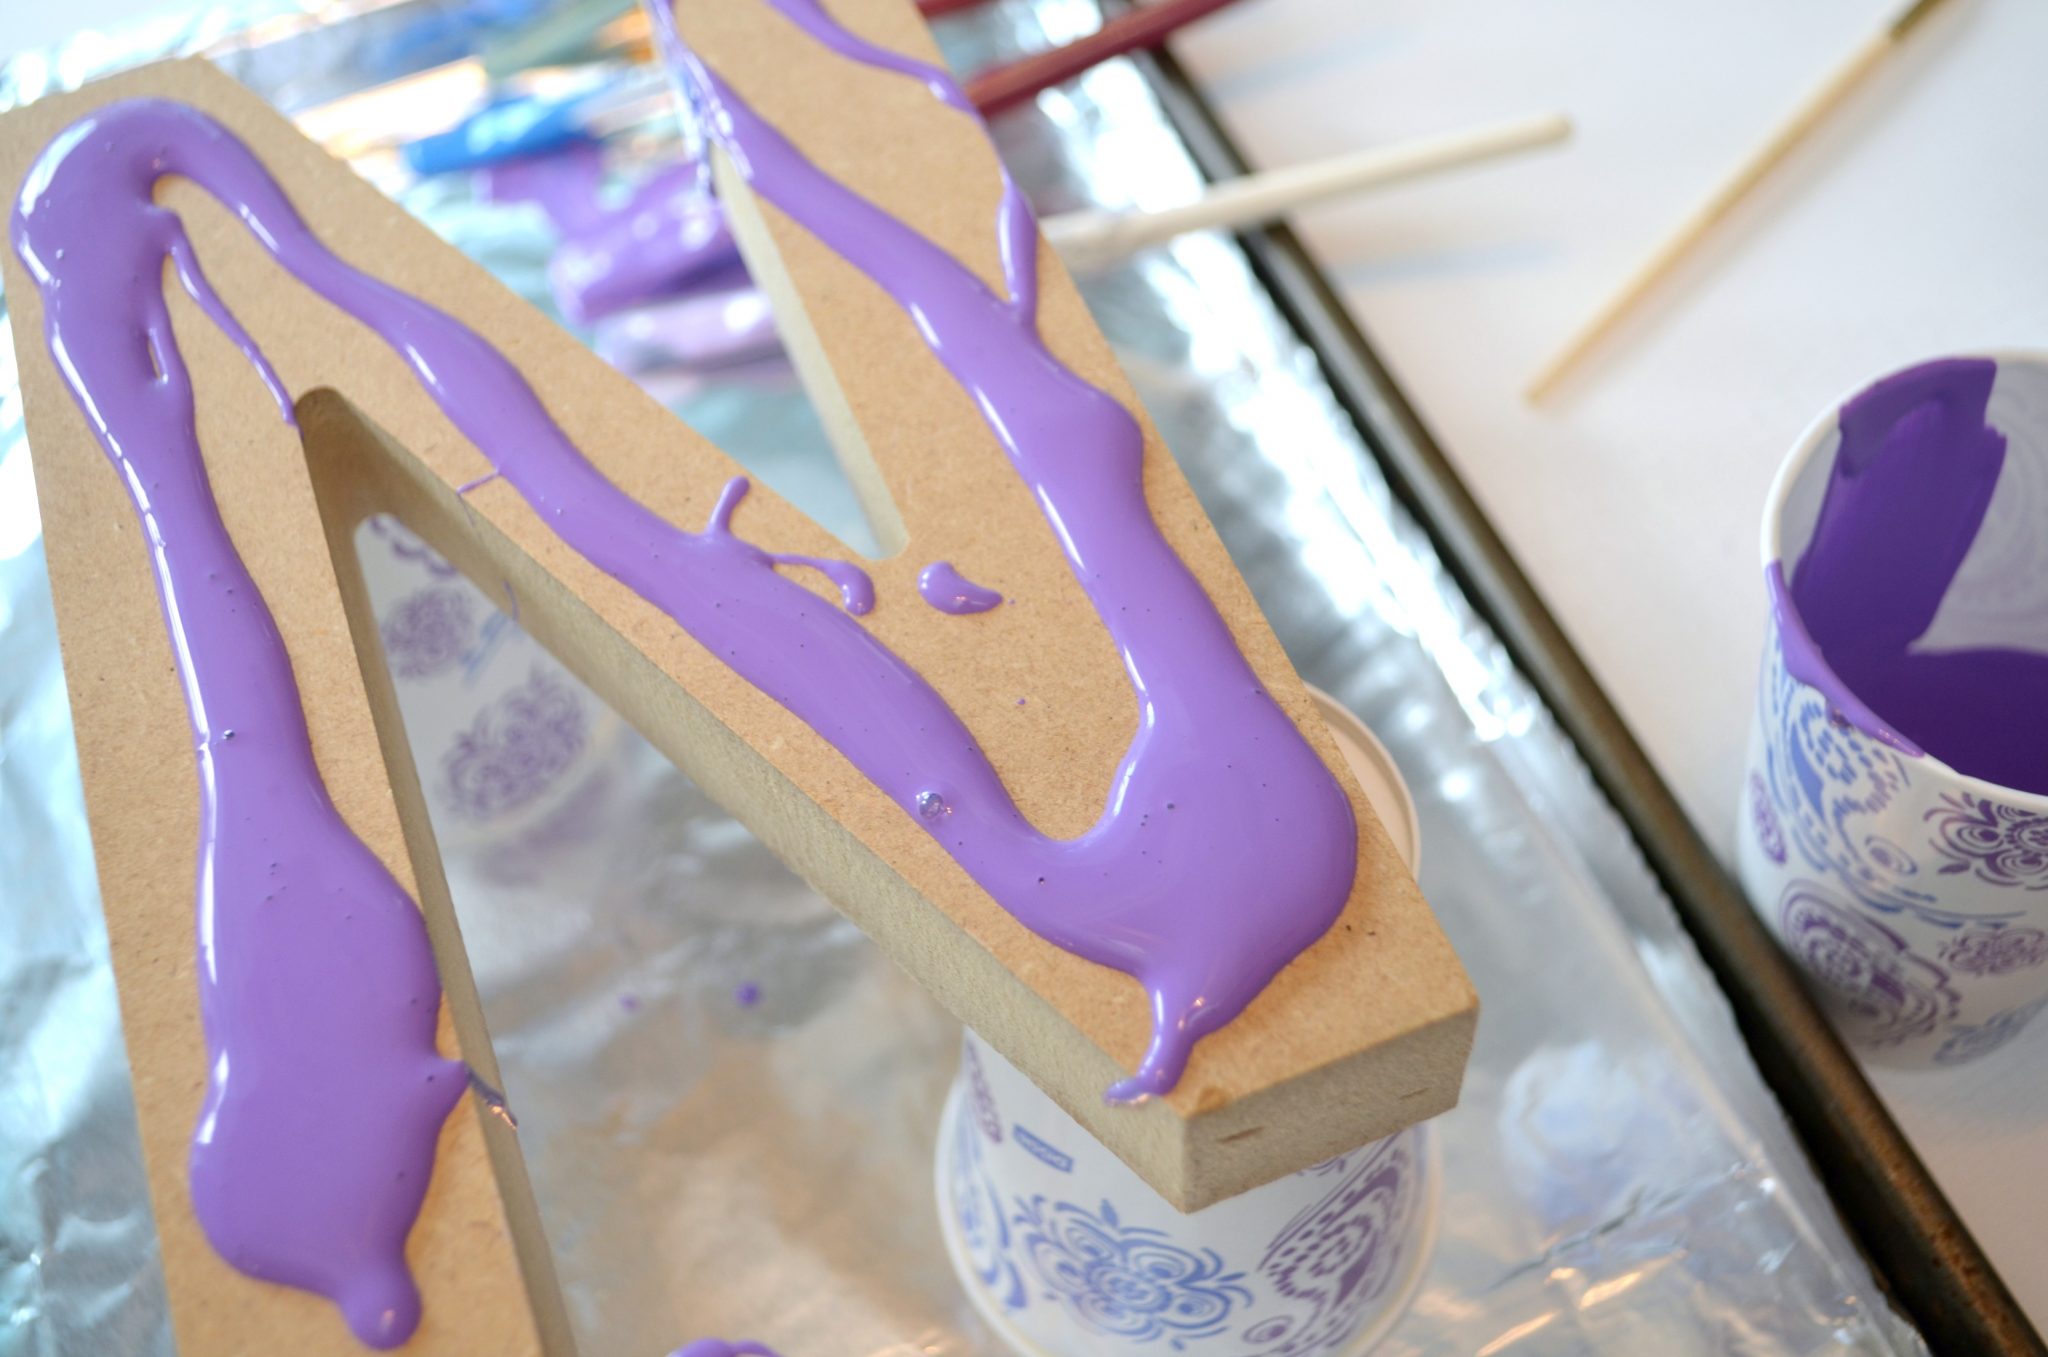
Once the first color is poured, continue with each of your other colors until everything is poured. Just drizzle the paint anywhere you want it to be. There’s no exact science to it, but you do want to make sure you’ve covered all the empty spots if possible.
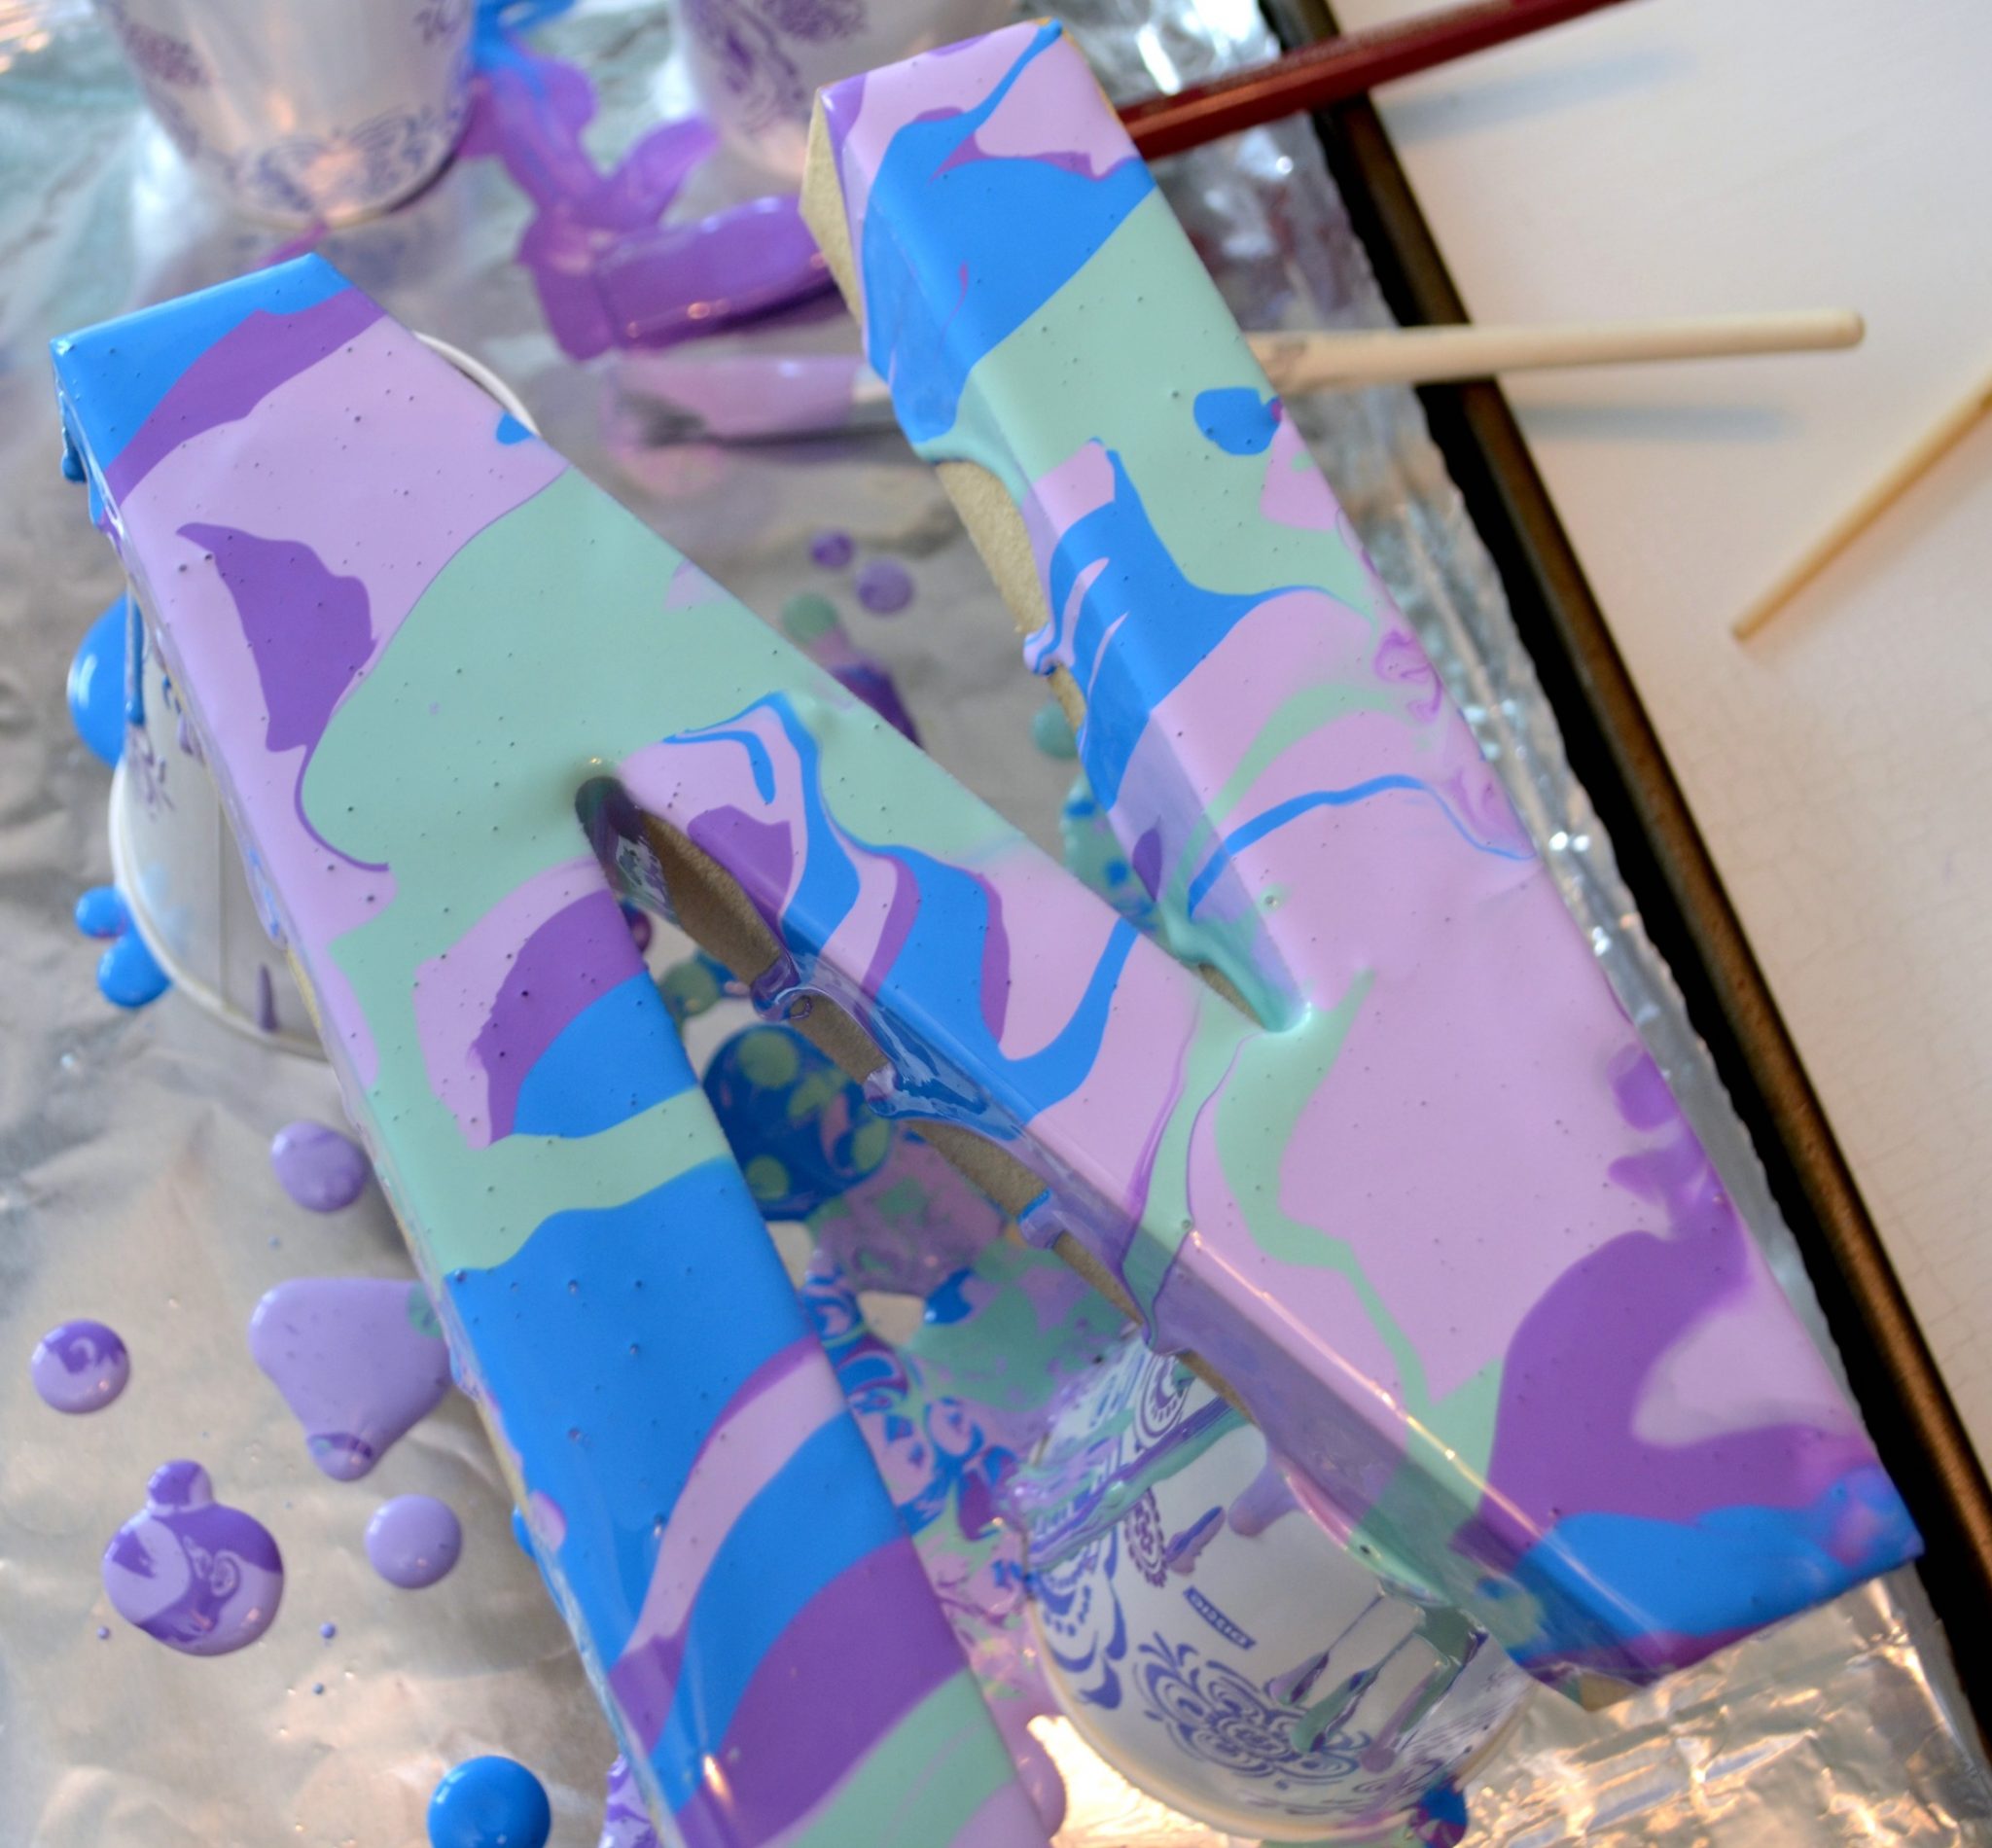
Step 5: Pick up your project and gently move it around to swirl the paint.
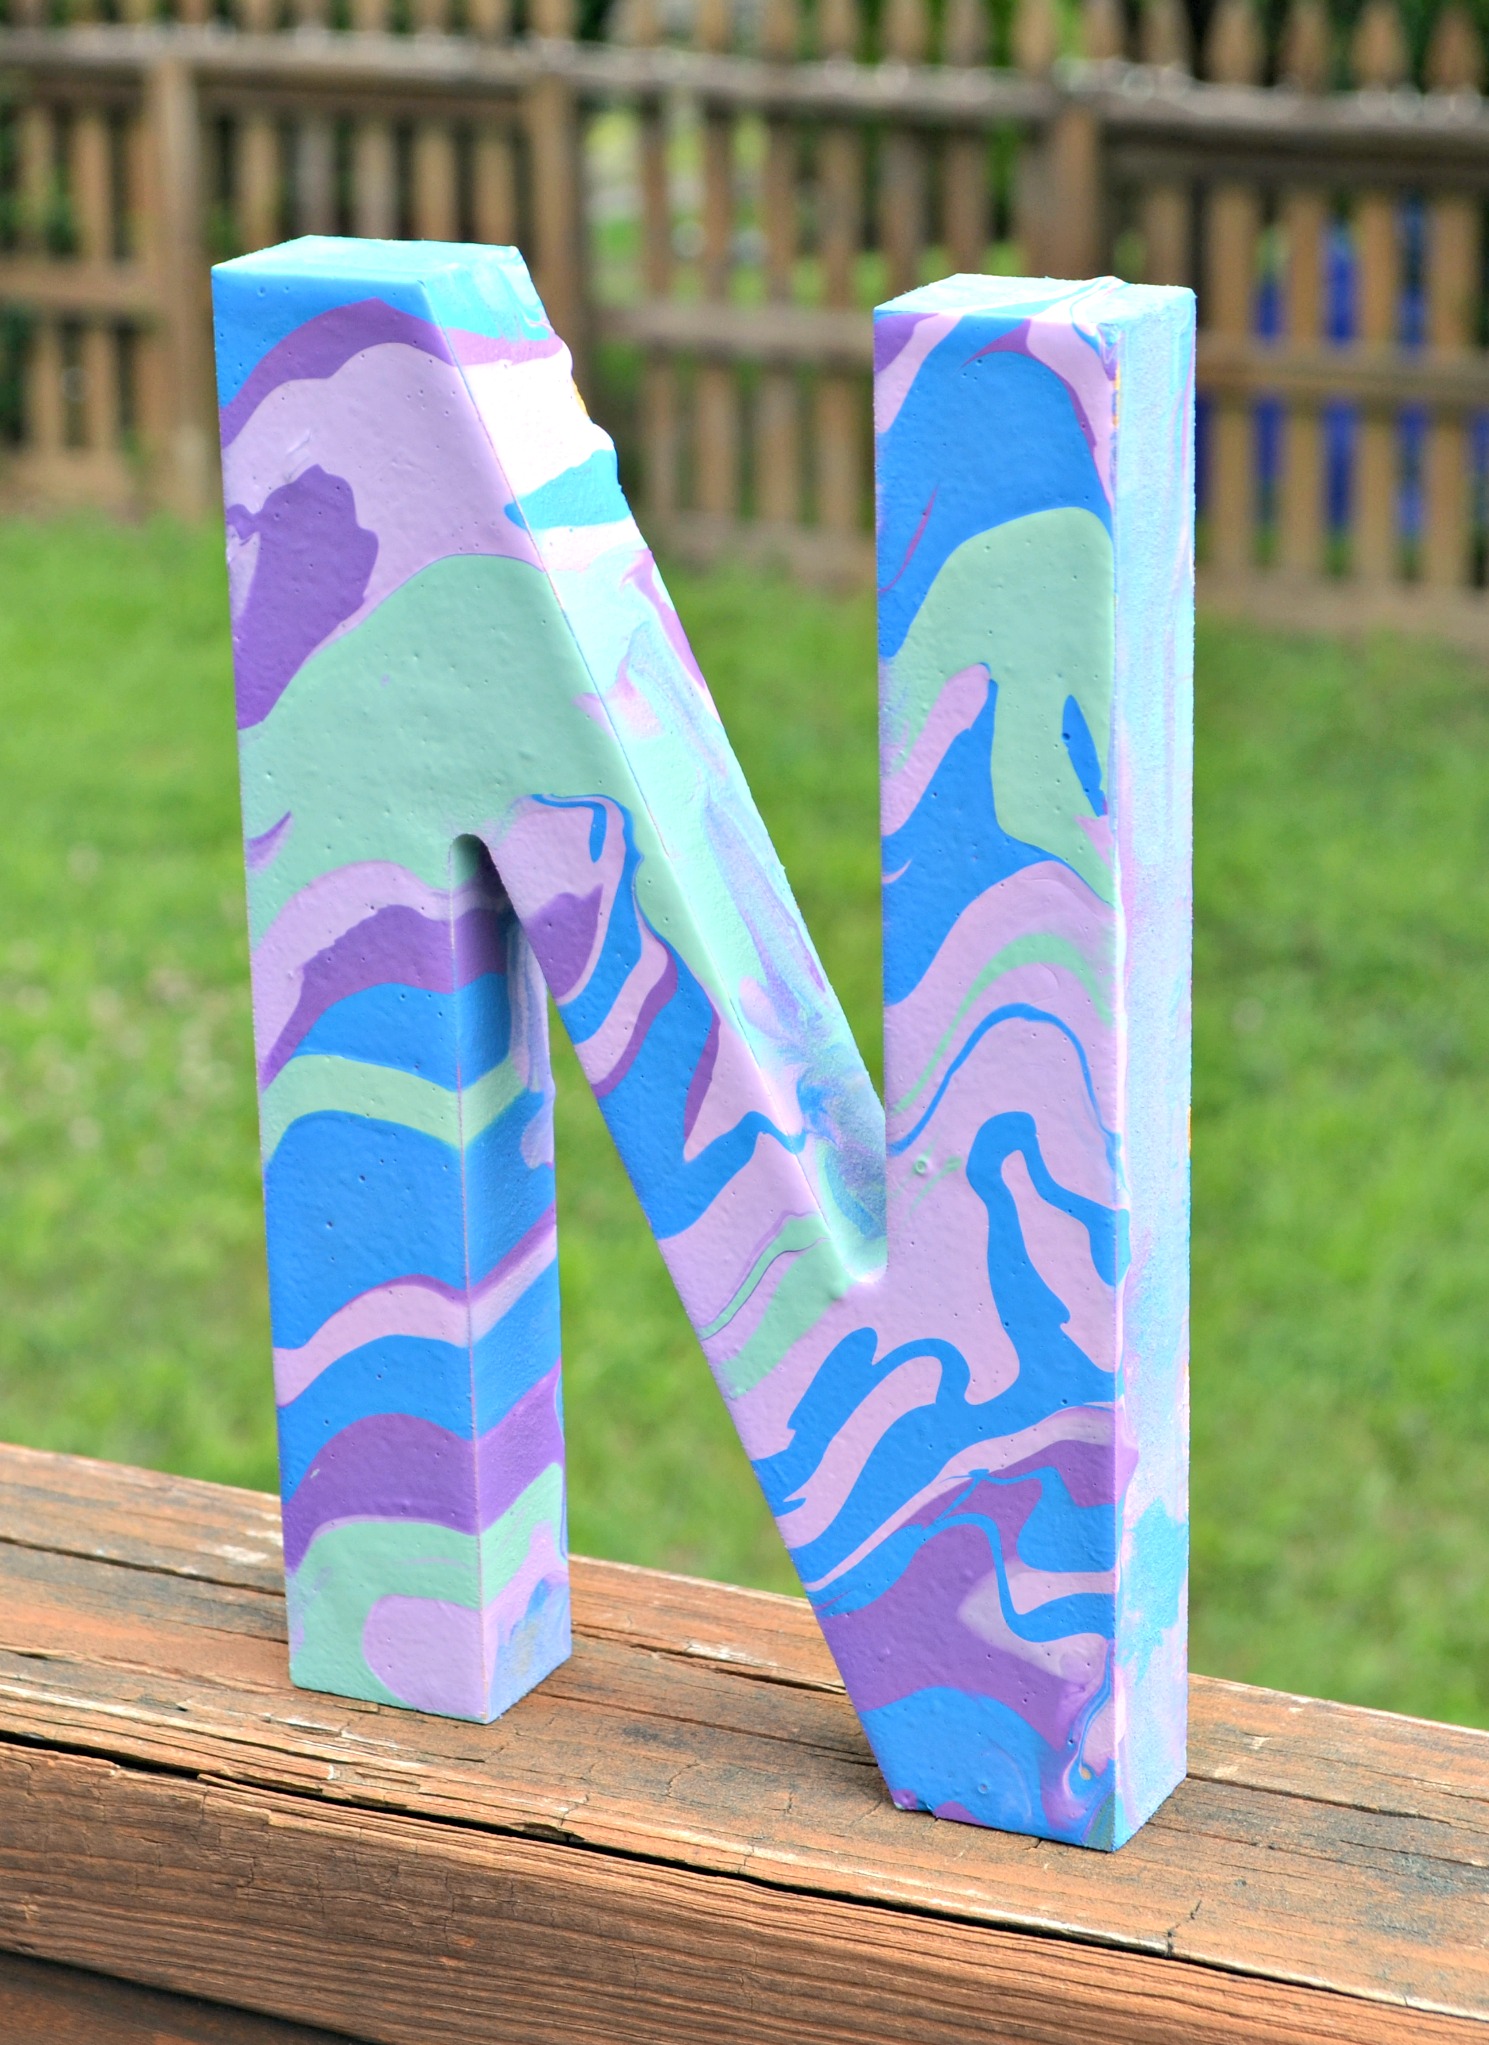
You’ll want to hold the project from the sides and just slightly shift it in any or all directions to allow the paint to move around on the surface. Let it flow onto any uncovered areas. If you have a spot that needs more of a particular color, just pour some more on and move it around until you like the way it looks! Little Crafter had a large section of nothing but light purple in the bottom right section of his letter, so he poured some more blue in that spot.
Now, just let it dry! It’ll take about 24 hours for it to be completely dry and cured because you have such a thick layer of paint. Leave it propped on the cups and all the excess paint will drip off.

To finish up the edges, we just took a brush and spread out the excess paint that spilled over. Some of the edge area ended up looking marbled too because of the way the paint dripped.
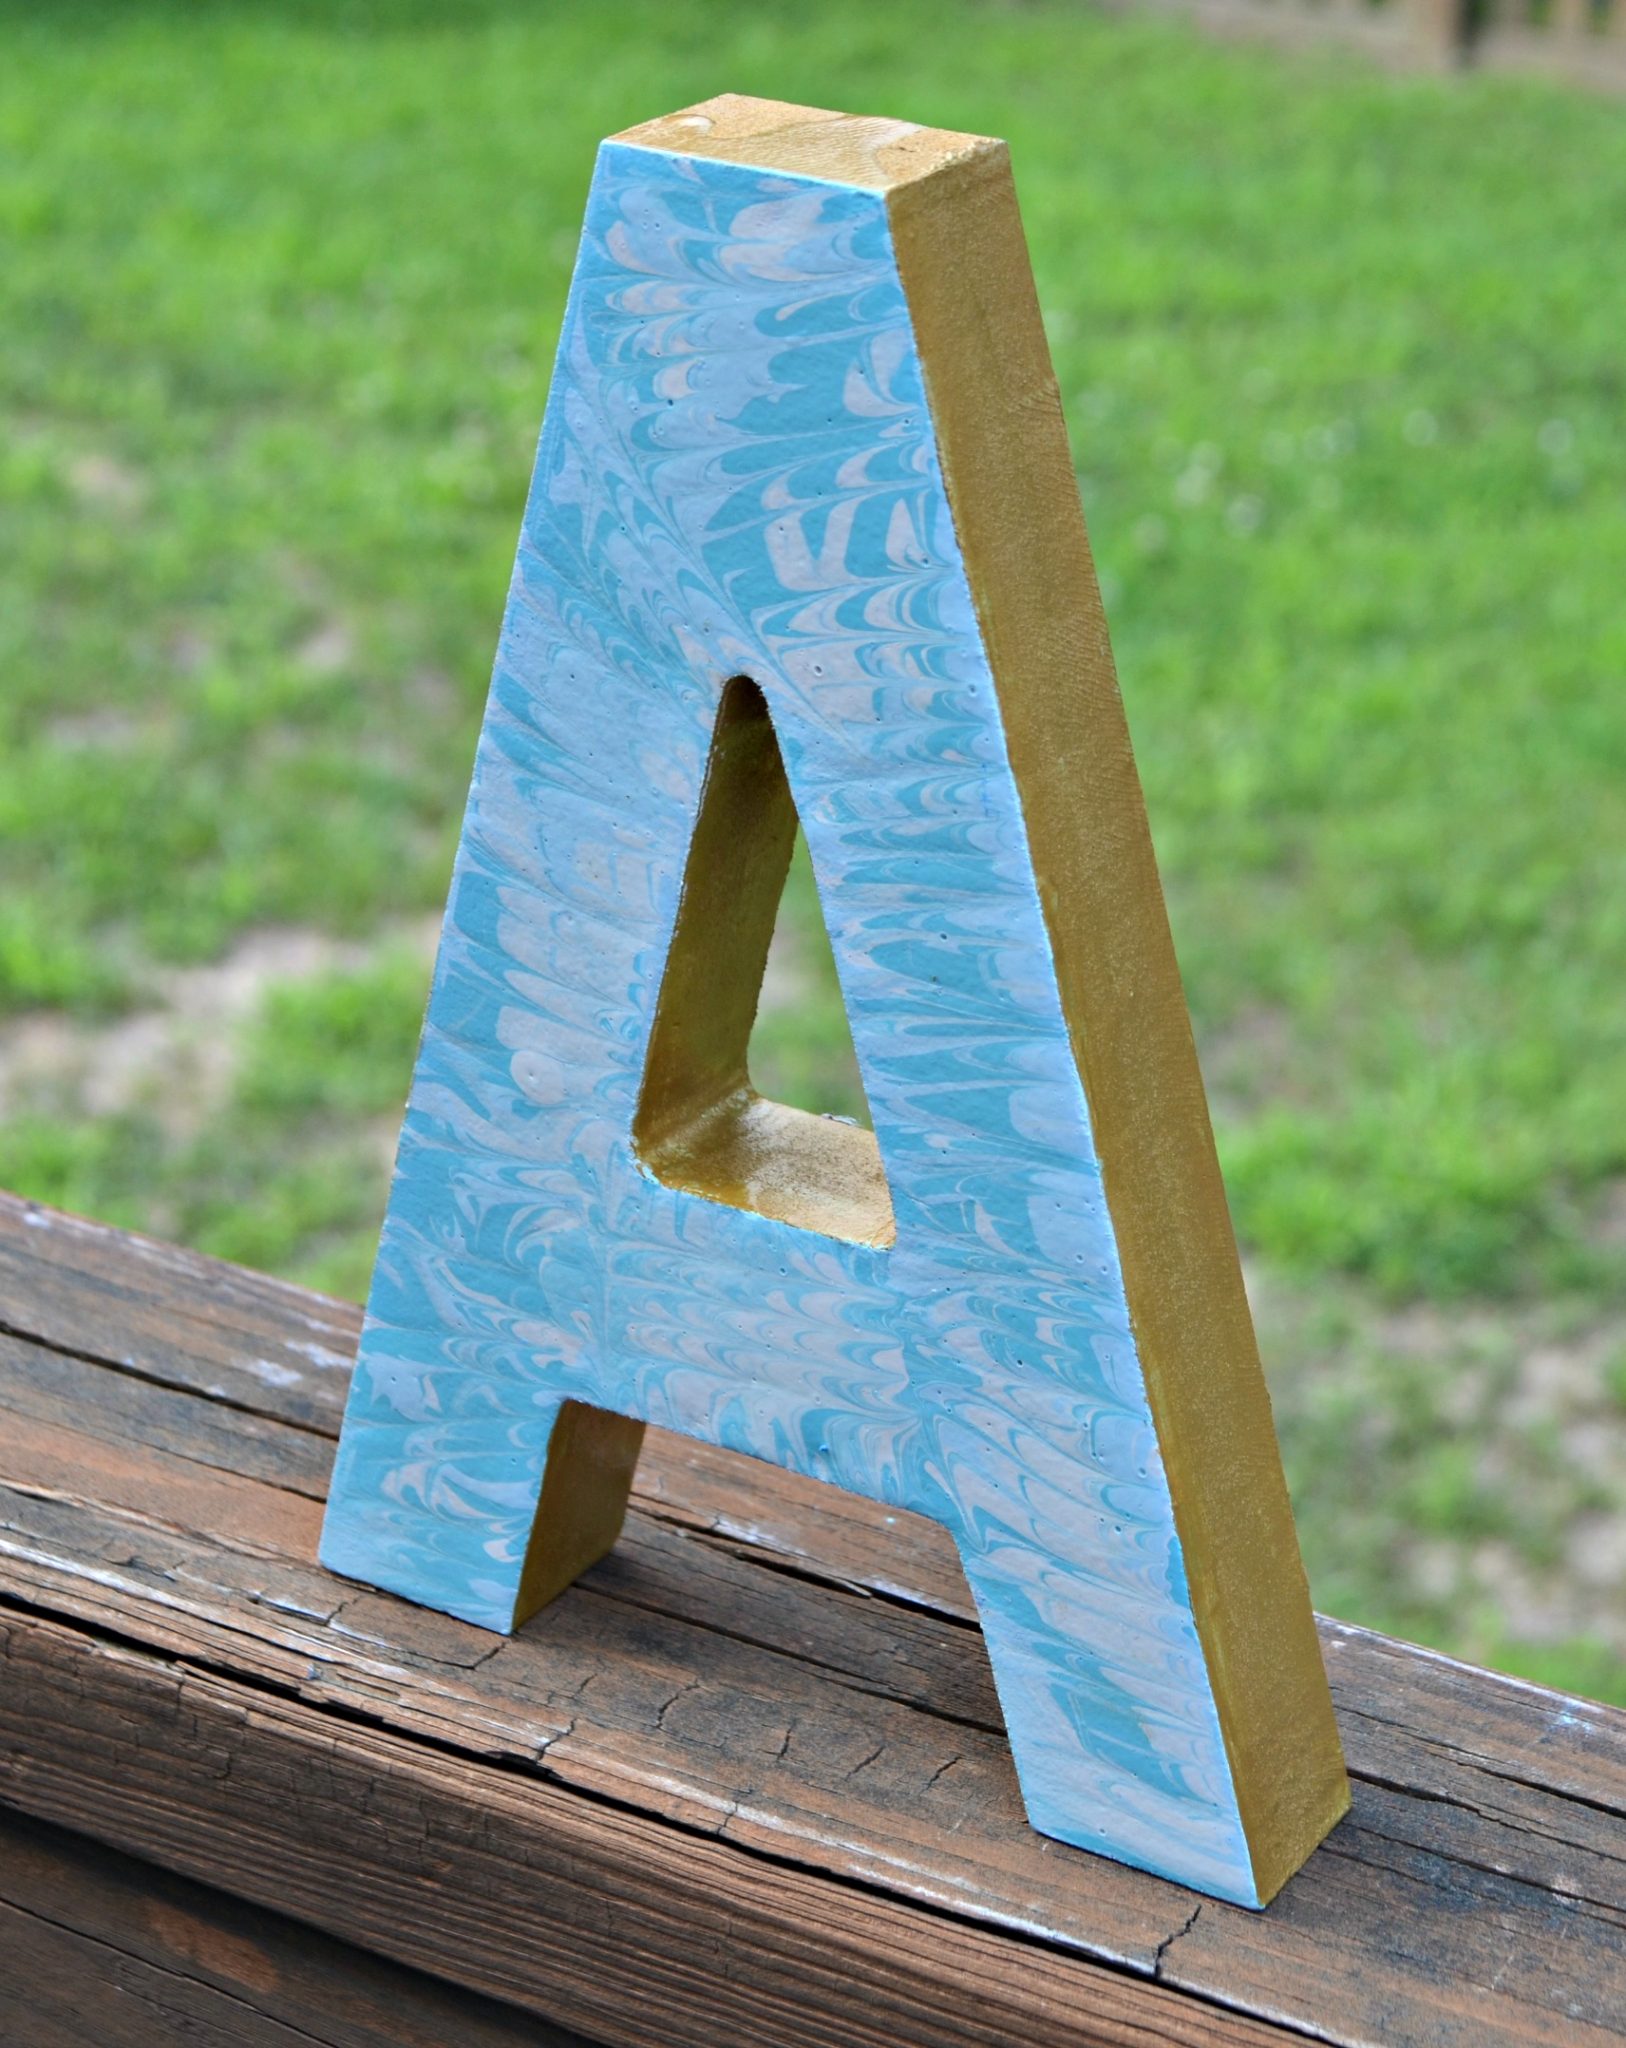
If you like, once your letter is completely dry, you can go back and paint the edges a solid color, or even a metallic. I used FolkArt Metallic Antique Gold for the sides of my “A” and I love the way it looks!
Variation:
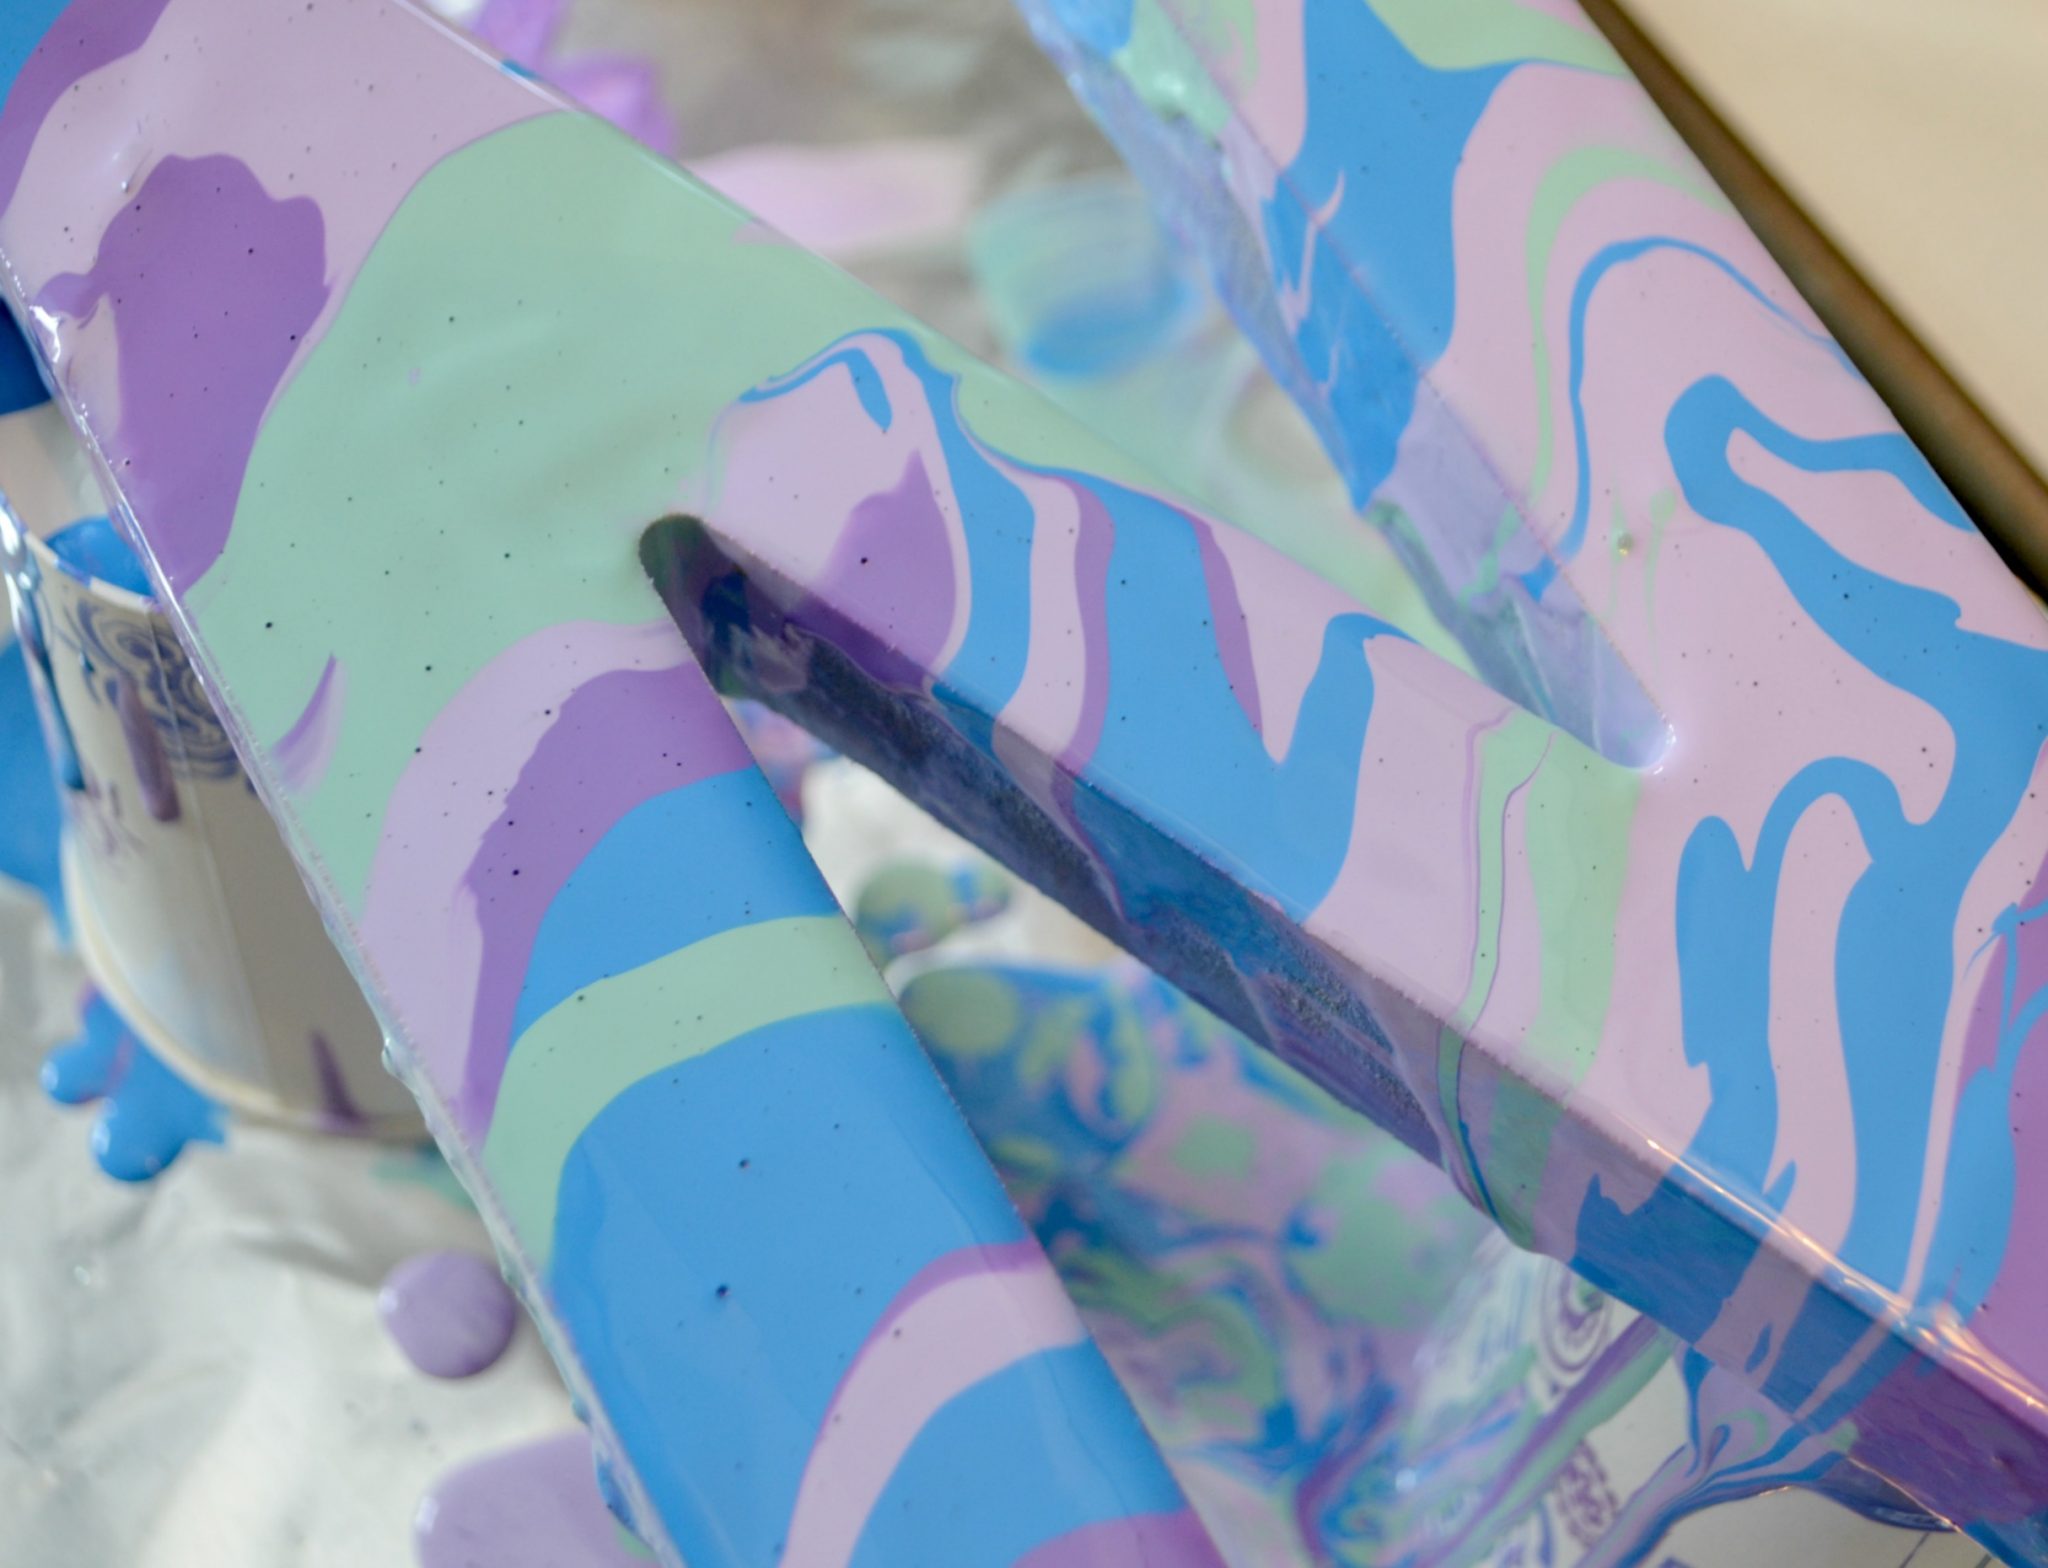
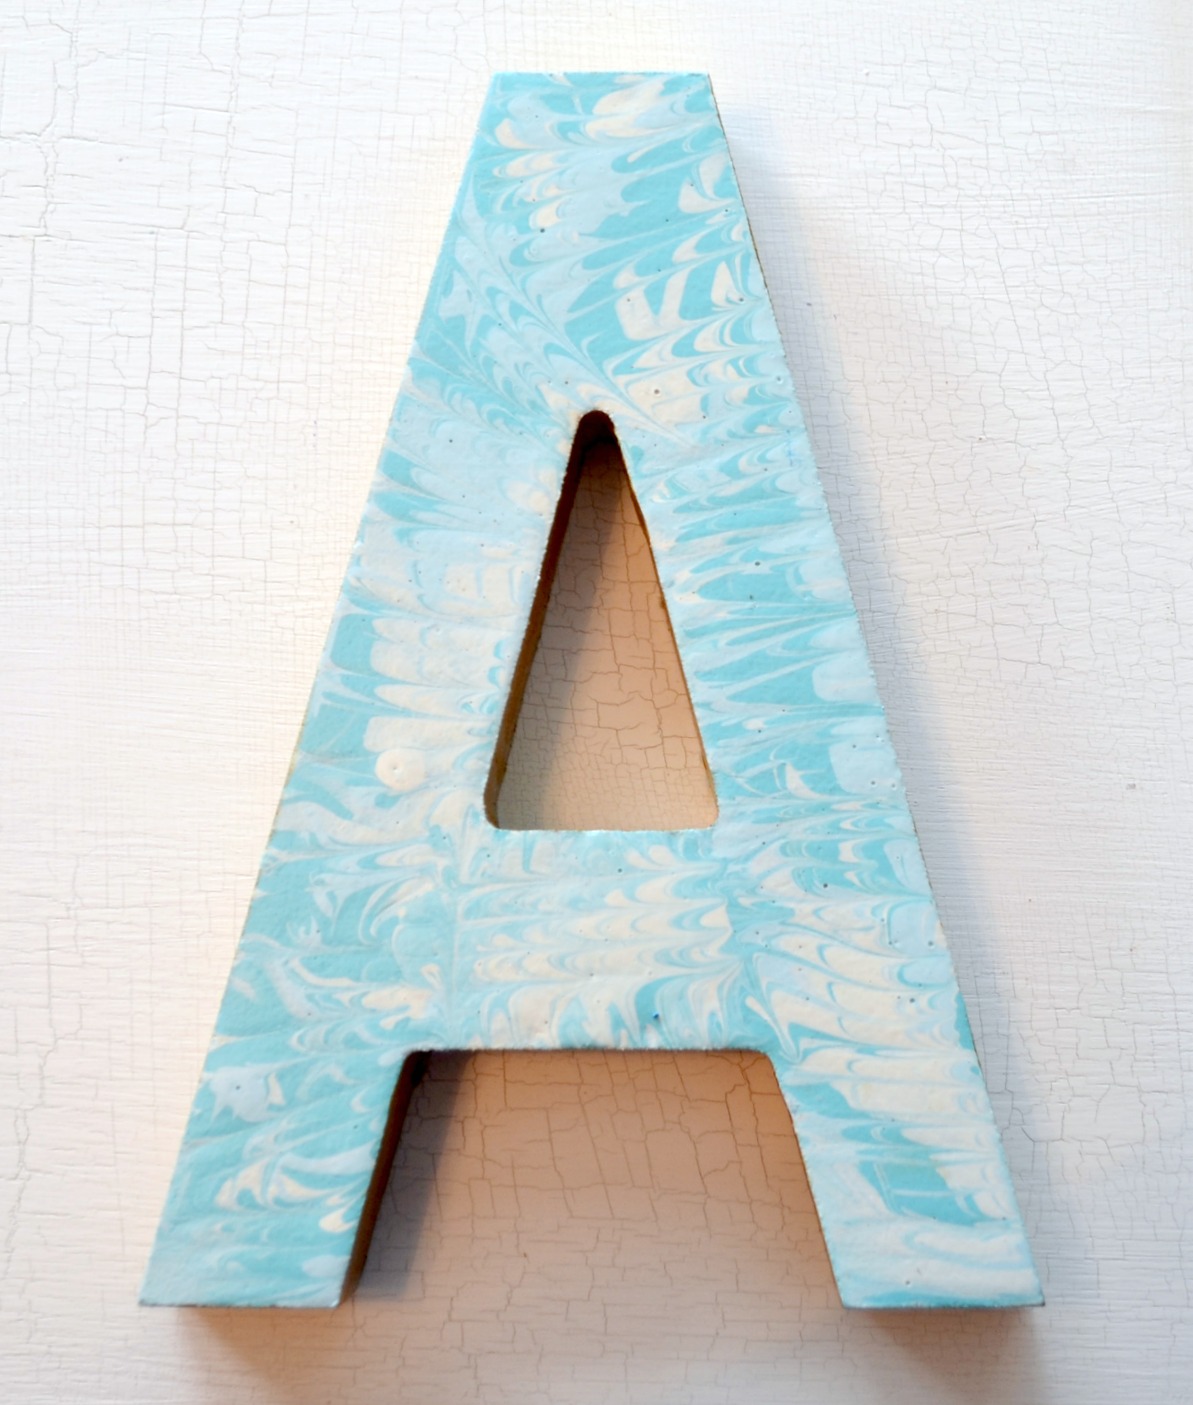
If you want a more detailed marbled look, you can take a plastic fork and drag it through the wet paint to create swirls like the ones you see on my letter “A.” This creates a totally different effect even though the rest of the project was the exact same process! This also shows how different your monogram will look if you use a monochromatic color palette.
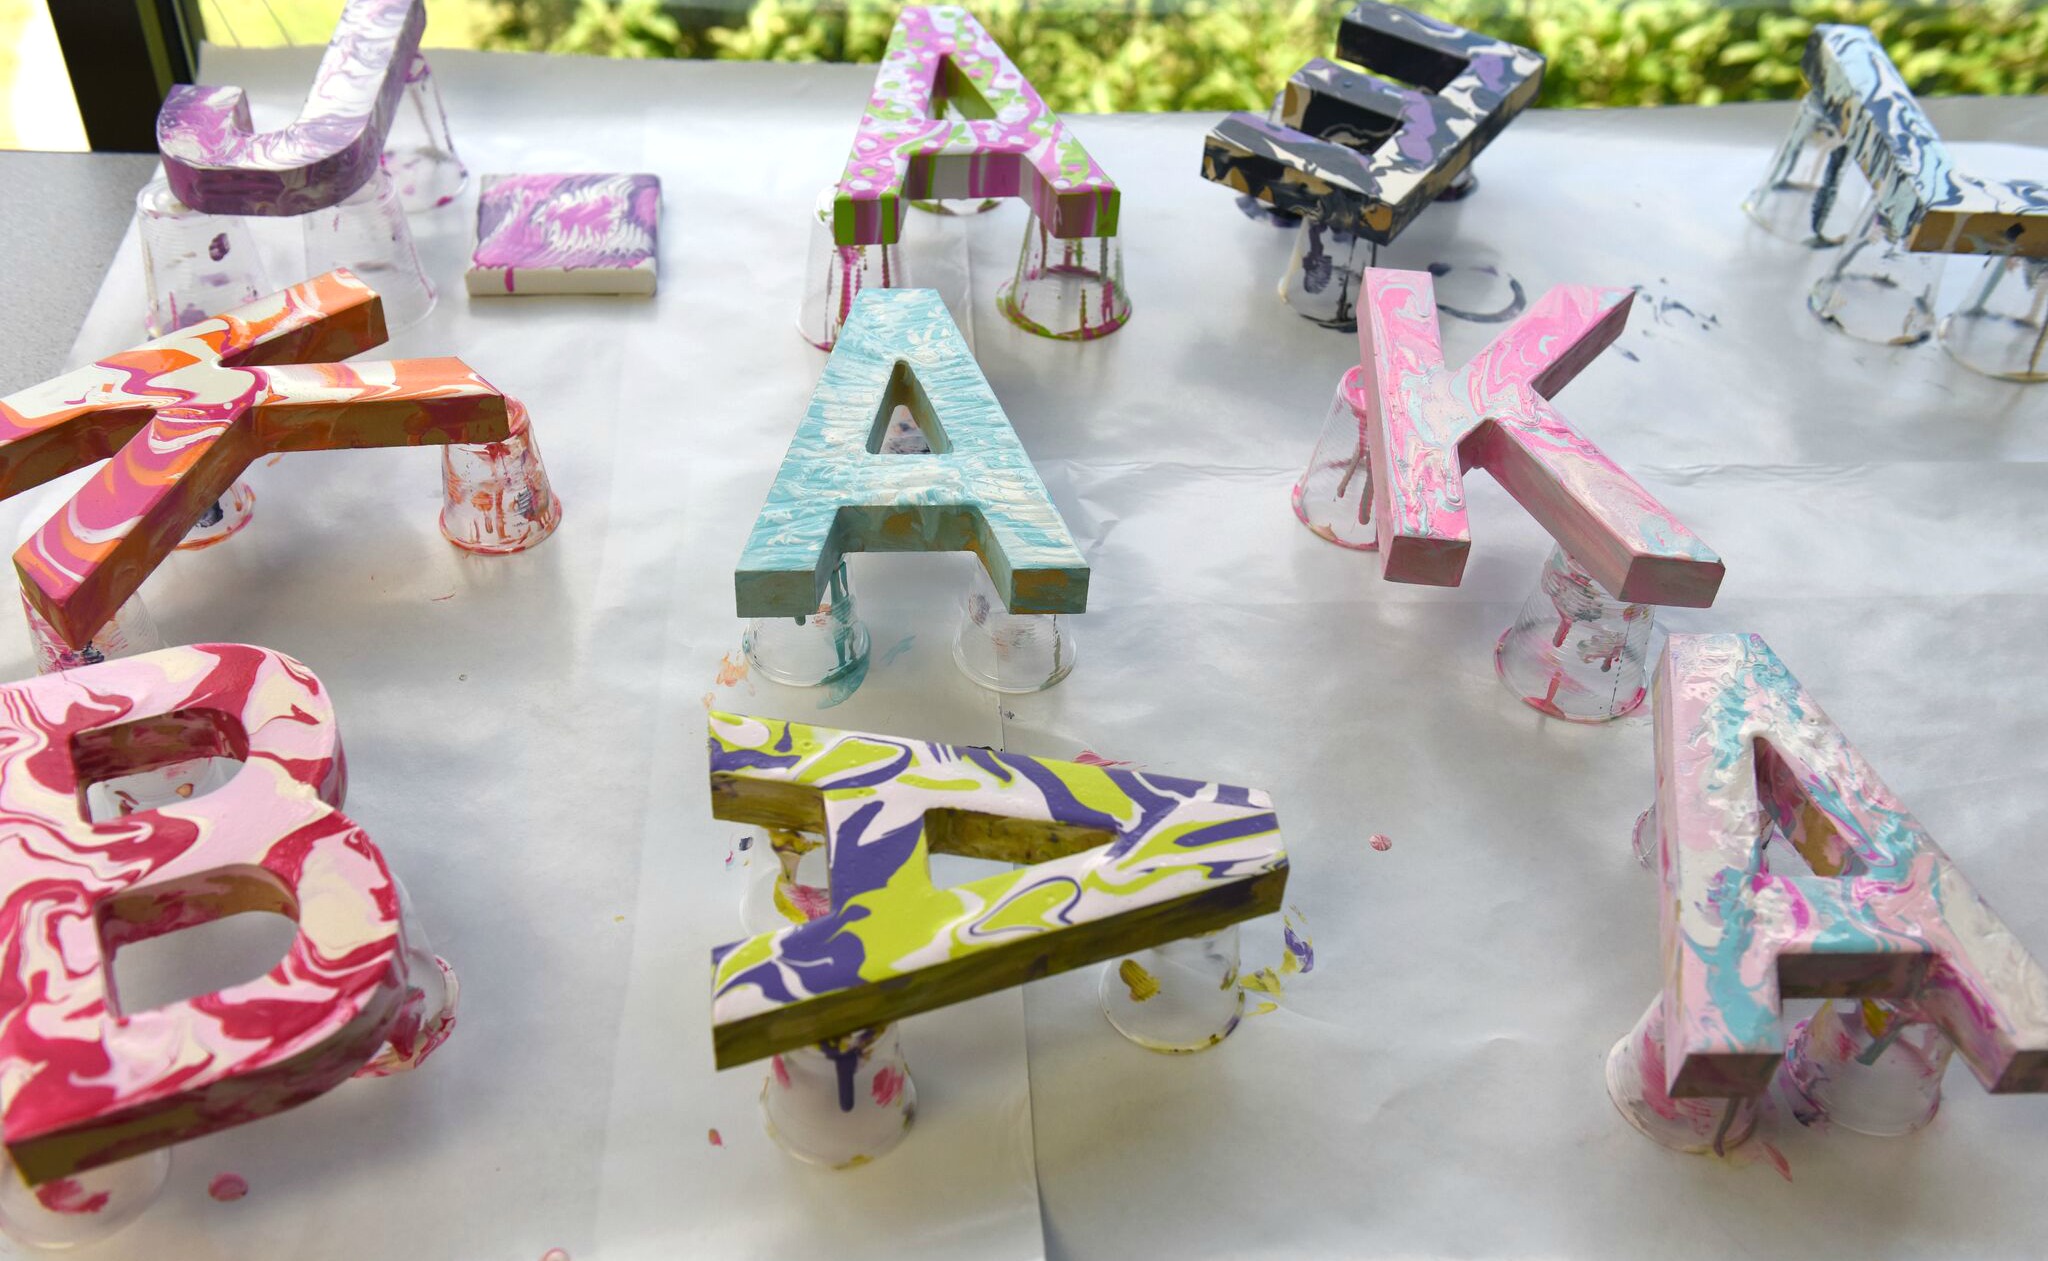
Here are a few other color combination ideas for you, made by my fellow Plaid Creators! See? You can’t go wrong!
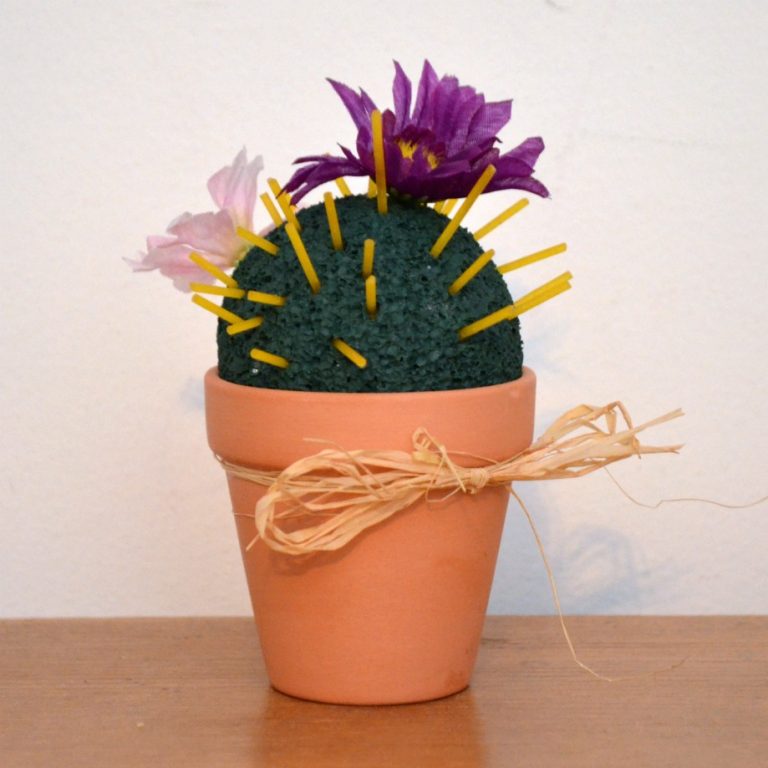
This project has so many things going for it…it’s easy, it’s super-cool to watch the marbling happen, and it’s pretty much failproof. Anyone can do it, including kiddos, and they will have a blast watching their letter come to life. Little Crafter was running around the house determined to marble all the things once he had finished his letter, so we ended up doing a flowerpot and some ornaments too.
Martha Stewart Marbling Medium is available at Michaels craft stores; run out and get yourself a bottle and start playing today! It creates a permanent finish on ceramics, fabric, canvas, wood, and more. Then, show us what you made in the One Artsy Mama & Friends Facebook Group! We can’t wait to see what you create.
Once dried can this product be topped with a sealant or water based varnish of any kind to protect it and/or create a different finish?
Yes, I recommend an acrylic spray sealer!