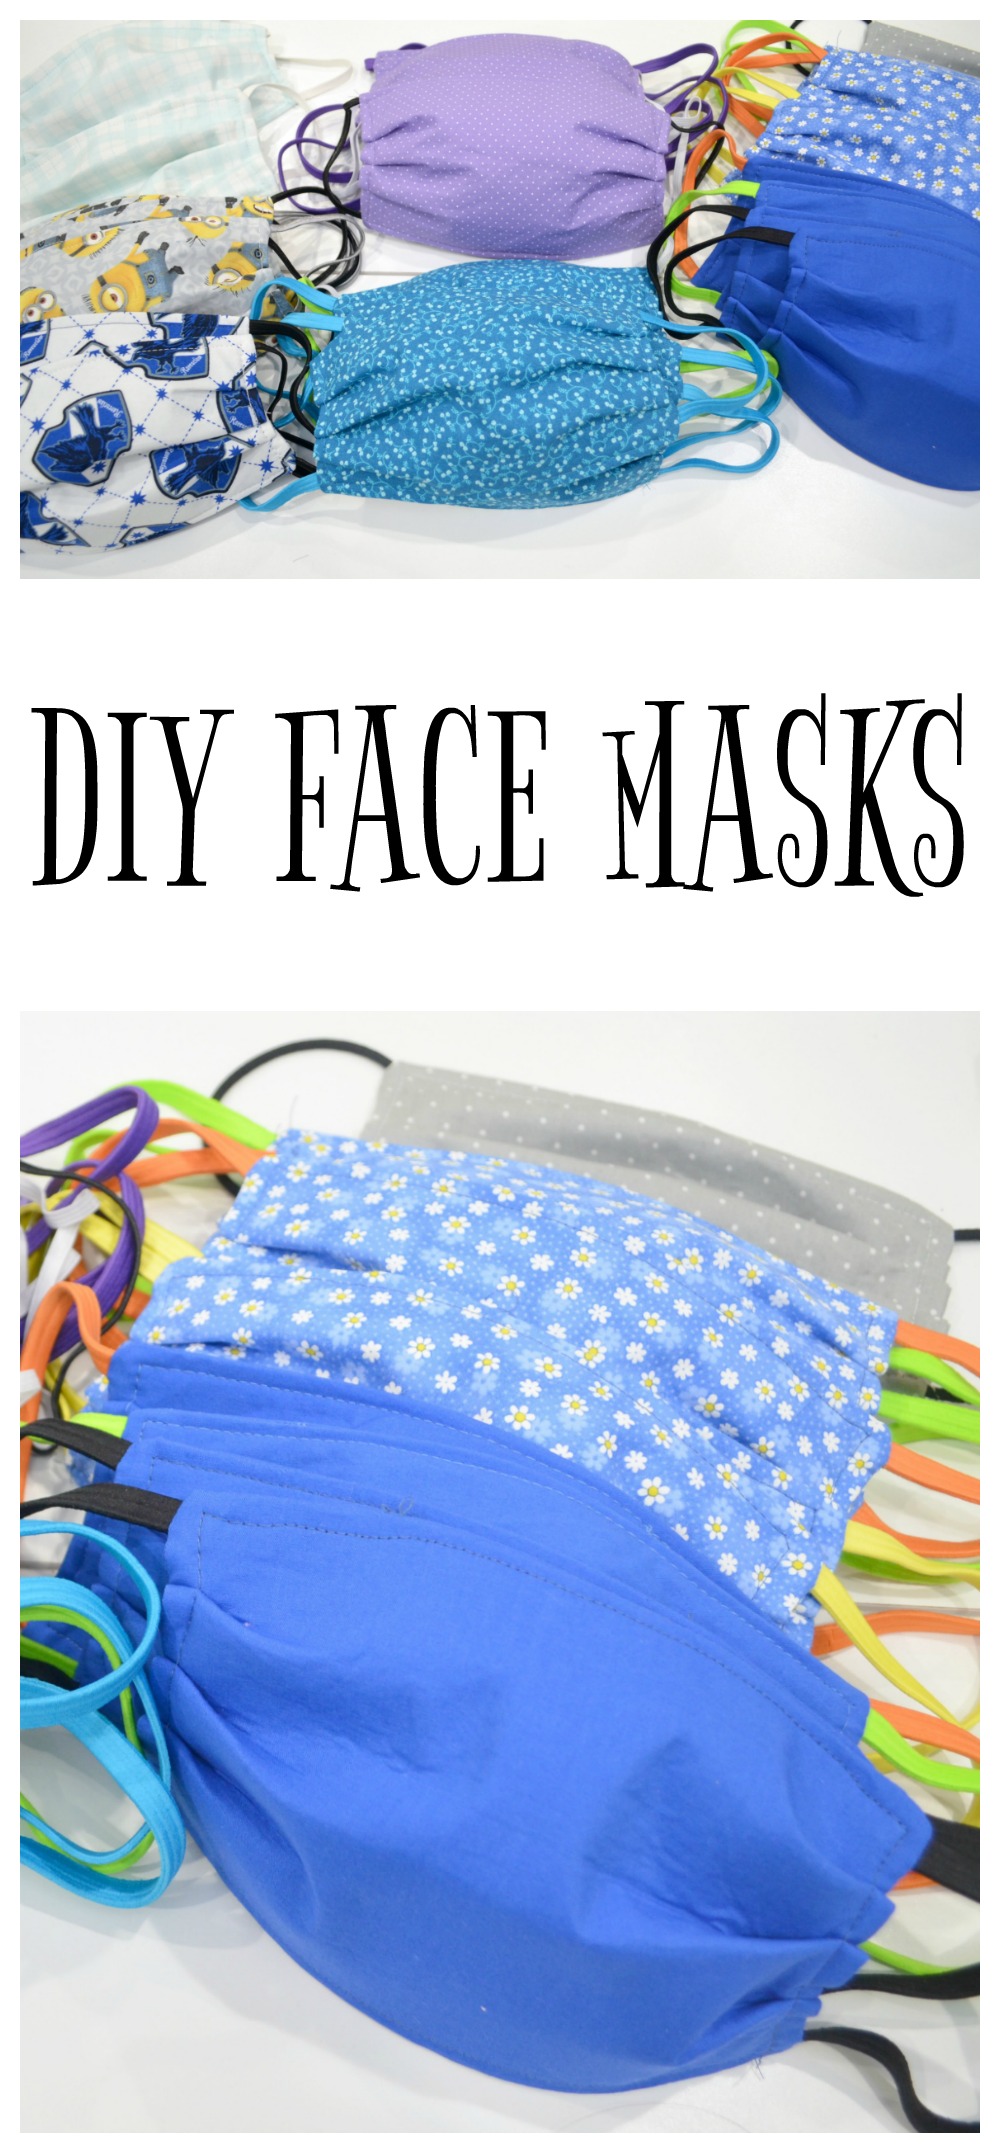
Easy DIY Face Masks
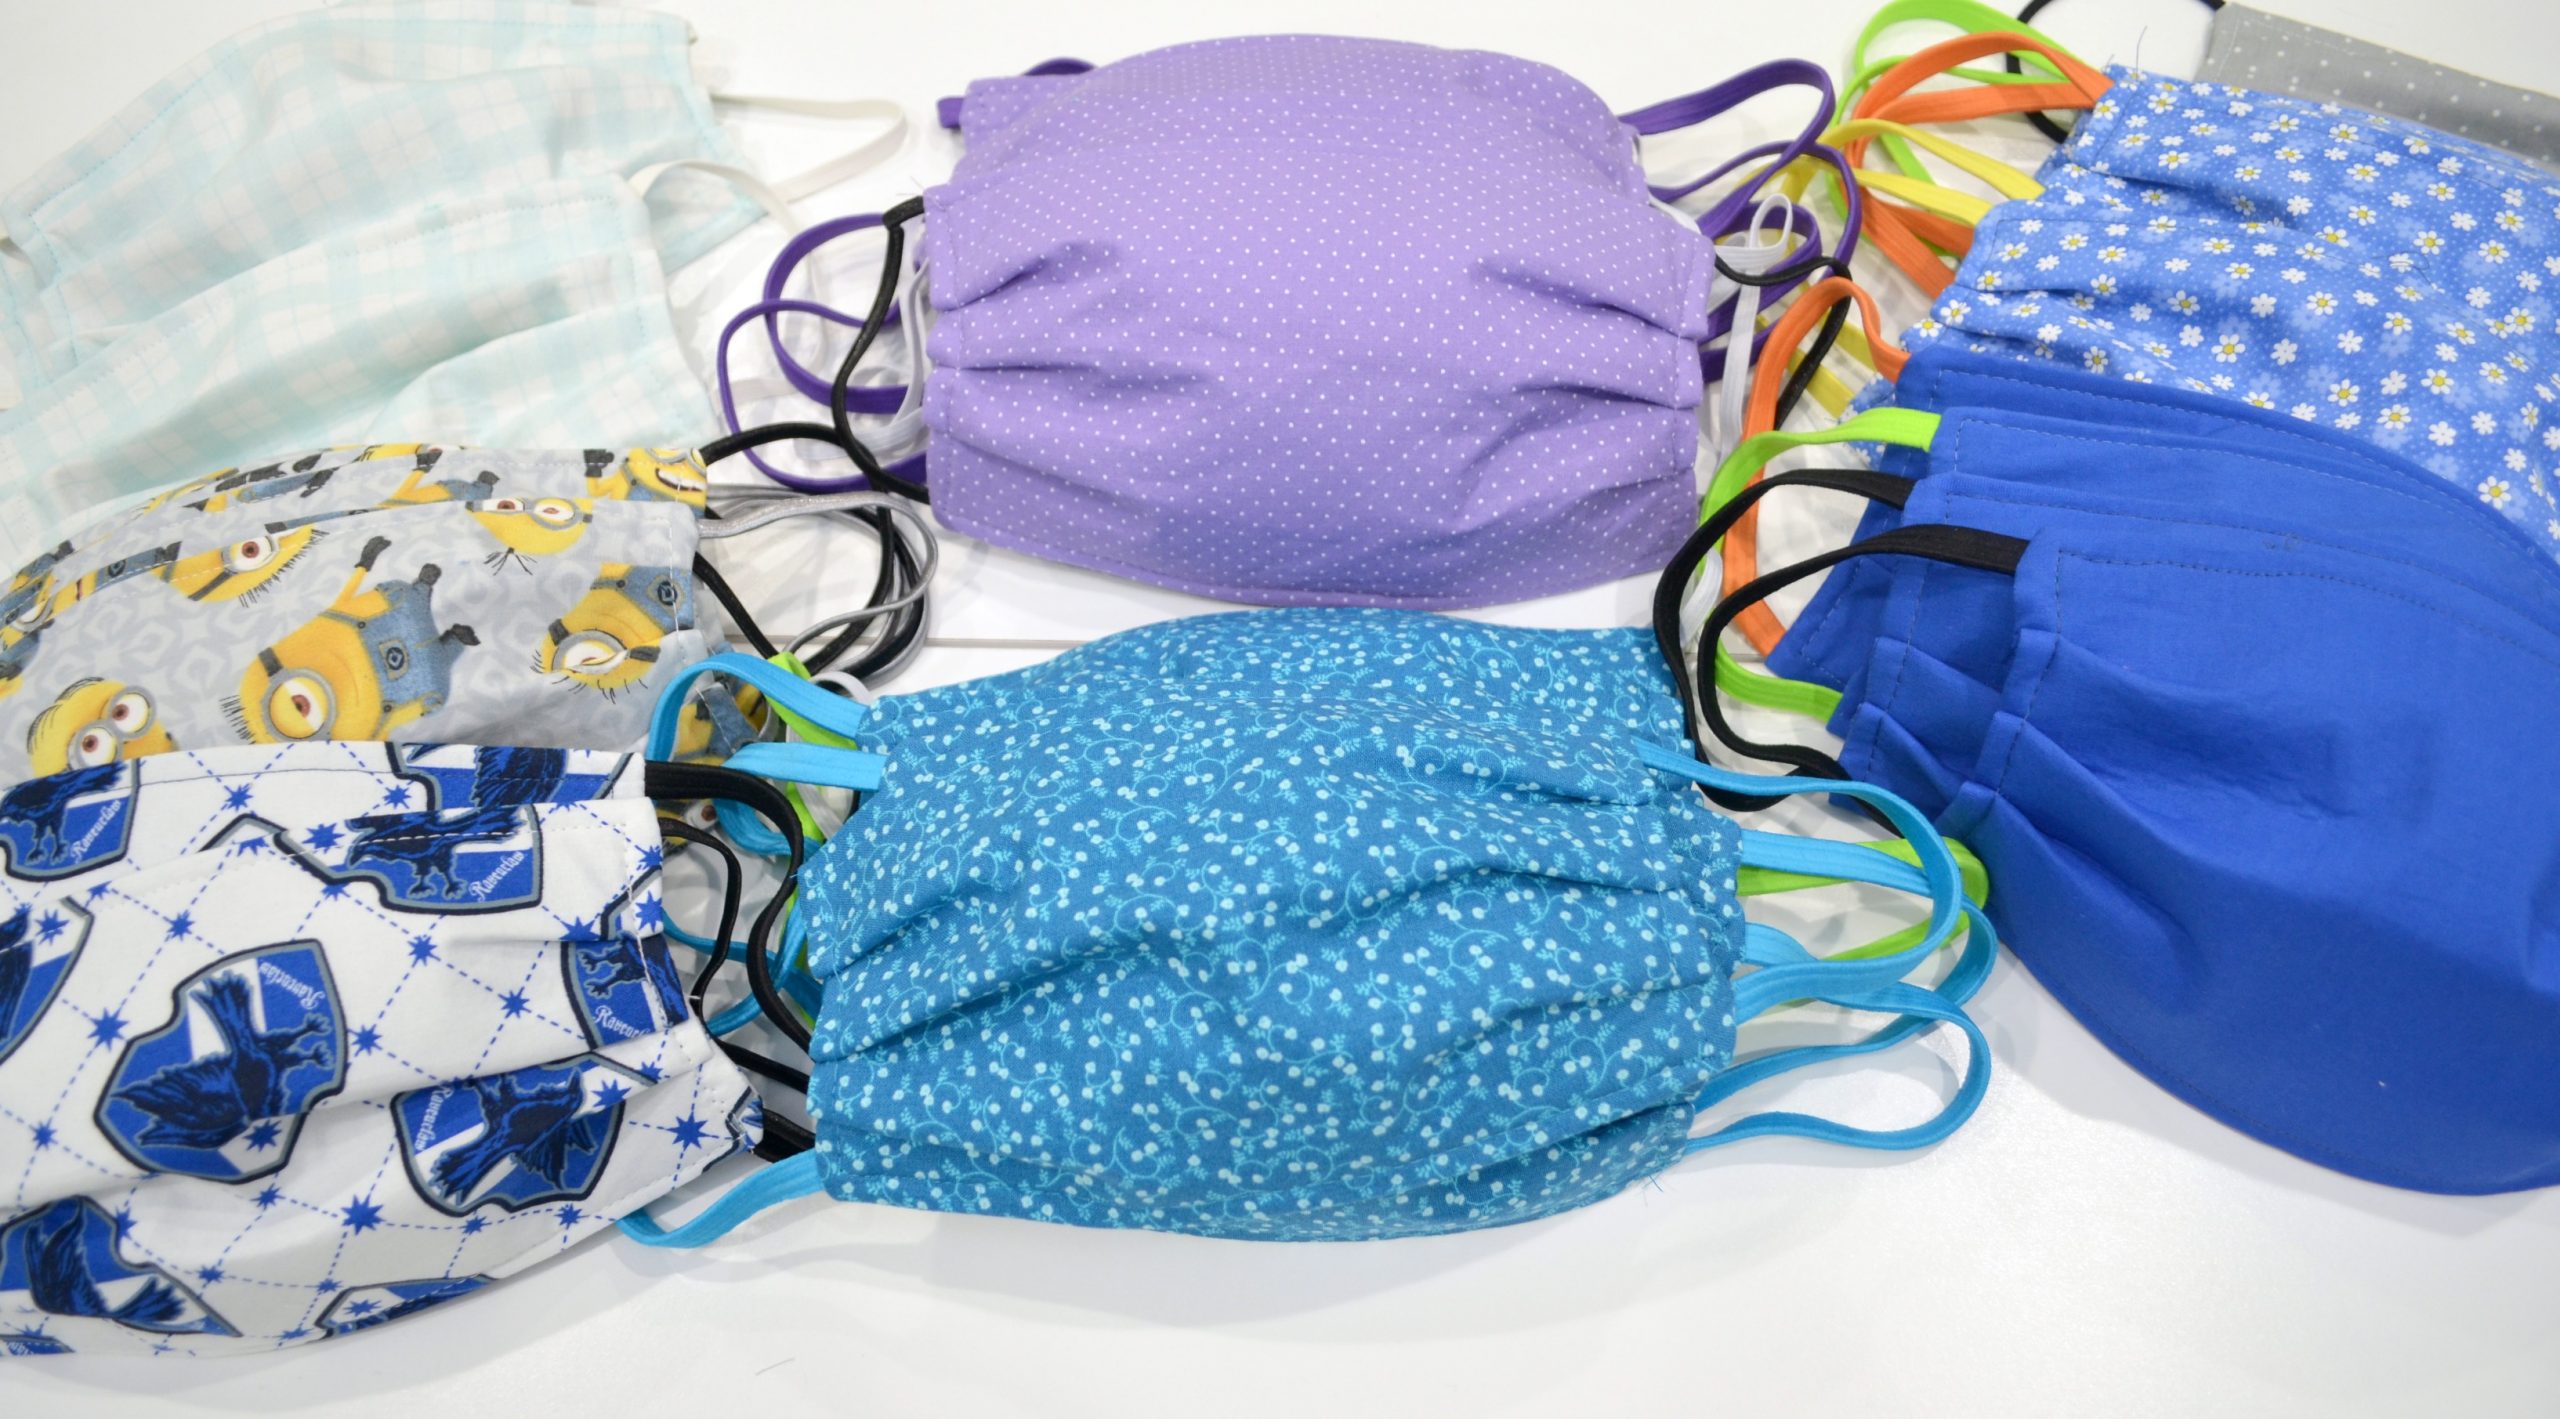
Want to use your crafting skills to make a big difference in the fight against COVID-19? Here’s a simple way to provide a much-needed resource to those who are on the front lines of health care as well as your family, friends, and neighbors. These DIY Face Masks are easy to make and can be created with things you probably already have around the house. Keep in mind, these do NOT contain CDC approved filters; they are designed to go over N95 masks and make them last longer, or to provide a form of protection when CDC approved masks are not available. Some hospitals are not currently allowing providers to wear homemade masks, but others are and so are many local nursing homes, assisted living homes, and doctor offices. Check with the health care providers you know to see where your donation can be best utilized.
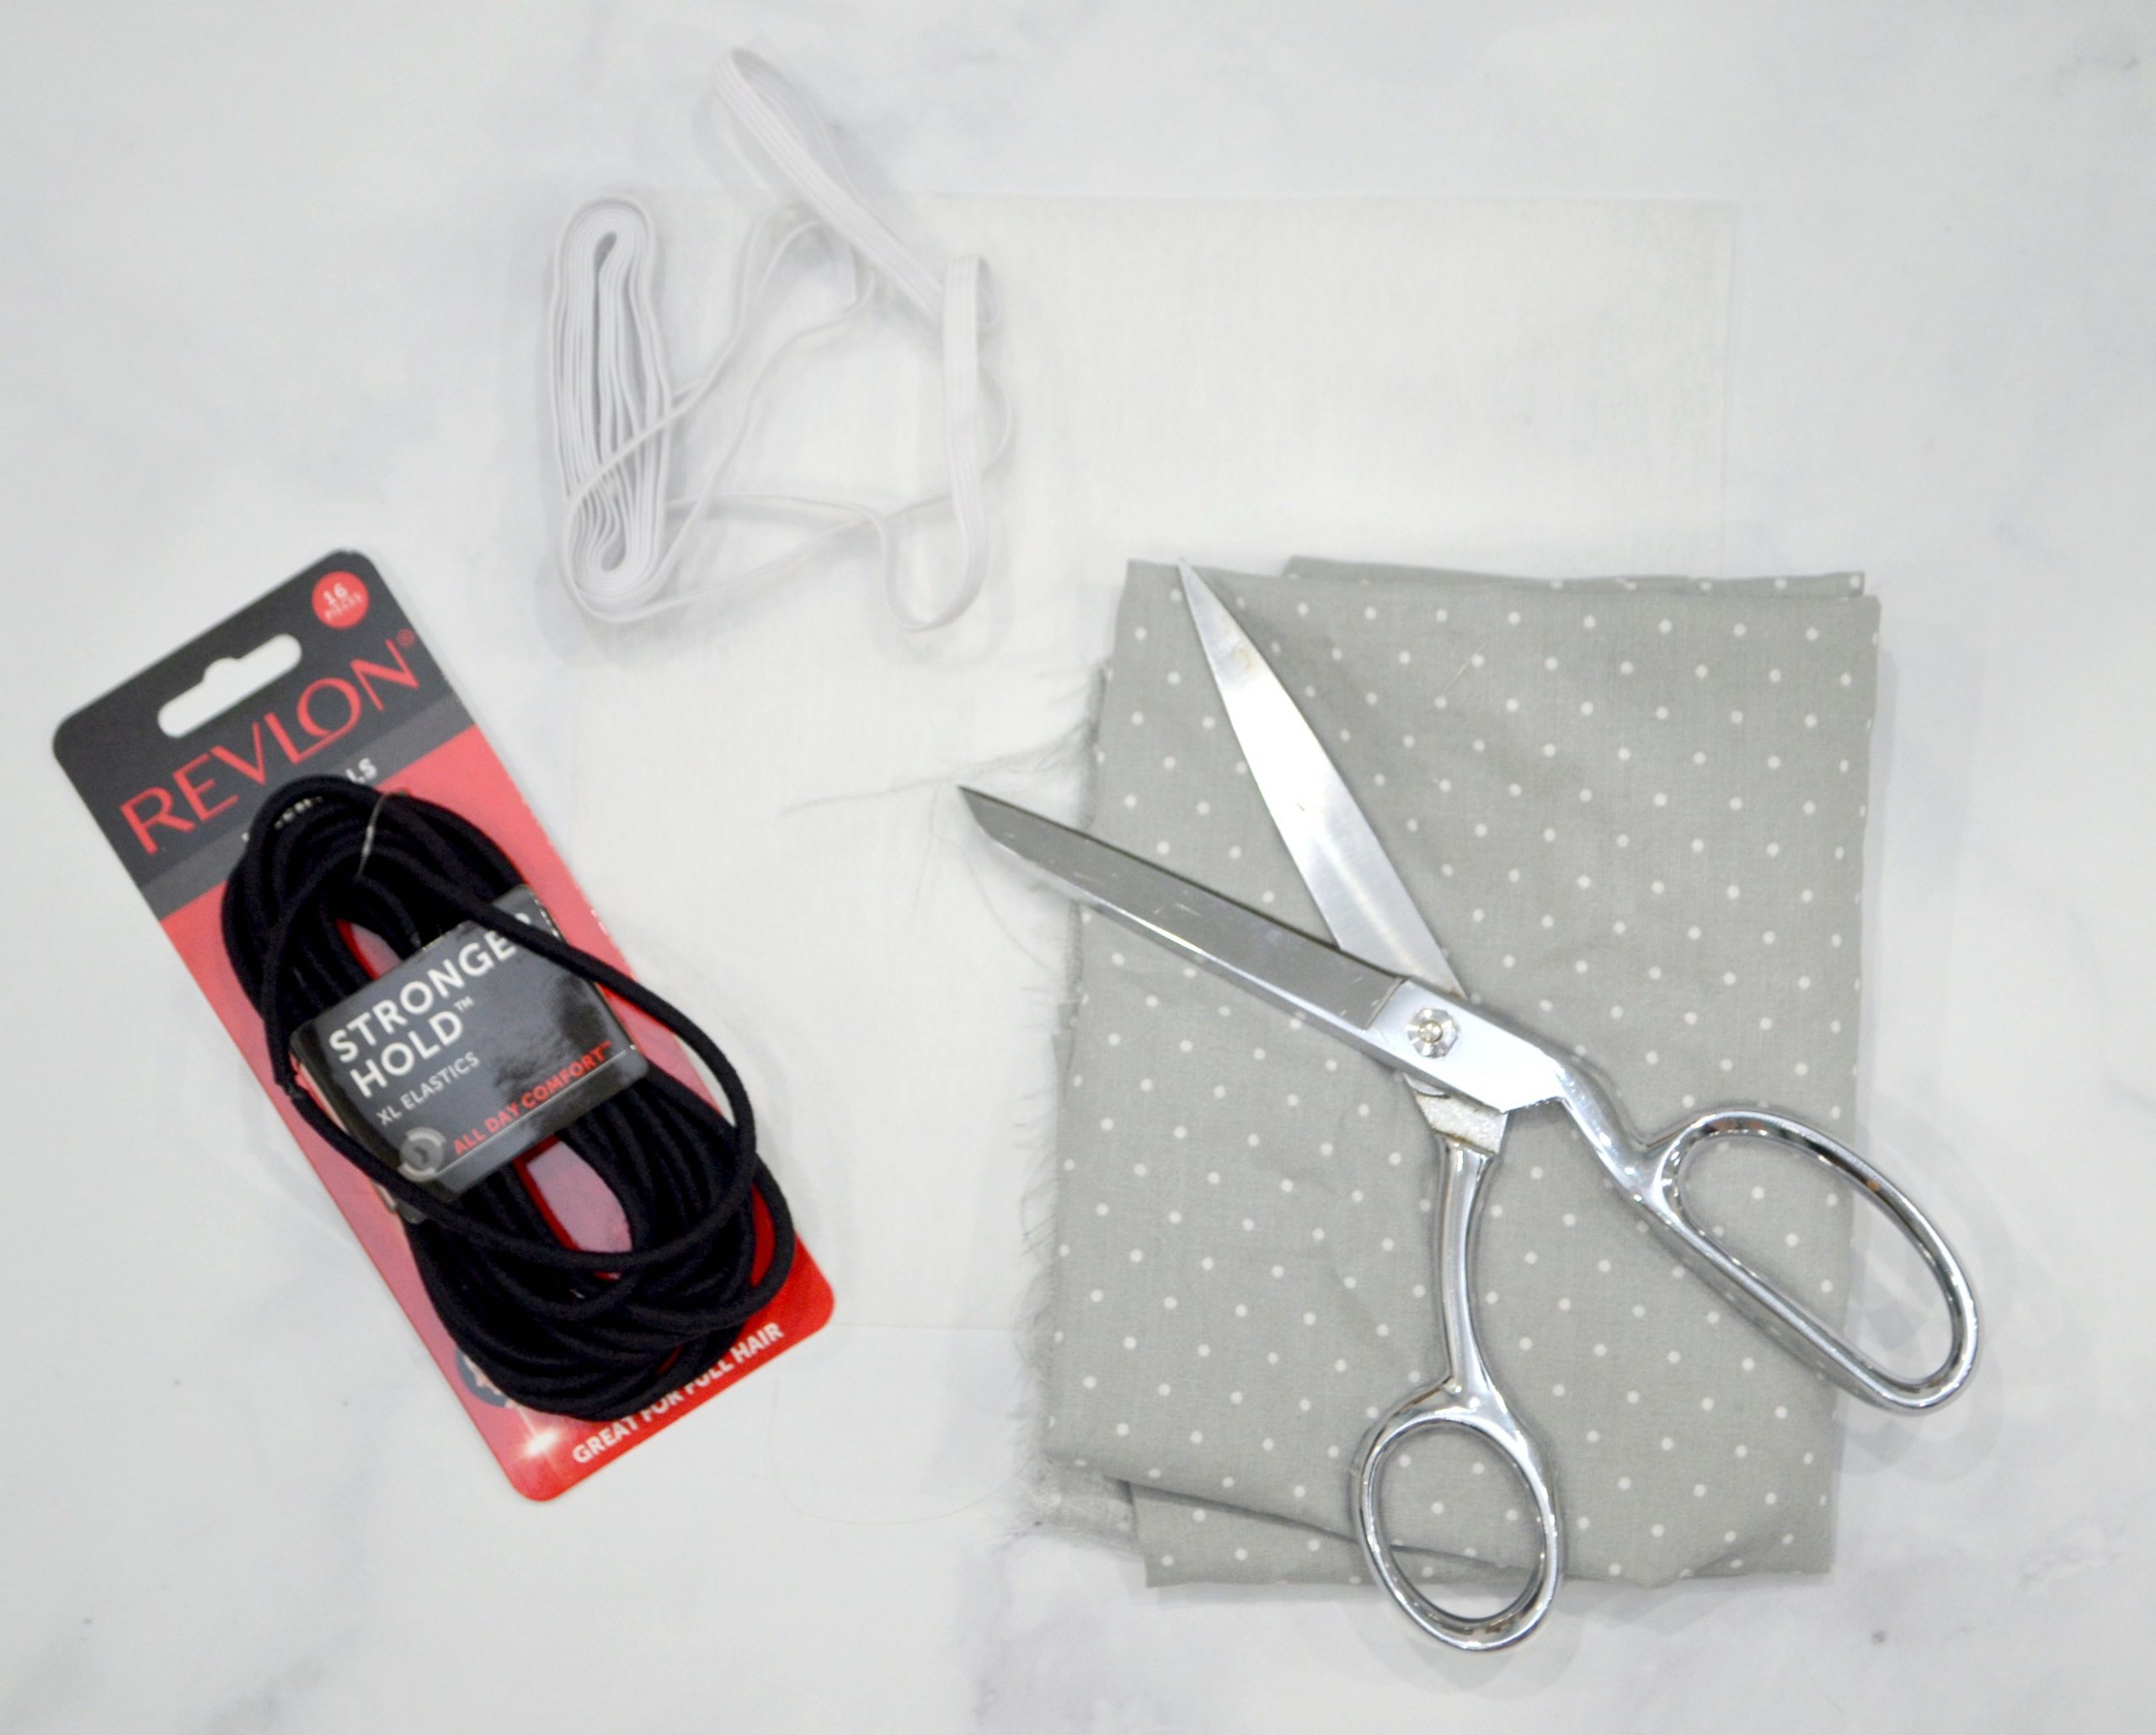
You’ll need:
Cotton fabric (one 9×12 piece per mask)
Lightweight fusible interfacing (optional)
1/4″ wide elastic (or hair ties)
Scissors
Iron
Sewing machine and thread
Making a DIY Face Mask
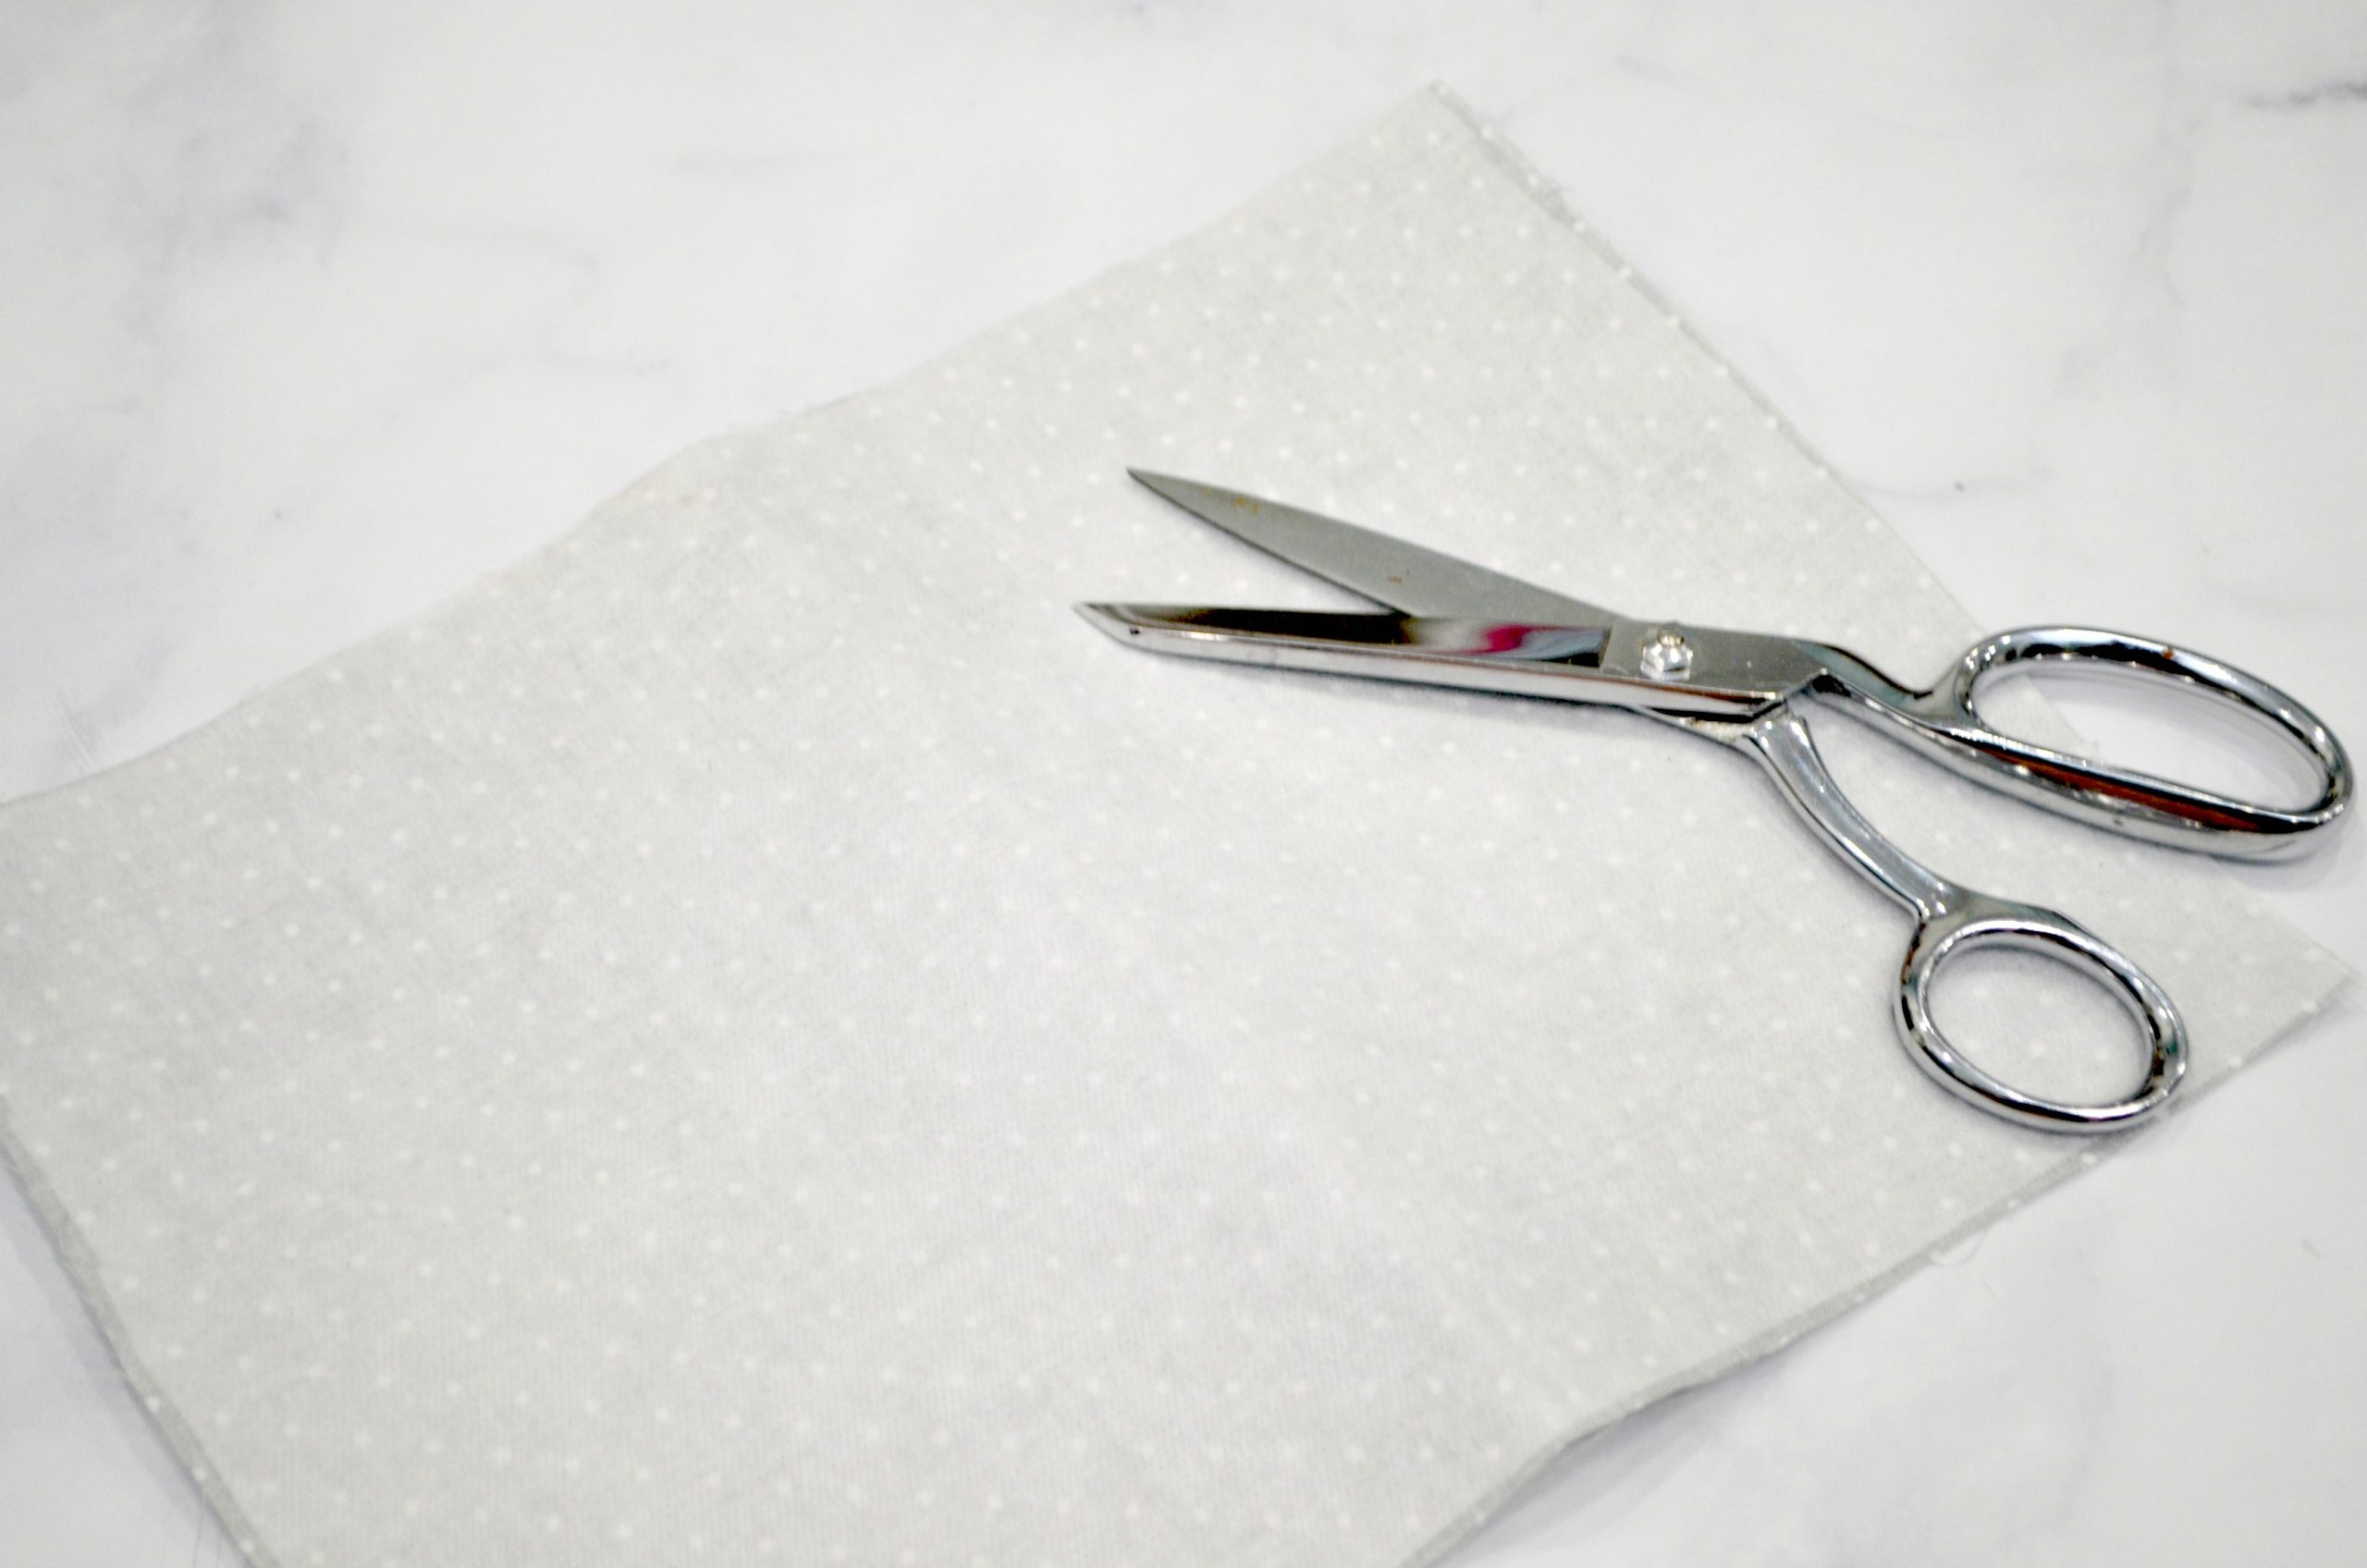
Step 1: Cut your fabric and interfacing.
You’ll need one piece of each that measures 9×12.” If you don’t happen to have interfacing, you can still make masks without it, this just adds an extra layer of protection.
Step 2: Adhere interfacing to the wrong side of the fabric.
Step 3: Fold in half with the fabric on the inside.
Now it should measure 9×6.”
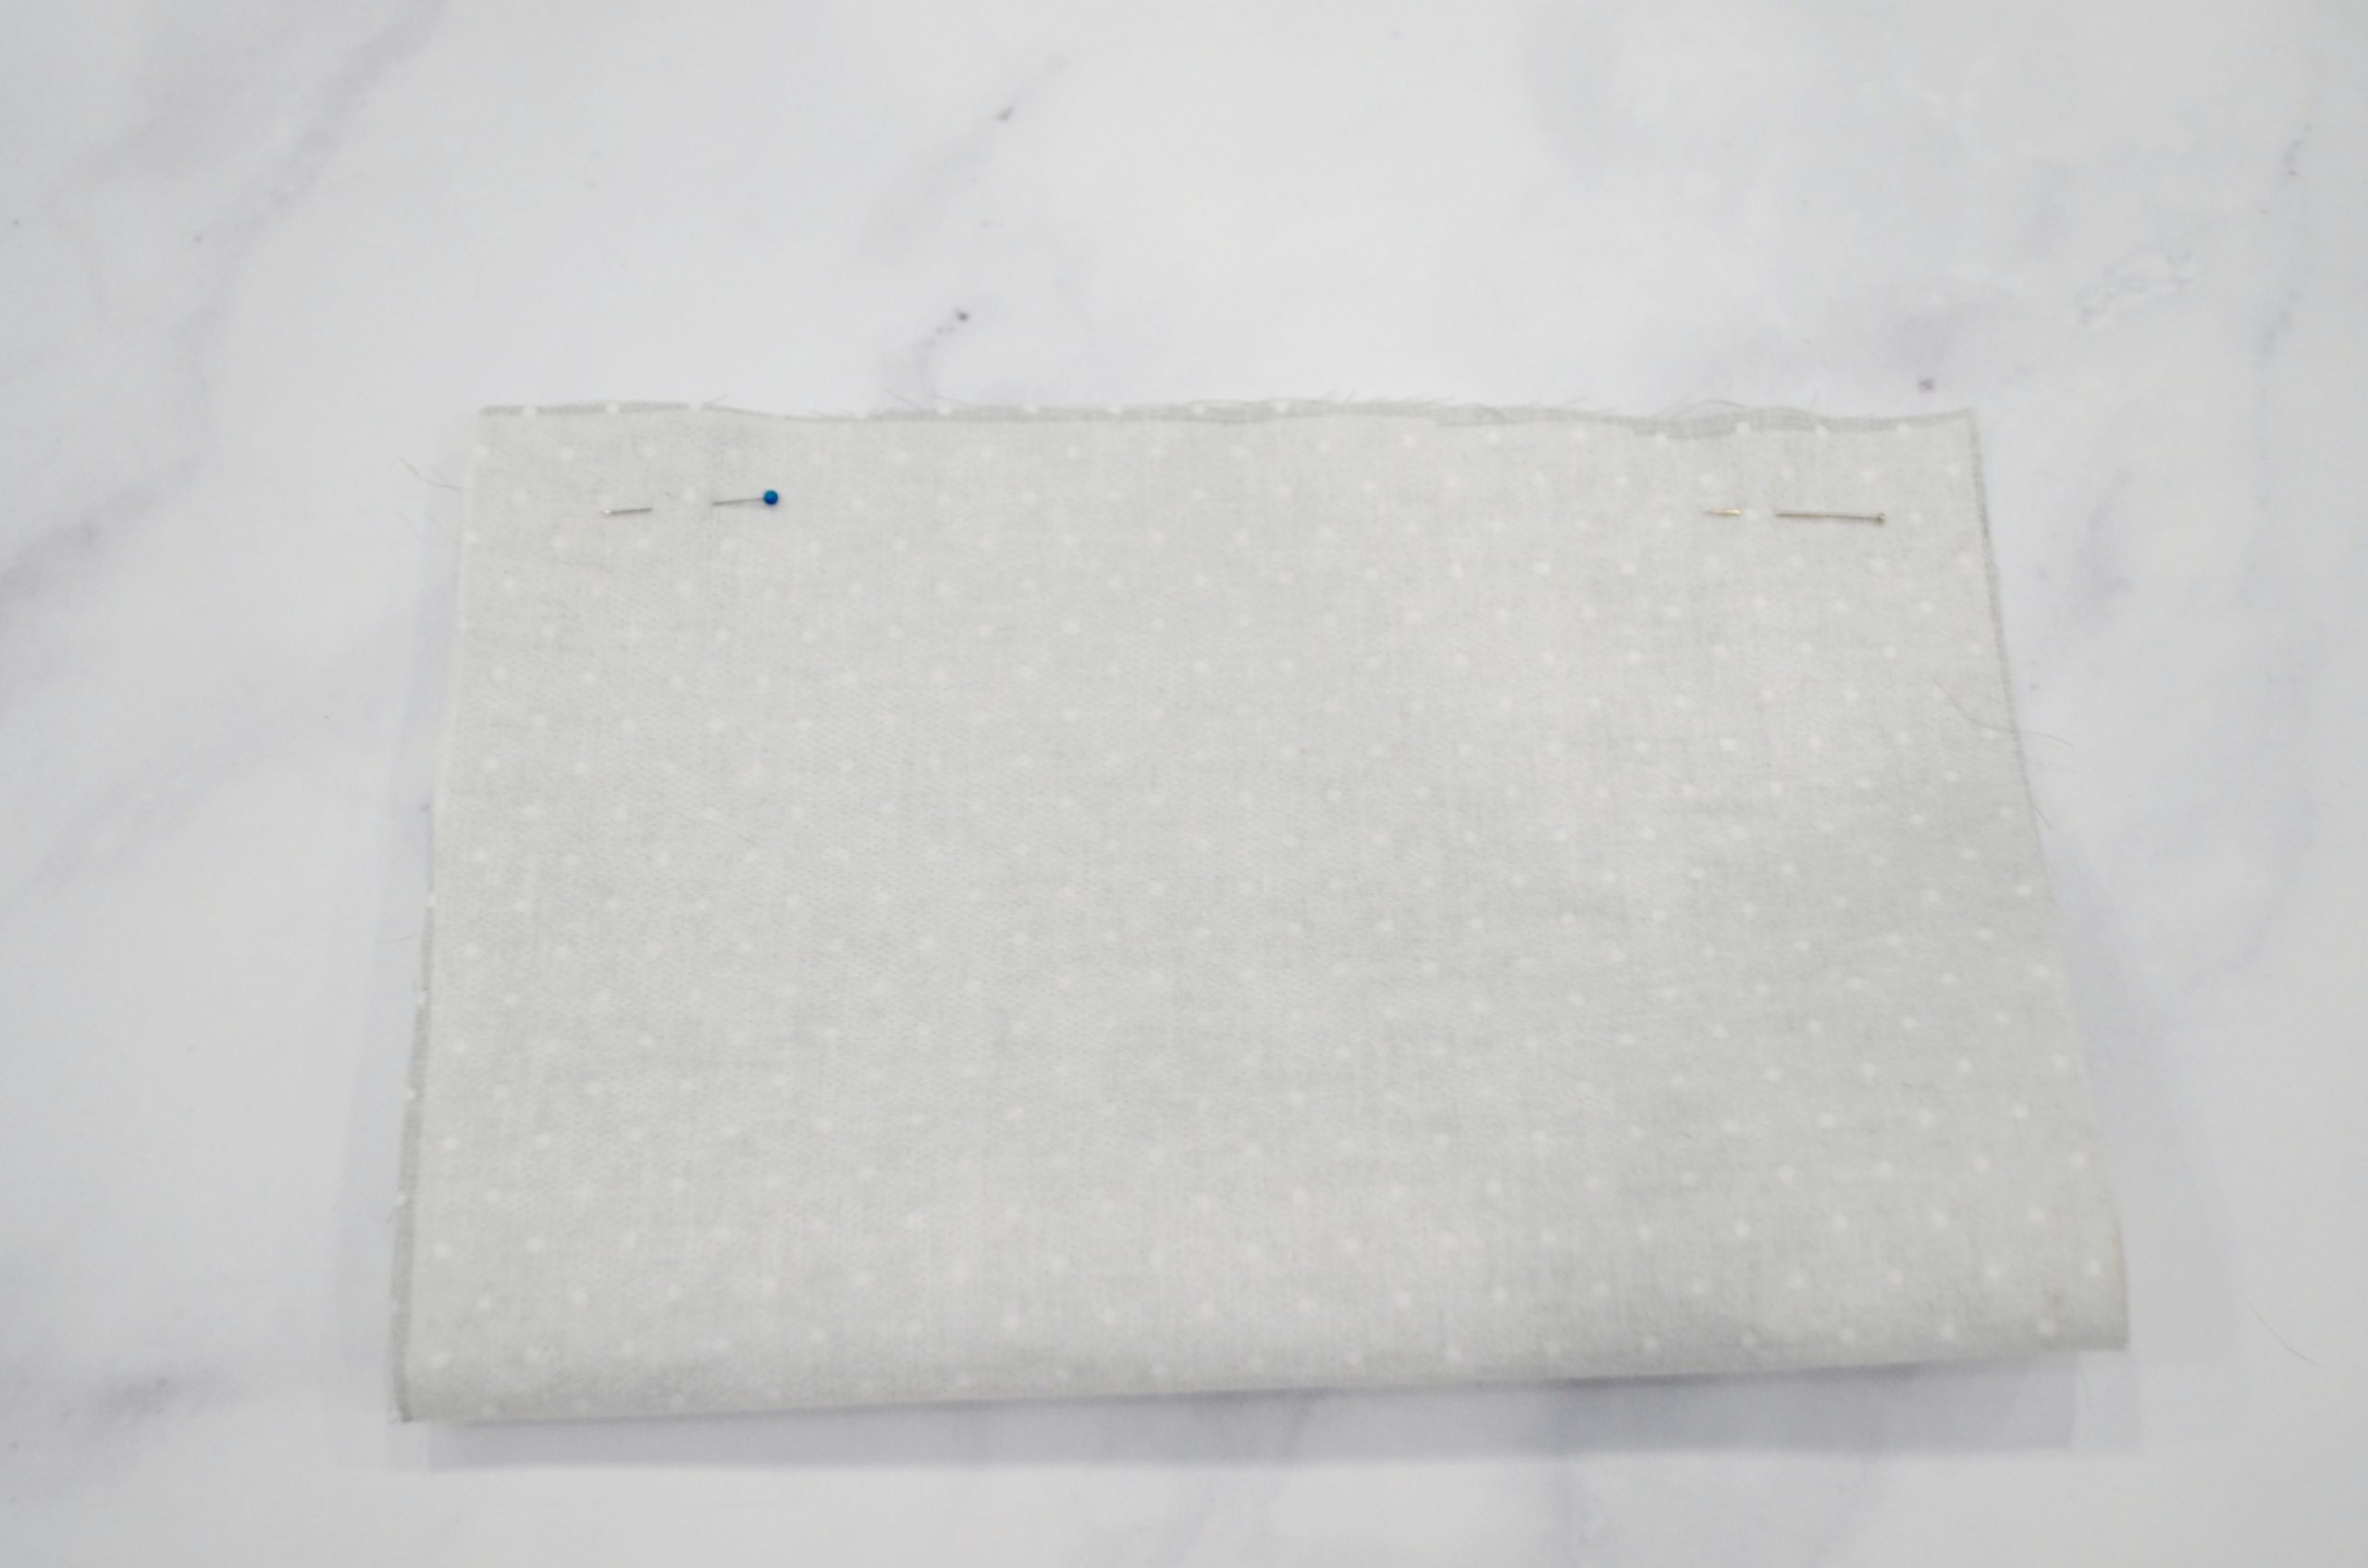
Step 4: Sew a 1/4″ seam across the top, but make sure to leave a 3″ opening in the center.
This opening will allow you to turn the mask right side out later.
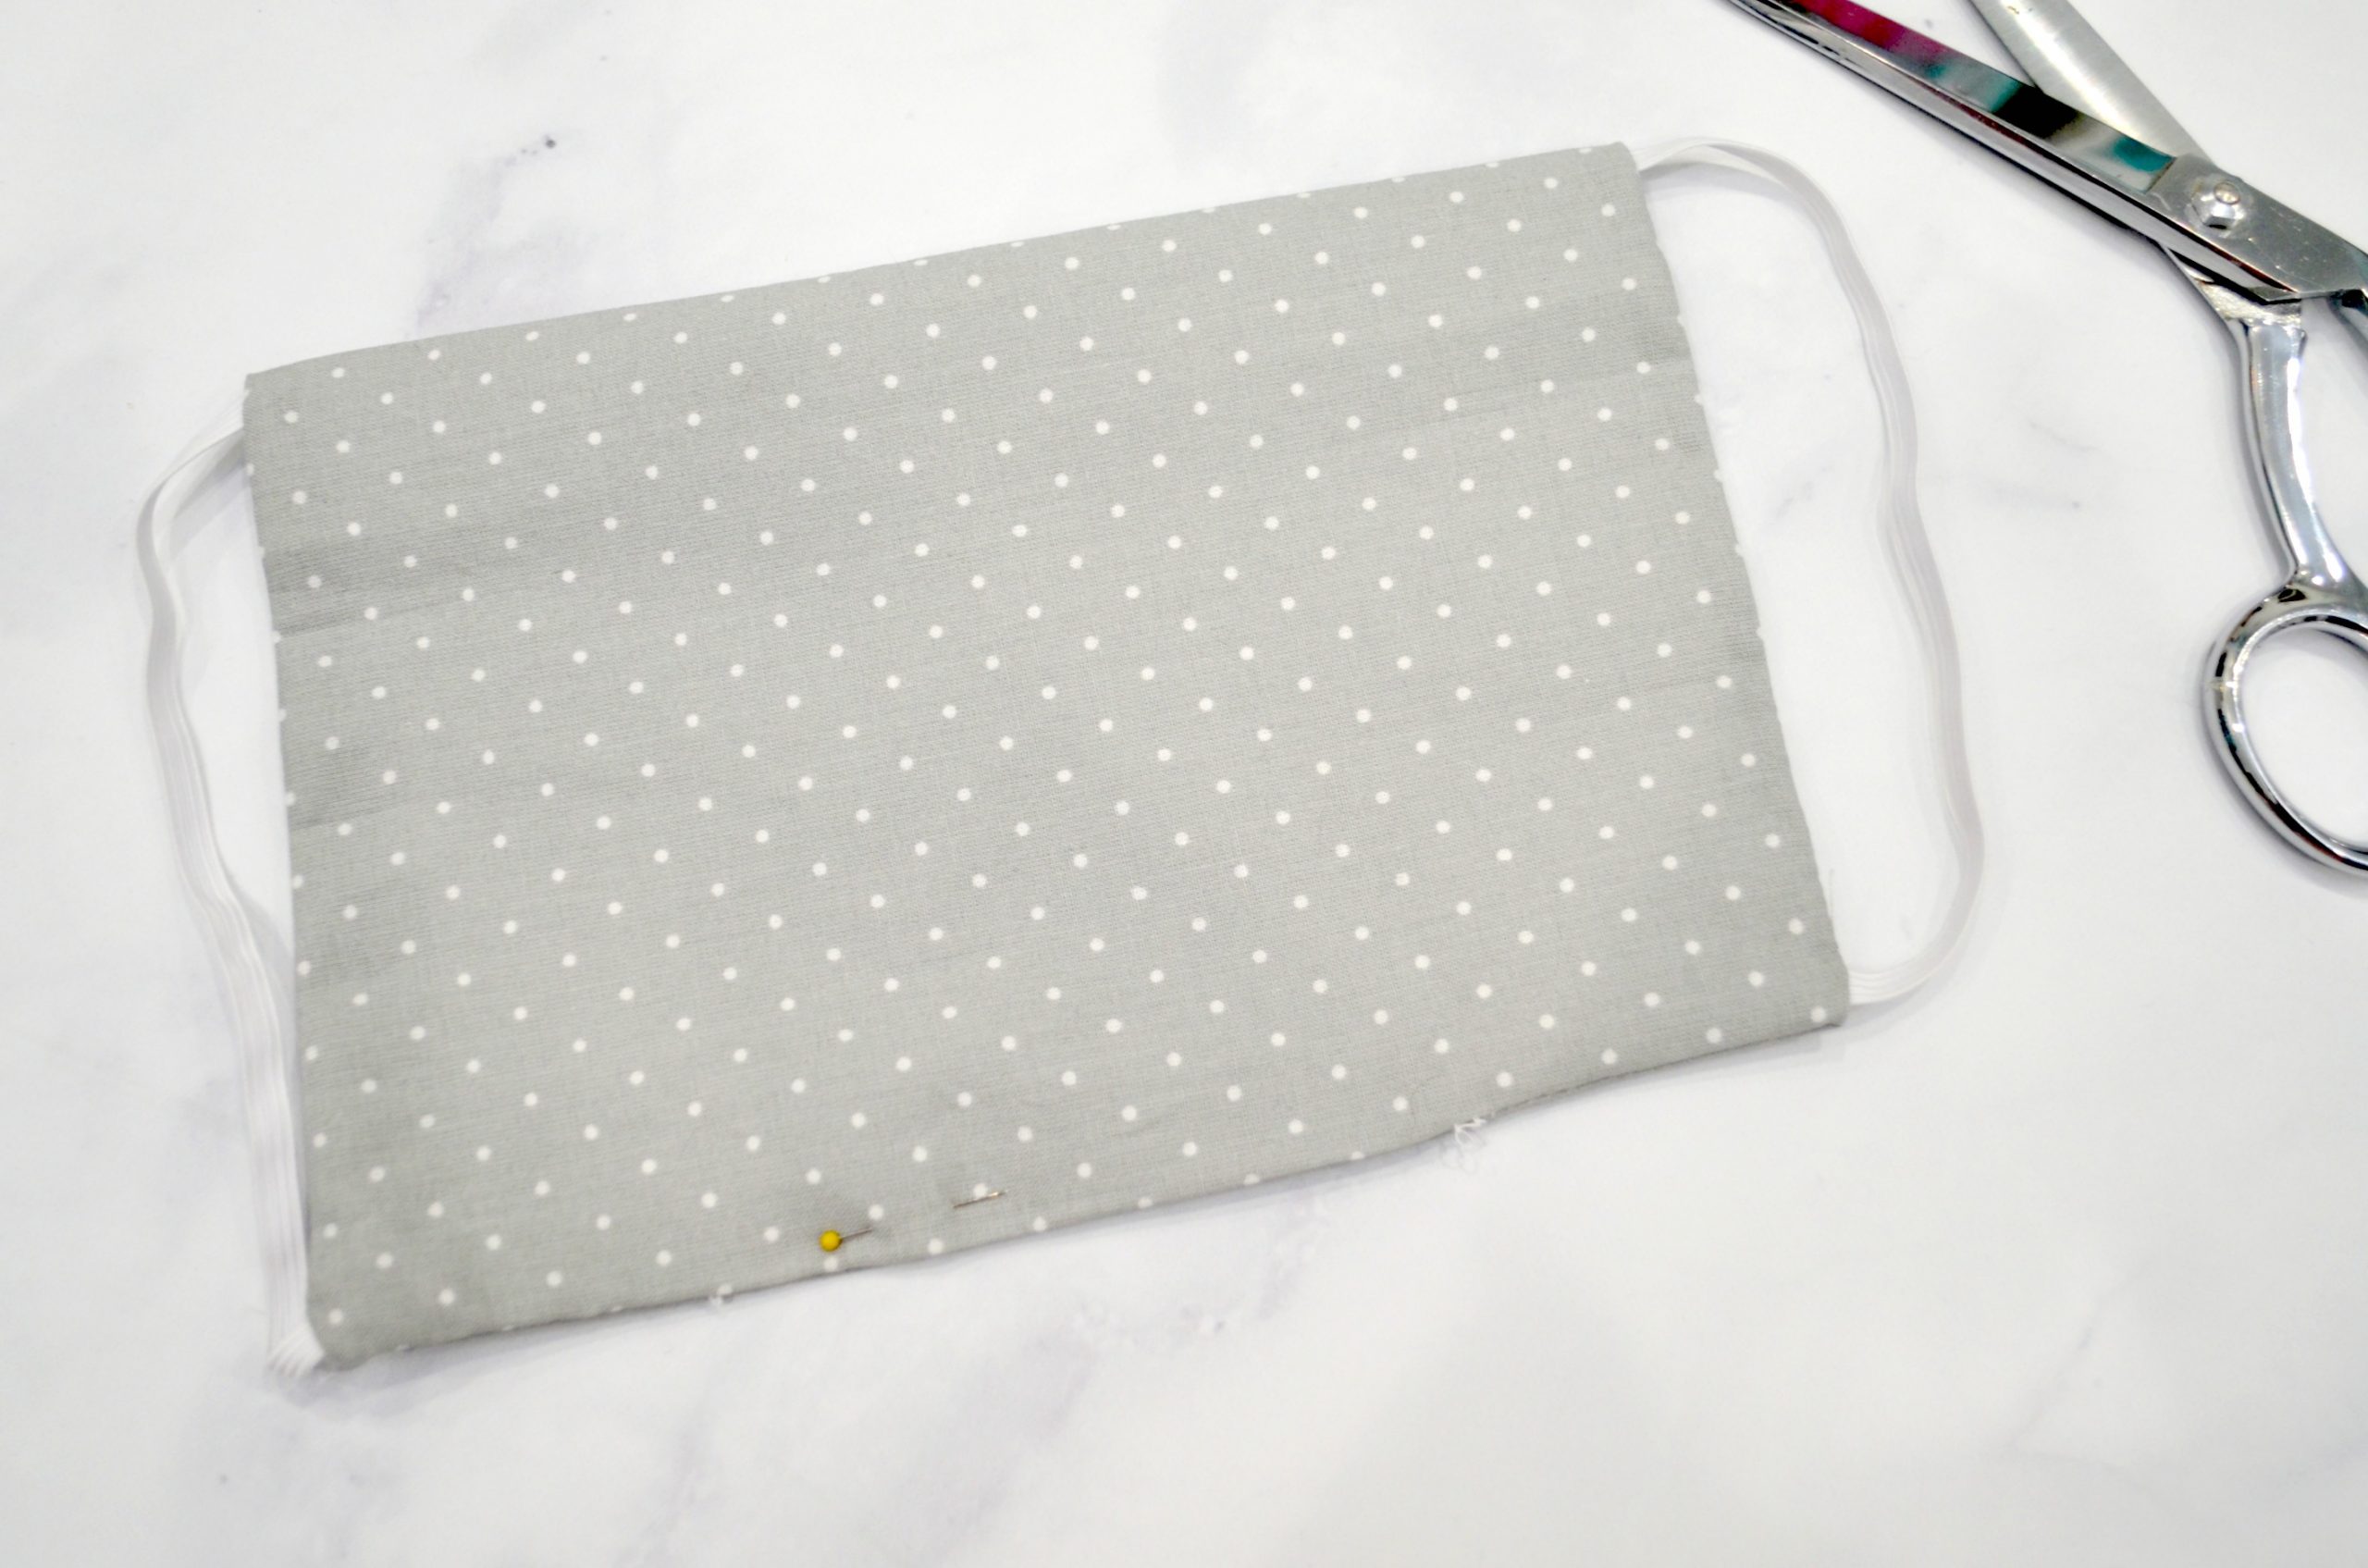
Step 5: Cut and sew elastic in place.
Standard size elastic is 7,” but if you’re making the mask for a larger or smaller person, feel free to adjust. Slide one elastic strap entirely inside the mask, making sure it doesn’t get twisted. Pin one end right below the top seam you just made. Pin the other end right above the bottom fold. Sew a 1/4″ seam along the side of the mask, making sure to backstitch and reinforce the areas where the ends of the elastic are. Repeat on the other side.
Since regular elastic can be hard to find right now, I’ve found that elastic hair ties make a great substitute!

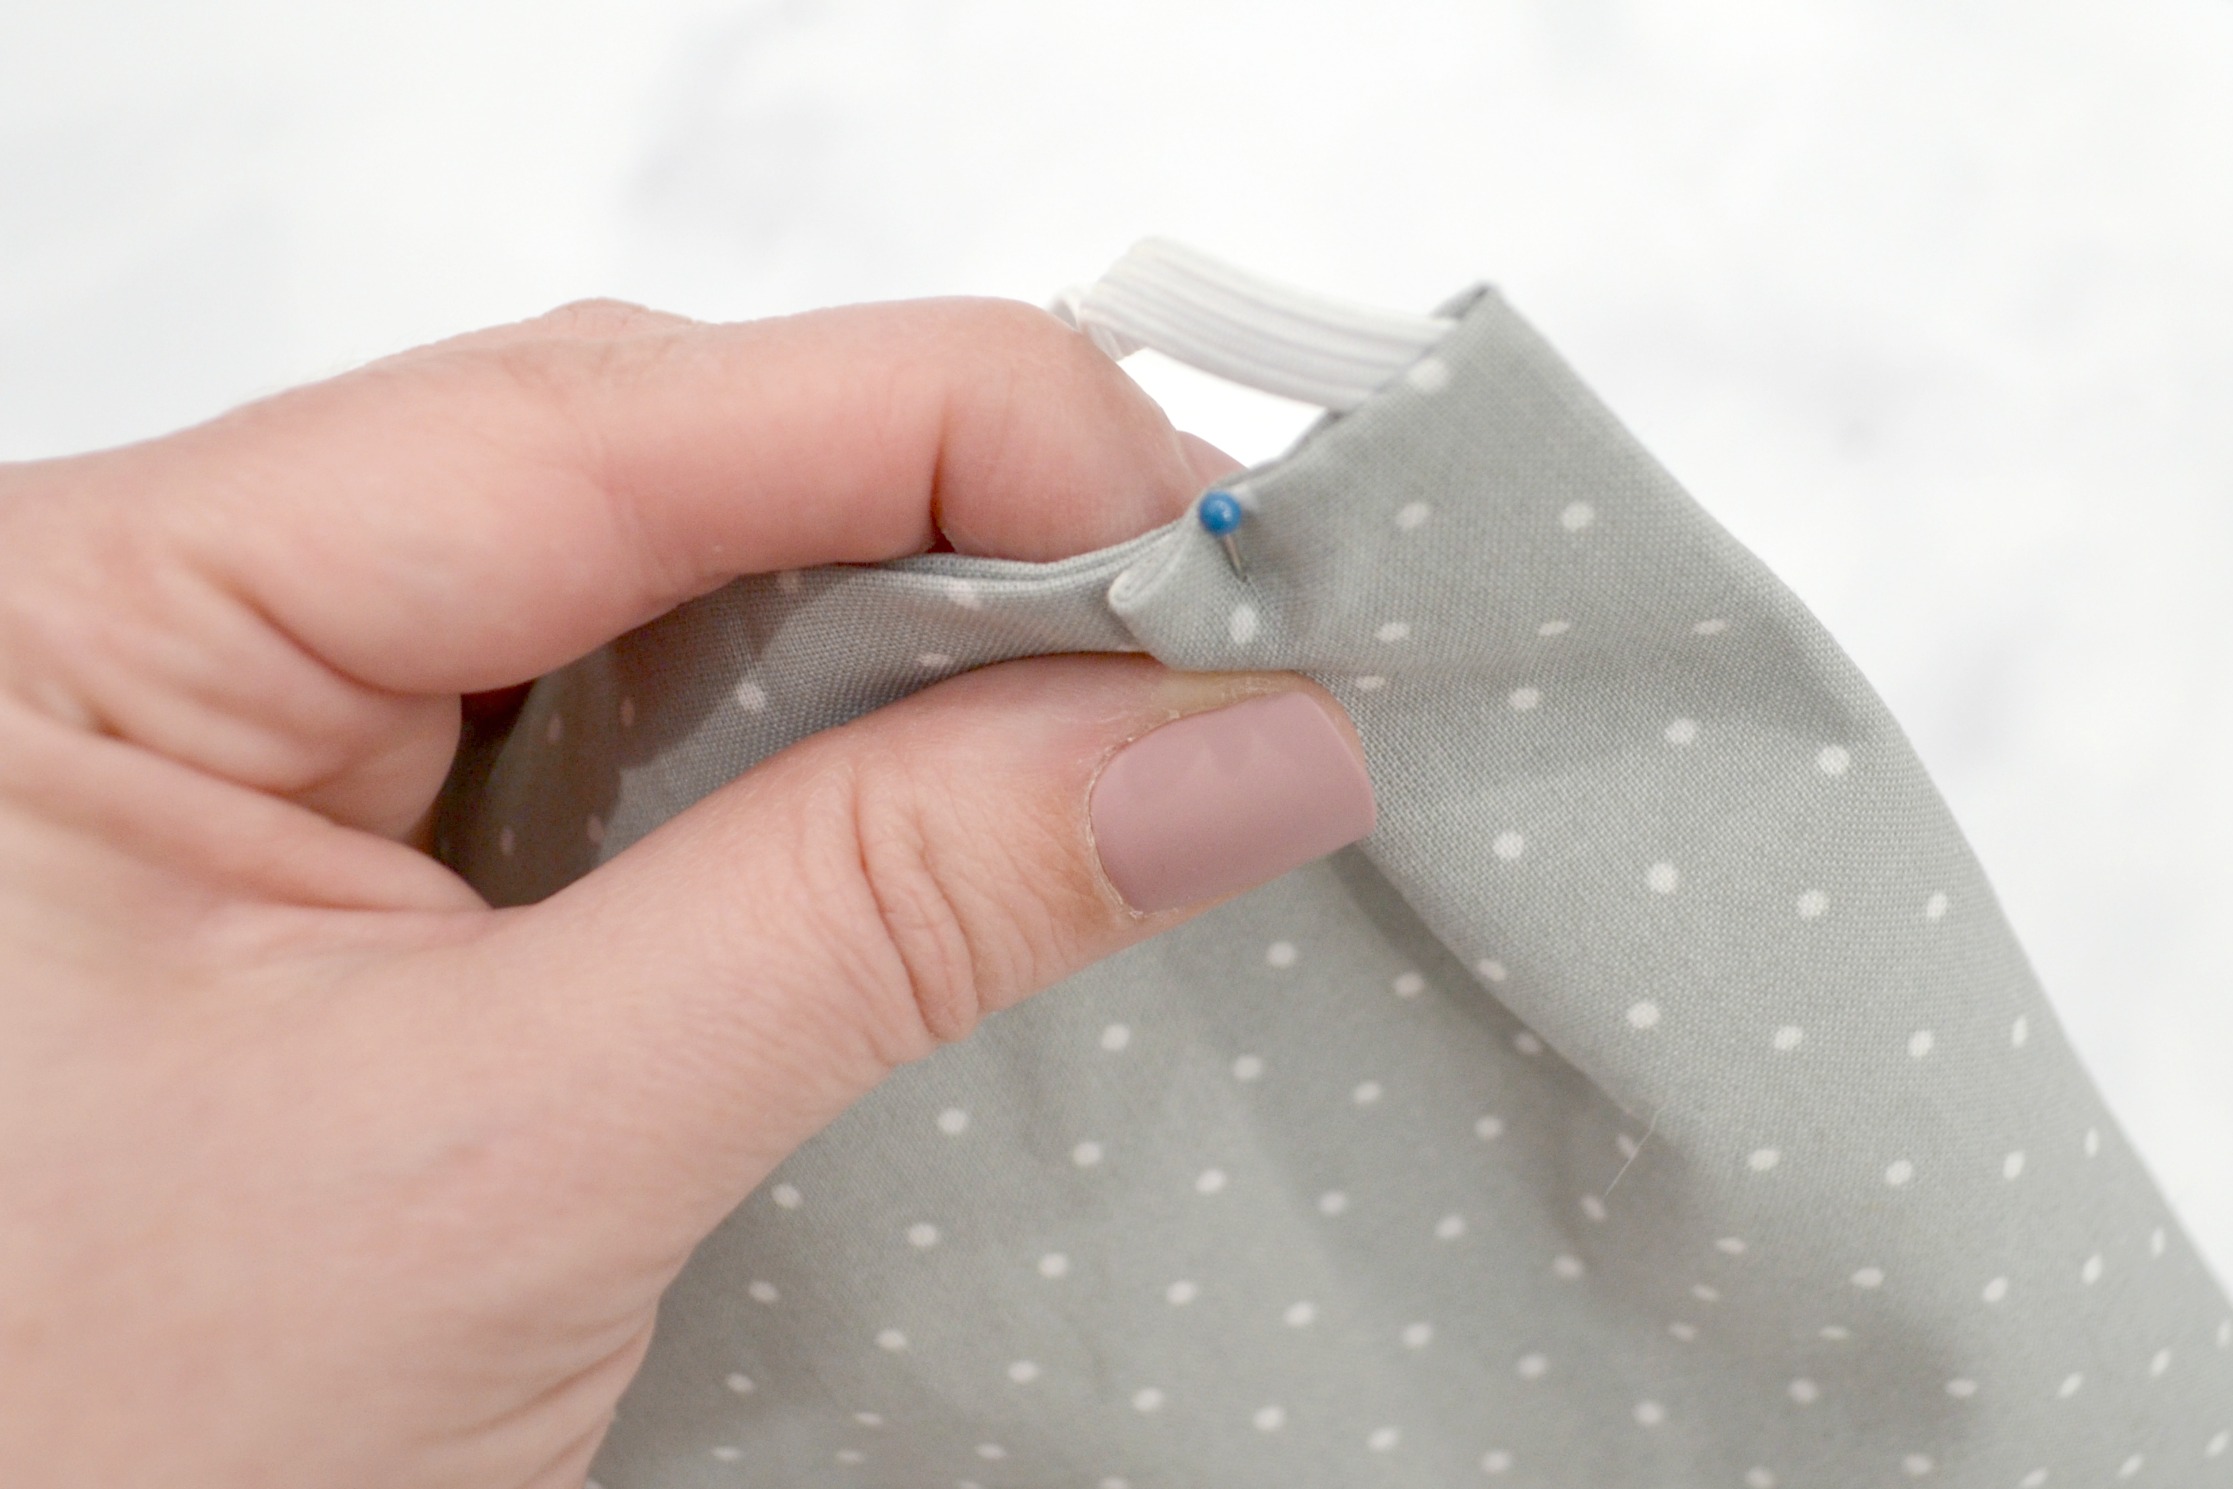
Step 6: Turn the mask right side out and pin the opening closed.
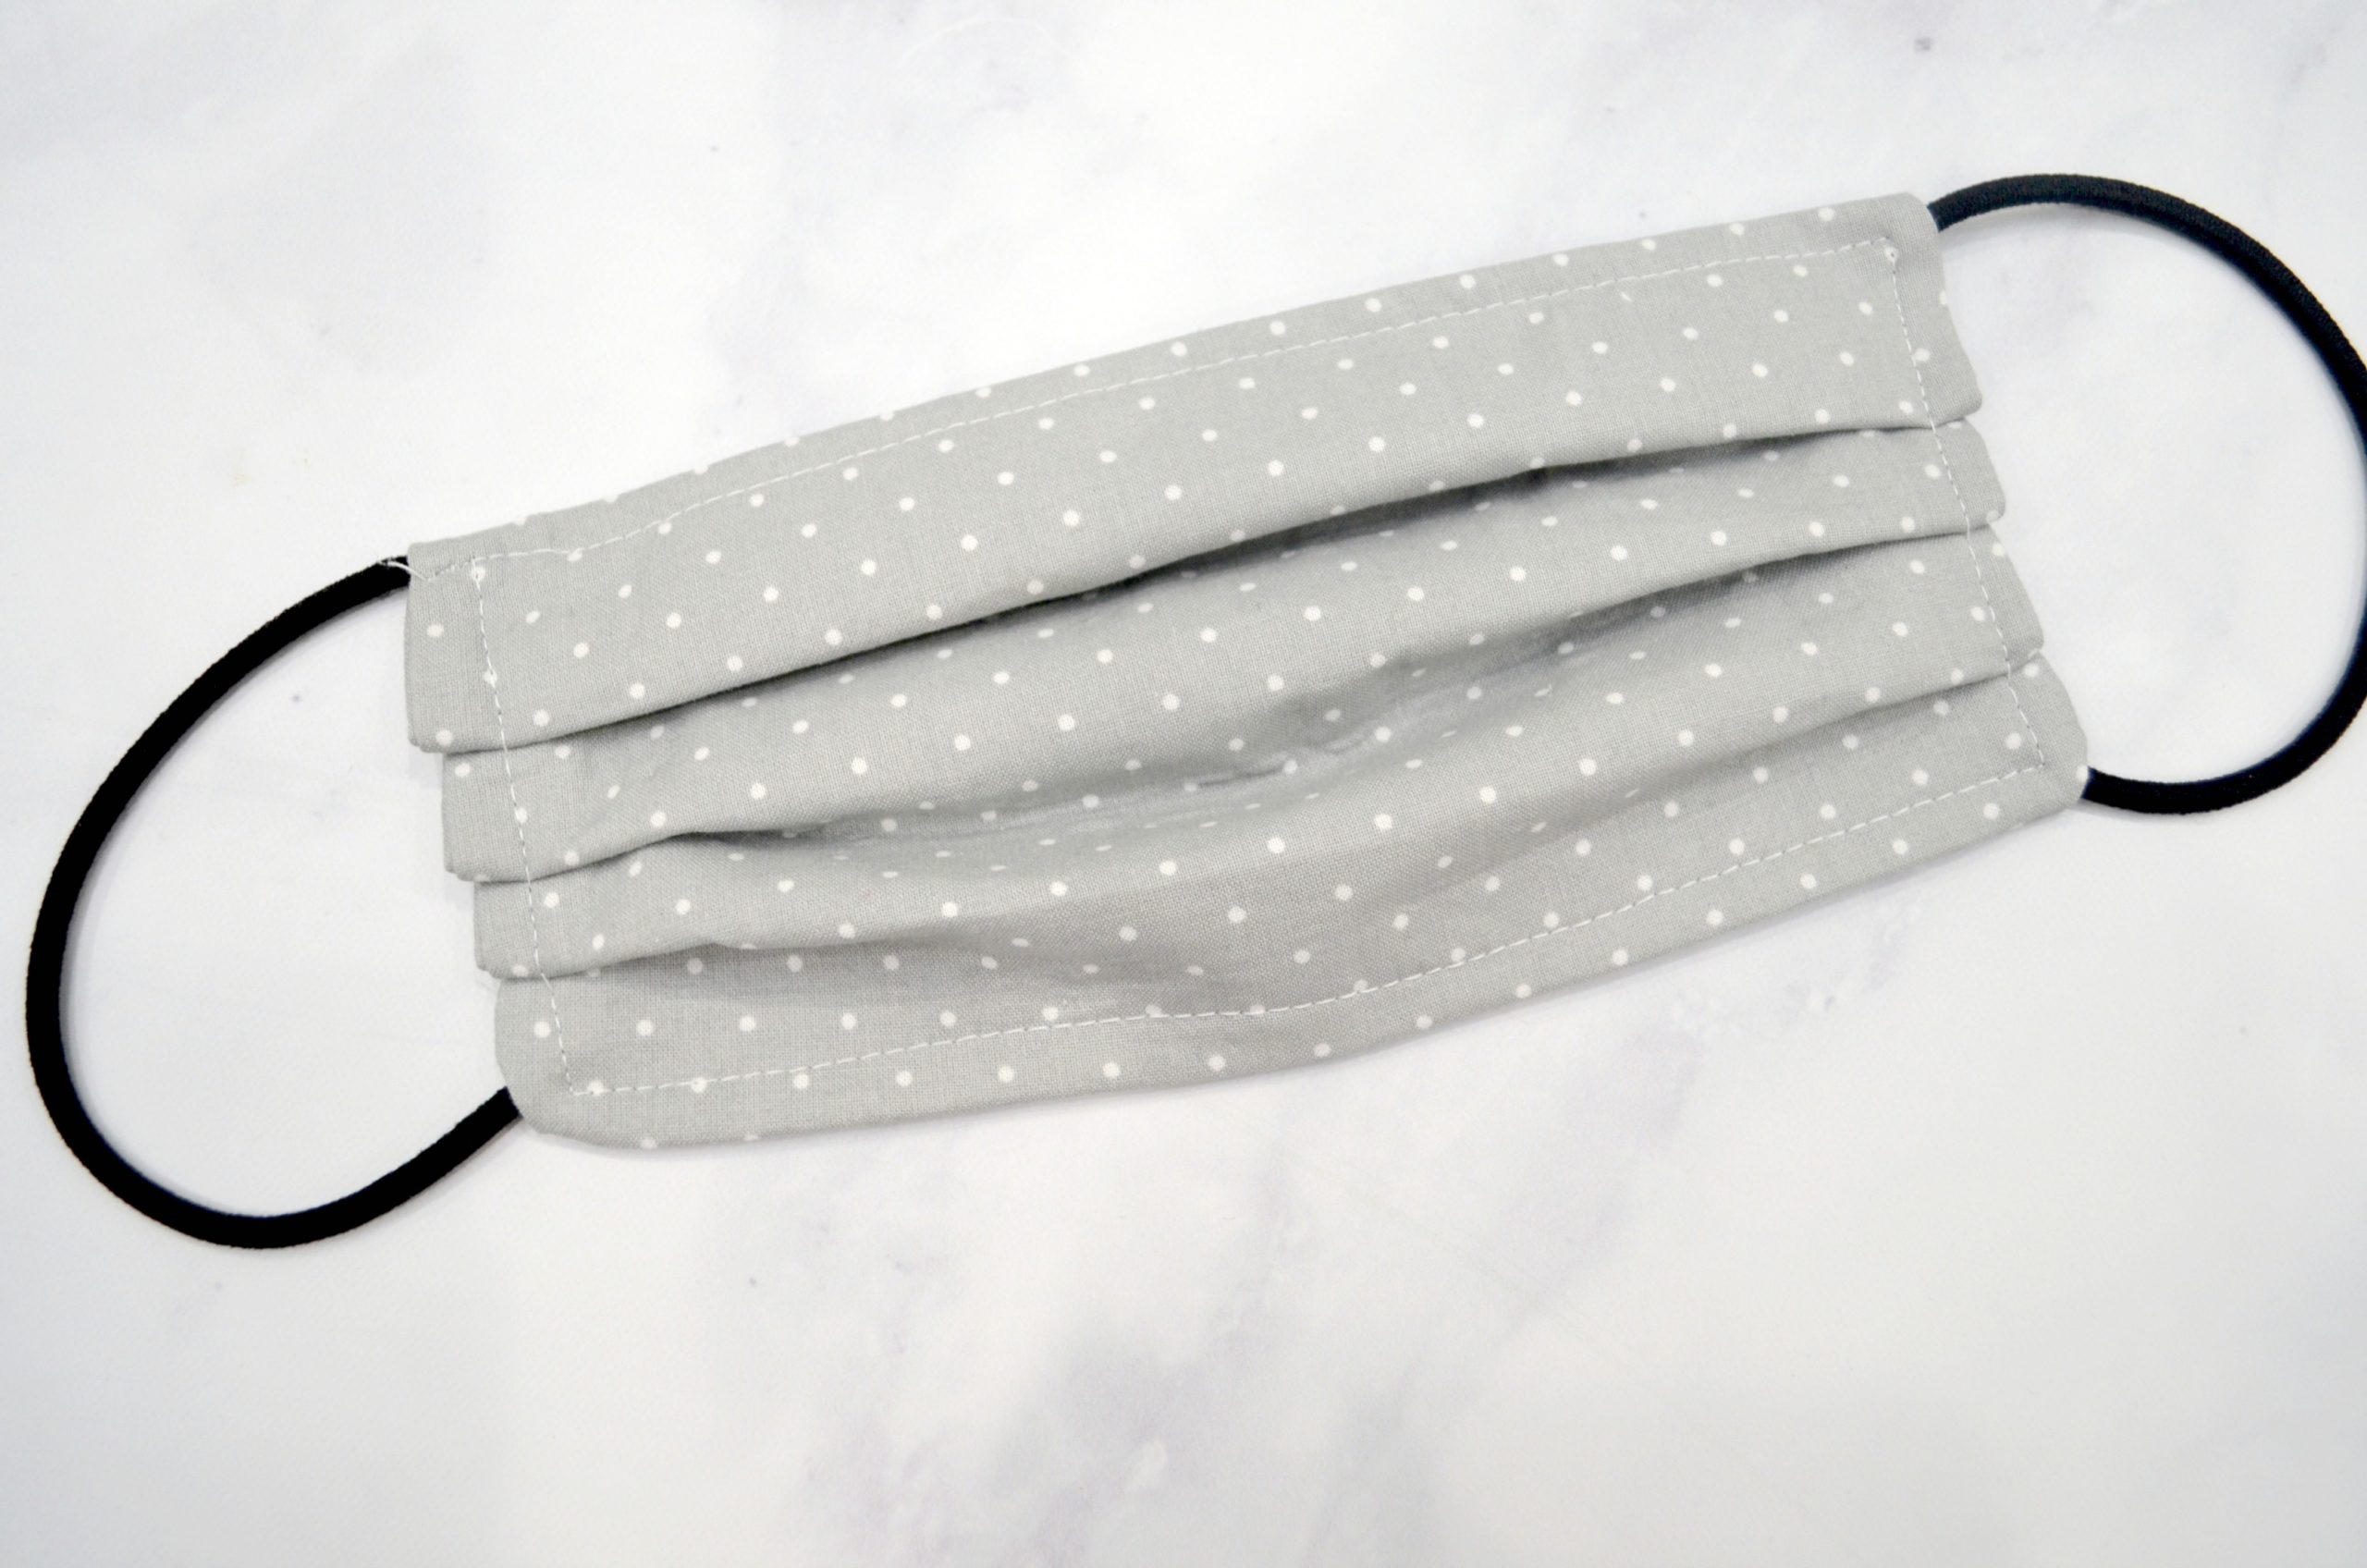
Step 7: Fold three pleats on each side.
You can measure these or freehand them, but they begin 1″ from the top of the mask and are each about 1/2″ in size. Pin the pleats in place.
Step 8: Sew a 1/4″ top stitch around the entire mask. This will close the opening, secure the pleats, and finish your mask.
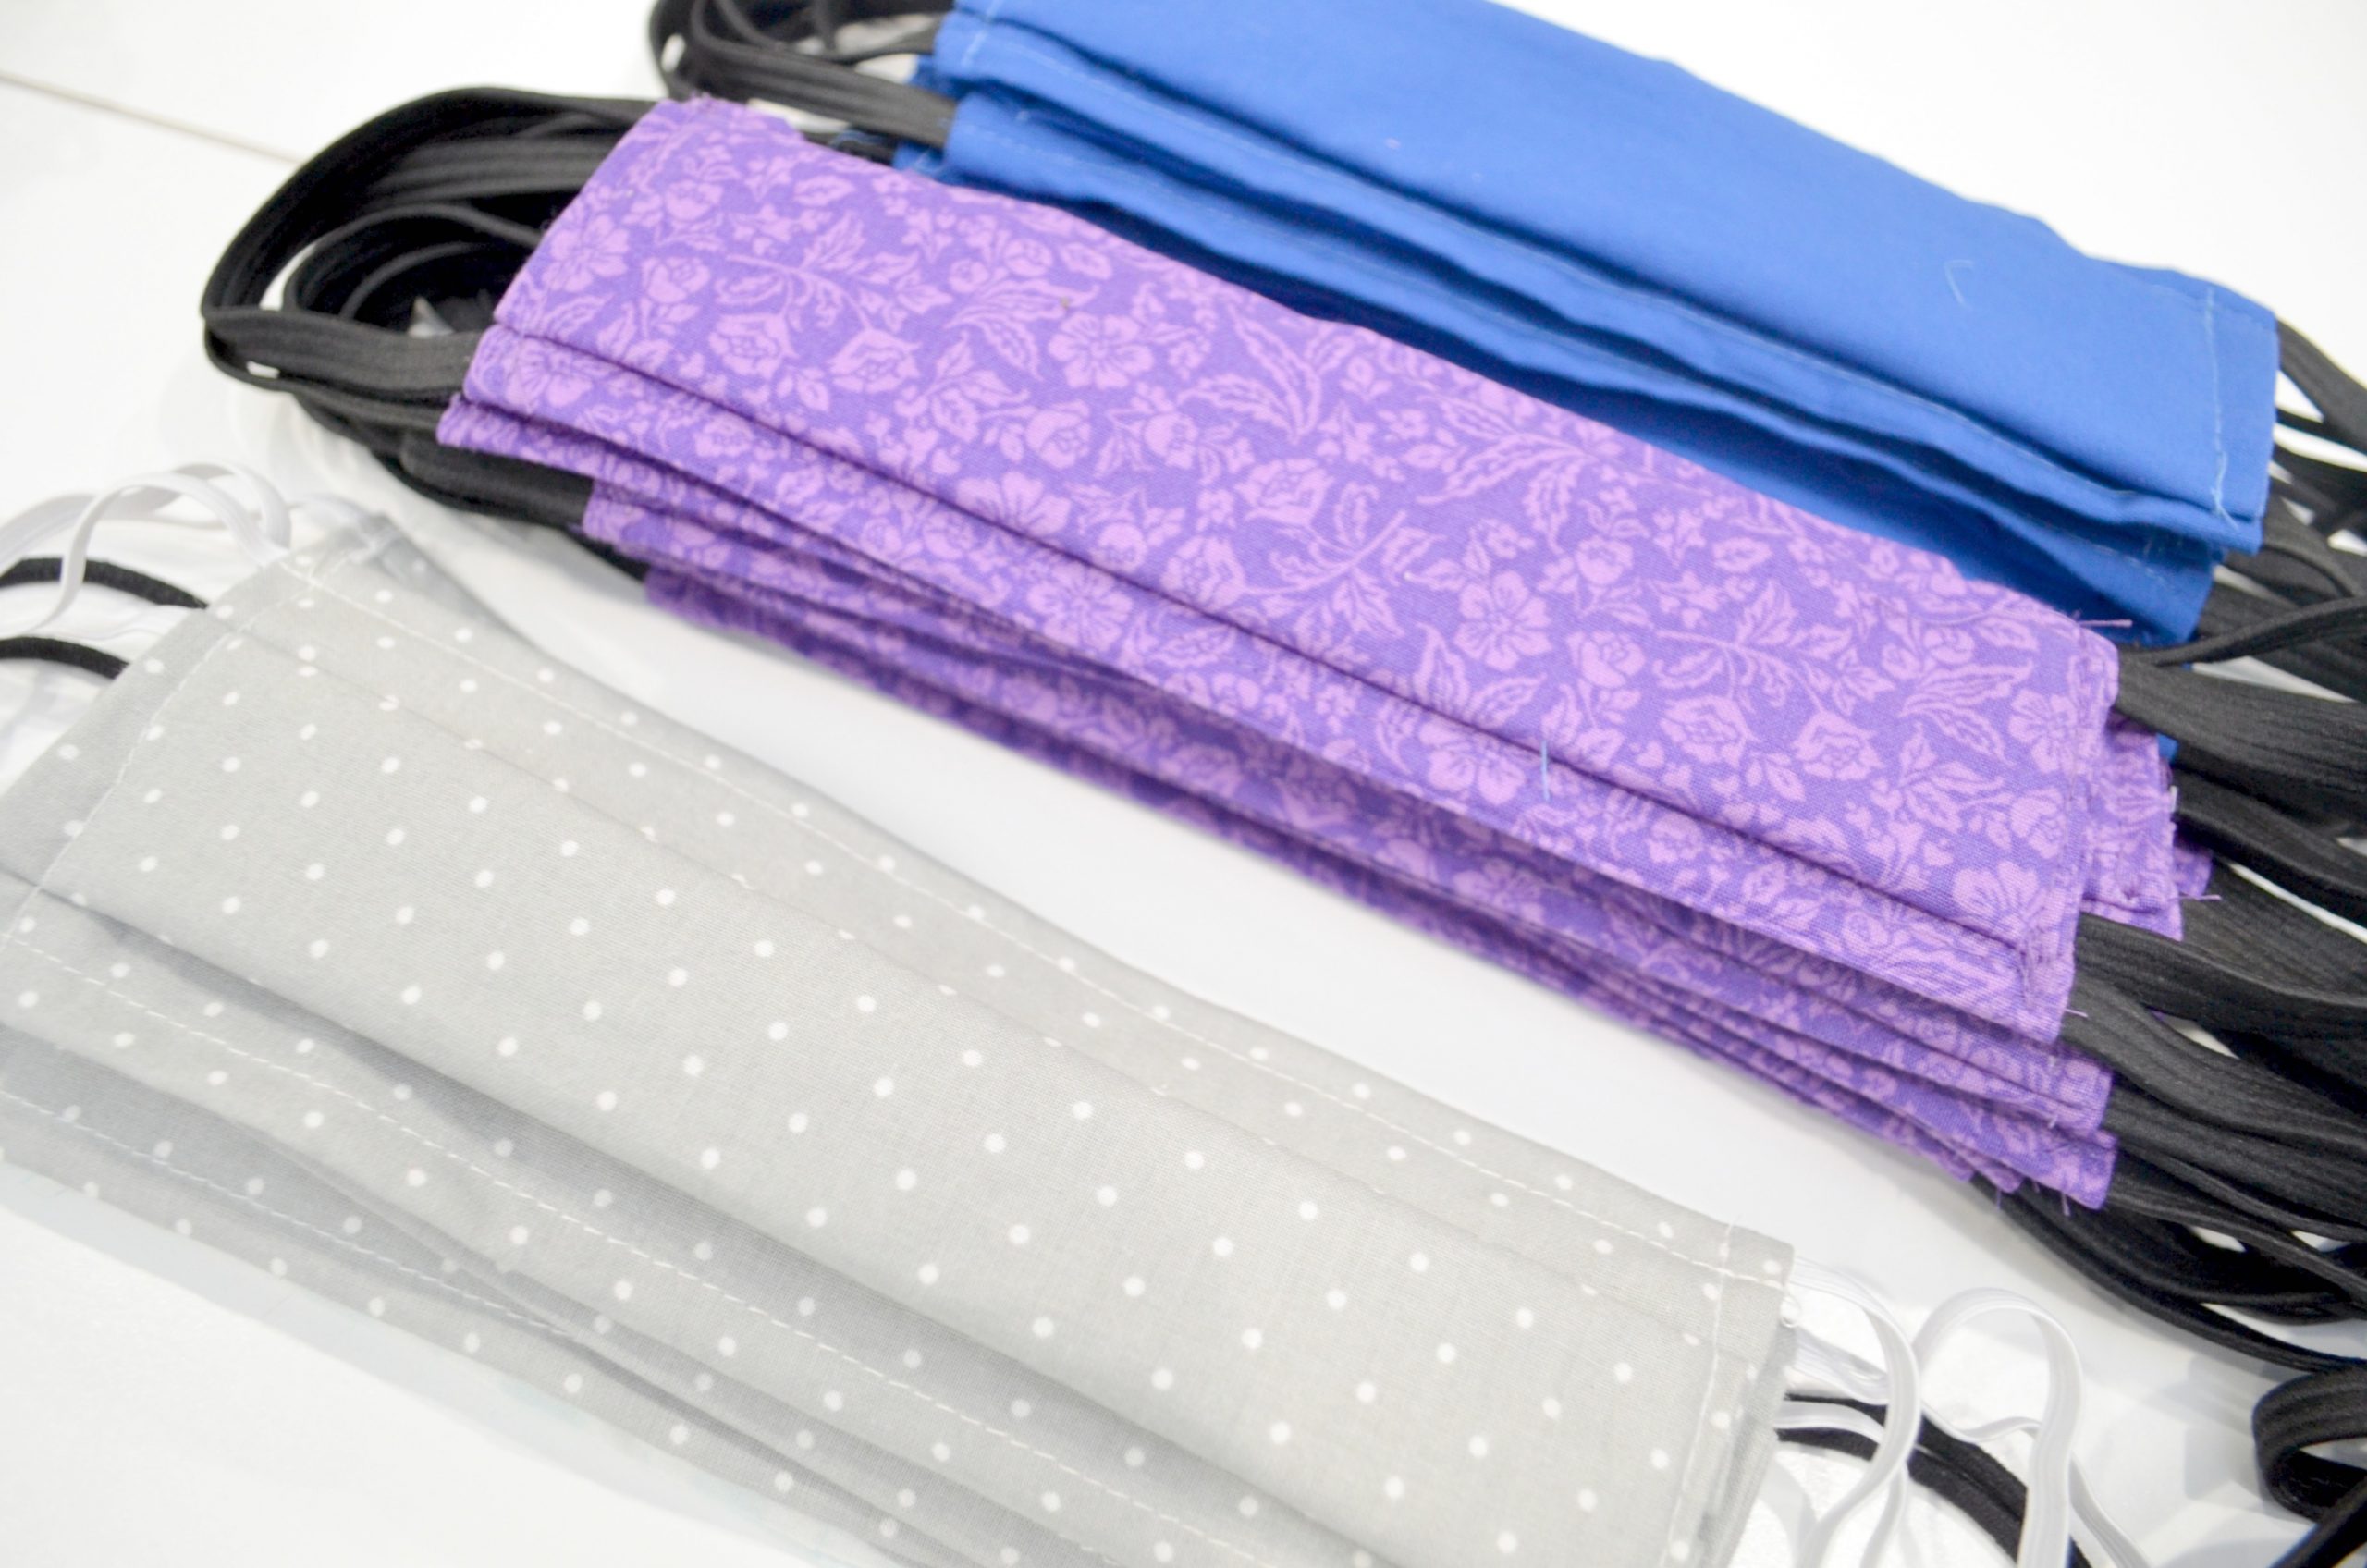
Feel free to adjust the elastic length or even the basic mask size to accommodate people of different sizes. No matter what fabric you use, these are sure to be appreciated by those who receive them.
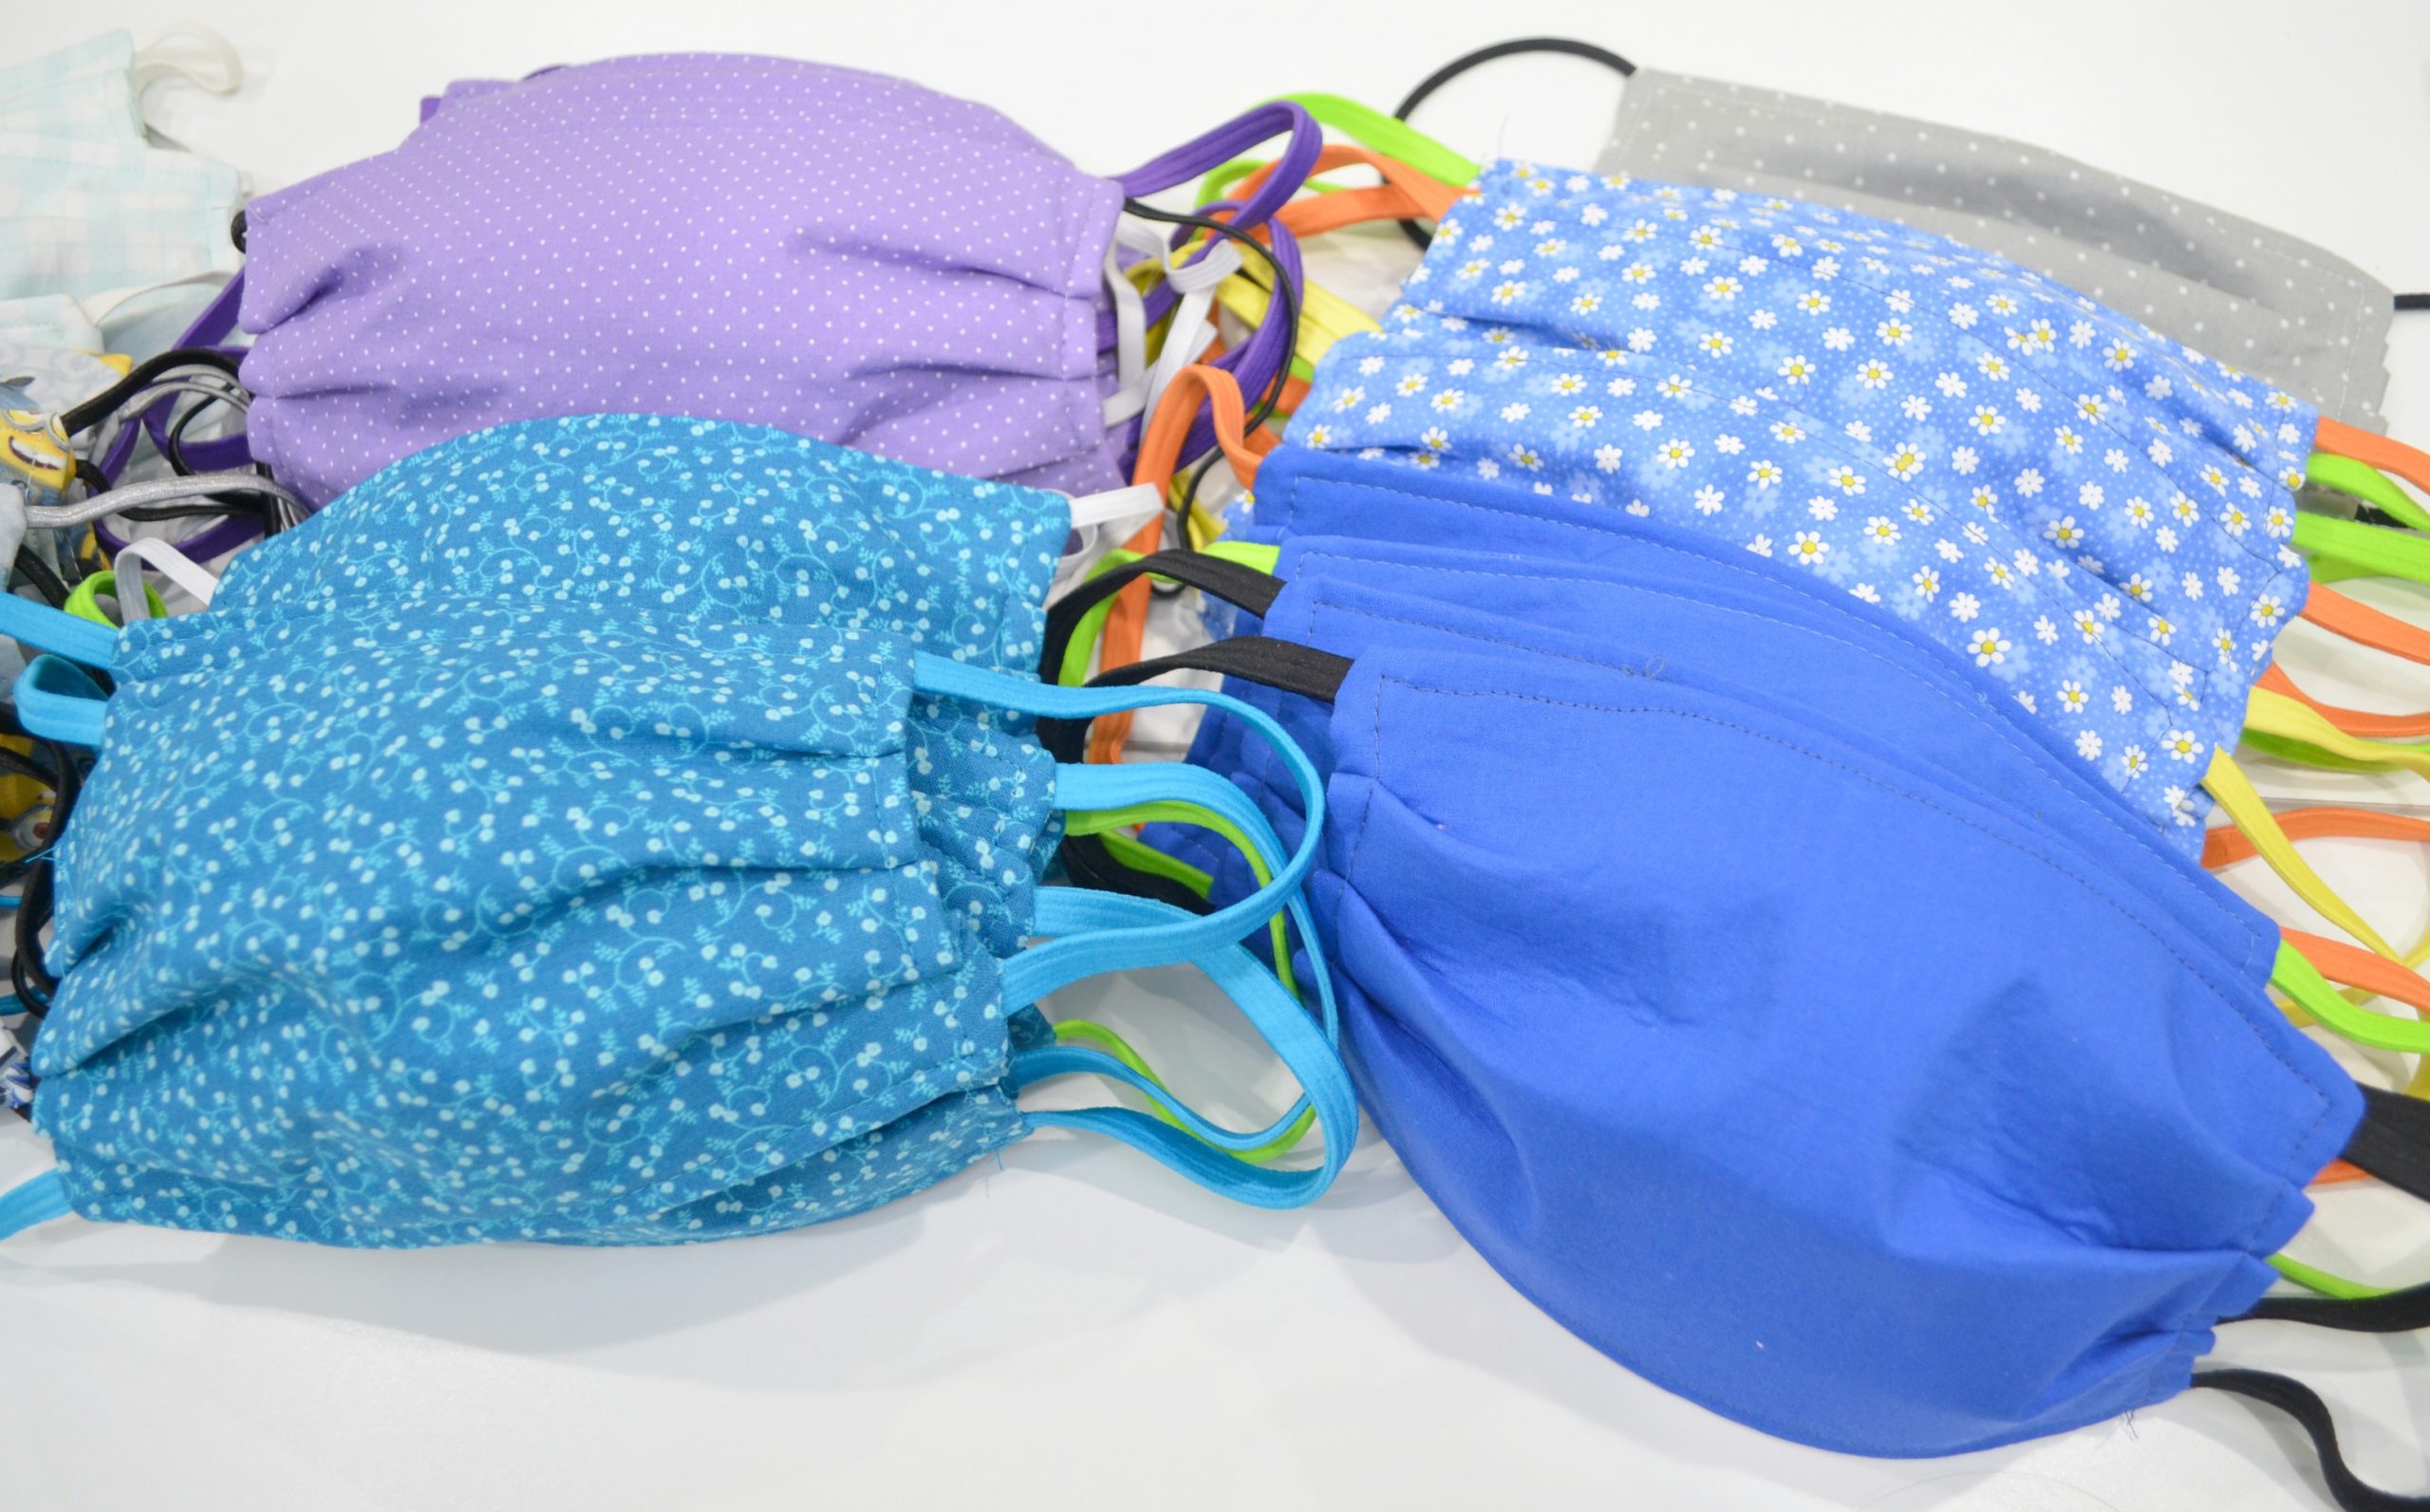
If you make some, please share your photos with us in the Amy Latta & Friends Facebook group so that we can celebrate the opportunity we have to use our gifts and talents to make an impact in this fight against the virus.
For another variation, here’s a simple pattern for sewing DIY Face Masks with a Filter Pocket!
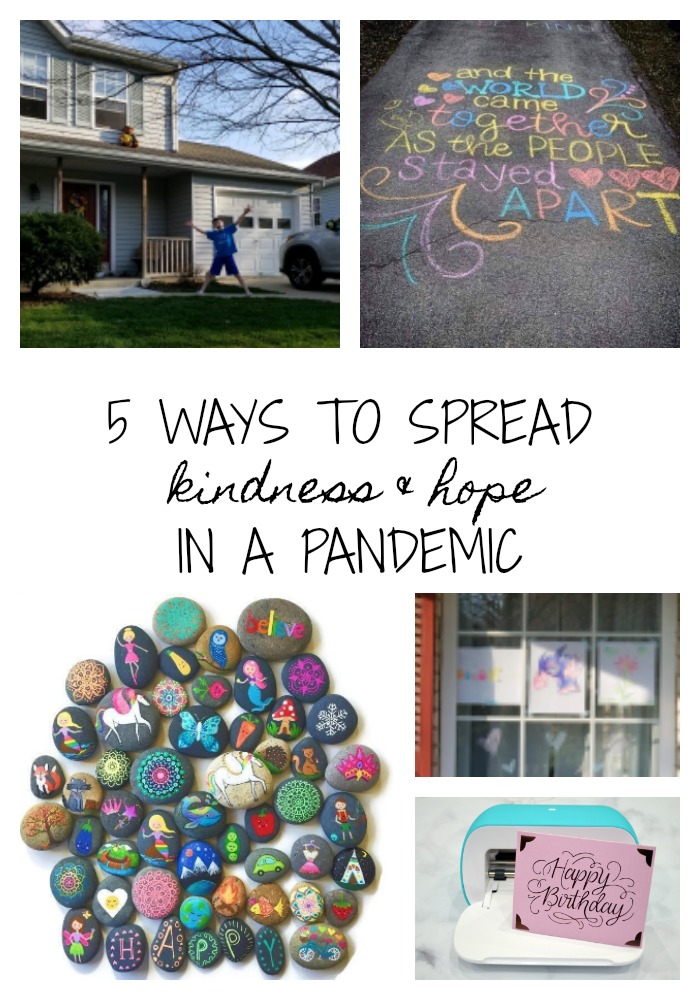
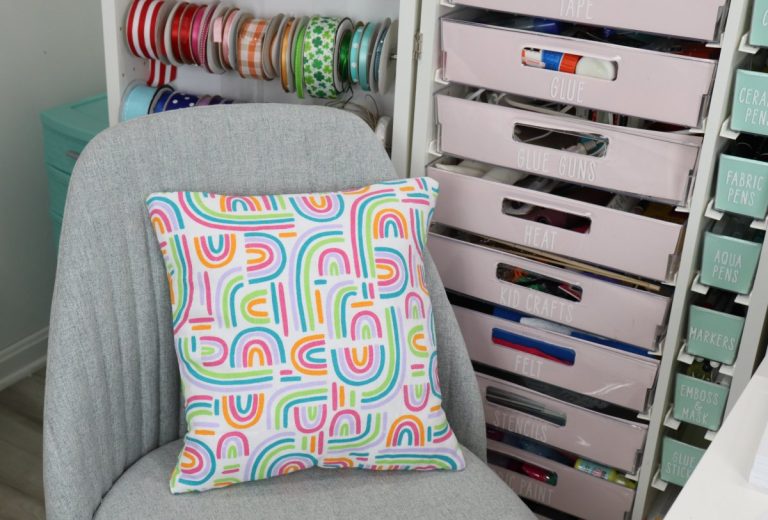
Be sure to check out the other resources I have for at-home kids activities and art lessons, including colorful photo frames and fun with stencils, plus 5 ways to show kindness and hope during a pandemic!
Thank you Amy so very much! I have been looking on Facebook and everywhere and trying their ideas for face masks! I have spent 2 days working with patterns and have given up. Until at 4pm I sat down to check my email. I subscribe to your site and what a game changer….I found your PERFECT face masks to make! Thank you, thank you! Your directions are easy to understand and and love the pictures.
My husband had a life saving lung transplant at UCLA coming up on April 7, 2020 it will be 4 years. I am now going to make him many, many masks to place over his paper face masks! I feel the fabric will add a little extra protection.
Thank you and many blessings to you and your family..
Thank you so much for your kind words, Linda! I am so glad that you found the tutorial easy and helpful, and that you’re able to use it to protect your sweet hubby! Blessings to you; stay safe and well!
Love your pattern(easier than doing all those pleats)What are the dimensions for a child (3-6 yrs okd)?
Thank you again
I’m not sure, Mary; I would measure the child’s face to see what a good fit would be. For my 11 and 13 year olds, I used the same fabric dimensions but made the elastic 1″-1 1/2″ shorter than for an adult mask. A 3 year old would definitely need less fabric, though. Sorry I’m not more help!