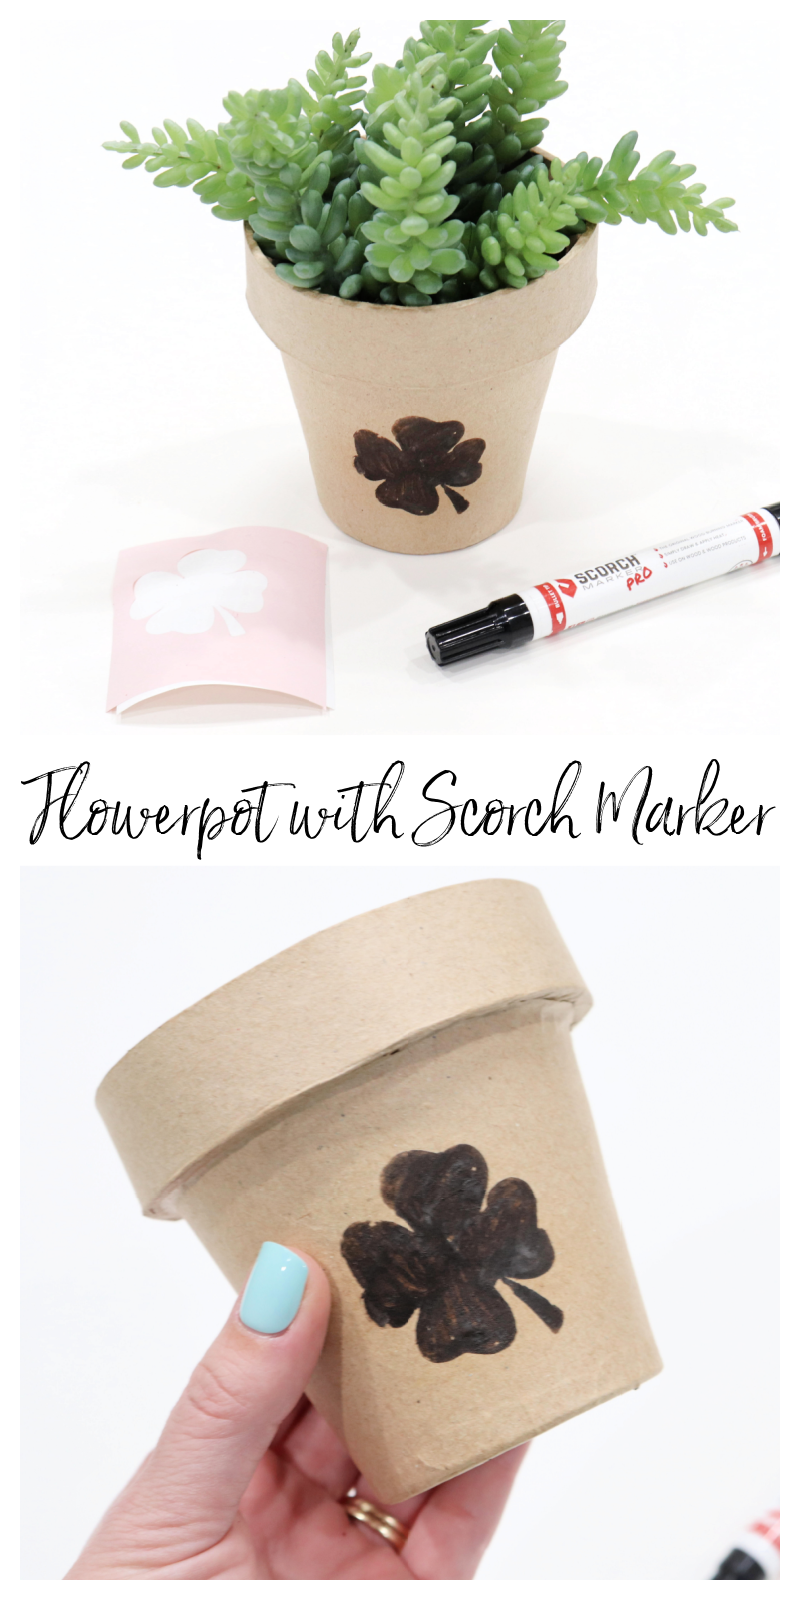
Wood Burned Clover Flowerpot
Thanks to Scorch Marker for sponsoring this post; all opinions are honestly my own.
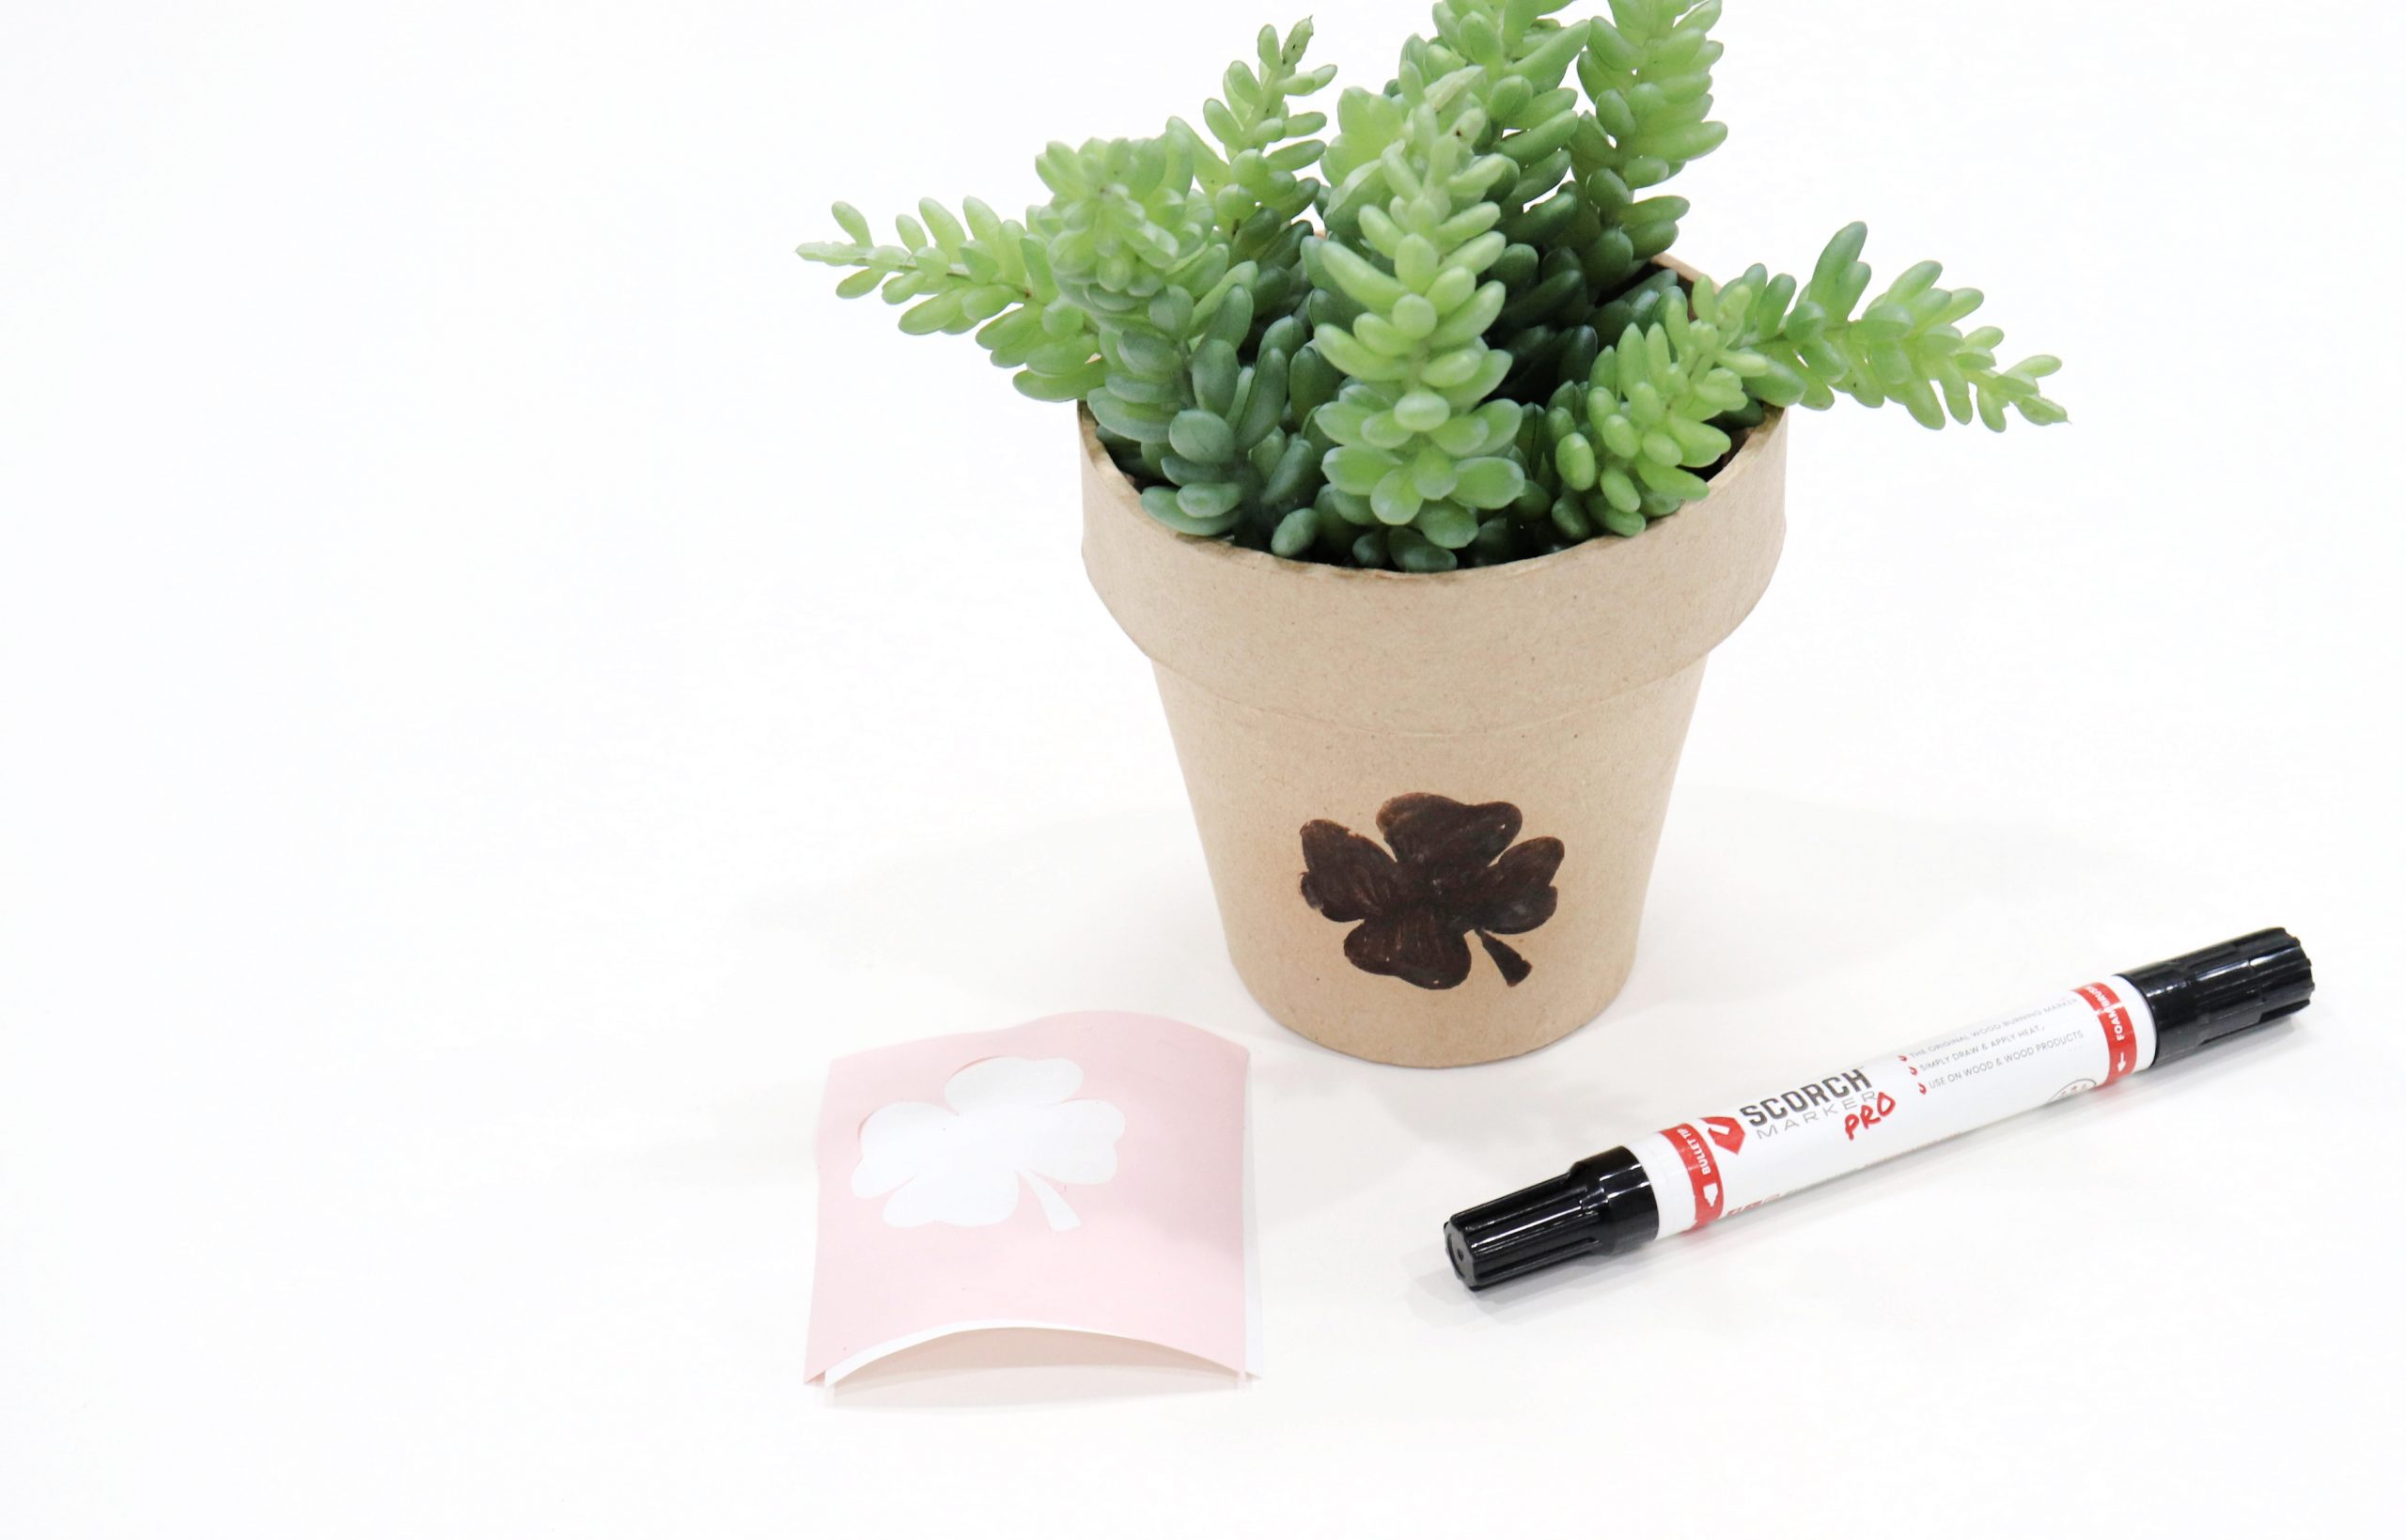
Looking for an easy way to add some festive decor to your home for St. Patrick’s Day? Here’s a super easy DIY flowerpot that uses one of my favorite new crafting tools, the Scorch Marker. This marker lets you create wood burned projects safely and easily, without the traditional tools. Craft along with me in this video as I show you how to create the clover stencil and burn it onto your paper mache flowerpot. You can also find a full written tutorial below.
paper mache flowerpot
clover stencil download (use code ilovestencils)
heat tool (1000+ watts or 300+ degrees)
Step 1: Create your stencil.
To do this, head to the Scorch Marker website for the free clover download (use the code ilovestencils to grab it at no cost). Then, open Cricut Design Space and upload the image file. Click on the white background areas to remove them, leaving just the black clover shape, then save it as a cut file. Insert the file into a new canvas and size it to fit your flowerpot (mine was just a little under 2″). Then, send the file to your Cricut and let it work its magic to cut the image from removable vinyl. You can see all of these steps in more detail in the video above.
Step 2: Apply the stencil to your surface.
The stencil is not the cut clover, but the vinyl around it with the clover shaped opening. So, peel the clover out, then cut the remaining vinyl into a square with the shape inside. Place it wherever you like on the pot.
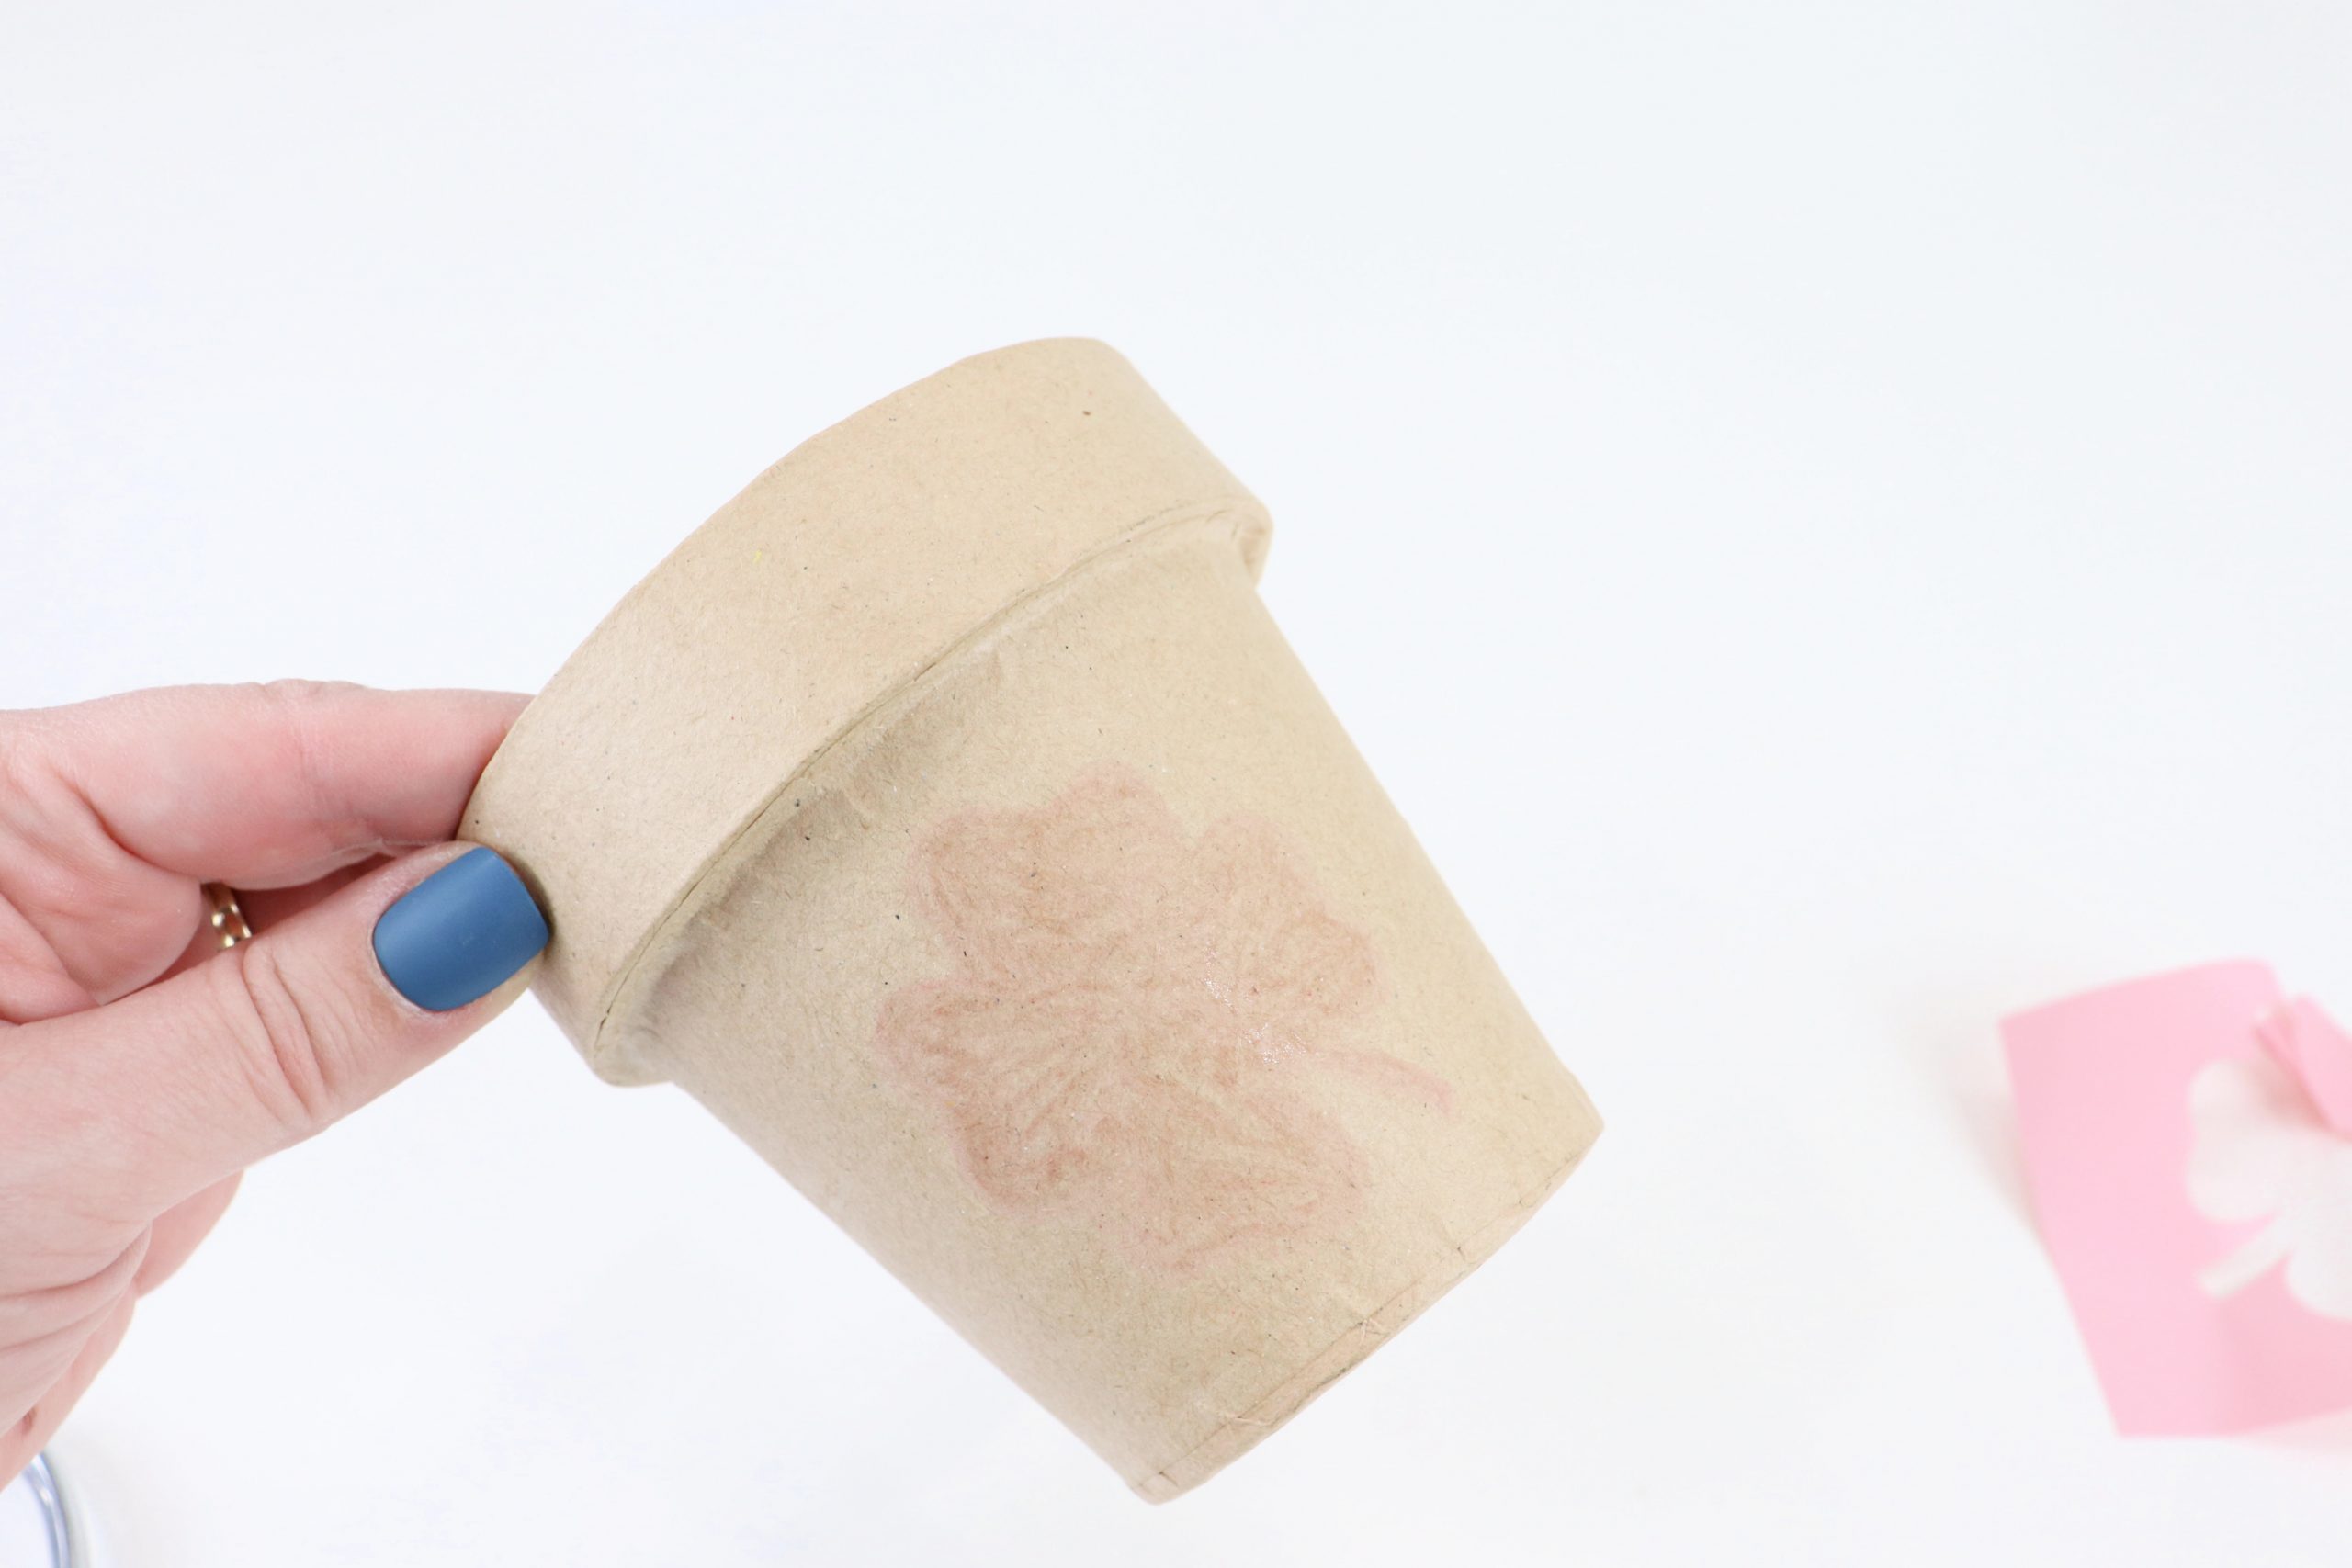
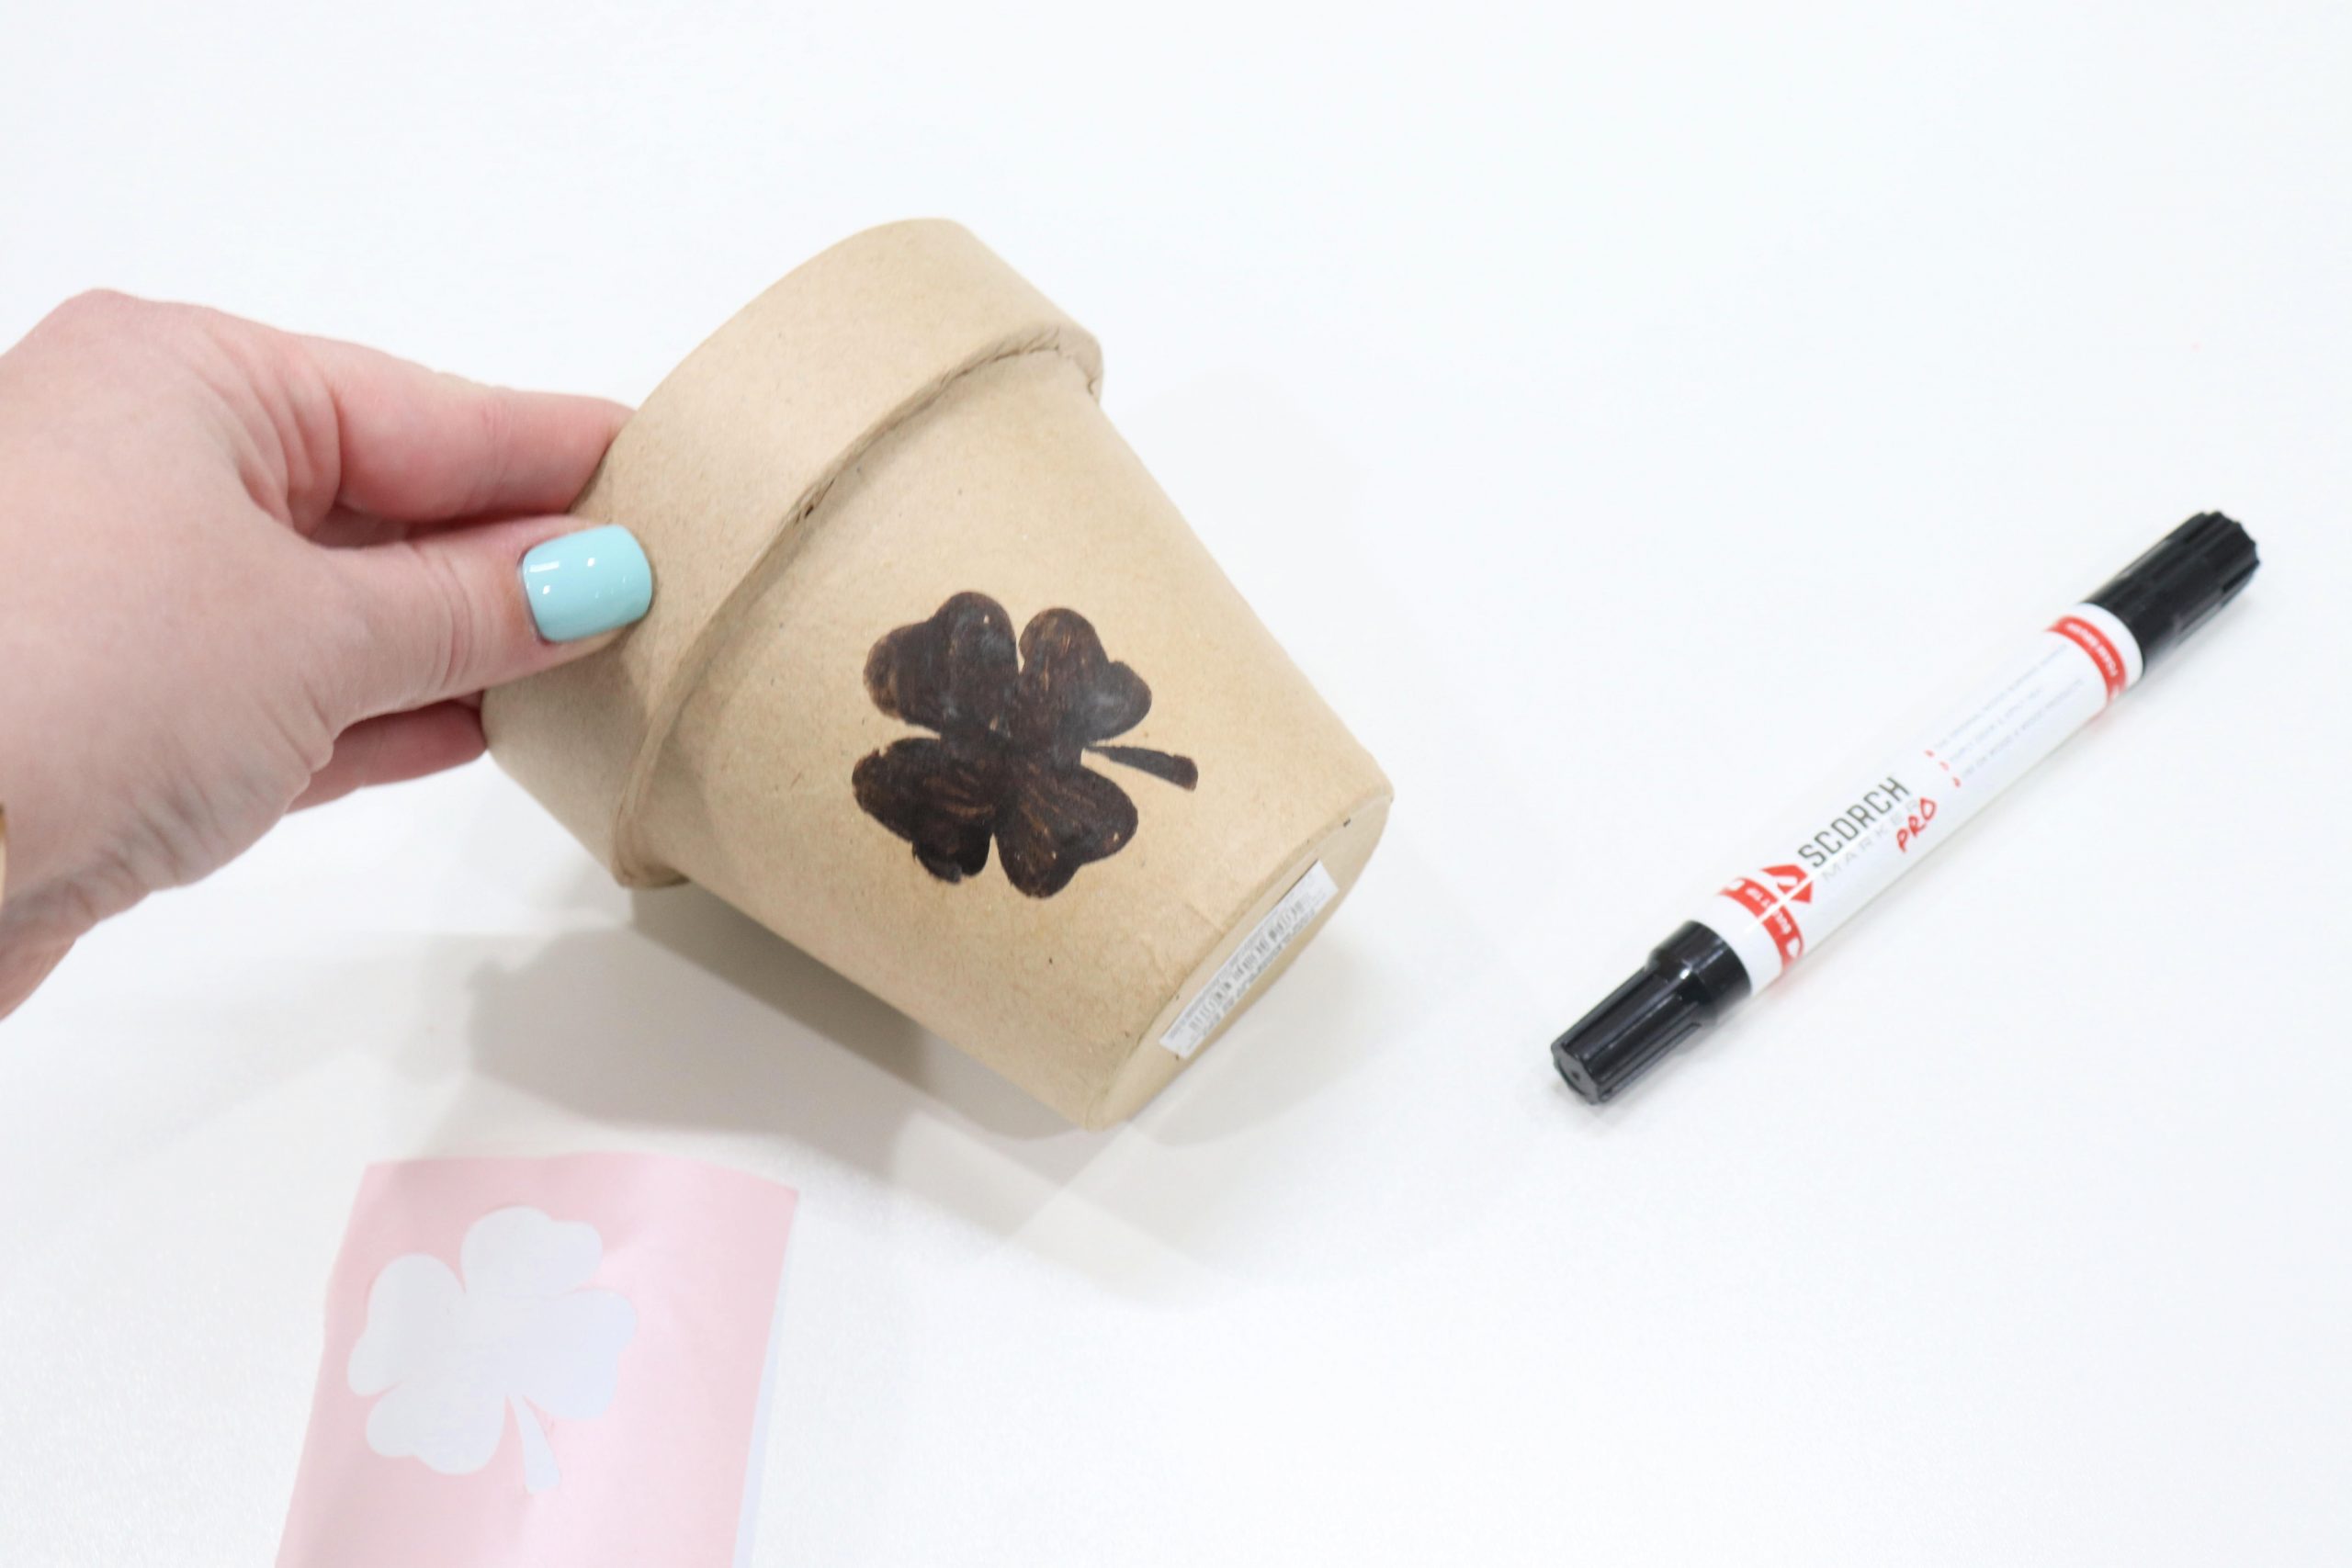
Step 3: Color inside the stencil opening with the Scorch Marker.
Then, remove the vinyl stencil. Your image will look wet and slightly pink.
Step 4: Apply heat.
You’ll want to hold the heat tool about 6″ from the surface and move it around to provide consistent, even heat. In lieu of a heat tool, you can use an oven heated to 300 degrees Fahrenheit.
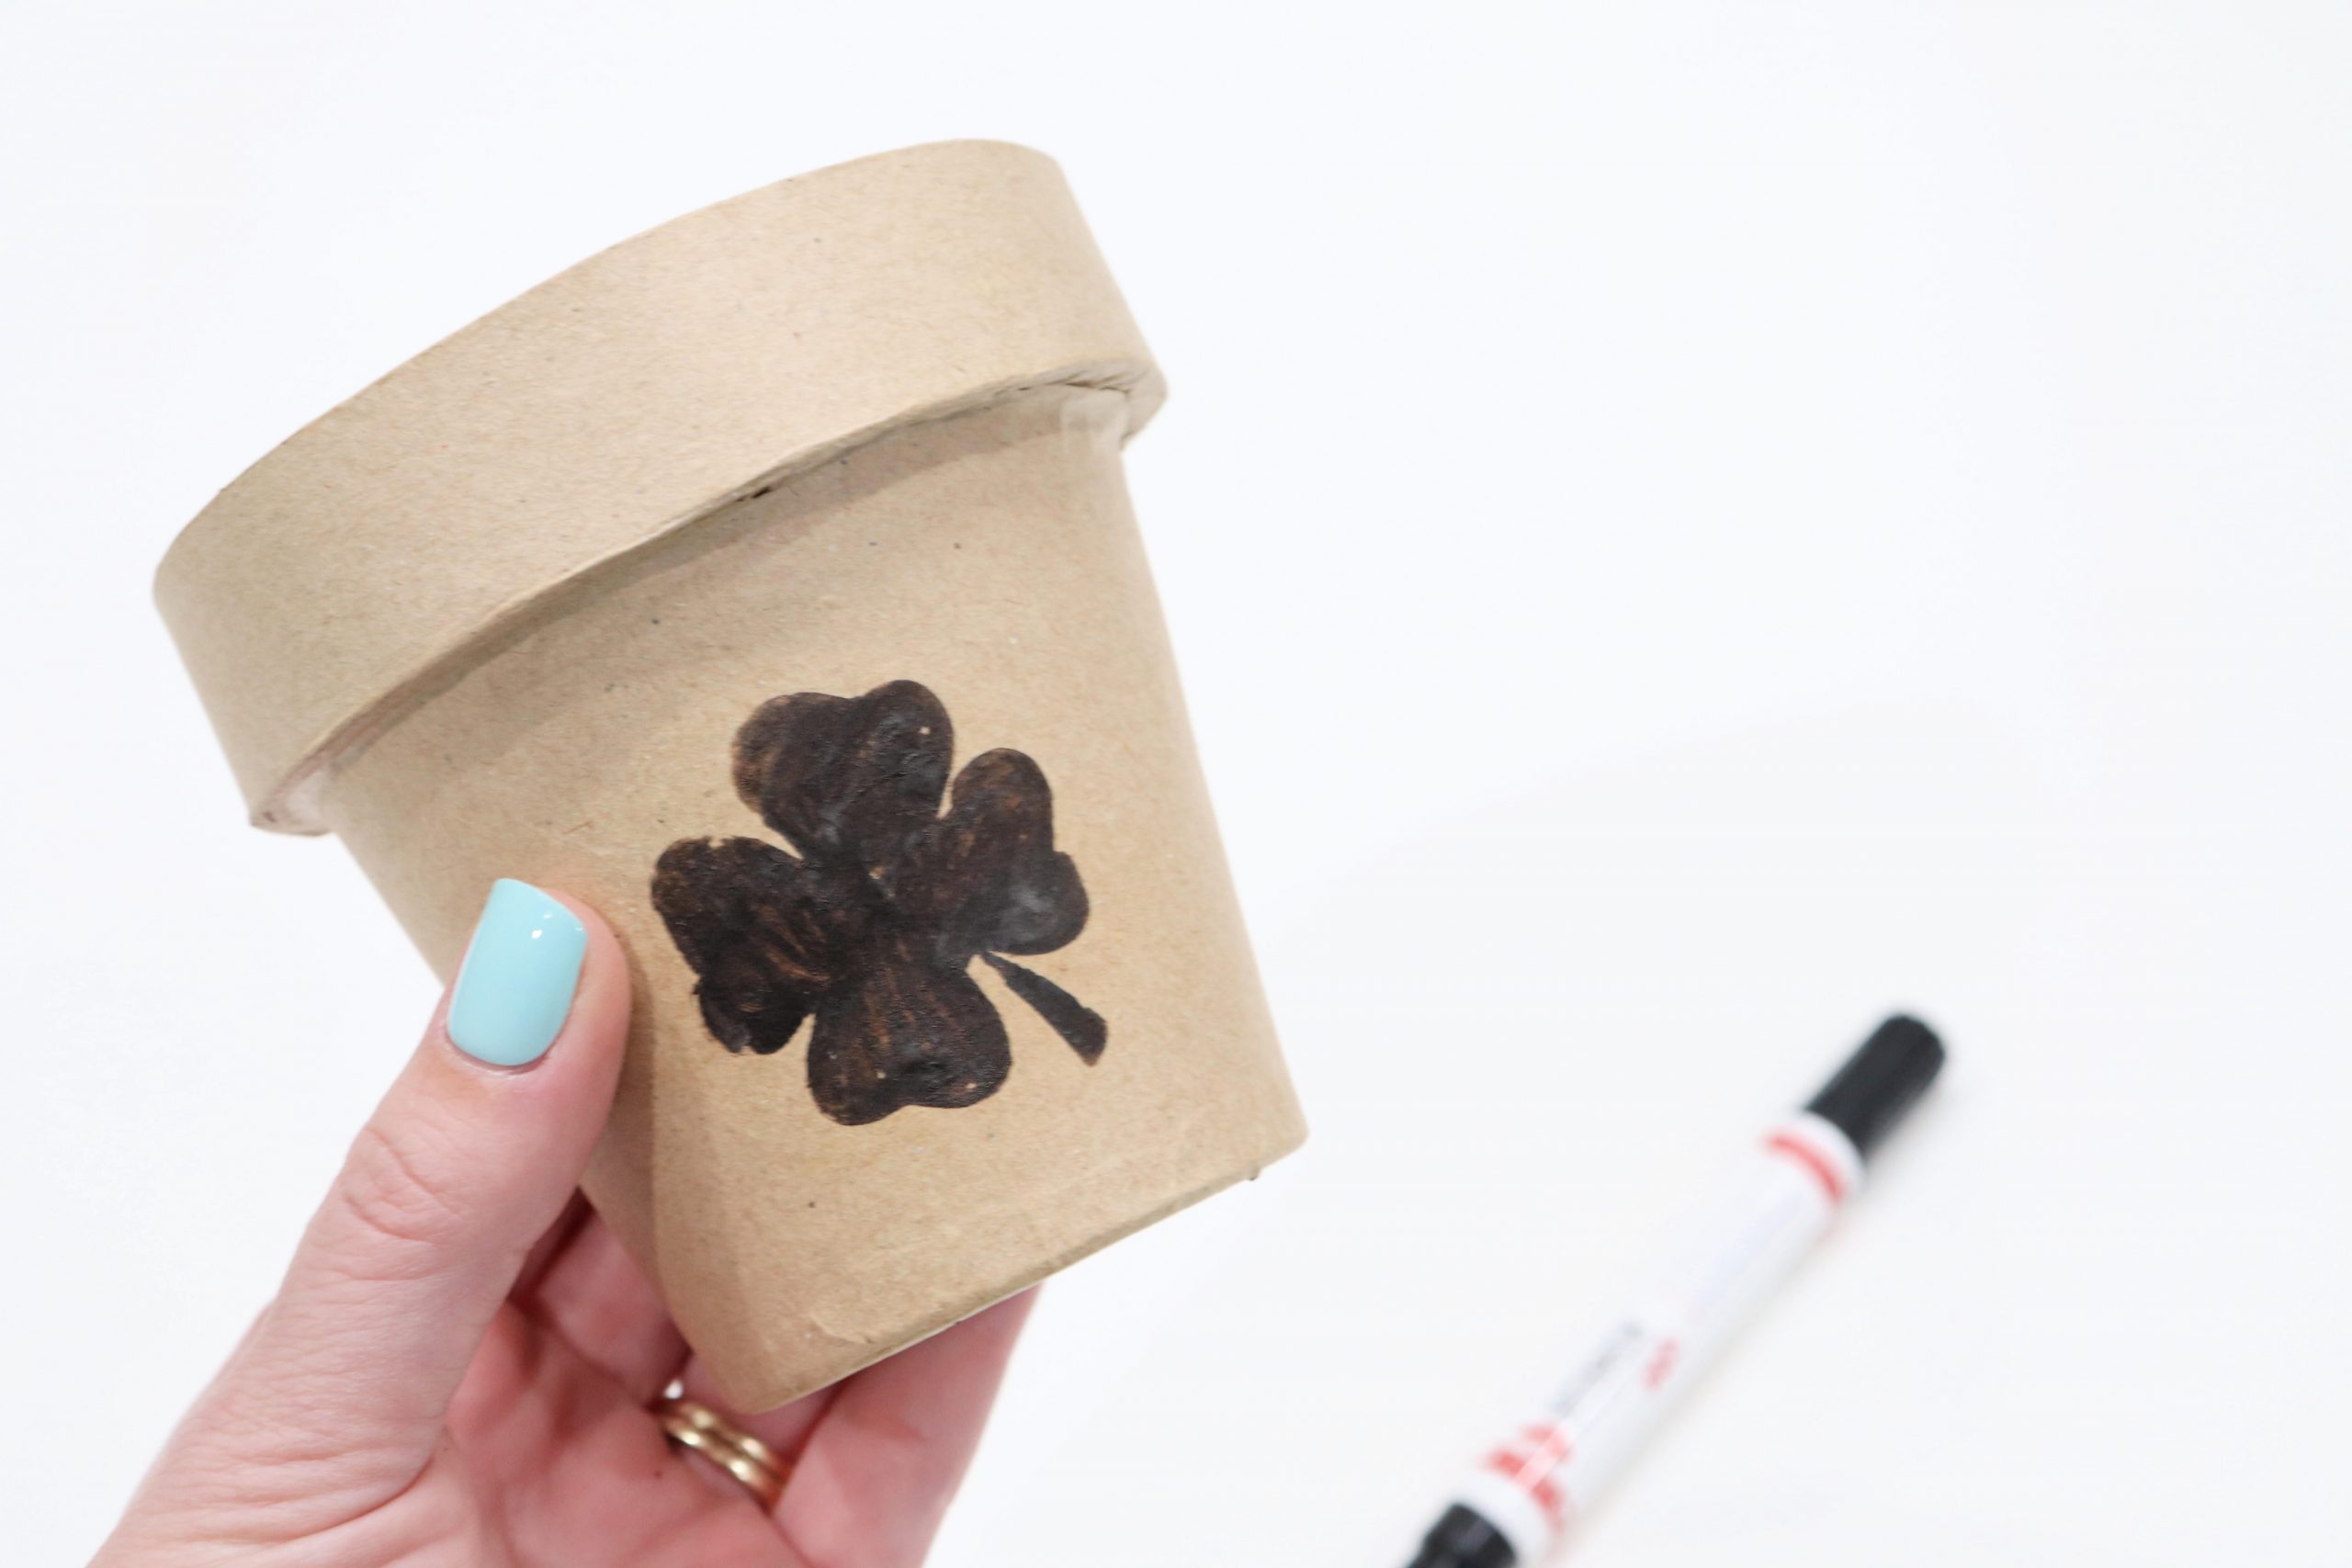
As you apply heat, you’ll see the change happen right before your eyes! The marker ink has a chemical reaction to the heat, causing it to actually burn into the surface of the paper mache. The more heat you apply, the darker the burn will be.
If you plan on adding a real plant, you’ll want to apply a clear, waterproof sealer to protect your pot. If you’re using a faux plant like I did, you can leave your project as is!
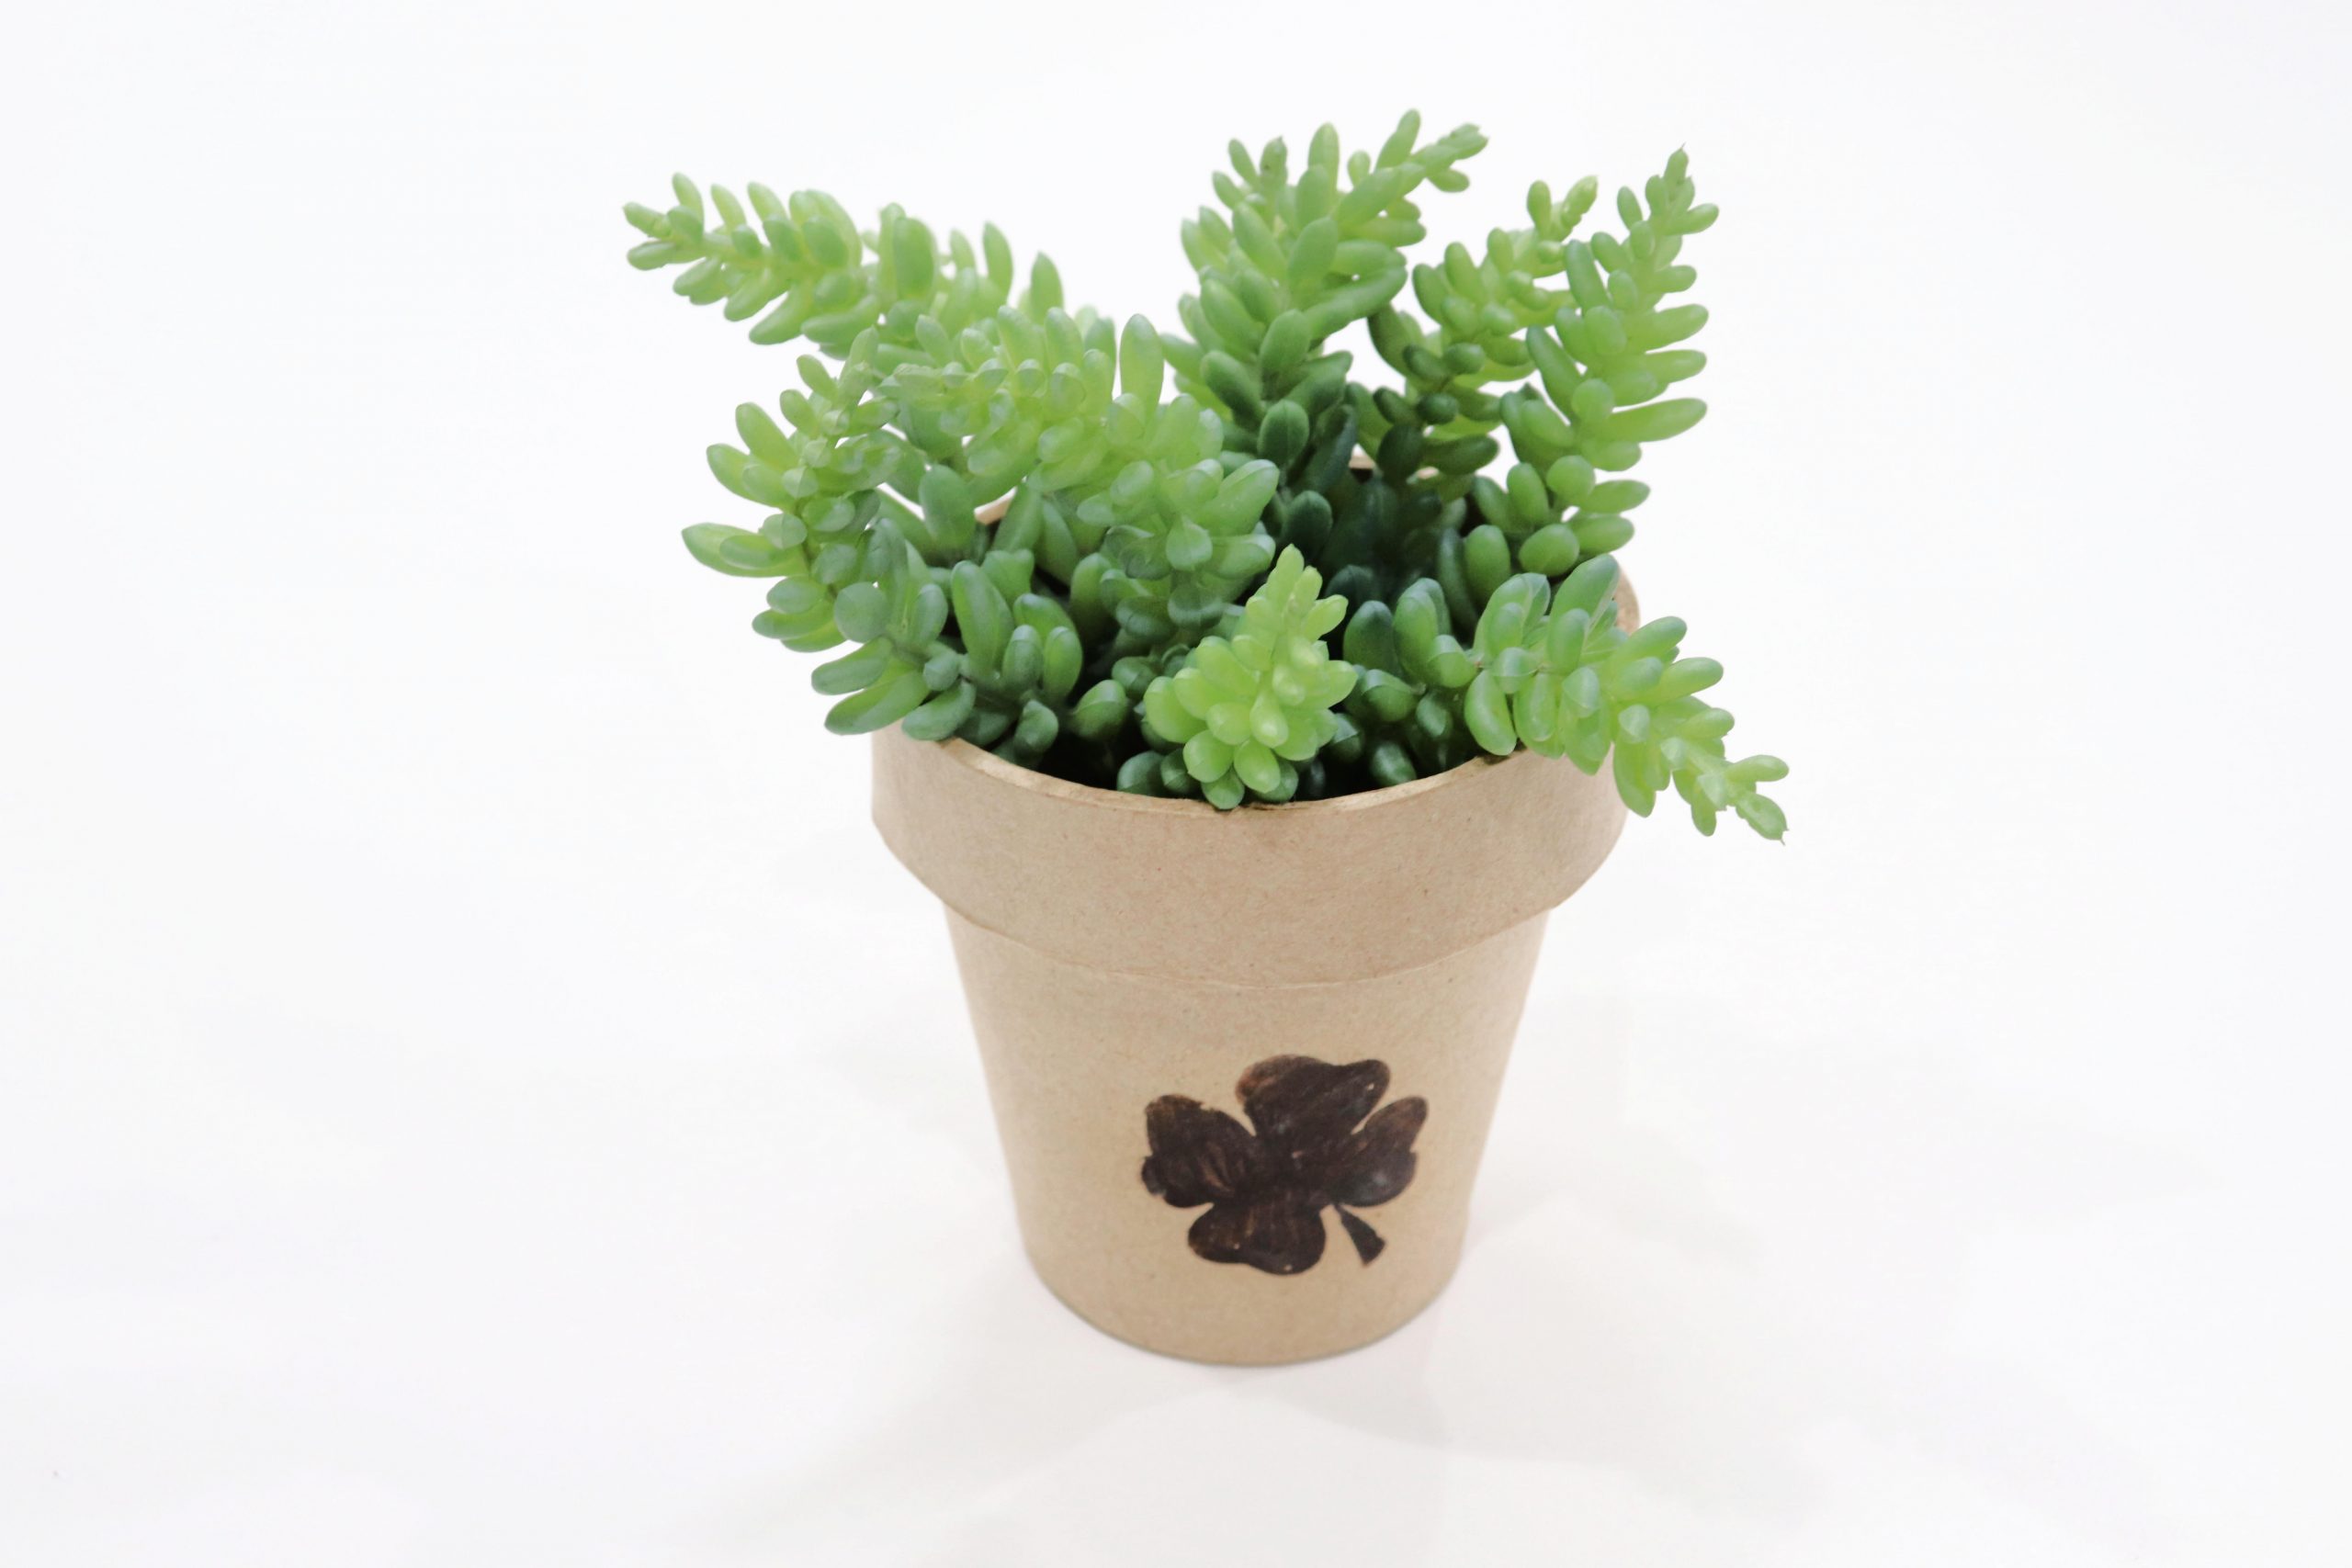
You can use this same process with any digital image you like; just import it into Design Space, create your stencil, color it in with the Scorch Marker, and voila! A one-of-a-kind flowerpot project. If you try this craft, I’d love to see how yours turns out. The Scorch Marker also works on unfinished wood, leather, paper, cardstock, and other surfaces, so feel free to use a different project base if you prefer. Be sure to share your project photos with us in the Amy Latta & Friends Facebook Group so we can all be inspired. Also, make sure you’re following my YouTube channel so you don’t miss my new tutorial videos. Happy crafting!