Thanksgiving Placecards {the prequel}
Hey, friends! Today it’s my turn to share a Fall-related Paint Tutorial with you as part of this week’s Crafty Cornucopia challenge!
So, you know I like to keep it real around here, and today is no exception because…my “wonderful-in-my-head” paint project, um, kind of turned out to be a craft fail. But, I’m sharing it anyway. And really I think it’s kind of actually only a half-fail…see what you think.
You may have noticed that I participated in a fun Virtual Thanksgiving dinner with some other bloggers recently, and my job was to create the placecards. You may have even seen the pretty ones we were able to create, but what you didn’t see was our first attempt.
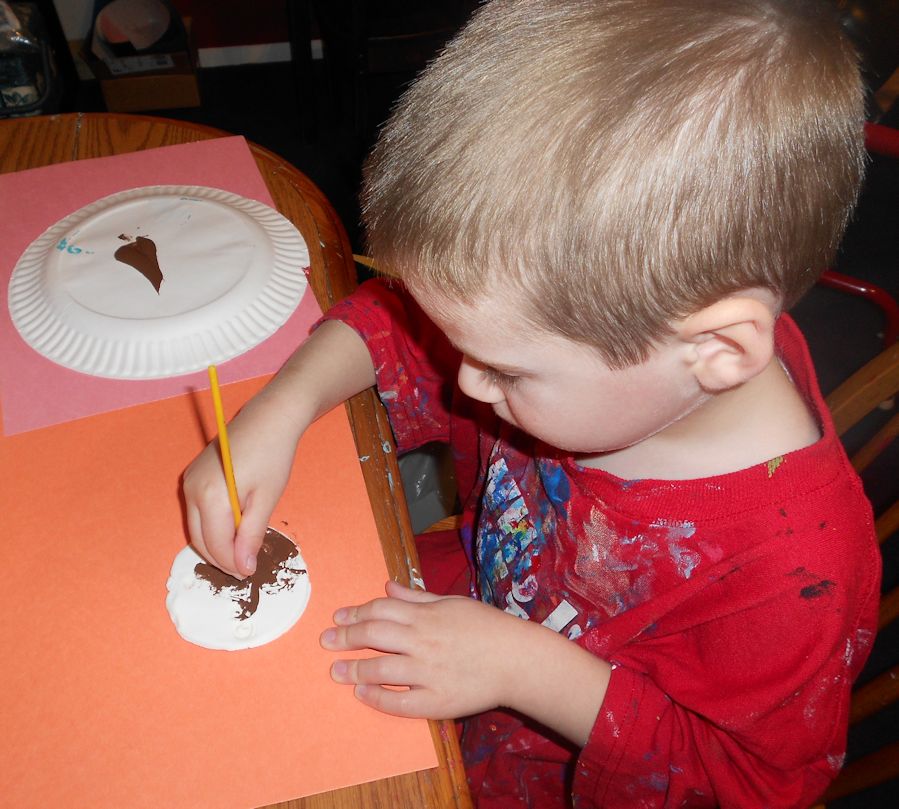
It all started on Facebook. My friend Cassie asked me to test out some salt dough and clay recipes and tell her which one was the best so she could make Christmas ornaments with her kids. Since we’d tried salt dough before, I decided we’d try this alternative recipe from The Woodside Kitchen. Instead of salt, flour, and water, it’s baking soda, cornstarch, and water. You mix it on low heat until it looks like mashed potatoes {enter my trusty assistant}, then form it into a dough ball.

Then you roll it, cut it, and stamp it {if you like}. So far, so good. We hadn’t been able to find a leaf cookie cutter {we found one several days later at Target}, so I used one of our dinner glasses to make circles. We poked holes using a straw, and used alphabet and leaf stamps to imprint our family’s names.
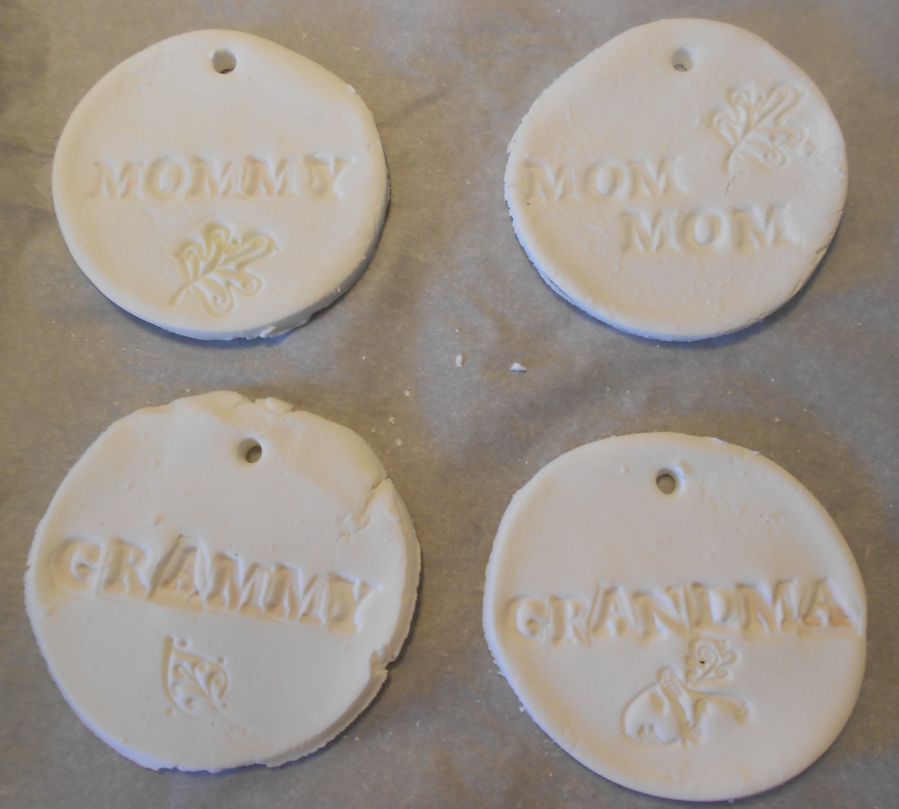
Then, you bake them. I don’t know if I didn’t bake them long enough or what happened, but they never felt as solid to me as the salt dough ones do. I felt like if I pushed on them too hard, they’d break kind of like a cookie. Despite my misgivings, we went ahead with the project and LC painted them.
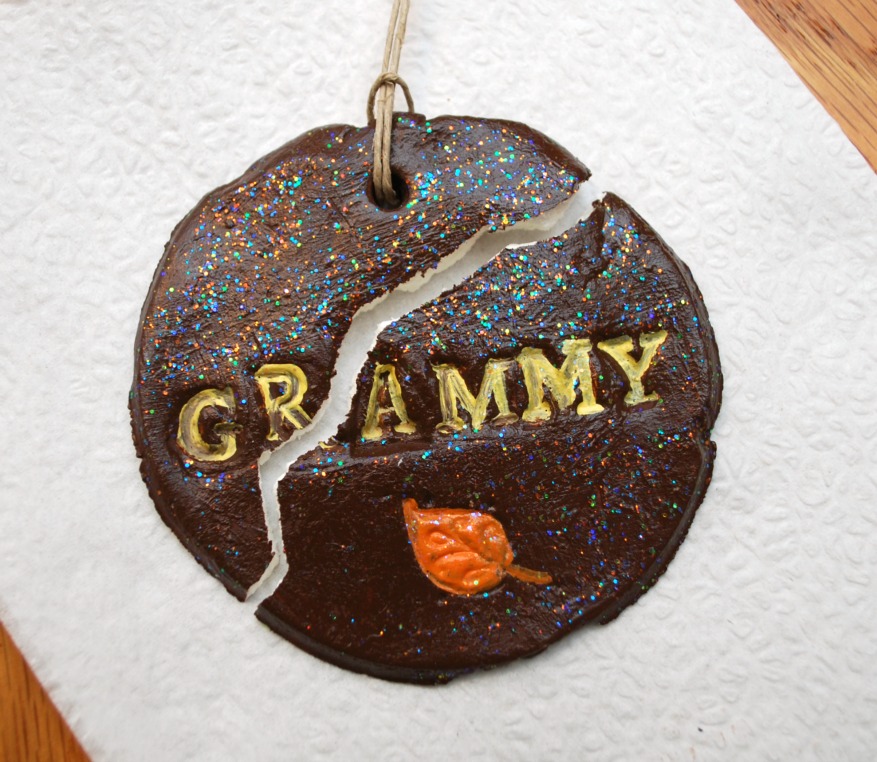
I did the detail work, painting in the names and designs, then we went over them with Sparkle Mod Podge. We tied jute through the holes and embellished them with little punched out cardstock pieces that I stamped the word “grateful” on. Pretty, aren’t they?
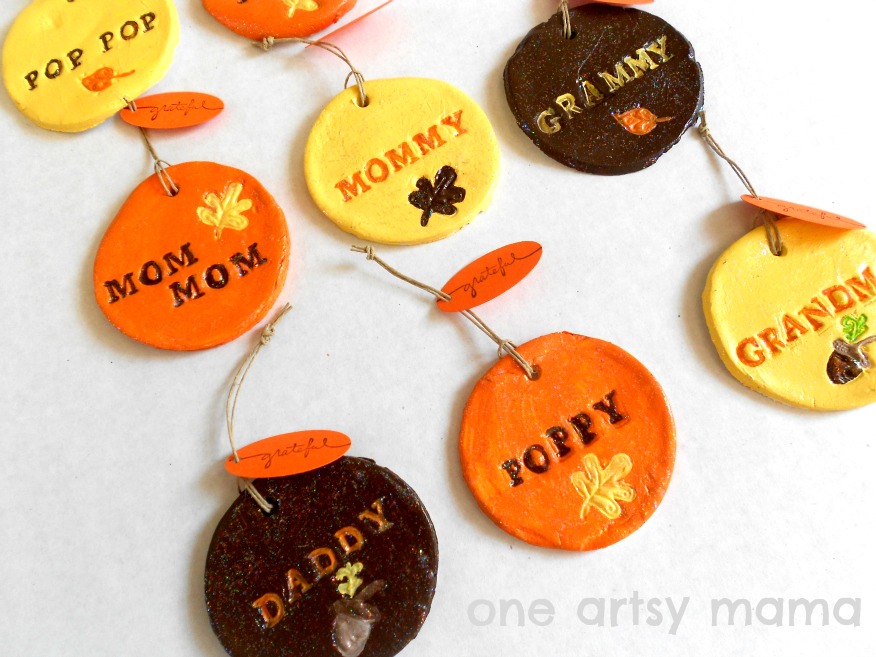

Unfortunately, here’s what happened. It wasn’t even that we did anything to them; all they did was sit on the counter, but after a day, they started to have visible cracks {you can kind of see the crack in the Grammy ornament in the photo above}, and they continued just to pull apart all by themselves until finally they just started to split like this one did.
Waaah! Craft Fail! So much time and effort, and that’s what we have to show for it! Boo hoo. I hate when that happens.
But, here are the silver linings…
1. We didn’t really waste much money because I spent less than a dollar on supplies. Everything else we already had on hand.
2. The design turned out really cute! So, we could always replicate the design idea {or you could!} using salt dough or another more solid material.
3. The painting part wasn’t the fail! So hopefully Carrie will still ask me to participate the next time she has a fun event like Crafty Cornucopia going on…
So, while it’s a disappointment, at least I got a few pretty pictures and a nice idea for another time. Plus, it gave me an excuse to buy the leaf shaped cookie cutter when we found it and make up another project, right? And anyway, today is all about being thankful. So, I’m going to chalk it up as a fun day with my Little Crafter and I’m going to focus on all the good things instead!
Happy Thanksgiving!
Counting My Blessings,

Oh no! Well they sure started out well especially with that cute assistant! Sorry the recipe failed but I do love the way they looked before with their bright colors and cute stamped names!
Awww boo! Those seriously did turn out so cute though!!
We used this recipe just the other day and I too noticed that one of ours began to crack. When I took them out of the oven, the one that ended up cracking still felt a little flexible in the middle– so I am thinking it just needed more time in the oven. The other ones have yet to crack and felt much more solid– they were also shaped using cookie cutters, so they were not as big as our circular one. Oh well… if they only broke one way, you could hot glue them back together!
We’ve had some bad home made dough experiences as well! The worst was when my son told me ‘I not good at play dough :(” The little name tags were so cute! I’m hoping to do something similar with sculpy which I hope holds up better.
I just clicked on the link– and it was the same recipe that we used (the baking soda one!) I feel a bit better– and I’ll tell my son that he *is* good at playdough!