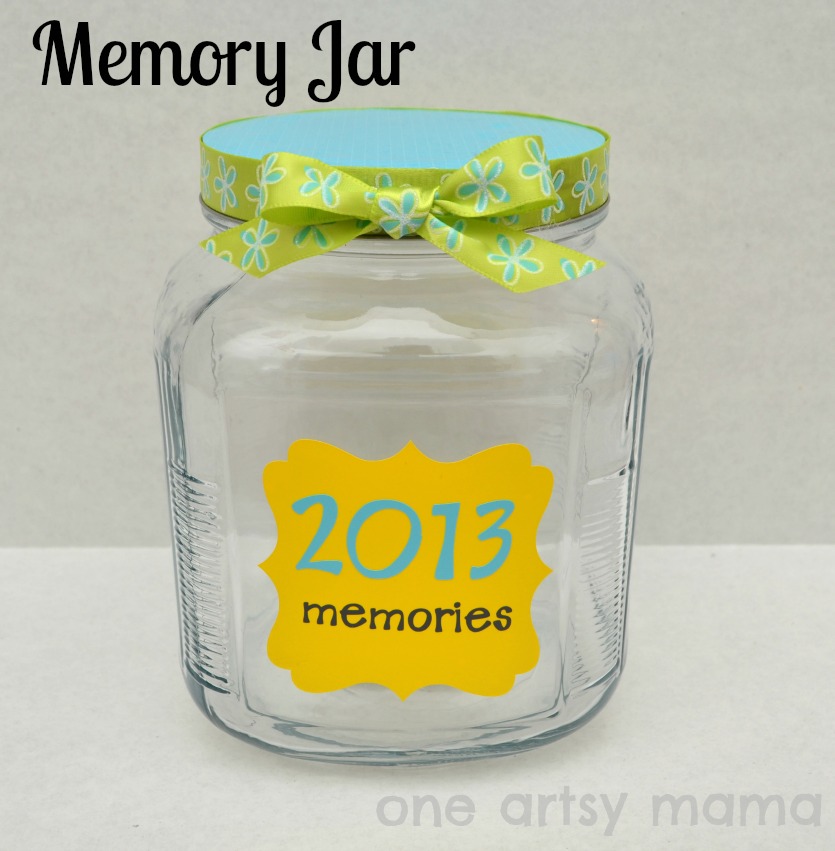
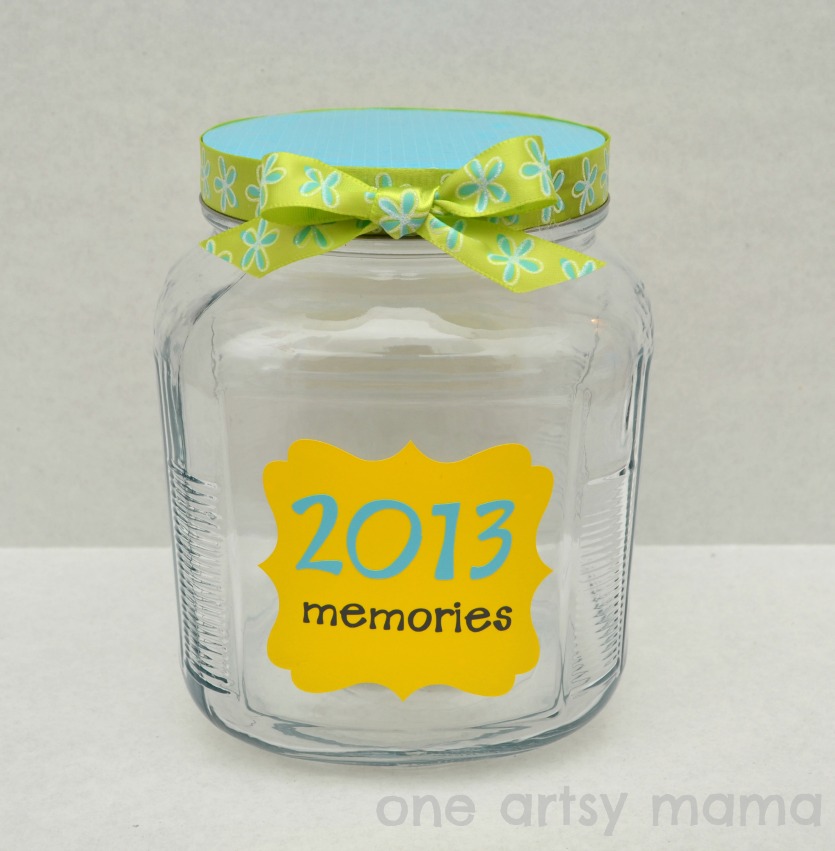
Friends, are you ready to see the next project Cammie {my fabulous Silhouette Cameo} helped me to make? Here it is!
I saw a bunch of these all over the internet right around New Year’s Day, then last week’s most viewed project at Shine on Fridays {made by Phaedra’s Adventures} reminded me that if I wanted to make one, I better get started before the whole month of January got away from me!
The idea is that each time a really special memory happens throughout the year, you jot it down on a slip of paper and put it in the jar. Then, at the end of the year, you have a fun and easy way to look back on your memories!
Materials:
– jar {mine is from Walmart, $4}
– adhesive vinyl
– Silhouette Cameo and Silhouette Studio software
– scrapbook paper
– ribbon
– pencil and scissors
– Mod Podge Super Gloss
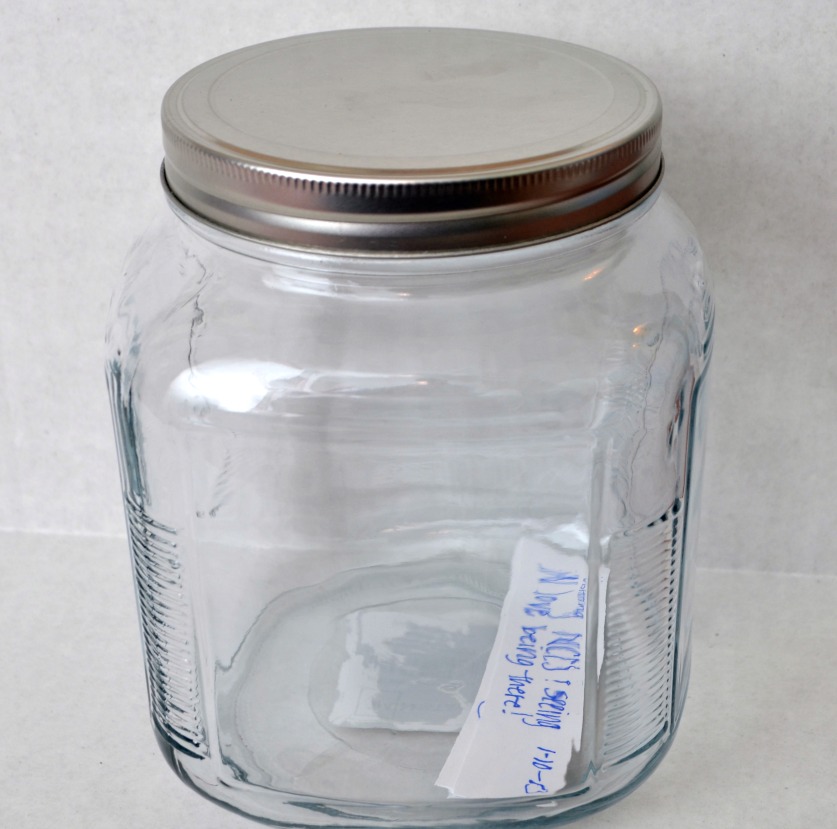
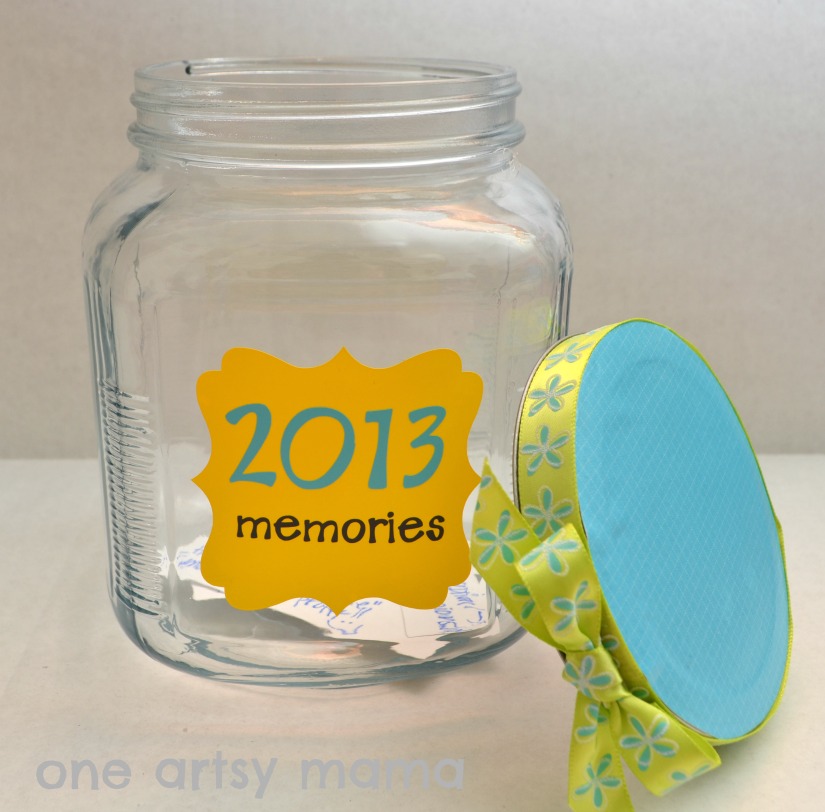
Here’s my plain, boring jar, all ready to hold our memories for the year! In fact, you can see that I was so impatient to begin that there are actually a few in there already! {Like our visit to LC’s potential school and the Jacoby Jones touchdown reception that helped the Ravens go to the AFC Championship! You know, important things like that.}
STEP 1: Cut label of your choice from adhesive vinyl and apply it to the front of your jar.
I thought about doing a black and white
chalkboard-esque label like I did for
my canisters, but I wanted to do something different and I thought it would be fun to make it colorful and bright. How did I choose the colors? Well, after hours of careful deliberation…just kidding. Yellow was the color I had enough of to get a 3×3 label out of it. 😉 That’s how I roll.
STEP 2: Choose your favorite font {mine is LD Carefree Black, in case you couldn’t tell} and cut out the year. Adhere to your label.
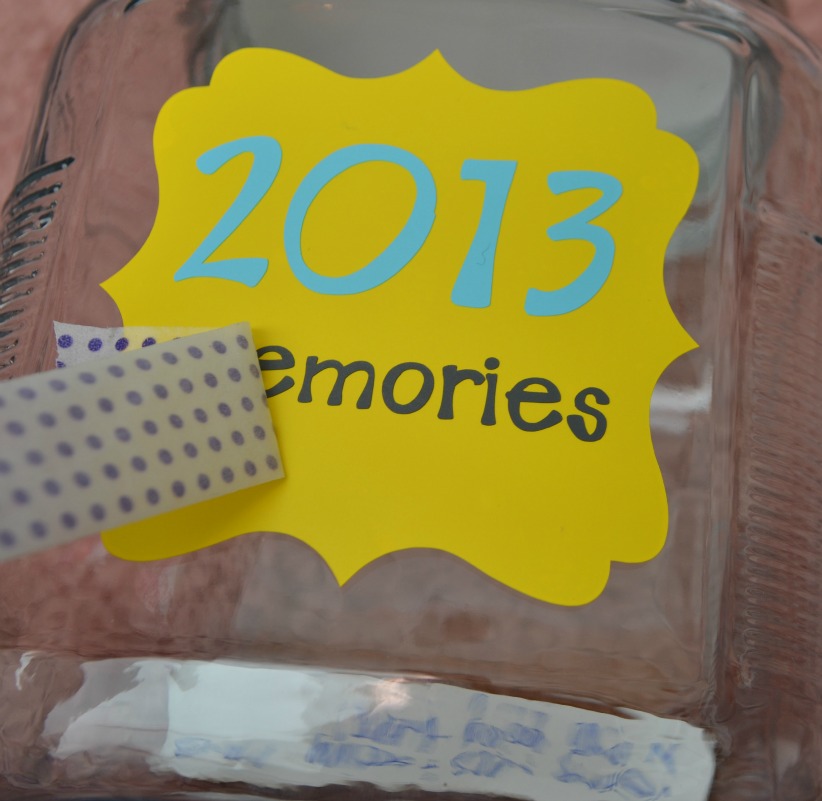
STEP 3: Cut out the word “memories” and adhere it to your label.
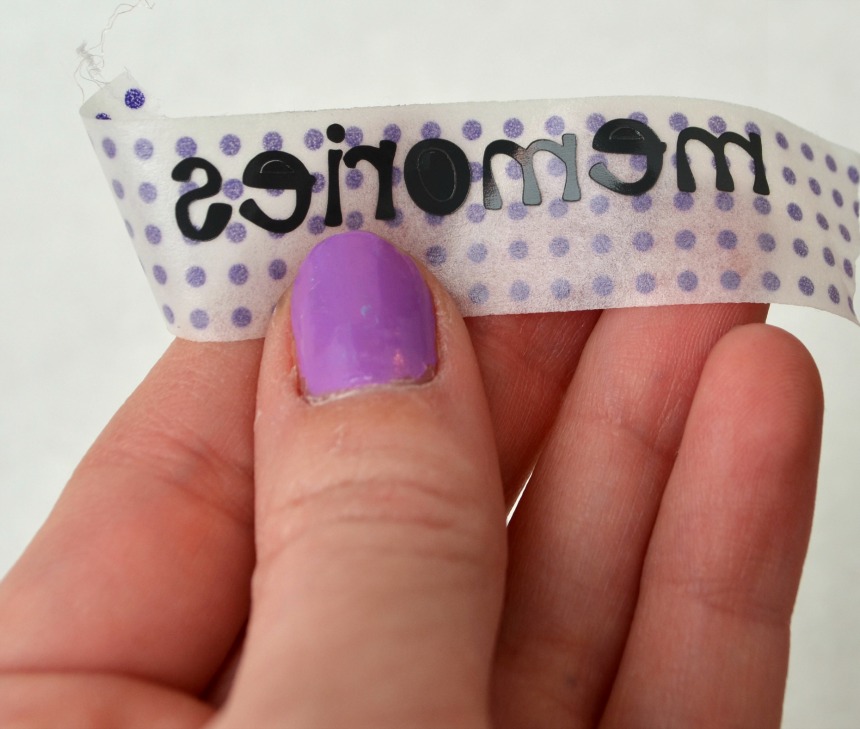
Now here’s where things got really cool. I complained in an early Cammie-inspired post about how my letters were crooked when I applied them, so several people suggested that I try transfer tape. Which I fully intend to do…once I buy some. In the meantime, I suddenly wondered if washi tape would do the same thing? I put the washi tape on my cut vinyl, and sure enough…it pulled the letters right up! Score one for washi tape!!
I peeled the vinyl out of the ‘e’s’ and ‘o’ and then stuck the whole thing on my label.
Lookie! When I peeled it off, sure enough, there were my letters, nice and aligned just like Cammie cut them out. Except that the entire word may or may not be slightly crooked. Shhh. That’s just between you and me. Oh, and the rest of the blog-reading world. Poop.
STEP 3b: Admire. Ooooh. Aaaahhhh. And congratulate yourself on not spending money on transfer tape when washi tape works just as well.
STEP 4: Trace your lid onto scrapbook paper. Cut it out and Mod Podge it on. I put Mod Podge on the lid surface as well as over the top of the paper to make it waterproof and glossy.
I applied my Mod Podge with a super high-tech tool that you can’t imagine the price of. My finger. Ah, the secret habits of the Artsy Mama…
STEP 5: Using your high-tech spreading tool, apply Mod Podge around the rim of the lid and press ribbon into place.
STEP 6: Tie a bow and glue it to the front.
*TIP* screw the lid on first, before you randomly place the bow. If your jar is like my jar, the same spot will always end up in front. Pretty nifty. Unless, of course, you glued your bow in the wrong place. Just sayin’. So yeah, replace lid first.
STEP 7: Enjoy! Begin inserting memories!!!
Does your family have a memory jar? How do you remember the special things that happen throughout the year?
Hugs & Glitter,


Beautiful!
Brilliant to use washi tape for that! I’ve just been using regular clear tape, but it’s a little too sticky…
That ended up super cute. And great tip for using washi tape in a pinch or for the small stuff. Cool!
Such a cute idea…Nice bow 🙂
I really like this.
My husband and I started a memory jar but we’ve been really bad about keeping up with it. I’m thinking about putting up it’s own shelf in a main area of our place so it’s easy to get to and a friendly reminder when we see it to actually write about our joys and fun memories we make with our little one.
Love what you did with your jar! It’s help give me a few ideas for the one we have. 🙂
Great post, and love your blog!
http://www.mydiscoveredthoughts.blogspot.com/
This comment has been removed by the author.
I made one for each of my four (grown) children this Christmas. I used a canning jar with a zinc lid and for the label I flattened a silverplated soup spoon, cut the handle off then metal stamped: THE______’S MEMORY JAR on one side. Then I drilled a hole at the top and bottom, added a few charms at the bottom and strung ball chain at the top. The label “necklace” fits over the jar lid. They say they are filling their jars already.