Gratitude Centerpiece
Friends, can you believe we’re already more than halfway through October?! The holidays will be here before we know it! To help us get in the mindset for counting our blessings and giving thanks, some of my favorite bloggers have teamed up to bring you 10 “Giving Thanks” projects. I think you’re going to love them as much as I do!

For my project, I wanted to create a piece of home decor I could use as a visible reminder to be grateful for all that we have. It’s so easy to take for granted what’s right in front of us, isn’t it? Each day, I’m surrounded by my sweet family in my comfortable home, and we have more “stuff” than we need, and yet I don’t always remember to be grateful for it. Instead, I think about the things I wish I had…the latest gadget or a new couch or another pair of shoes. It’s silly, really. Because honestly, I’m blessed beyond measure. I’ve seen the hashtag #firstworldproblems several times lately and every time I do, it’s a kick in the pants because it reminds me that the things I’m taking for granted day after day are things so many people in the world would love to have. Clean water. A healthy family. Enough money to buy food.
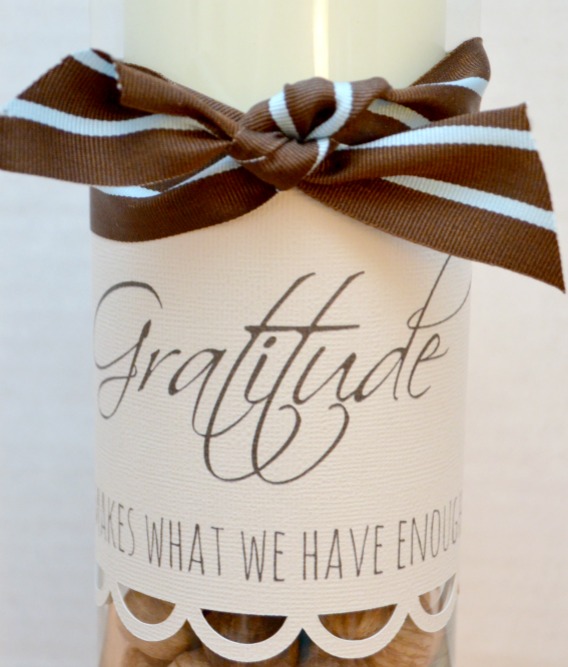
The other day, I came across this quote, “Gratitude makes what we have enough.” Let that sink in a minute. When we’re truly and deeply grateful for what we do have, suddenly the things we don’t have become a whole lot less important, don’t they? I decided to incorporate that quote into a decorative piece that will remind me to stop and give thanks whenever I see it. Here’s how I did it…
GRATITUDE CENTERPIECE

Materials:
– glass vase {make sure it’s straight, not tapered, or this won’t work right}
– Silhouette adhesive backed cardstock
– ribbon
– vase filler {we used hazelnuts we found in the neighborhood}
– candle
– Silhouette cutting machine, cutting mat, and software
– printer
STEP 1: Create your text. Since I like you all so much, though, I thought I’d save you a step and share mine! If you want to use what I did, just right click the image and save it to your computer! Yay, step 1 done!
 STEP 2: Insert your text image into Silhouette Studio. I used the grid markings to help me center it. Then, add a border. I used my eraser tool to erase the top edge of the border and just leave the scallops. Then, I drew my own line {not pictured} on the other side of the text.

STEP 3: Using the print settings in your software, print your design onto a sheet of adhesive backed cardstock. Then, load that into your machine and cut the design. {Don’t forget, the specialty media like this cardstock is on sale right now for 30% off using the code ARTSY!}

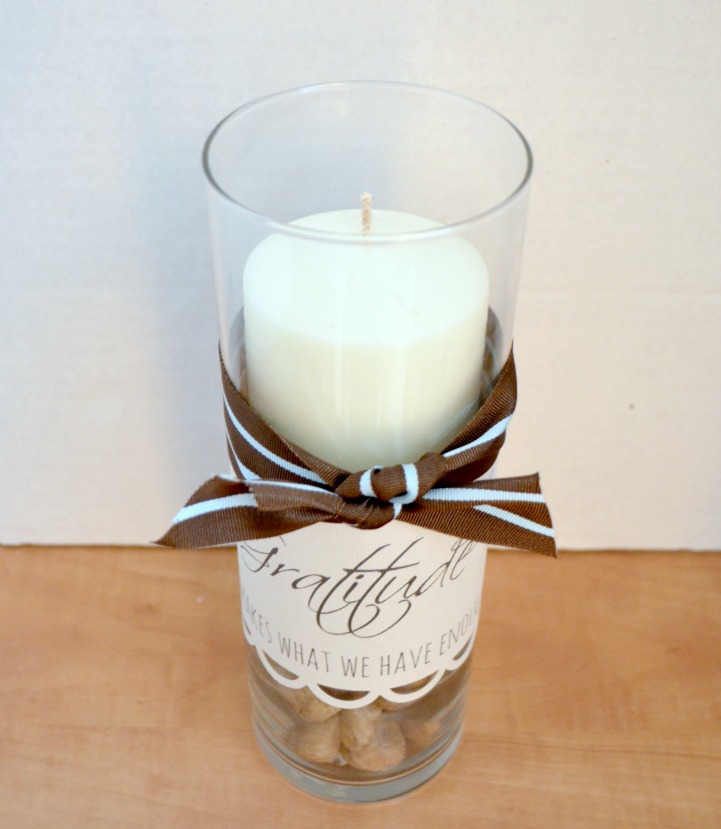
STEP 4: Peel and Stick! This was so easy! All you do is remove the cardstock from its backing and wrap it around the vase! I have to admit, I honestly didn’t know if the adhesive would be strong enough to stick to the glass and stay there. I’ve tried wrapping things around vases before and securing them in the back with various types of glues and adhesives, and I often have trouble with that. But, this really worked! I made it on Monday afternoon, and it’s still holding just as strong as ever, so I think it’s good to go for the long haul!

STEP 5: Add a ribbon accent. I liked this wide brown ribbon and the fact that it had a touch of color to it with the blue stripe. You can use any type, size, and color ribbon you like, or even something natural like jute.
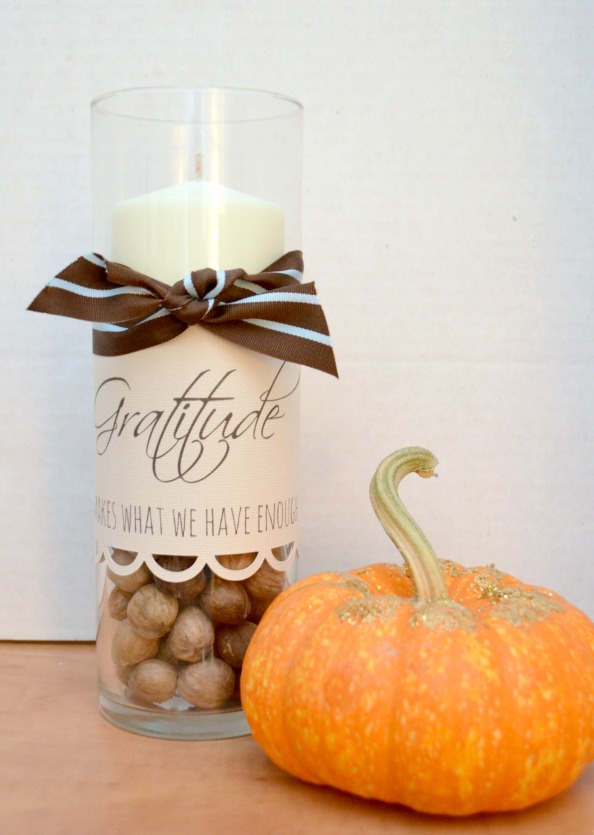
STEP 6: Fill and enjoy! I chose to fill ours with the nuts and a candle. You could also use it as a vase to hold flowers, or put any kind of filler inside that you like. You can even change the filler seasonally if you want to use it all year round!
I absolutely love how it turned out and am excited to add it to my fall decor collection. It’s such an important reminder for me, and for everyone else who spends time in our home.
Now– if you have a minute, go and visit a few of my friends, who also took some time to reflect on thankfulness:
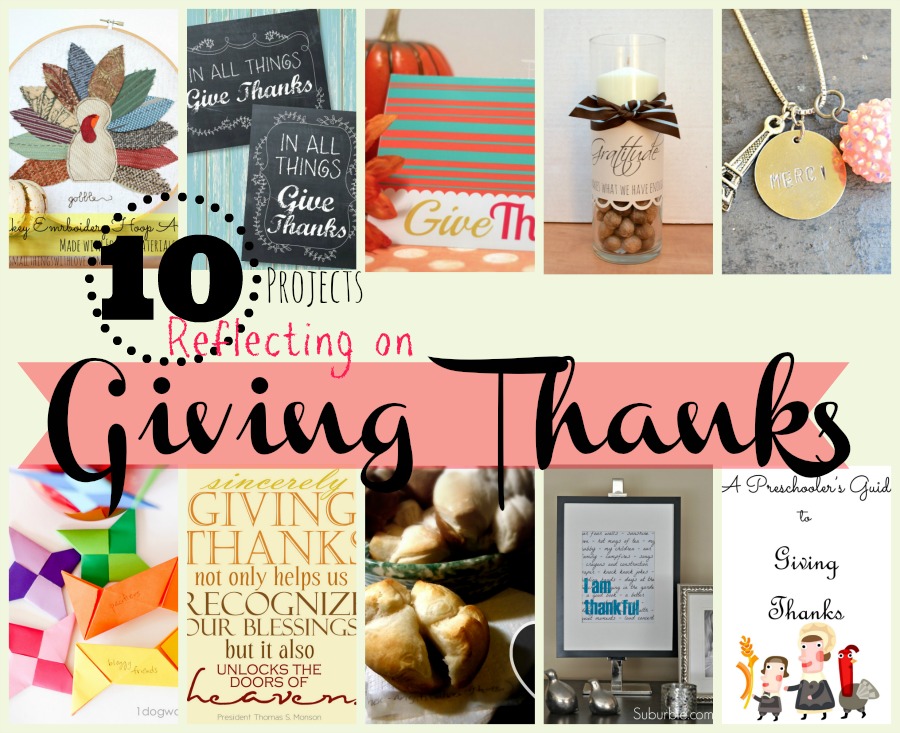
Nancy’s Turkey Embroidery Hoop Art
Kara’s In All Things Give Thanks Printable
Bethany’s Give Thanks Printable
Kristen’s French Inspired Stamped Necklace
Chiwei’s Origami Ninja Star Thankful Ornaments
Sky’s Giving Thanks Printable
Marilyn’s Thanks Dinner Rolls
Tara’s An Art Piece to Give Thanks
Melanie’s A Preschooler’s Guide to Giving Thanks.
Oh, and don’t forget to take advantage of the Silhouette promotion and get your adhesive cardstock and other specialty media for 30% off with the code ARTSY! {I’m an affiliate, so I do make a small commission on those sales; thanks for helping send LC to school!}
Hugs & Glitter,


Beautiful!
That’s really pretty, you have hazelnuts growing in the neighbourhood how fun!
I love this! And now that I have my very own Silhouette and can actually make it! WOOT! 🙂
Awesome idea! I love how simple it is and that you can change it up for different Holidays.
This is just beautiful! I love the quote and the scallops and, well, everything!
Love the quote and love how you wrapped it around the candle. Great idea!
This is beautiful, Amy, I love it! There is no end to your creativity. 🙂 Wait, I’d say you’re a creativity expert! 😉
Aww, thanks! Now be sure and tell Martha that next time you see her. 😉
Love it, Amy! This is simple, but so meaningful! This would be a fabulous hostess gift if you were visiting someone for Thanksgiving dinner!
Liking the adhesive backed cardstock!
Ah, good ol’ Cammie. I love that it’s a small centerpiece (for small tables like ours) but it has tons of meaning. Really beautiful!
What a great use for the adhesive-backed cardstock. After using it on my photo booth props, I was SO impressed how handy dandy it is – – and so easy to use. The printing on it looks professional, and the saying you used is such a good reminder to us all. Great project, Amy!
Beautiful!! Love it!!
Amy this is such a beautiful centerpiece! It will look great on your Thanksgiving table!
I am putting together a last minute Thanksgiving craft round-up. Can I include this with a link back?
Amy this is such a great idea for Thanksgiving! It is beautiful! I gave it a shout out so hopefully more people will stop by and see it!
http://goo.gl/MvHJqo
Marilyn