Love You to the Moon and Back Necklace
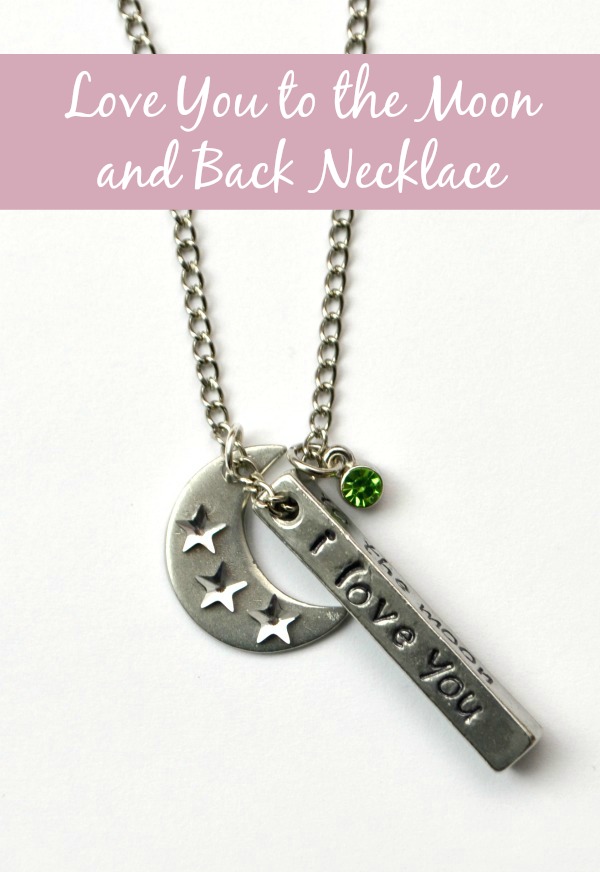 Hey, friends! Do you have a special something that you say to your kids or maybe your spouse? For several years now, Little Crafter and I have been telling each other, “I love you to the moon and back infinity x infinity times.” I decided to make myself a special necklace to wear with our saying on it to keep it close to my heart. I know we’re not the only ones to use the “Love you to the moon and back” part, I thought I’d share a little tutorial in case you’d like to make one too…or adapt it for whatever your own saying might be!
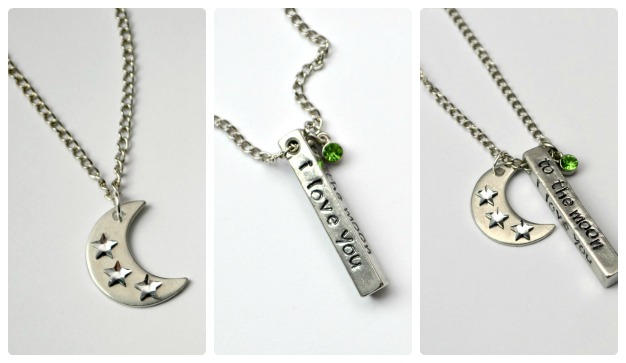
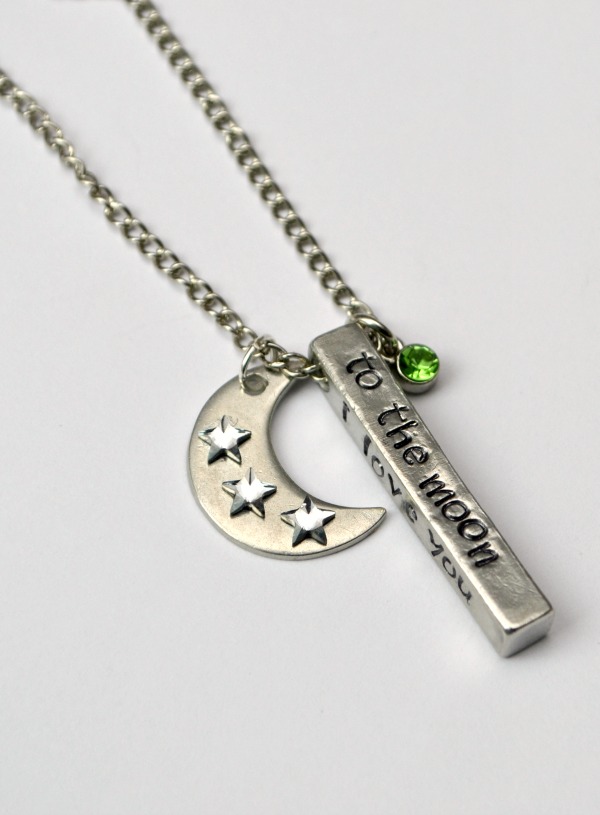
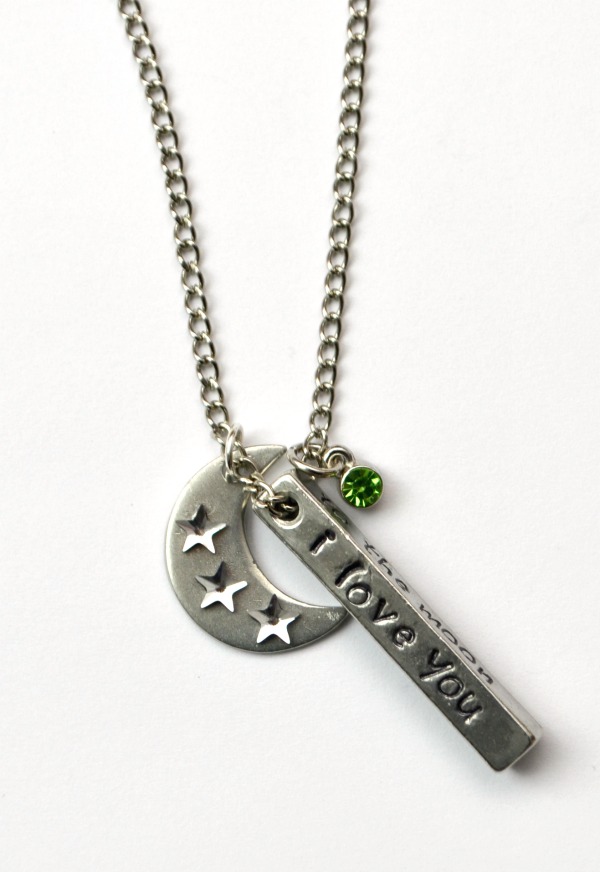
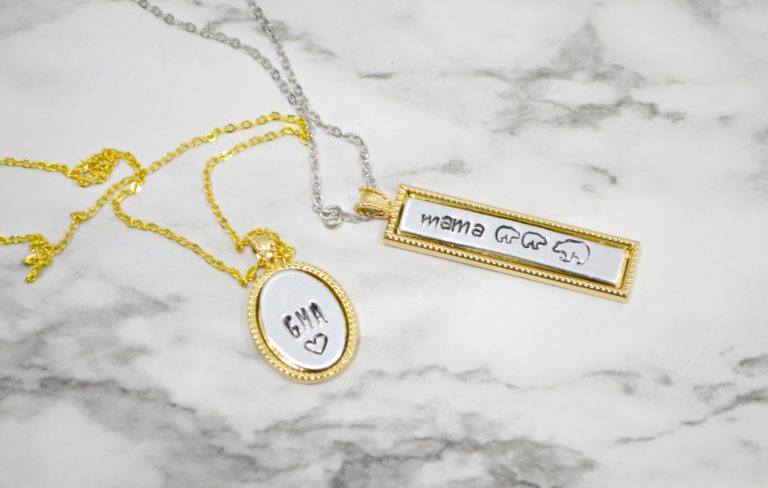
This necklace actually has two parts to it; you can make and wear either piece separately, or put them together like I did…look, 3 necklaces in one!
Here’s what you need…
{a few of these are affilate links}
Materials:
The Moon Piece
– ImpressArt Soft Strike Pewter Blank: Moon
– Flat back Swarovski Stars
– Super Glue
– Jump Ring
The Bar Piece
– ImpressArt Soft Strike Pewter Blank: 1 1/2″ Rectangle
– Juniper lowercase alphabet metal stamps
– Hammer
– Steel Stamping Block
– Black Permanent Marker
– Jewelry Polishing Cloth
Other tools/materials
– Necklace chain
– Needle nose pliers
– Colored bead/charm
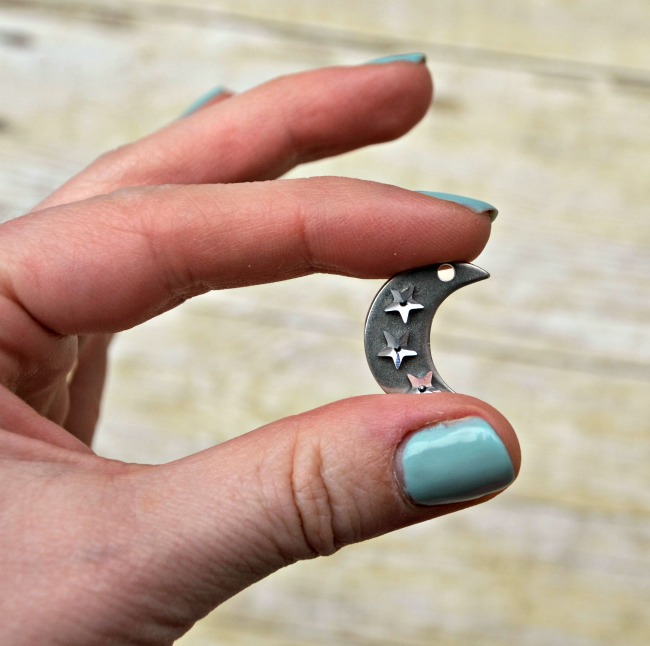
The Moon:
All you have to do for this is place three tiny dots of super glue on your moon shaped blank and add the flat backed crystal stars on top. To make sure I didn’t get an excess of glue, I put the glue on a toothpick first, then touched the toothpick to my blank.
Once the stars are in place, just add a jump ring in the hole and place it on a chain. Remember, when you open a jump ring, always use your pliers to twist it apart at the seam rather than pulling the ends in opposite directions. If jump rings and jewelry making are new to you, check out my Beading Basics post for photos and details.
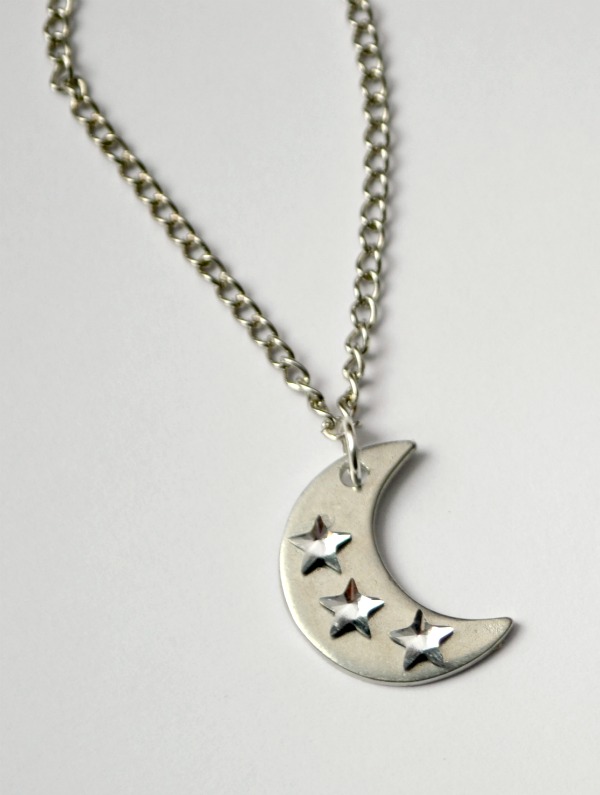
That’s it for the moon; it’s ready to wear…gotta love that sparkle! Now, moving on to the bar…
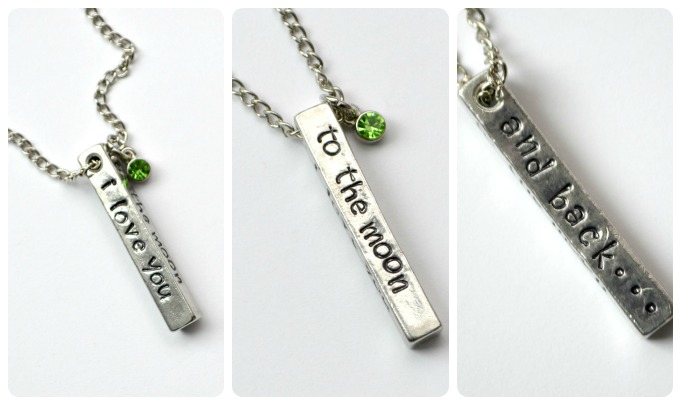
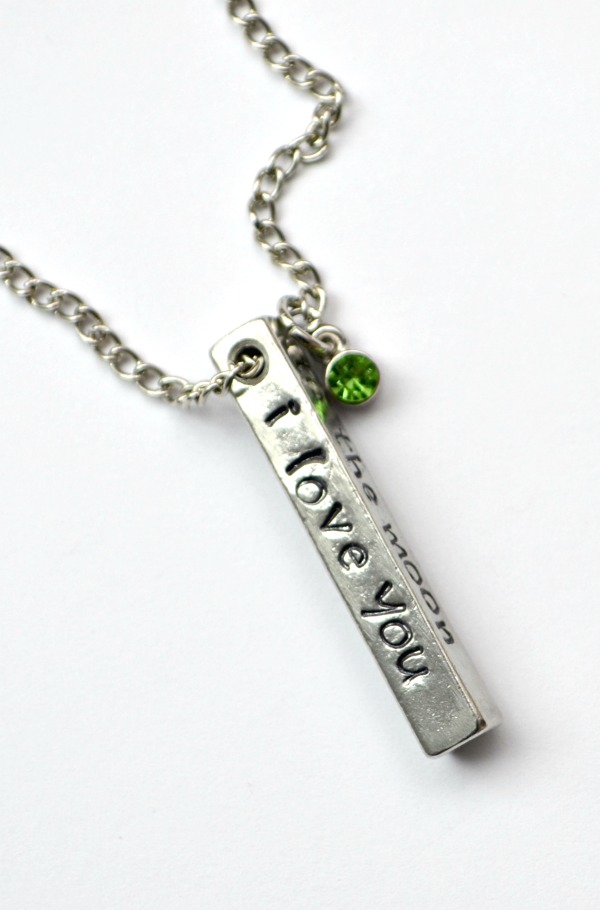
Step 1: Place your bar blank on the steel stamping block. On the side that will be to the left, use your hammer and alphabet stamps to stamp “I love you.” Turn your blank and stamp, “to the moon” on the front side, then, “and back…” on the right side. If you’ve never stamped before, it’s easier than you think! All you do is give each stamp a good solid tap with your hammer and voilá! For a full photo tutorial on basic stamping techniques, check out my Stamping 101 post and you’ll get all the details.
Step 2: Color in the stamped letters with a black permanent marker, then use a jewelry polishing cloth to rub off the excess.
Step 3: Thread a chain through the hole in the blank.
That’s all you have to do! Add a little colored charm {mine happens to be LC’s August birthstone} and you’ve got a necklace with a sweet message.
Now, you can put all the pieces together if you like!
What do you think? Is this something you say to a special person in your life?

So cute – love that it is so versatile too. Cathy
I love all the different elements of this necklace. So pretty!