Sculpey Clay Coasters
One thing you’re guaranteed to find in just about any home you visit is a set of coasters. We all need to protect our furniture from the damage a wet or hot glass can do, so coasters are as useful as they are decorative and fun. Here’s a quick and simple way to make your own set using polymer clay. If you’ve never worked with clay before, these clay coasters are a great starter project because there’s nothing too intricate and no special skills required. Instead, you’ll see how easy clay can be to use! These also make great bridal shower, wedding, and housewarming gifts!
Materials:
– Sculpey Premo clay, 1 oz per coaster
– clay roller
– disposable plastic cup
– parchment paper or foil
– baking sheet
– optional: stamps or other decorative materials
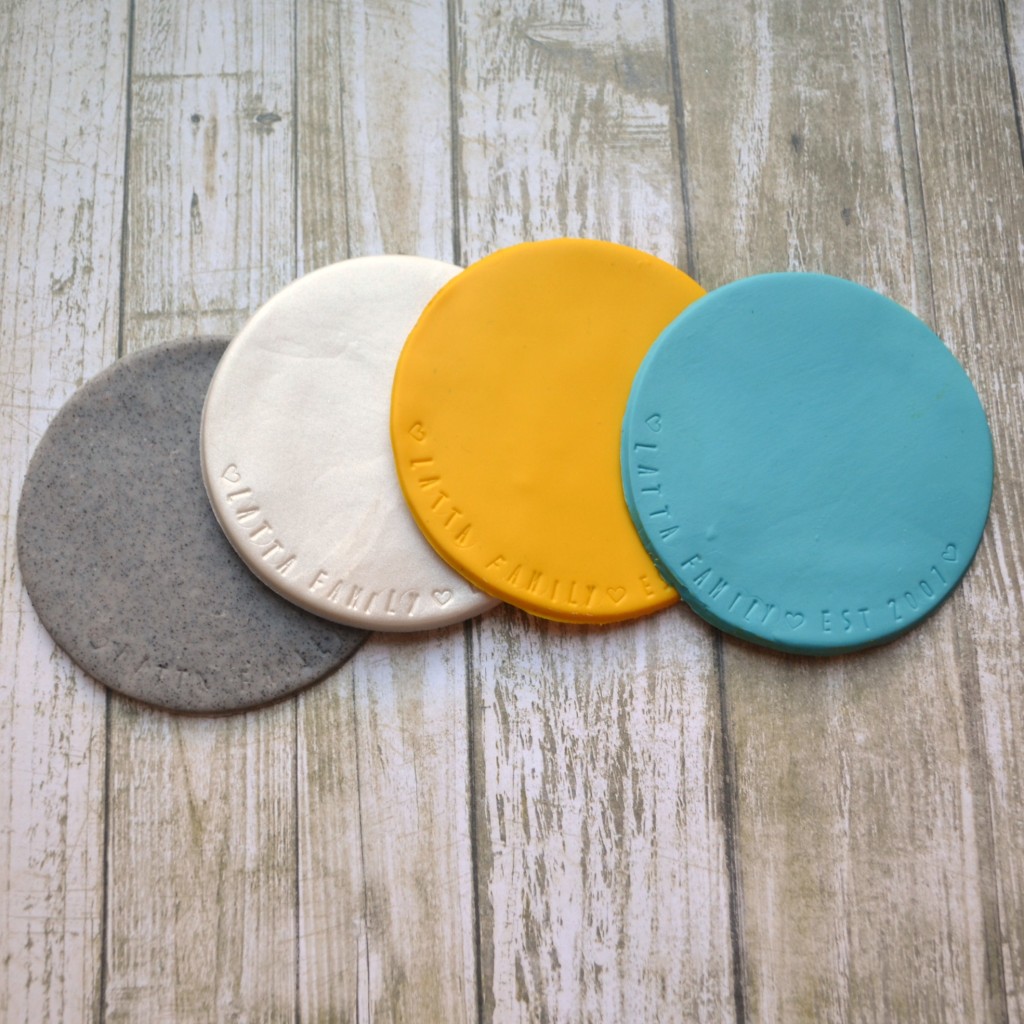
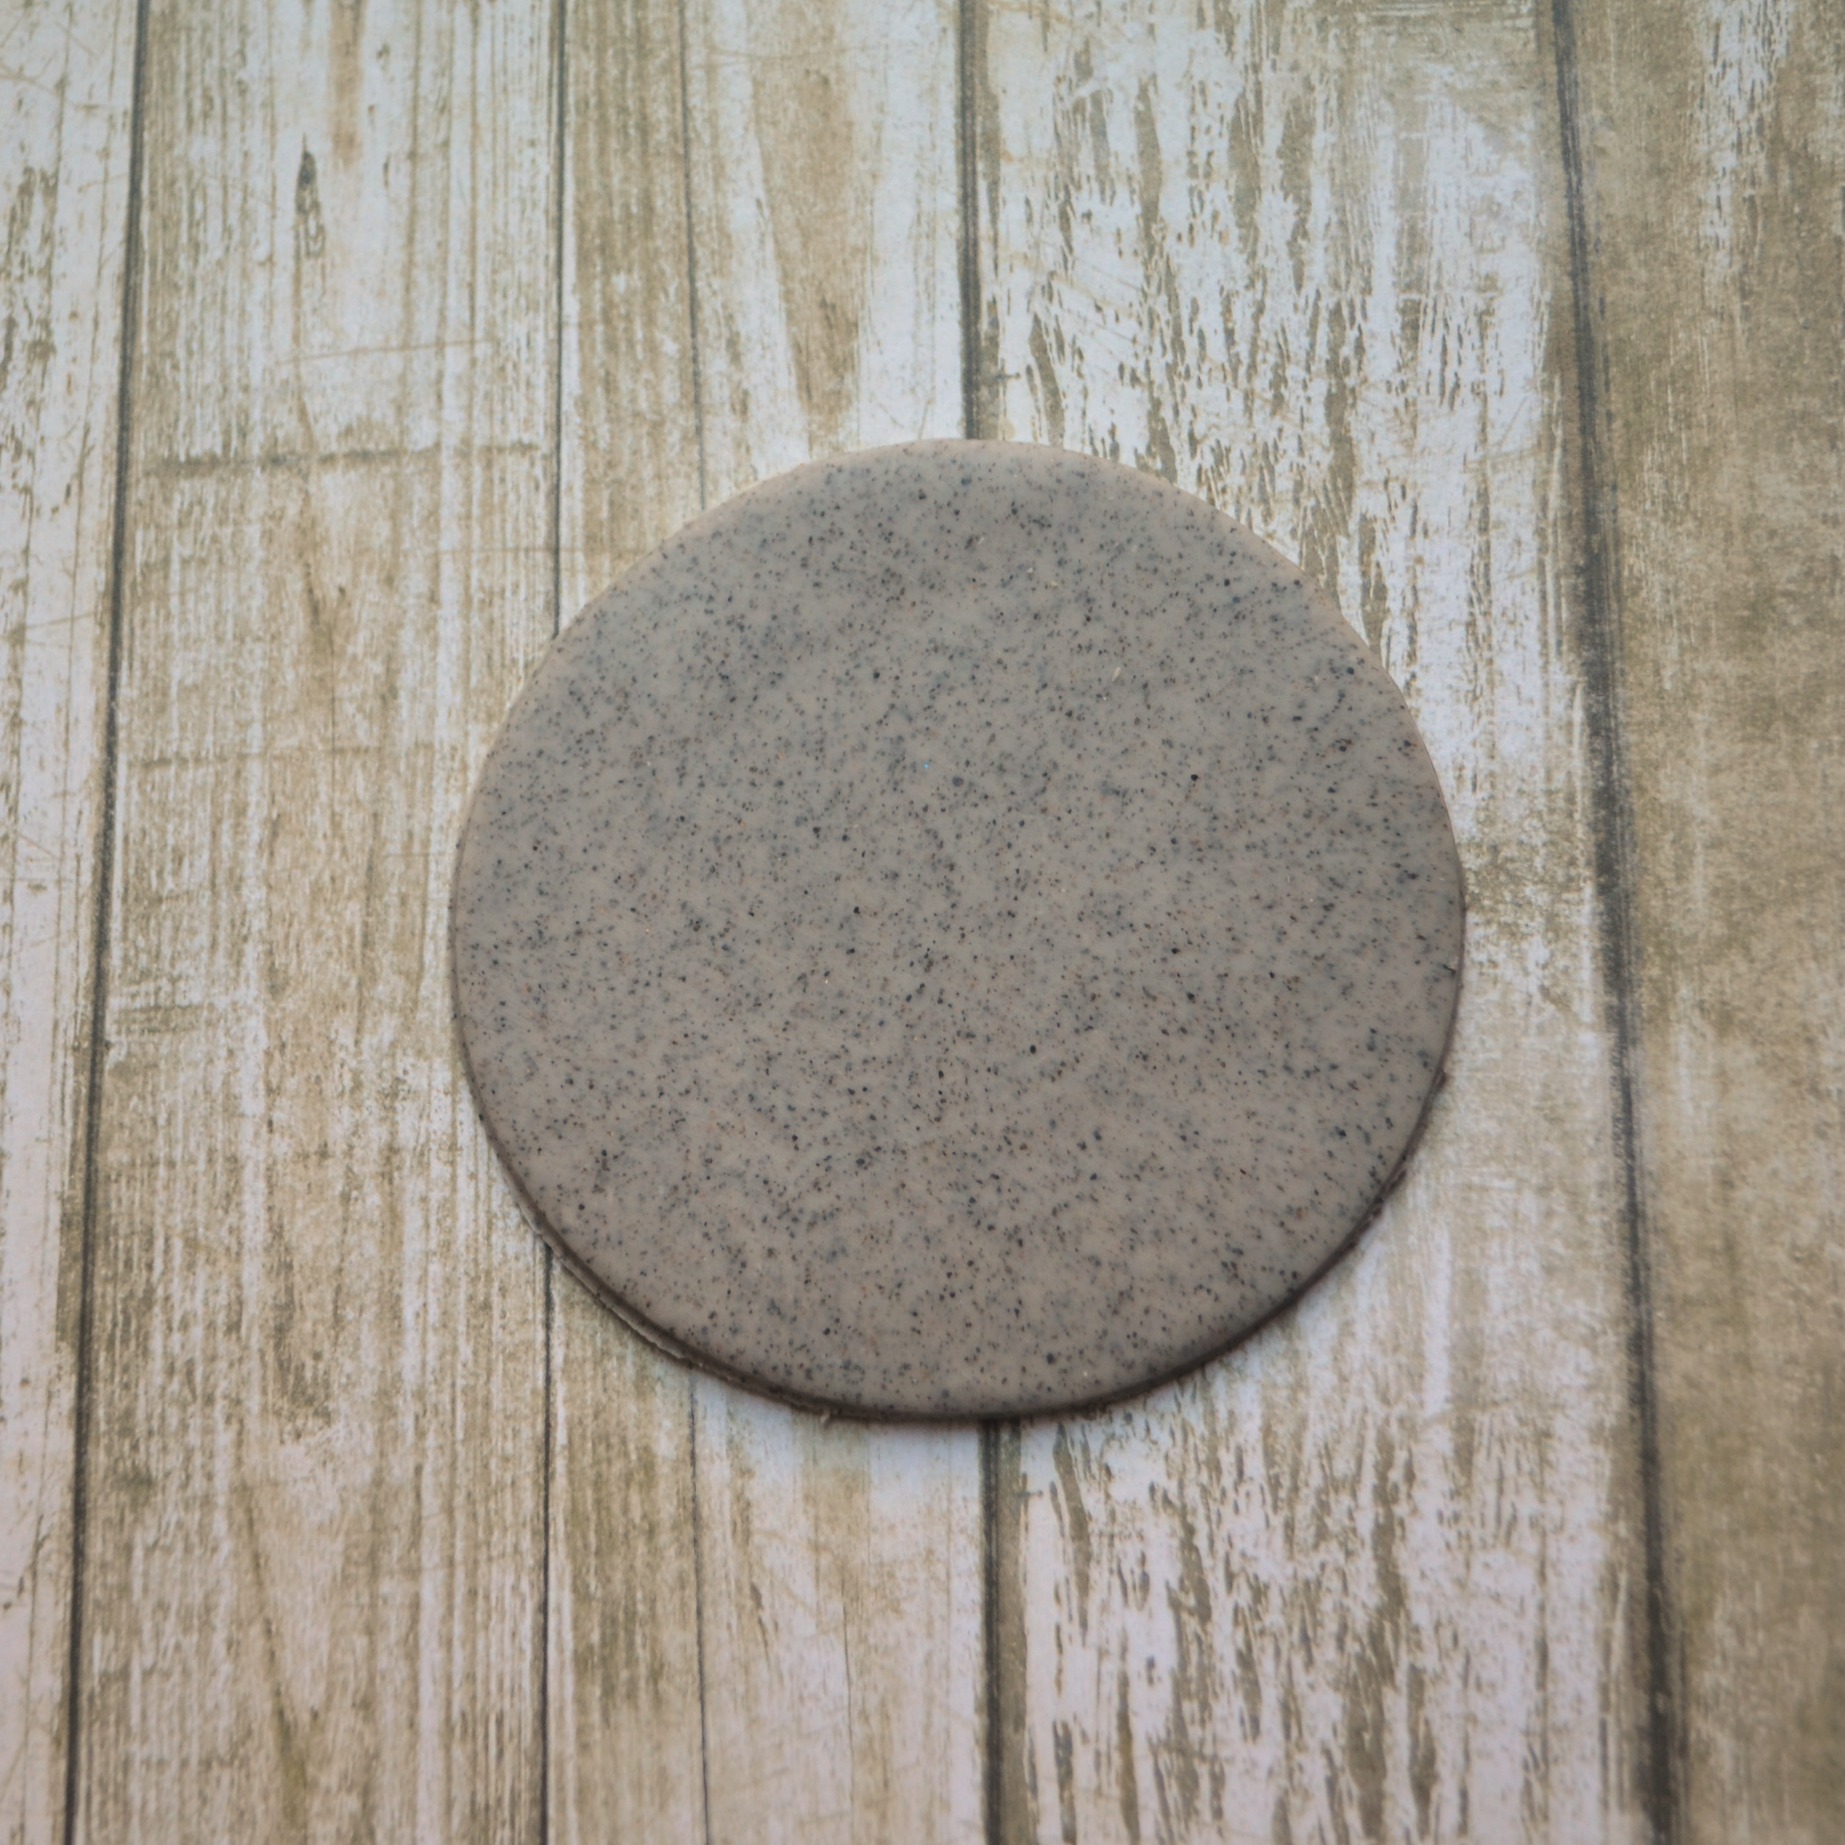
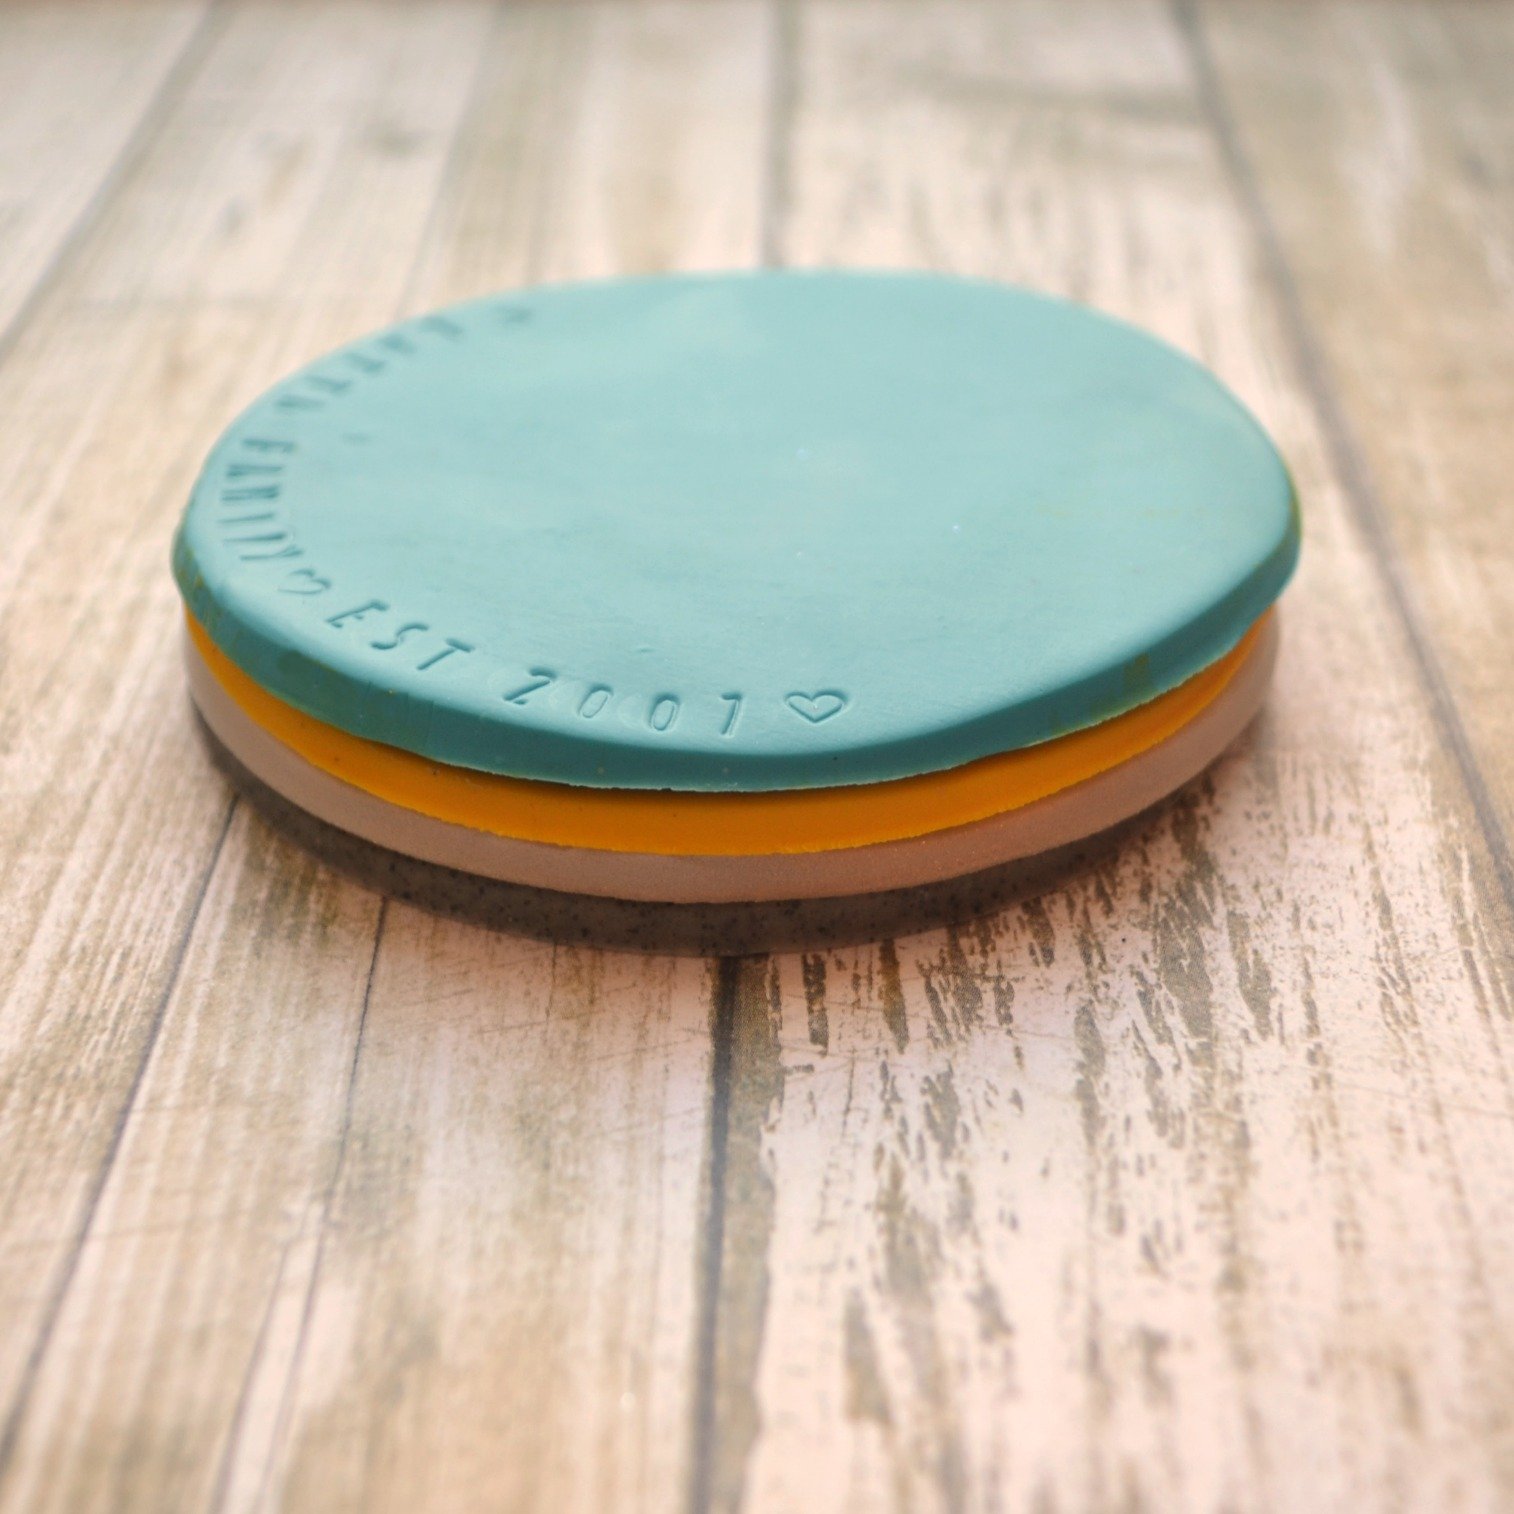
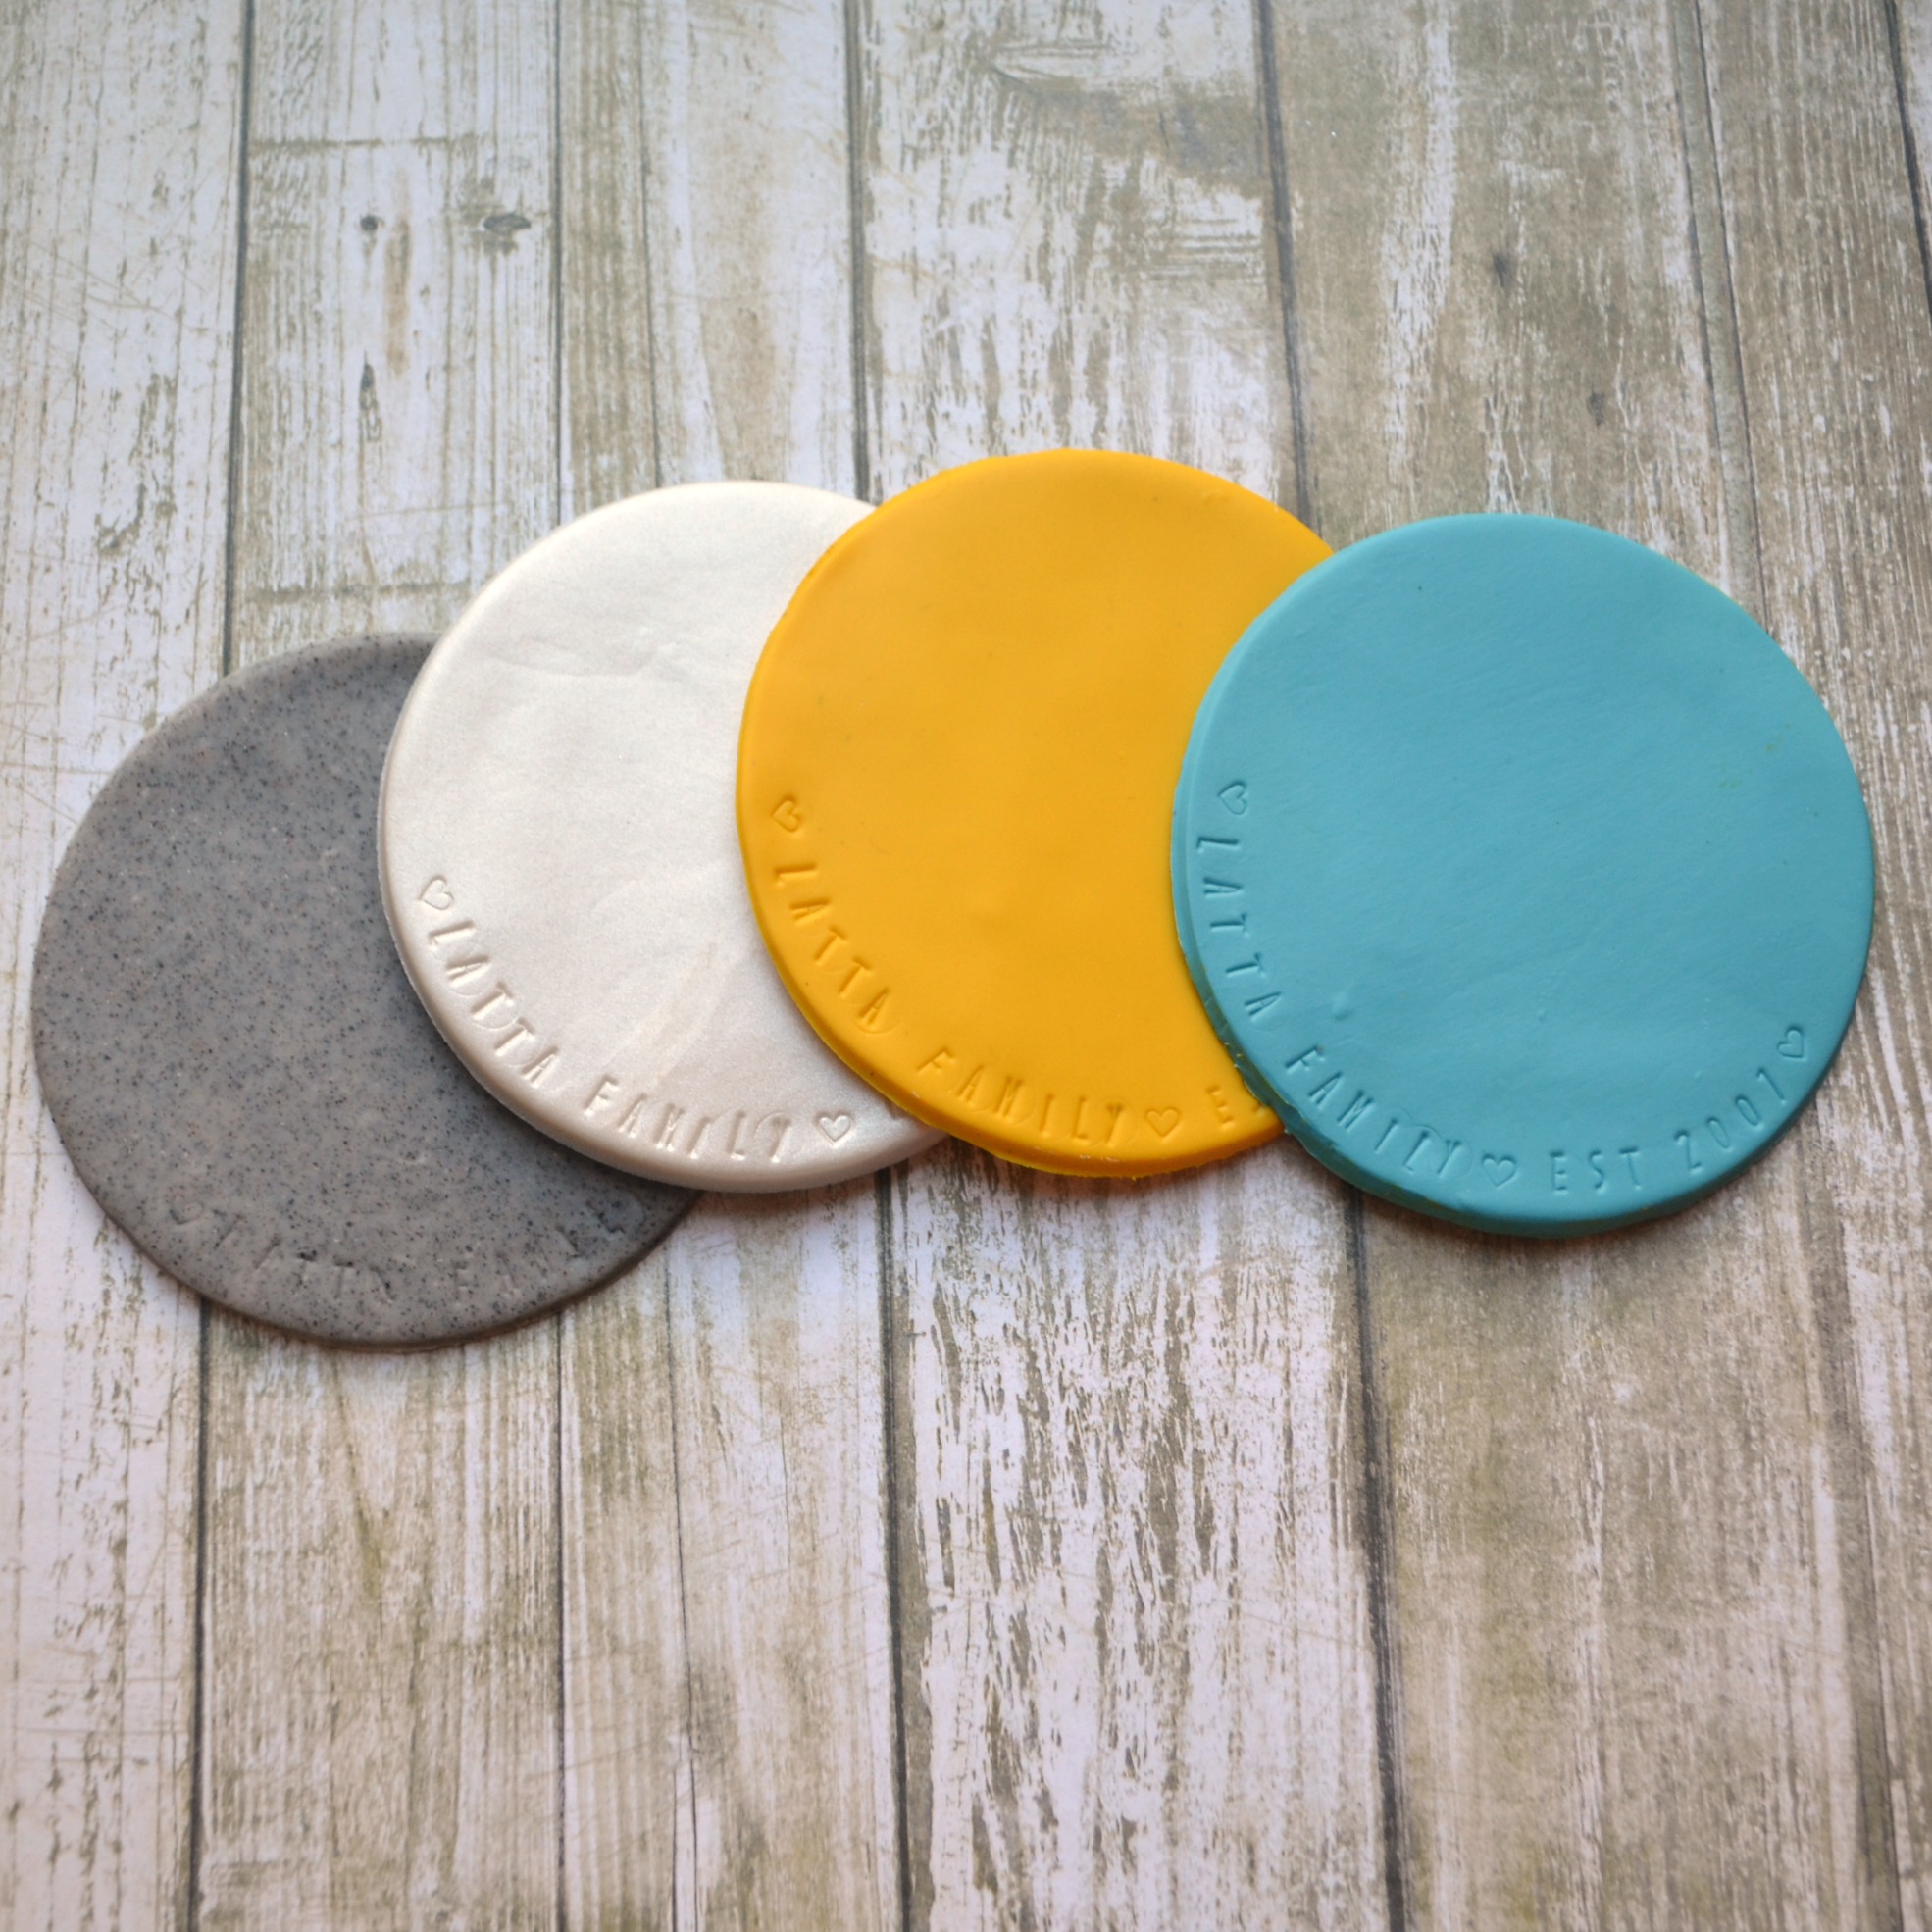
Step 1: Soften the clay by working it in your hands for a few minutes and bringing it to room temperature. Then, place it on a piece of parchment paper for rolling. I chose to use four different colors for my coaster set, all of which complement the décor in my living room. If you prefer to stick with one color, you can certainly do that instead. If you’re gifting them to a friend, it’s probably best to go with neutral colors unless you know the color scheme of the room where they’ll be used.
Step 2: Use a clay roller tool or a regular rolling pin you don’t use with food to roll out the clay to an even thickness. Although Sculpey is non toxic, you shouldn’t mix it with tools and utensils you use in food preparation.

Step 3: Cut out the clay in your desired shape. I did mine by placing a plastic cup upside down on top of it and twisting slightly back and forth until I had a nice circle.
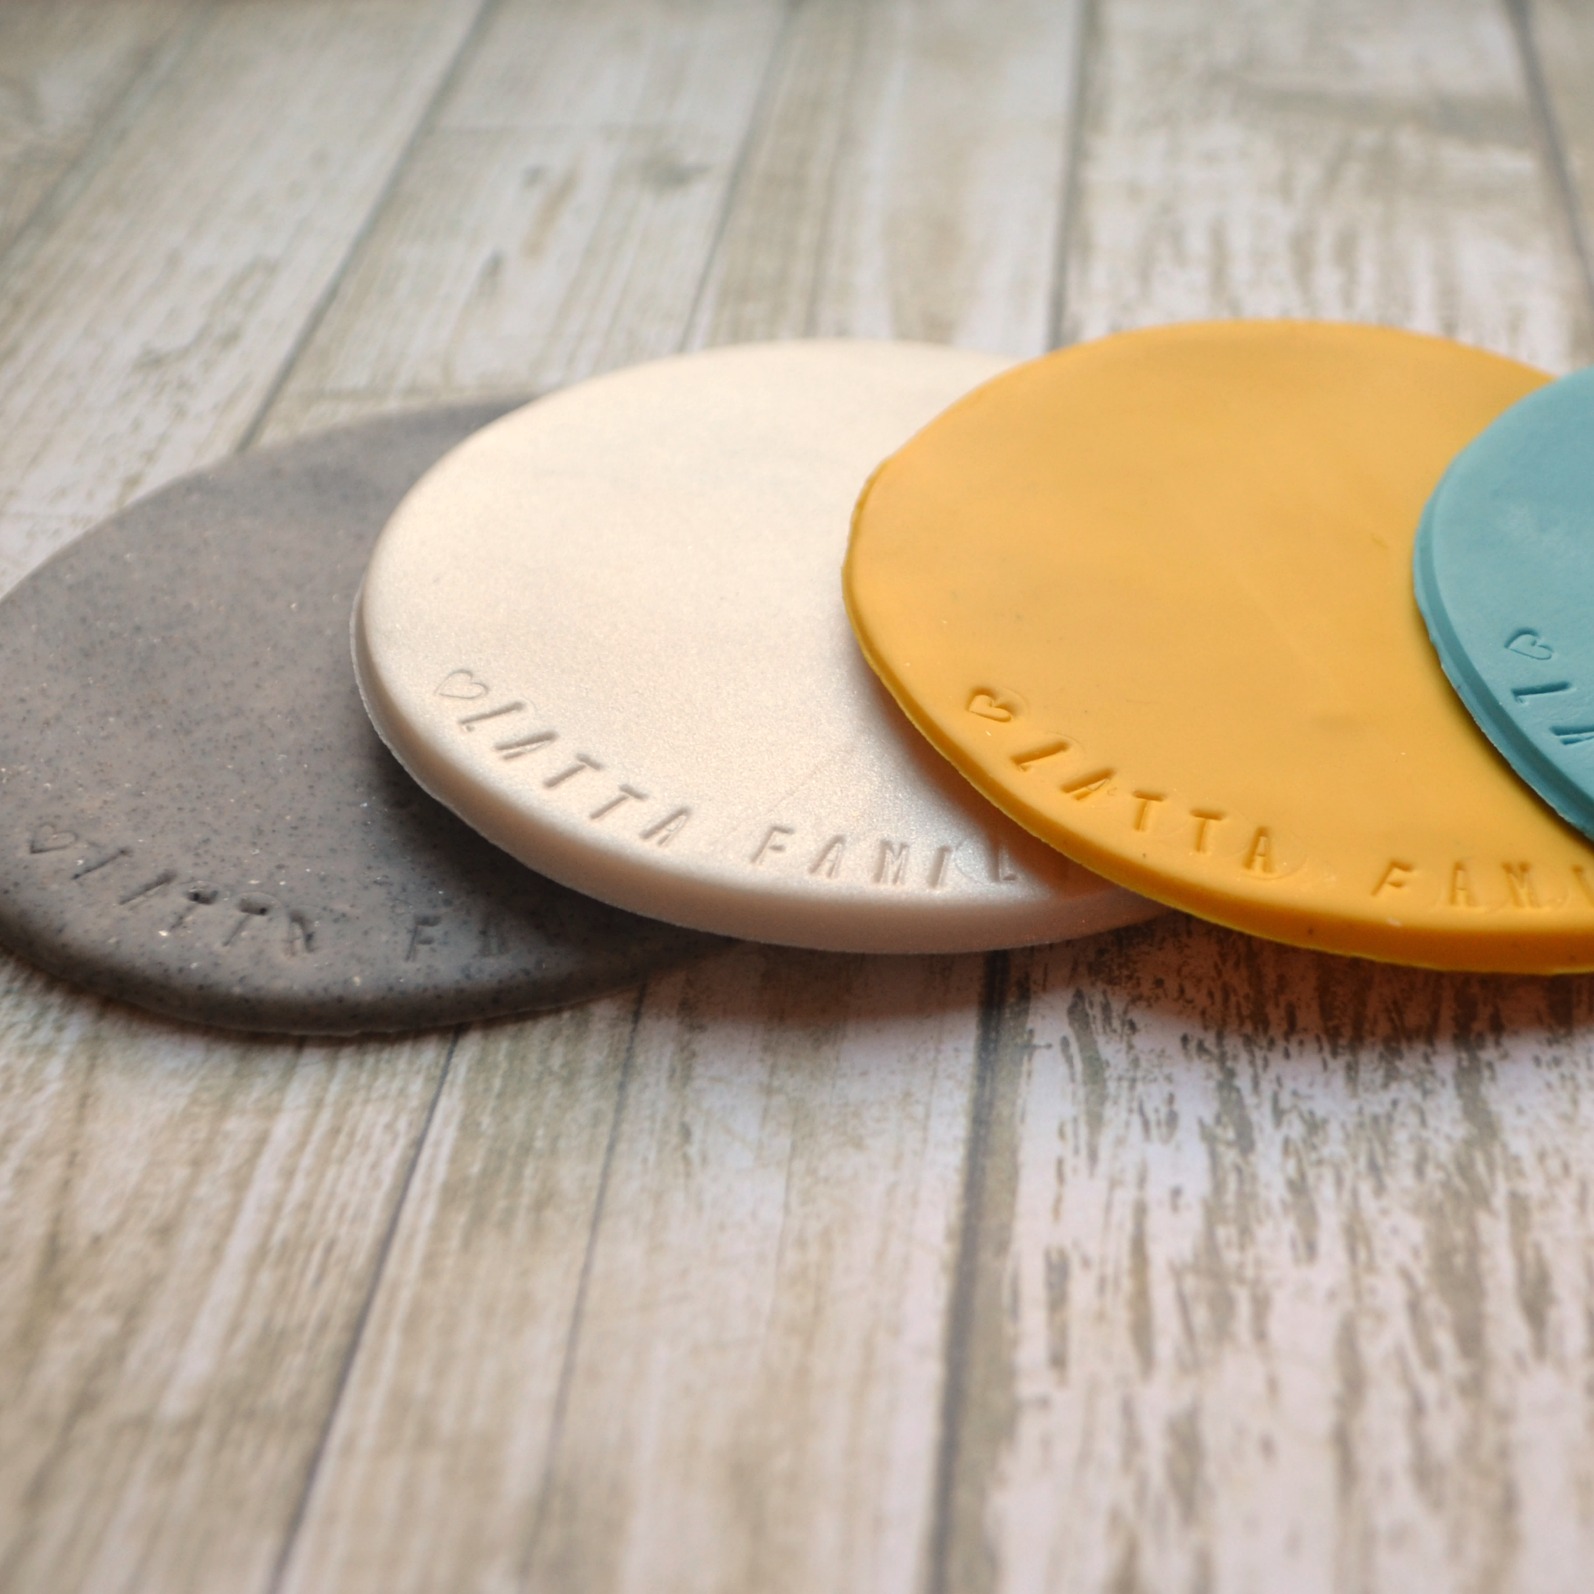
Step 4: If you want to add personalization, you can use any type of stamp {or really anything you want} to make impressions in the clay. I happened to have a set of ImpressArt metal stamps in Lollipop font that I used to write “Latta Family Est. 2001” along with the heart design by gently pushing each stamp into the unbaked clay. You can use rubber stamps to achieve the same effect, or even things you have around the house like flowers, leaves, lace, coins, etc.
Step 5: Bake your coasters according to package instructions.
Once your coasters have cooled completely, they’re ready to use. If you want them to have a glossy finish, you can seal them with a coat of Mod Podge Dishwasher Safe Gloss formula, which will also help them repel water. If you want to add any painted details, this is the perfect time to do that as well.
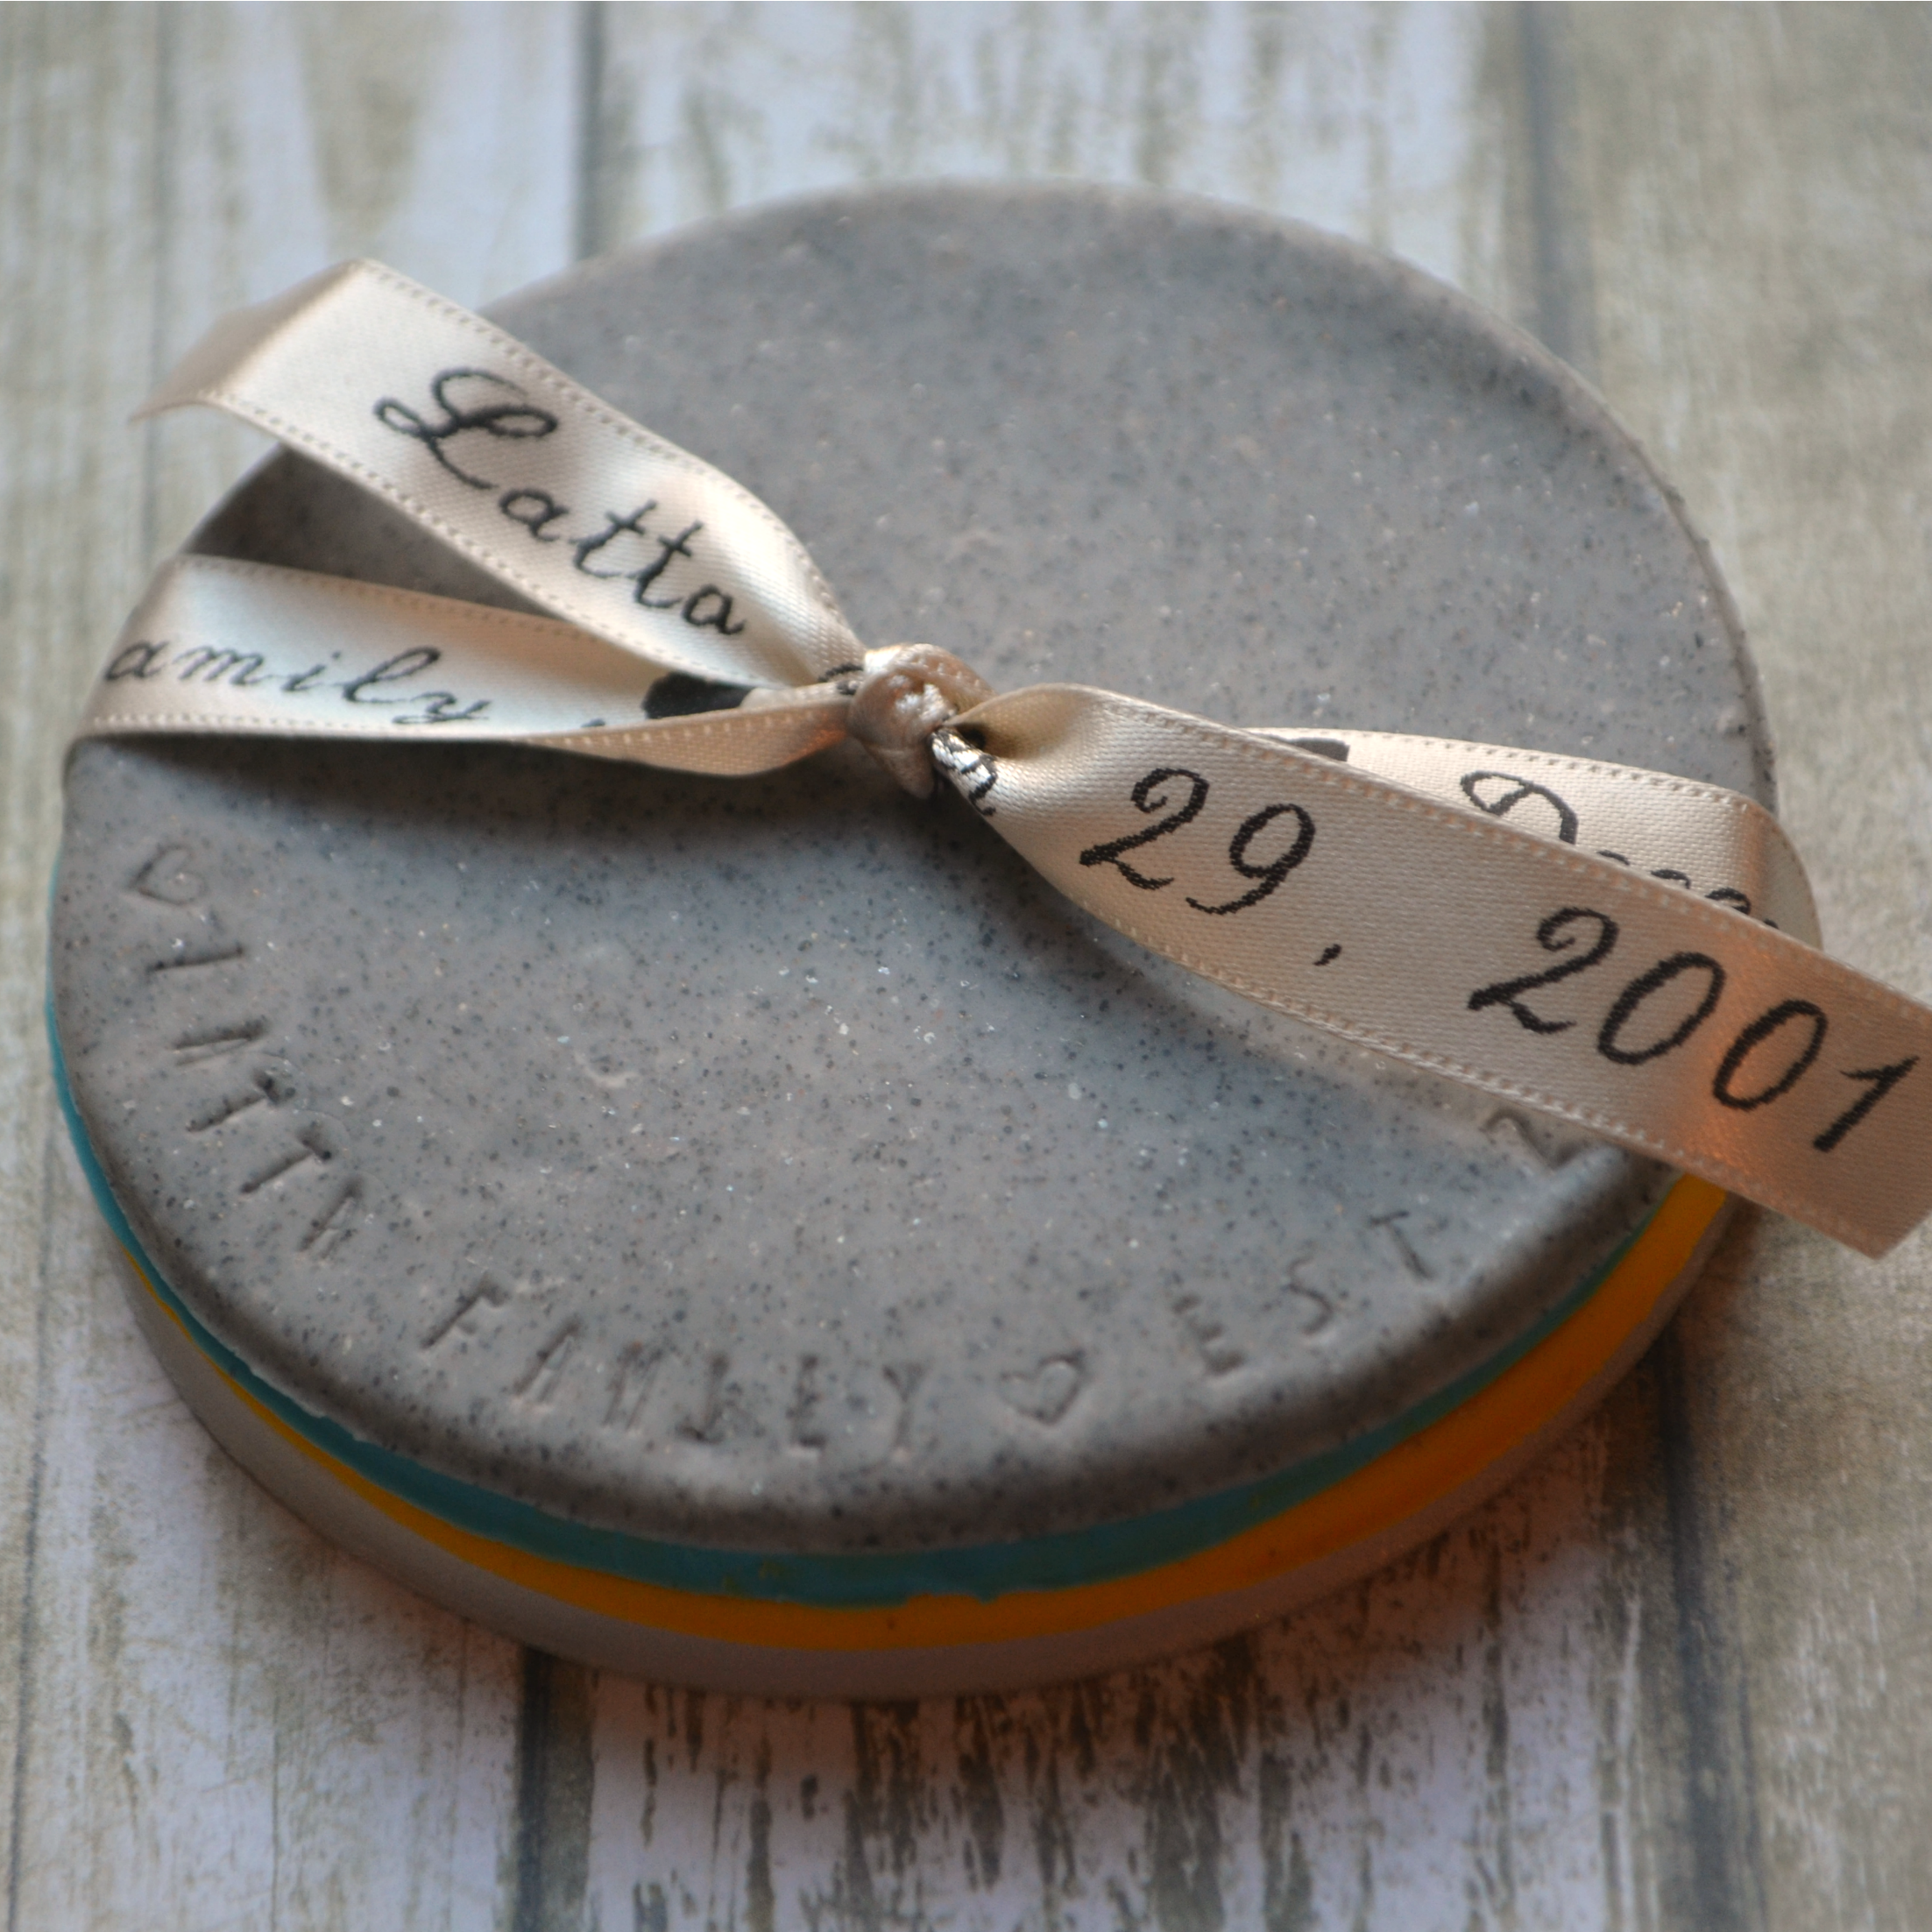
These are sure to be a hit with the guests in your home who will wonder where you got something so personalized! If you’re giving them as a gift, tie the set together with a piece of twine or ribbon for a cute little package. I used my Epson LabelWorks Printable Ribbon Kit to personalize the ribbon too for an extra special touch.

Ooh Amy I absolutely love these coasters. Funny enough, I don’t actually think we own any coasters but we may be the only ones.
I just love these! Such a great way to use Sculpey clay and like you mentioned, it’s so nice to have one of a kind accents in your home. Thanks for sharing! 🙂
This is such a cute gift idea!
Oh my gosh, Amy! These are like the cutest coasters I’ve ever seen. Love this tutorial.
These are absolutely fabulous! I can’t wait to make some. Maybe if I start now I can stockpile for Christmas. 😉
What a great idea! I love the stamped name in each one. Great gift.
I love these, so cute and simple! Can I put a hot mug on these clay coasters?
You sure can!