10 Tips for Being Photographed
It’s that time of year when many of us are thinking about getting photos taken for our holiday cards. Or perhaps, like me, you realize it’s time for new photos for your business card and website. There’s just one problem. Posing for pictures can be one of the most awkward feelings in the world, right? Here are 10 Tips I recently learned that will hopefully make you feel a little more comfortable in front of a camera and help you get photos you really like.
Most of these tips were shared with me by my friend Drew, a professional photographer who graciously did a photo session with me two weeks ago so I could update my blog and social media. Some of them will help you when you’re getting ready, while others will make you look and feel great once your session begins. To share these with you, I have to do another super-uncomfortable thing, which is post a ton of photos of myself. Ugh. I thought about using other people’s photos but, alas, copyright can be a real punk. Since I don’t look good in prison-orange, you’ll have to make do with looking at my face for a bit.
Preparing for your session:
Wear solid colors, preferably dark ones.
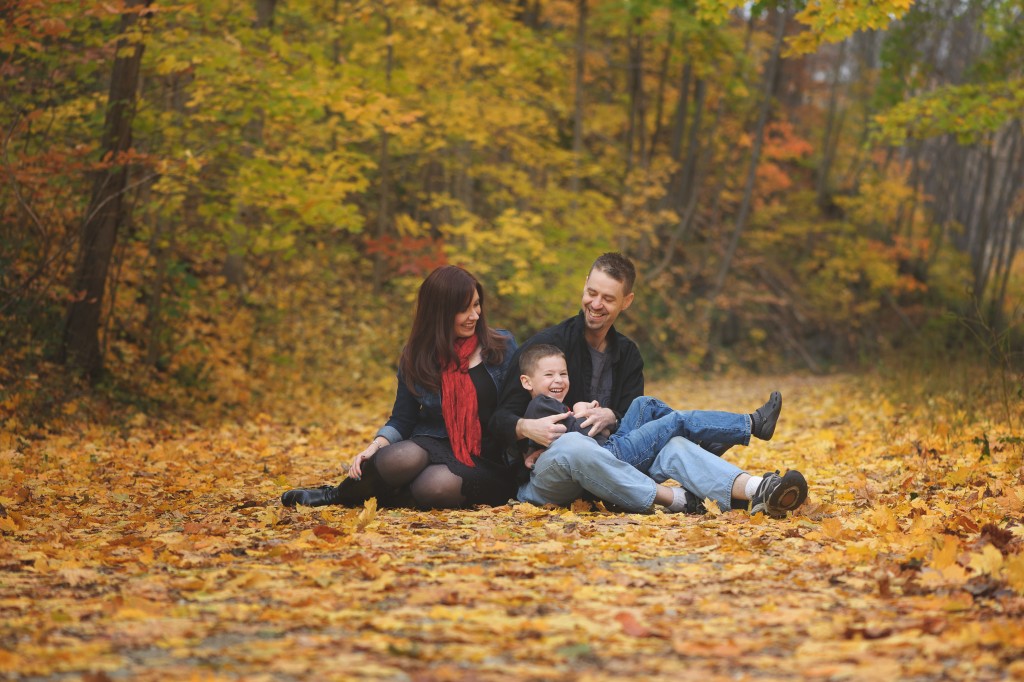
Most of us already know better than to wear busy, distracting prints for a photo shoot, but Drew also emphasized that darker colors are better than light because they allow the camera and the viewer to focus on your face rather than your outfit. Especially if you’re getting portraits done like I was, you want as little as possible to distract from your face and eyes. If you’re getting family photos, try to coordinate without having everyone matching exactly. Last year, we had a session with Jen Snyder, and we all wore some combination of grey, black, denim, and/or red. No one looked the same, but our outfits complemented each other without being the focal point of the photos.
Less = More.
When I showed up at Drew’s house for my session, I was wearing a black top with a denim jacket and had four different colored scarves in my bag. Drew humored me and took a few photos with each one, but just as he originally suspected, the ones we ended up liking best had no scarf at all. Once again, the less distractions there were in the photos, the better they turned out.

Don’t do anything drastically different to your appearance.
I broke this rule and I’m sorry for it. I decided, like an idiot, to trim my own bangs two days before the photo shoot. They had gotten long and unruly, but I didn’t feel like forking out $30 for a haircut to fix them at the time. Oh, how I wish I had. I cut them crooked, and then in the process of trying to fix them, cut them much shorter than I like. There are definitely lots of photos from my session that show just how terrible a job I did. Fail. Also, don’t do anything drastically different with your makeup, your hair color, etc. Your friends and family want to see YOU in the photos, not someone they barely recognize. It’s interesting how many times I’ve been at a blog conference and not realized I was talking to a blogger I “know” because the head shot on their blog or Facebook page looks nothing like their real-life everyday appearance. Yes, you want to look like the best version of yourself, but make sure you’re still being you.
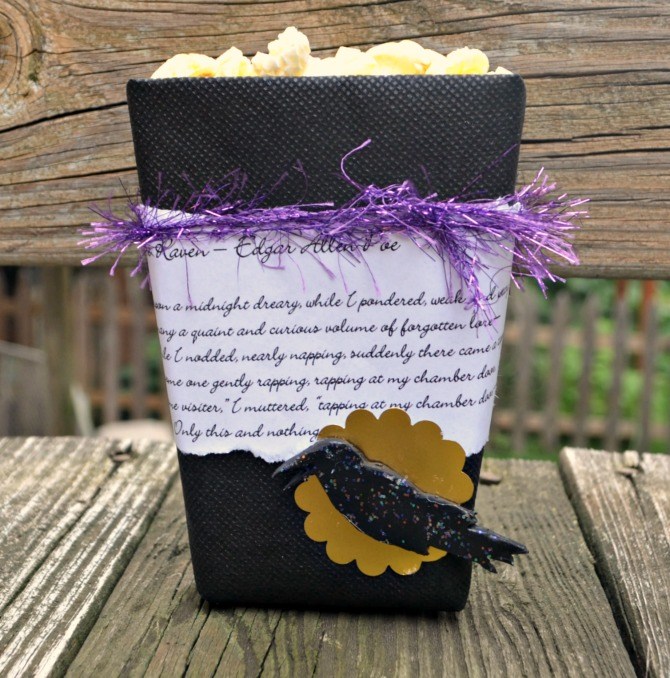
Consider a non-distracting prop that makes sense for you.
I don’t know about you, but when I’m posing for a picture, I never know what to do with my hands. It sometimes helps make you look and feel more comfortable if you have something to hold. For me, nothing could be more natural than a coffee cup, so I brought mine along to Drew’s house. At the time I thought it was awesome because it had my blog name on it. Then, many of you pointed out that it looked like I was advertising for Starbucks instead. AND there’s the little issue of their logo being altered. Oops. Fortunately, I have a friend who was able to fix that by using photo editing to remove everything from the cup, leaving it just plain white. All the coffee, none of the drama.

During your session:
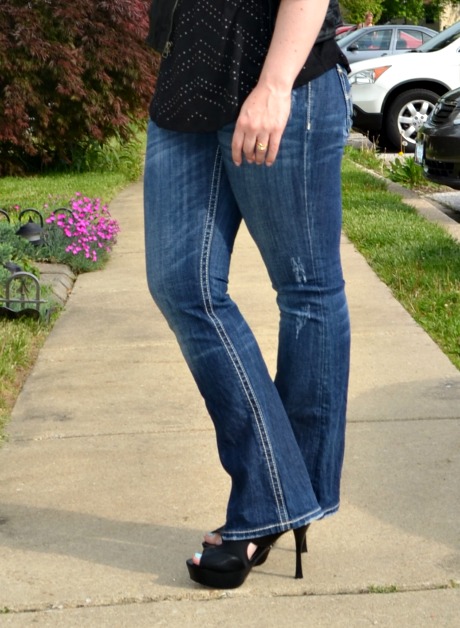
Angle your body.
Everyone, no matter their size, looks better when viewed from an angle rather than straight on. Make sure you’re not squared up to the camera, which can make you look larger than you actually are; instead angle yourself away from the lens, which is universally flattering. I figure if it’s a good enough trick for fashionista Eva Chen, it’s good enough for me!
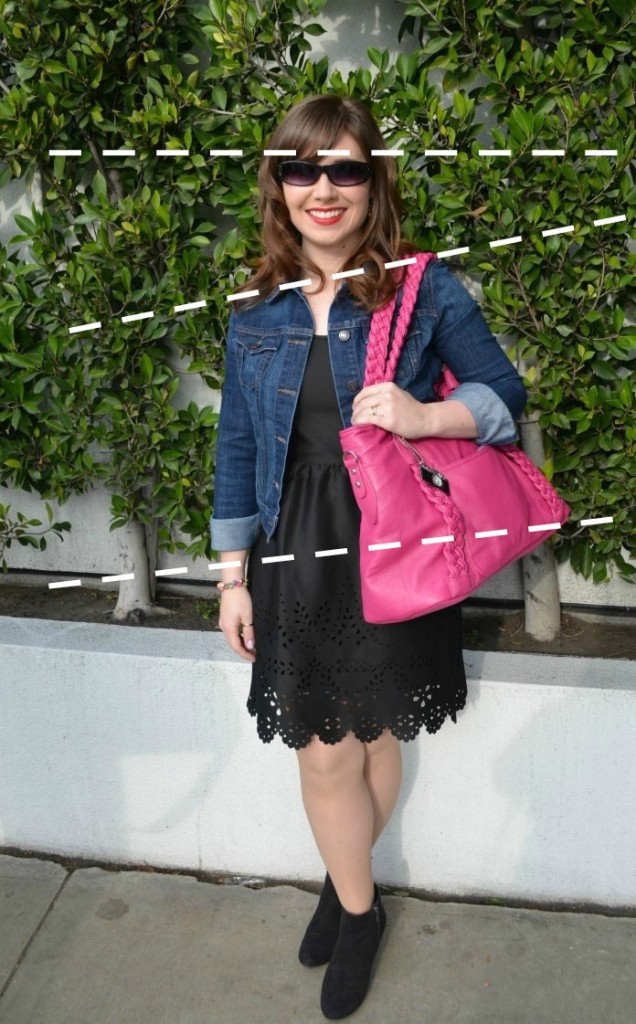
Follow the “3 Lines” Rule
When we did photos where I was standing, Drew told me to imagine three horizontal lines; one running across my head, one across my shoulders, and one across my hips. He told me that at no time should the three all be aligned. Instead, tilt the head, pop a hip, or angle your shoulders to make sure you don’t look like a plastic robot.
Place one foot in front and one behind with your weight on the back leg.
Not only does this help you not look rigid, it also does kind of a cool visual trick…when your weight is on your back leg, the muscles in that leg flare a bit which makes that leg look bigger, which is the effect you want rather than having your front leg look abnormally large. I’d never heard this before, but it’s one of Drew’s tips. He also says to stand casually, like you’re “waiting for the bus.”
Breathe and relax your body.
Nothing can ruin a photo faster than being tense. It will show in your posture, your smile, and everything else. Even if being in front of the camera makes you anxious, remember to breathe and relax your muscles, even if it means stopping between takes to shake your arms out or do a little dance.
Experiment with head tilt.
Everyone’s face, like it or not, is at least slightly asymmetrical. That means all of us have a certain angle or “sweet spot” where we appear to our best advantage. The trick is simply to find yours! Drew liked to take a series of photos in the same position where the only thing that changed was me changing the angle of my head slightly each time. He had me start with my head tilted almost comically far to the right, then I’d gradually move it for each photo until I got all the way over to the left side. Then, we were able to see which angles worked best for me when we looked at the pictures on the computer.

Think of something funny, or have a friend tell you a joke!
One of my very favorite photos from my session with Drew was taken while his wife, my friend Danielle, was telling me a hilarious story about how she was trying to take down their shutters to paint them and found a real live bat! Many of you commented on the Facebook page saying you liked this picture best because it looks genuine and lets my real personality show through. I assure it’s 100% natural; this is how I look when I’m laughing at {I mean with} my friends. 😉

I hope these tips are helpful to you and make you feel at least a little more comfortable the next time you find yourself in front of a camera. I’d love to hear some of your best tricks for getting great photographs!
Great tips Amy and great photos ! 😉
Wow! Great tips! that Drew guy is a genius!
He most certainly is.