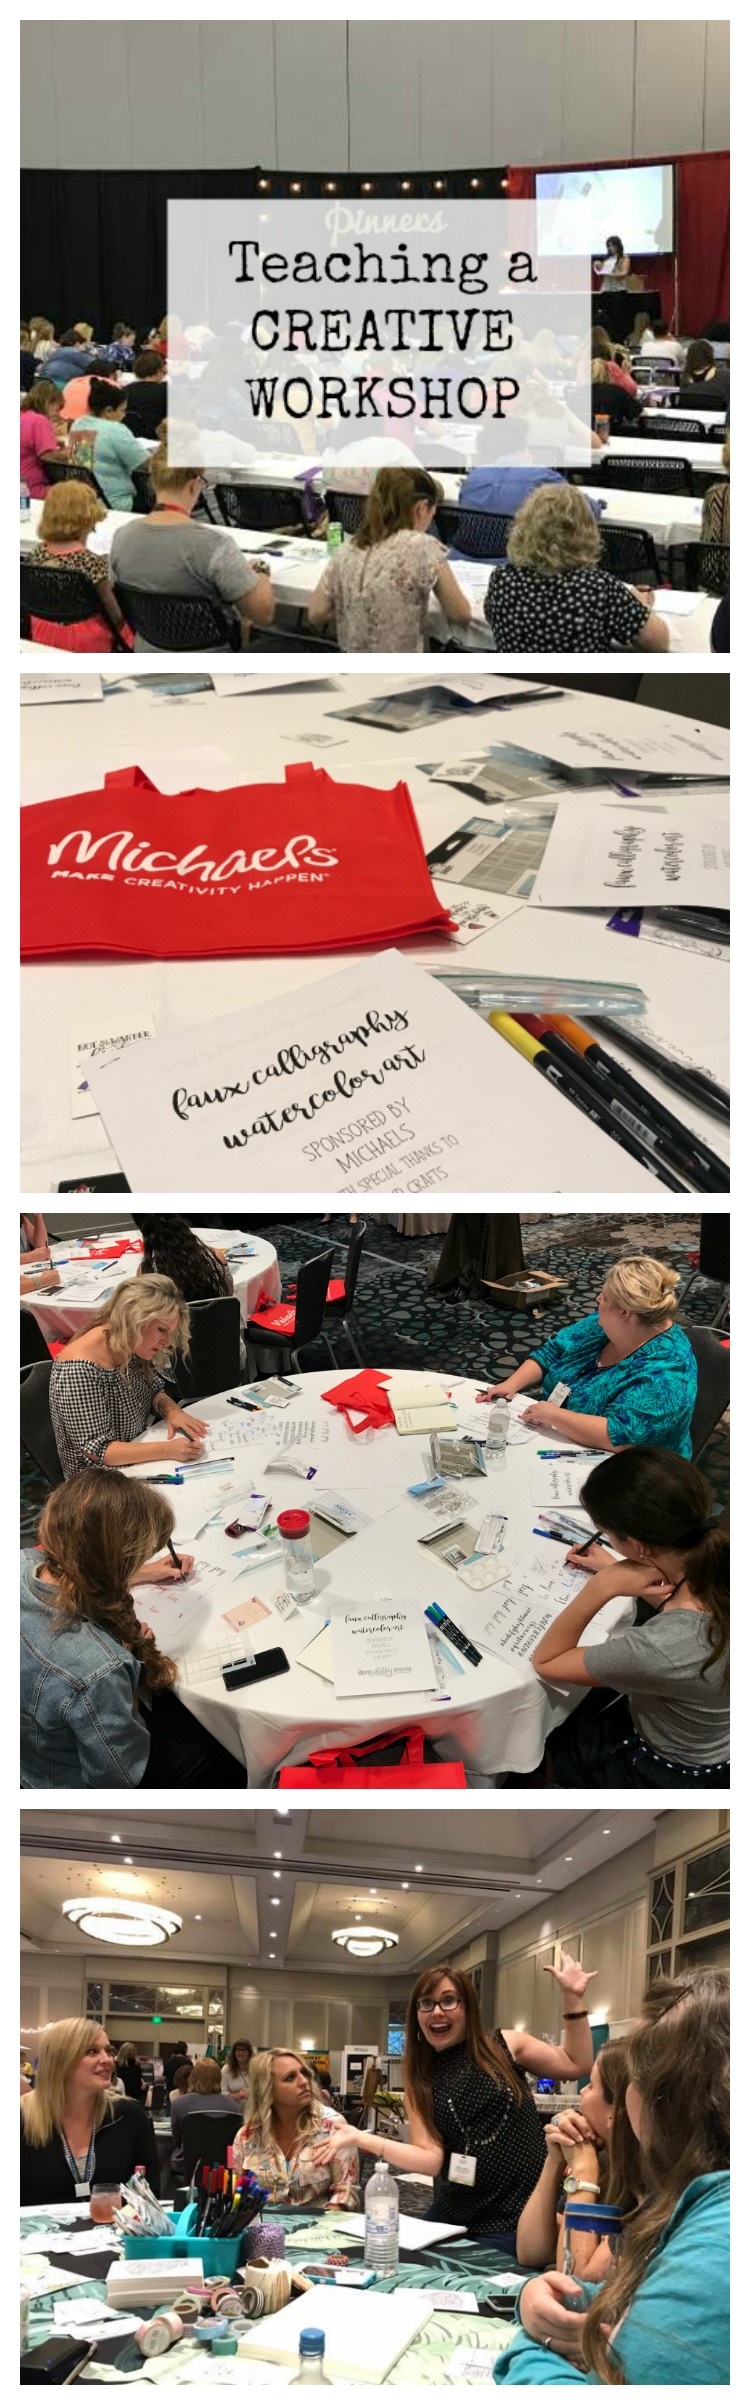
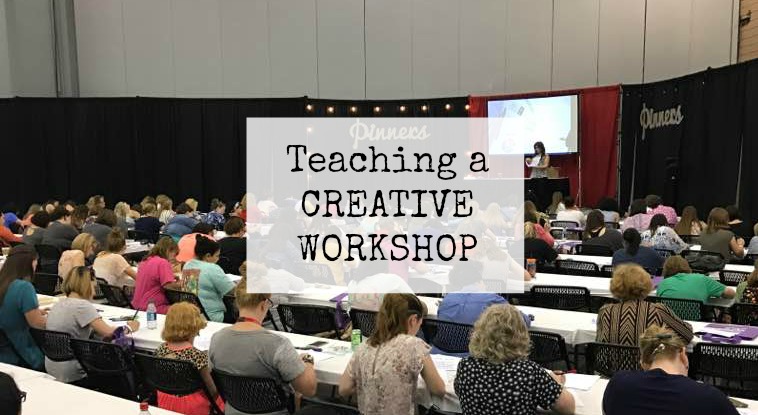
Teaching a Creative Workshop
Do you have a skill you’re passionate about and want to share with other people? Today, I want to share some tips for how to turn it into a creative workshop! For me, teaching others to hand letter and create beautiful projects is one of the most rewarding things I get to do, so let’s talk about how you can turn your own skill set into successful workshops.
Choose a topic.
What is it that you want to teach others to do? Here’s a list of some general topics to get you thinking: beading, clay crafts, crochet, cross stitch, decorative painting, drawing, edible art, embroidery, felt crafts, floral arranging, furniture makeovers, hand sewing, jewelry making, knitting, macrame, metal stamping, model building, quilting, sign making, watercolor art, woodworking, wreaths…and so much more! My personal expertise, and the topic of 99% of my workshops is hand lettering.
Once you choose your general topic, you’ll want to narrow it down into the specific skills you want to teach in a 1 or 2 hour block. There’s no way you could ever teach someone all you know about a topic in that time frame, so choose a few specific, do-able things. For example, here’s the content I include in my workshops.
Basic Hand Lettering: Faux Calligraphy, Basic Brush Technique Practice, Five simple embellishments
Next Level Lettering: Flourishes, Bounce Lettering, Design Grids/Thumbnail Sketches
There’s tons more info on the website, in my books, and in my head, but to keep the workshops manageable, I stick to just those topics. If you try to throw too much information at your students, it’ll be overwhelming for them rather than an experience that makes them feel successful. If your expertise is crochet, you may want to stick to a slip stitch, a chain stitch, and a single crochet. If you cross stitch, teach how to thread the needle, set up your cloth and hoop, do a basic stitch, and follow a pattern. Choose a few beginner level skills and focus on those for your first workshop. Later, you can always teach a more advanced workshop where you share more of your expertise.
Choose a finished project.
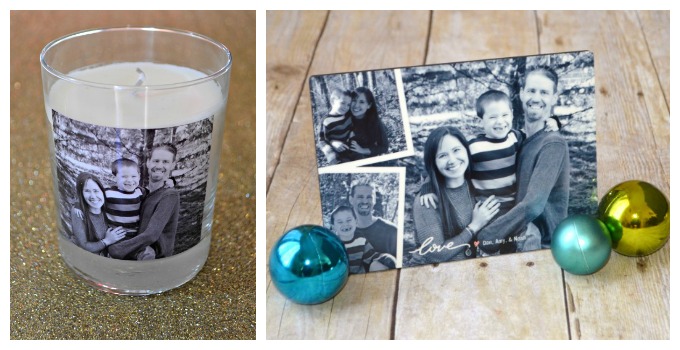
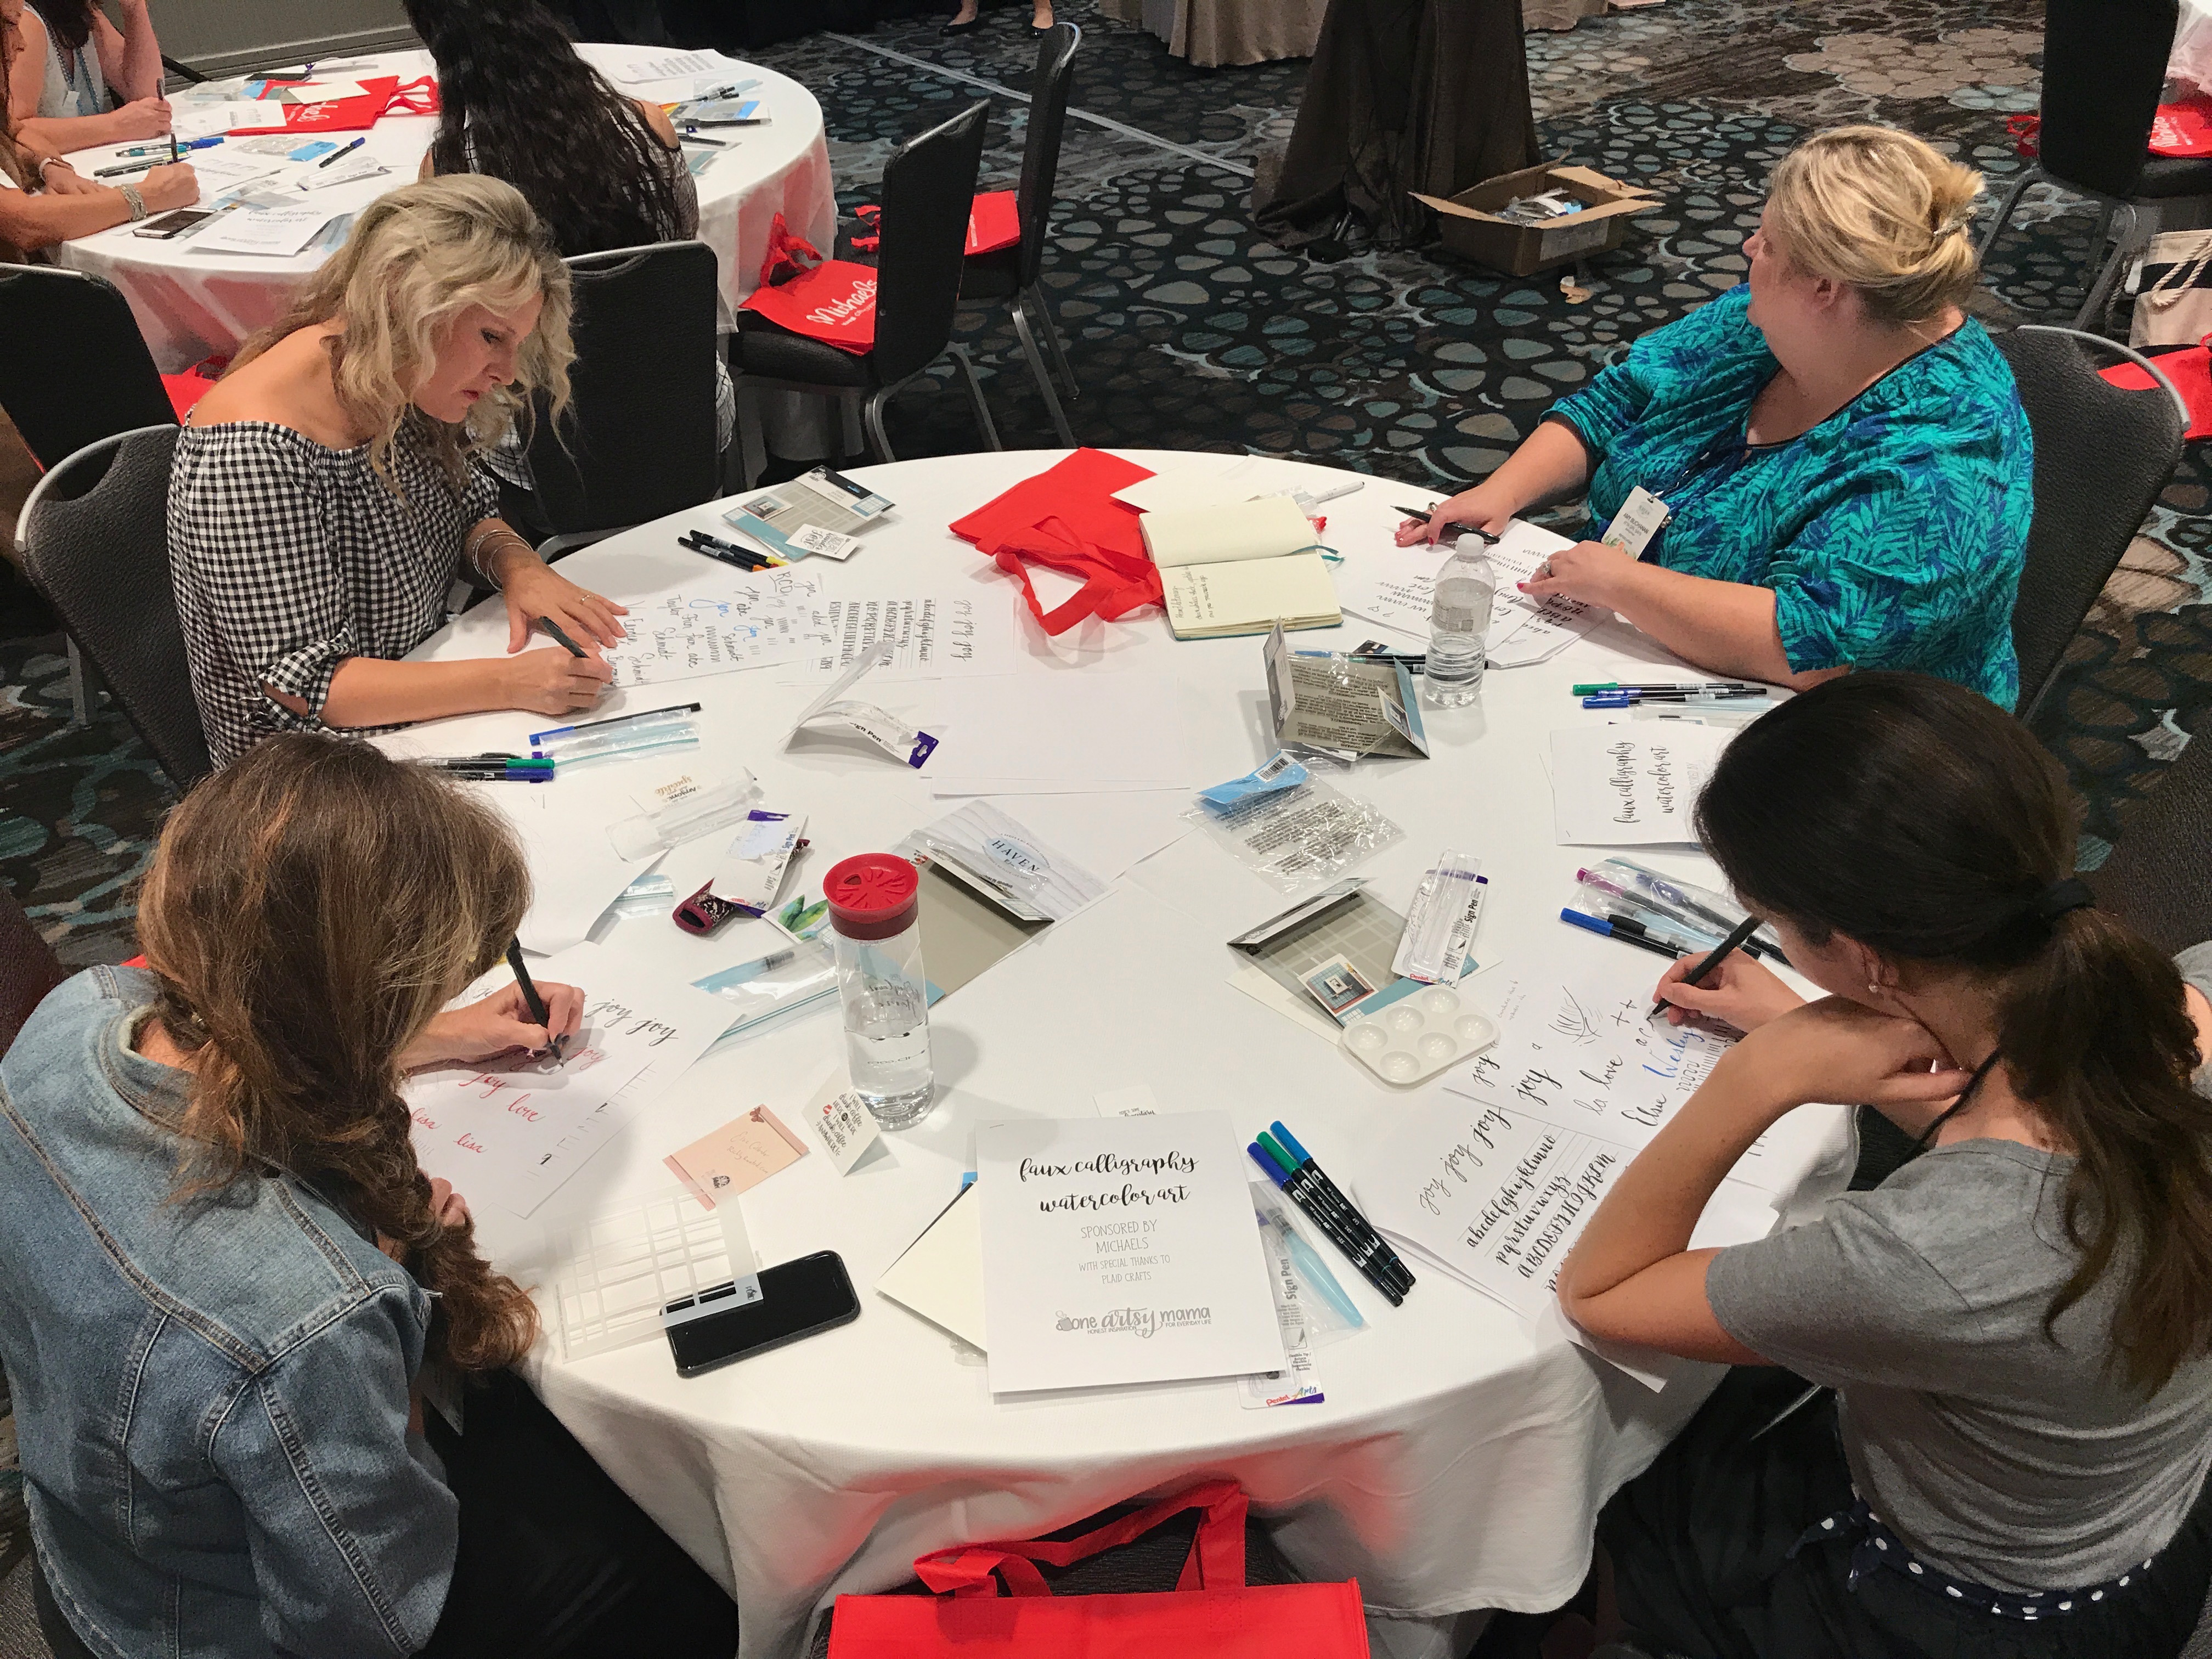
Your participants will feel most successful if they’re able to leave with something in hand. For my lettering workshops, I do about an hour of instruction while students practice the skills, then I allow up to an hour for them to put those skills to use making their own lettered project. For many of my workshops, the finished product is done on an 8×10 piece of bristol board that participants can take home and frame. Sometimes, we letter on an 8×10 canvas instead. Either way, each person has a unique piece of art to take home and display.
Your project could be anything from a crochet dishcloth to a marbled flowerpot or a piece of metal stamped jewelry. Perhaps students will paint a photo frame, decorate a cookie, or create a beaded bracelet. The project doesn’t have to be huge, just something that will allow each person who attends the workshop to leave with something they can take home and be proud of creating.
Choose a venue.
There are a huge variety of venues you can consider for holding a workshop. Your home is, of course, an option if you have the space and want to open it up to host. If your home isn’t an ideal location and you’re looking for a free venue, you can try a friend’s home, a local library, or a local church/activity hall. Recently, Michaels Stores opened up their classrooms to local instructors in a program called Community Classroom. All you have to do is go to the website and fill out the class proposal form. If your workshop proposal is accepted, they will give you a time and date to come and teach! Another option to consider is partnering with a local art studio, AR workshop, pottery studio, etc. to hold an event where you both benefit.
On a larger scale, you can reach out to the organizers of community events, conferences, etc. about your idea. I have had the opportunity to present at events like Pinners Conference, Haven Conference, the CCSA Convention, and more all over the country. The opportunities are endless if you’re really interested in taking your workshops beyond a local level.
Set a price.
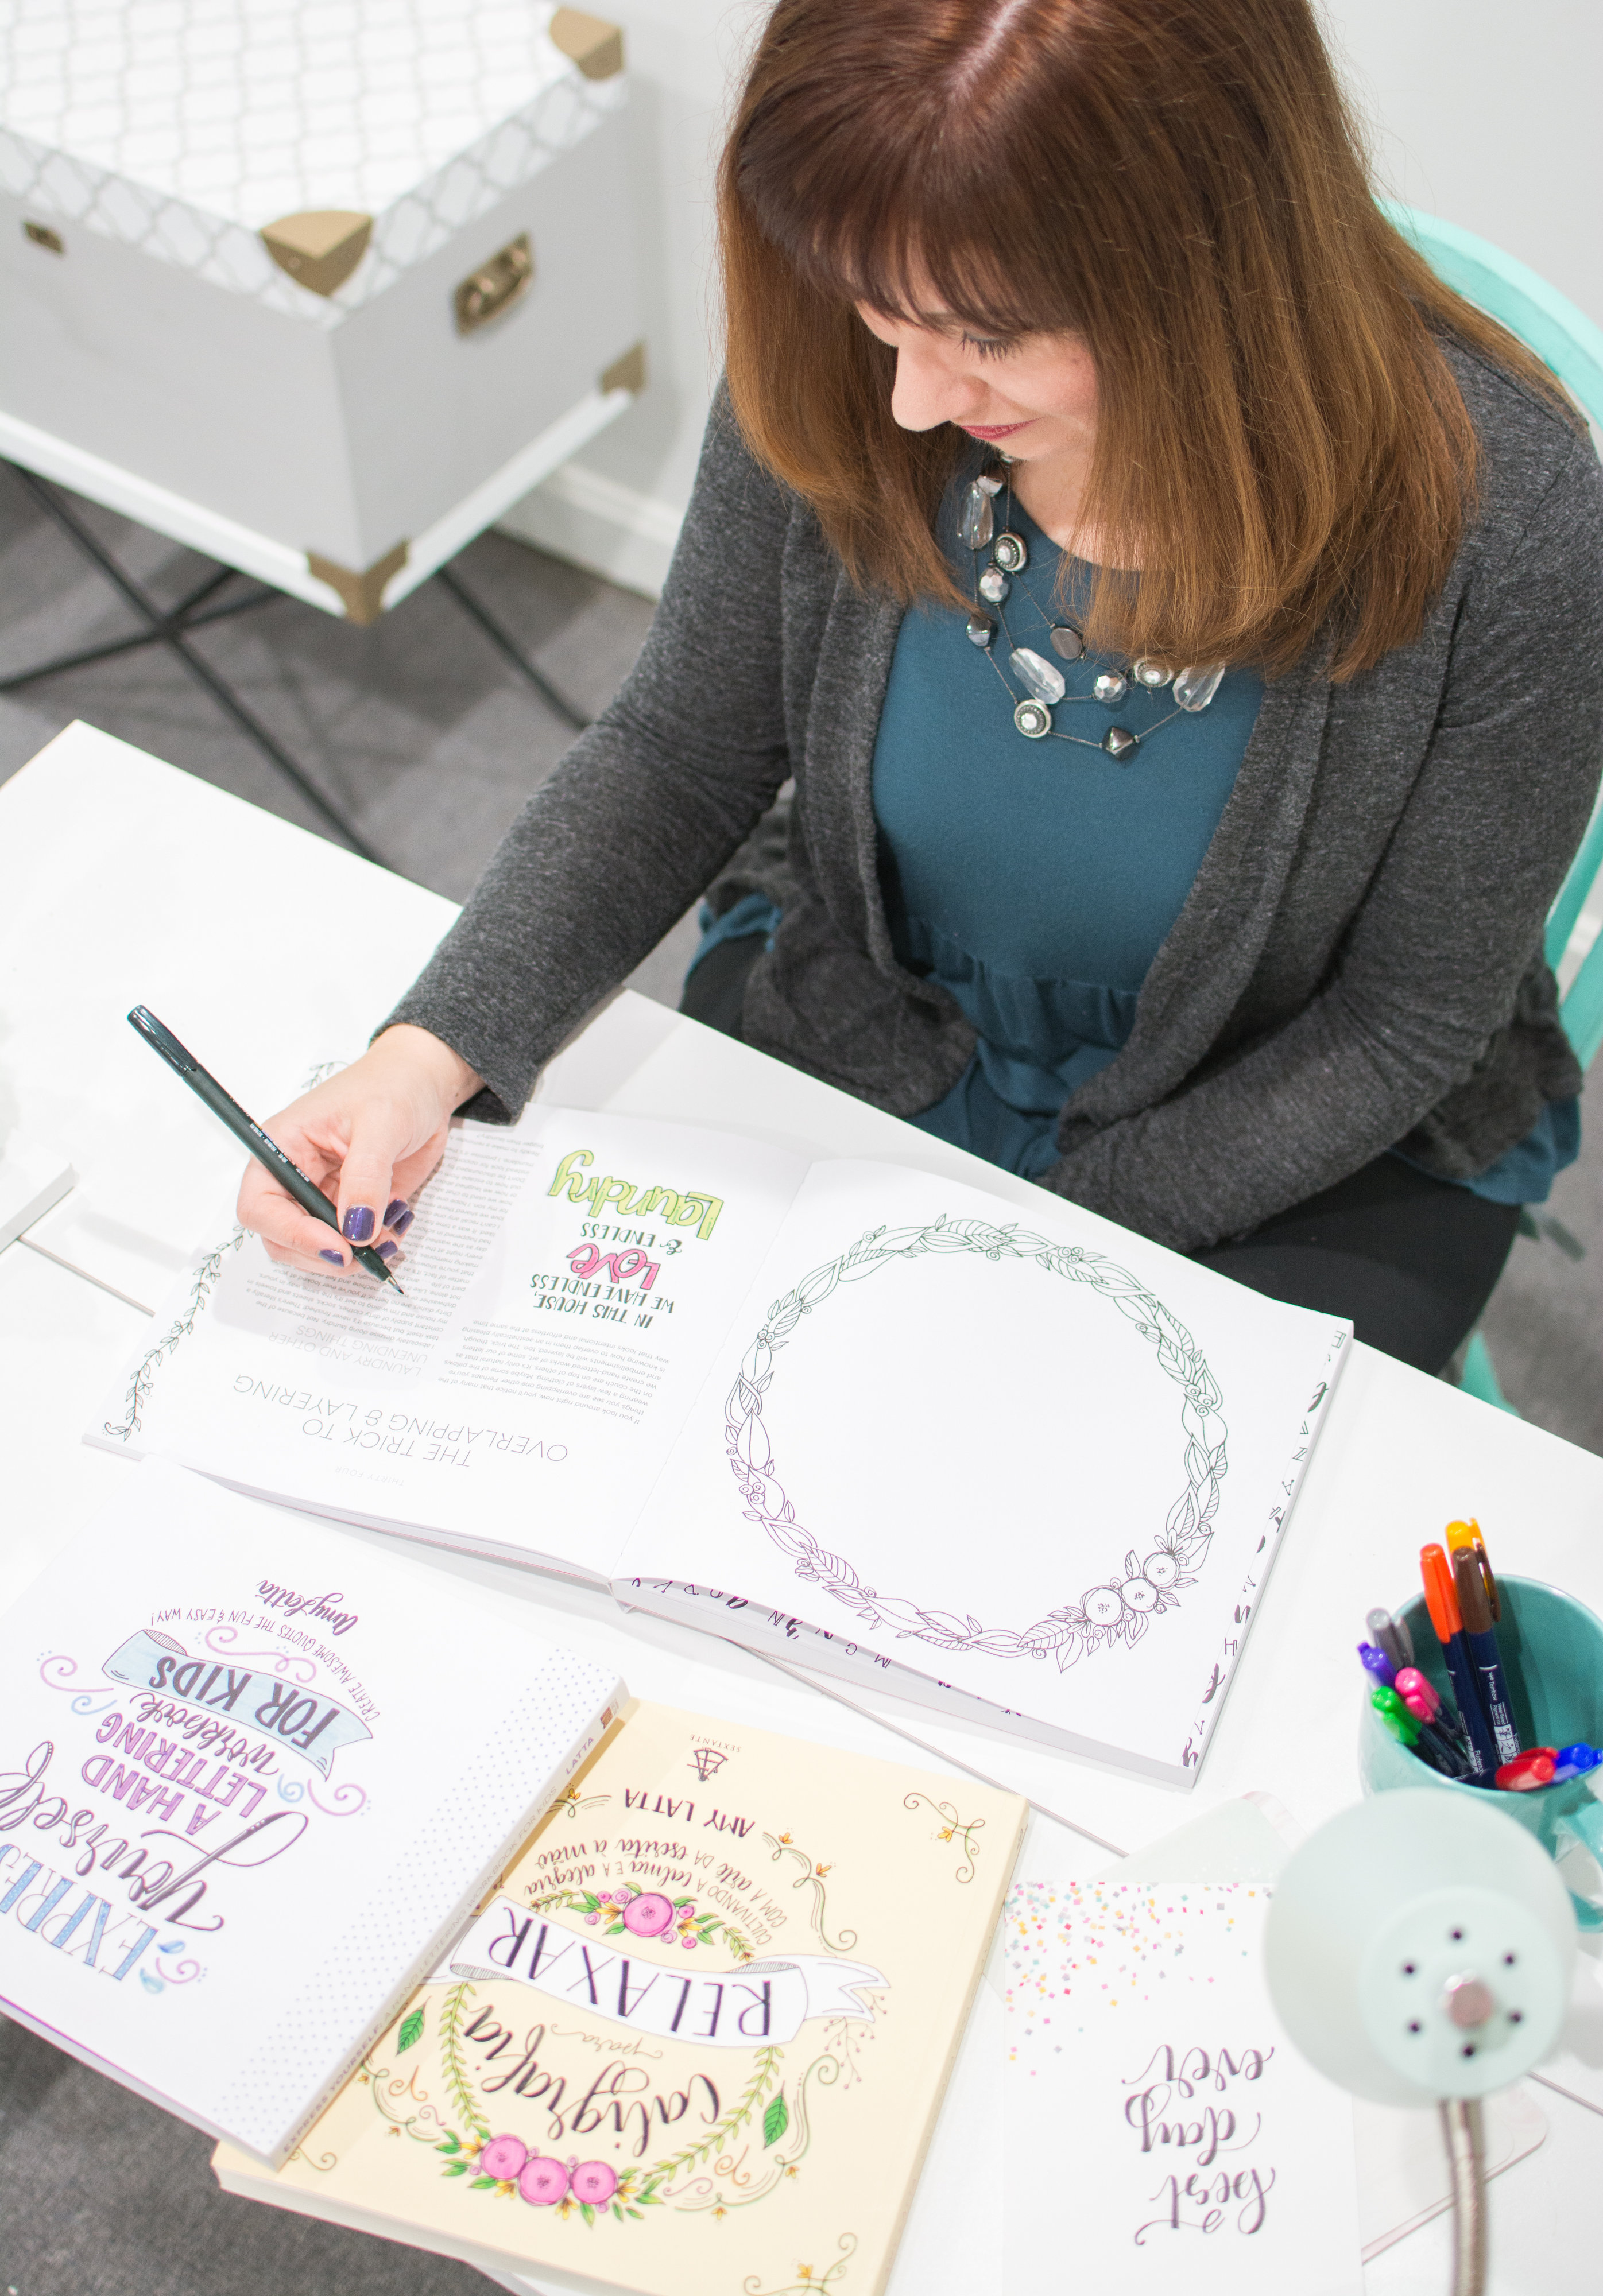
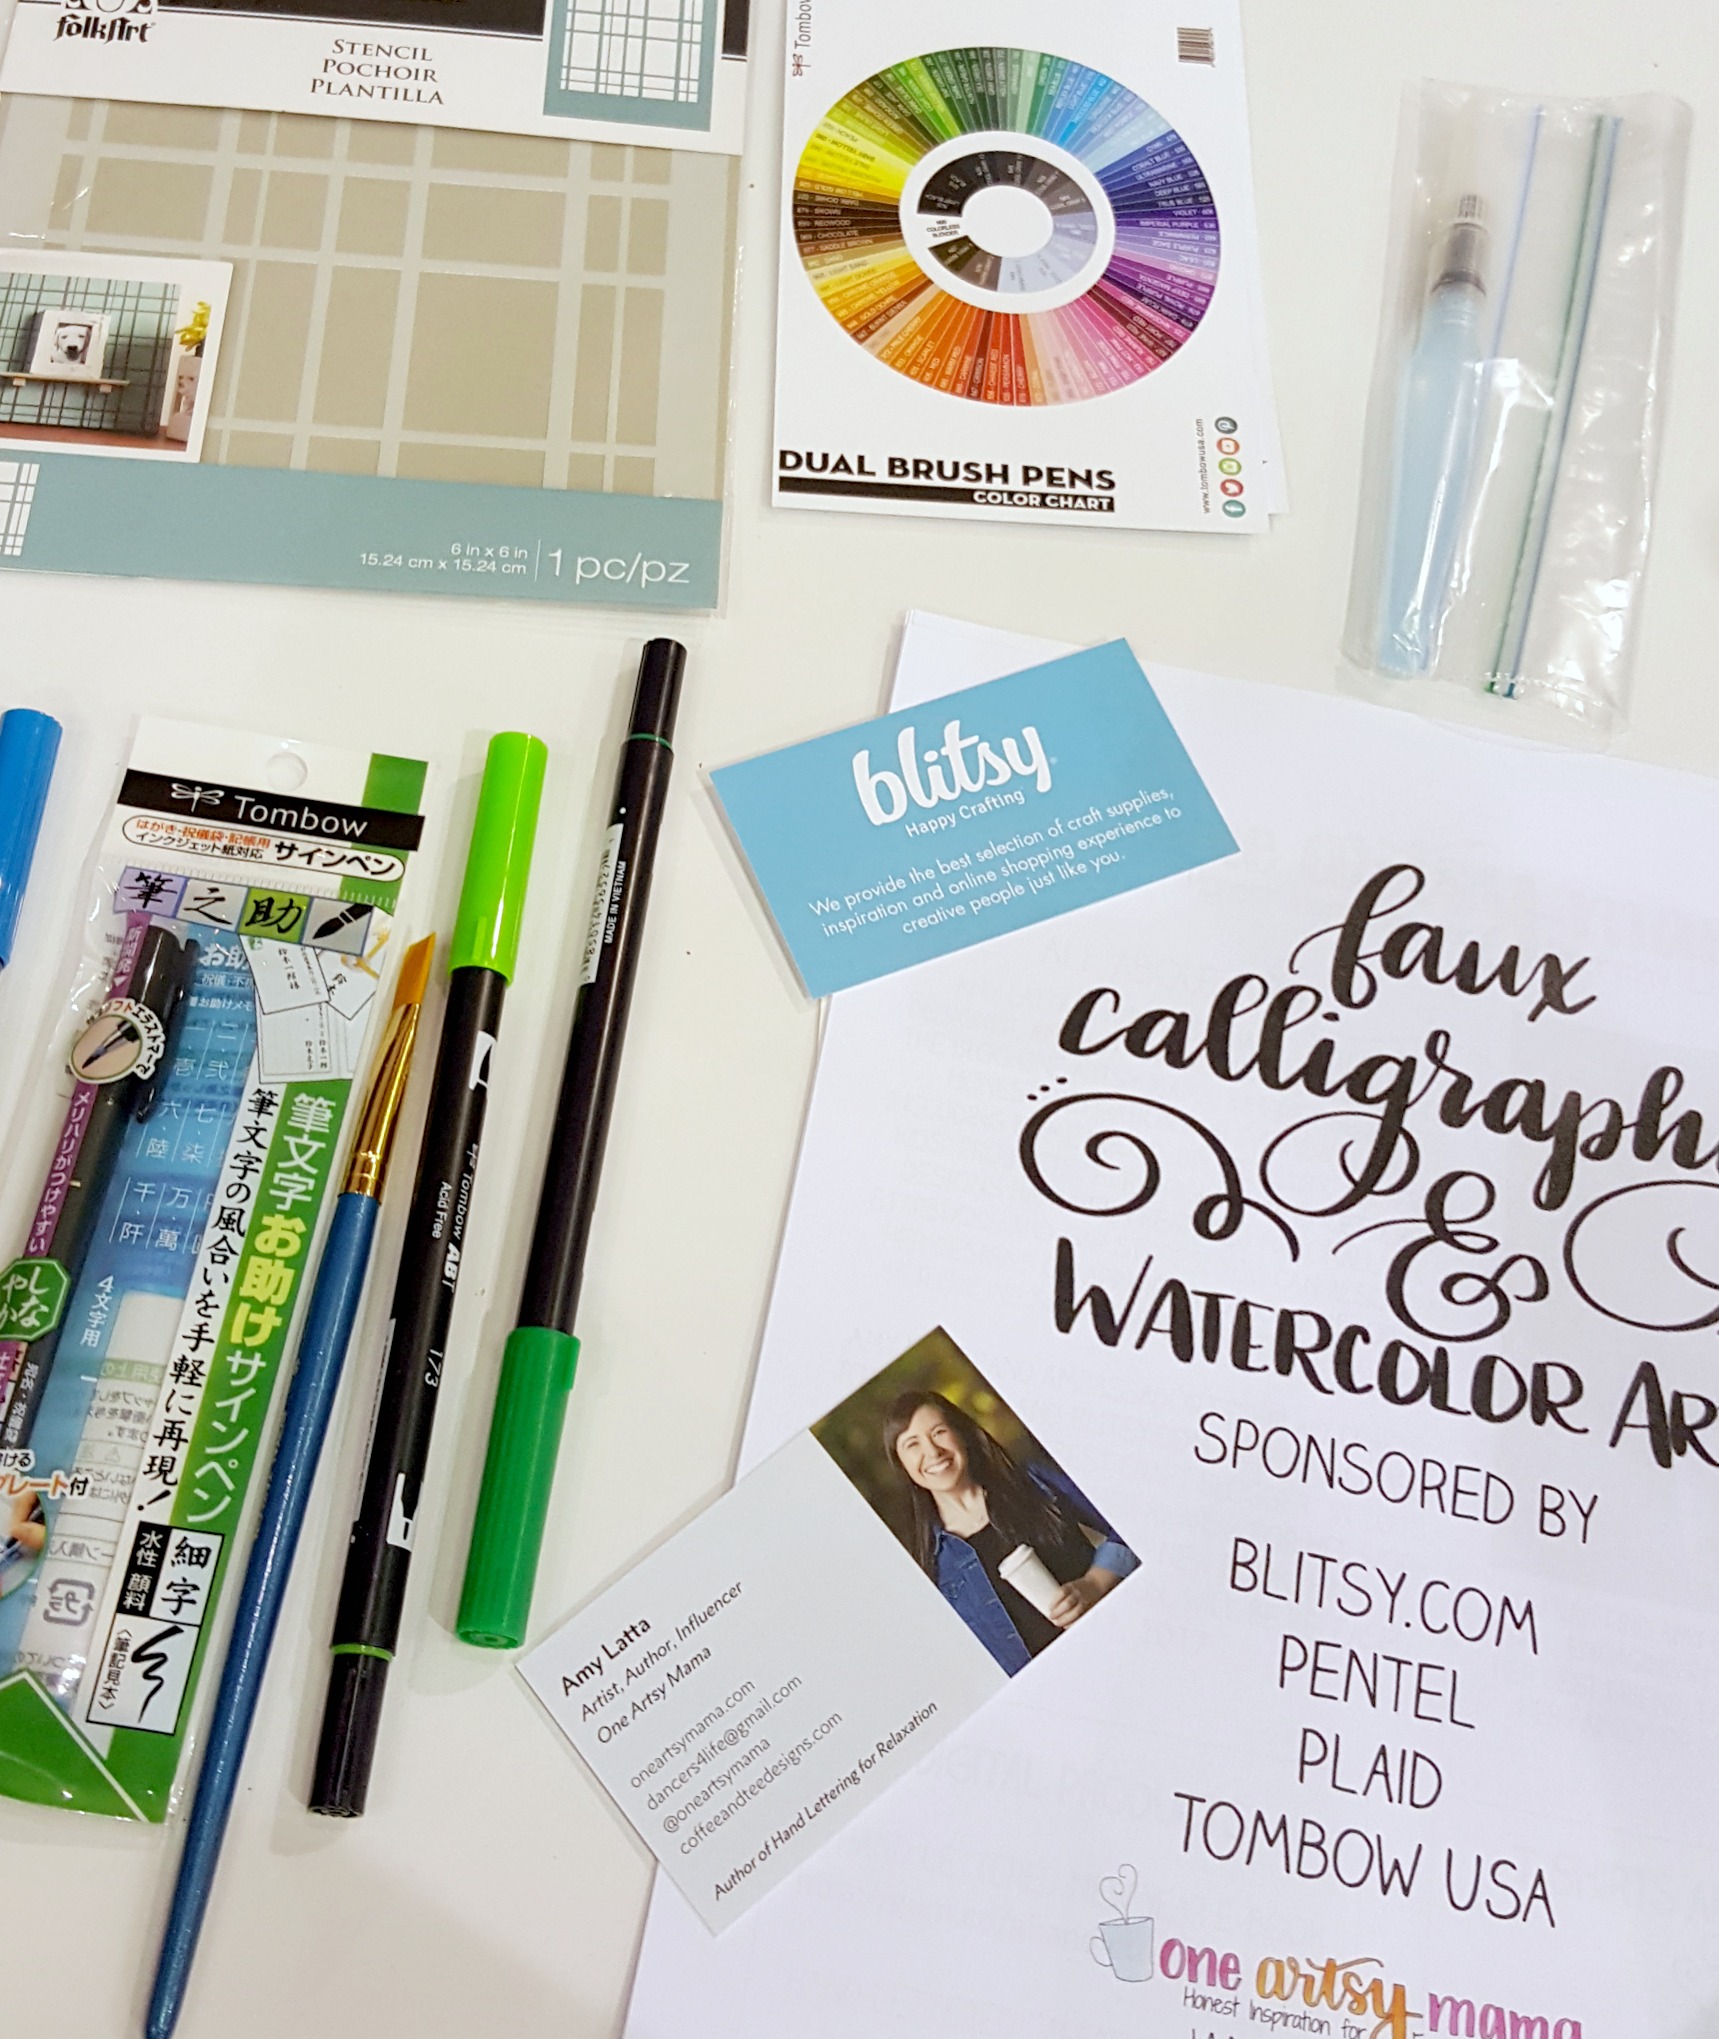
Before you start, think about whether you want your creative workshop to be a profitable endeavor or if you just want to do it for the love of teaching. This will help you set your price. Next, consider what out of pocket expenses are involved in your instruction and project. For my basic lettering workshops, I have a class set of Tombow Dual Brush Pens, Tombow Fudenosuke Pens, Pencils, and erasers that I take to each workshop. Participants use them, then return them at the end. I also provide handouts, which involves printer ink and paper, and the Bristol Board for the finished project. Think about what materials you will need to invest in per person, especially the ones that your participants will keep.
You also want to think about the mileage you’ll be driving as well as the value of your time. You’re sacrificing an hour or two plus travel time each time you teach, and that’s worth something. Don’t forget to include the cost of the venue if it isn’t a space that’s free for you to use.
If you’re just looking to break even, you can charge whatever you estimate to be your own cost. If you want to make a profit, there’s nothing wrong with charging for your time and expertise. Many events are set up as a “charge-per-person” format where each participant pays his/her own individual fee directly to you or to an organization that then pays you the lump sum. Other events may ask you what your group rate is because the organization wants to absorb the cost for its members.
Set a maximum/minimum number of participants.
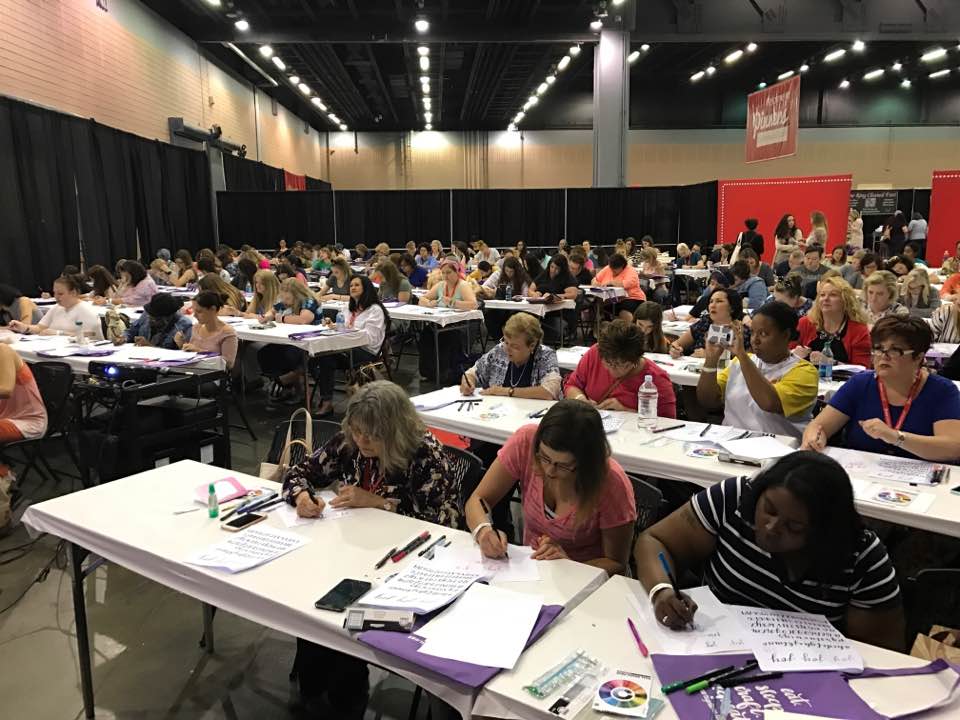
Before advertising a workshop, think about if you have a cutoff number for sign-ups. One determining factor for this will be the venue itself. For example, the Michaels classroom holds 12 people. If more sign up, they’ll have to go on a waiting list. Other venues can hold much larger groups. Ask yourself how many people you are comfortable teaching at once. I love public speaking, so I didn’t mind a crowd of over 150 people in my classes at Pinners Conference. As long as I have the proper sound/AV equipment to allow everyone to see and hear what I’m doing, I don’t really have a maximum limit for my workshops.
You will also want to set a minimum number of participants that ensures it’s worth your time and travel to attend an event. Personally, I typically set a minimum of 15 people, especially if I have to drive more than 15-20 minutes. You can choose whatever number makes it worthwhile for you.
Advertise.
Sometimes your venue will help with this; for example, when I team up with the local pottery studio, they do promotional e-mails, posters, and more to help spread the word to their customers. Other times, I find that the bulk of the advertising falls on me. Think about printing and mailing invitations, making flyers to hang up in your community, and spreading the news on your social media to get word out about your event.
Practice.
There are plenty of people who are really good at doing whatever skill they’ve mastered, but who aren’t particularly great at teaching it. To ensure that your workshop is a success, you’ll want to practice teaching your skill and project to someone beforehand. Teach your spouse, your kids, or a neighbor exactly the way you plan to teach your creative workshop. This will be a good test to see how they do! Are they able to follow along? What questions do they have?
As you prepare to teach, my best advice is to break everything down into very basic and simple steps. Teachers often worry that they’re being too basic and their participants will be bored, but remember…your students are there because they don’t know how to do what you do! Don’t make assumptions that they know certain things. Instead, assume that they come with no prior knowledge. Explain what tools you’re using and exactly what you’re doing from the very beginning so that everyone can follow along. Make it accessible and do-able, and provide lots of visuals and hands-on instruction. Then, everyone can feel successful!
For more of my ideas and tips, check out the latest episode of my podcast: Crafting & Coffee With Amy Latta Creations – Teaching a Creative Workshop!
If you have any questions about how I lead my workshops or how to go about teaching your own, don’t hesitate to ask! Post your questions in the Amy Latta and Friends Facebook group or fill out the contact form here on the website. If you’re interested in having me lead a hand lettering workshop at your next event, email me at amylattacreations{at}gmail.com for more information. Good luck, and happy teaching!