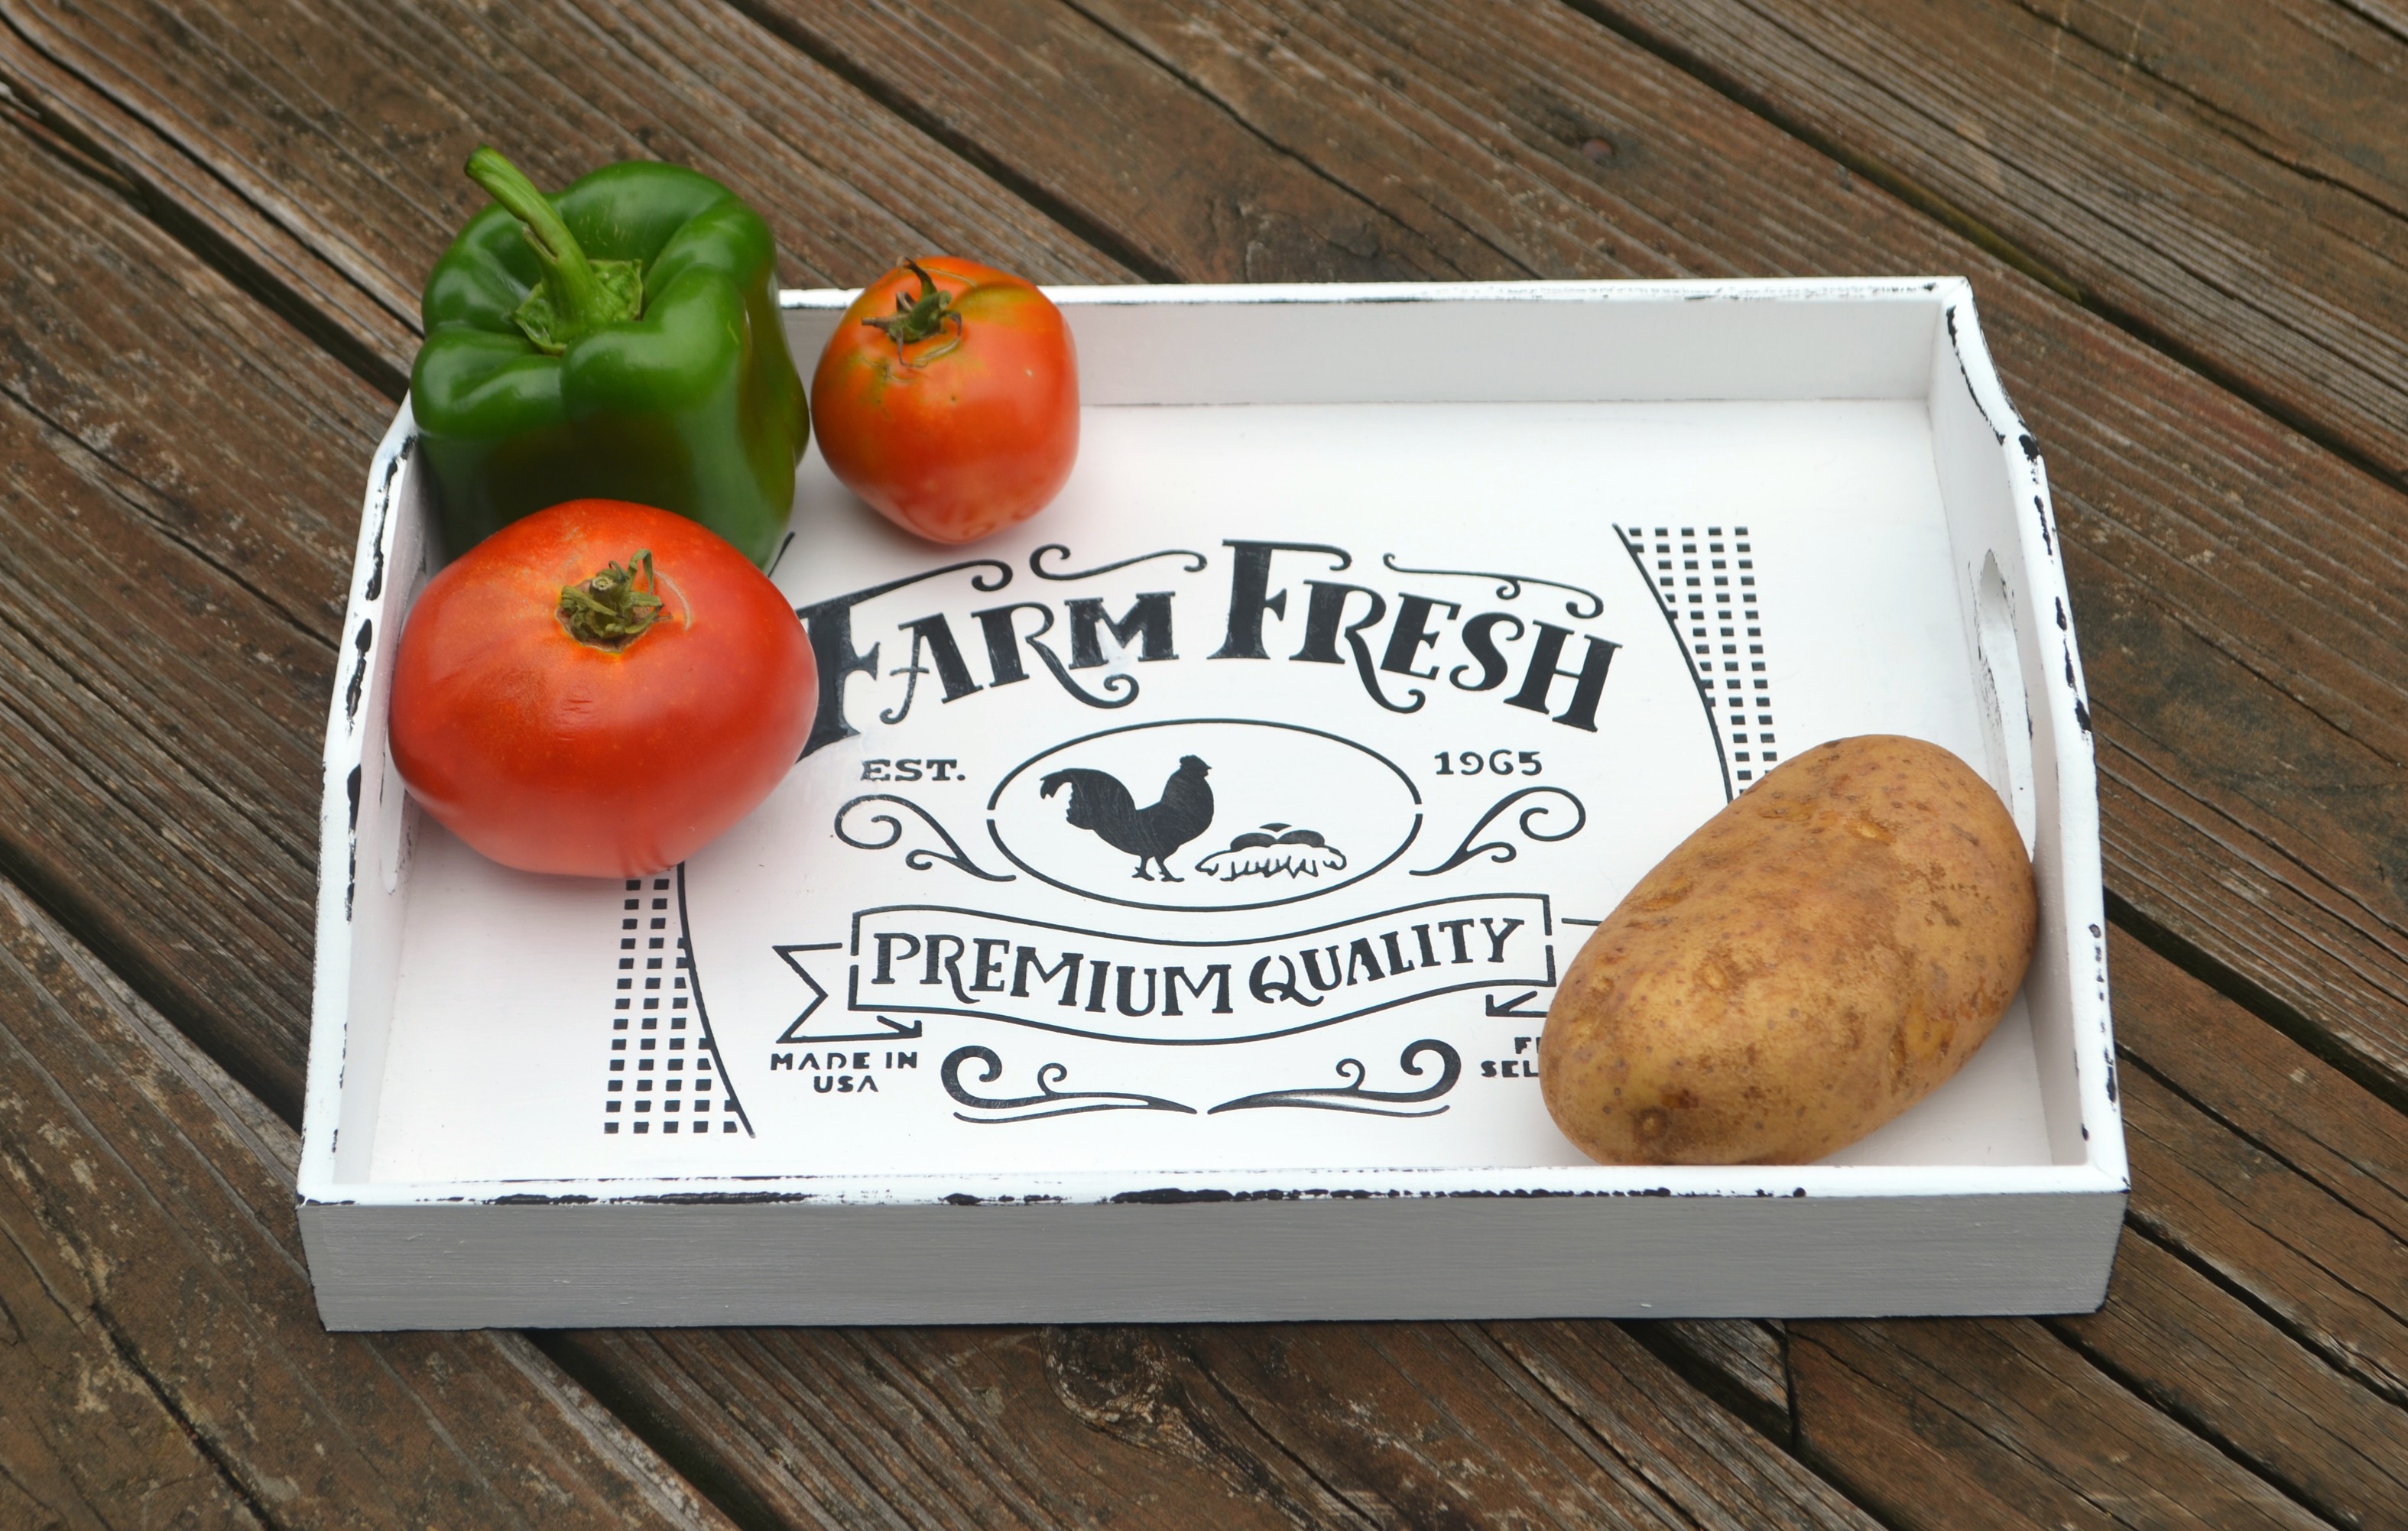
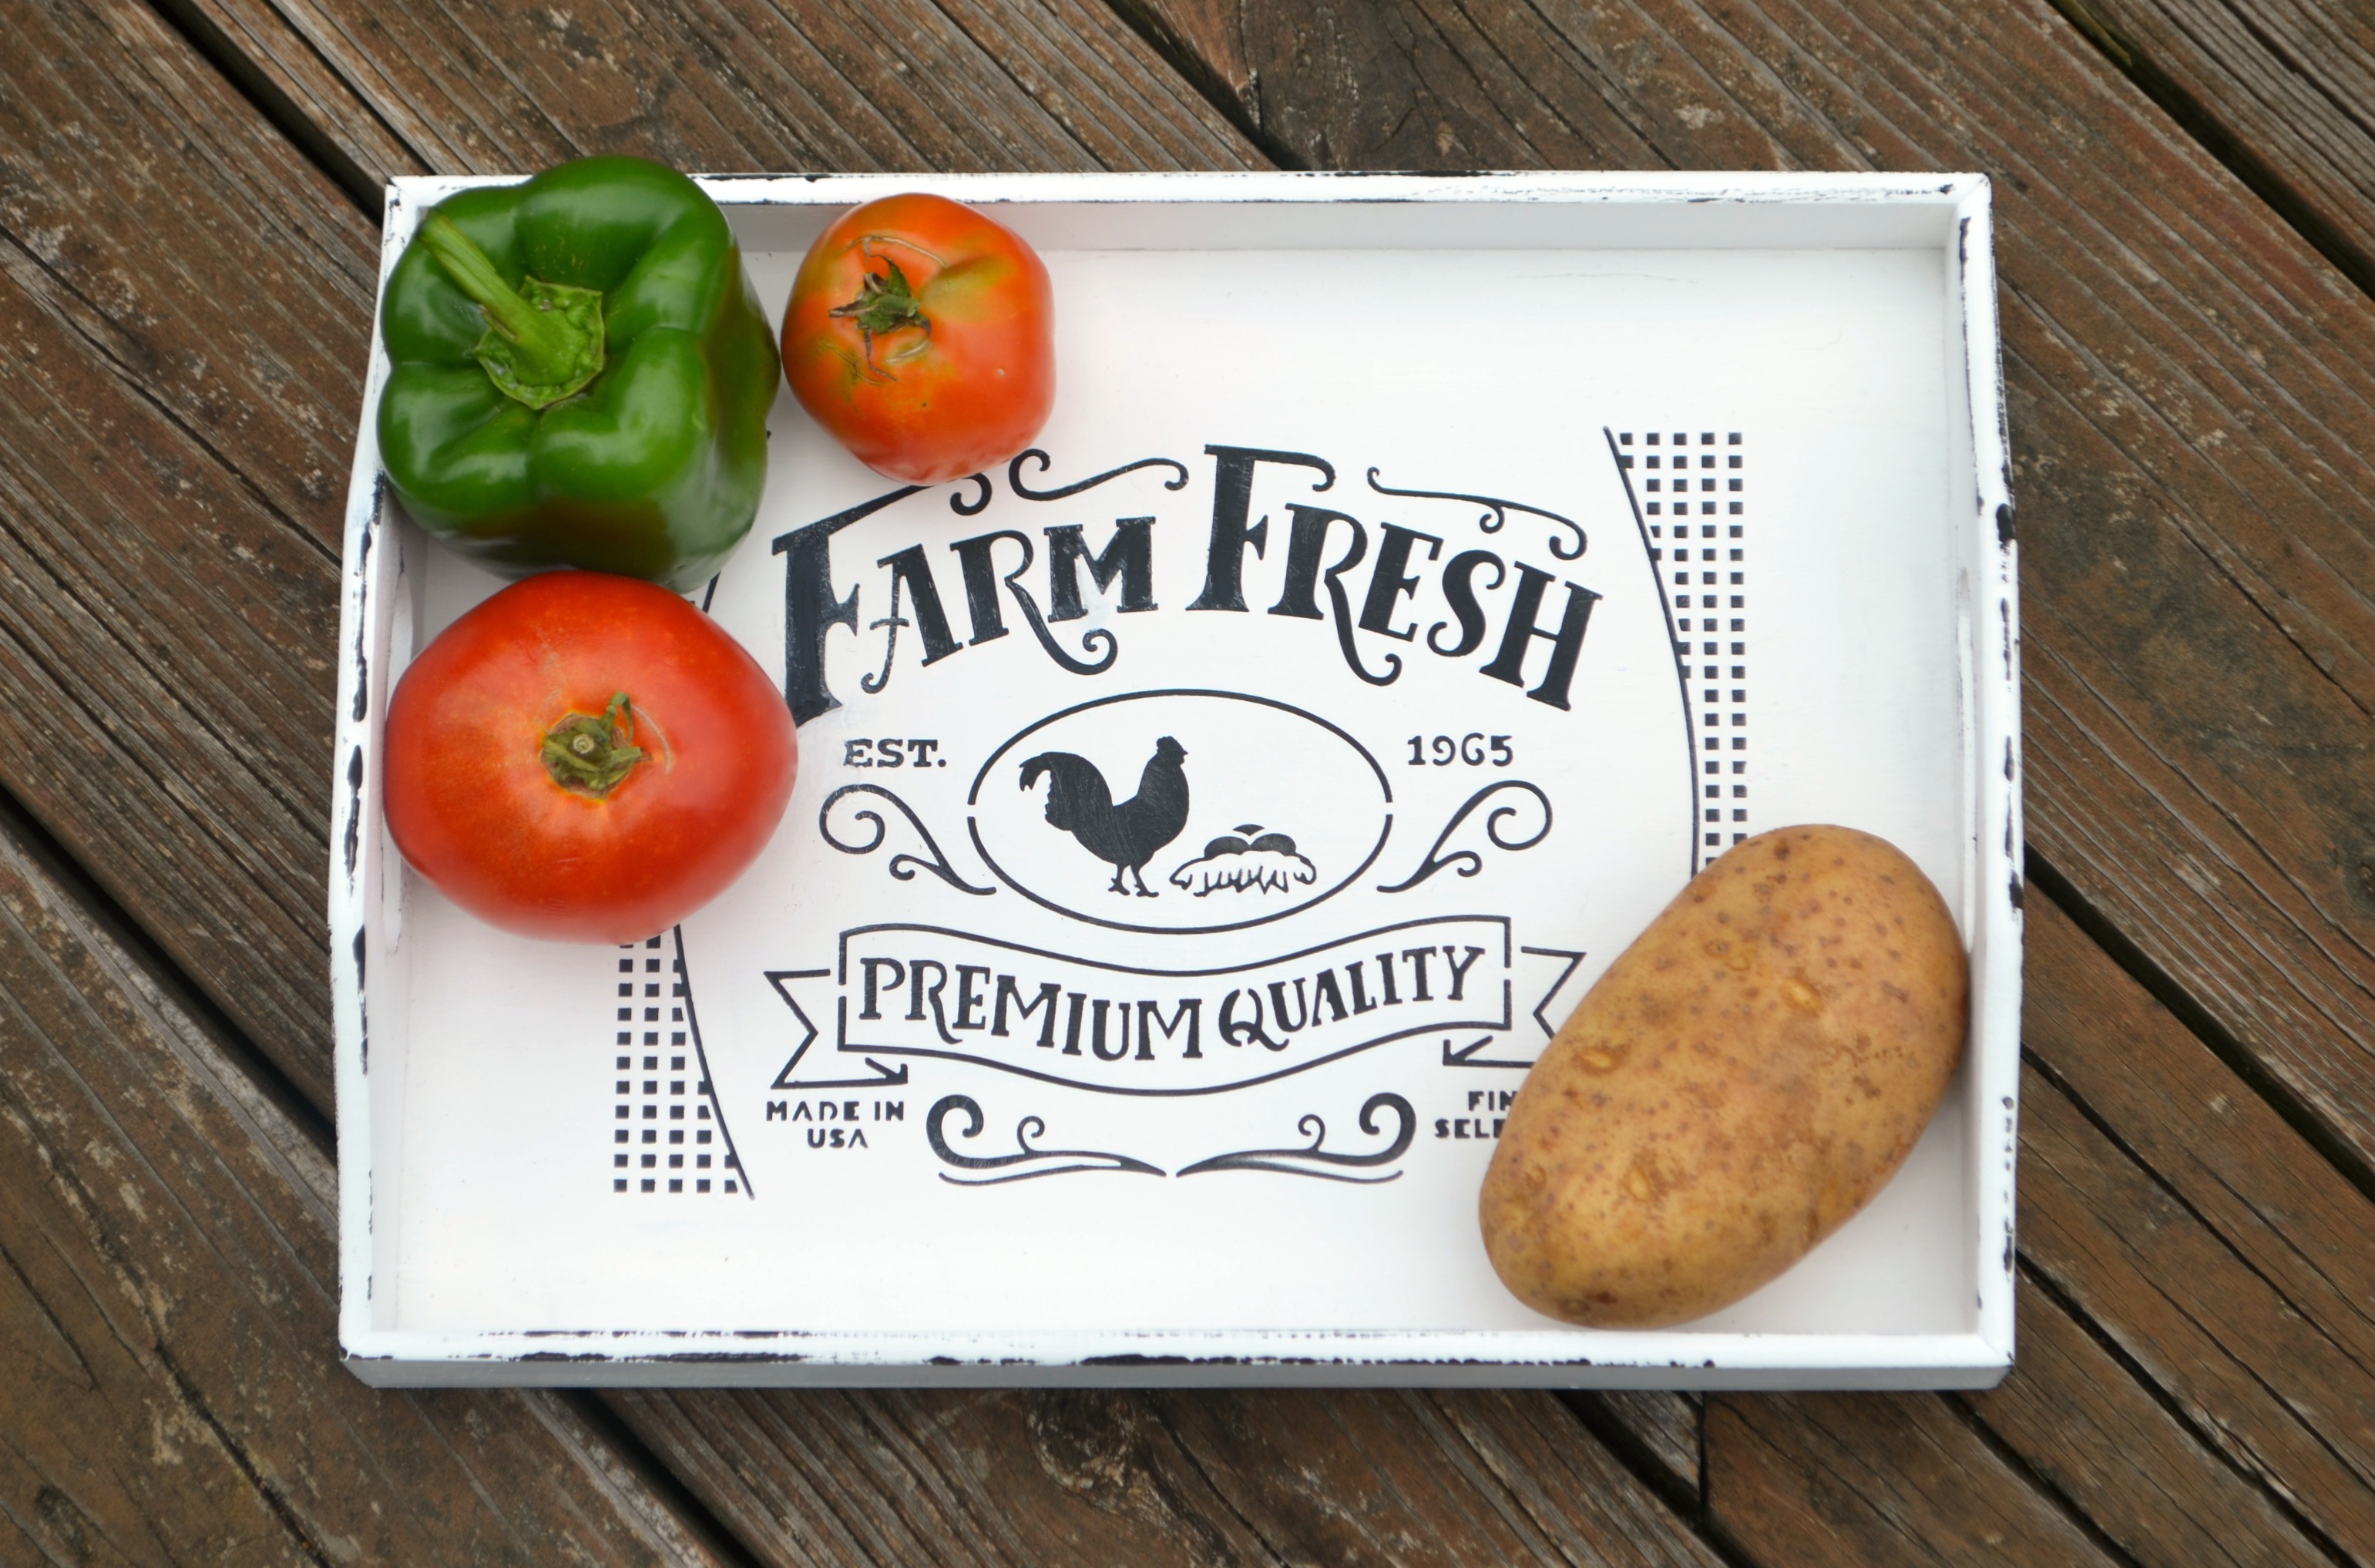
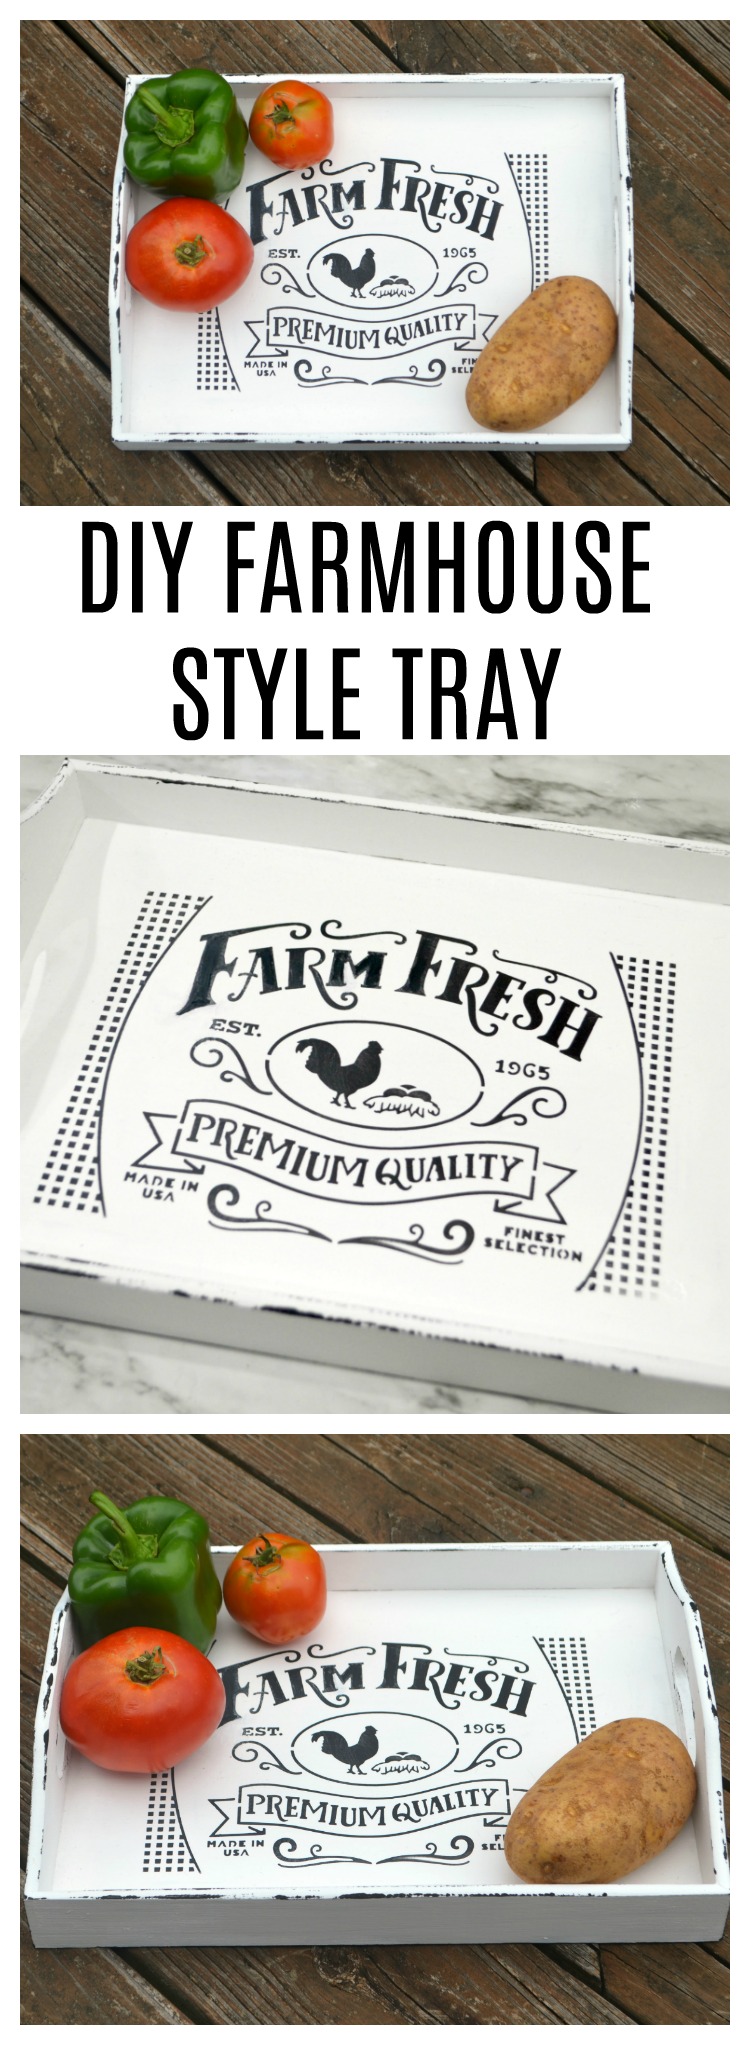
DIY Farmhouse Style Tray
One of the most well-loved home decor styles right now is a trend called Modern Farmhouse. This style mixes elements of old and new, using wood, metal, and distressing to give your home a clean, traditional look. It focuses on a “collected-over-time” look as well as creating a welcoming, “homey” feel. Modern Farmhouse can also be combined with other decor styles including French and Coastal for a look that’s comfortable and chic at the same time. It’s easier than you might think to create your own DIY Farmhouse decor elements, like this stenciled “Farm Fresh” tray. Take a look!
DIY Farmhouse Style Tray
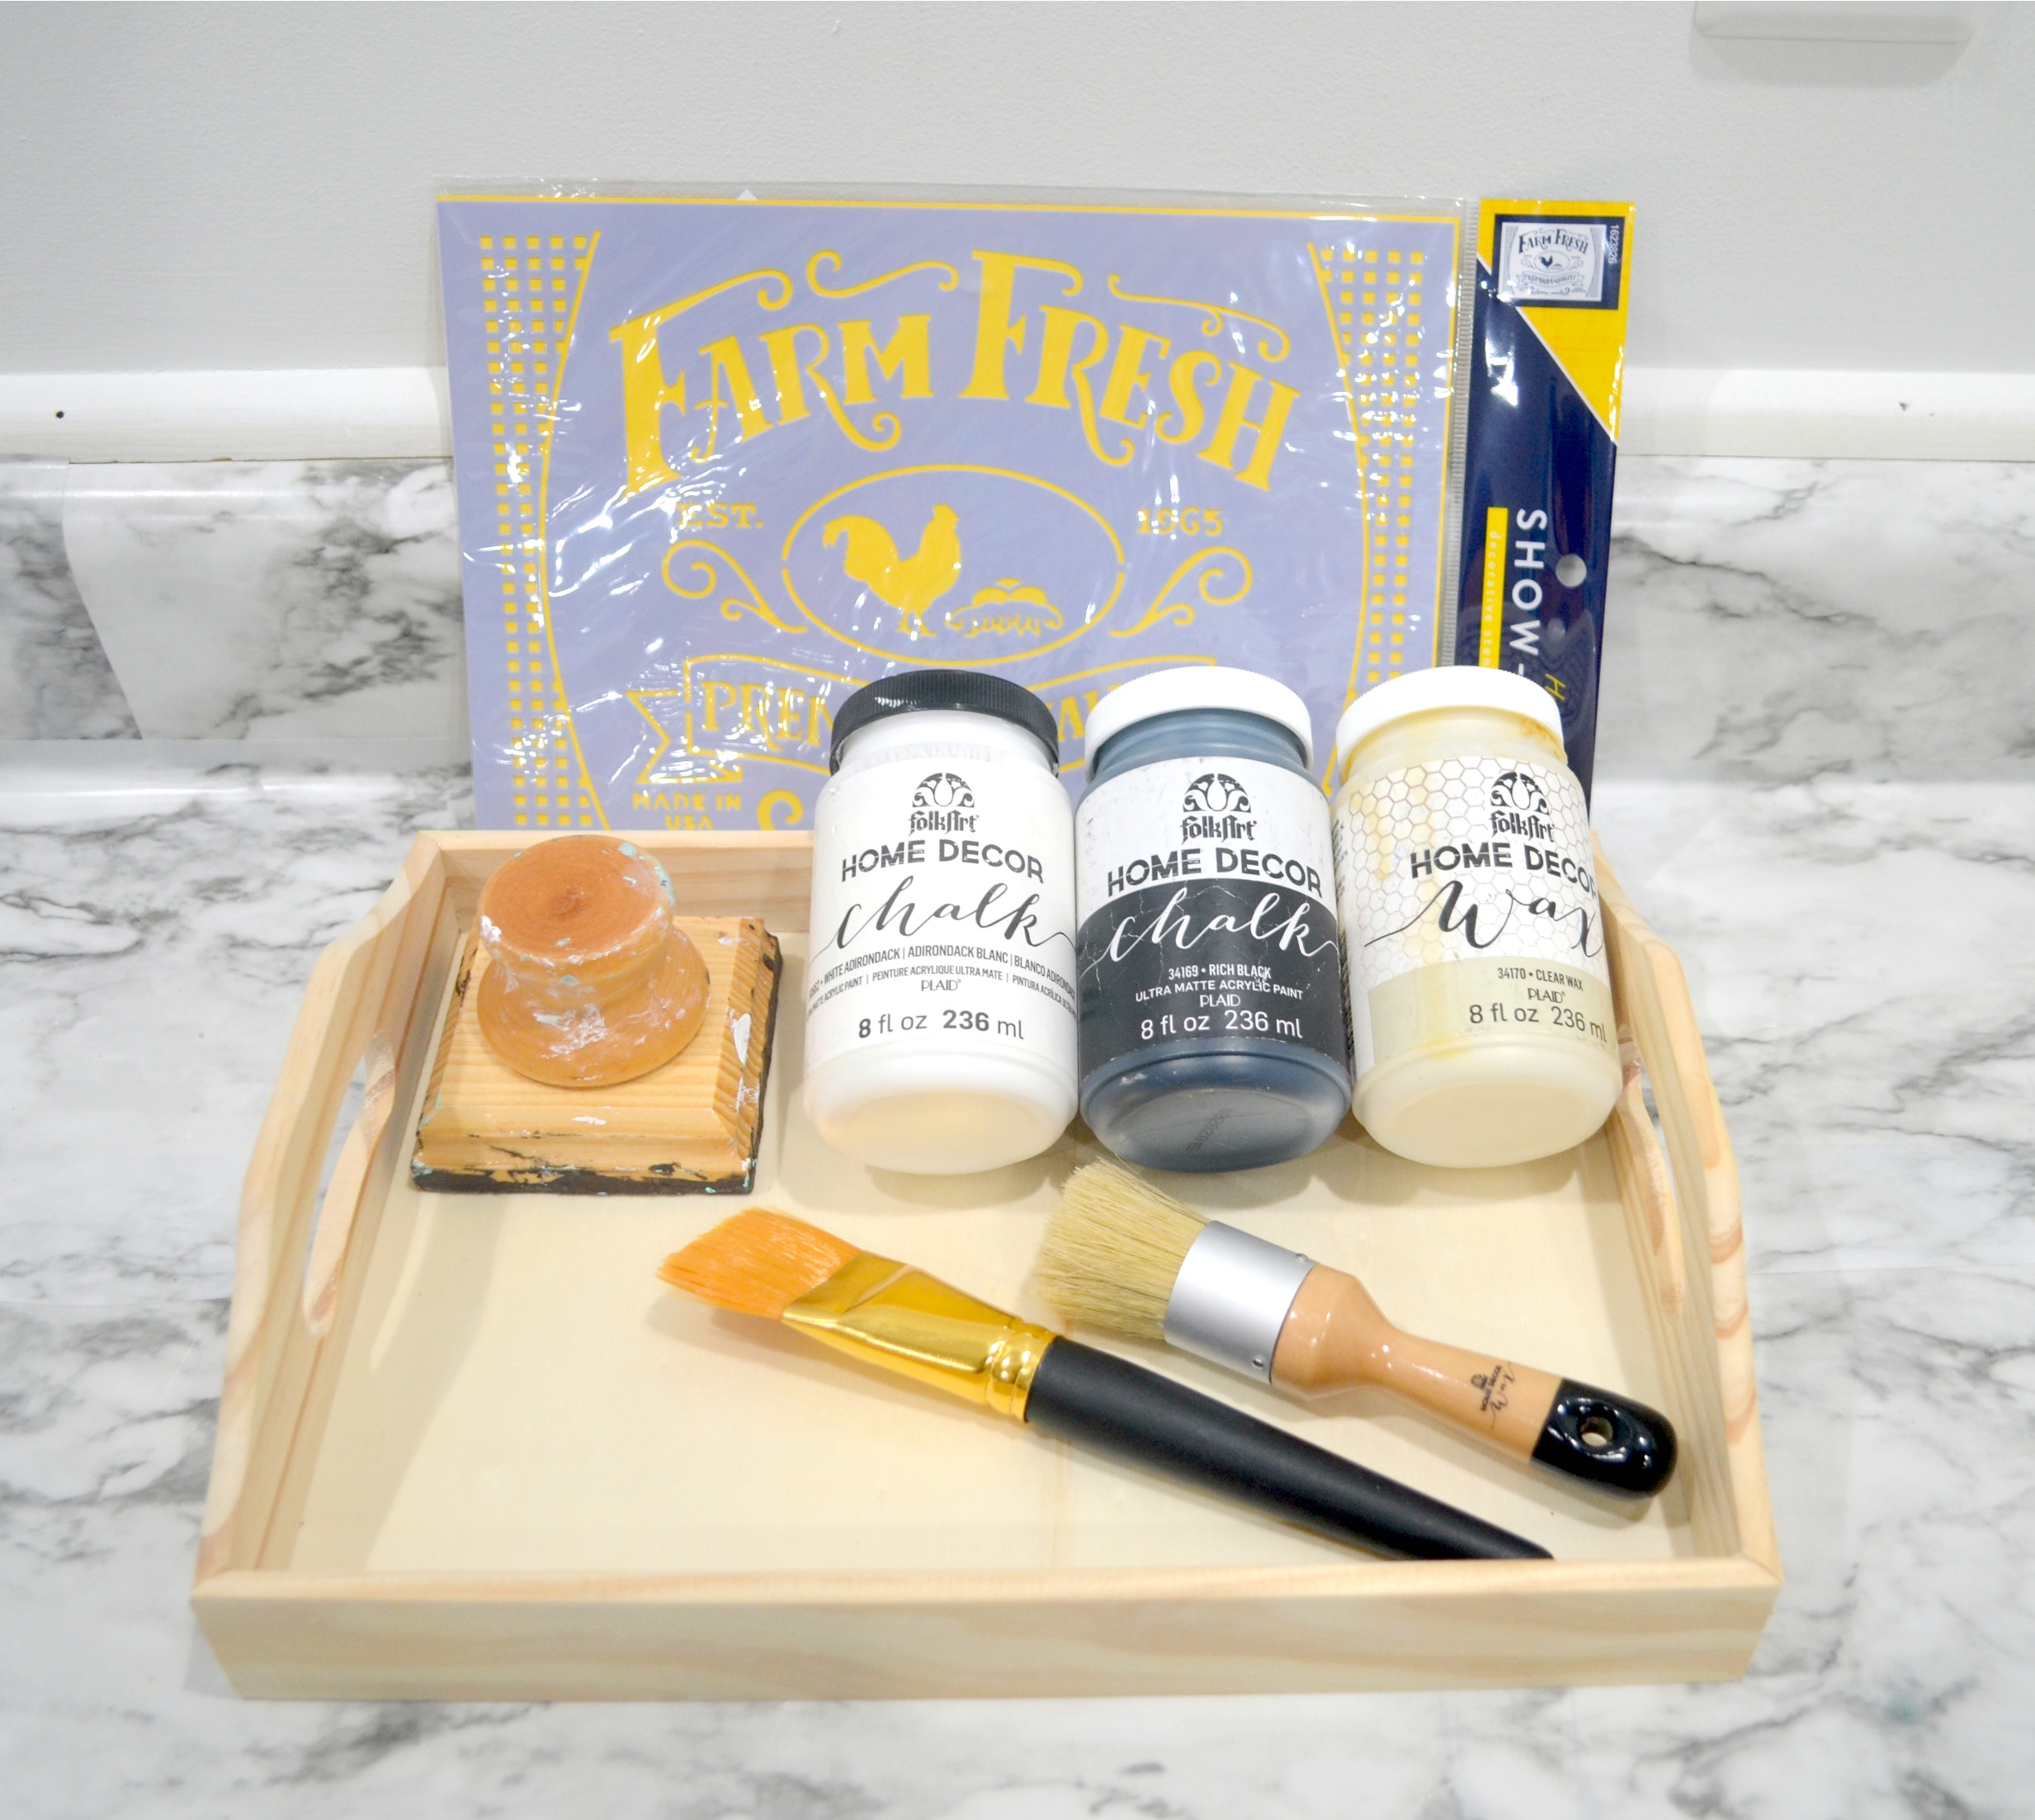
You’ll need:
painter’s tape
soft, lint-free cloth or wax brush
FolkArt Home Decor Layering Block
Creating Your Farmhouse Style Tray
Step 1: Paint the entire tray with white chalk paint.
You’ll want to give it two coats to get total coverage. Make sure you let the paint dry in between coats. Also, let the paint dry completely before moving on to the next step.
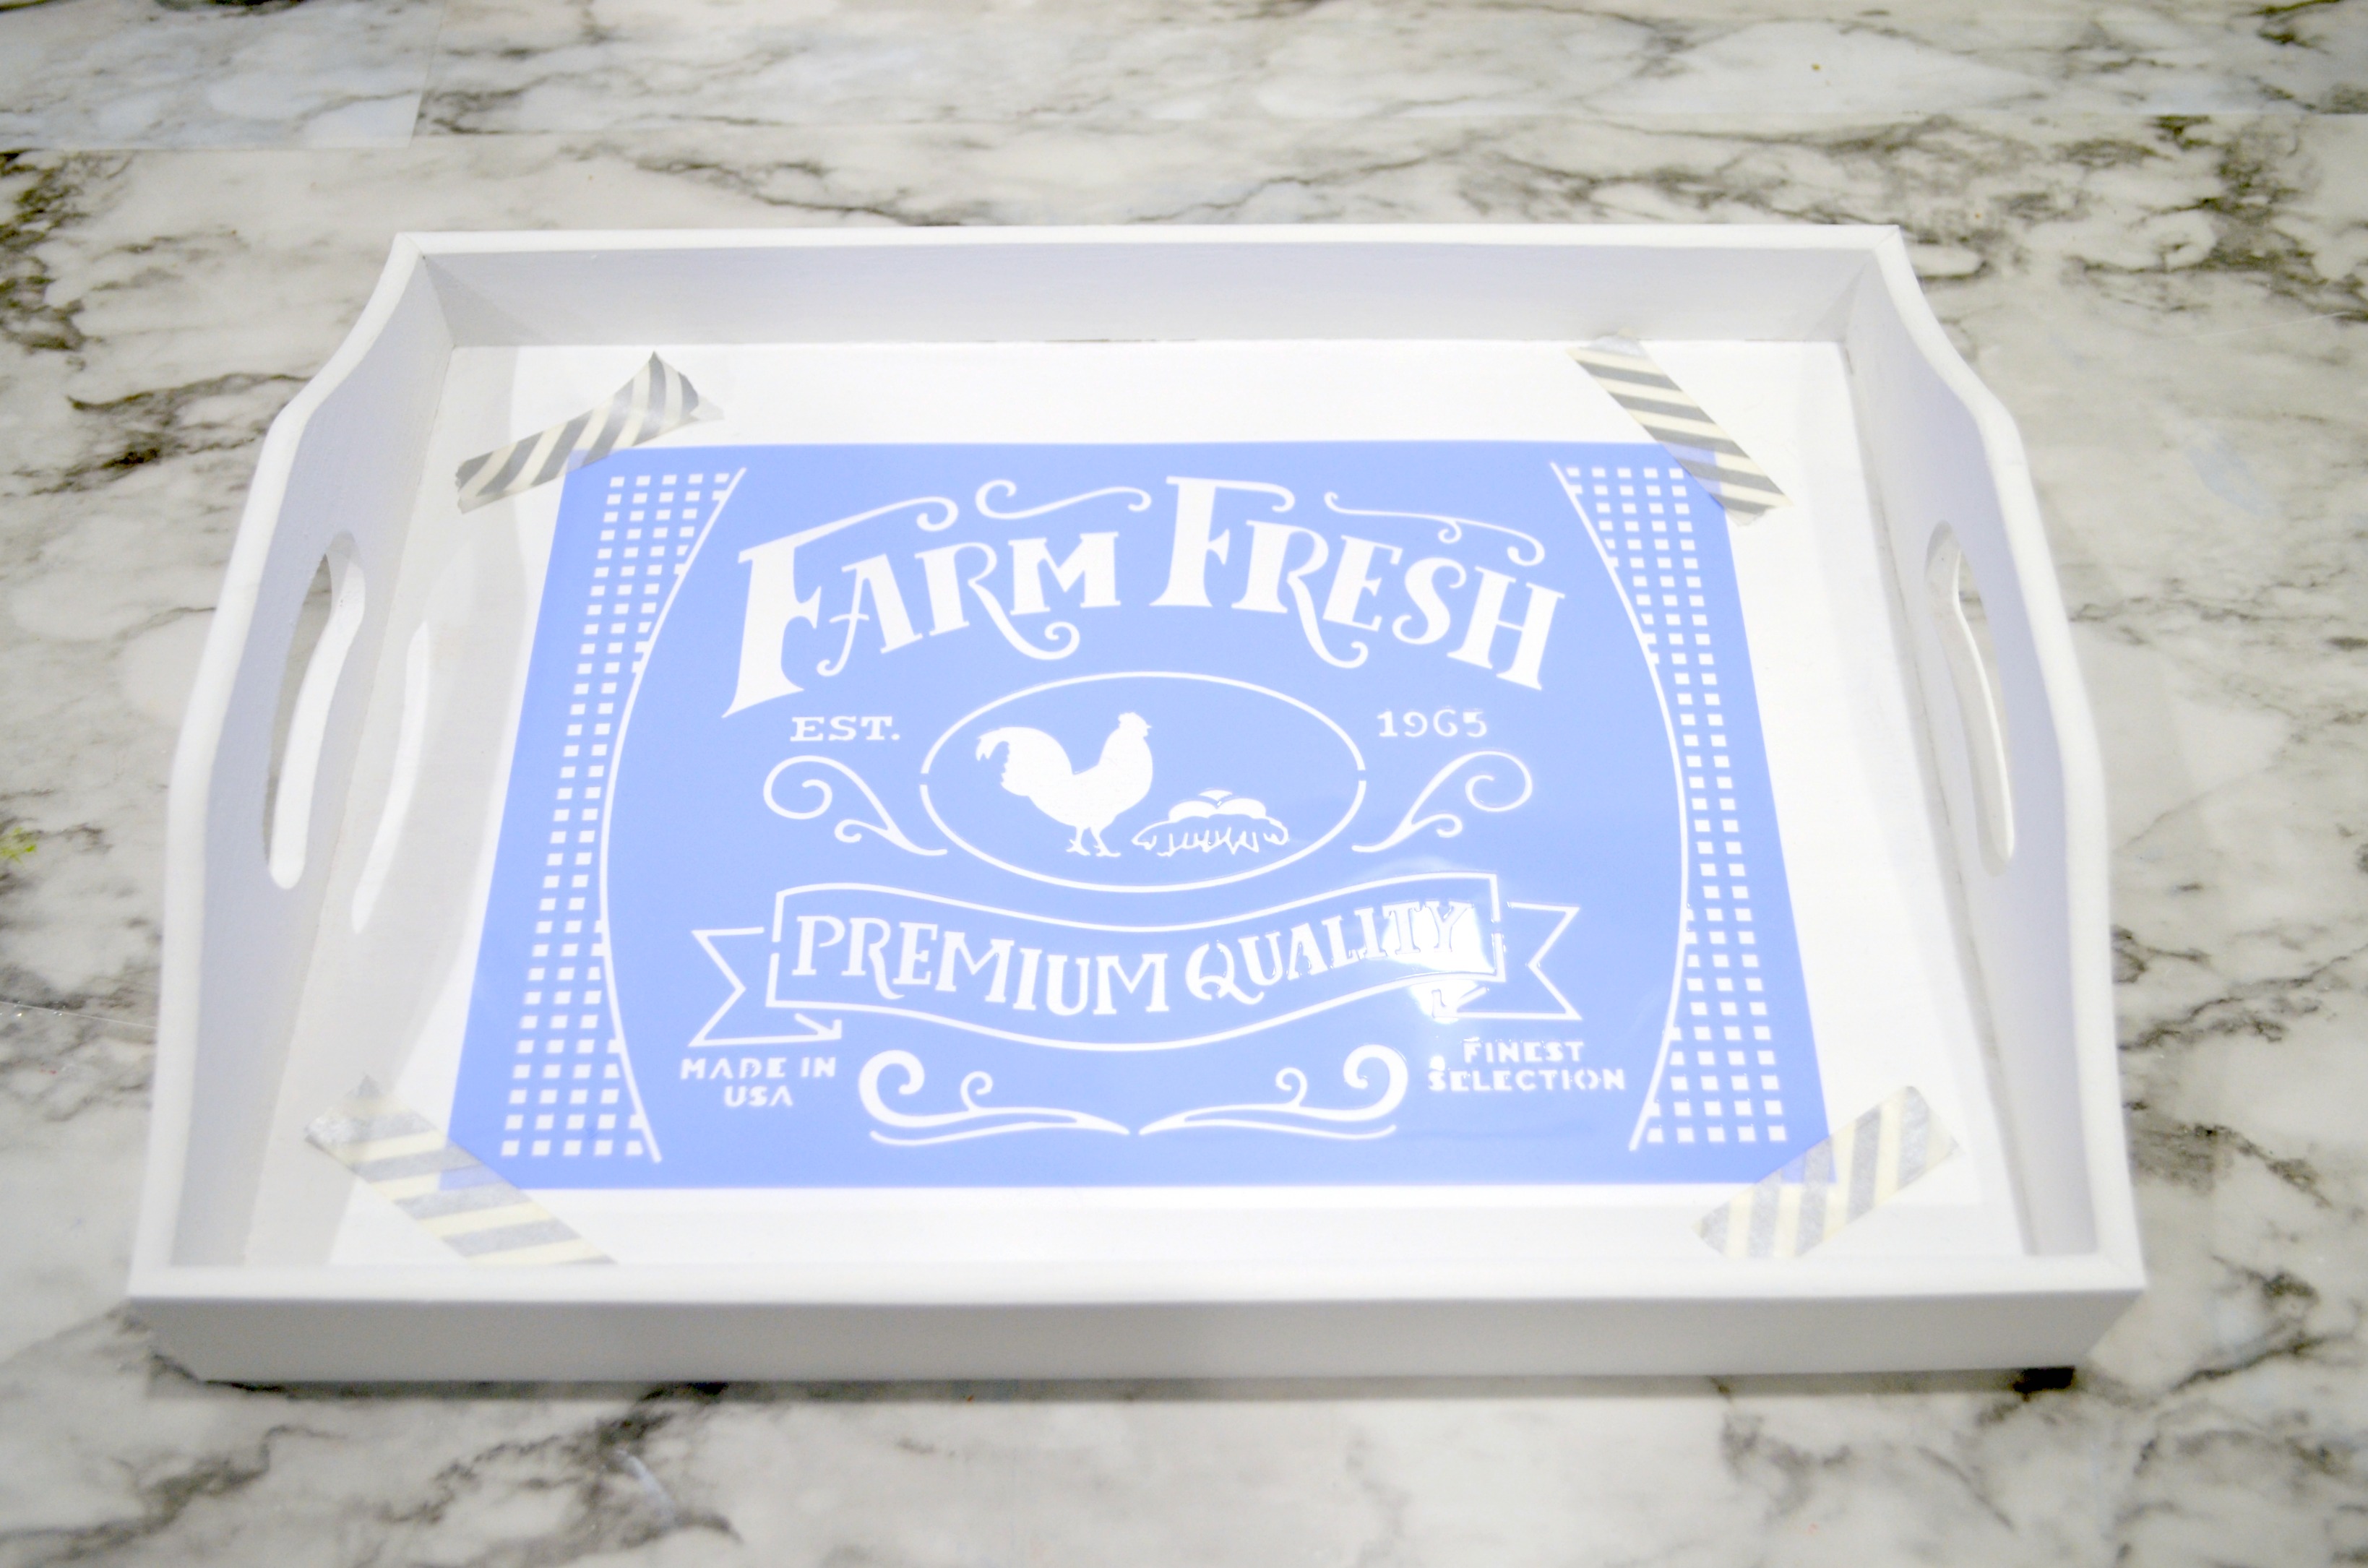
Step 2: Position and tape your stencil in place.
This stencil was less than $3 at Hobby Lobby! Center it, or the stencil of your choice, on the bottom of the tray and use painter’s or washi tape to hold it there.
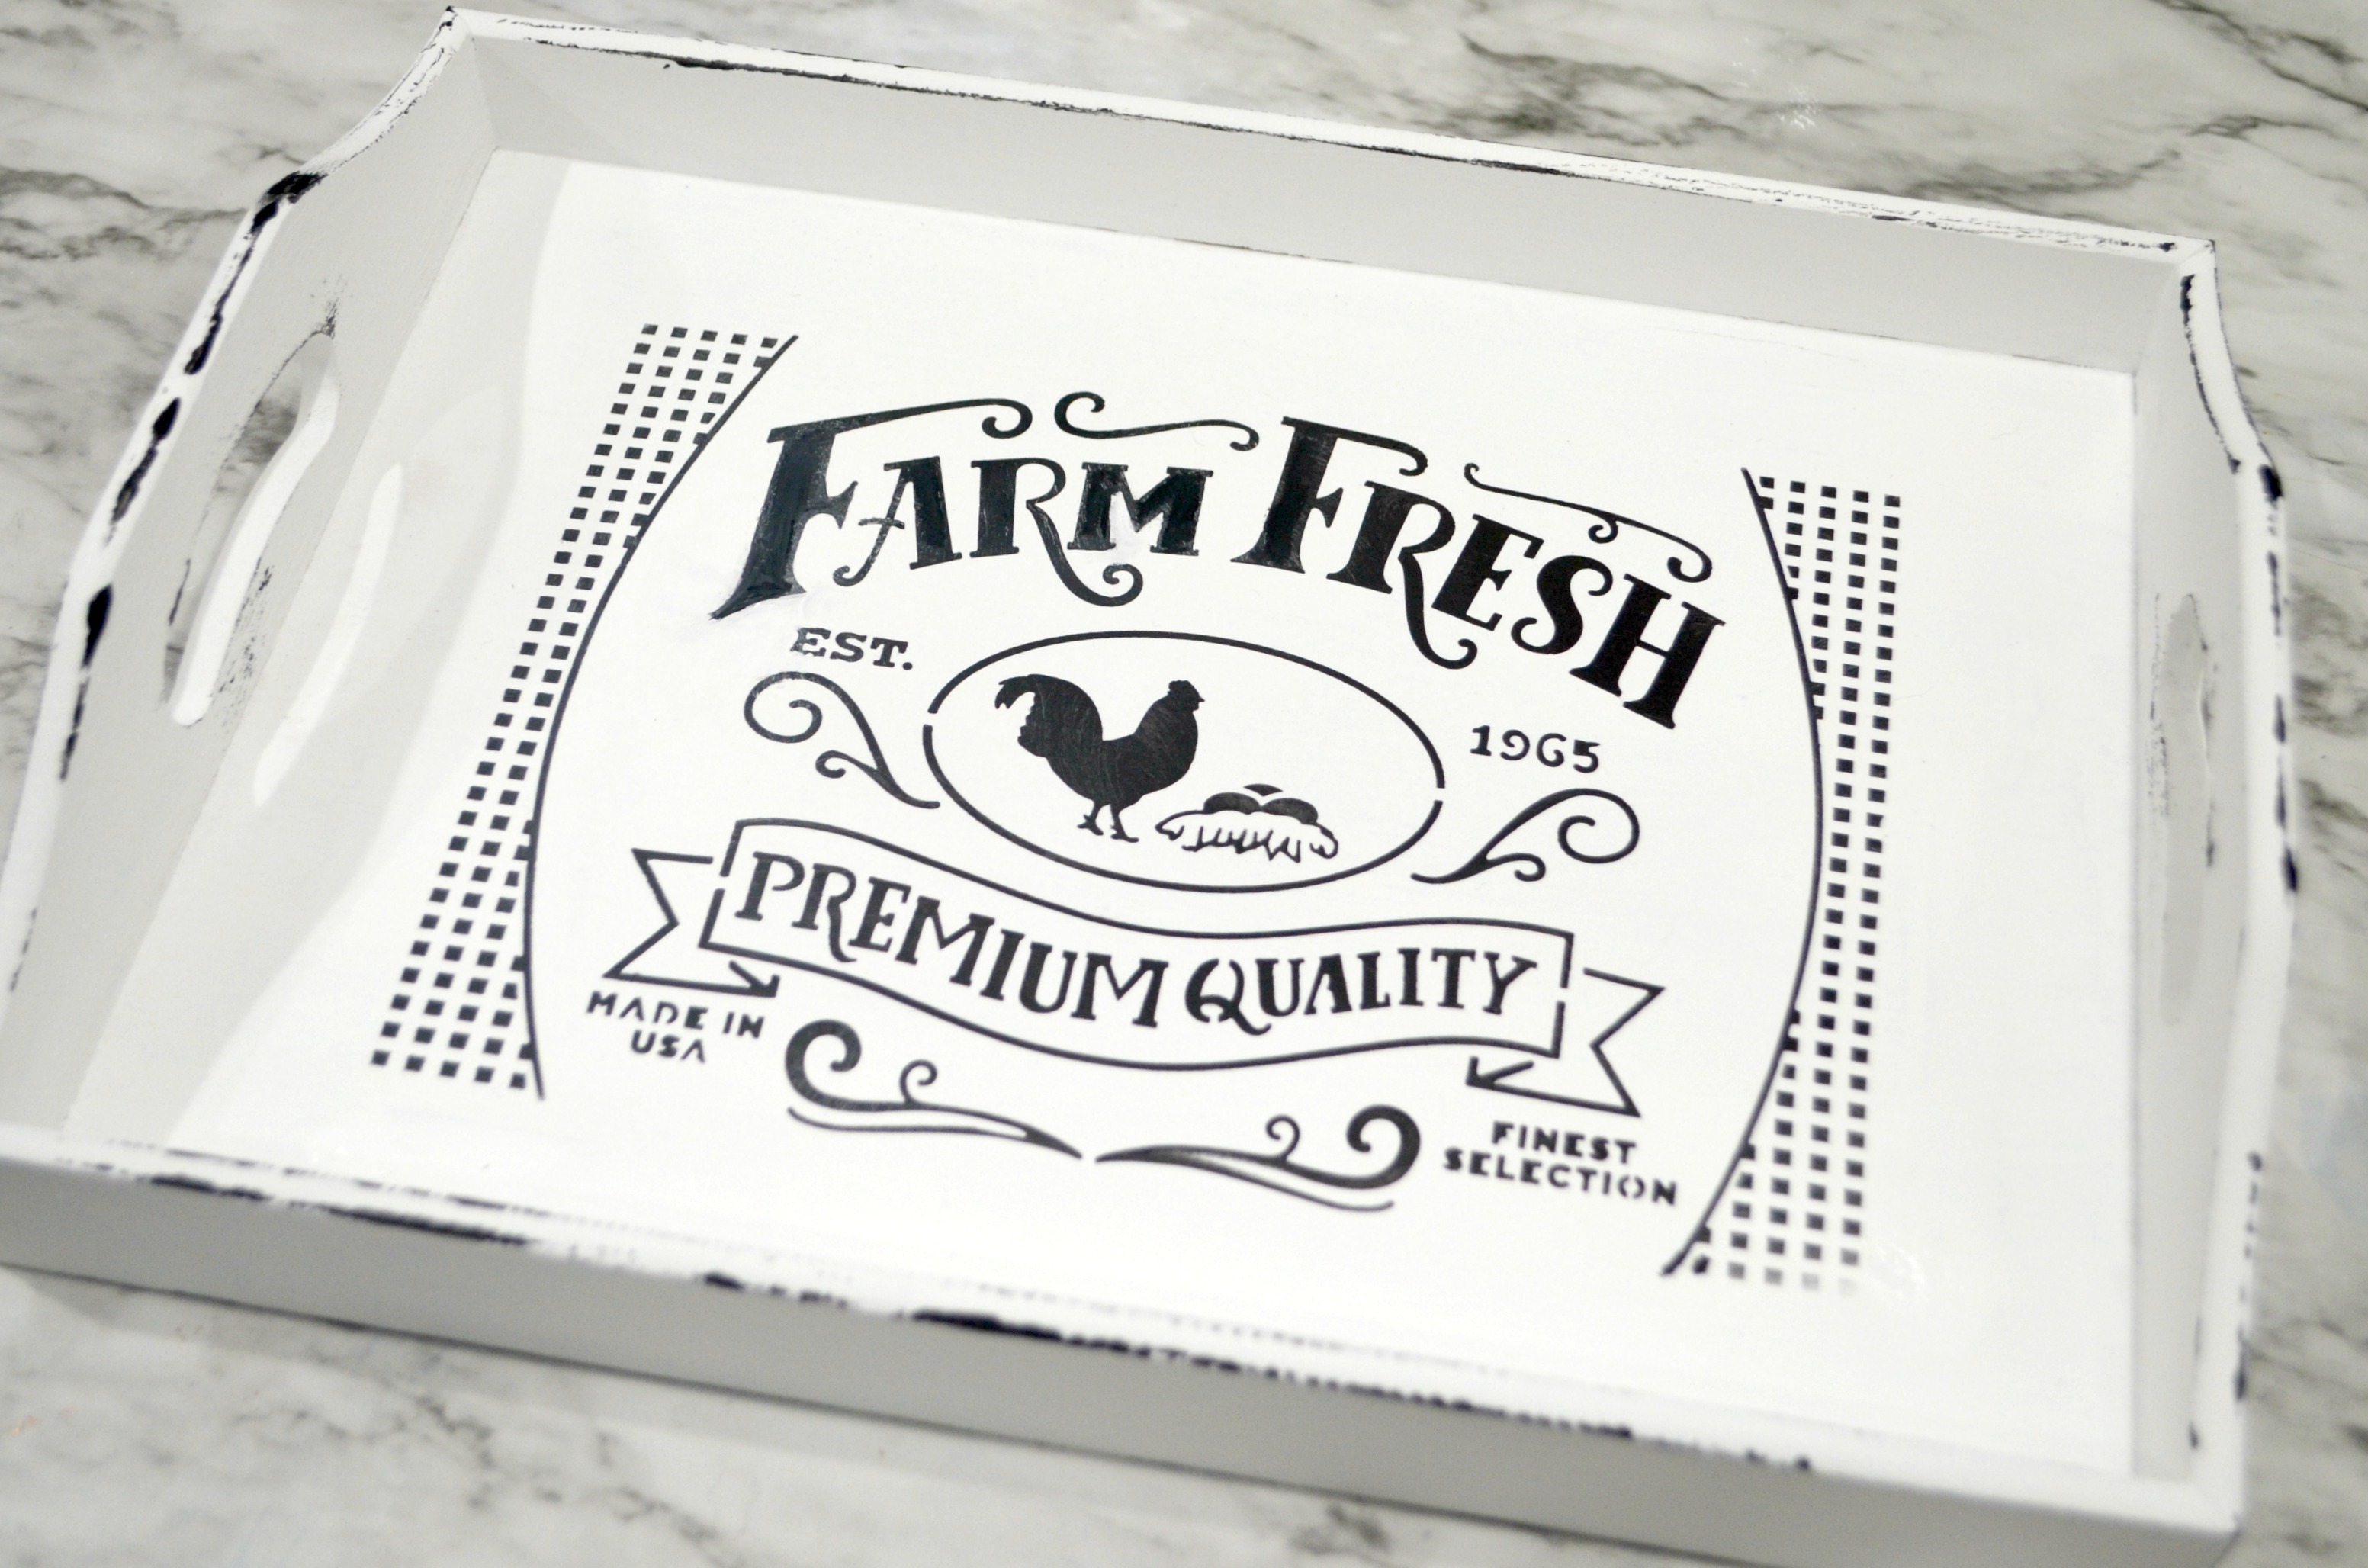
Step 3: Use a stencil brush and black chalk paint to fill in the open spaces of the stencil.
The best practices to help you get a clean stenciled image are to use an almost-dry brush and to tap it up and down with a vertical motion. Make sure to use the right tool for the job, a stencil brush, which is full and has a large area of flat, even bristle tips. Load some paint onto the brush, then offload most of it onto a scrap paper. Then, gently tap the brush onto the open spaces of the stencil rather than rubbing or using a back and forth motion. The main mistake people make is using too much paint, which seeps under the stencil and blurs the image.
Step 4: Use the layering block to distress.
Distressing is the process of making a new piece of decor or furniture look vintage, as though it has multiple layers of paint and has been gently worn over time. To do this, some people use sand paper to remove areas of the paint and let the wood or a base layer of paint show through. An easier way to do this is by adding more paint instead, in a way that gives the illusion of paint being removed.

All you do is apply a very thin coat of black paint to the flat surface of a wooden layering block. Then, lightly rub the block over the corners and edges of the piece. This will apply black paint to those areas, giving the tray a worn, aged look. You can do as much or as little of this as you like; the amount of distressing is all about personal taste.
Step 5: Apply a coat of clear wax to seal the tray.
This can be done using a wax brush or a soft cloth. I’ve been known to use a (clean) old sock! Apply a small amount of wax to the brush or cloth, then work it into the surface of the tray using circular motions.
Once the wax is dry, your tray is ready to use! Keep in mind that while these paint and wax products are non-toxic, they aren’t specifically “food safe,” so be sure to wash your produce or other food before eating it.
What do you think? Do you have touches of Modern Farmhouse decor in your home? This is a quick, easy, and inexpensive way to add a touch of vintage farm style to your kitchen. If you try it, I’d love to see the result! Share this, or any of your other projects, with us in the Amy Latta & Friends Facebook group. See you there!


One Comment