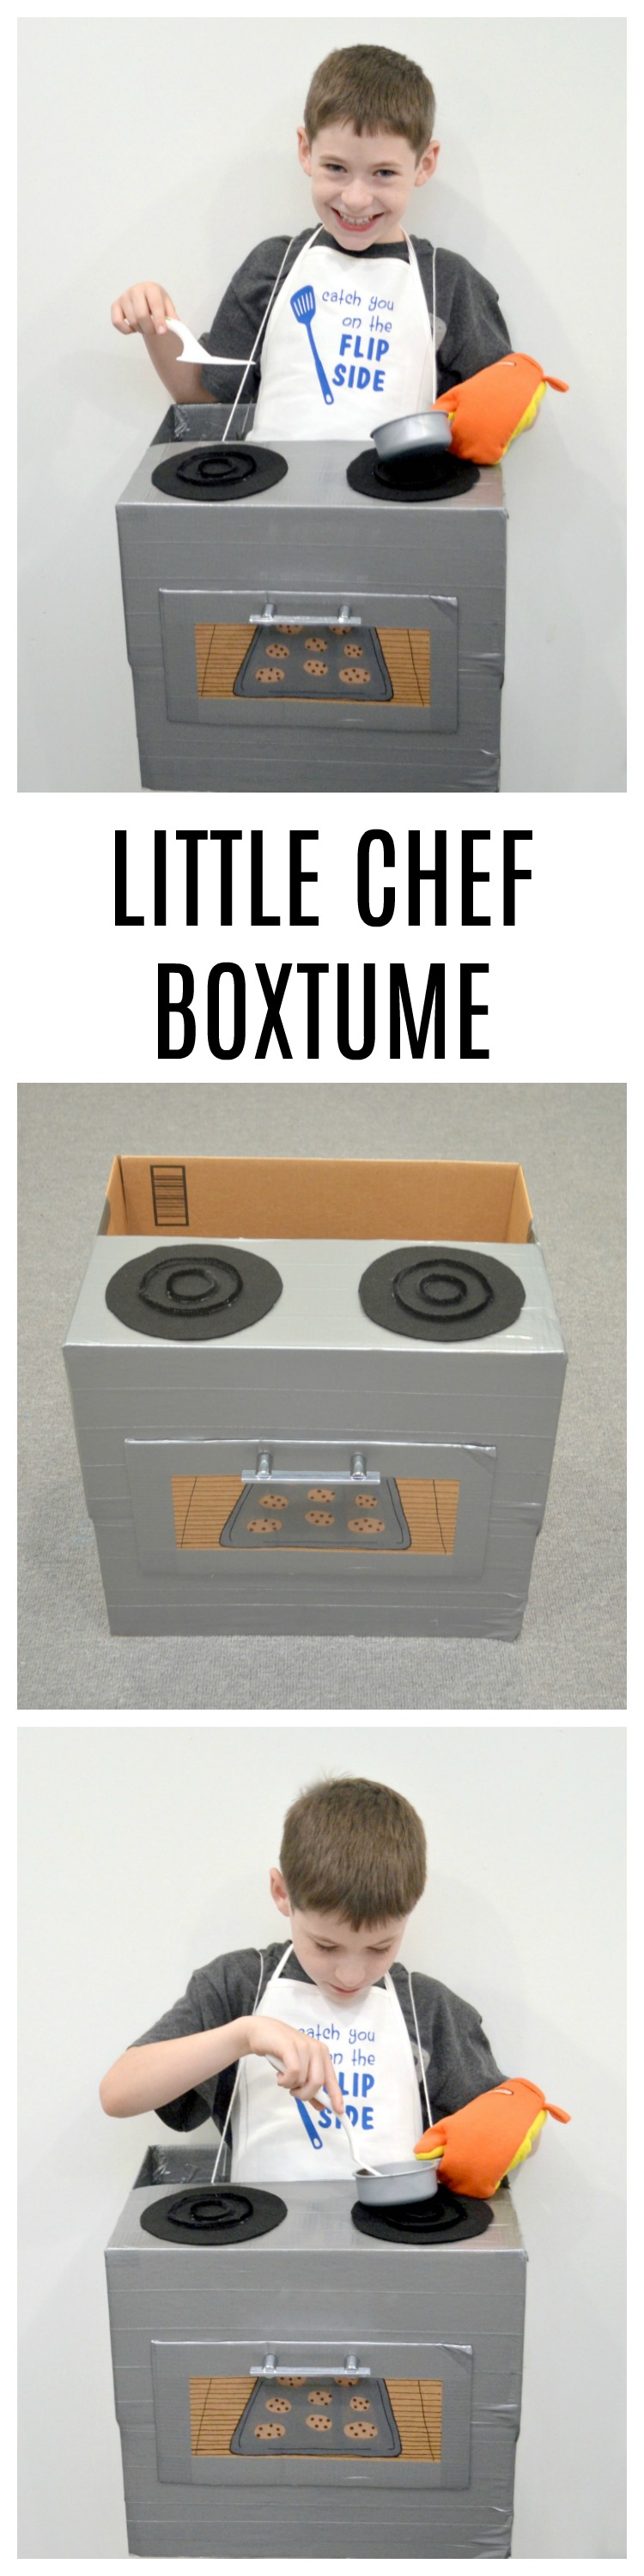
Amazon Boxtume: Little Chef
Today’s post is sponsored by Amazon.com. As always, all opinions are 100% my own.
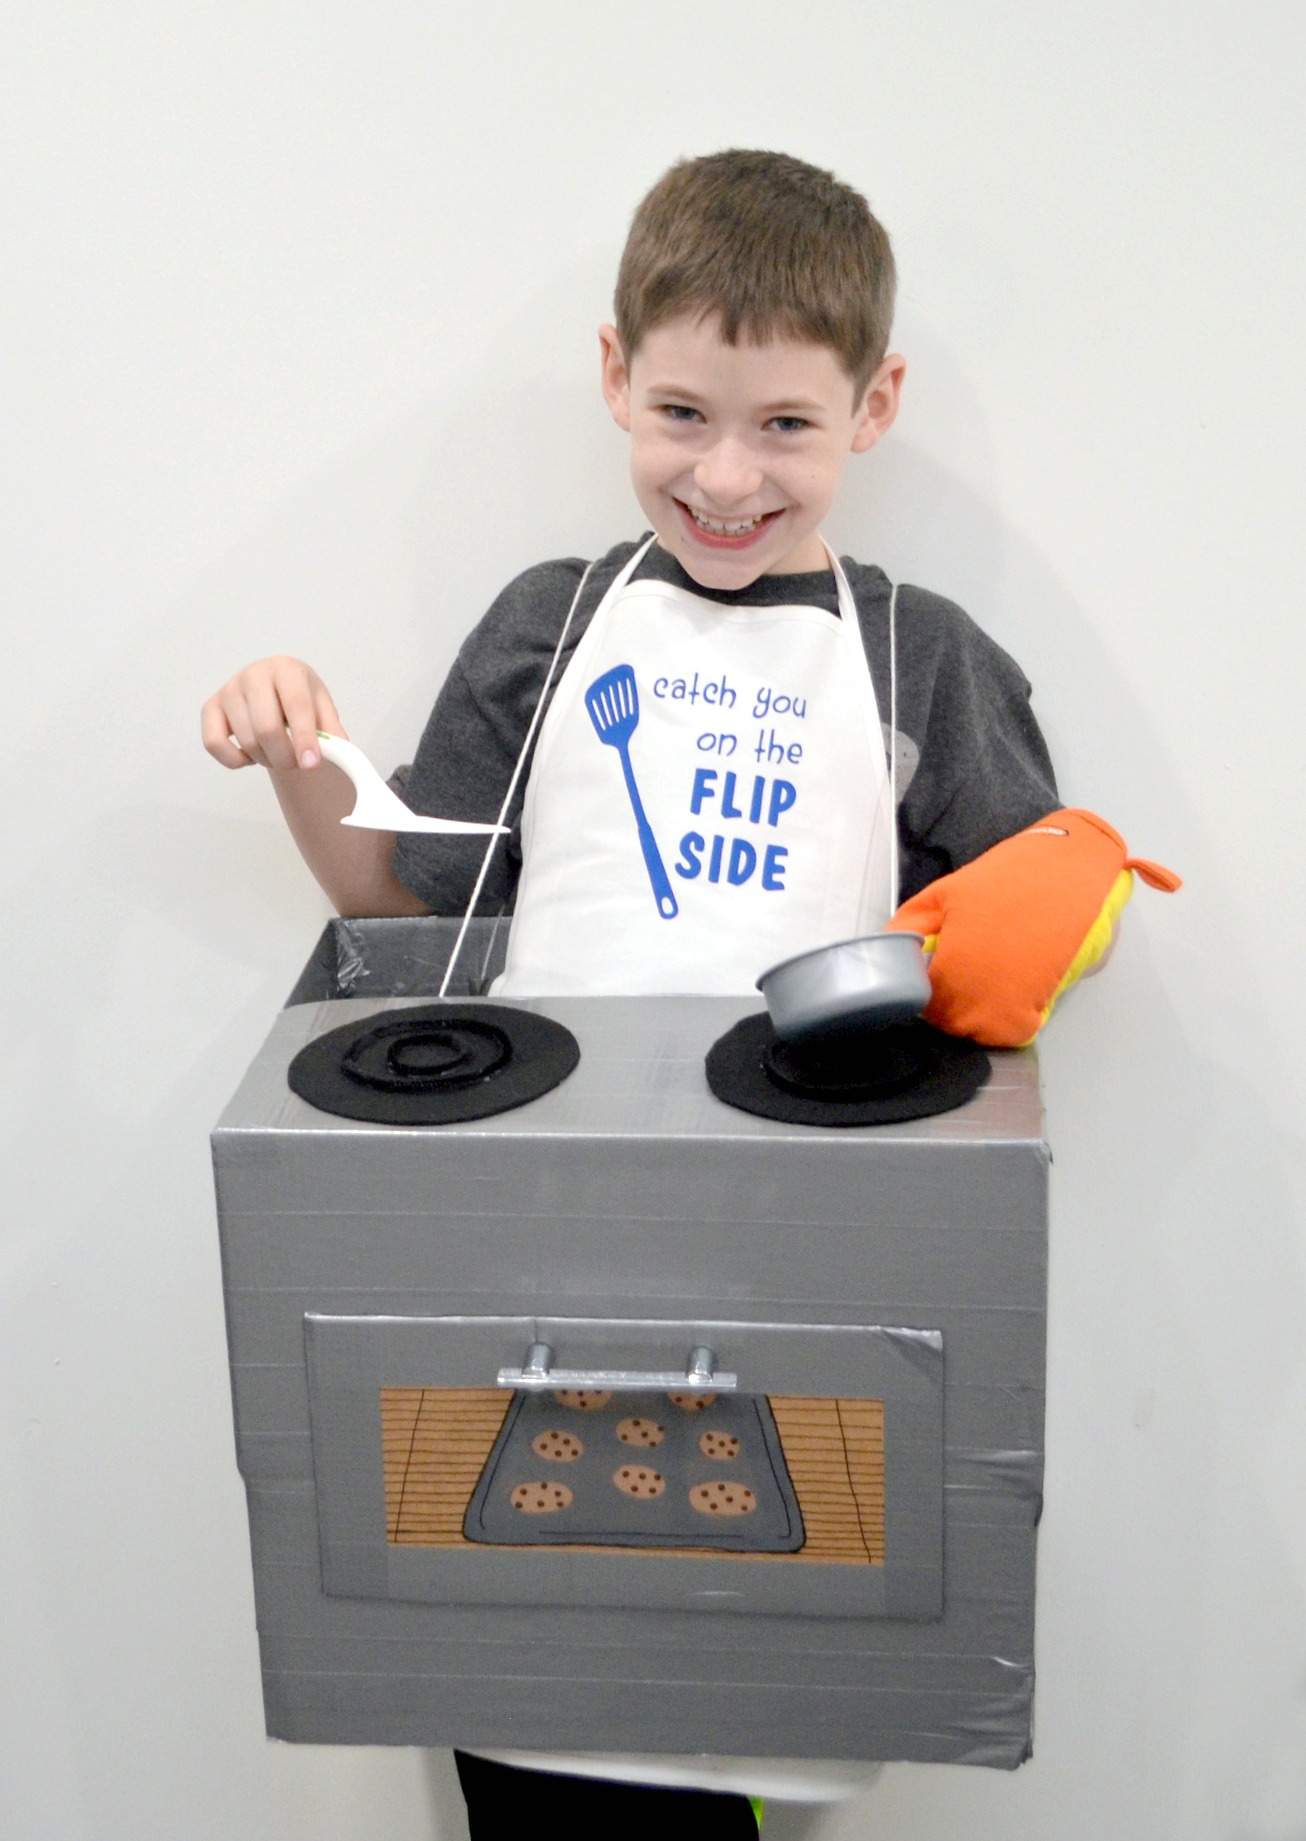
Halloween is just around the corner, and that means it’s time for costumes! I love the challenge of making something unique and personal, rather than purchasing store-bought costumes. It allows our family to get creative, plus our DIY costumes are far less expensive, especially when we use things we already have around the house. Today, I want to show you how we made Little Crafter’s “Chef with a Stove” Boxtume for less than $10 using Amazon smile boxes and a few other everyday items. Take a look…
So, what’s a “Boxtume?” It’s the fabulous combination of Amazon smile boxes plus craft supplies to make a one-of-a-kind costume. Naturally, this is right up my alley, because thanks to our Amazon Prime membership, I always have a few boxes around the house. I mean, you can find just about anything you want on Amazon, and it shows up in two days or less with Prime’s fast, free shipping! So, of course I’ve got boxes, don’t you? Since Little Crafter absolutely loves baking and wants to be a chef one day, we decided to turn one of those boxes into his own personal stove. Here’s what we used.
Chef with Stove Boxtume Supplies
Large Amazon Smile Box
Scissors
Acrylic Paint: grey, tan, and brown
Black Permanent Marker or Paint marker
Black Felt
Hot glue gun/glue or other craft glue
Drawer pull
Screwdriver
Yarn
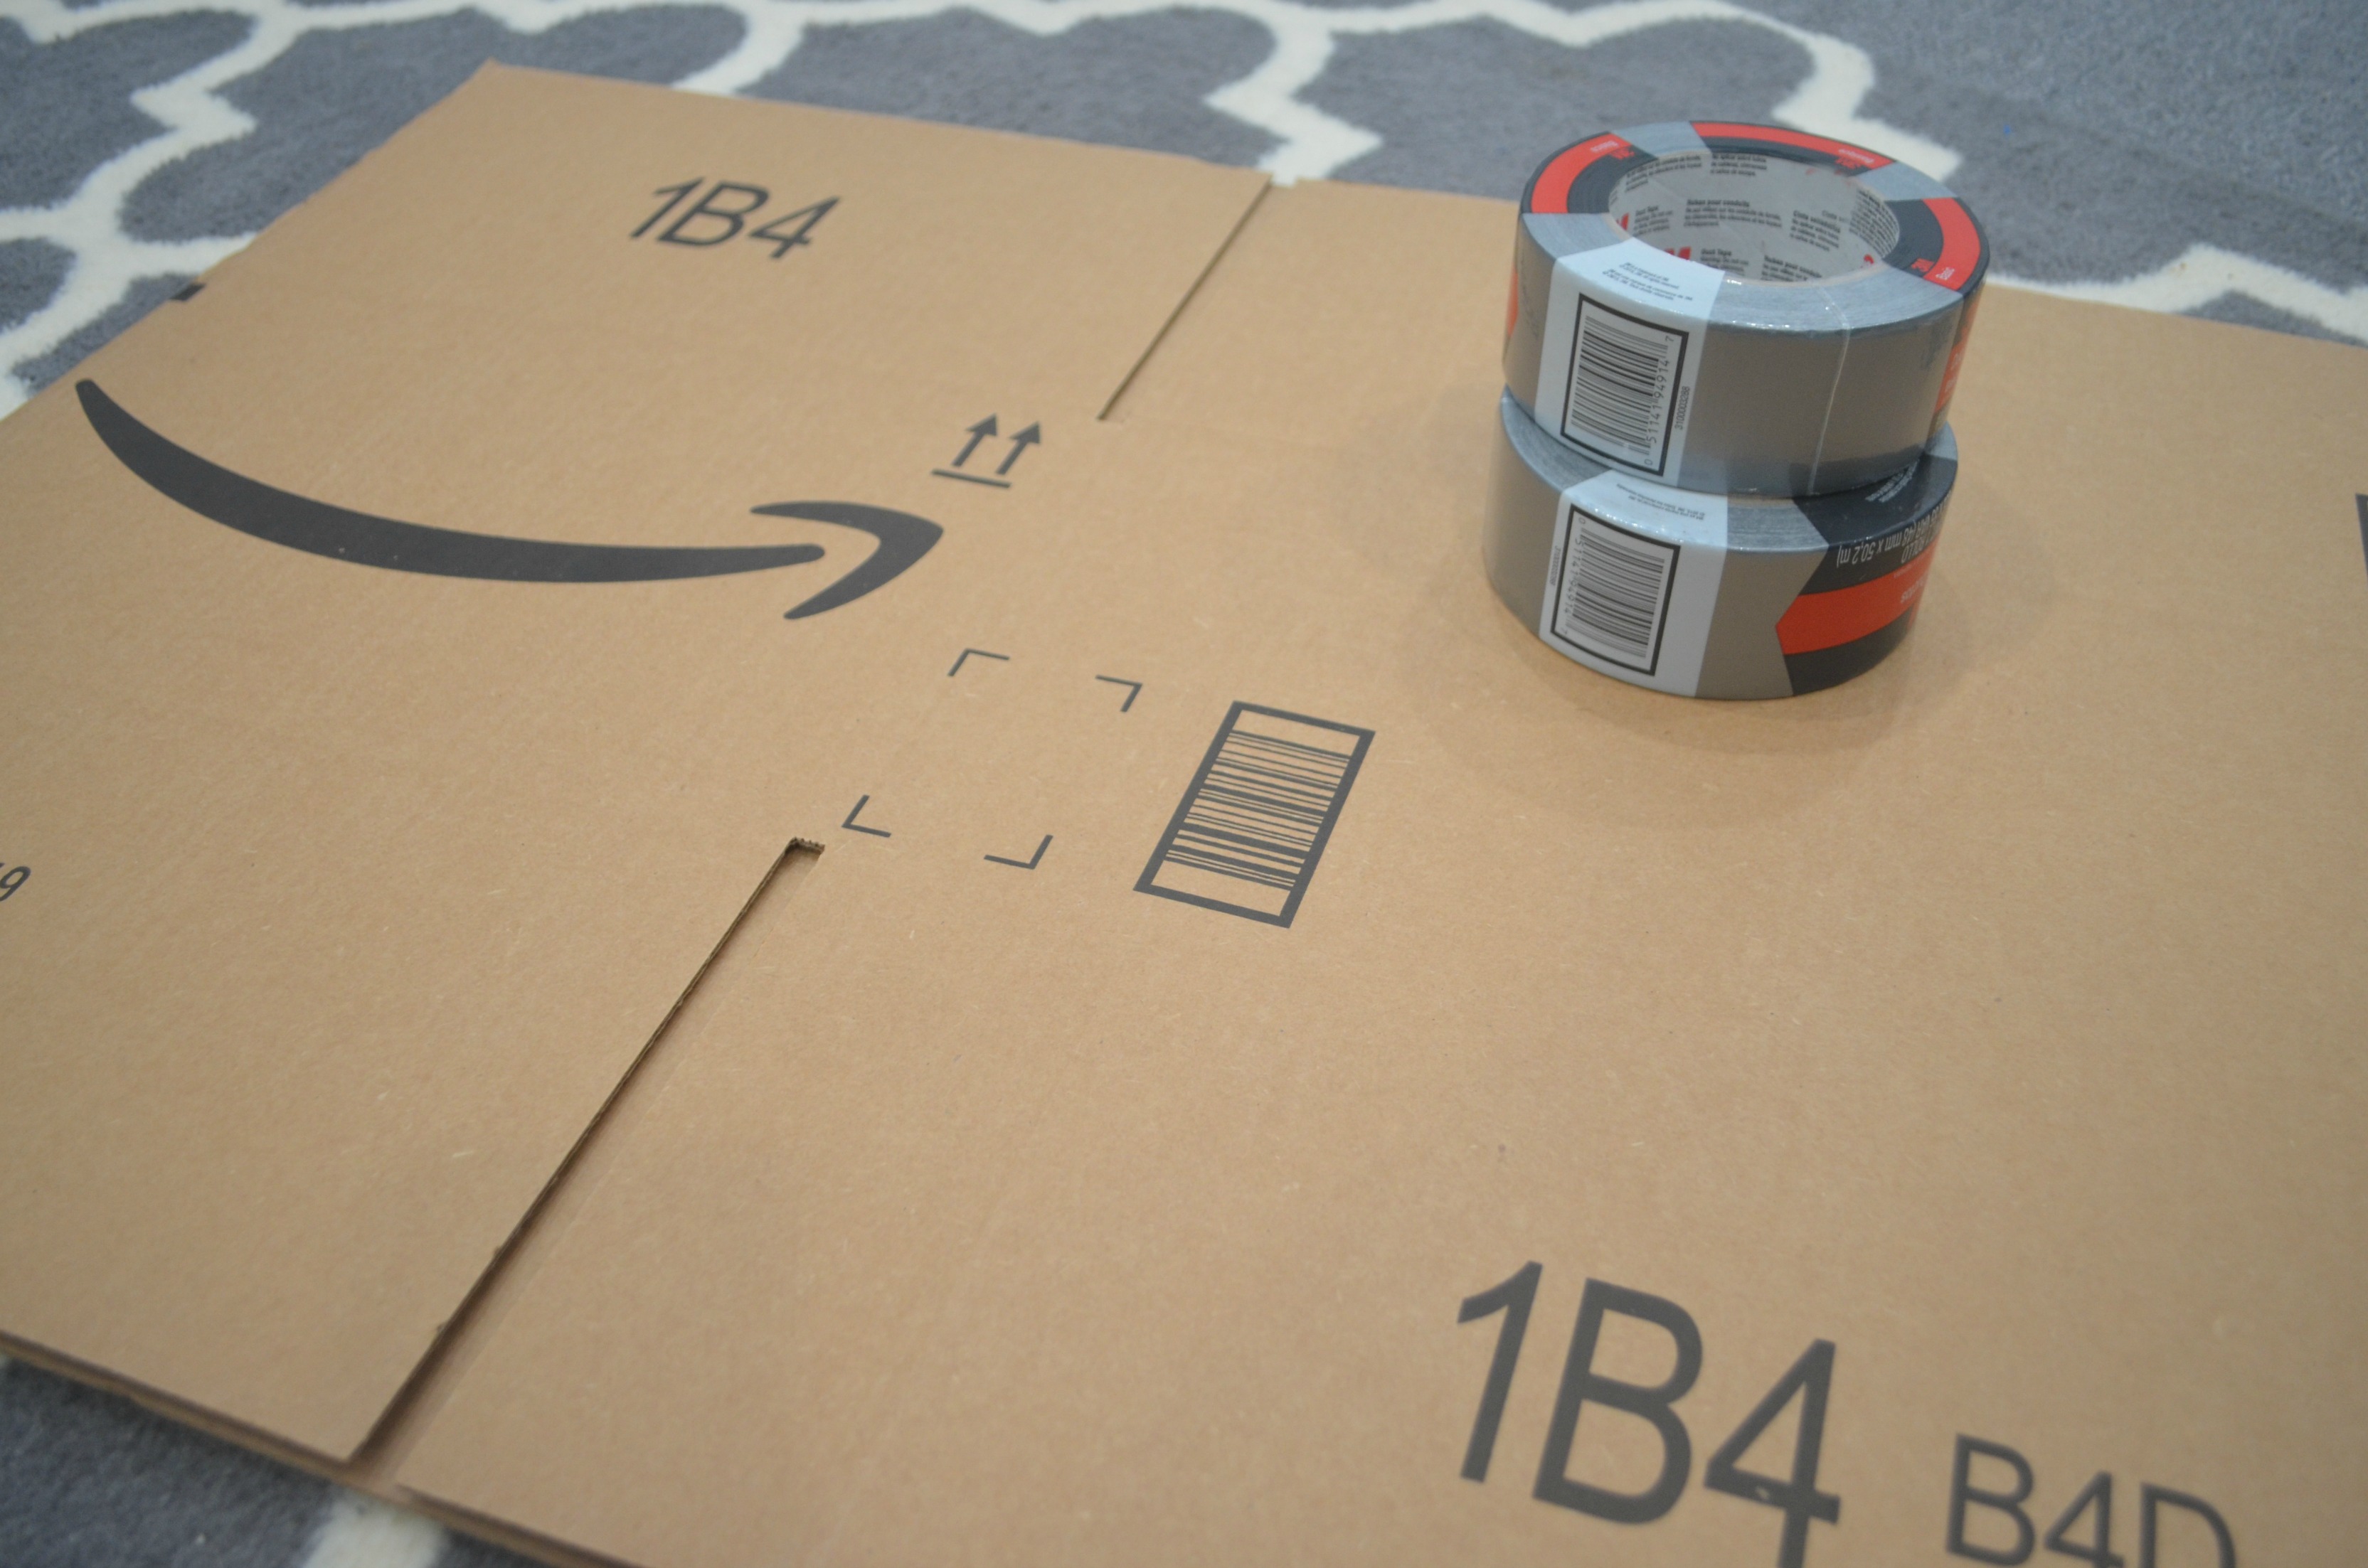
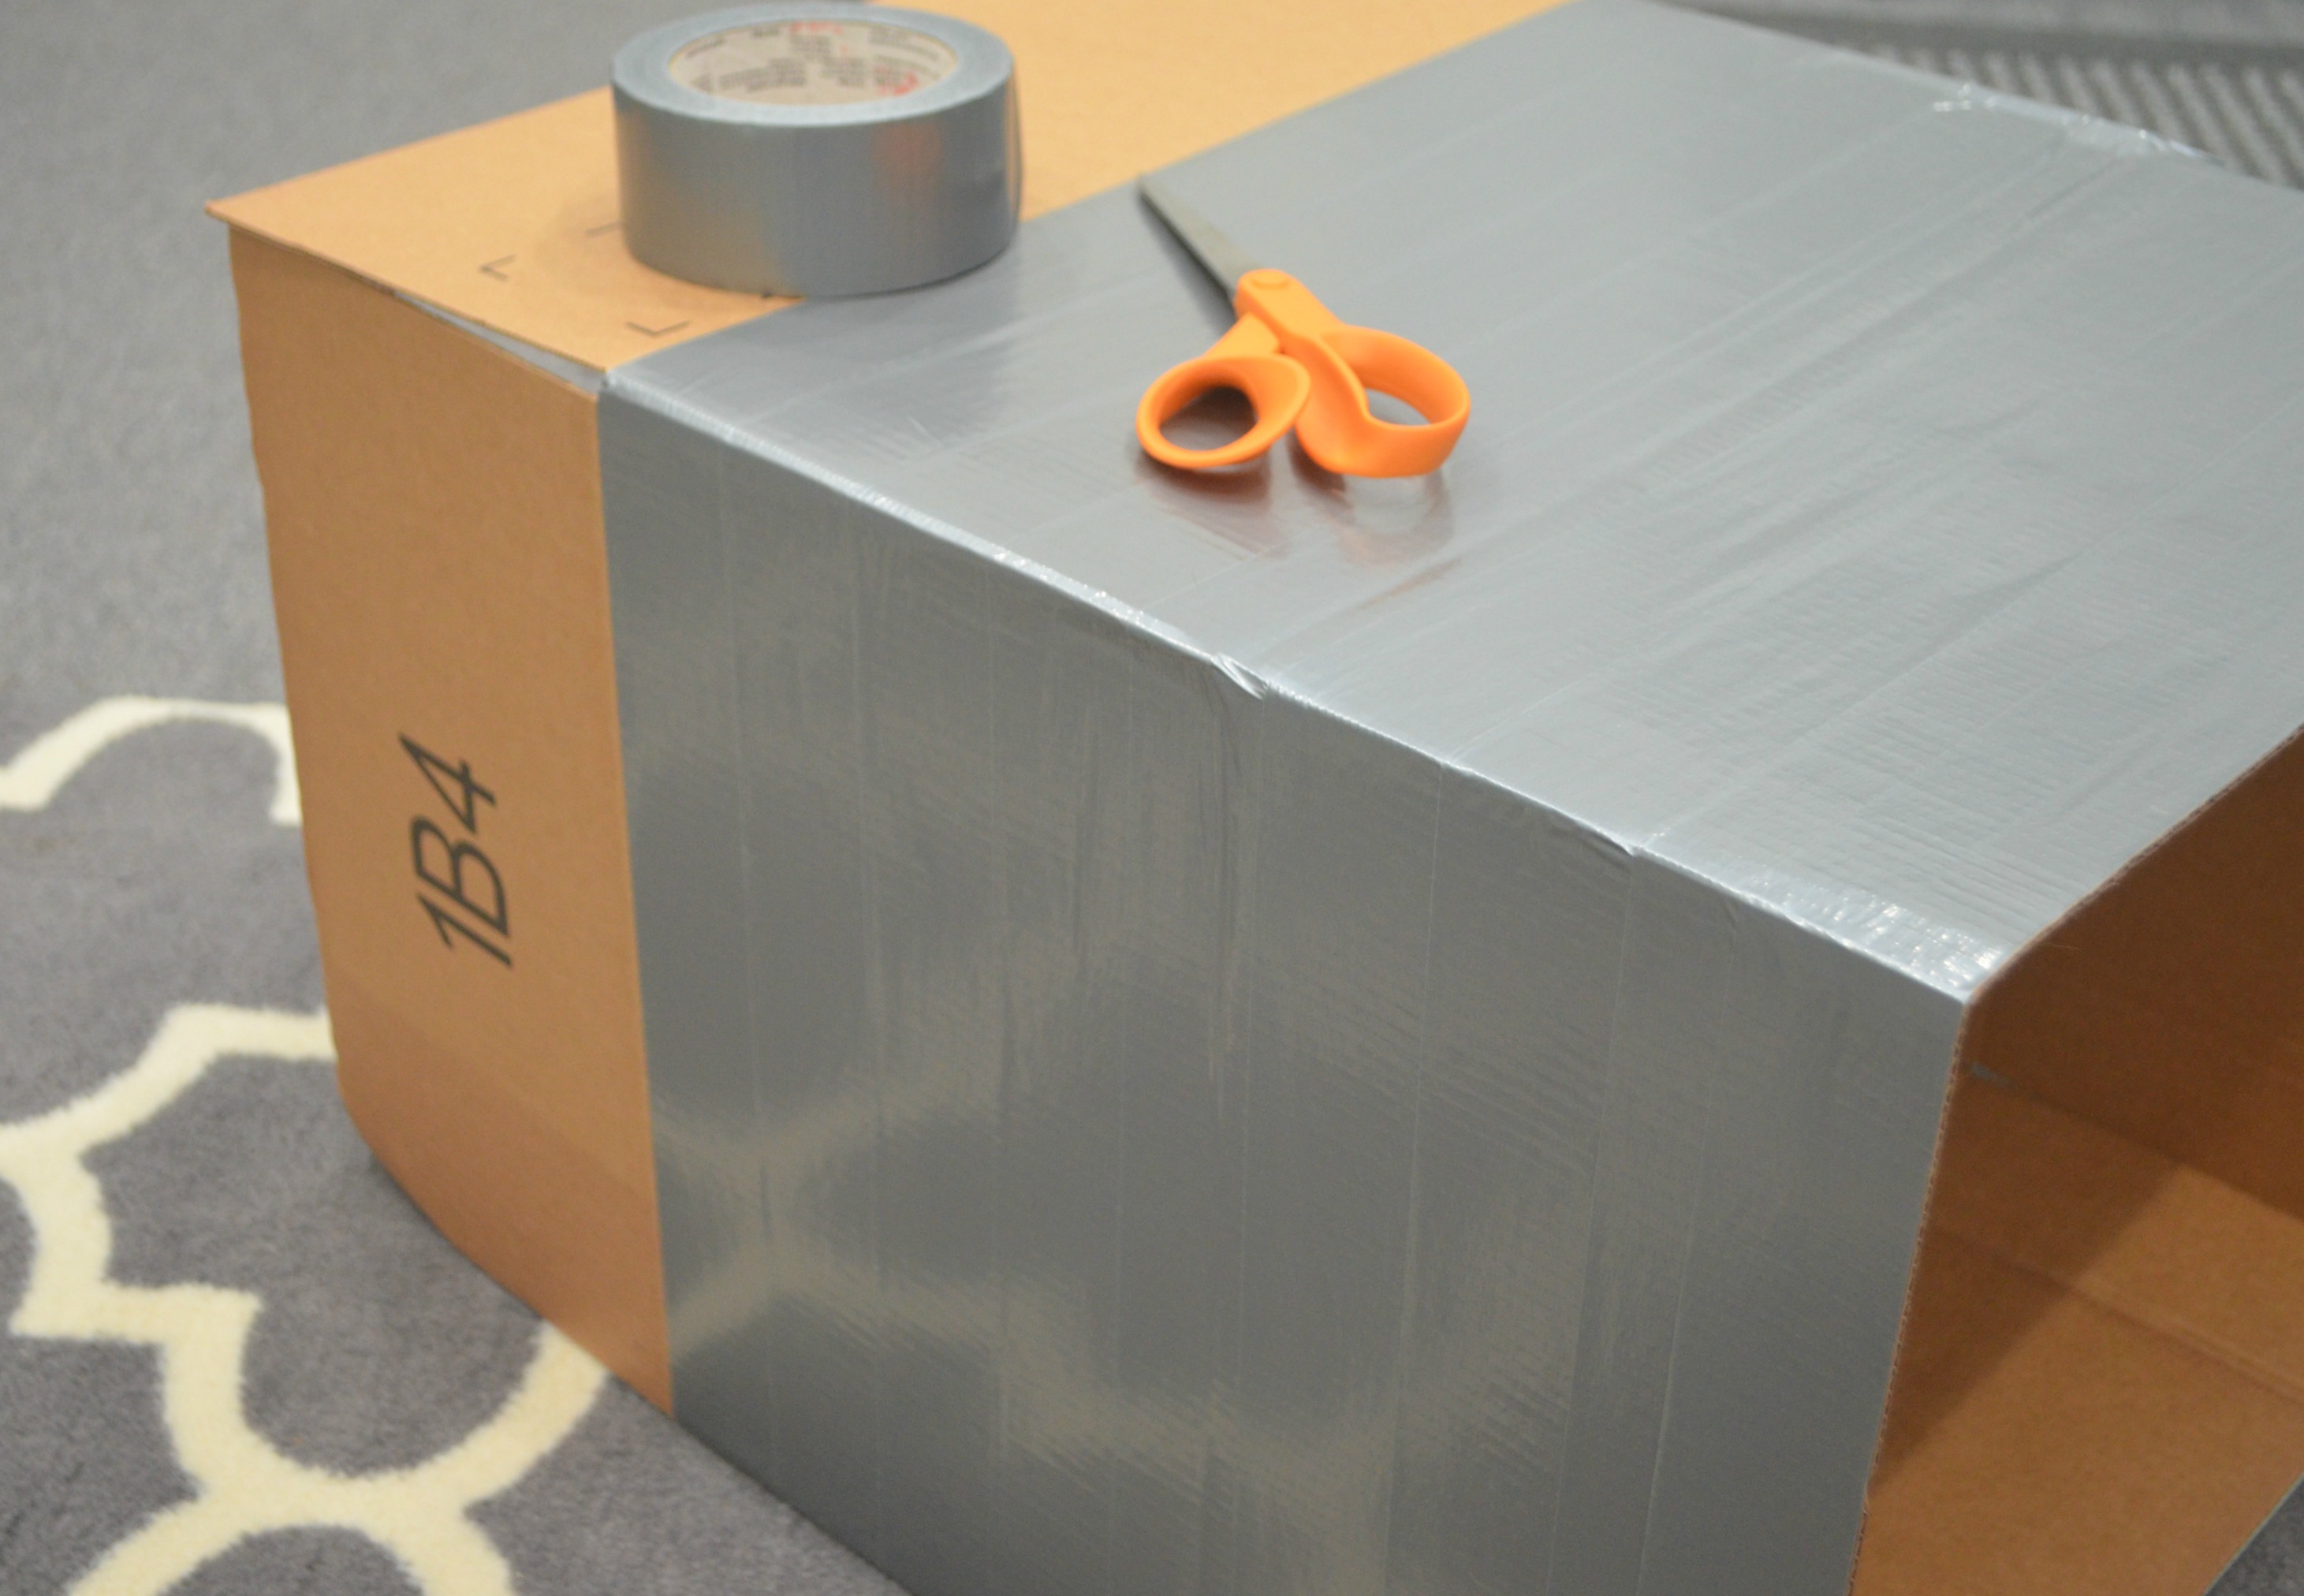
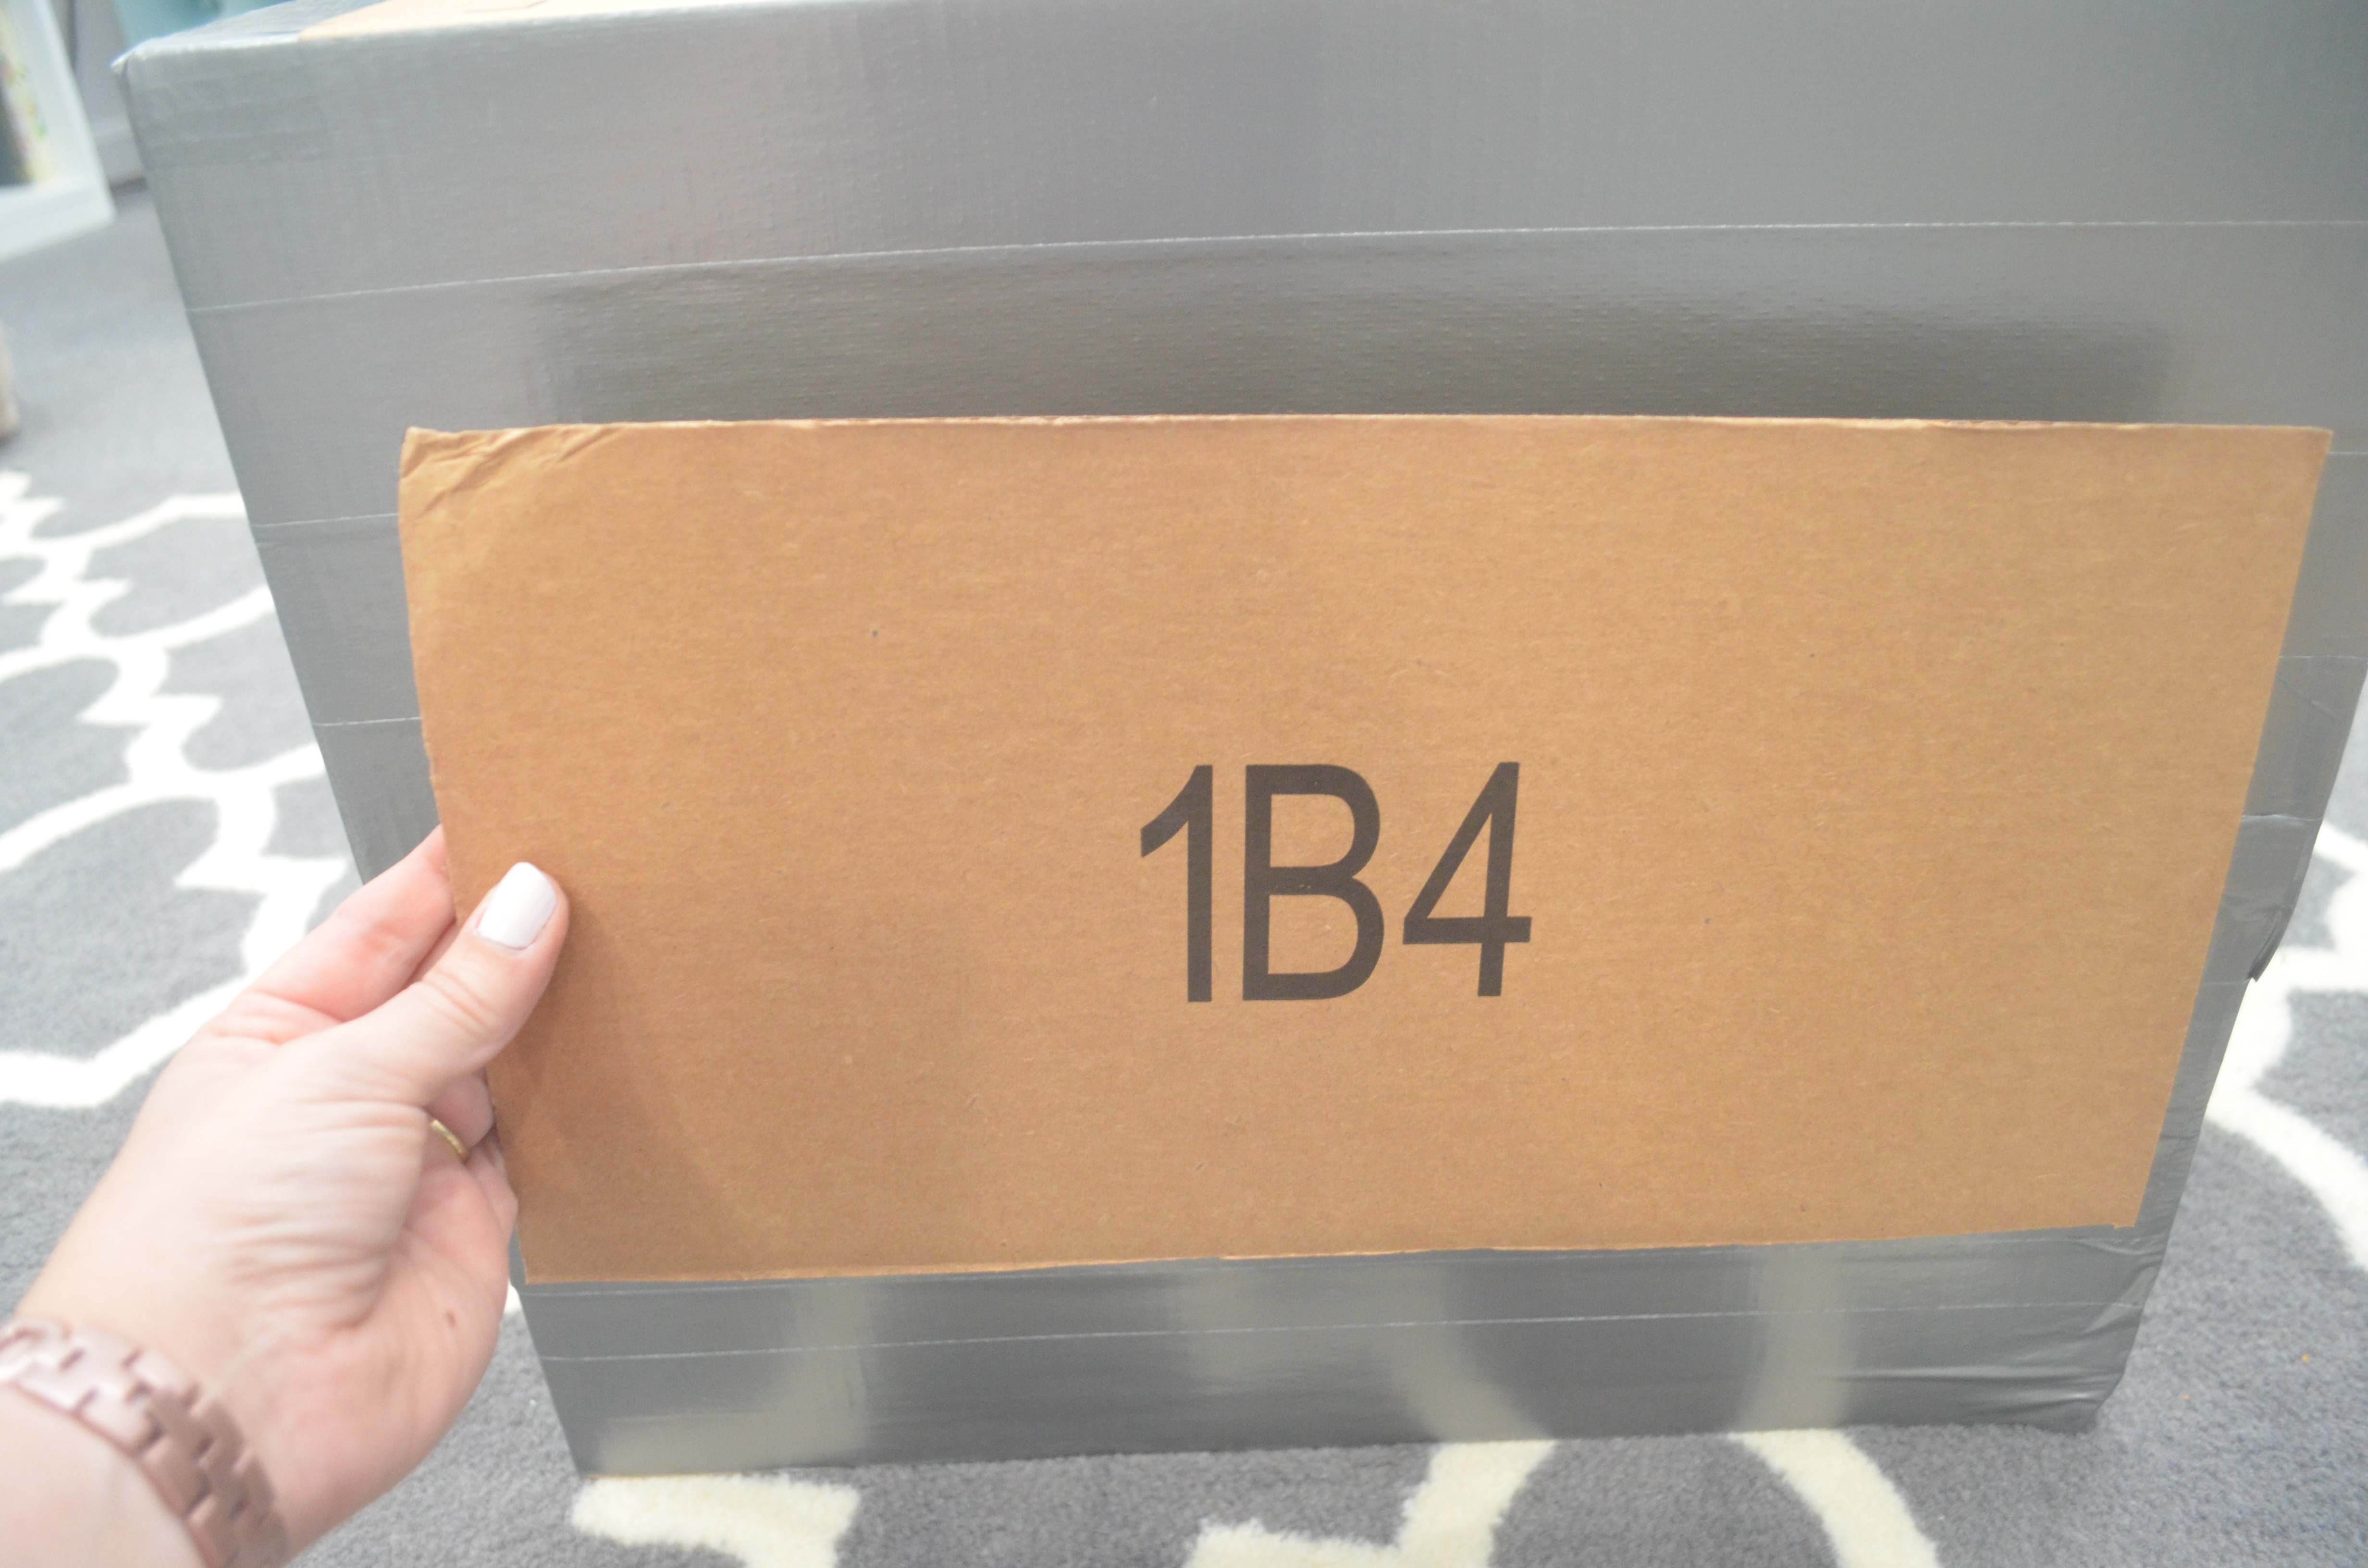
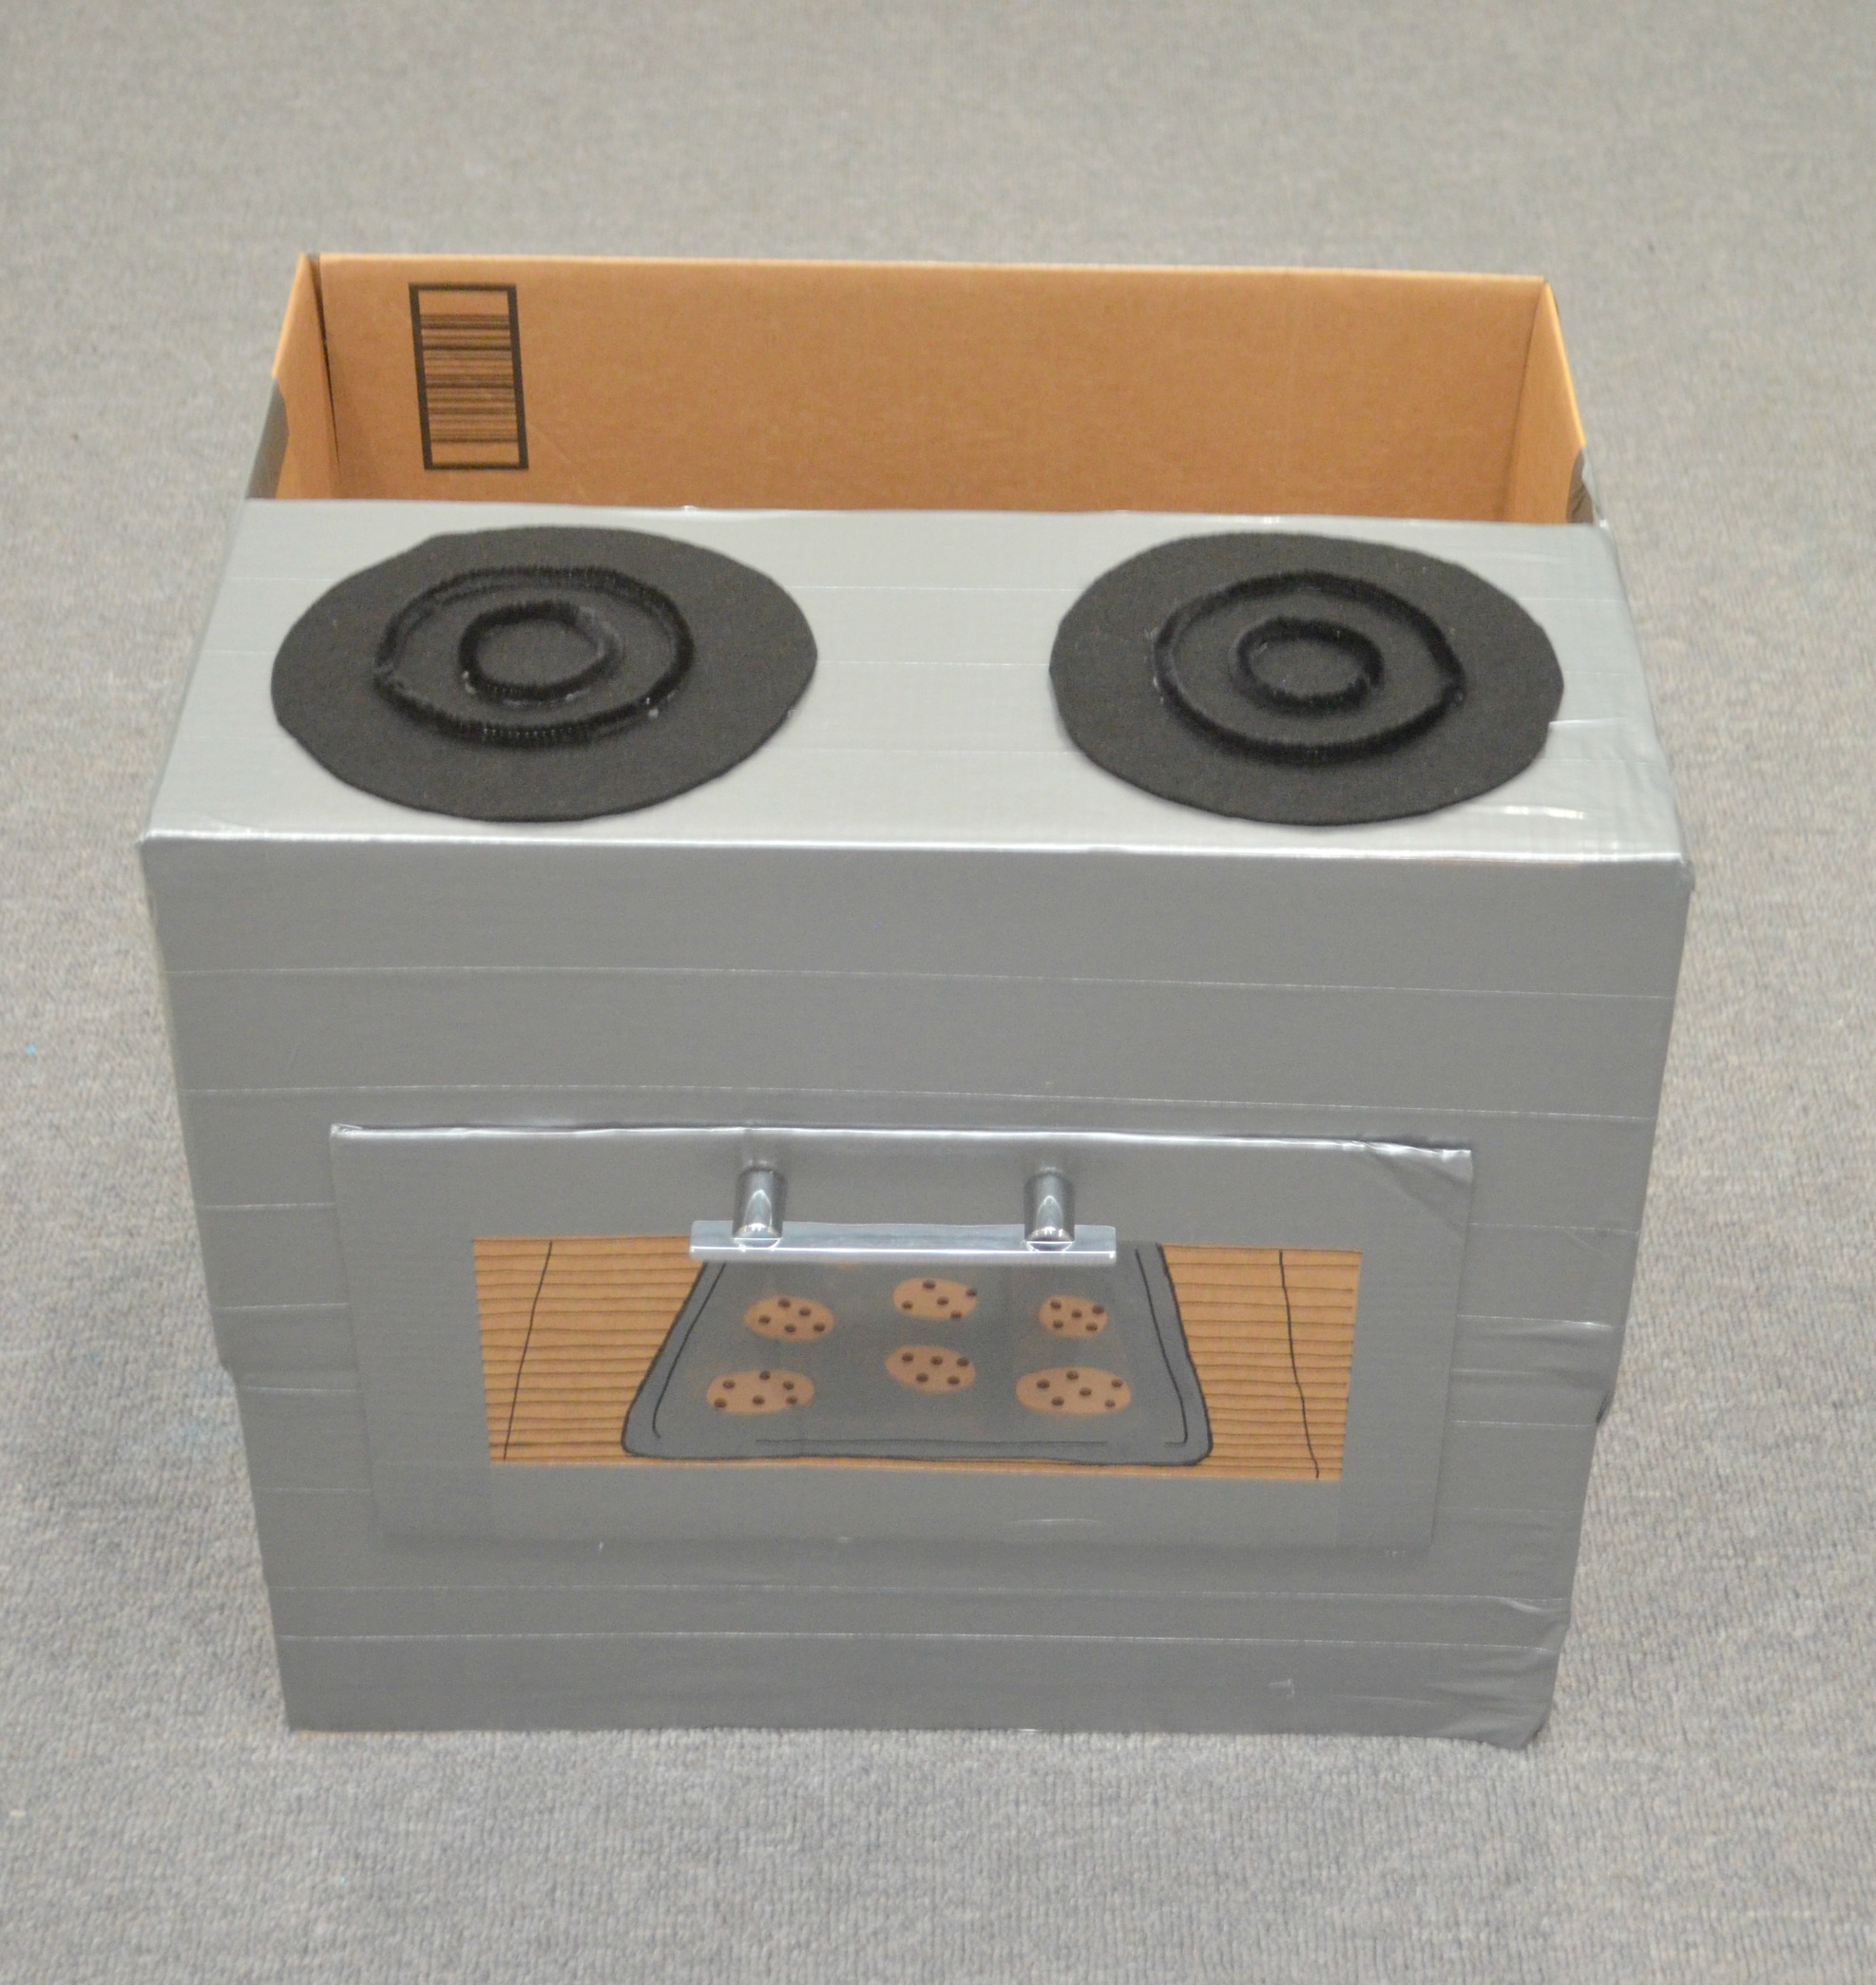
Step 1: Open the box on both ends. Apply duct tape around all four sides of the box and bottom flaps.
This taped area will be the main part of the stove. The openings at the top and bottom will allow the child to stand inside.
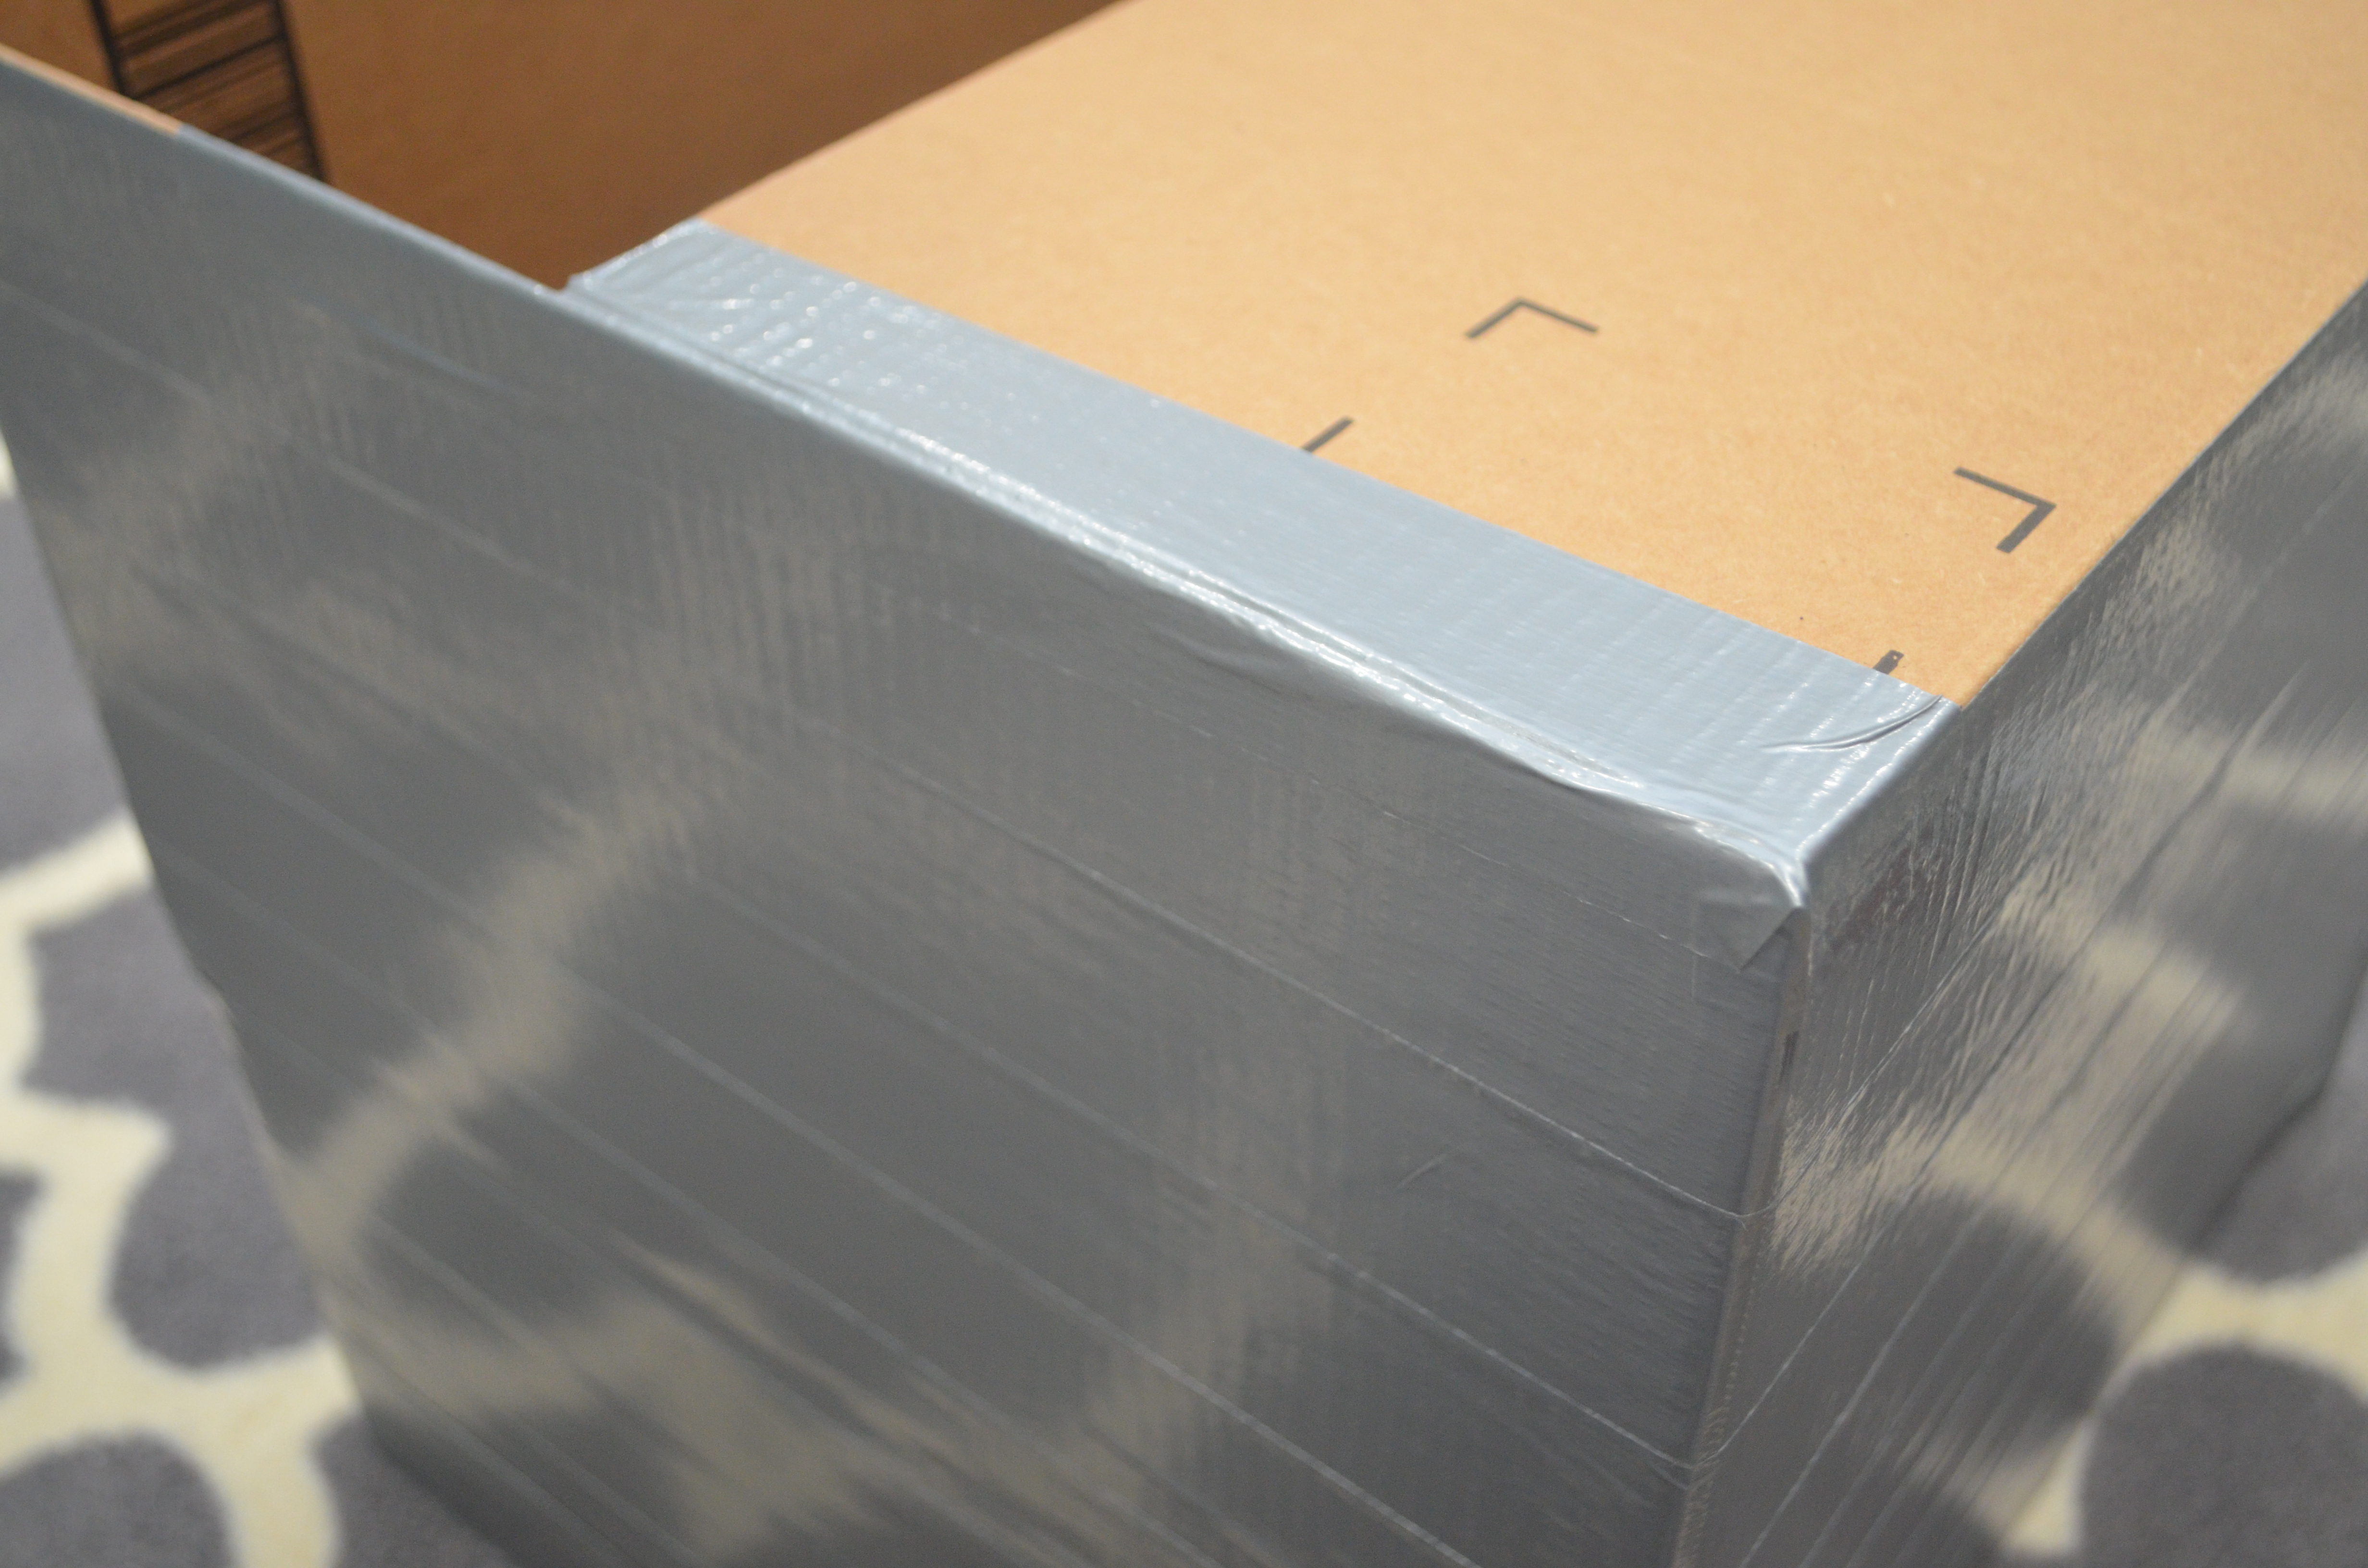
Step 2: Fold the top front flap down and tape it in place.
This will be the top surface, where the burners are. Once it’s secured, apply duct tape across the flap to cover it in silver like the rest of the stove.
You can either cut off the rest of the top flaps or tuck them down inside the box. However, you will need to cut off at least one to be the oven door.
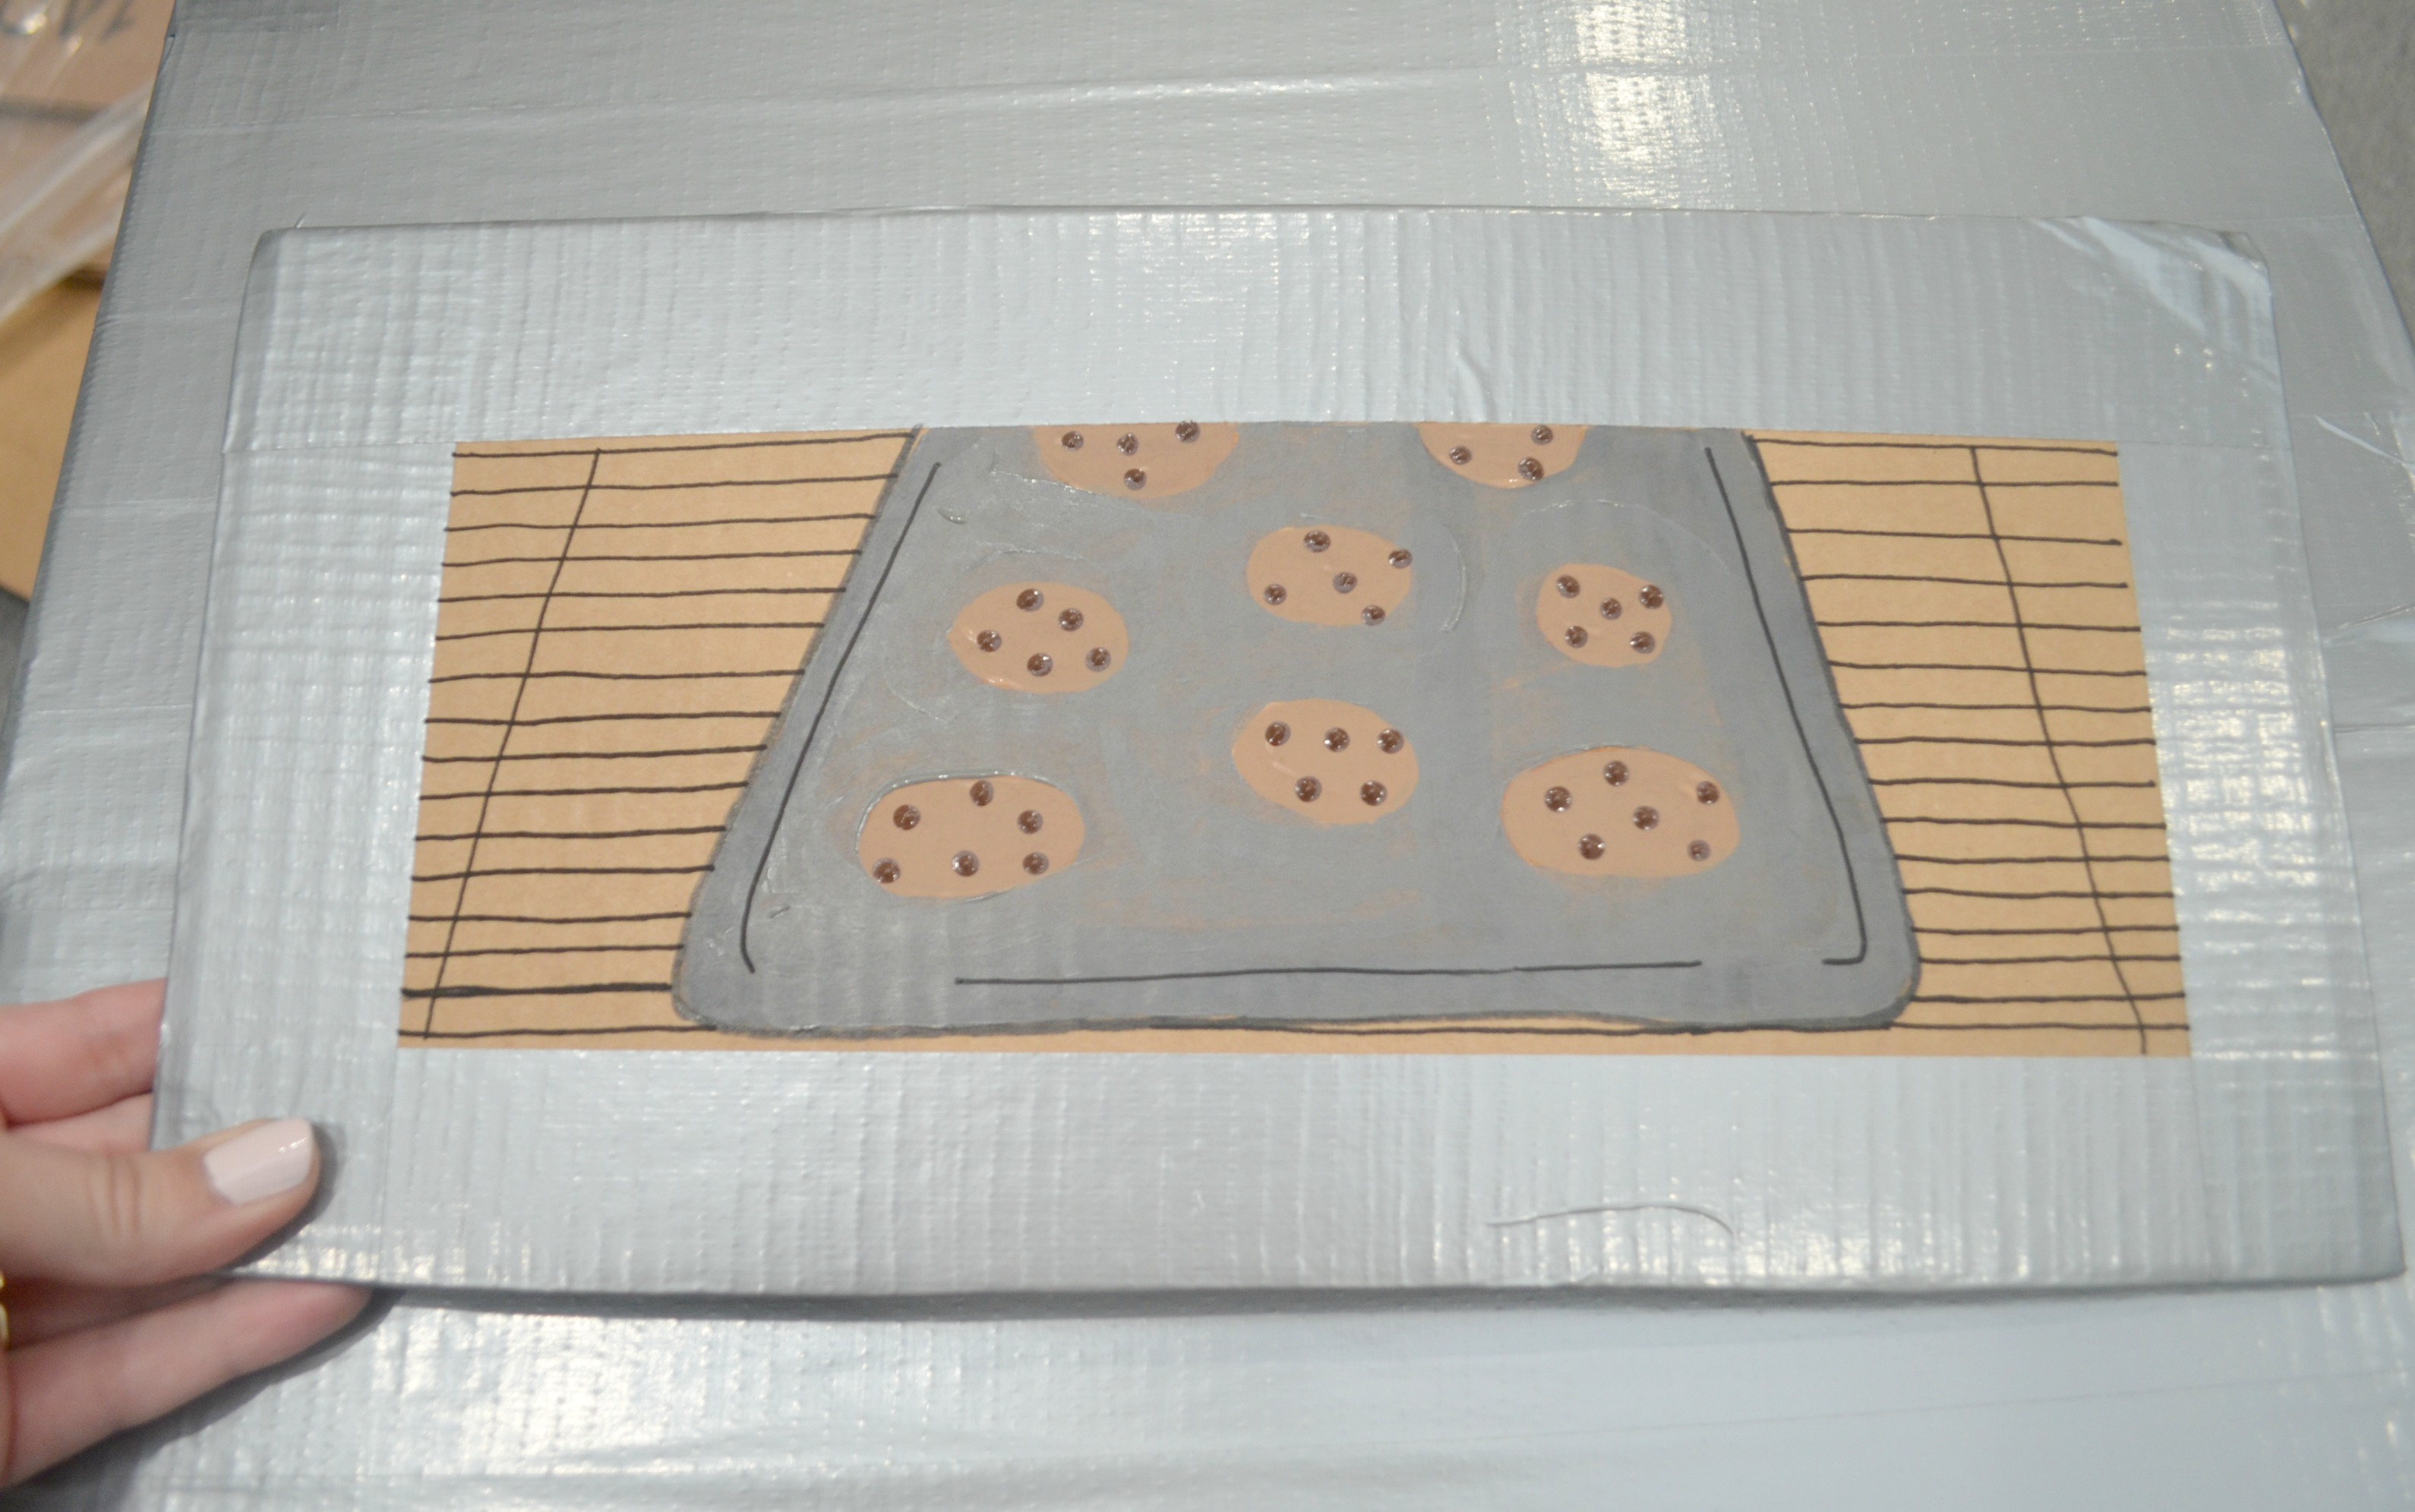
Step 3: Apply duct tape around the edges of the oven door. Paint/draw whatever you like on the inside.
Make sure to wrap the tape around the edges of the door so you don’t see any of the cardboard. I chose to draw a sheet of cookies baking on the oven rack. To do this, I lightly sketched the shape of a tray with some circles on it, then I painted over it with acrylic paints. Then, I traced the tray’s outline with a black marker and added some lines to represent the oven rack itself. You can draw anything you want, from cupcakes to a Thanksgiving turkey on the inside of yours. Let your little chef decide! If you’re not comfortable drawing the food, you can cut out an image from a magazine and glue it on instead.
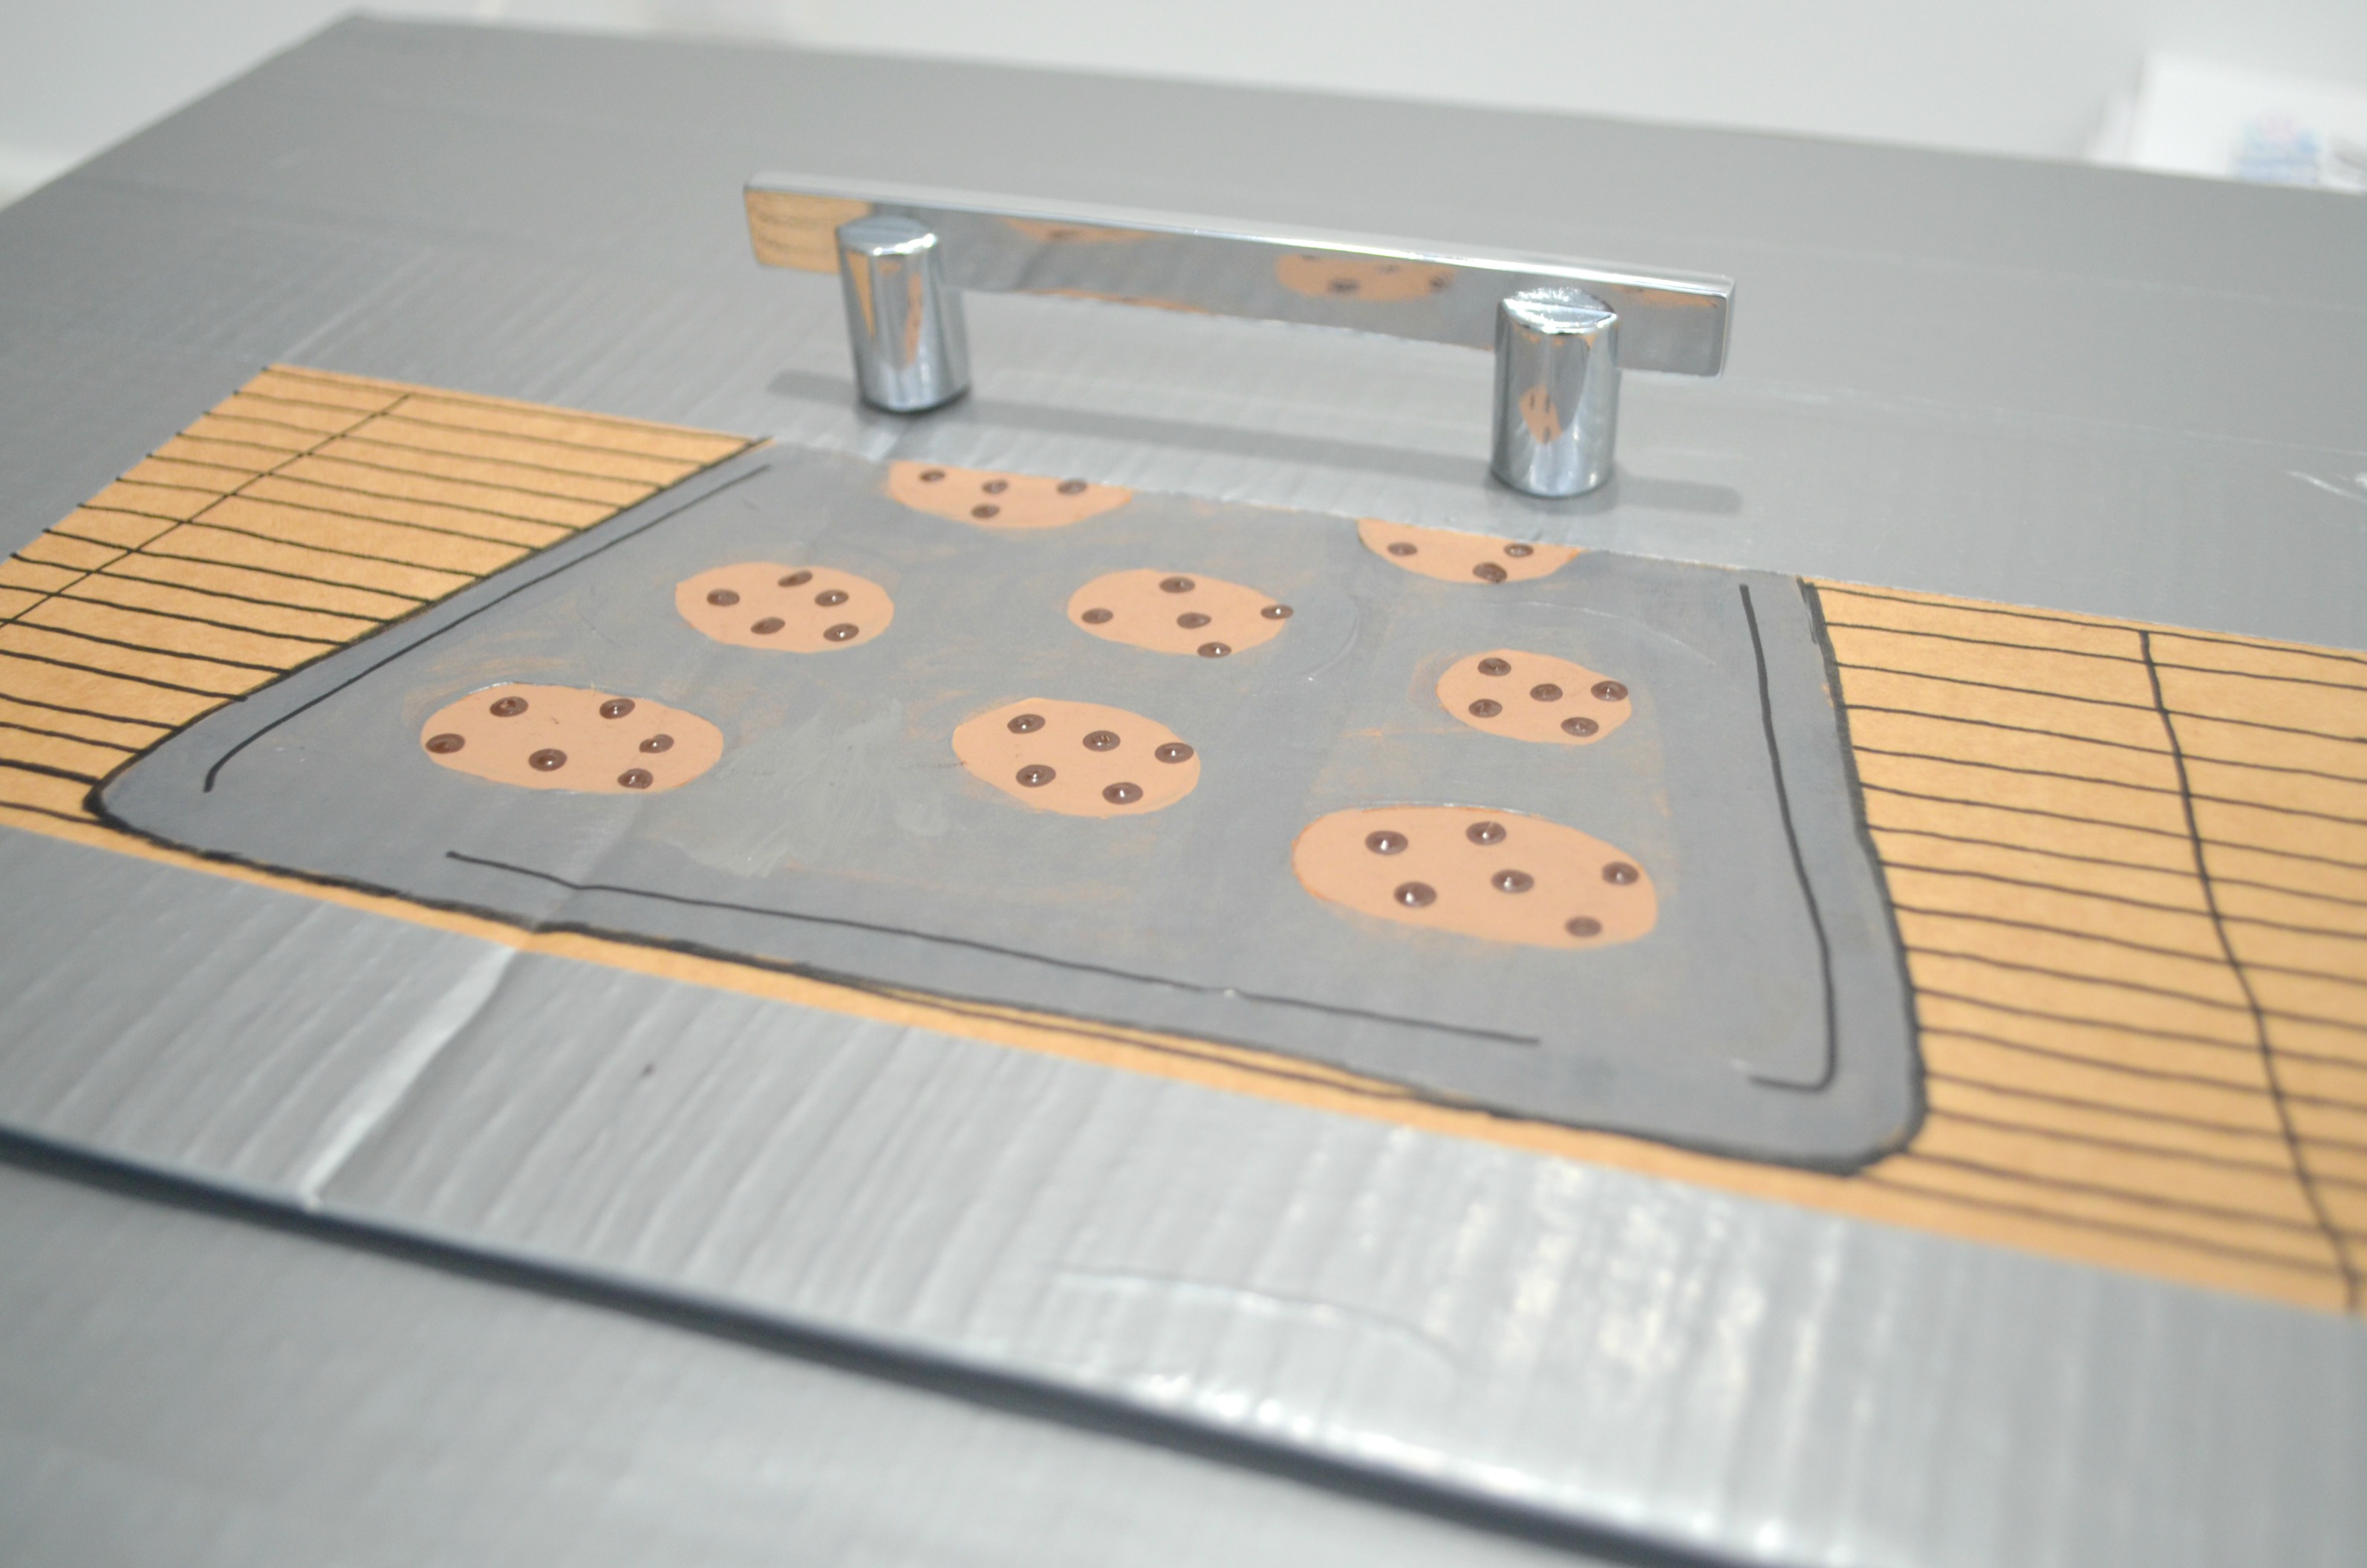
Step 4: Attach the drawer pull.
To do this, I measured and poked holes in the oven door as well as the main box. Then I used the screws that came with the pull to secure it in place. Since the two layers of cardboard weren’t as thick as a drawer, I cut and added a few squares of scrap cardboard inside the box to take up space and allow the screws to tighten properly. The drawer pull will hold the door in place for the most part, but I also used a bit of hot glue around the bottom and side edges just to make sure it didn’t move while LC wears the costume.
Step 5: Create and attach the burners.
To do this, find something circular around the house (you can use a plate, a bowl, or whatever you have) and trace it onto two pieces of black felt. Cut out the felt circles and glue them onto the top of the stove. Next, create concentric circles out of black pipe cleaners and glue them on top. The larger circles are one full pipe cleaner each, while the smaller circles are each half of a pipe cleaner.
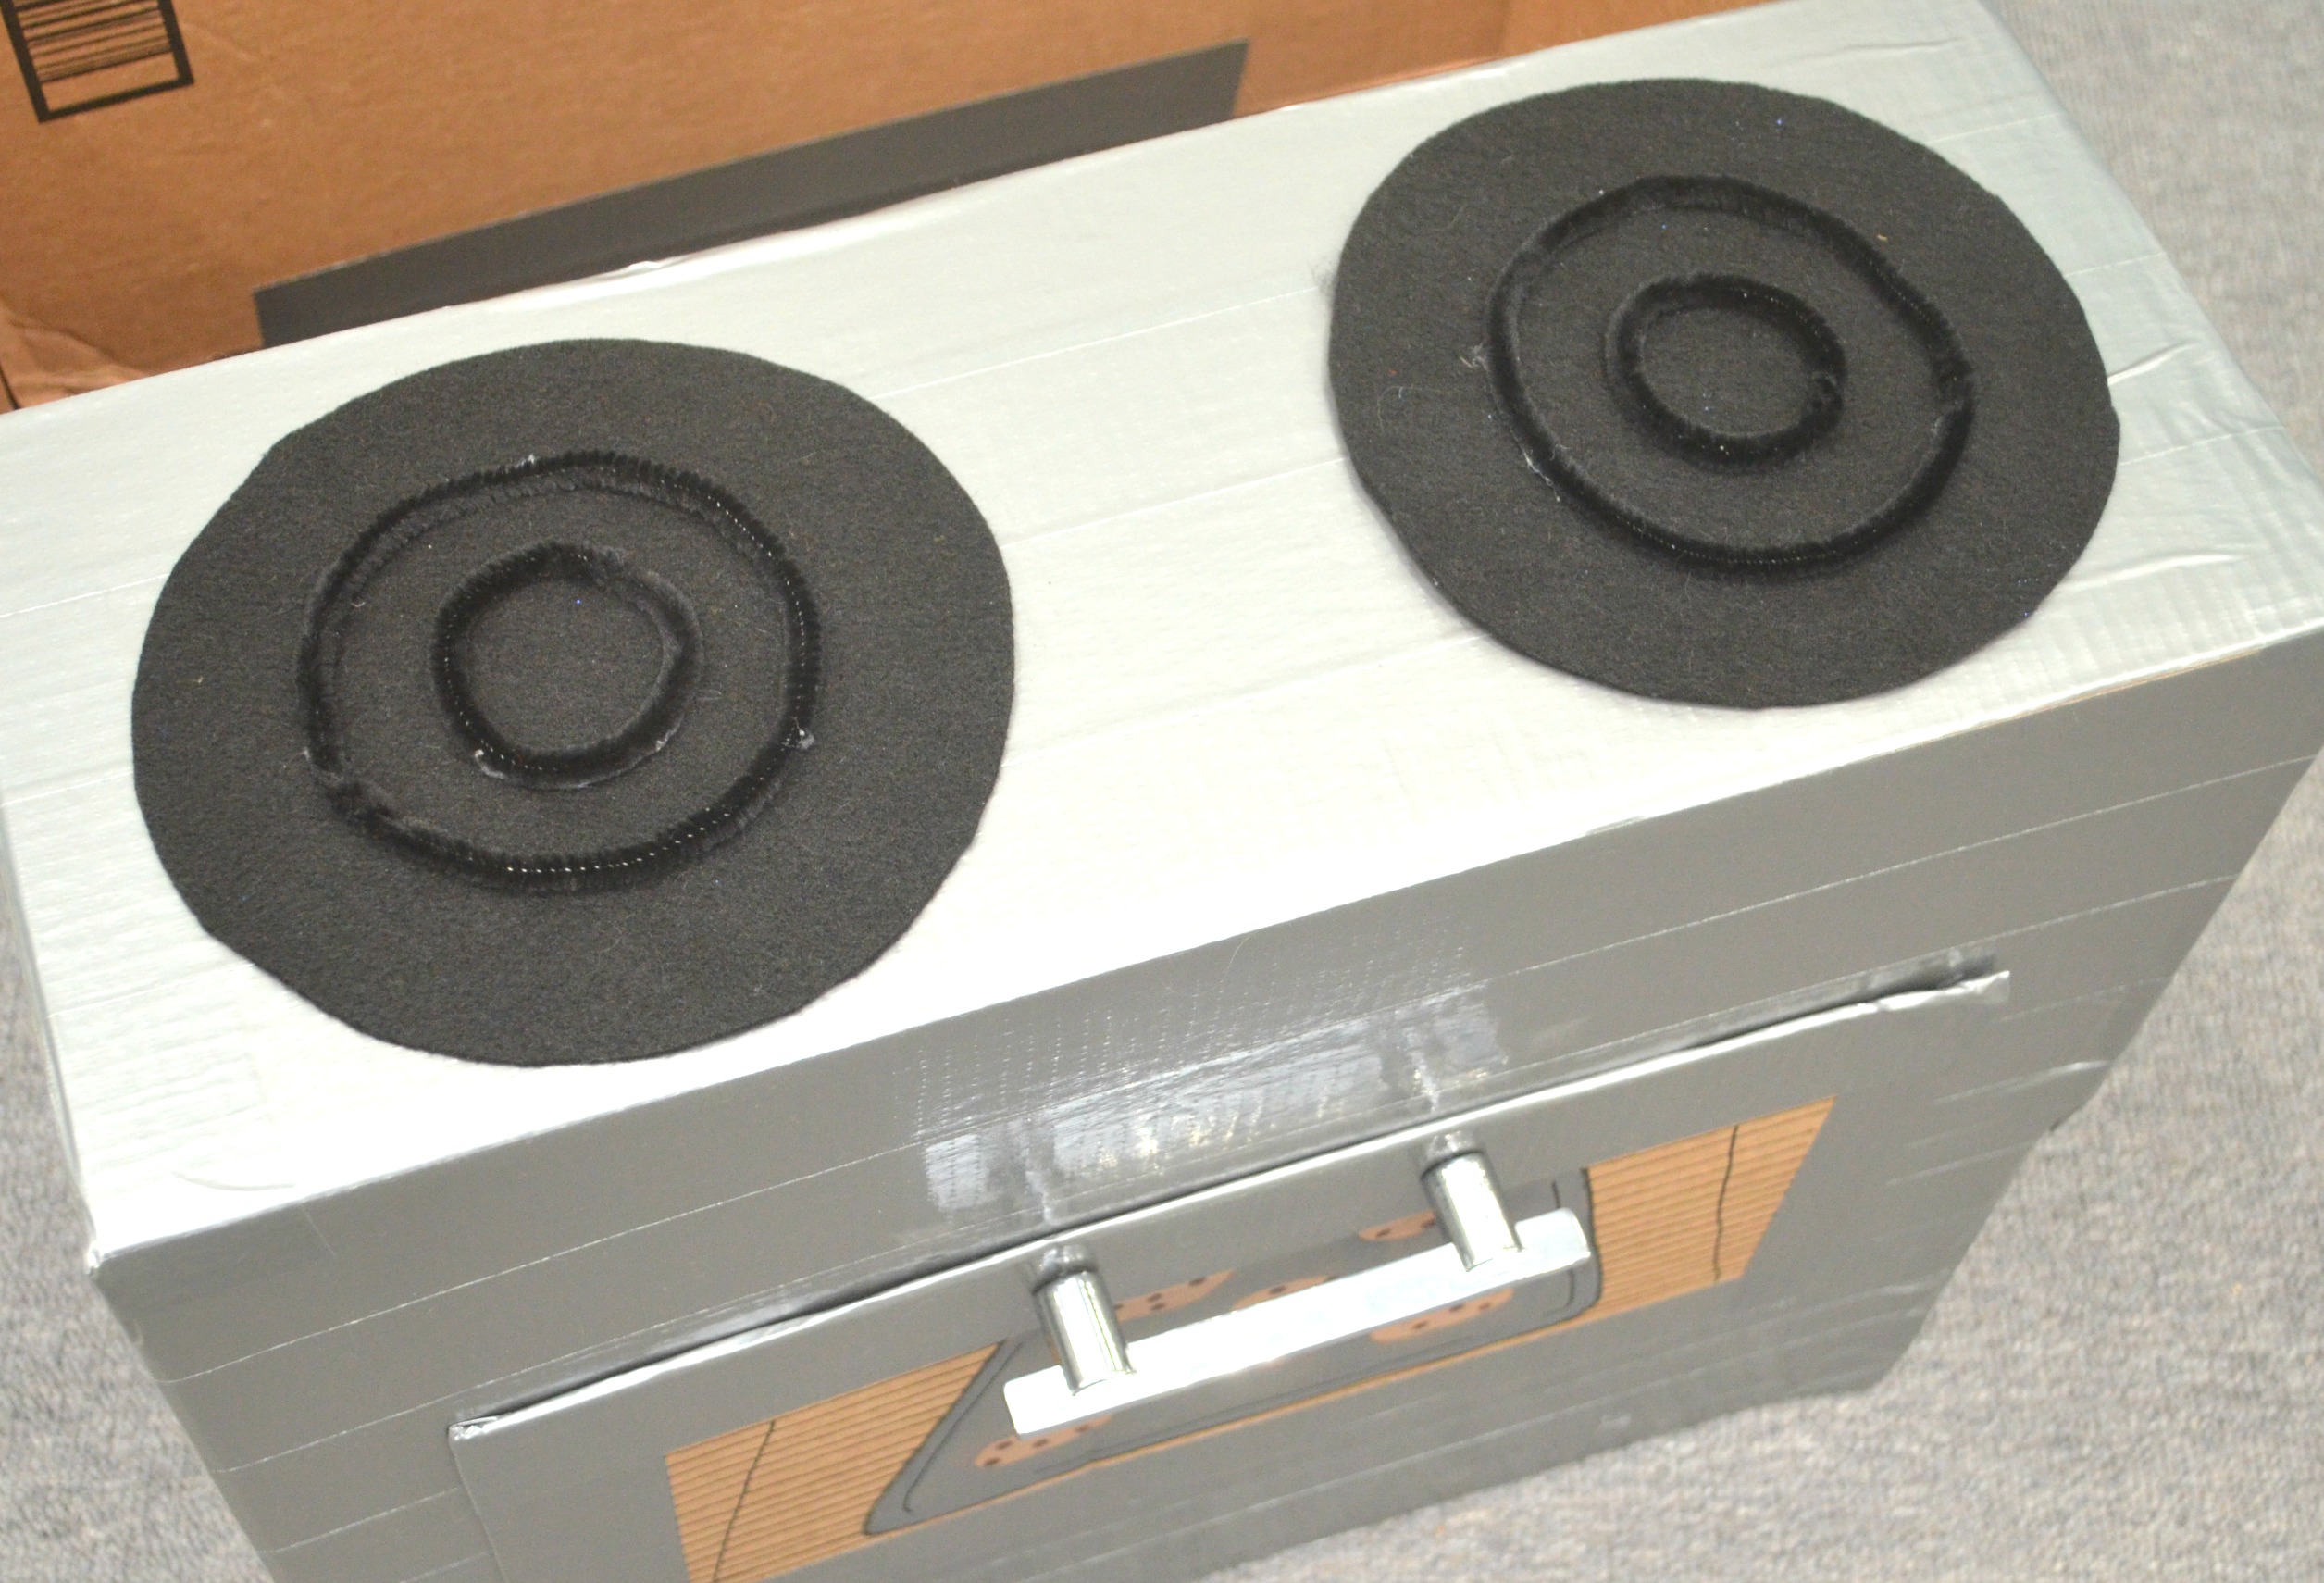
Now, your basic stove is complete! If you like, you can add some duct tape on the inside of the box so that you don’t see any of the cardboard when the costume is being worn.
Step 6: Attach yarn to hold the stove in place on your child’s body.
The best way to do this is to actually have the child get inside and hold the box where he/she wants it. Then, cut two pieces of yarn and tape them to the front and back insides of the box.
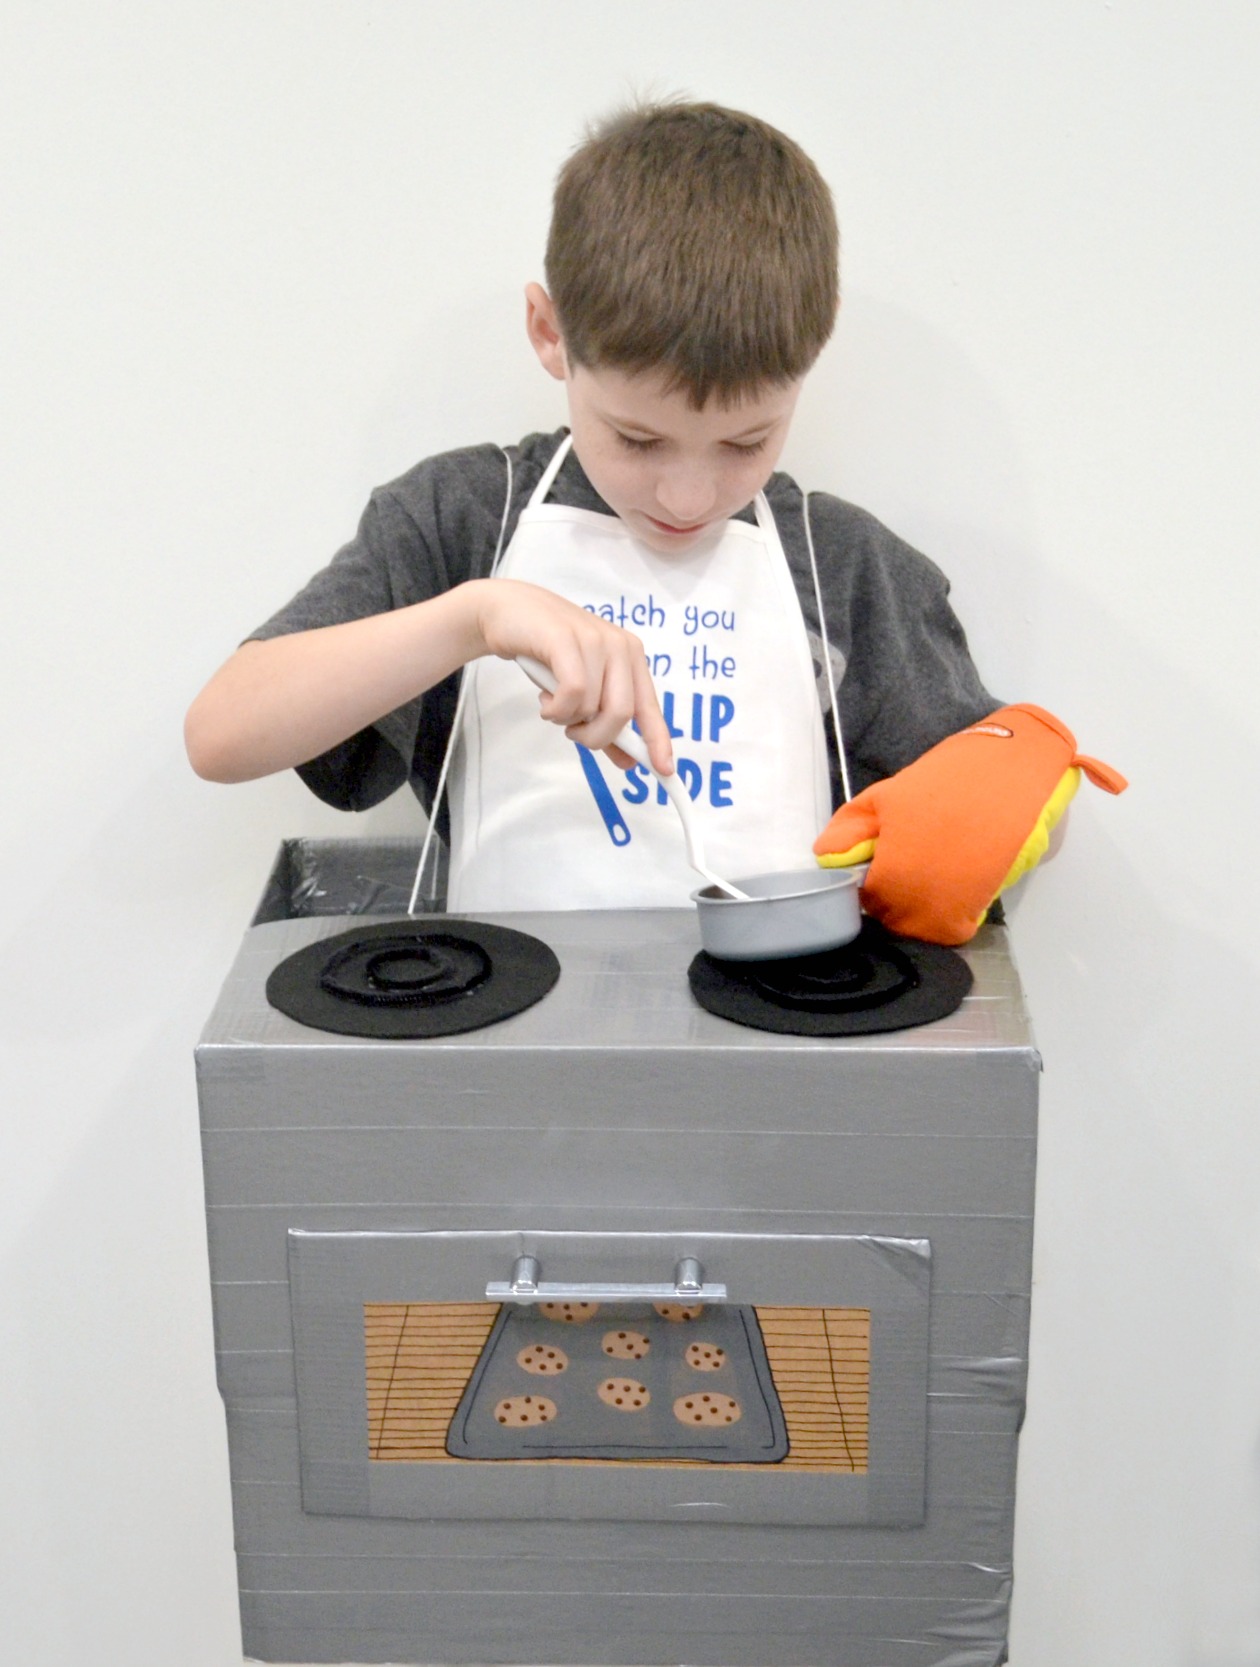
That’s all there is to it! Your little chef can dress the part any way he or she likes. Little Crafter chose an apron that we personalized with some heat transfer vinyl. He also picked a kid size oven mitt and a toy pan he had in his fake food stash, along with a spatula.
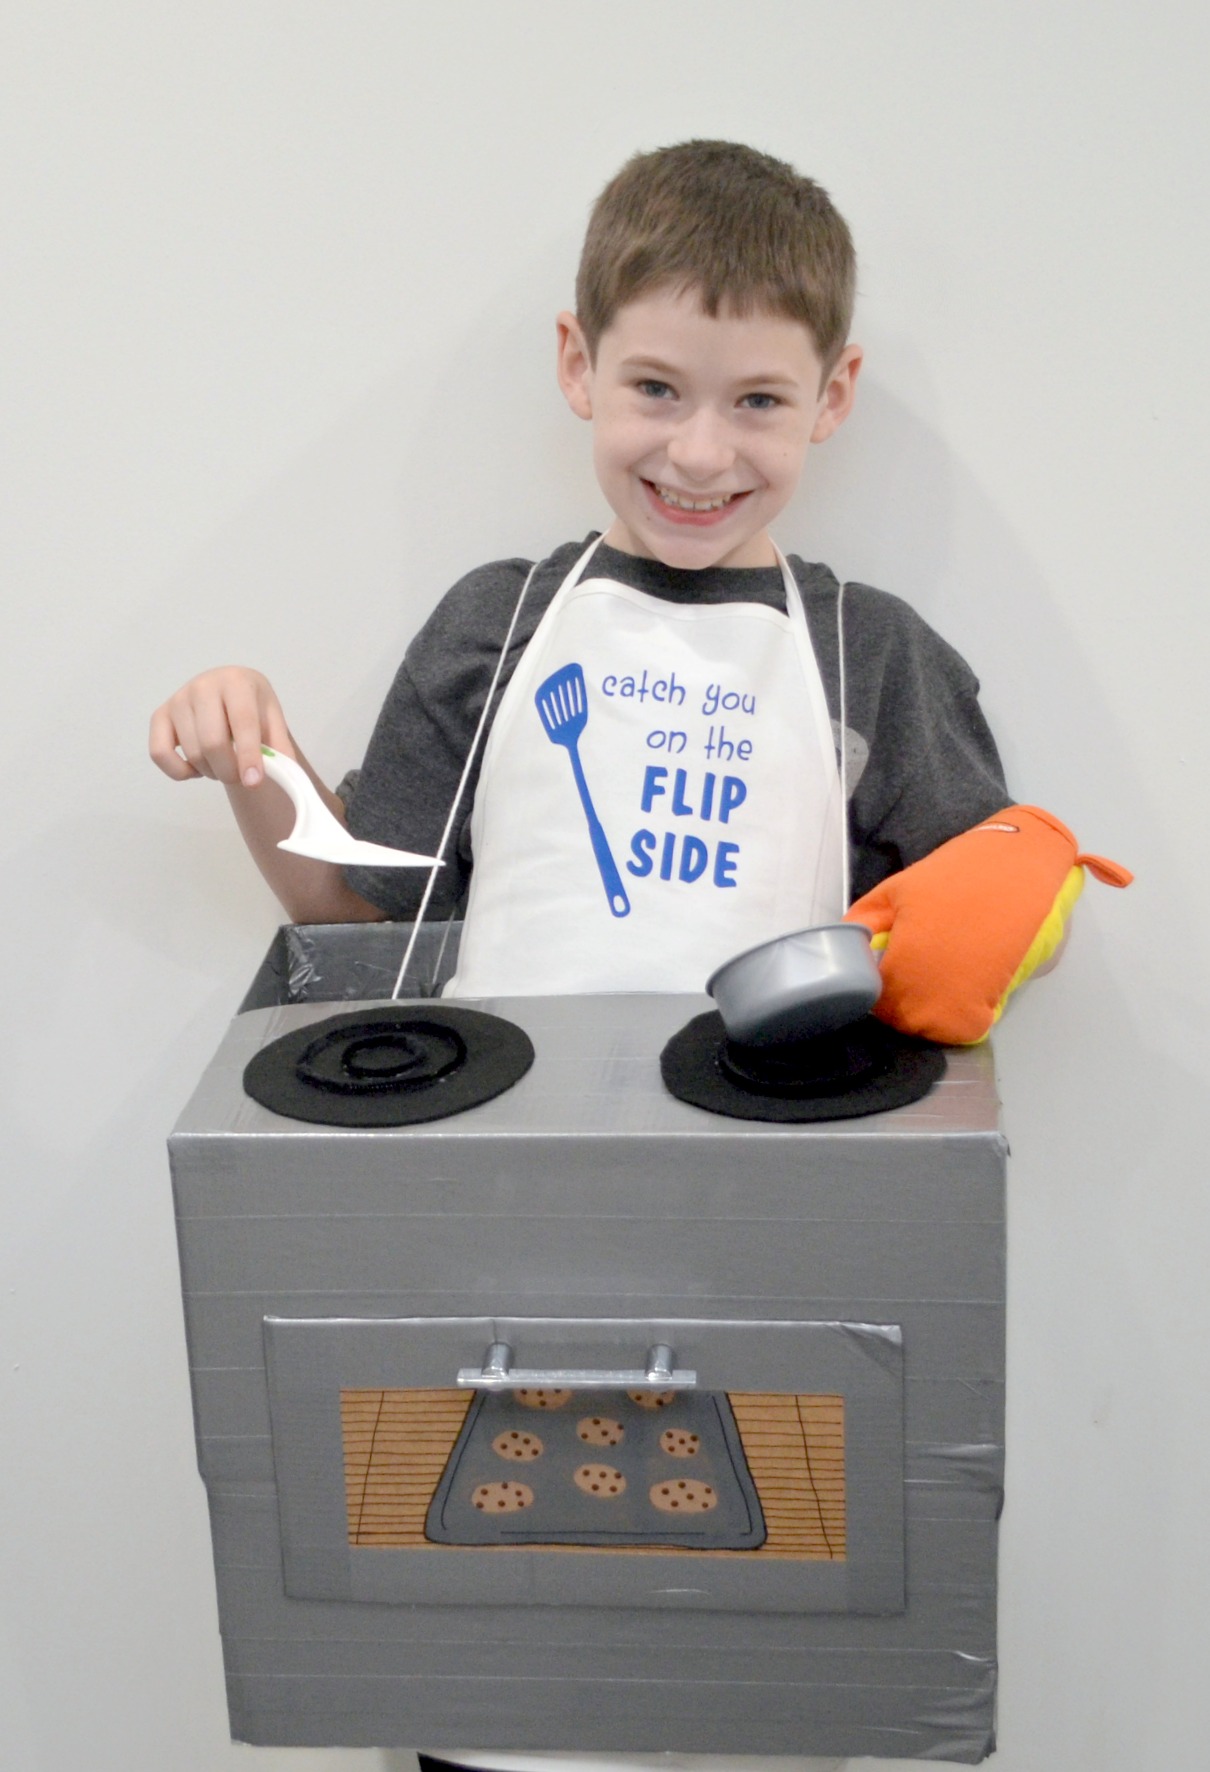
He is as happy as can be with his personalized Boxtume, and it only took me an hour and a half to create. Since I already had most of the supplies around the house, it cost me less than $10. The only things I bought were the drawer pull ($5) and the duct tape ($4), because the boys had used all mine building a fort out of some other Amazon boxes.
What about you? What kind of Boxtumes would your family love to create? Take on the challenge, then show off your own creations on social media using #boxtumes and #amazonprime! Also, as always, feel free to share them in the Amy Latta & Friends Facebook group so we can all be inspired. I can’t wait to see what you create.
Don’t forget, if you like this idea, put a Pin on it for later!


One Comment