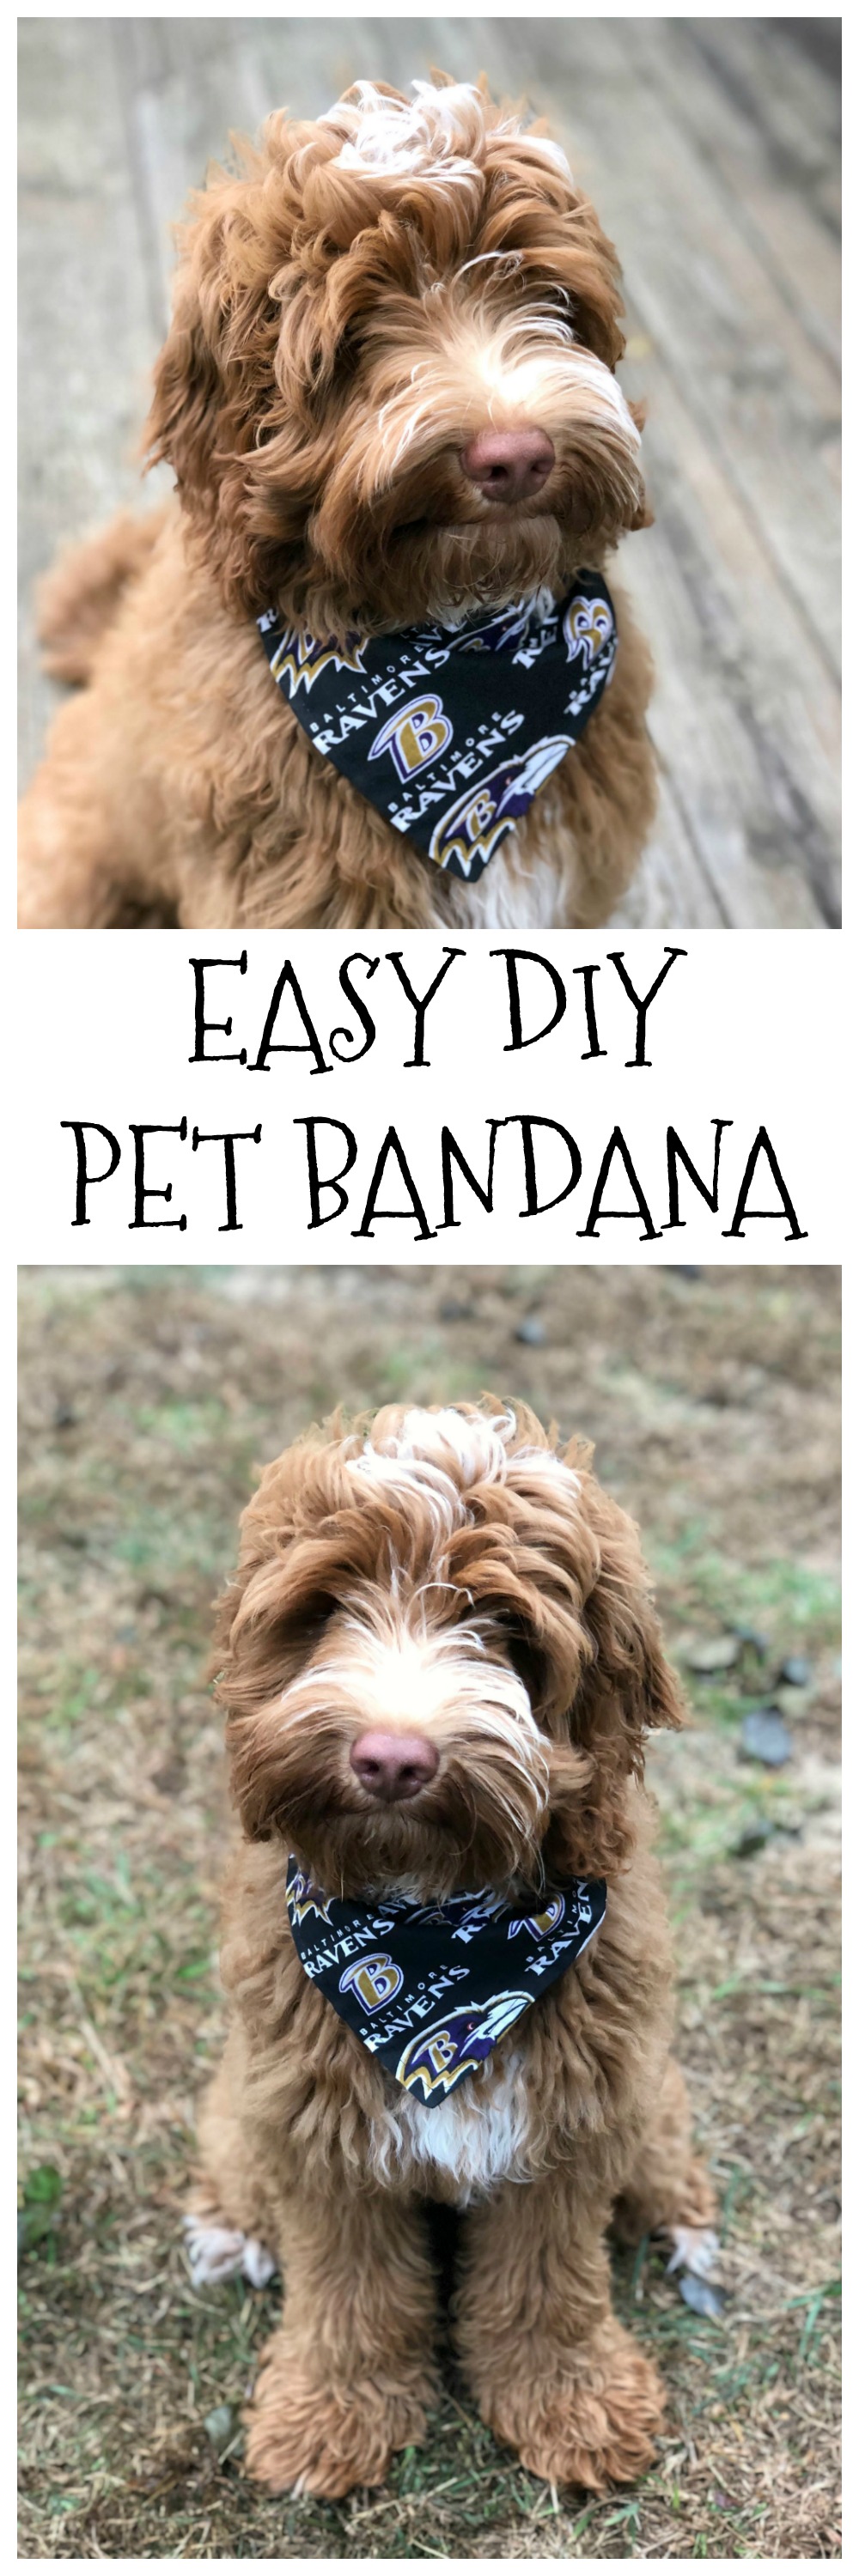
Easy DIY Pet Bandana
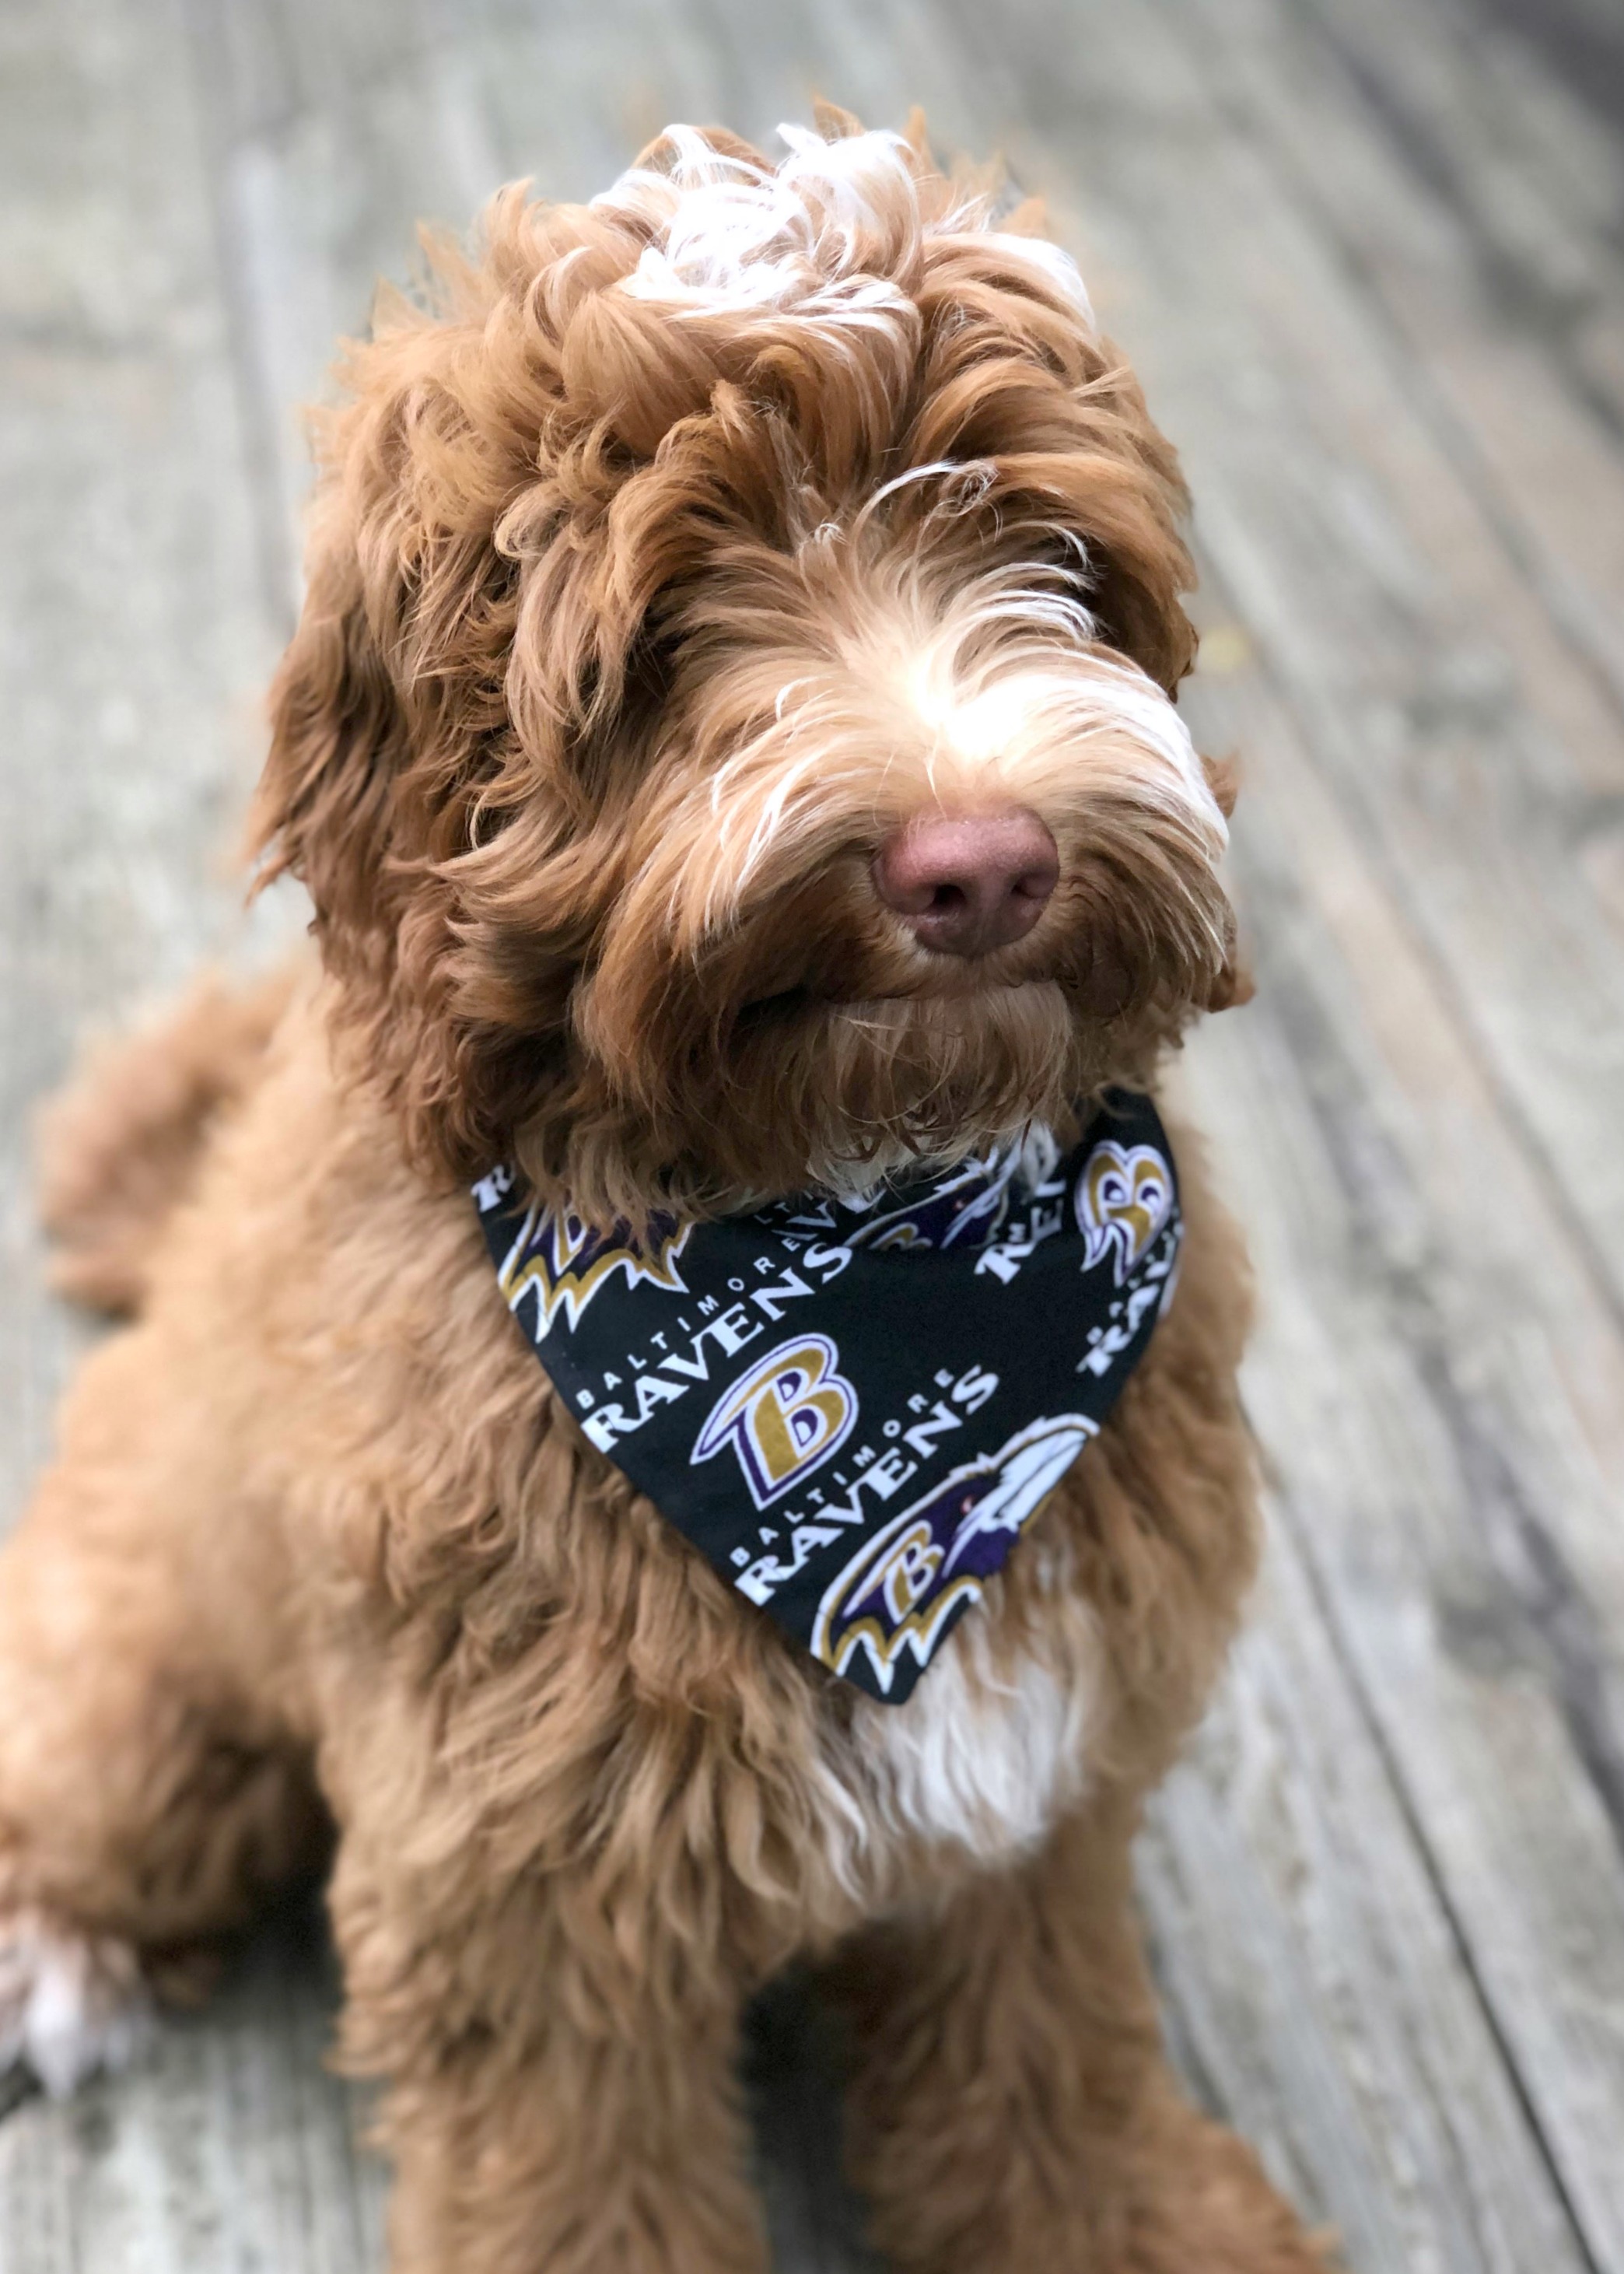
Friends, in case you haven’t heard, there’s a new member in our family…Mr. Pumpkin Latta! He is the sweetest puppy in the world, and we absolutely love him to pieces. If you have furry friends at home, you know how fun it is to include them in family activities, so we decided to let Pumpkin join in the fun of rooting for our favorite football team, the Baltimore Ravens, with this fun DIY Pet Bandana. These are so quick and easy to create, and you can totally personalize them for any season, holiday, sports team, hobby, or anything else you like by choosing different fabrics. Ready to get started? Let’s go!
DIY PET BANDANA
Pet Bandana Materials:
Your favorite fabric (1/2 yard for small or medium size dog, 1 yard for large dogs)
Scissors
Sewing machine and thread (if you don’t have a machine, you can do the sewing by hand)
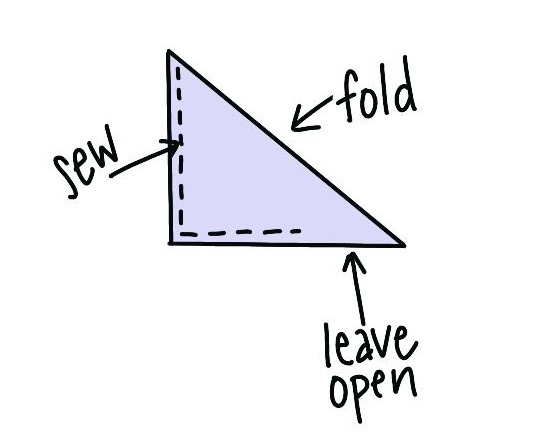
Step 1: Lay your fabric right side up and fold the top corner down to form a triangle.
This is the step where you size the bandana to fit your pet. The folded edge should measure the length of your dog’s comfortably fitting collar plus 9 more inches. The extra inches are what will allow you to tie the bandana onto your pet.
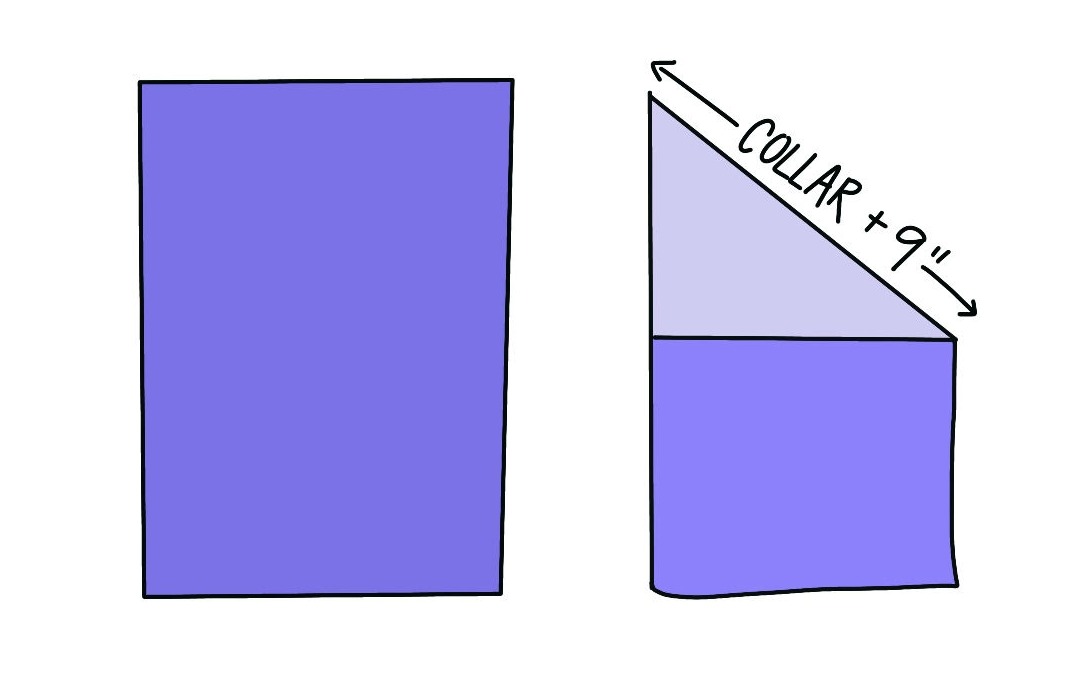
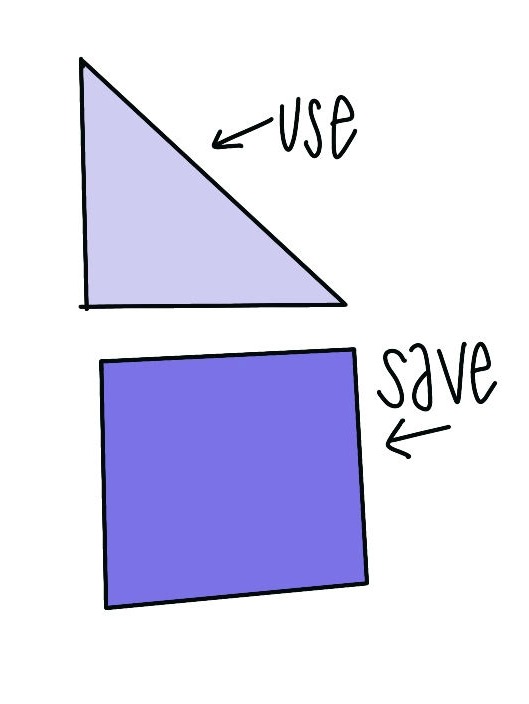
Step 2: Cut off the extra fabric below your triangle.
Keep the top part folded. You can use the extra scrap for another project! We actually had a yard of the Ravens fabric, so once we cut the bandana piece, there was enough left over to make small drawstring bags for the boys.
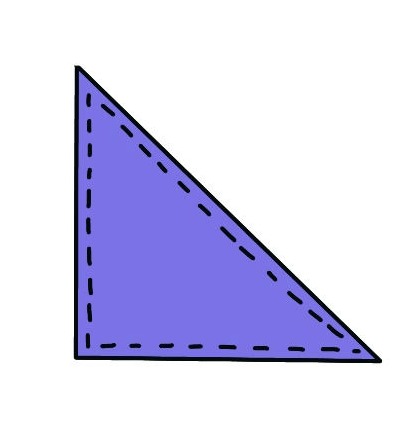
Step 3: With the right sides still together, sew a 1/4″ seam around the open sides of the triangle. Make sure to leave a few inches open so you can turn the fabric right side out.
If you like, you can use pins to hold the fabric in place while you are sewing.
Step 4: Use the opening to turn the fabric right side out.
Now is a good time to press the fabric with an iron.
Step 5: Tuck in the edges of the open spot and add a pin or two to hold the fabric in place.
Step 6: Topstitch around the entire bandana 1/4″ from the edge.
This will not only close the open spot, it will give the bandana a finished look and help the fabric to lay flat.
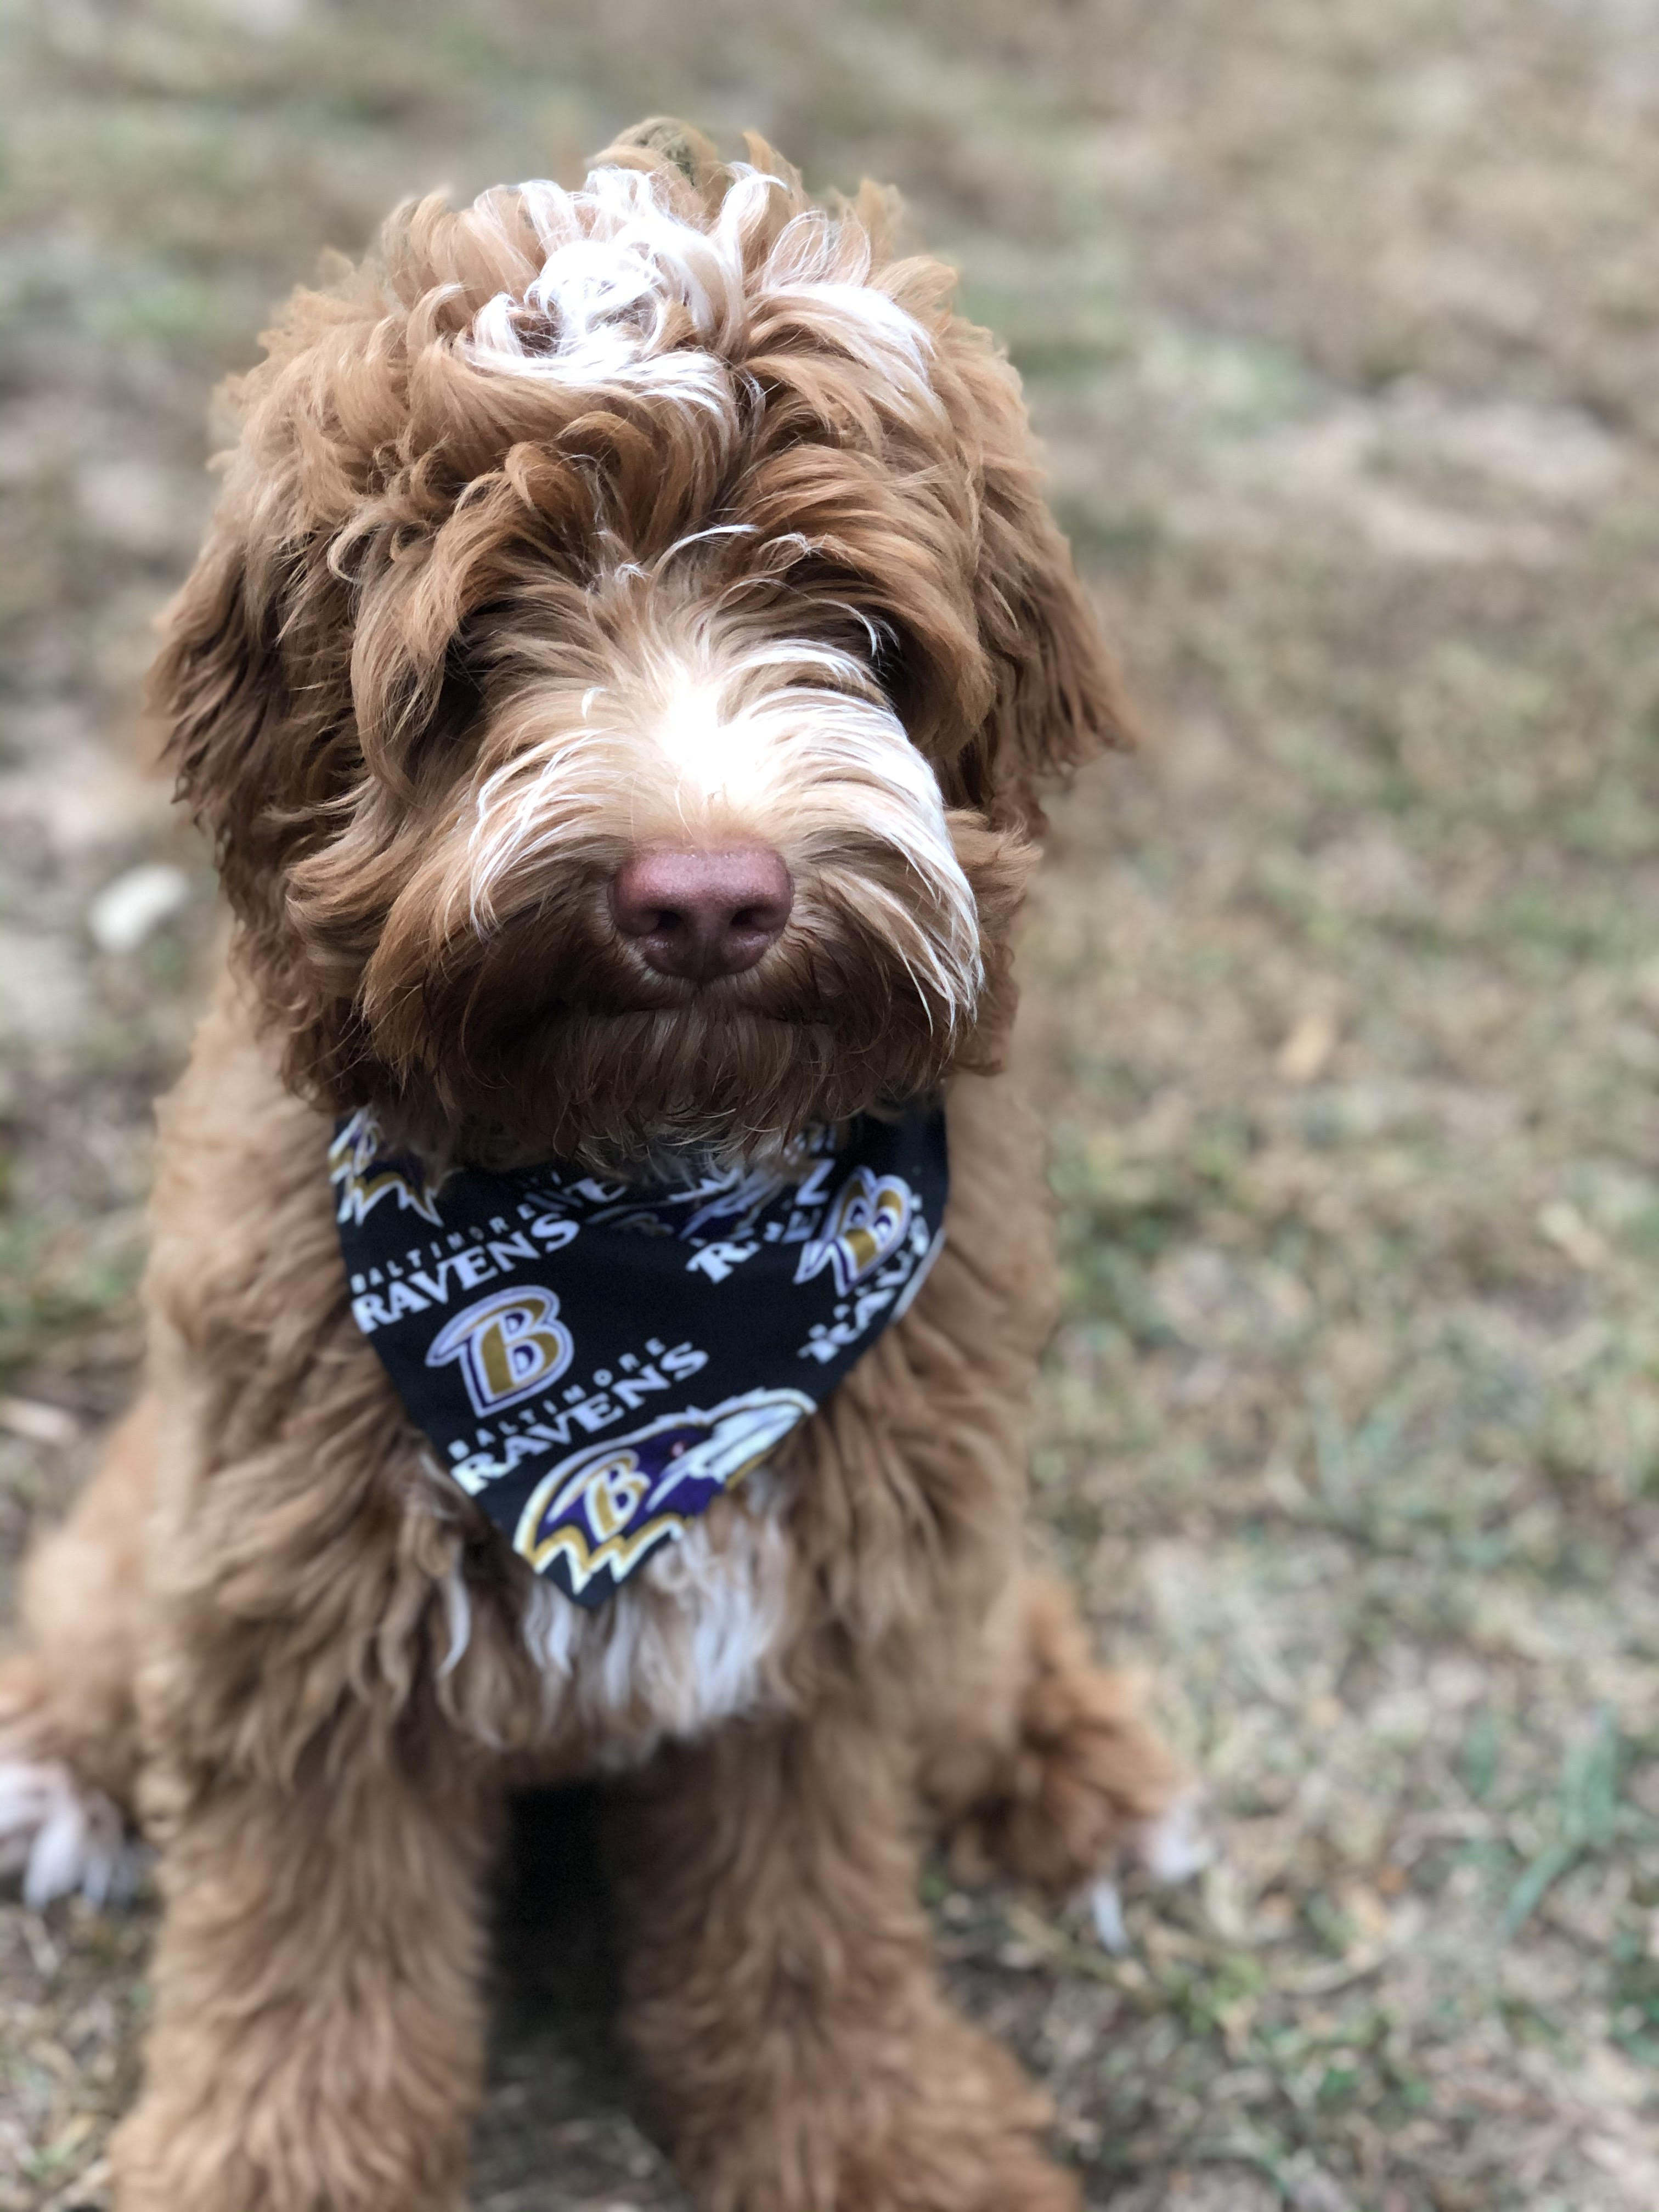
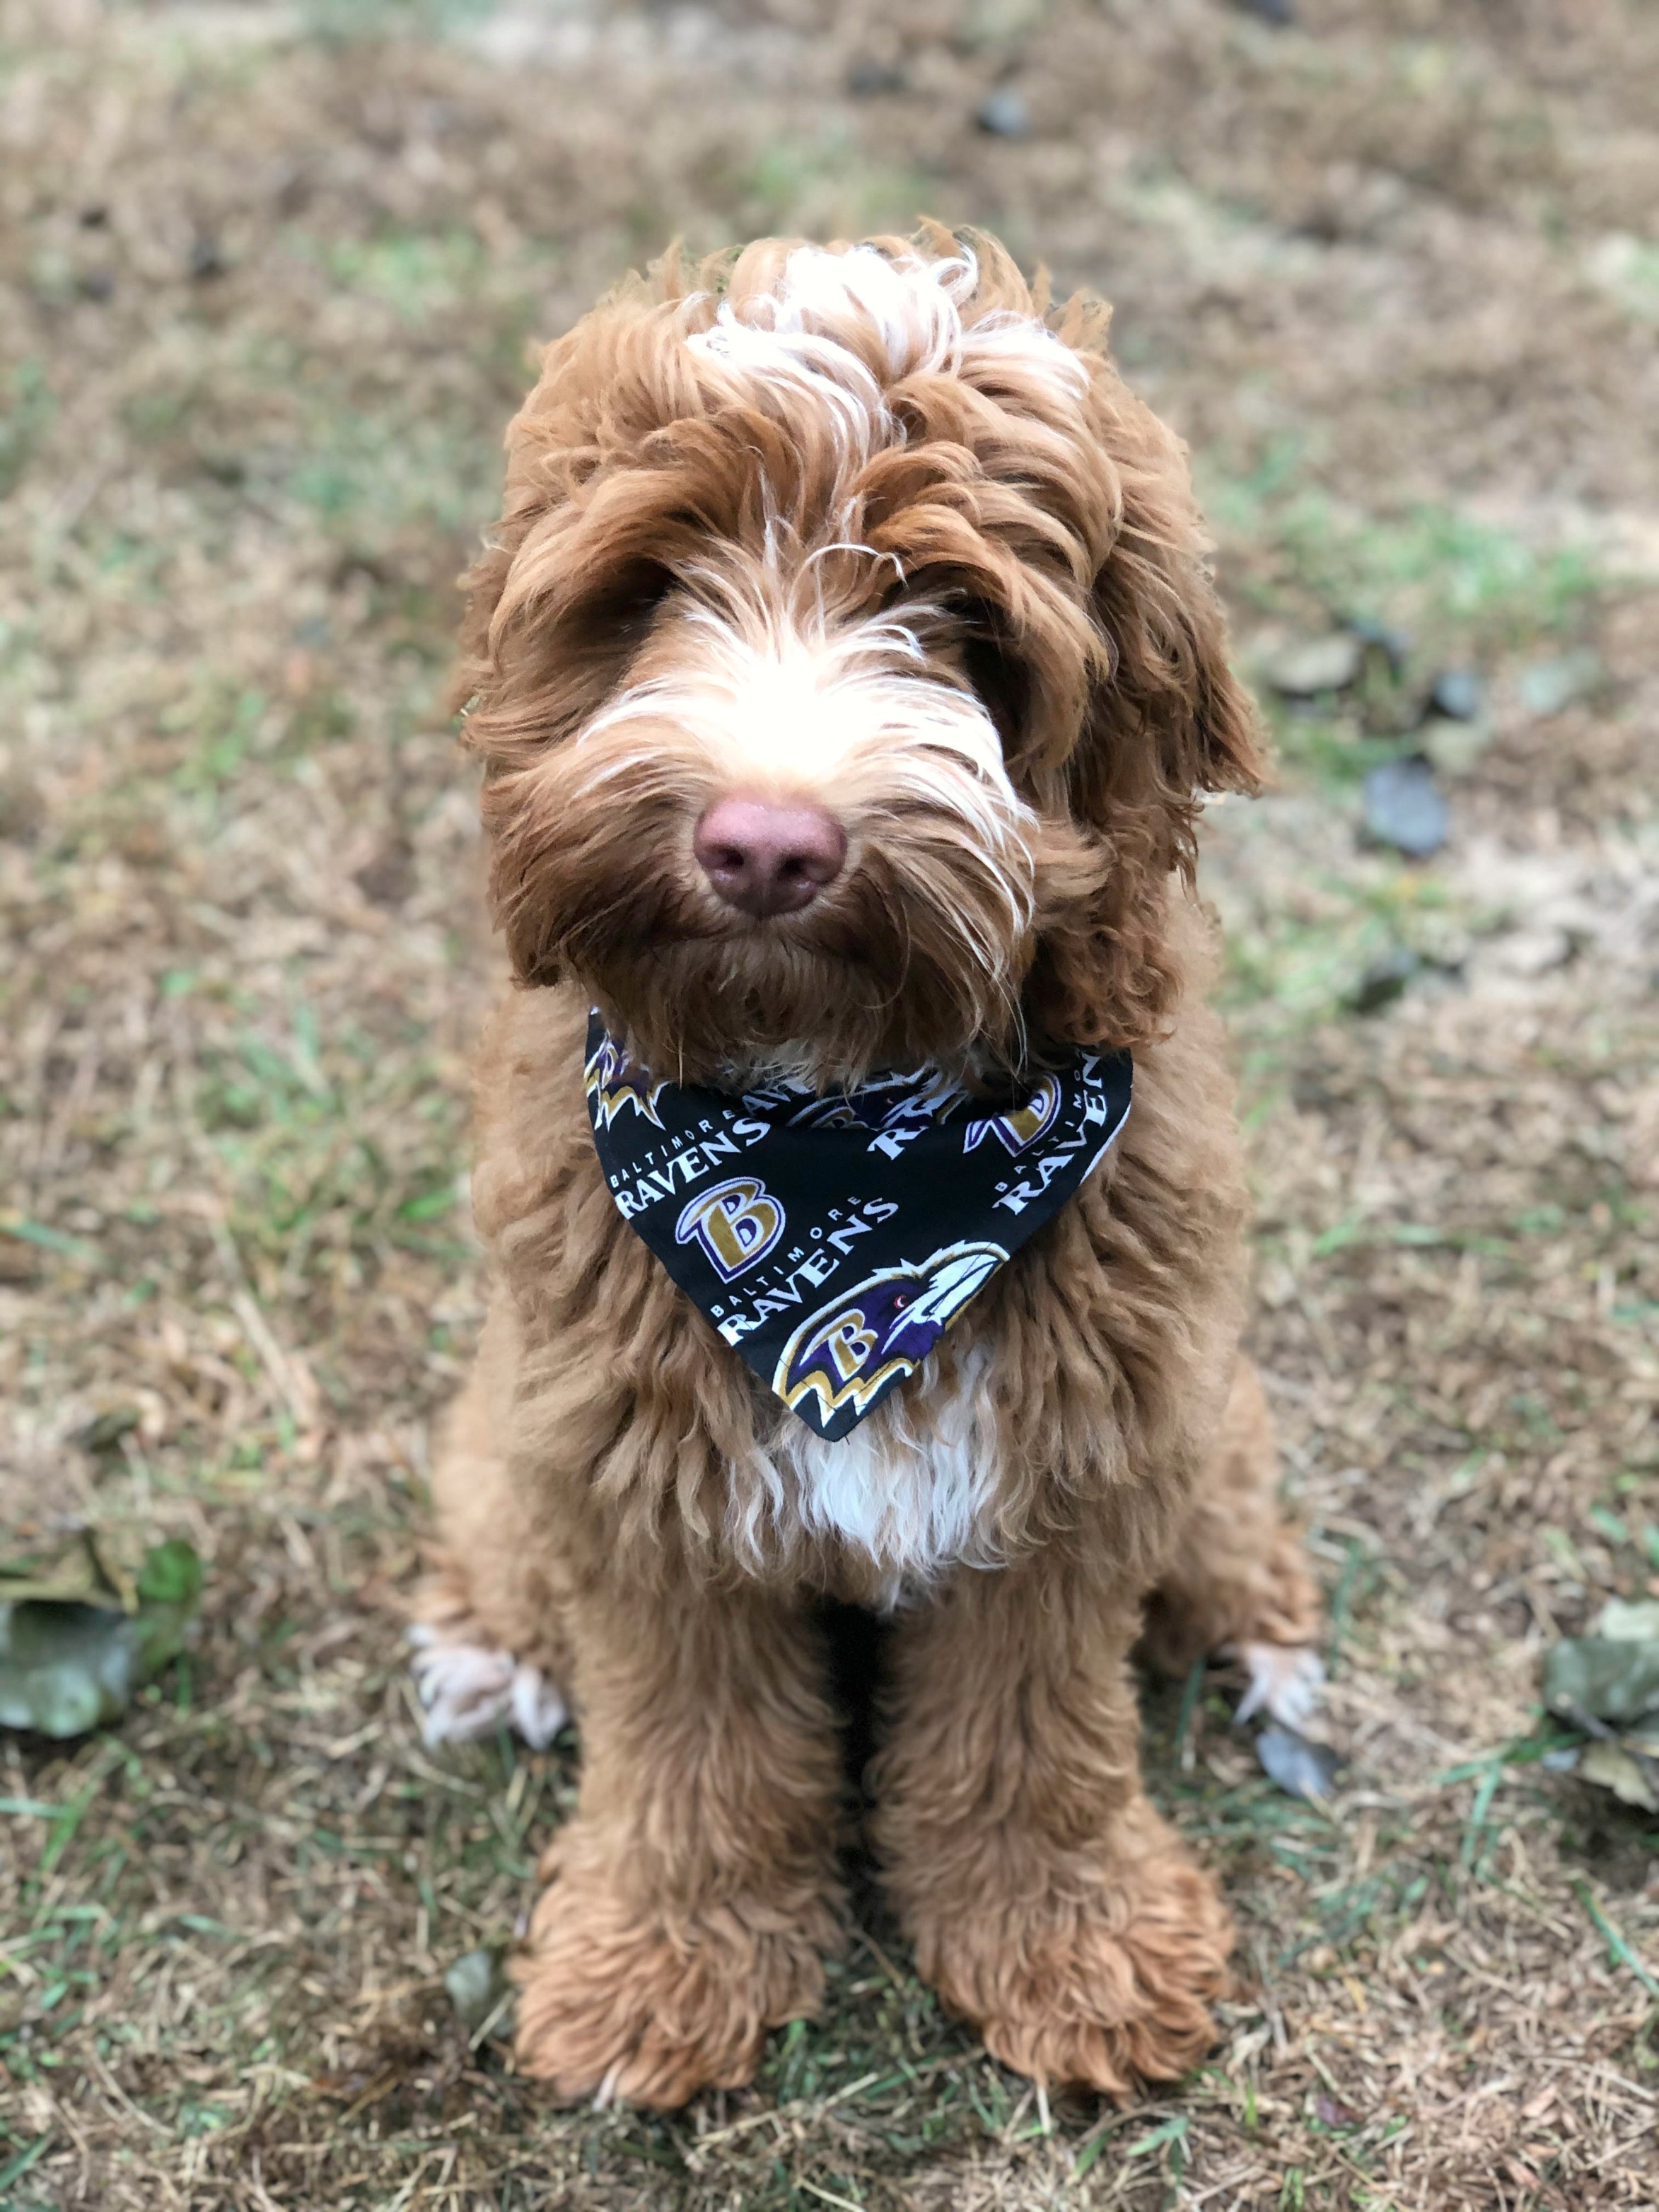
All that’s left to do is carefully tie it around your pet’s neck, making sure it’s not too tight. Remember, a good rule is that you should be able to fit two of your fingers between the neck and whatever is around it, like a collar or a bandana. Doesn’t it look too adorable?
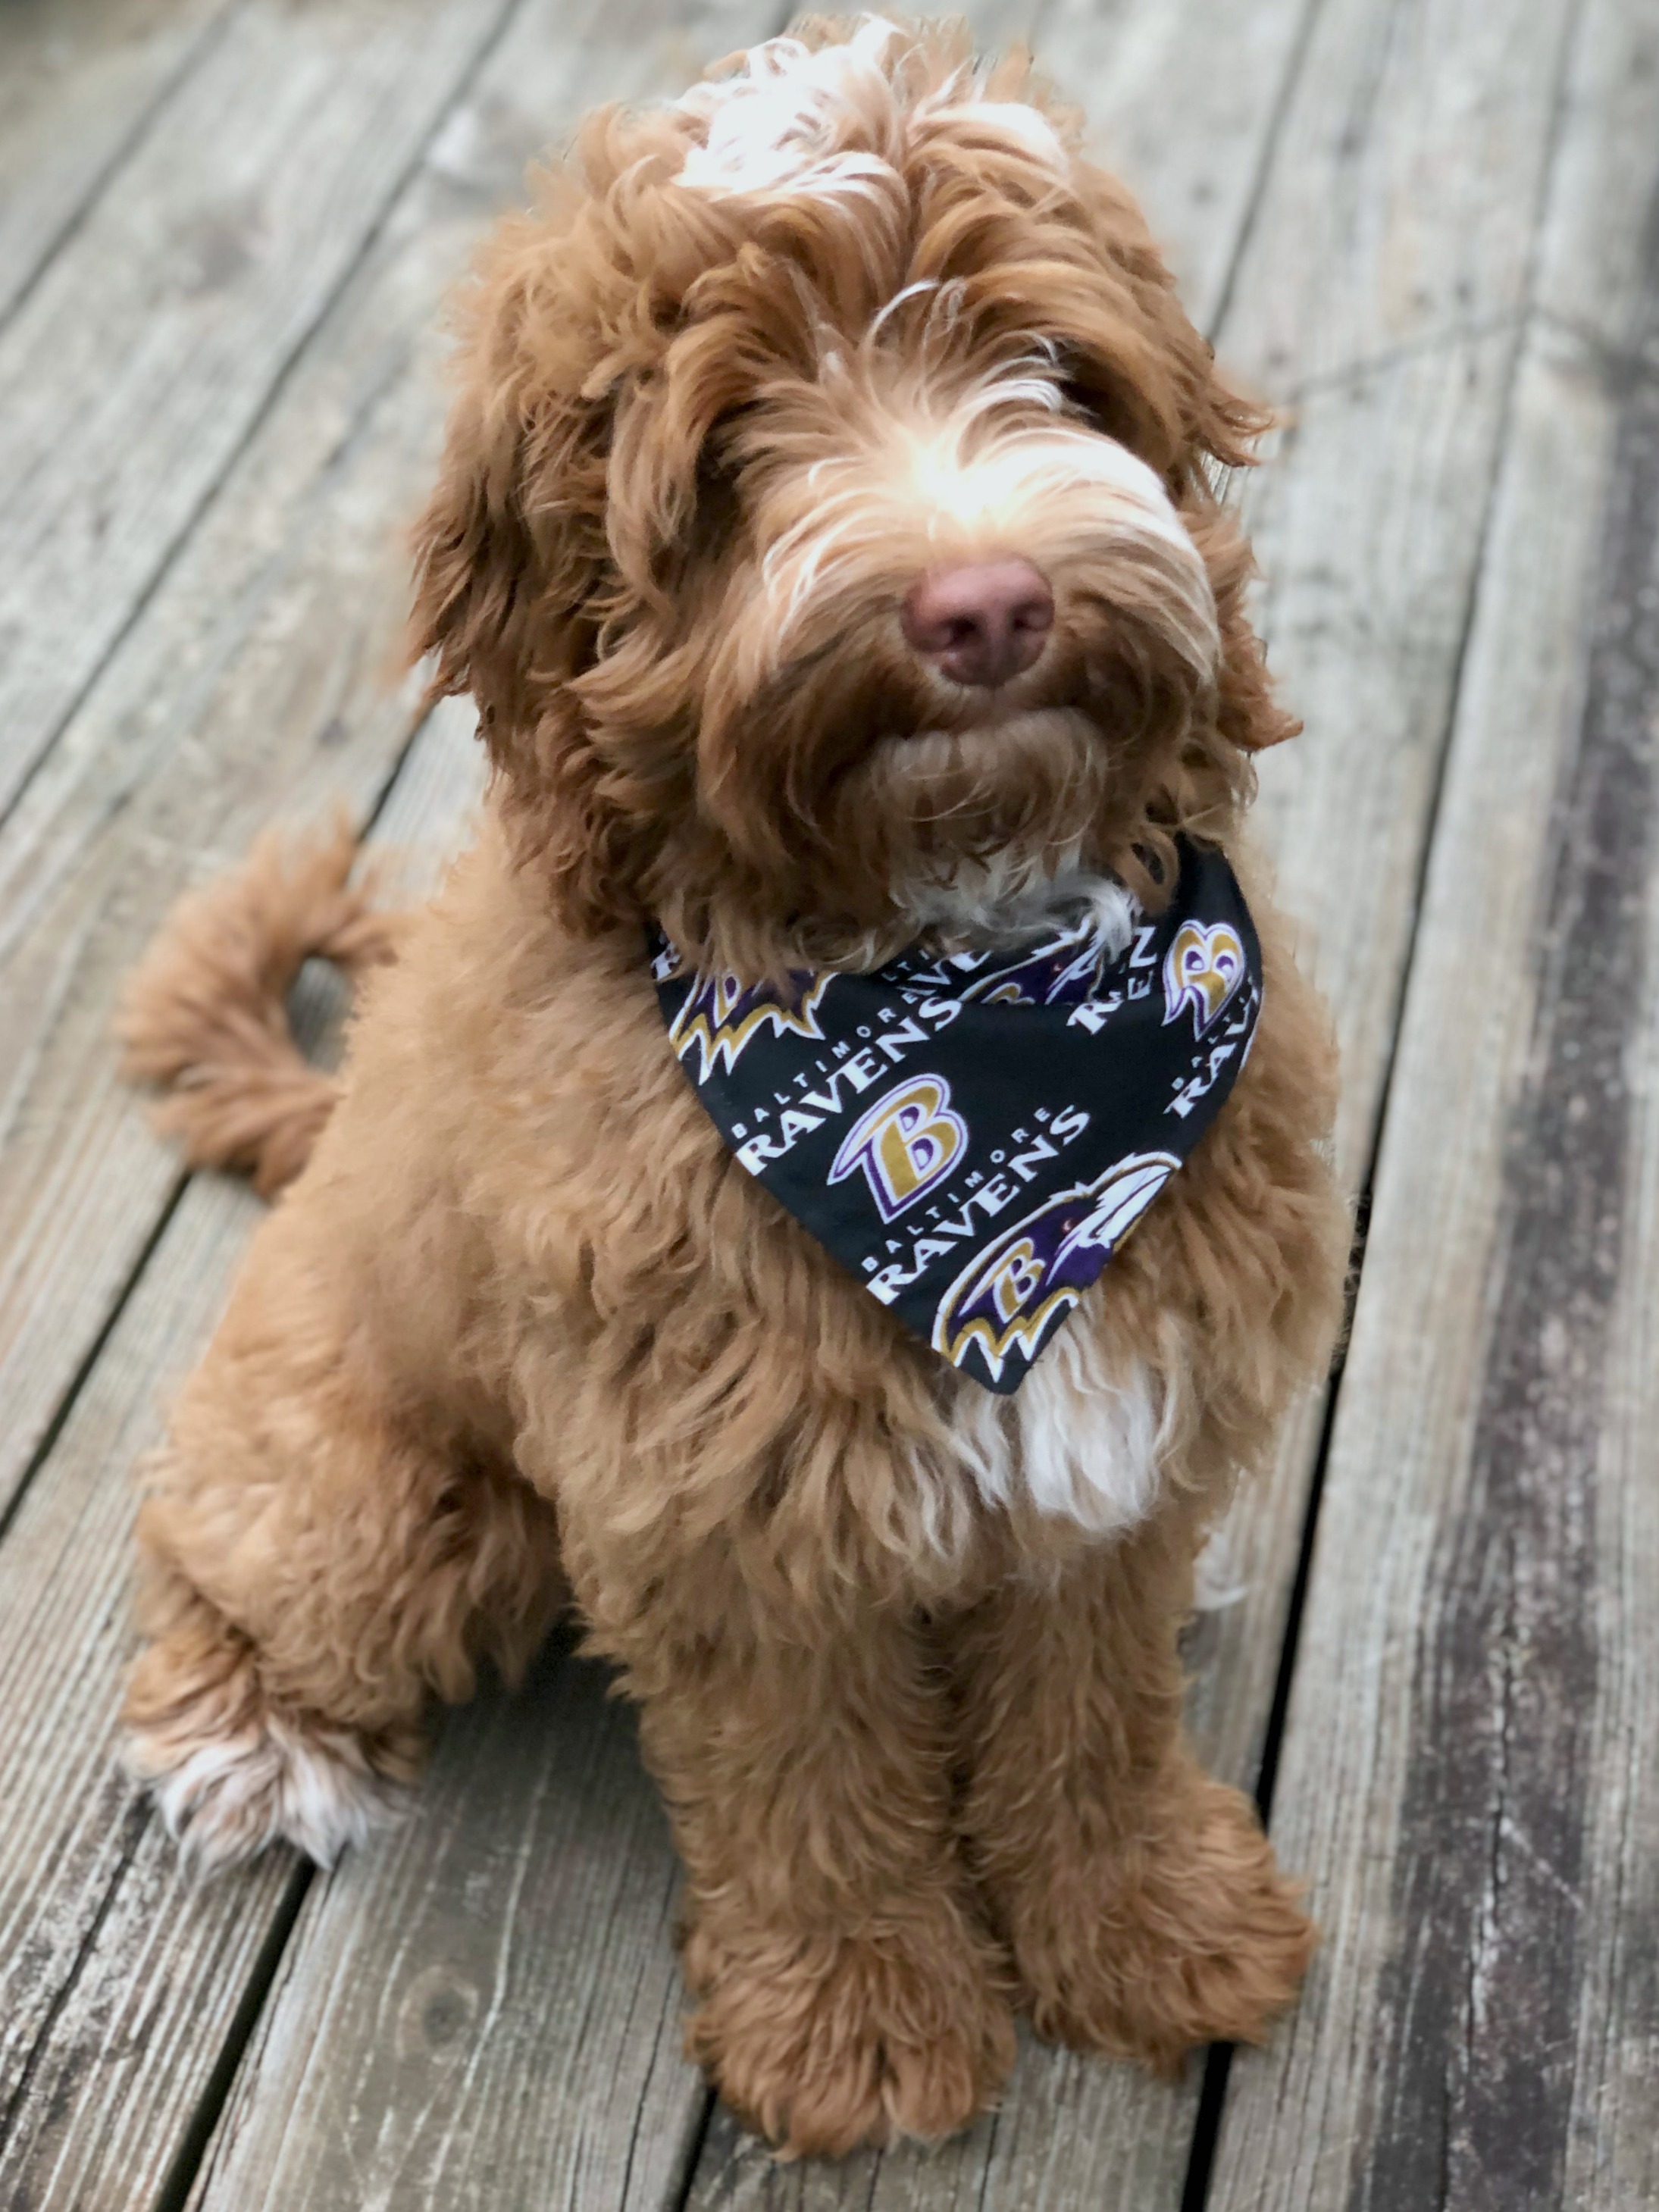
I’m thinking I need to make a bunch more, including a Christmas one and one with pumpkins on it, of course. This project took less than 15 minutes and required very few supplies, so it’s also inexpensive. What do you think? Would your furry friend(s) enjoy a cute bandana like this? Pumpkin definitely approves!
I’d love to see pictures of what you create, and of your furry pals too! Be sure to hop over to the Amy Latta & Friends Facebook group to share and be inspired. See you there!
Don’t forget; if you like it, put a Pin on it!

2 Comments