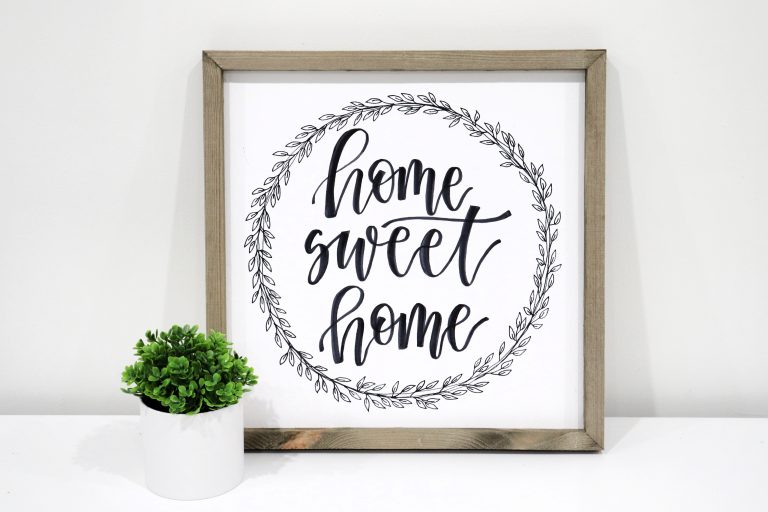
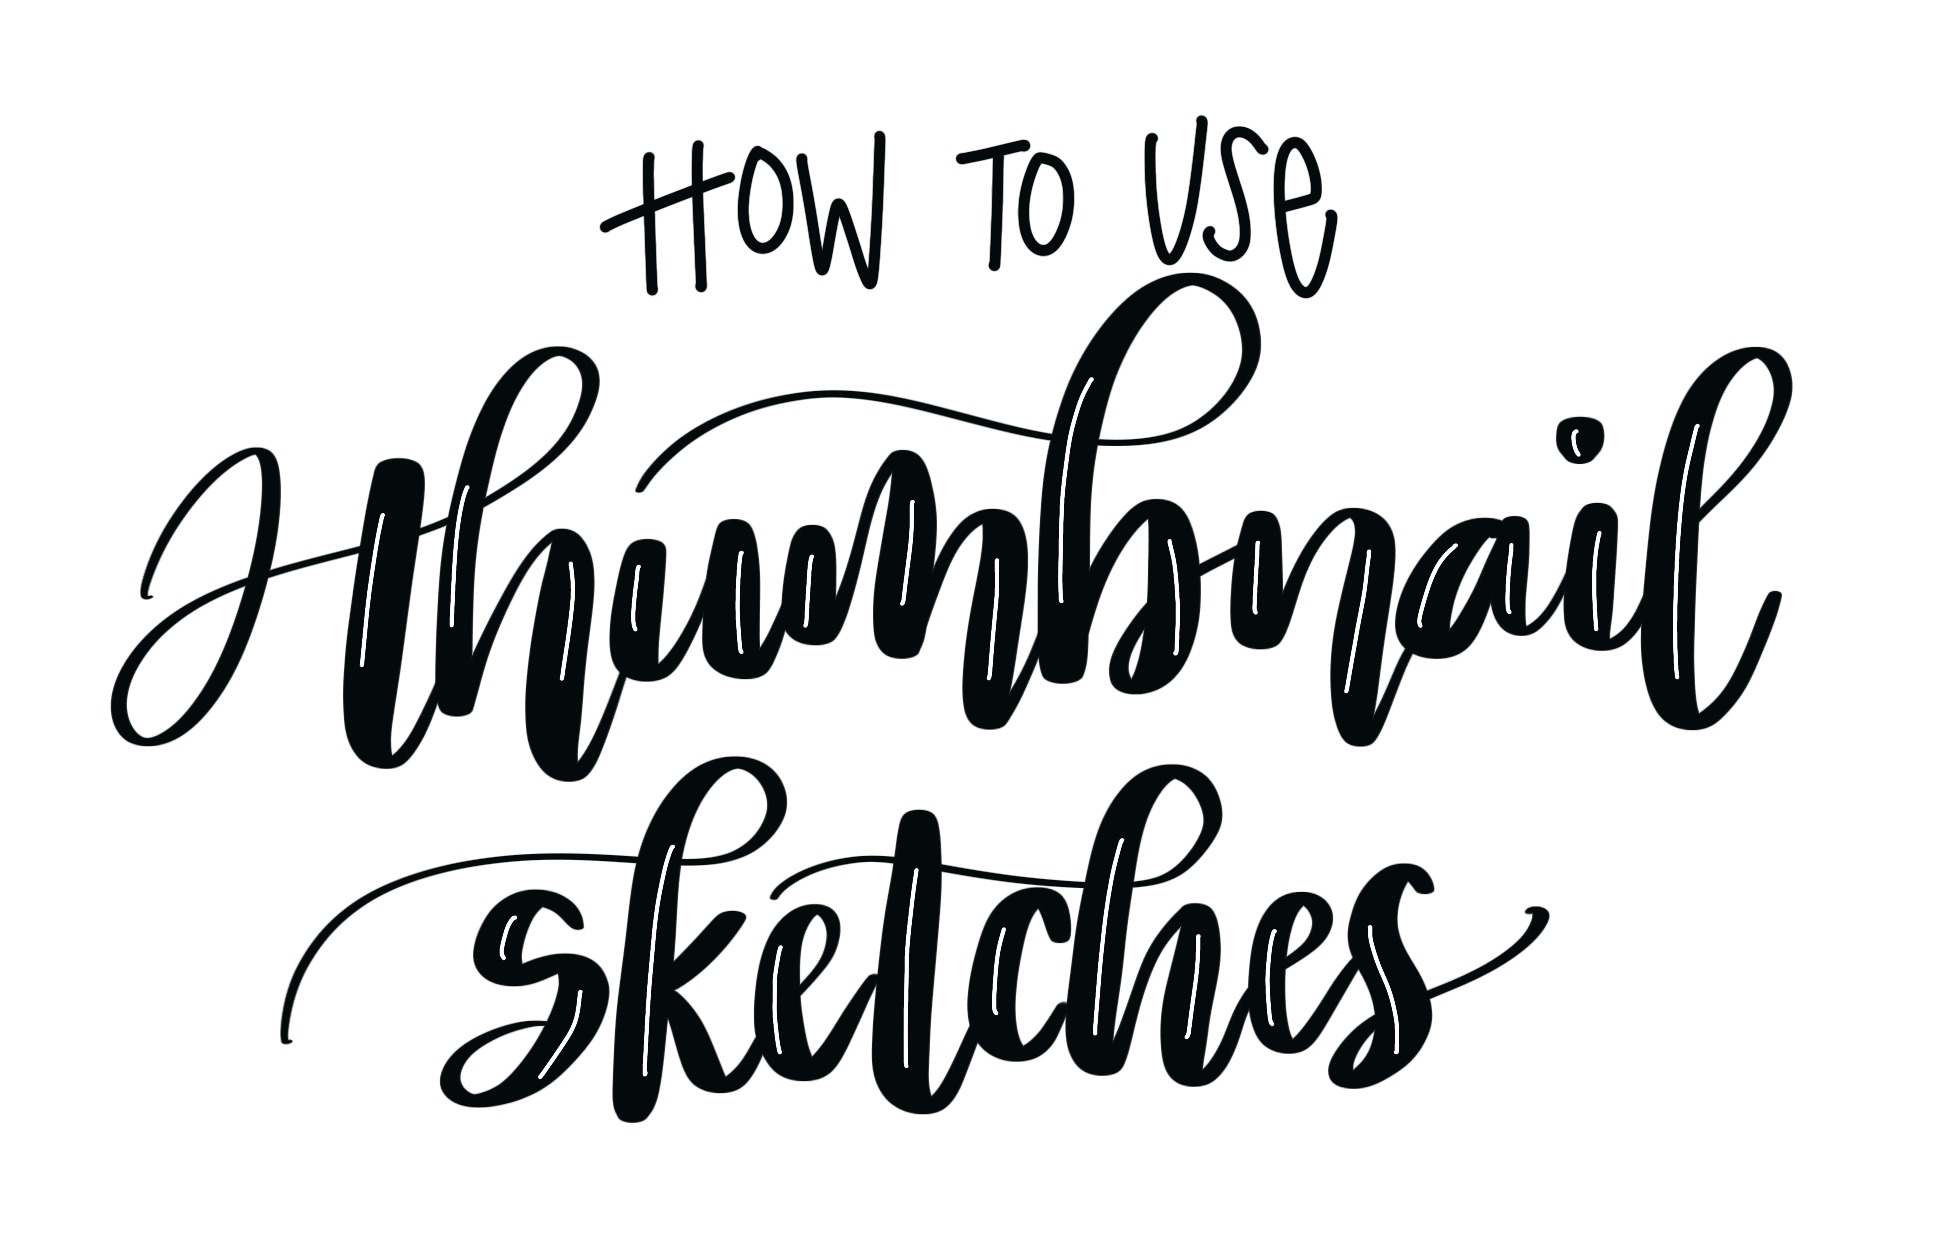
Hand Lettering: Thumbnail Sketches
When I first started hand lettering, I focused on learning lots of different font styles and embellishments, but I struggled with figuring out how to put them all together. I wanted to create eye-catching designs, but wasn’t sure how. Then, I learned about using a variety of shapes to create thumbnail sketches and everything changed. A thumbnail sketch, also called a design grid, is a plan for the overall shape you want your words to take. You start by sketching out shapes that work well together, then you fit your lettering inside. There are many shapes you can use in a thumbnail grid, and the possibilities for designs are endless. Today, I want to start with three that I commonly use and show you how using them can totally change the look of your lettered piece. Let’s start with arches.
ARCHES
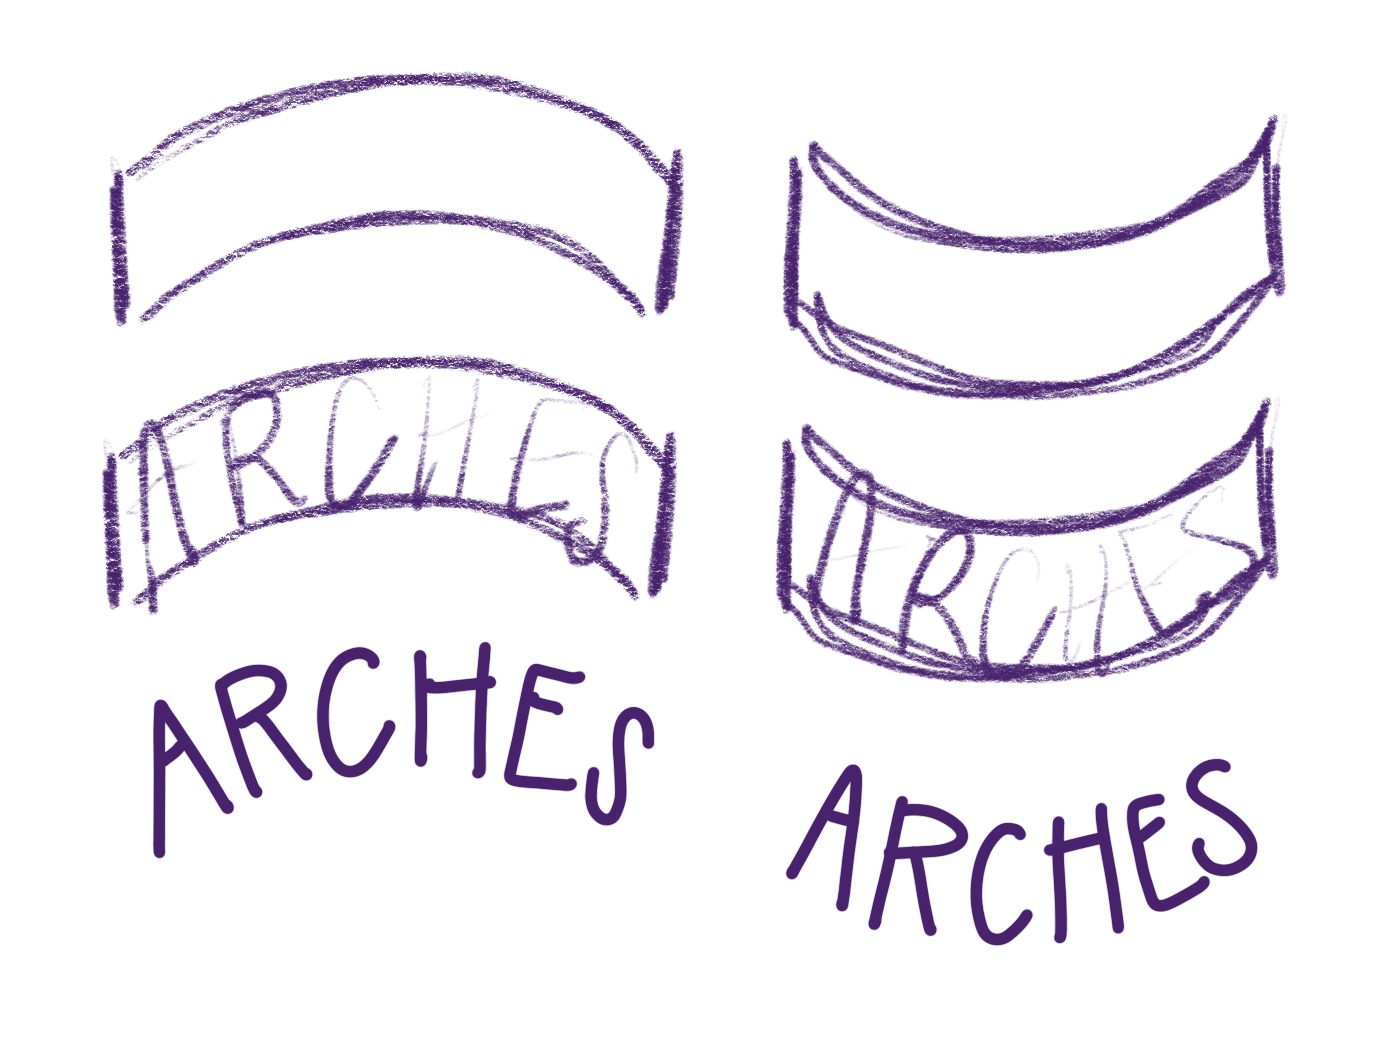
Letters written in an arch shape will take on a curve. They can be written inside of an illustrated banner, or you can erase the guide shape completely and be left with letters that create the shape all by themselves. This shape is great for the top or bottom of a design, or both! You can use any kind of font inside this shape as long as you can fit the letters to the curve.
BRIDGES & VALLEYS
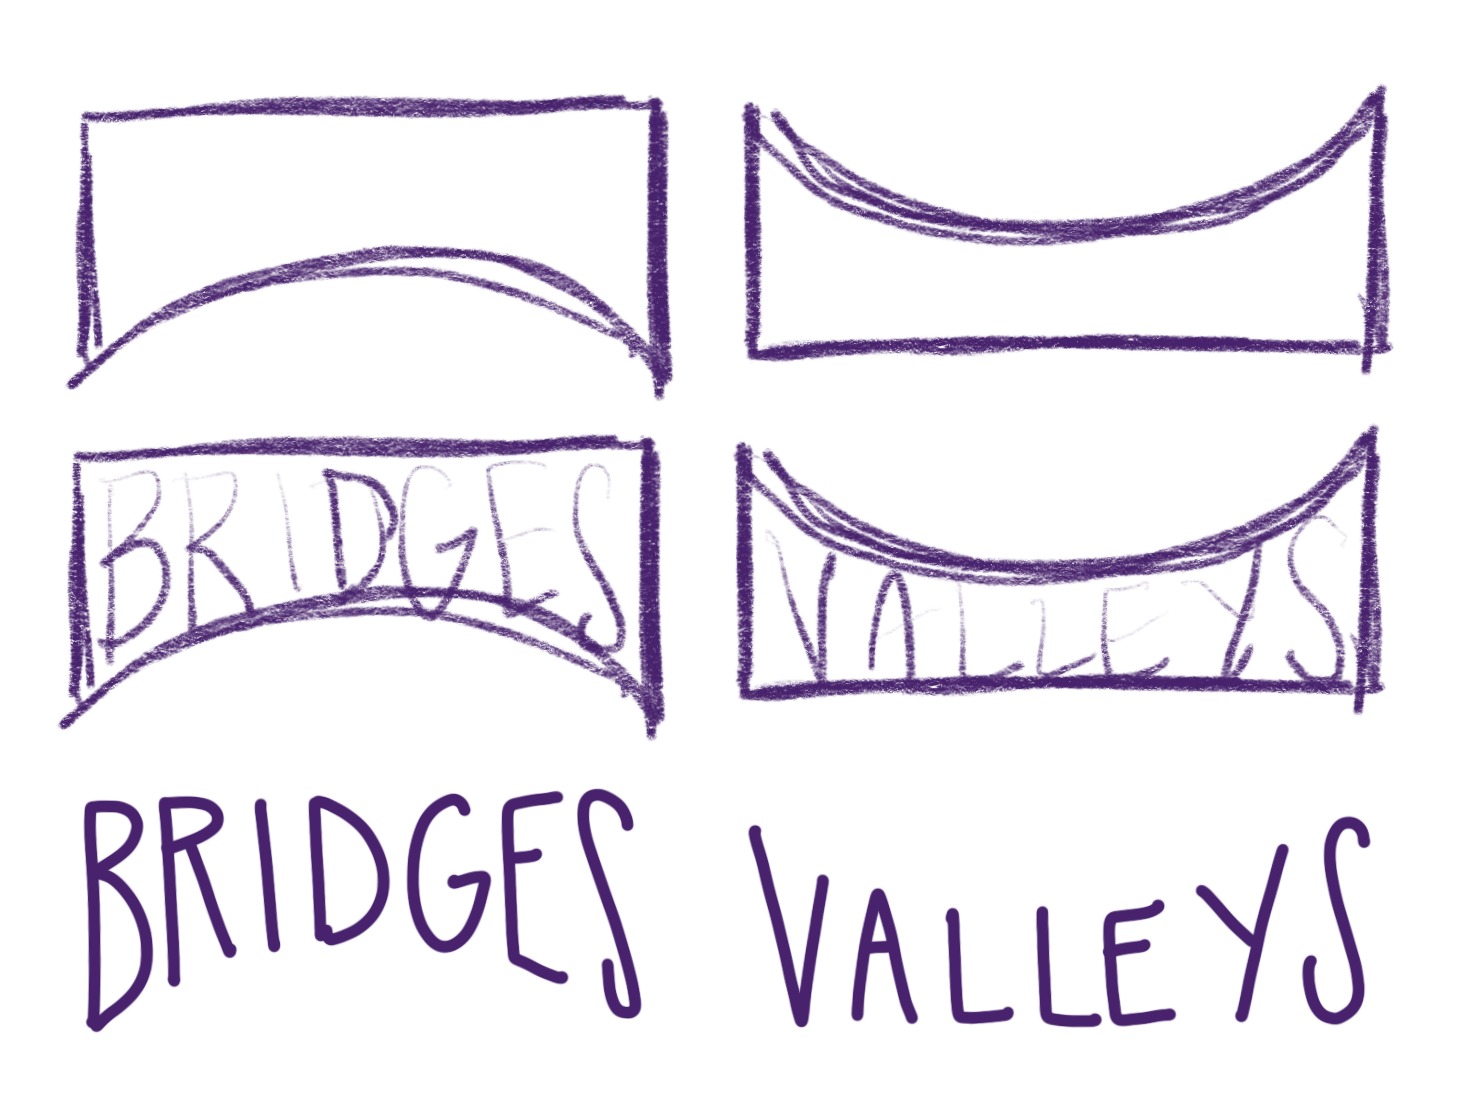
These shapes are similar to arches on one side, but are flat on the other, which creates a totally different effect when you fill them with letters. Instead of the letters bending around a curve and maintaining a consistent size, the letters on the ends will be taller than those in the center of the shape. Like an arch, bridges and valleys are excellent choices for the top and bottom of a design. They balance one another particularly well, so if I begin a design with a bridge, I often finish it with a valley.
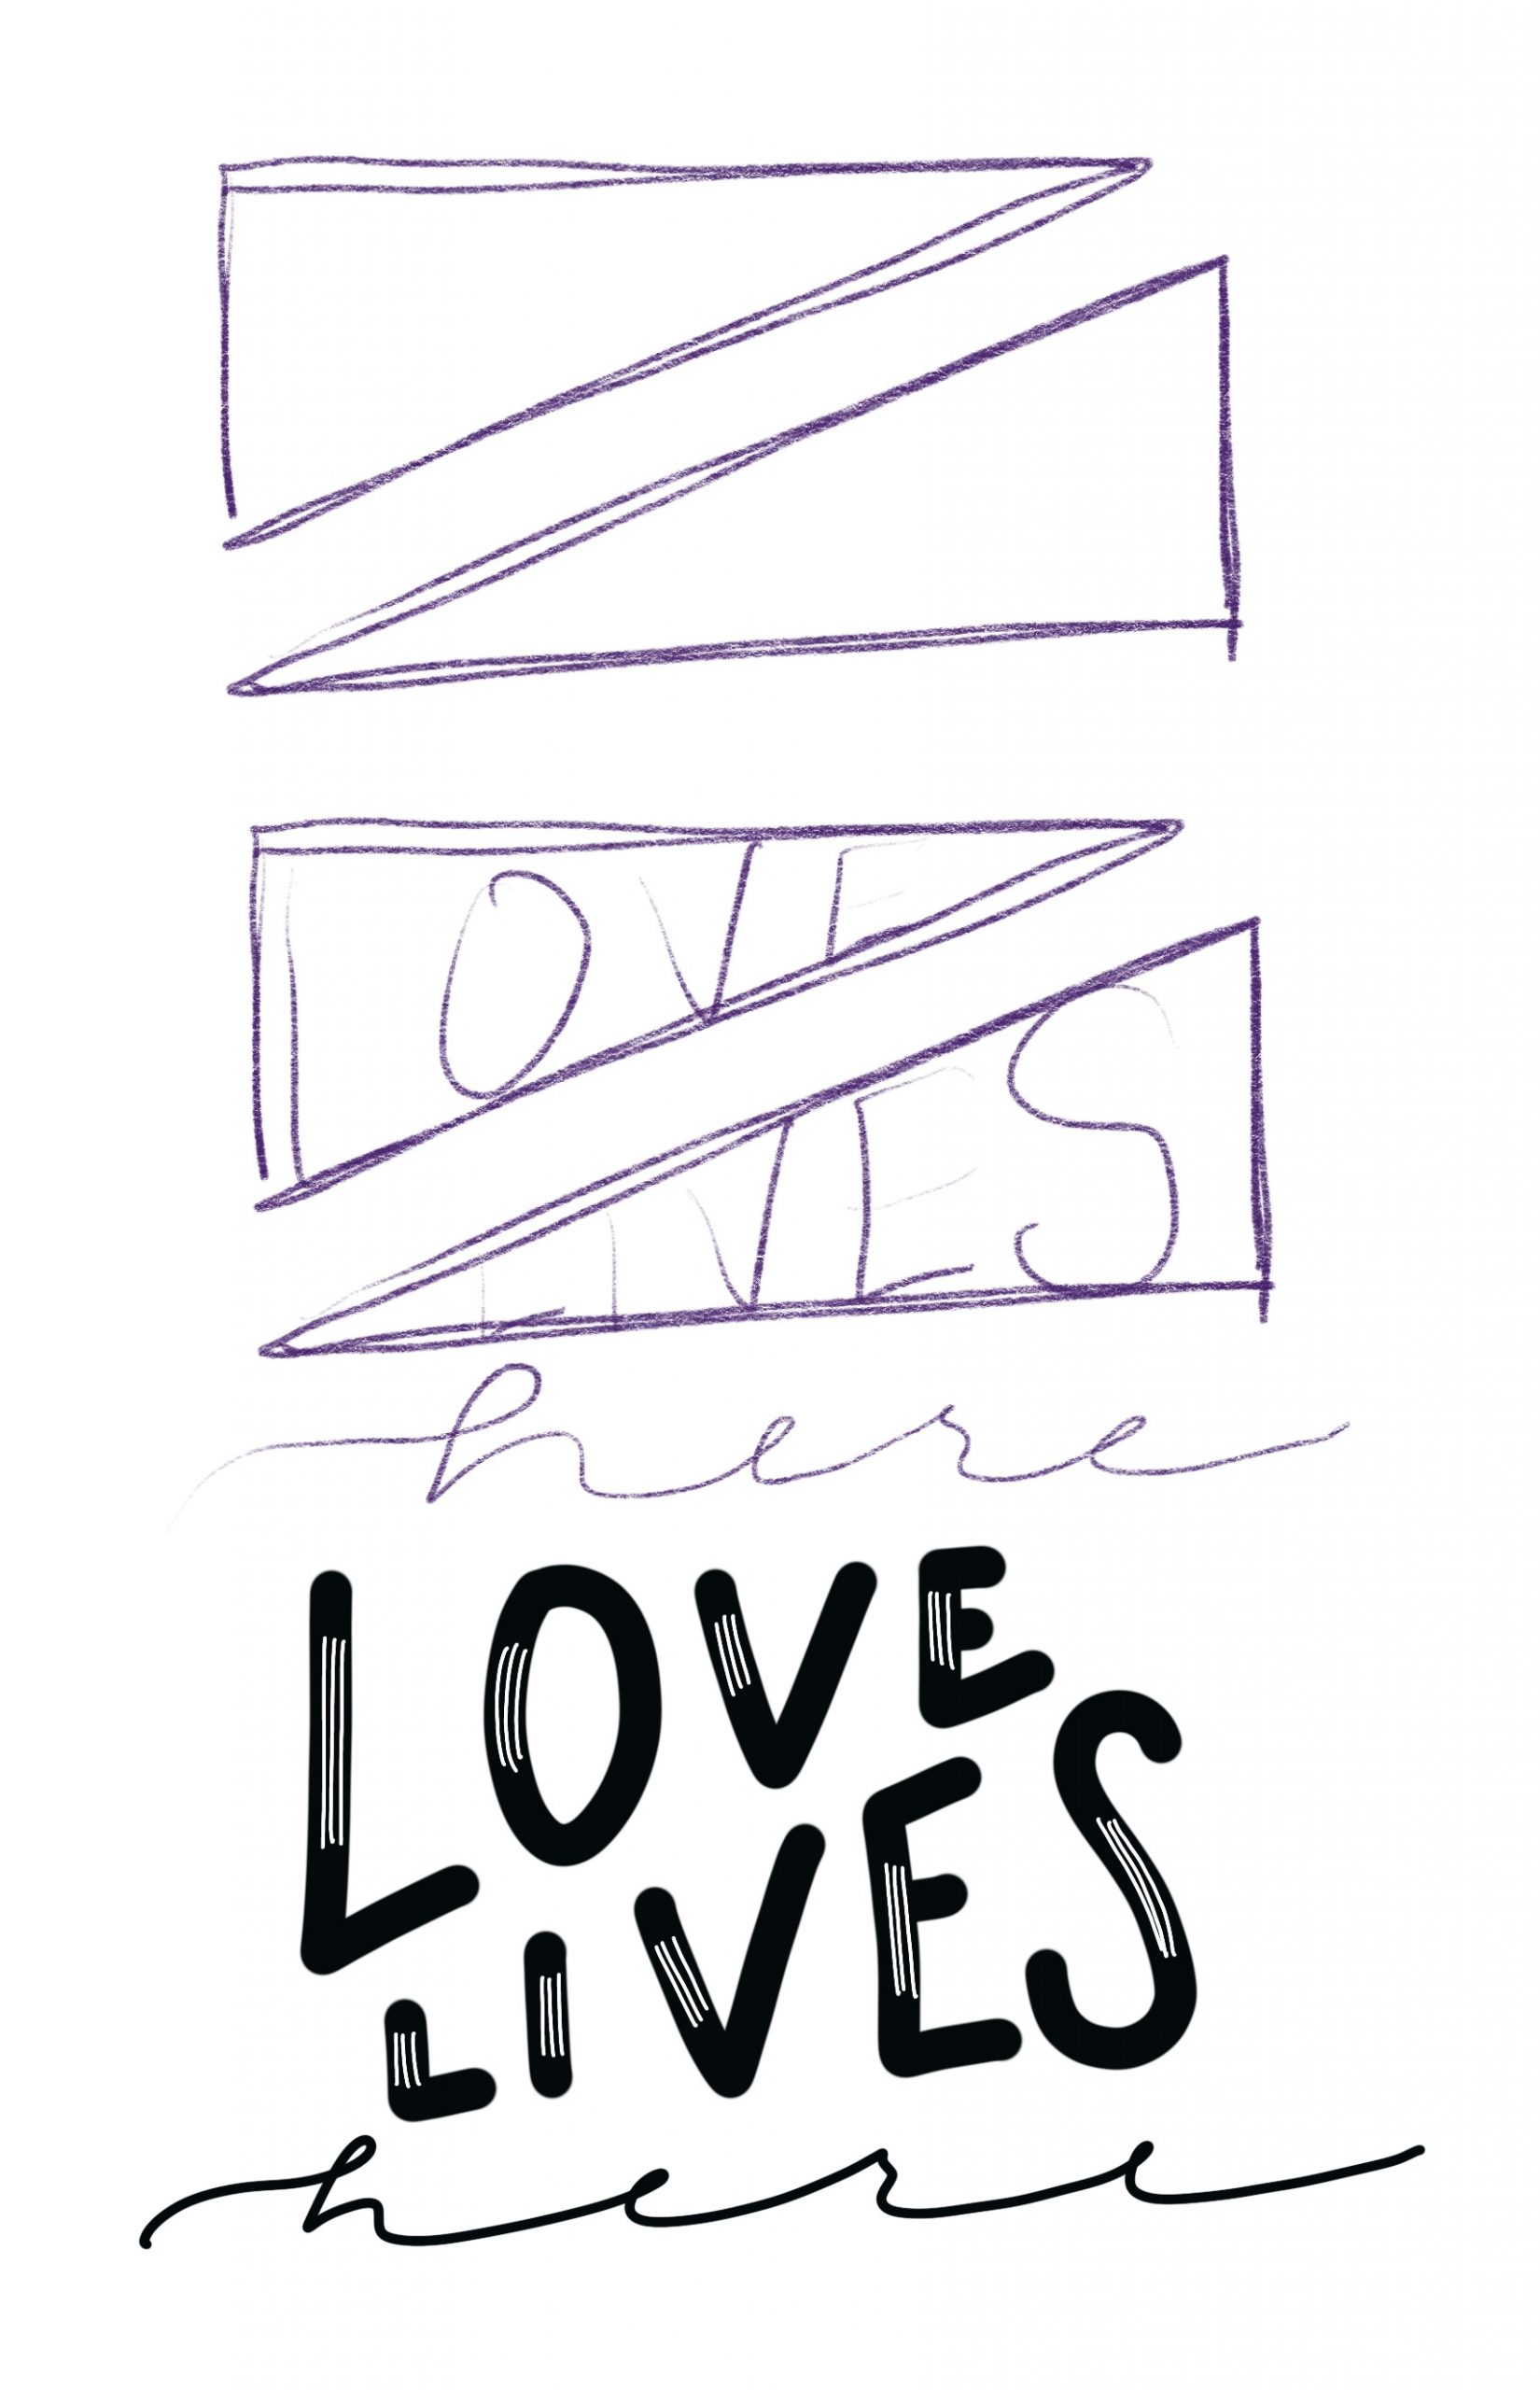
TRIANGLES
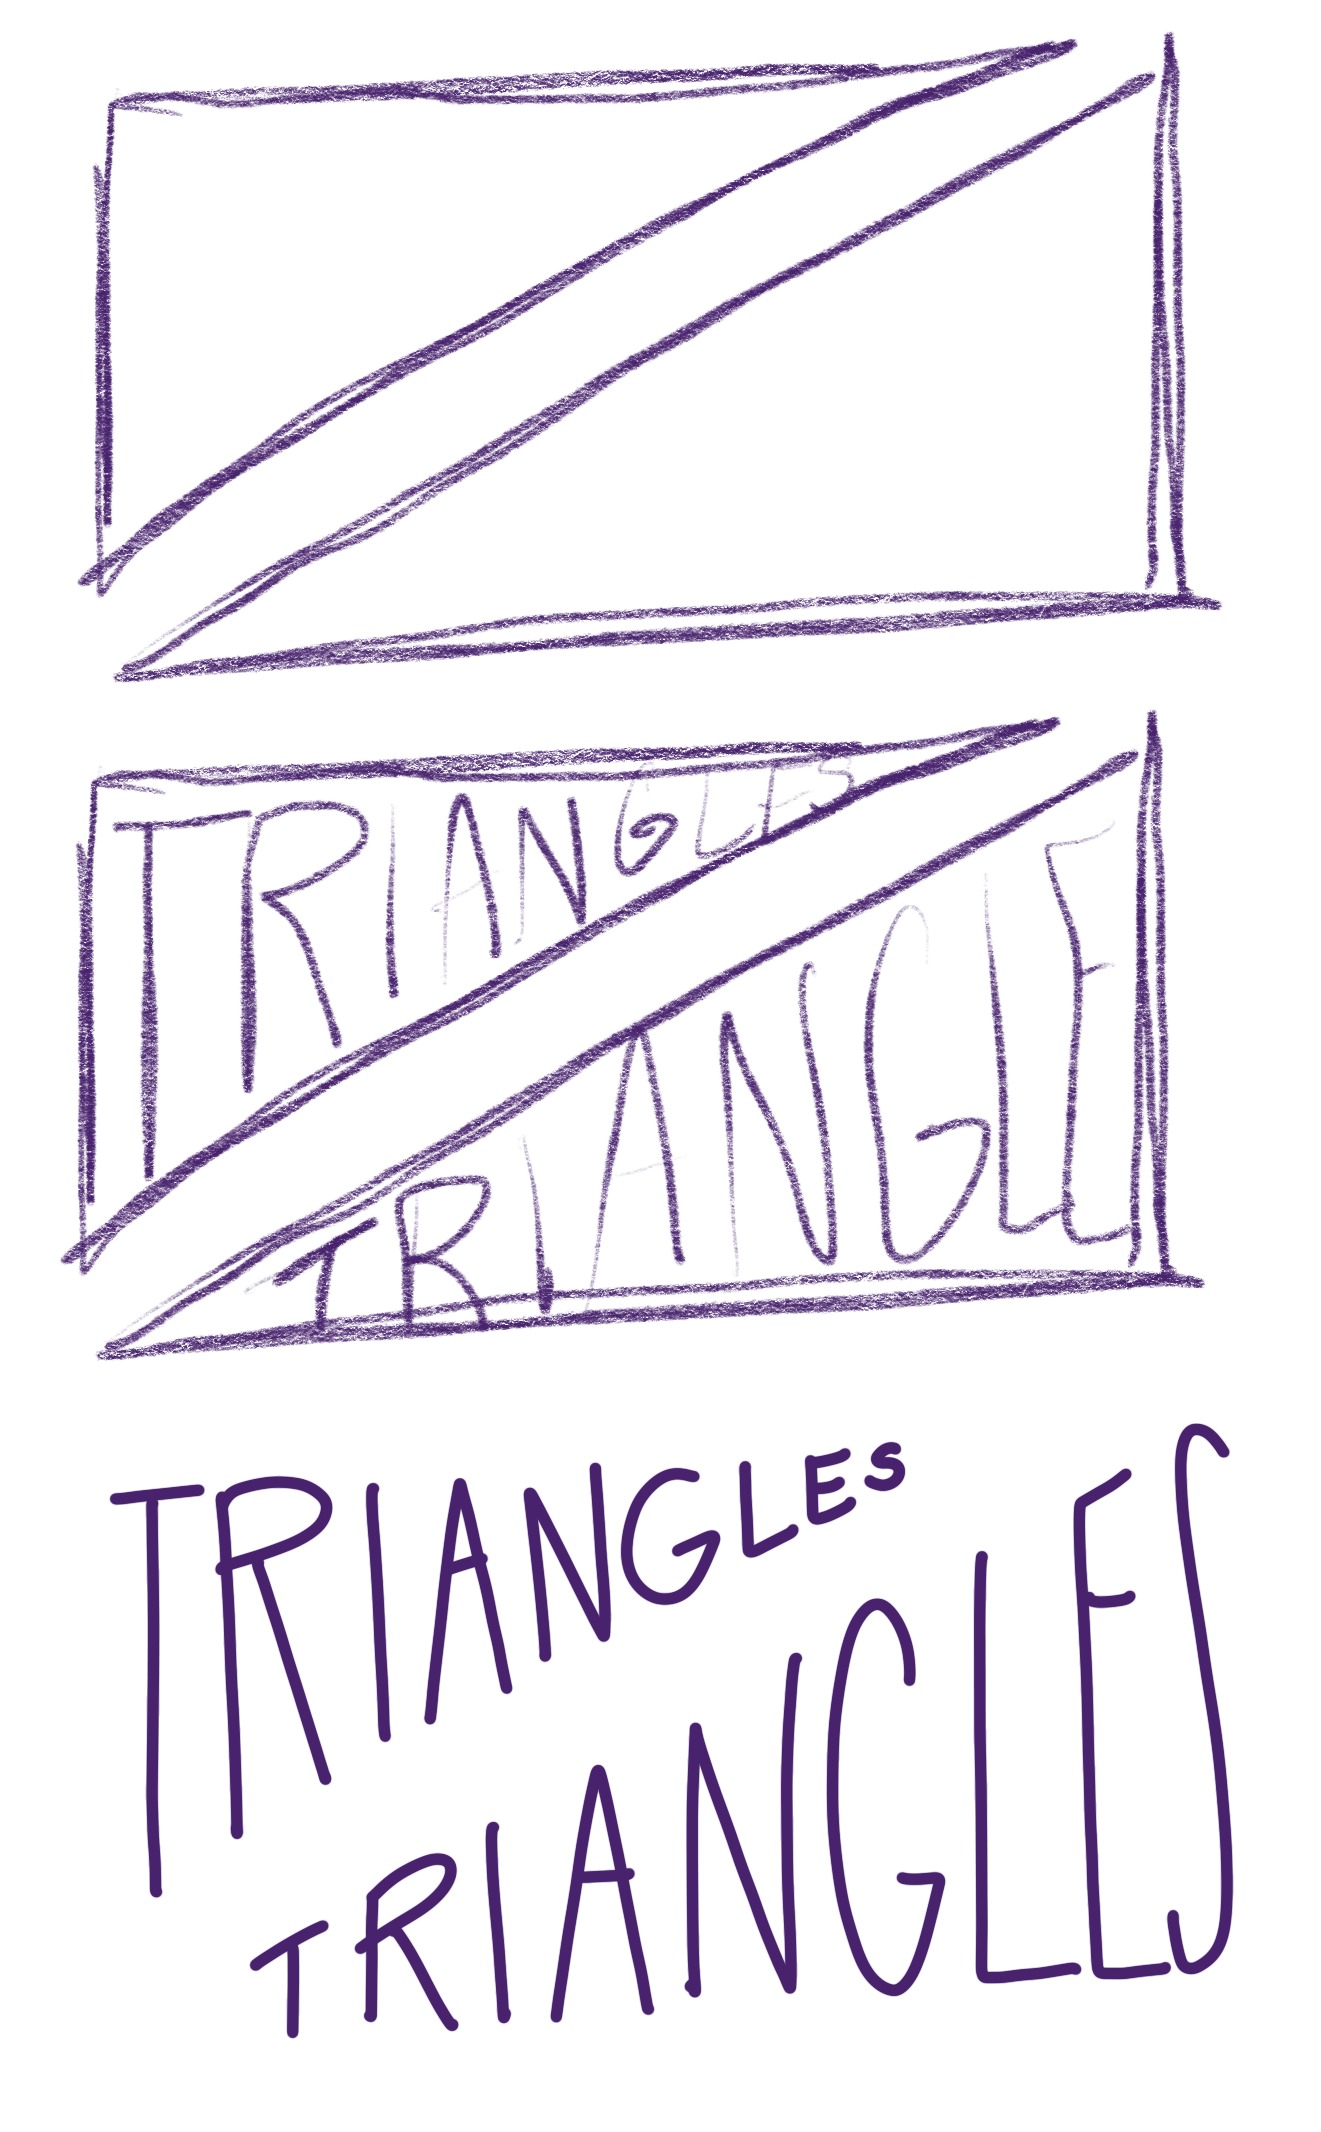
Letters fit into a triangle shape will get increasingly larger or smaller depending on which direction the triangle is facing. Lines like the top of a “T” or “E,” or the bottom of an “L” may follow the line of the triangle’s hypotenuse to give even more suggestion of the shape. Triangles work well paired together with one right on top of the other as shown in the example above.
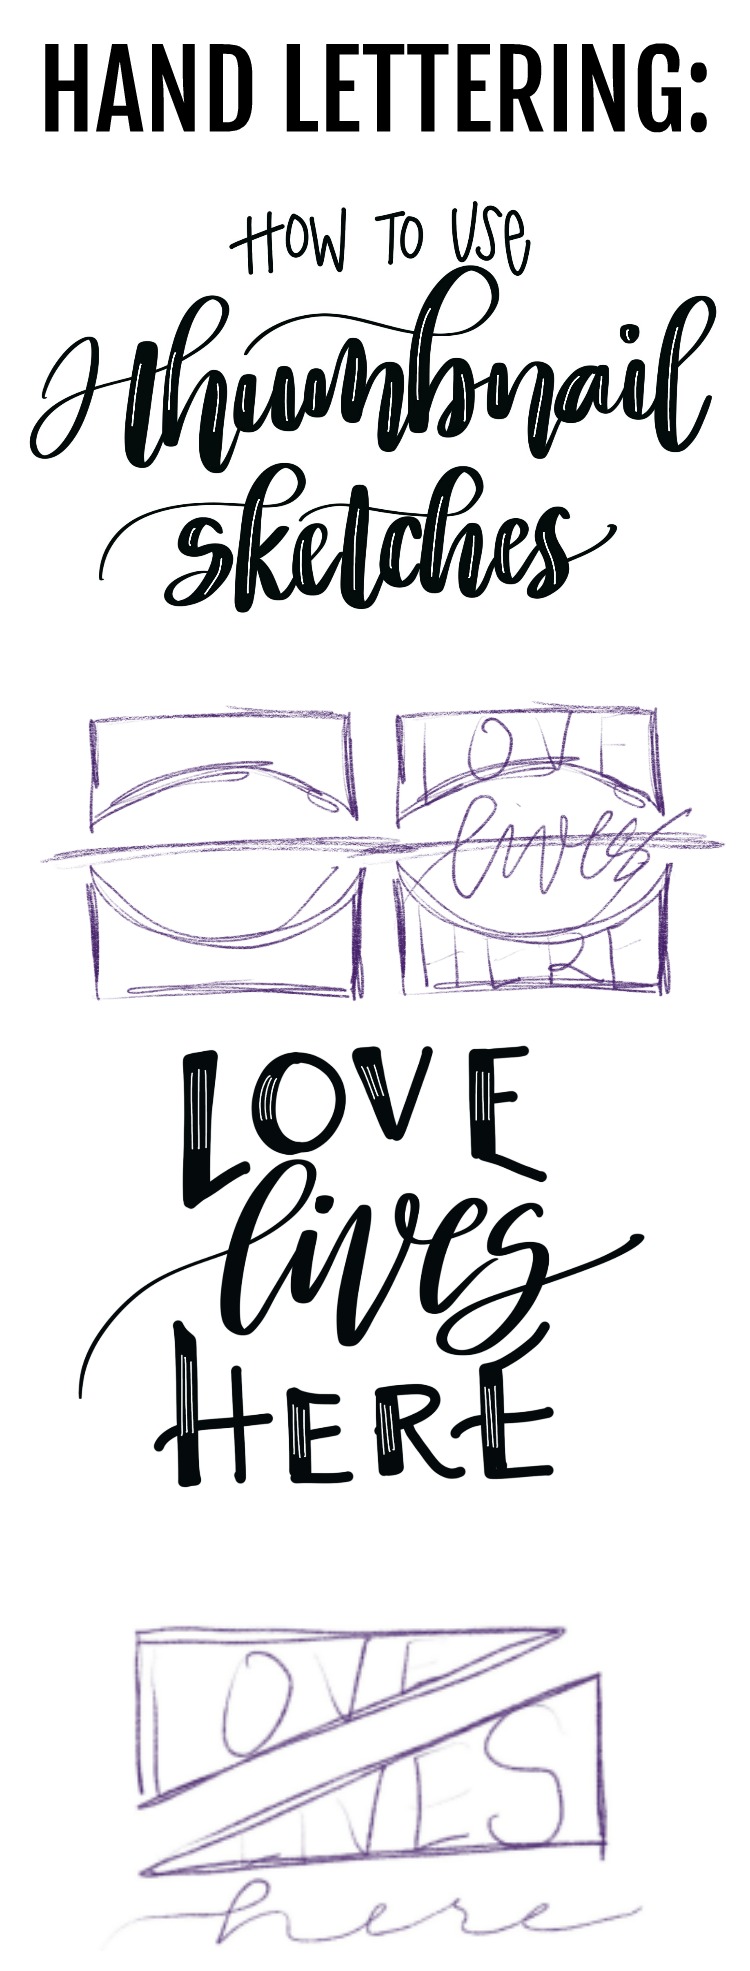
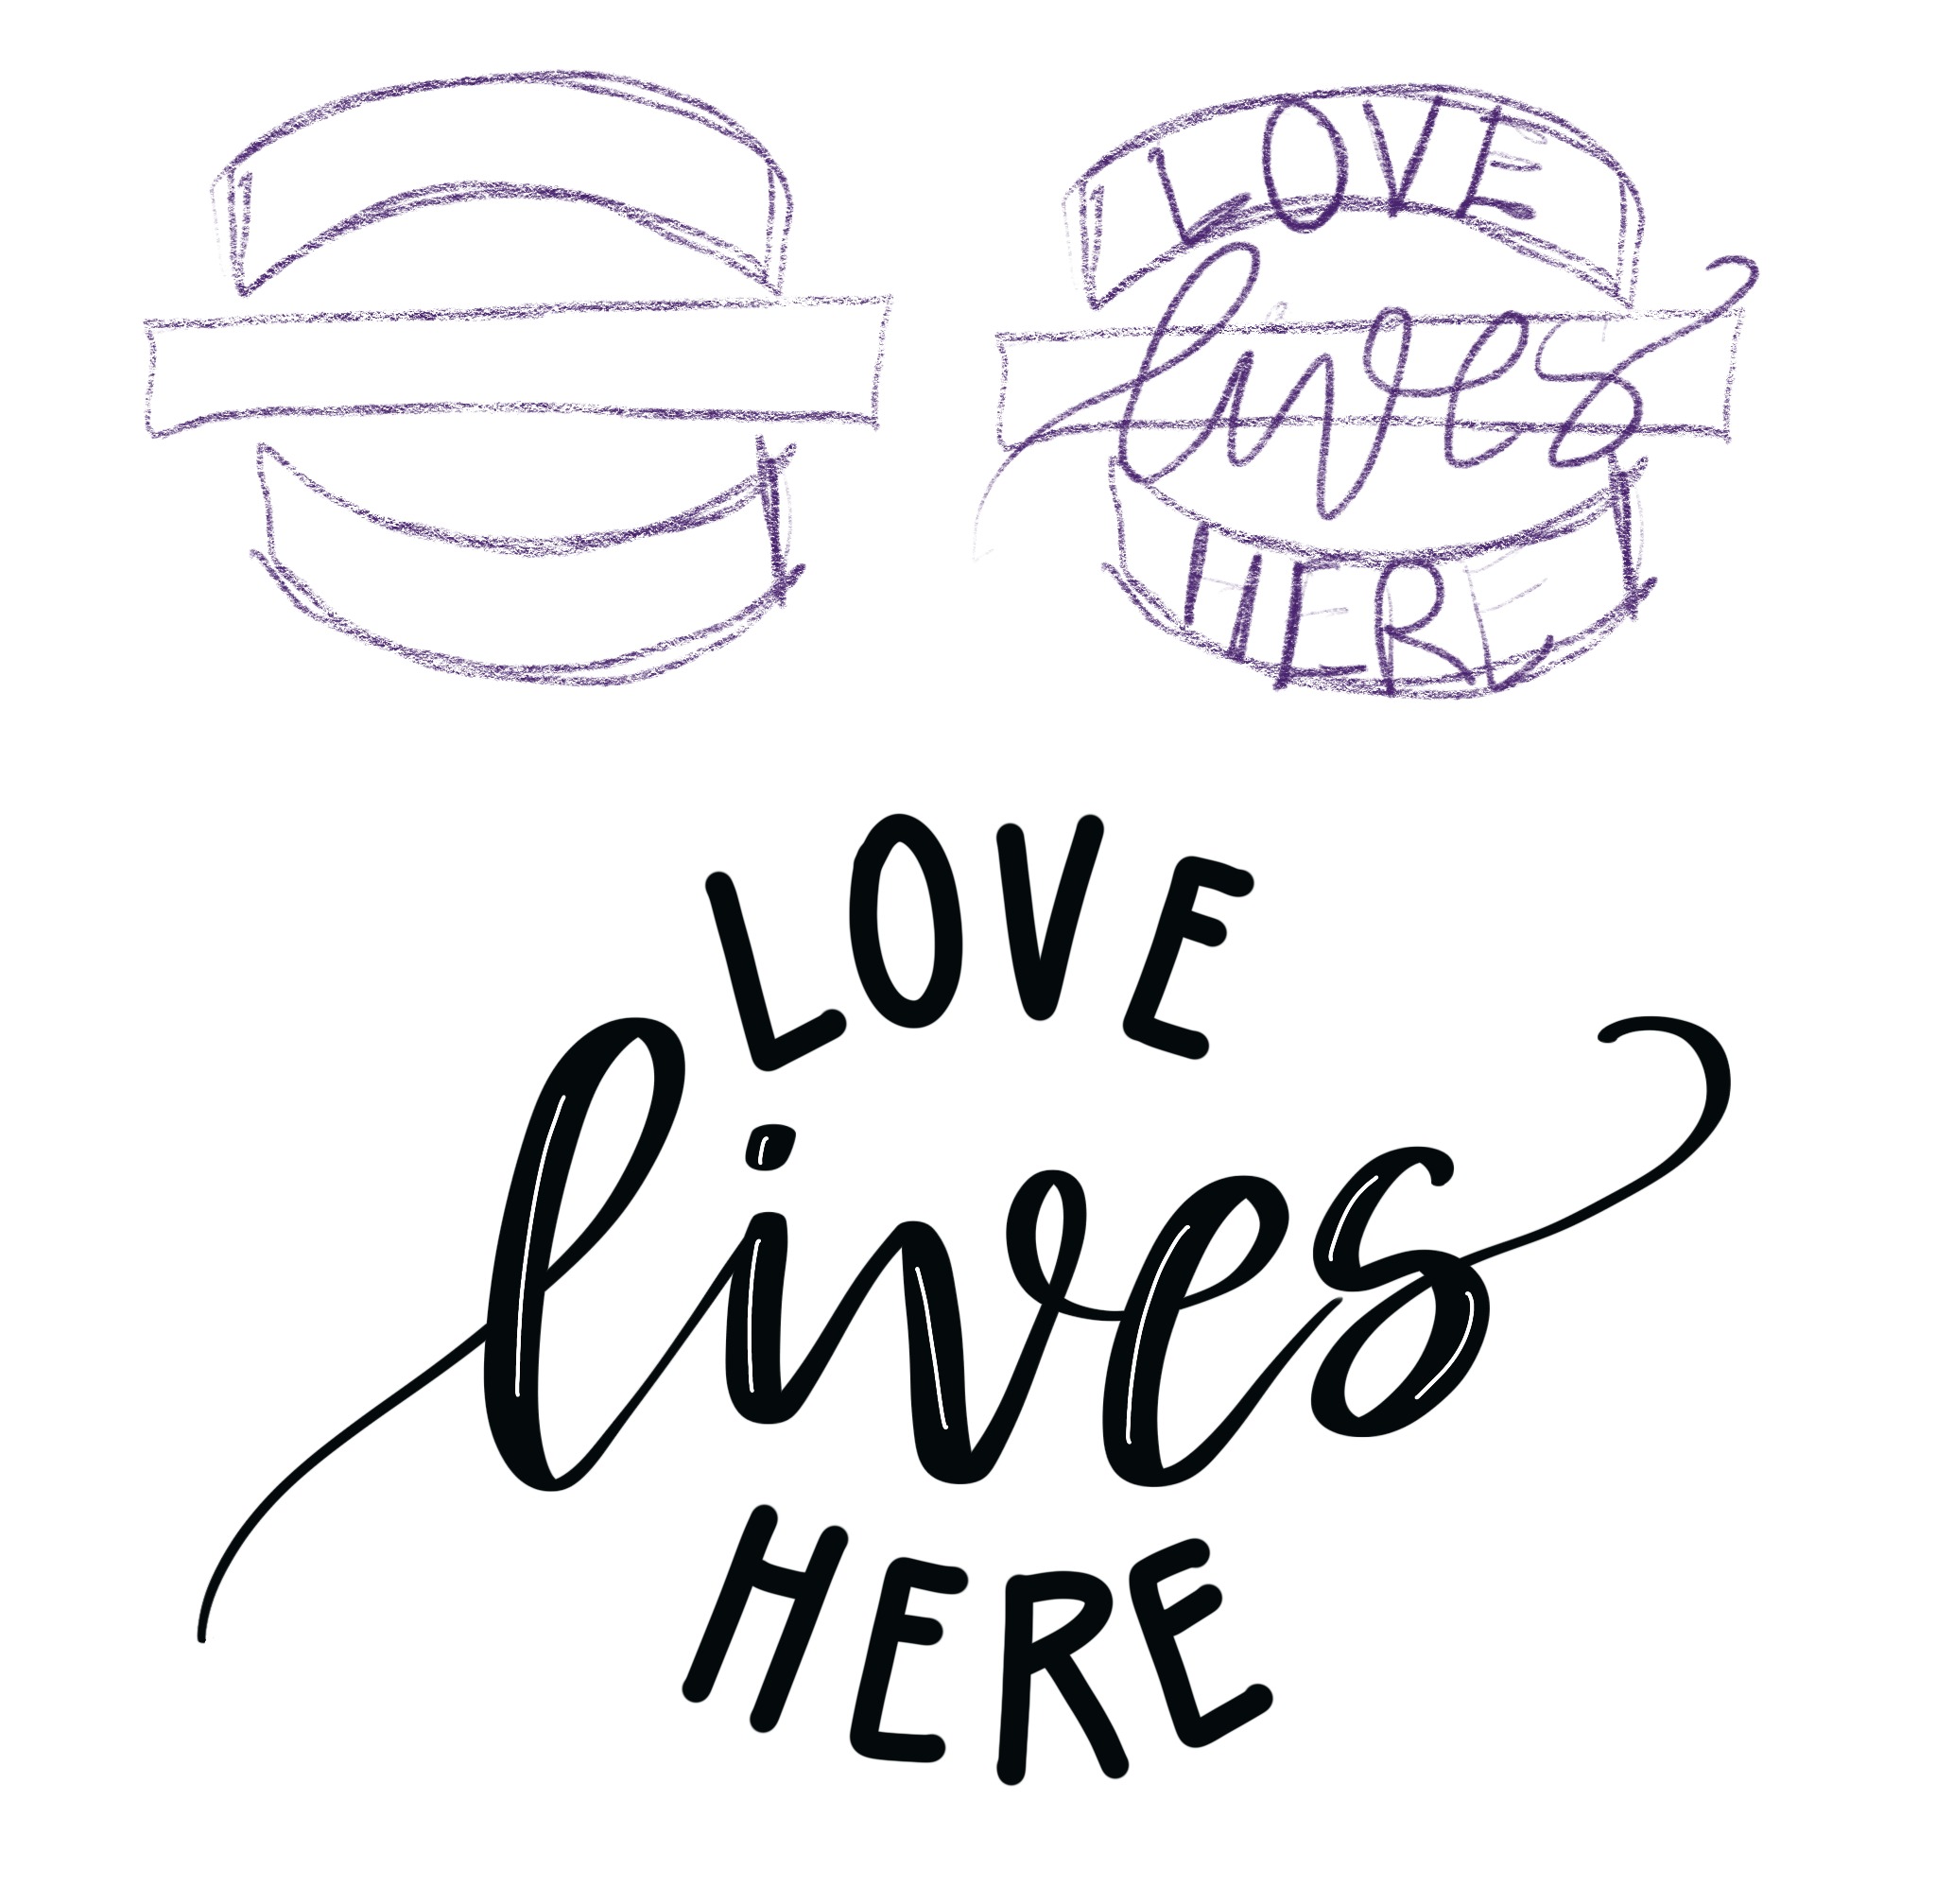
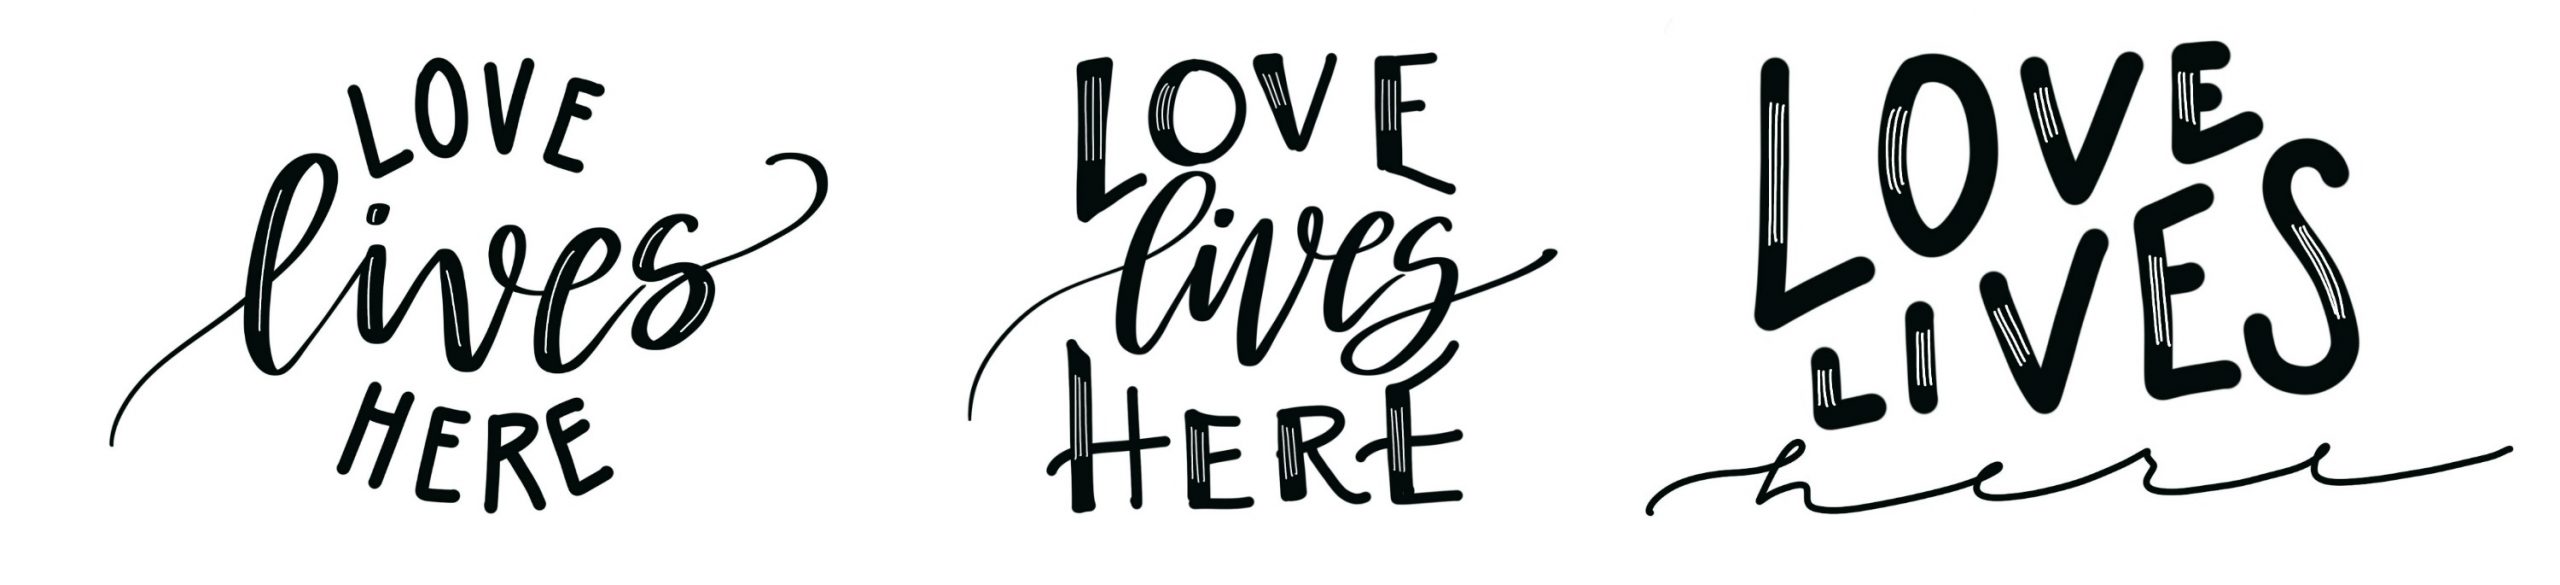
Let’s take a look at how plugging a very simple phrase into these different design shapes can totally transform how it looks! We’ll be using the statement, “love lives here.” First, we’re going to put the first and last words inside arches, with the center word in the middle.
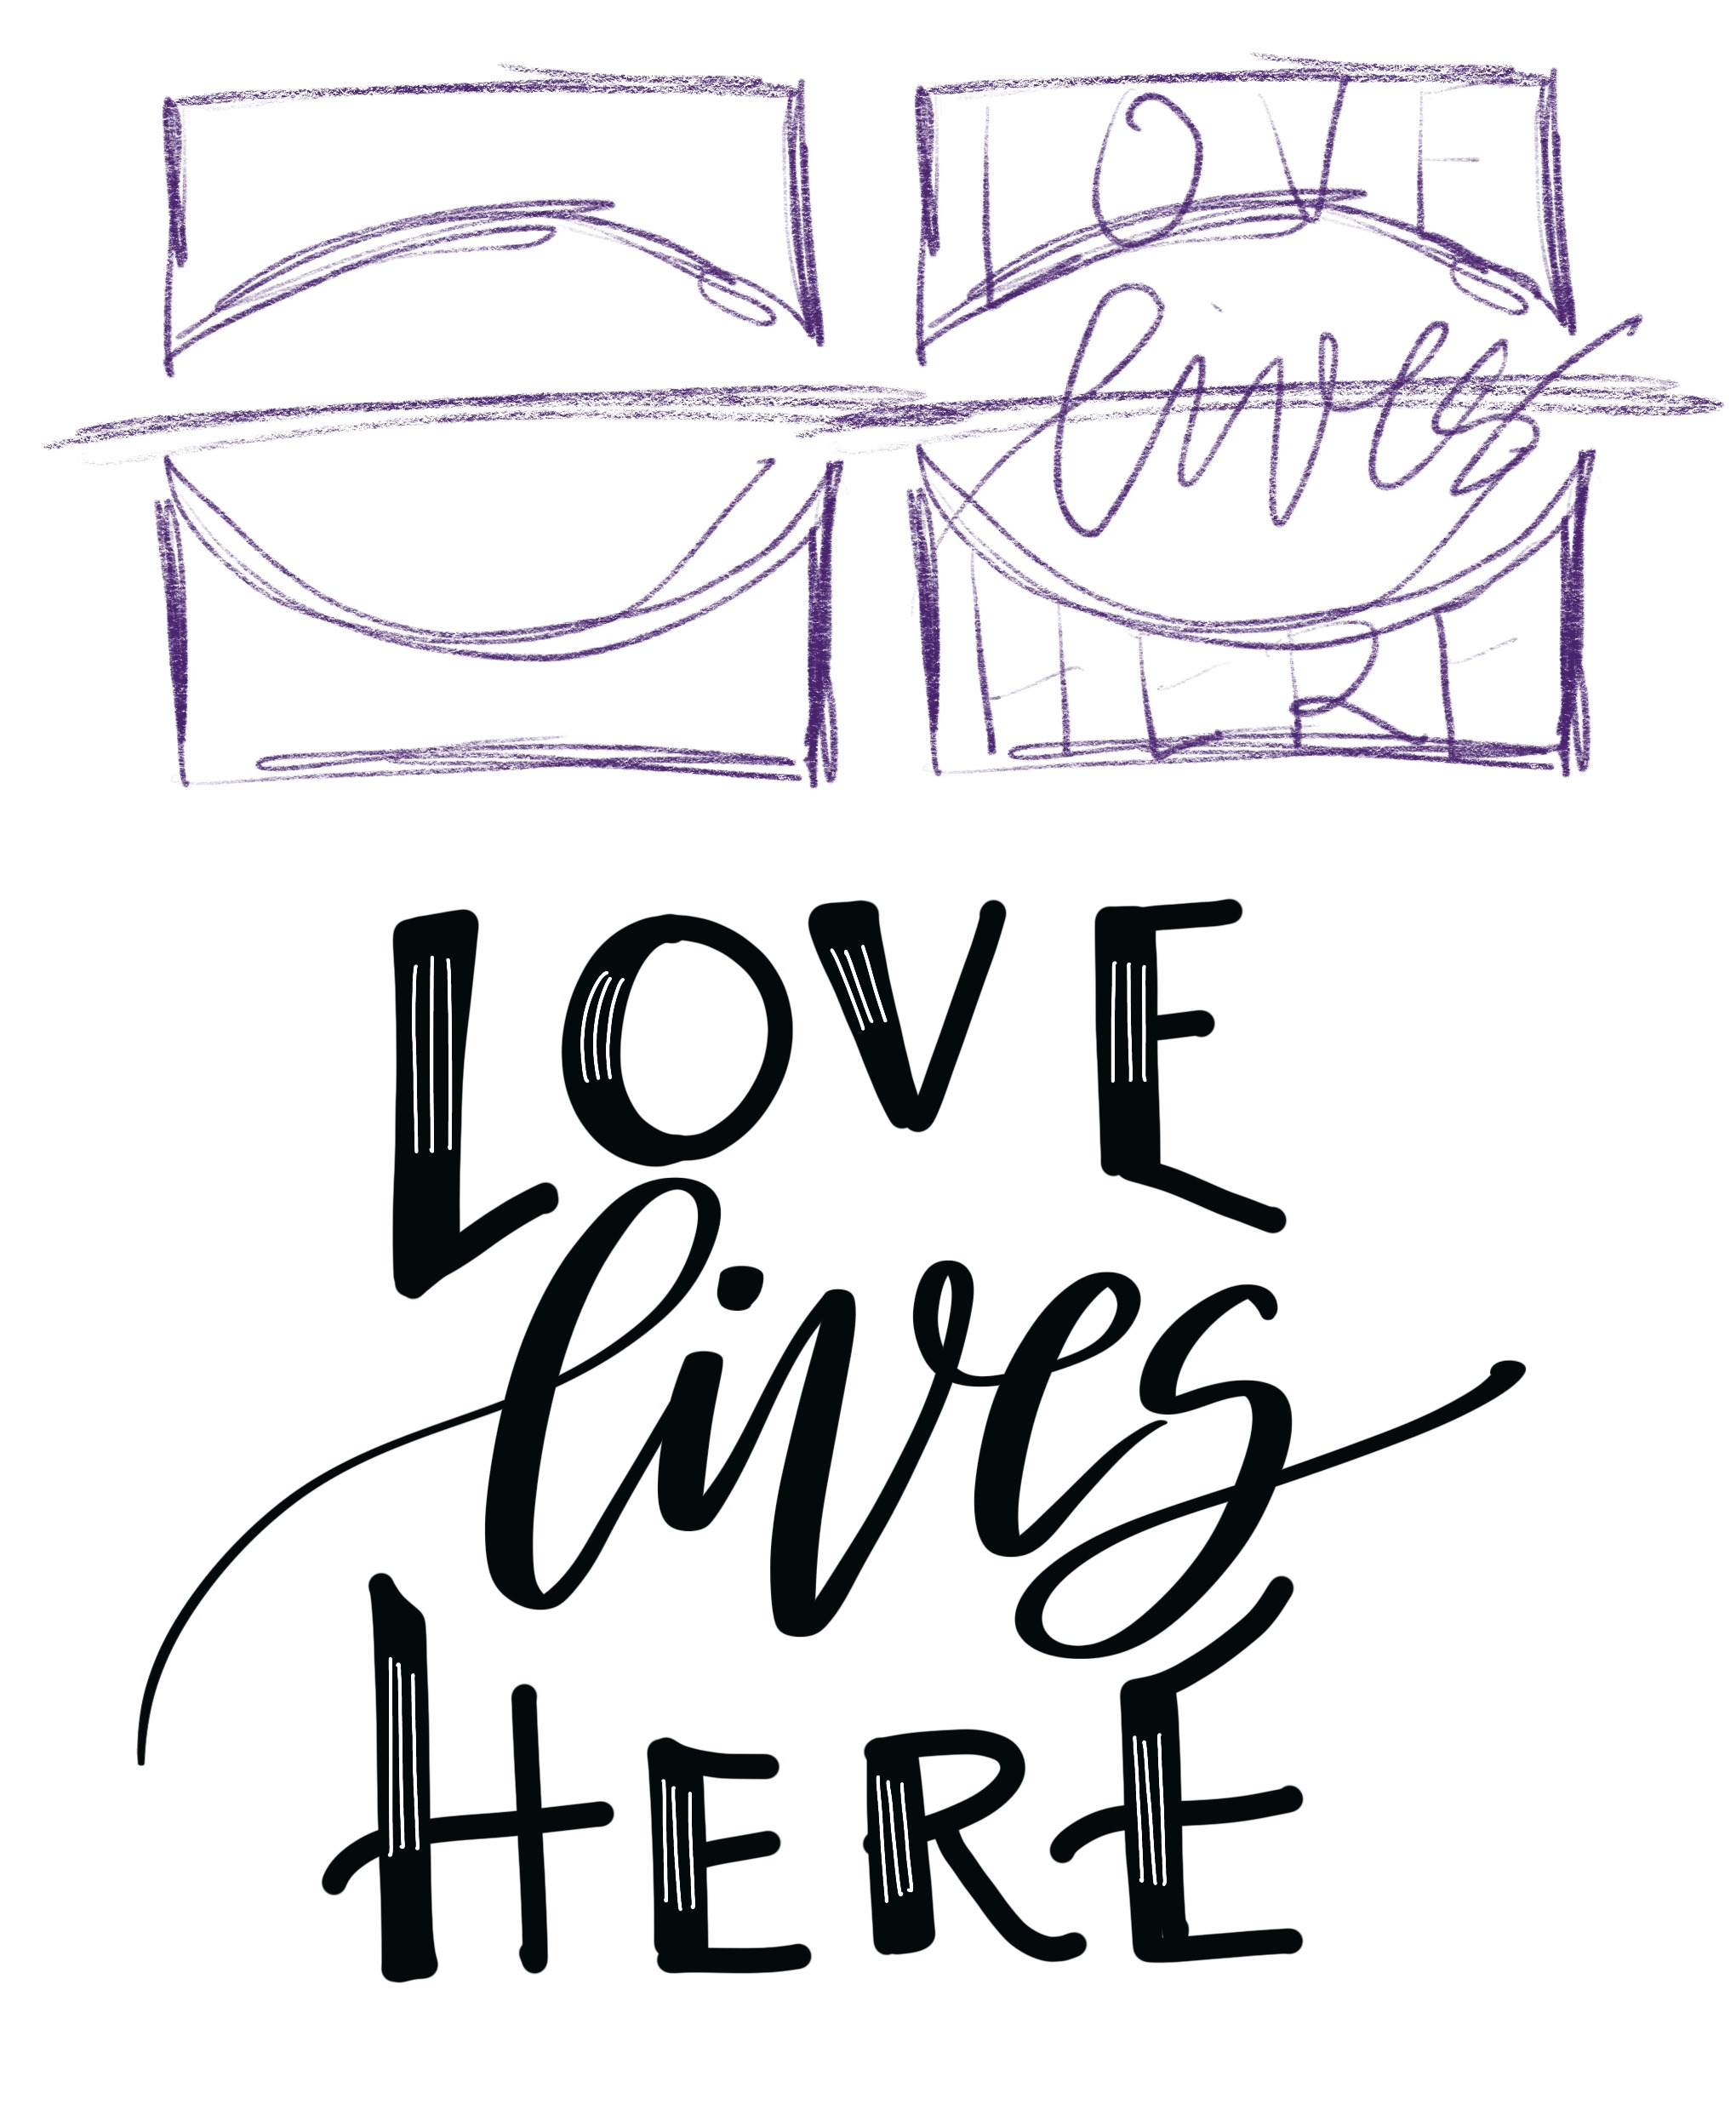
Now, let’s look at what happens when we swap out the arches and replace them with a bridge and a valley.
Finally, here’s our phrase when we put “love” and “lives” inside of triangles and finish off the design by writing “here” in elongated script across the bottom of the design.
The same phrase takes on three completely different looks, just because we changed the shape of our design. Which one is your favorite? Try recreating these three designs on your own, then choose another short phrase and plug it into these thumbnail sketches to see what happens!
I hope this gives you some inspiration for using thumbnail sketches to help design lettering layouts you love! In another post, we’ll explore more of the shapes you can use in a thumbnail grid, but for now, these are a great place to start. Be sure to check out my other lettering tutorials and lettering project posts, and don’t forget to pin this one for later!