Project Life: LC’s First School Year
How many of you love preserving photos and memories? You may remember that a few months ago I shared a scrapbooking system I’ve become totally obsessed with called Project Life. It’s designed to be a simple, non-messy, and attractive way to document, well, life! The kit and pages I shared with you are designed to document an entire year, with each week being a two page spread. But Project Life isn’t limited to being used in just that way; you can also use it to hold memories of a special occasion like a wedding, a vacation, or anything else meaningful to you. I decided that in addition to my weekly album, I wanted to create a special album that contained nothing but Little Crafter’s first year of school!
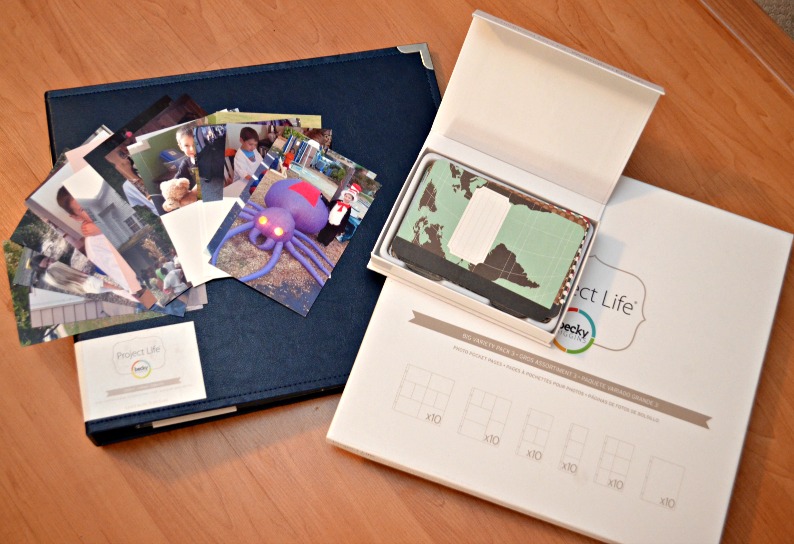
Once I decided I wanted to tackle this project, I did what any blogger with a halfway decent page rank would do. I contacted the wonderful folks at Project Life and begged and pleaded with them to send me what I needed. I told them my idea, and they were generous enough to provide me with an album, a variety pack of pages, and the super-adorable Wellington Edition mini-kit, which is designed just for school! So, I suppose this technically a sponsored post, but the reality is that I bought all my initial supplies for the other album myself and blogged about it then too, just because I loved it. Honestly. This is such an easy and fun way to preserve photos plus written memories.
Anyway, I’ve gotten a number of requests from people asking to see how I put my pages together, so I thought I’d give you a little mini-tutorial on how One Artsy Mama makes a Project Life spread. There’s certainly no “right” or “wrong” way to do it, but this is my system.
First, I printed out all my photos. I try to be aware when I’m doing it that I need to print a mixture of 4×6 and 3×4 photos, as well as thinking about which direction they need to go based on the pages I have.
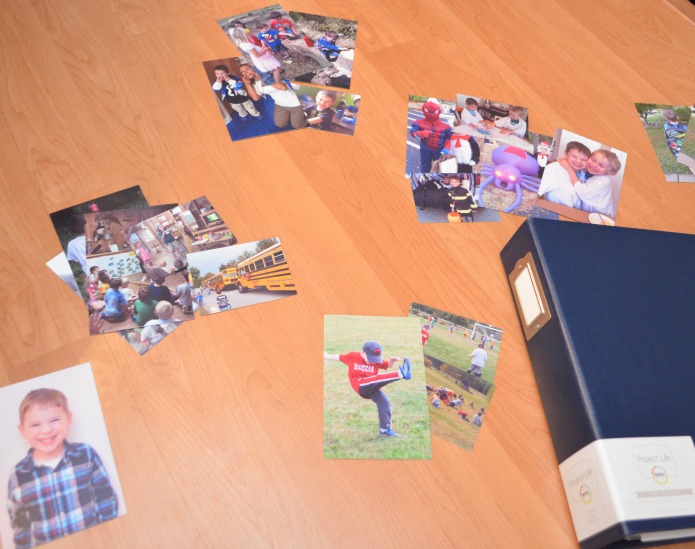
Then, I sorted my photos into piles that went together. Since this book isn’t a weekly progression, I grouped them into pages by events, like LC’s first day, first field trip, Trunk or Treat, Soccer Clinic, and general photos.
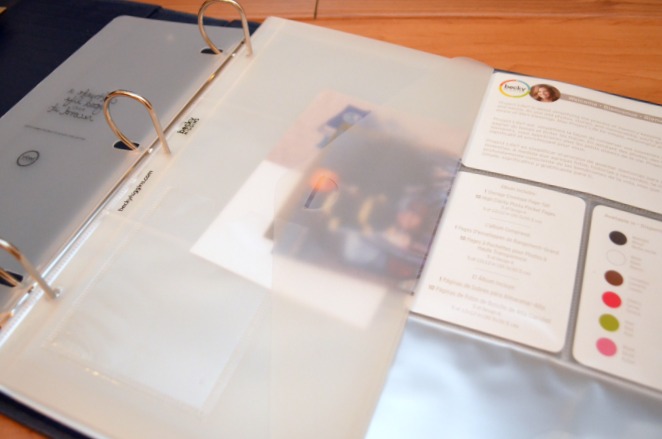
I had a few photos left over that didn’t fit into the pages, so I stored them in the handy little plastic envelope inside the album. That way I’ll have them for later instead of losing them between now and whenever I make the next page.
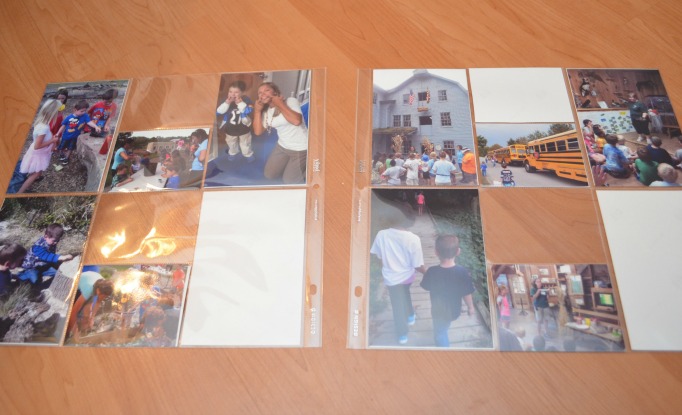
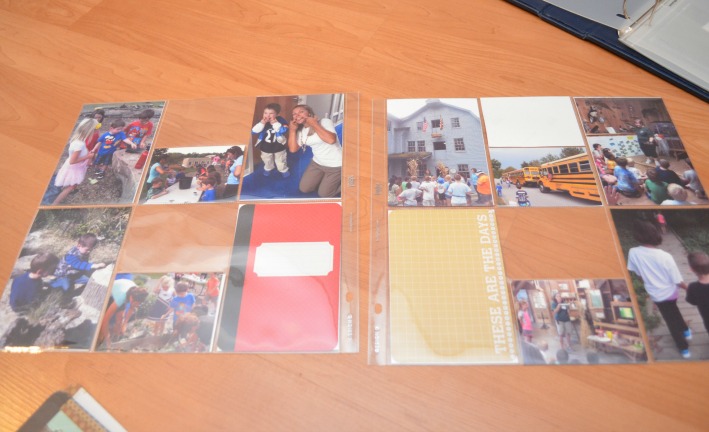
My next step is always to space out the photos. I personally like to make sure I leave room for at least one journaling card on each page, if not more. I slide the photos in place to see what spots I need to fill with the mini-kit.
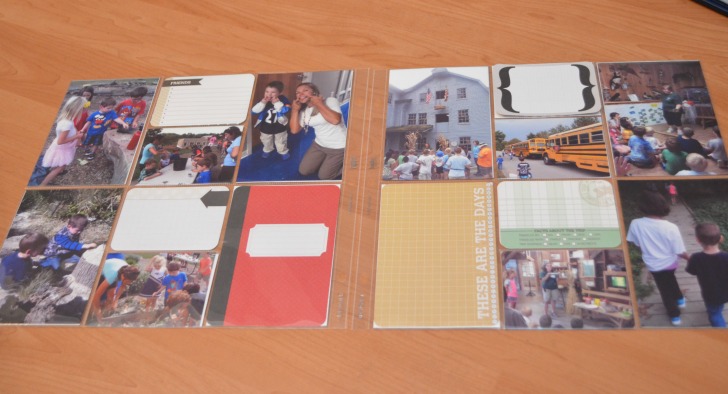
For this two page spread, I needed two 4×6 cards and four 3×4 cards. I like to start with the large ones, choosing something that matches the color scheme and feel of the page. I lay the cards on top or slide them in to see how they look.
Then, I fill in the small spaces with 3×4 cards. The Wellington Edition mini kit has *the* most adorable school-themed ones to choose from…places to write down the child’s favorite subject, favorite after-school activities, favorite memories, and more. Plus, there are interactive cards where the child is supposed to draw or write something in their own handwriting! So fun!
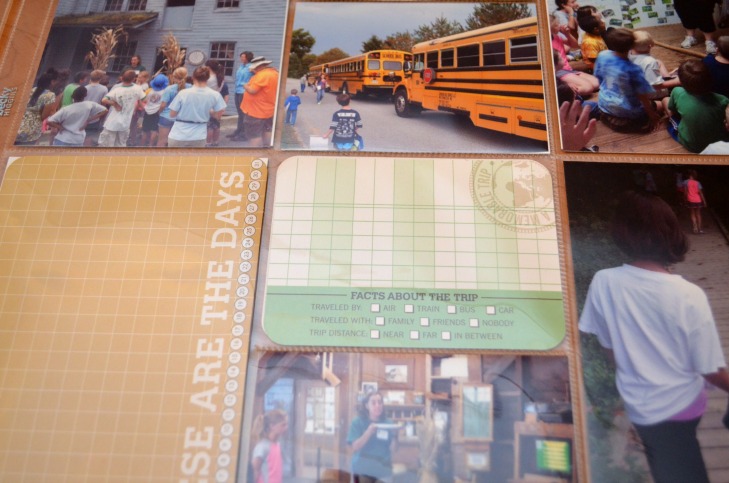
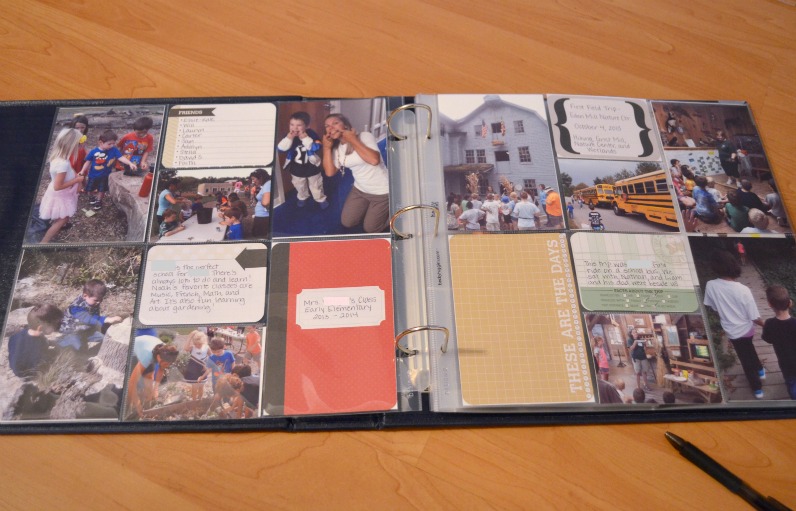
Look at this cute little one for a trip…you check off how you traveled, who you traveled with, and how far away it was! Perfect for LC’s first field trip!
Finally, I did my journaling, recording everything we will want to make sure we remember and telling the story behind the photos.
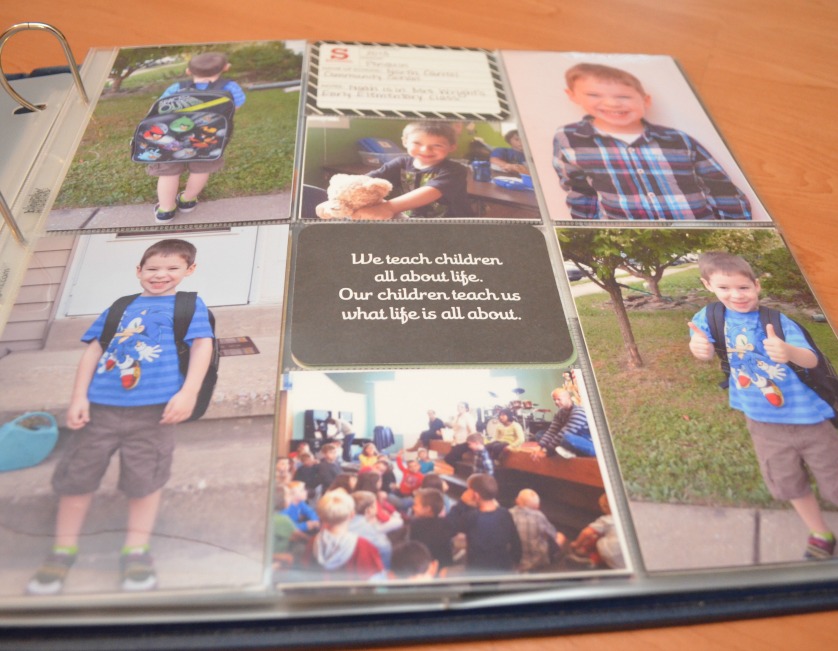
Here’s a look at the four pages I completed so far. This one is the album introduction. I used three photos from his first day of school, plus a photo from school picture day. The card at the top has information about his school name, mascot, and more. And how much do you love that quote?!
The next spread has some general photos of LC with his friends, playing at recess and working in the school’s garden, as well as photos documenting his first field trip to a Nature Center. I’m going to have him tell me about some of his memories and reactions to the field trip and write them down on the large tan card in the bottom left corner of that page.
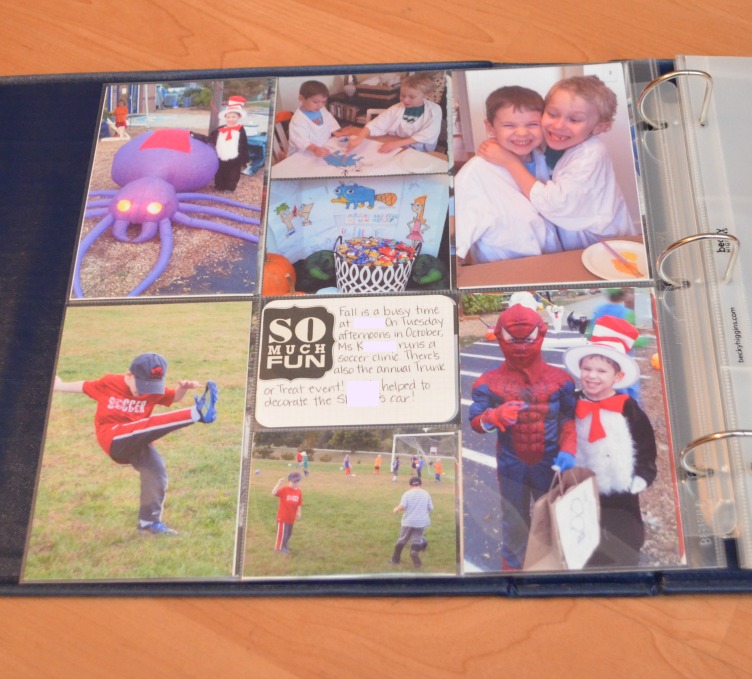
The final page I completed so far shows LC participating in soccer clinic and the school’s annual Trunk or Treat event. He and his friend, who likes to go by C3PO, had a playdate where they painted characters from Phineas and Ferb to decorate the S Family’s trunk for Trunk or Treating.
When I showed it to LC, he just grinned as he flipped through the pages. I think it made him feel extra special having an album just for his school year. And I know it’s going to be a real treasure to have those memories preserved as he grows older. I’m loving this use of the Project Life products! Now I have my album that keeps track of everything on a weekly{ish} basis, and this one just for school! Which kind of album {or both!} do you think you’d make?
Hugs & Glitter,




Love it!!!
I knew you would. 🙂
What a great idea…I know he will love it…such a wonderful way to capture all those memories…I love it…