Goodwill Challenge: Wooden Bowl

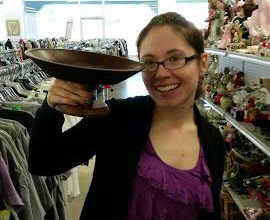
Hey, friends! If you’ve been reading the weekly e-newsletter {I sure hope you have!}, you already know that Erin and I decided it would be fun to give each other a monthly “Goodwill Challenge.” Basically, we go to one of our local Goodwill stores together and choose something that we don’t love in its current condition for the other person to redo into something fabulous! Here we are on our epic first Goodwill adventure…

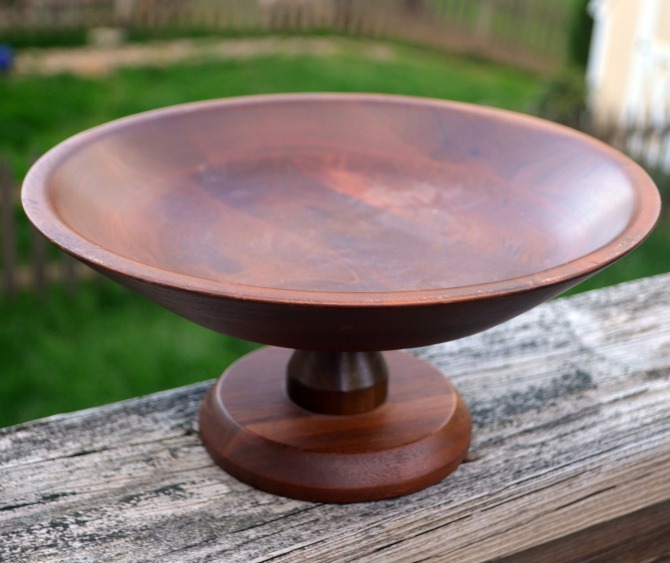
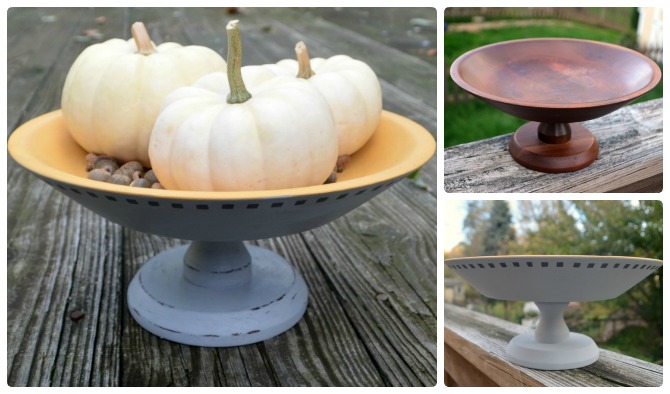
I ended up with this wooden bowl that cost a grand total of $3. It wasn’t terrible, it just wasn’t great either. But I knew it had potential.
I brought it home, cleaned it up, and then started to think about how I could turn it into an awesome centerpiece for my coffee table. You might remember that I recently gave my living room a “makeover” with a new couch and love seat as well as some chalk painted tables and other fun decor. My new color scheme is grey, turquoise, and gold, so I thought my bowl should be painted to coordinate. Here’s what I did with it.
Materials:
– yellow, light grey, and dark grey chalk paint
– FolkArt Home Décor Wax
– soft, lint free cloth
– paintbrush
– sand paper
– Martha Stewart adhesive stencils: Pretty Borders
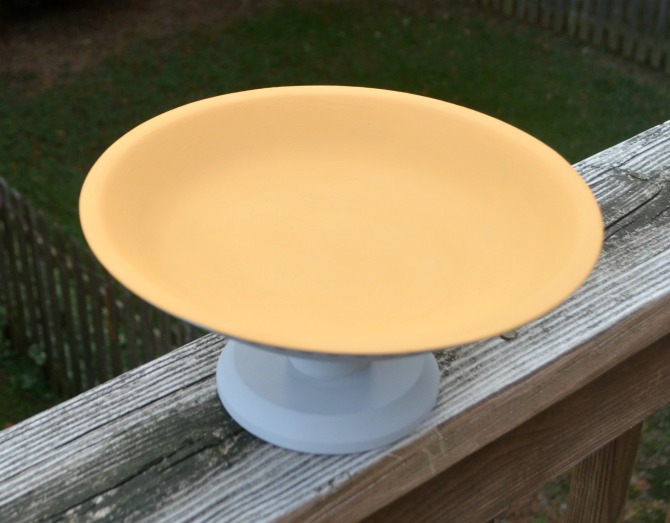
Step 1: First, I painted the outside of the bowl with two coats of light grey chalk paint, letting it dry thoroughly in between coats.
Step 2: I gave the inside of the bowl two coats of Vintage Mustard chalk paint. I think having a different color on the top/inside of the bowl makes it so much more interesting!
Step 3: I wanted to make the bowl not only coordinate with the colors of my living room, but also to tie in with the geometric design on our pillows. So, I grabbed a square adhesive stencil and added a border using a darker grey chalk paint. The trickiest part was getting the straight stencil to go around the curved bowl, but it worked and turned out well, I think! The stencil itself had a double row of squares, but I just painted in one of them.
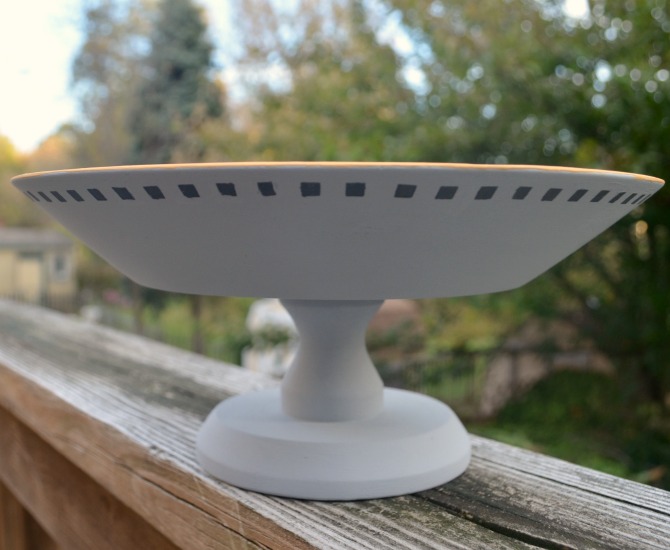
Step 4: I lightly distressed the base of the bowl using fine grit sandpaper. If you like the totally painted look, you can skip this step, or you can do as little or as much distressing as you prefer.
Step 5: To seal the paint and finish everything off, I gave the entire bowl a coat of wax. After an hour, I buffed it, then the project was complete!

I plan on changing out the filler seasonally to keep the bowl looking fresh and festive. For fall, I chose three small white pumpkins {I love the elegant look of them, don’t you?} and placed them in the bowl, then I collected some acorns and scattered them around in the remaining space.
What do you think of the transformation? I’m really excited about it, and I also love what Erin did with the tray we picked out for her to redo! Stop by tomorrow to see how she changed it from drab to fab! In the meantime, what do you think of our Goodwill challenge idea?


That turned out super cute!!! What a find! Thanks for sharing!!
Love the bowl! And the goodwill challenge idea. I might have to start this tradition as well! 🙂
Love how you decorated it! it turned out beautiful!! Love it!!