Craft Lightening: Recycled Balloon Car

When you have three little guys at home, it’s always a challenge to find a craft that not only can keep them engaged, but is also quick and you have most of the materials on hand! I (Erin) had some plastic berry containers laying around, and, wanting to re-purpose them, I decided to make balloon cars with my little men.
Recycled Balloon Car

Materials:
-Plastic Berry Basket
-Rubber Bands (8)
-4 Wooden Wheels (Appropriately-sized spools work too!)
-Balloons
-Wooden Dowels (2)
-Optional-Paint, Permanent Markers (to make car more personalized)
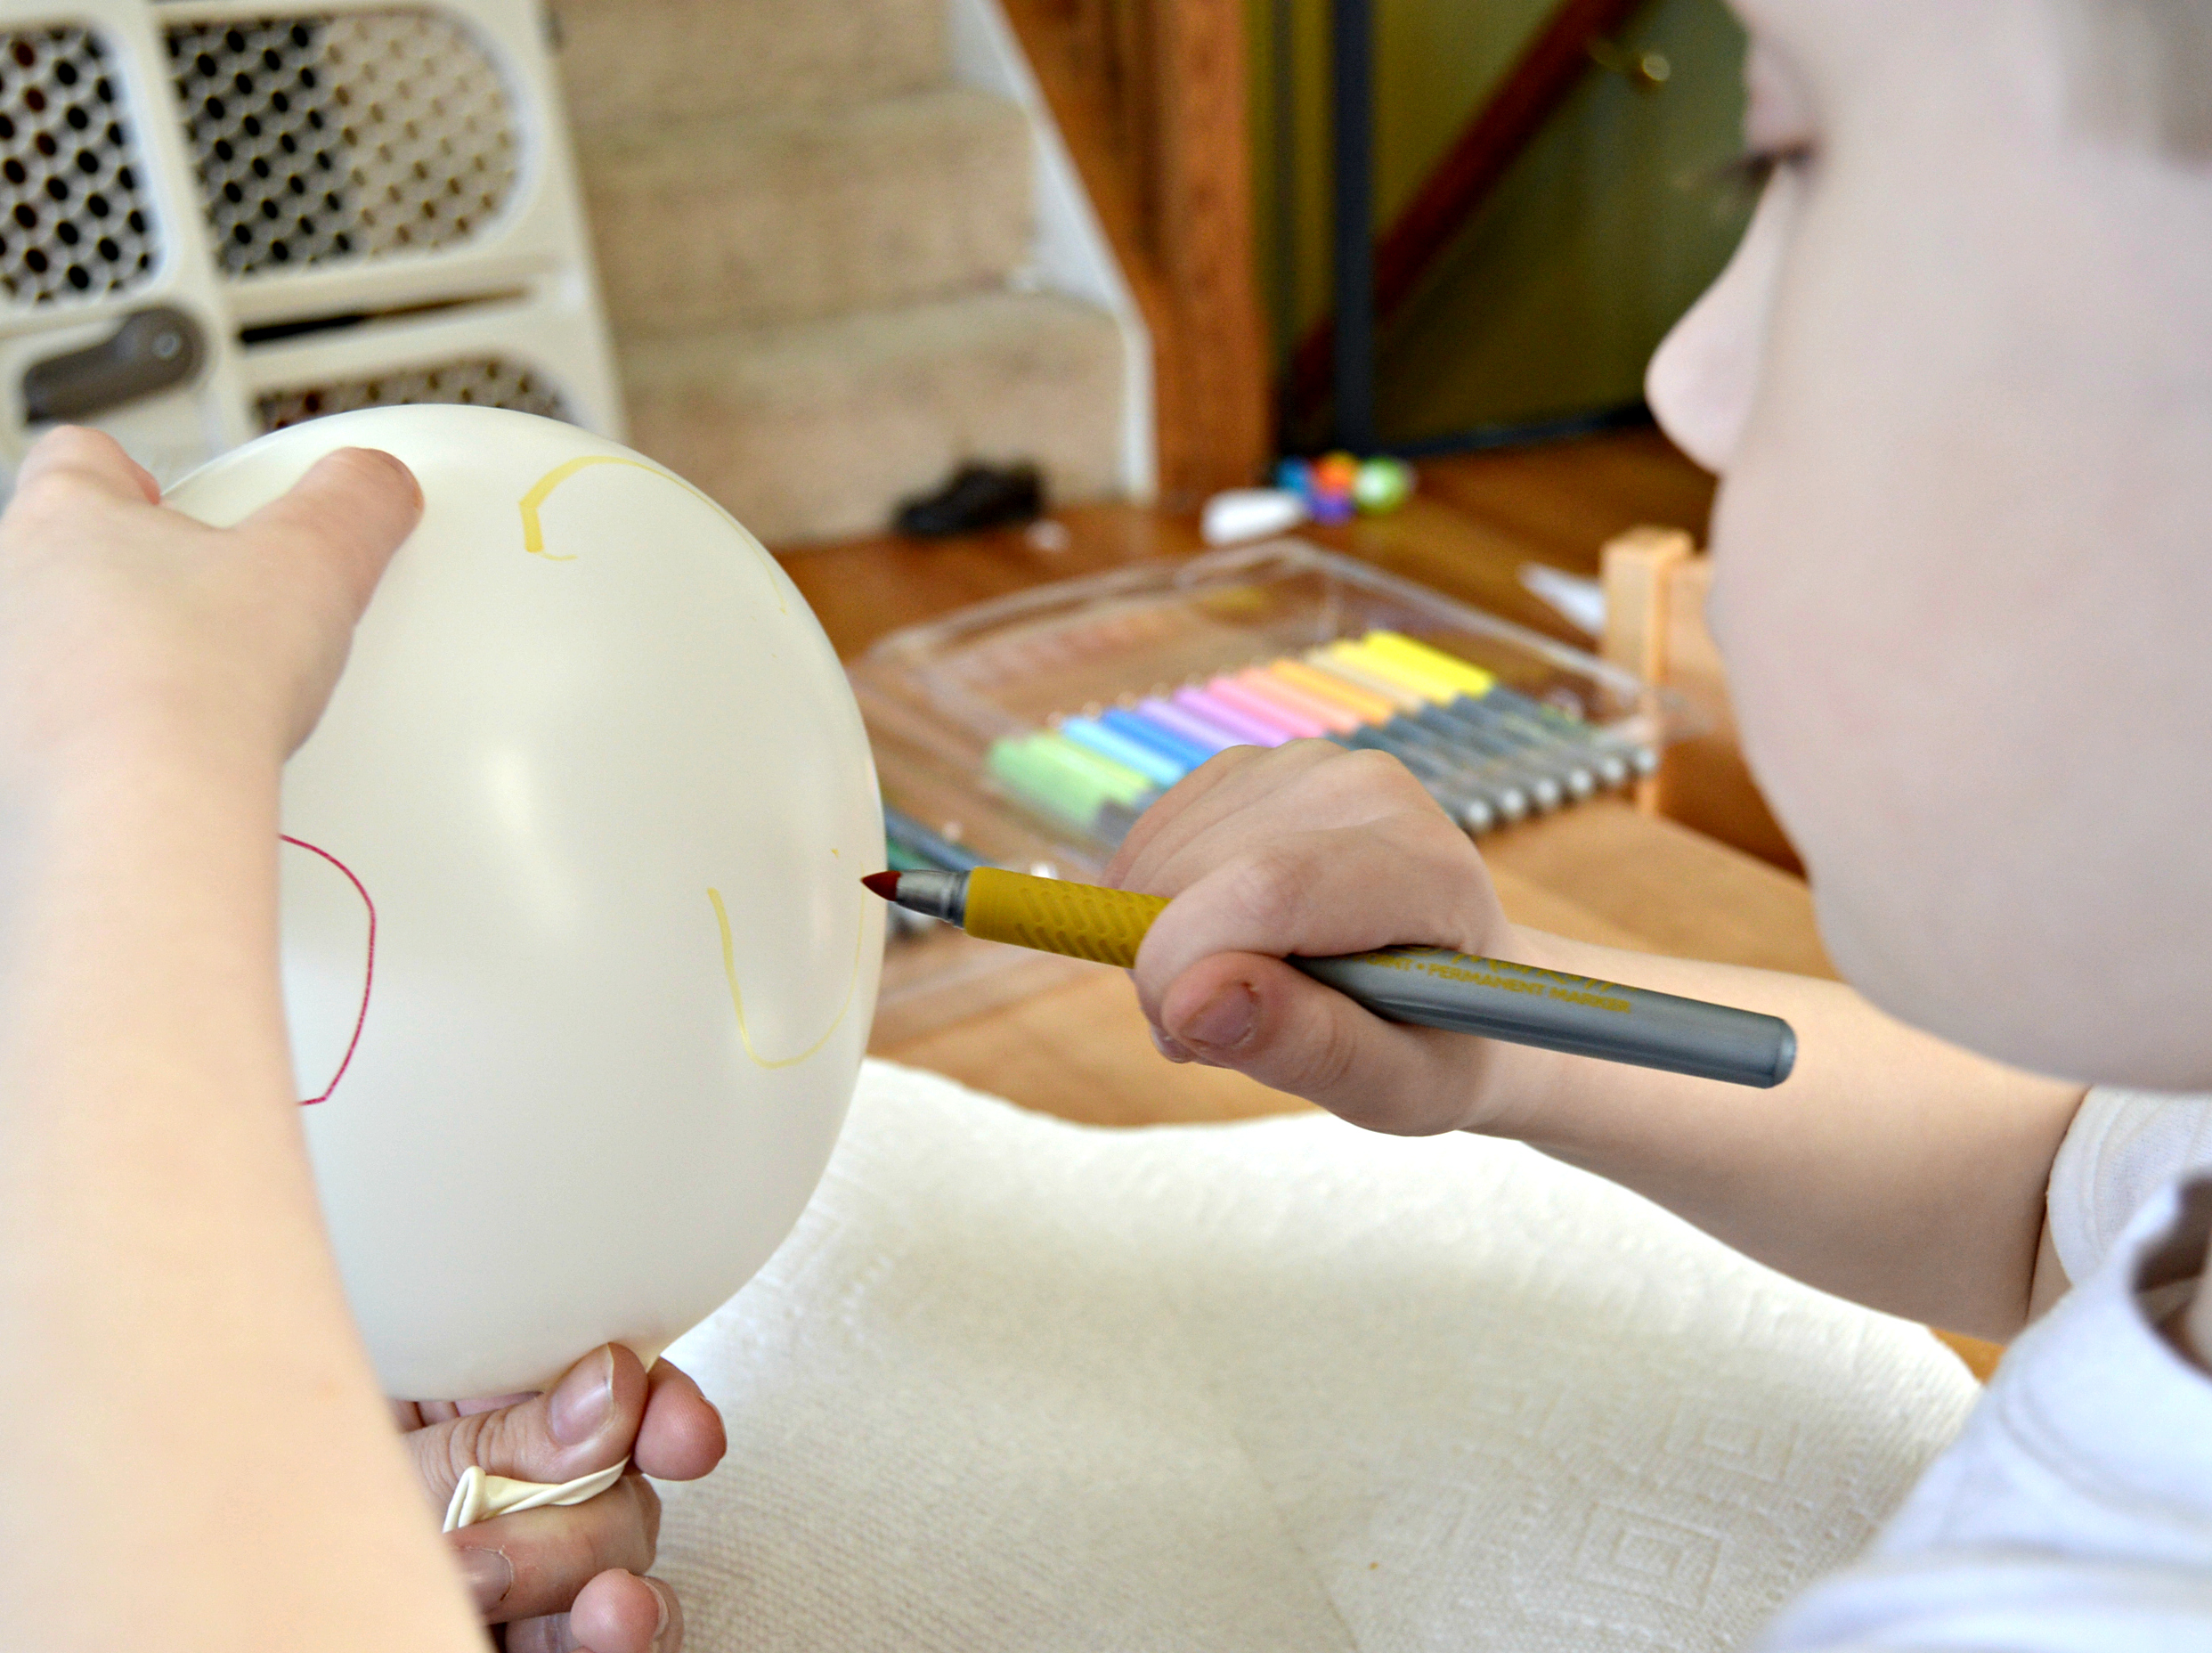
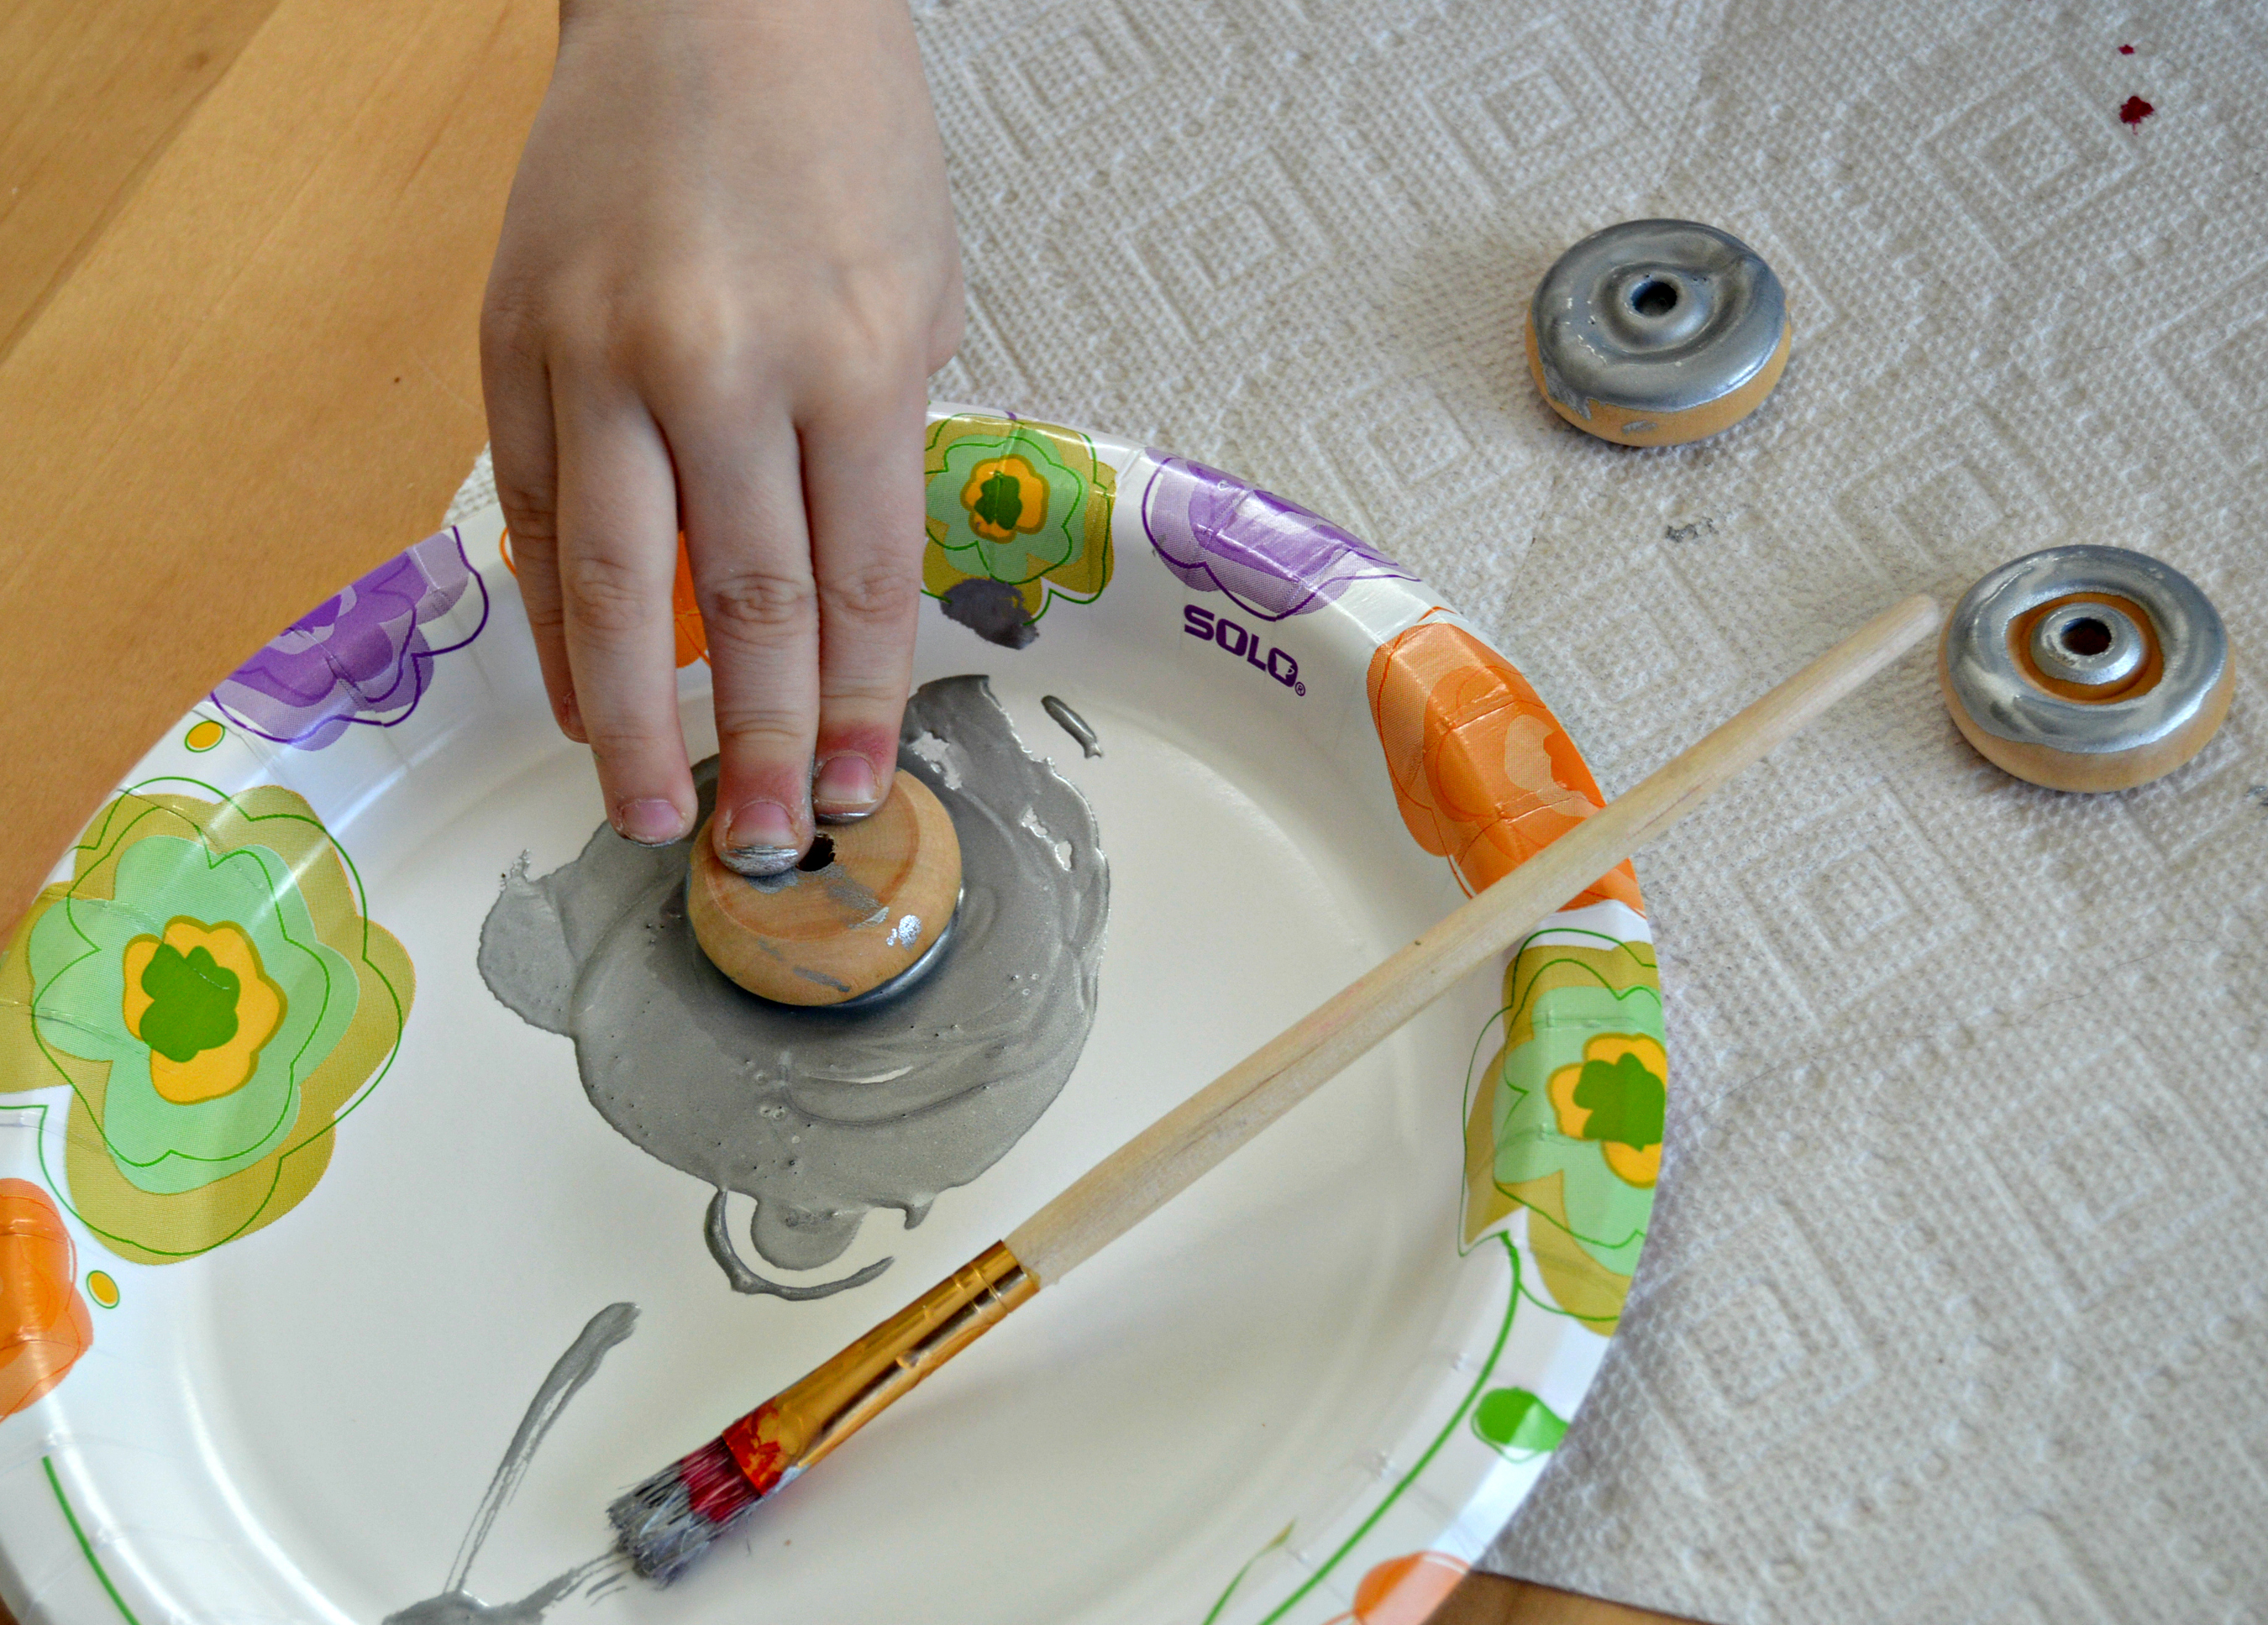
Step 1: Color balloon with permanent markers and paint wheels and dowels. This step is completely optional, but Prince C loved making his car more “personalized” and gave him the feeling of being in control of his car. If you do paint, do this step first, so everything can dry while you work on the rest of the car.
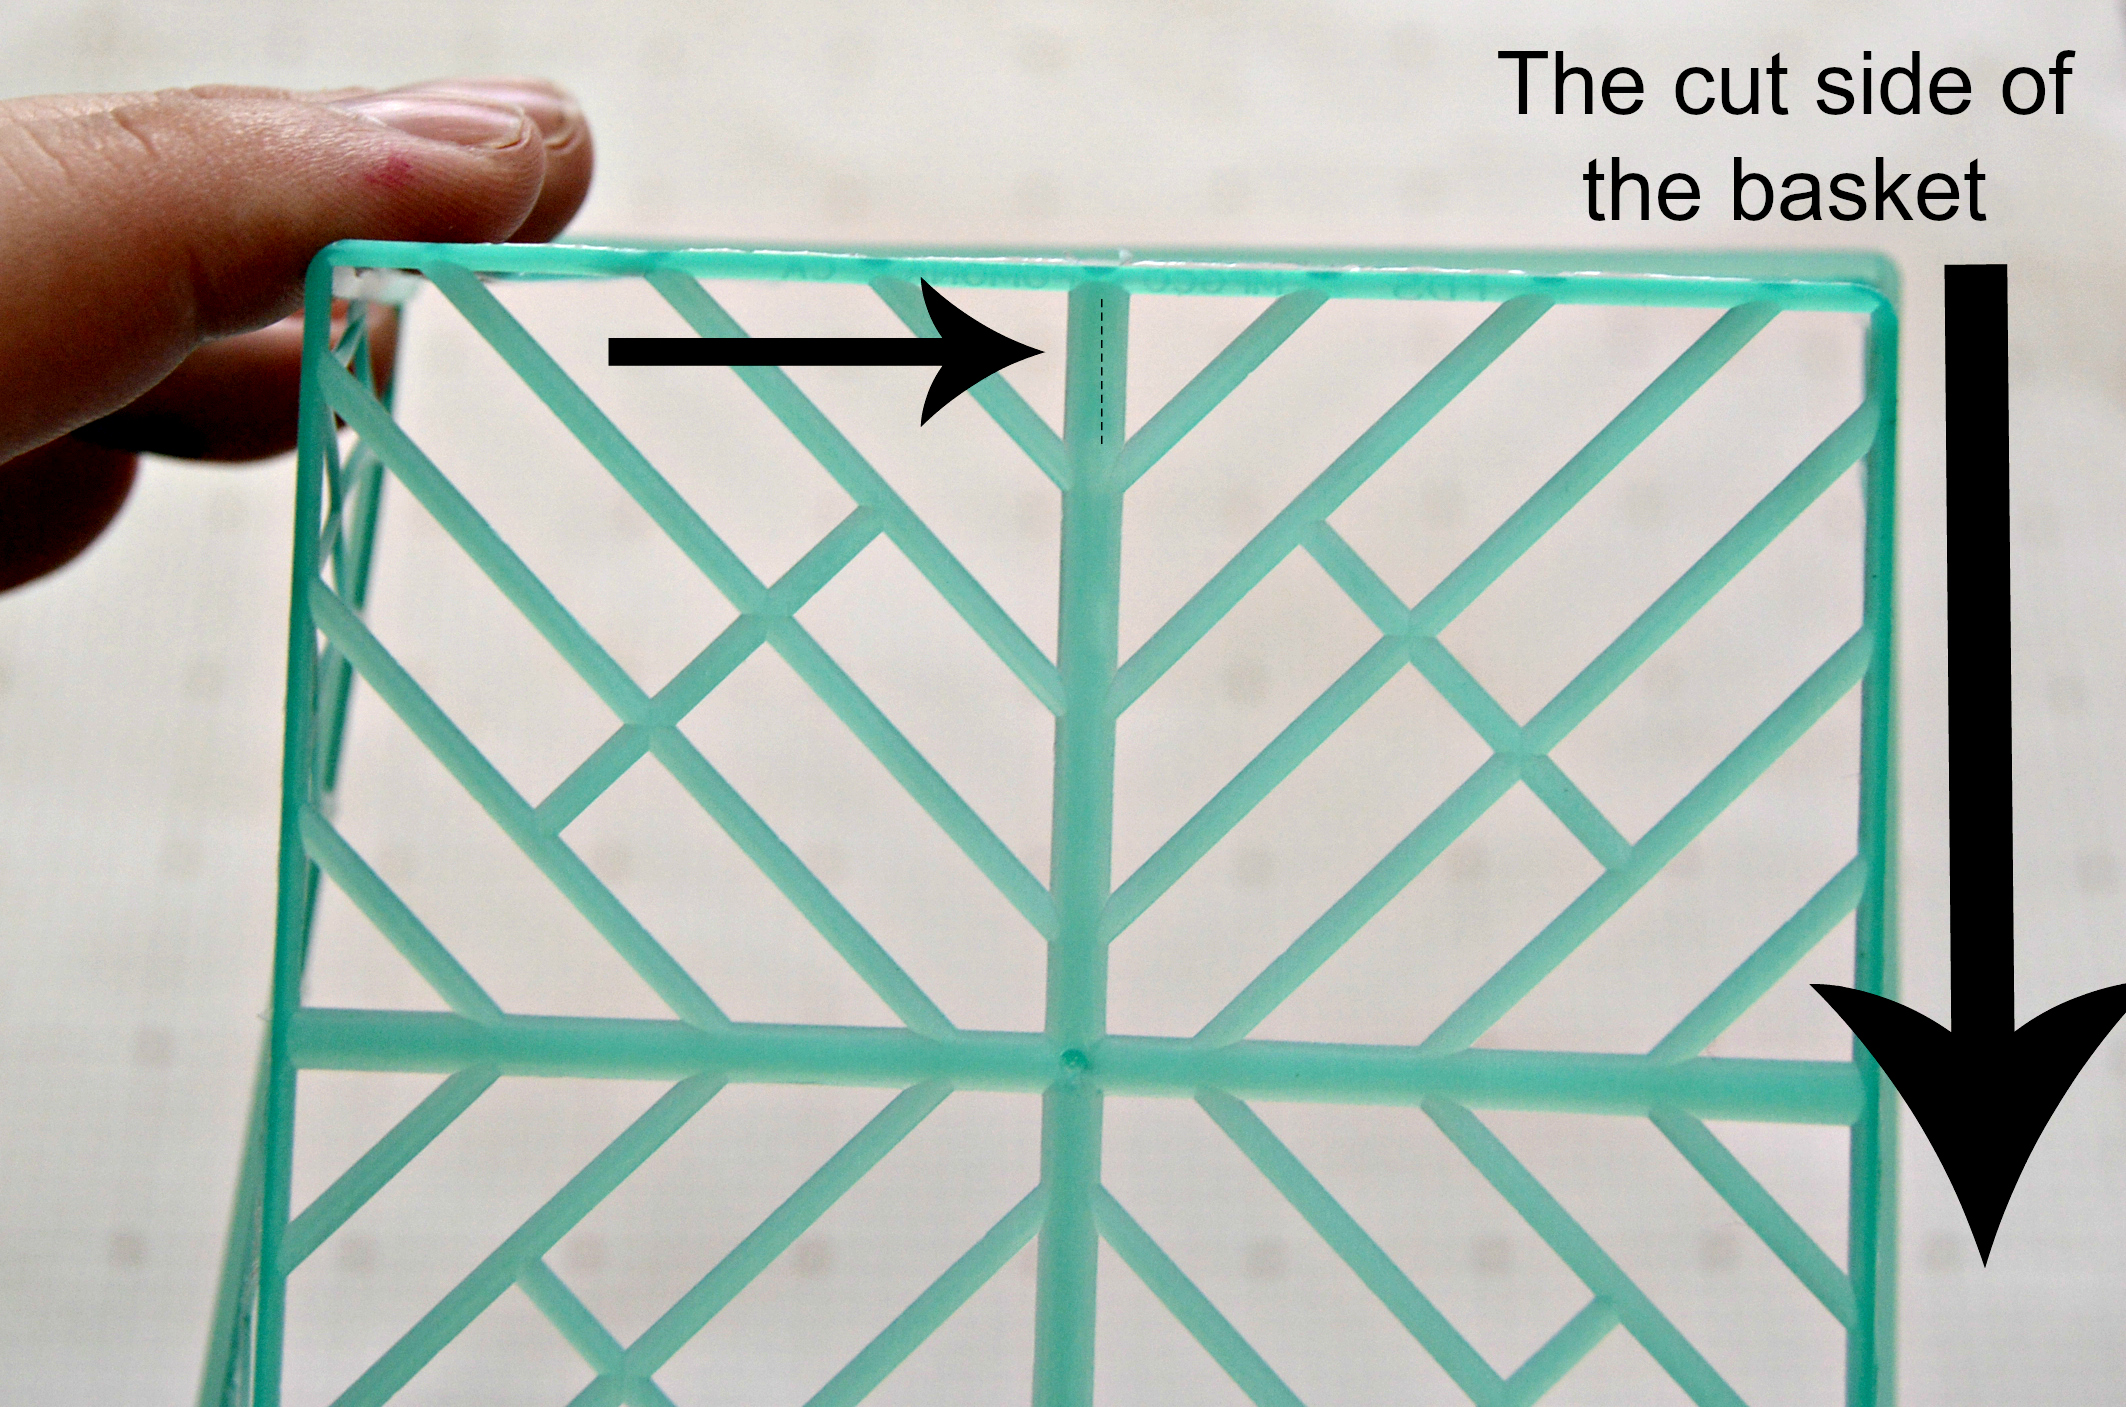
Step 2: Cut one side of your basket. This is so your balloon has room to inflate!
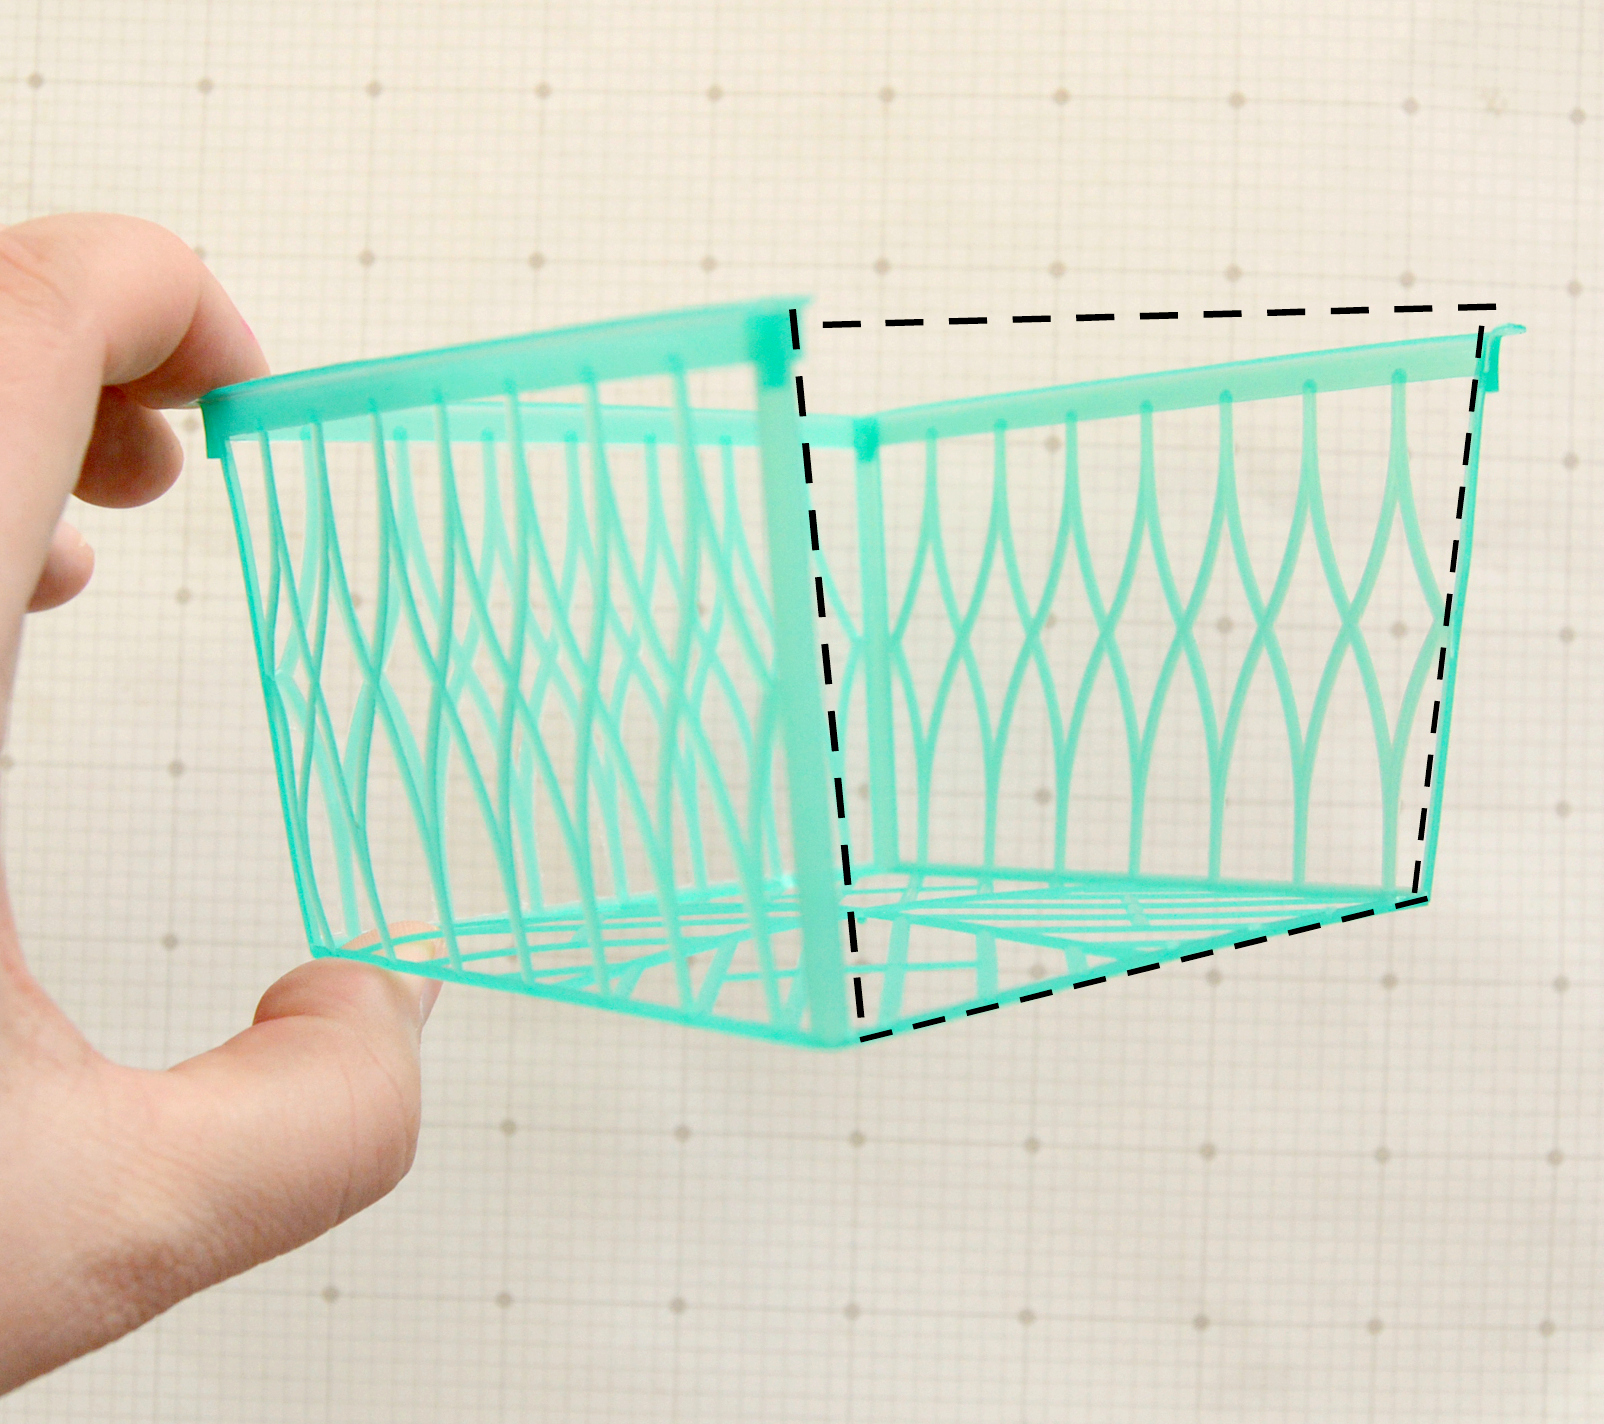
Step 3: Cut a notch for your balloon to go through (cut the dotted line piece) on the bottom of the basket. The notch placement is important because you want the air to come out at a steady place, as well as making sure the air comes out in the correct direction to make your car move forward. Ah, science!
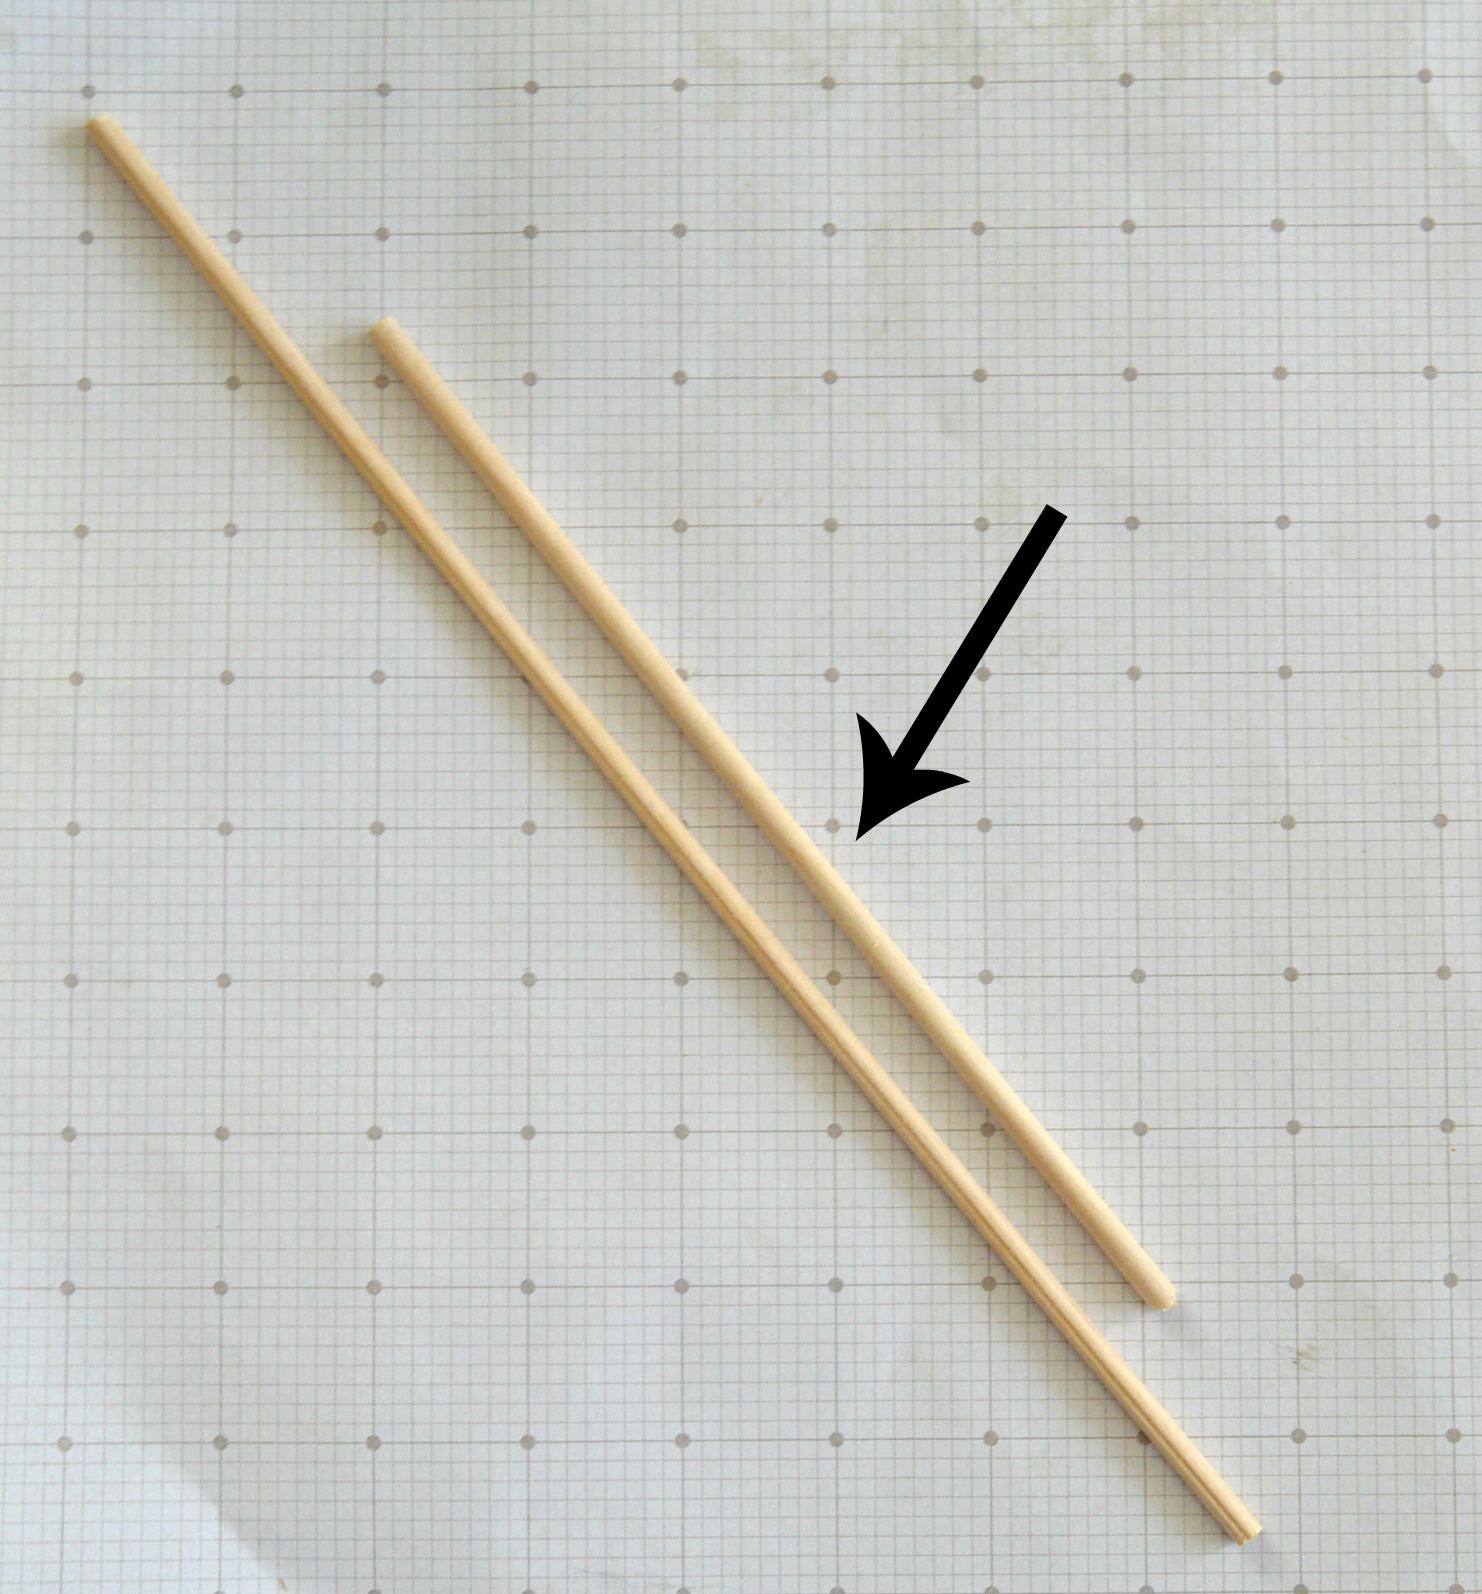
Step 4: Cut your dowels down to about 9 inches in length.
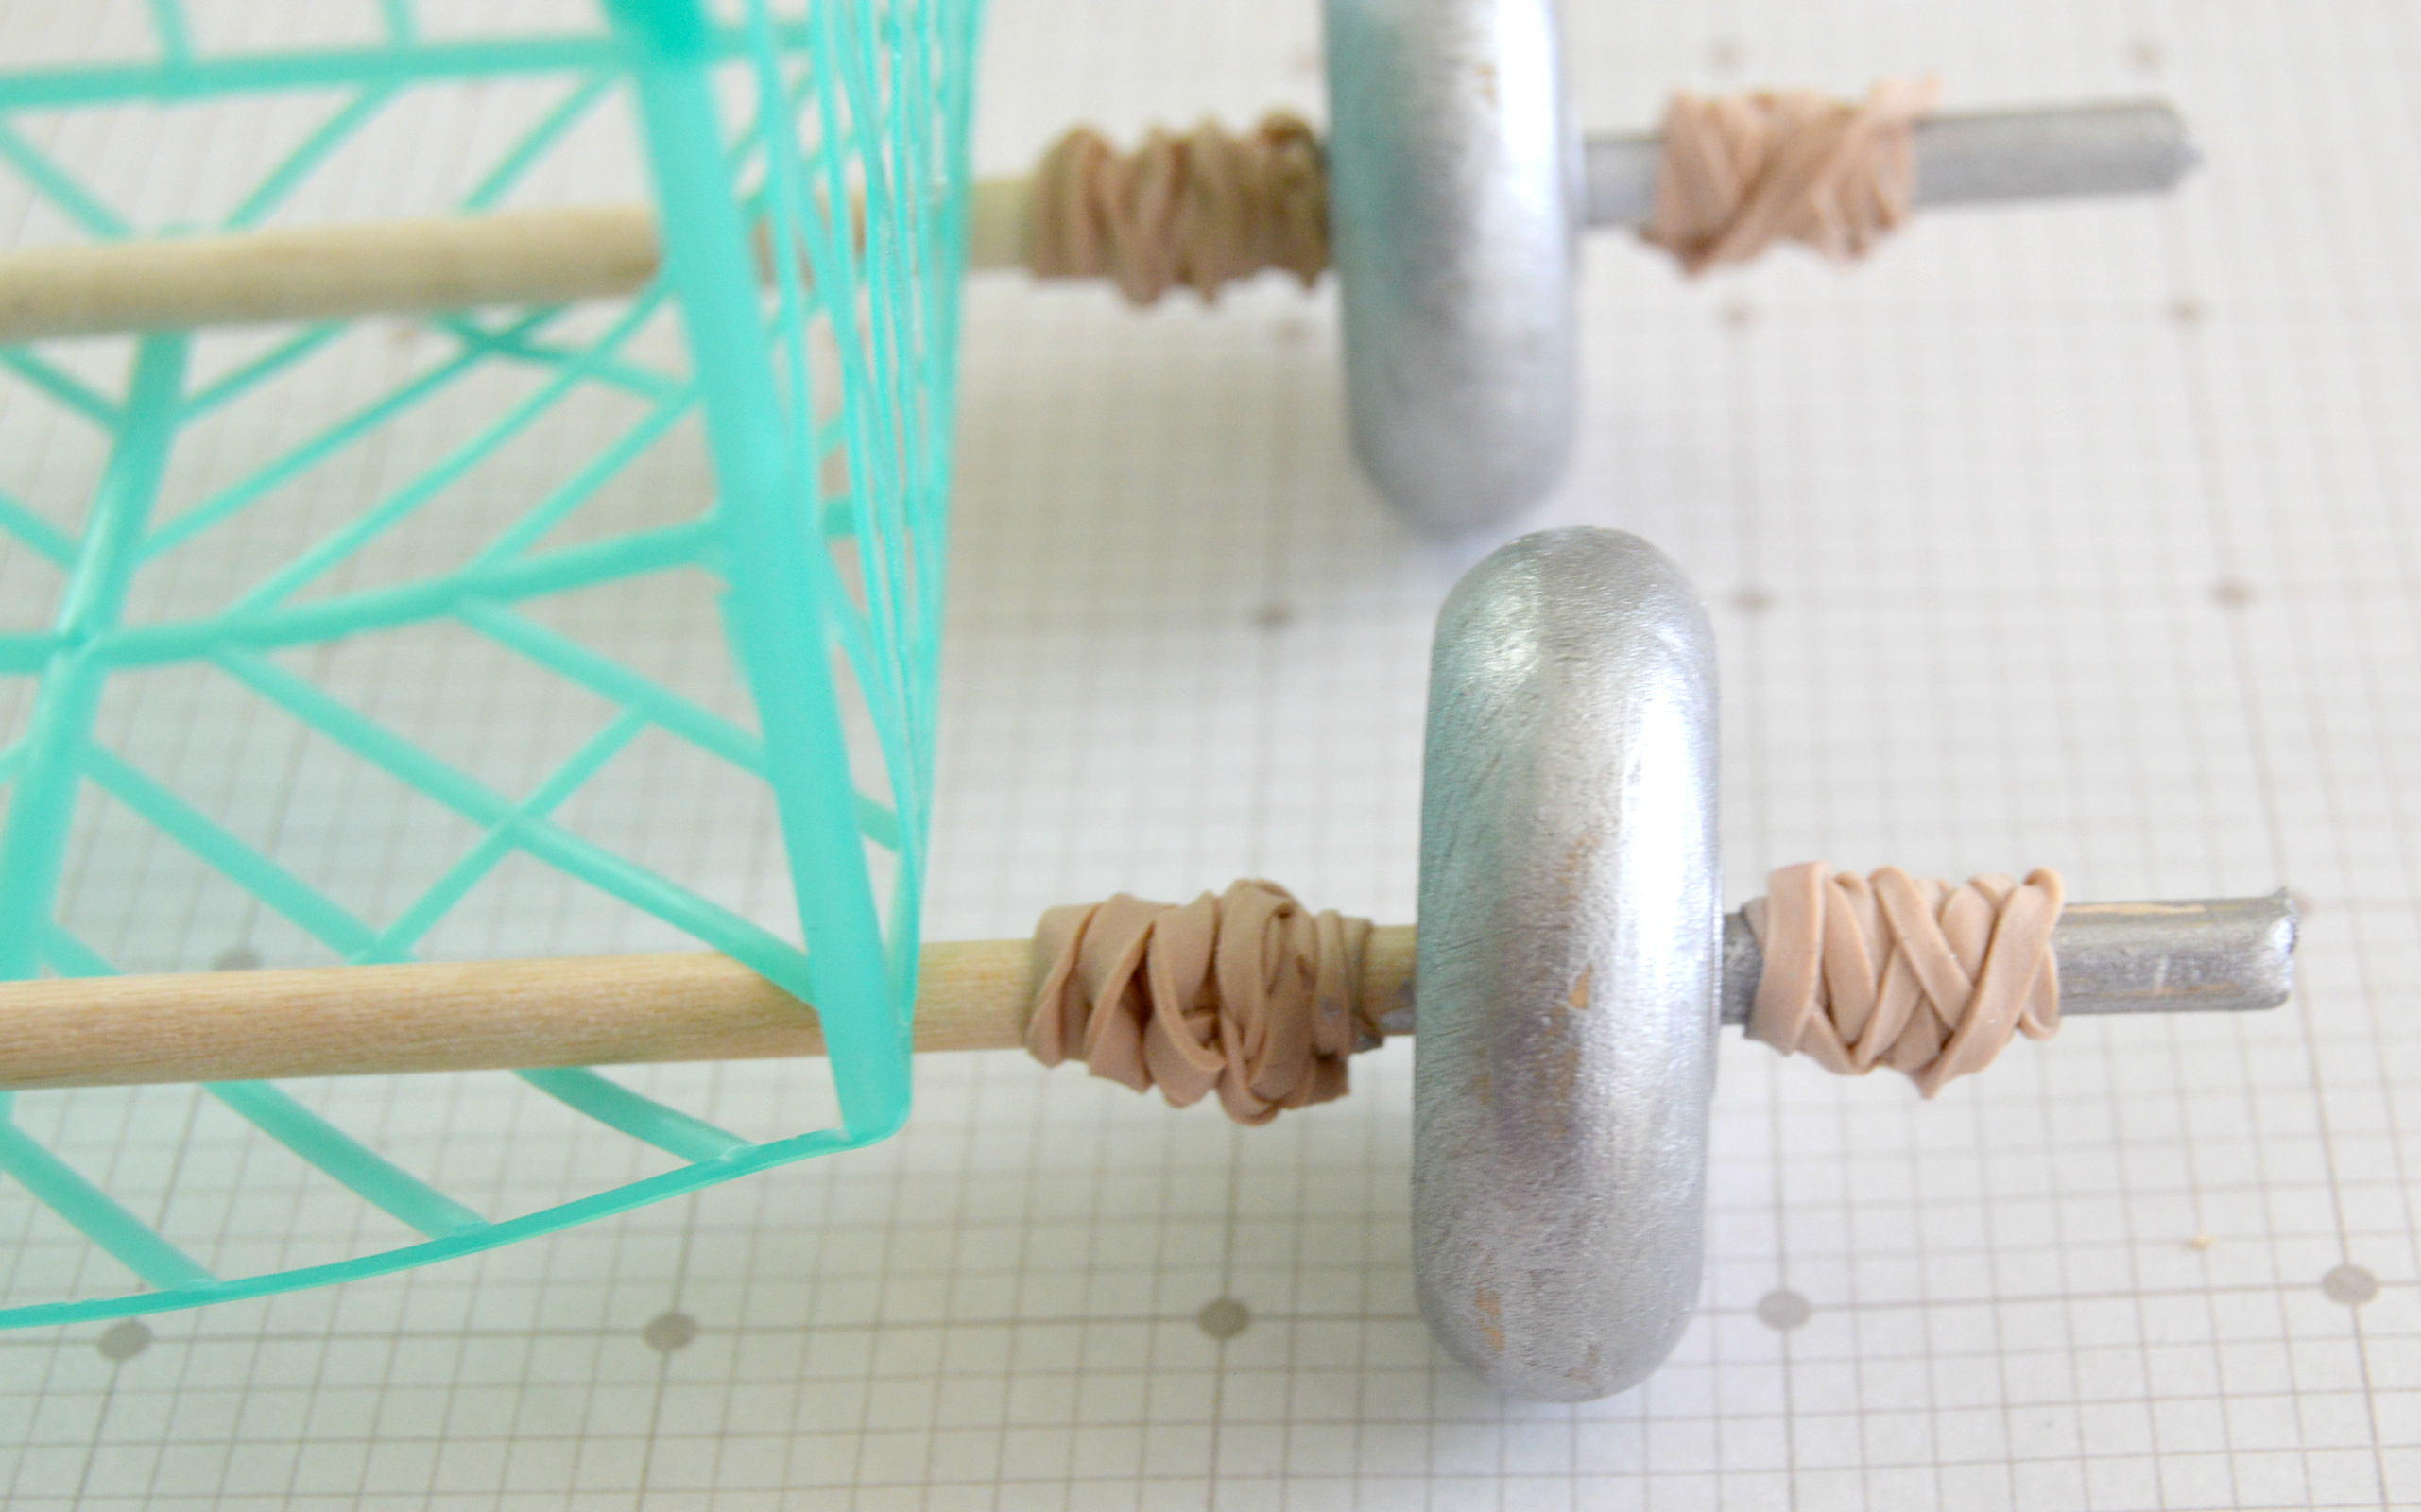
Step 5: Thread your dowels through the bottom of the berry basket. Grab four rubber bands and wrap each one around the dowels as shown in the picture below.

Step 6: Make a wheelie sandwich! Put your wheels on, and add the other rubber bands. The rubber bands keep the wheel in place (make sure it spins freely). Since we’re all about recycled materials in this craft, I found some used rubber bands that had come home from school, and they worked fine! Re-purpose for the win!

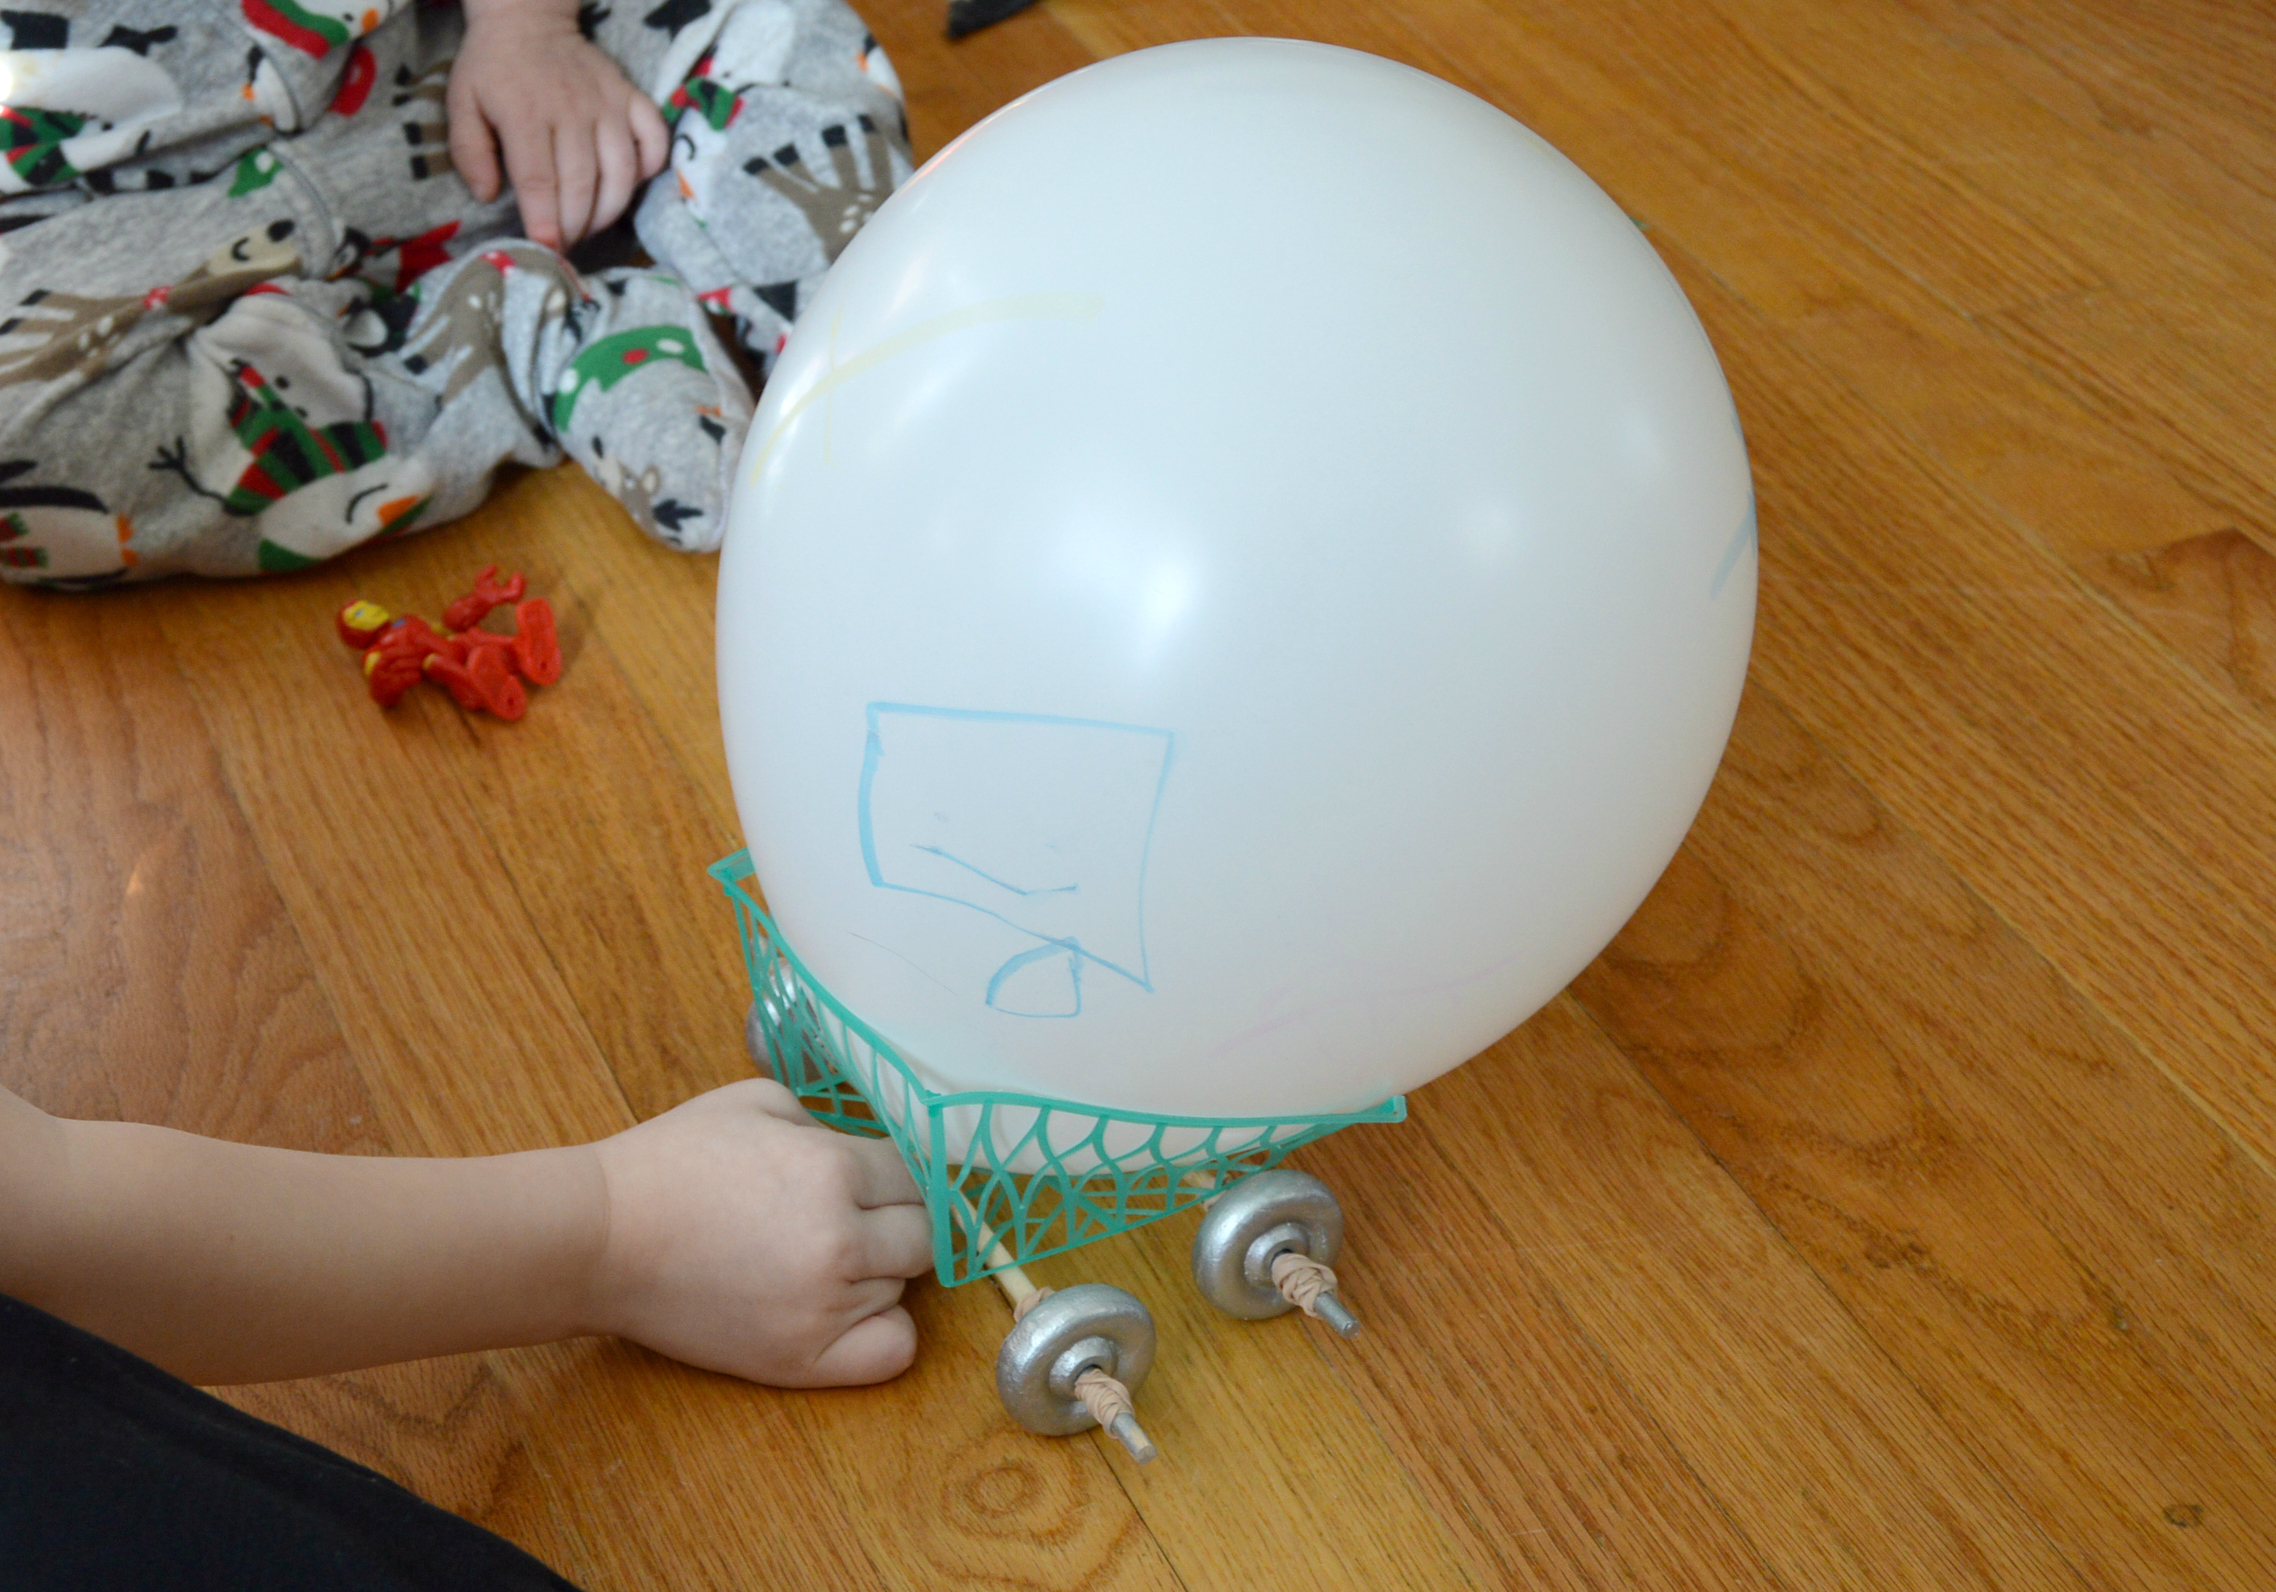
Step 7: Thread the deflated balloon through the notch.

Step 8: Blow up the balloon but don’t tie it shut, just hold it closed! Place the car on the floor, making sure your wheels are aligned, and let go! It might take some practice at first, and it’s very important to make sure your wheels aren’t crooked!
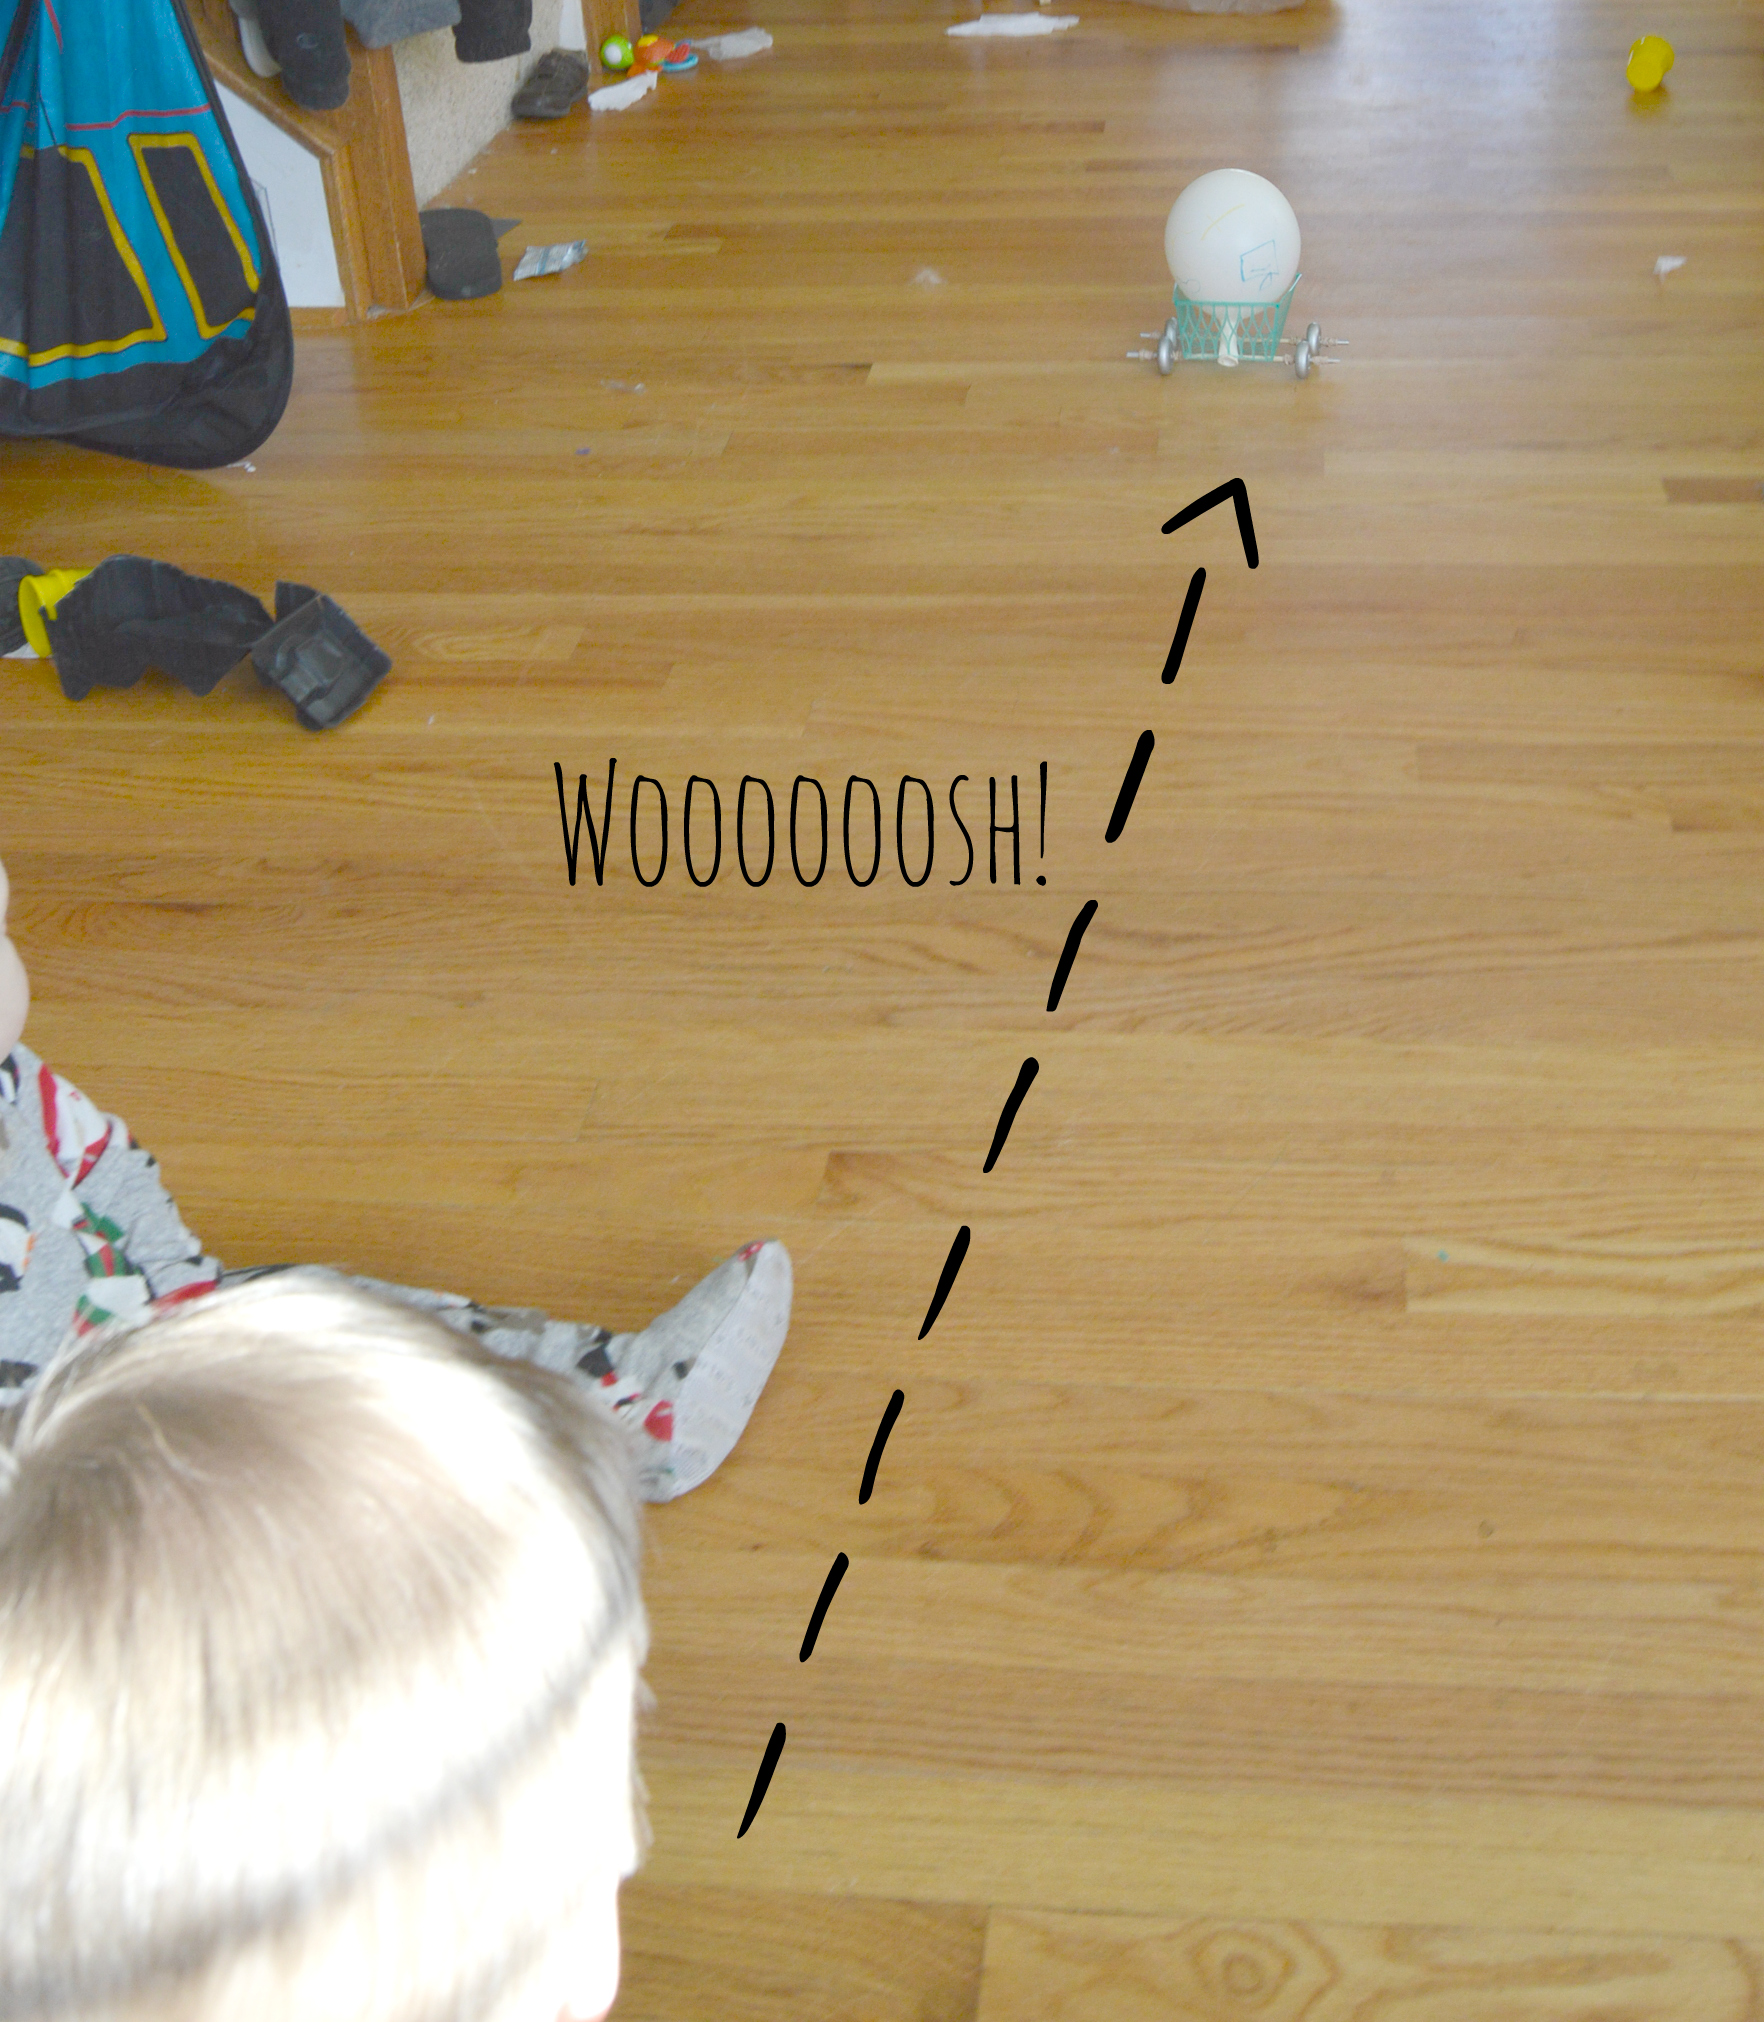
And because seeing it in motion is WAY more exciting, here’s Prince C (with the help of Squishy) letting his car go! Yes, that’s how my house really looks. Let’s call it…”long winter, three boys, inside ALL the time, Mommy had a rough 1st tri”, ok? 😉
Isn’t that fun!? We made a couple so the boys could race them, and they even started putting action figures in the bottom of the cars. (Action figures weigh down the car and makes it go all funny, but to the boys, it was still awesome.) This was such an easy and quick activity to do, and I loved that we were able to use some of our recycled materials to make it!

This craft is so fun….I wish my guys were little again so we could make these!
Awesome! We had to make one for school a few years ago. It is harder than it looks!!
Love that recycled balloon car project! We are never too old to build something like that and play just for fun! Psss, my children would love it too!