Glitter Ornaments
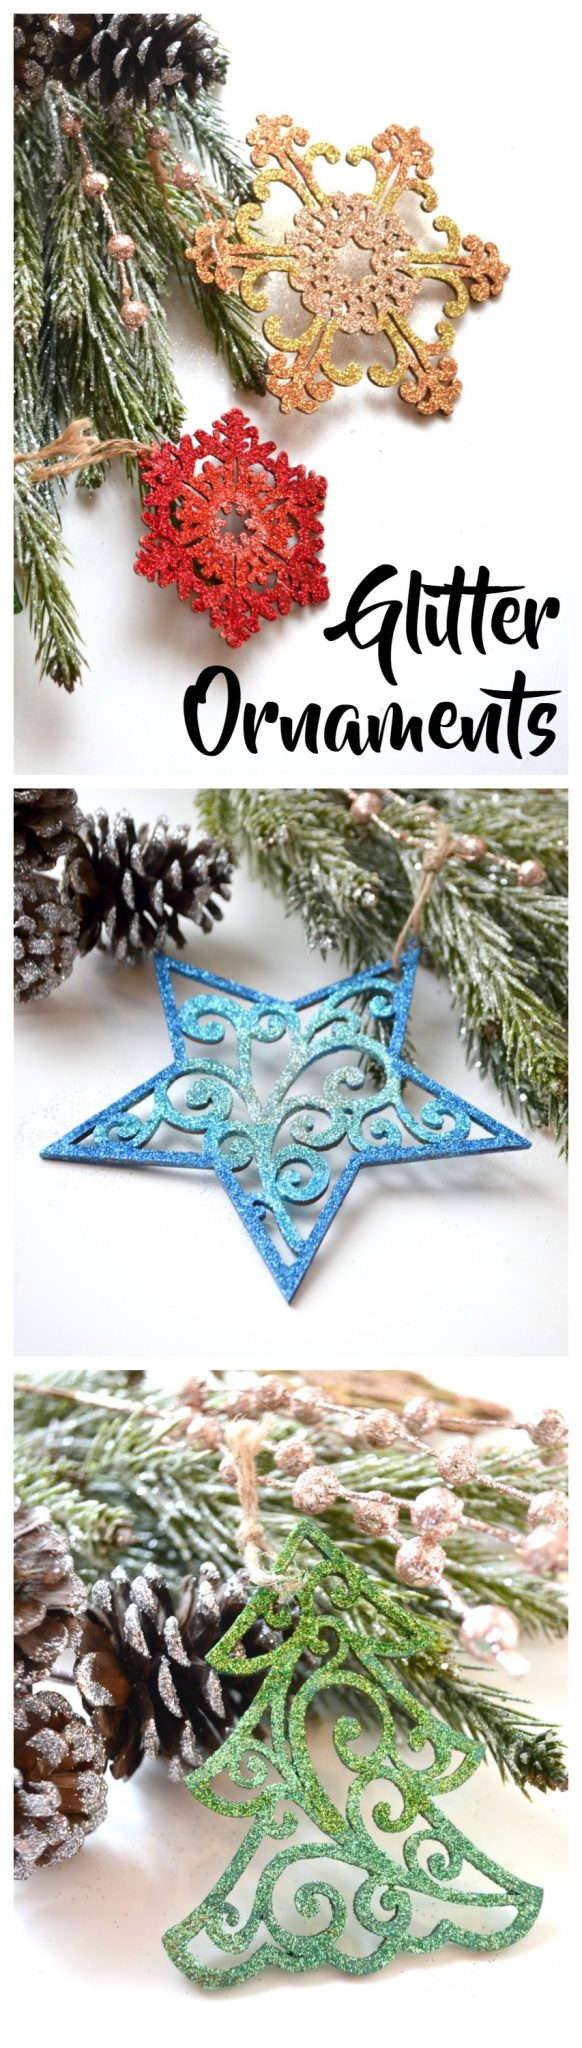
The holidays are approaching fast! Thanksgiving will be here before we know it, which means Christmas is right around the corner. I’ve got a gorgeous, simple ornament tutorial for you today that I think you’re going to love. These glitter die-cut ornaments are not only beautiful decor for your own tree, they make great gifts or tie-ons to your wrapped packages. I have to give credit where it’s due; while the actual project idea was mine, these beauties were created and photographed by my 17 year old intern Emmy, who was with me all last week. She did an absolutely unbelievable job…I think you’ll agree! Take a look.
Materials
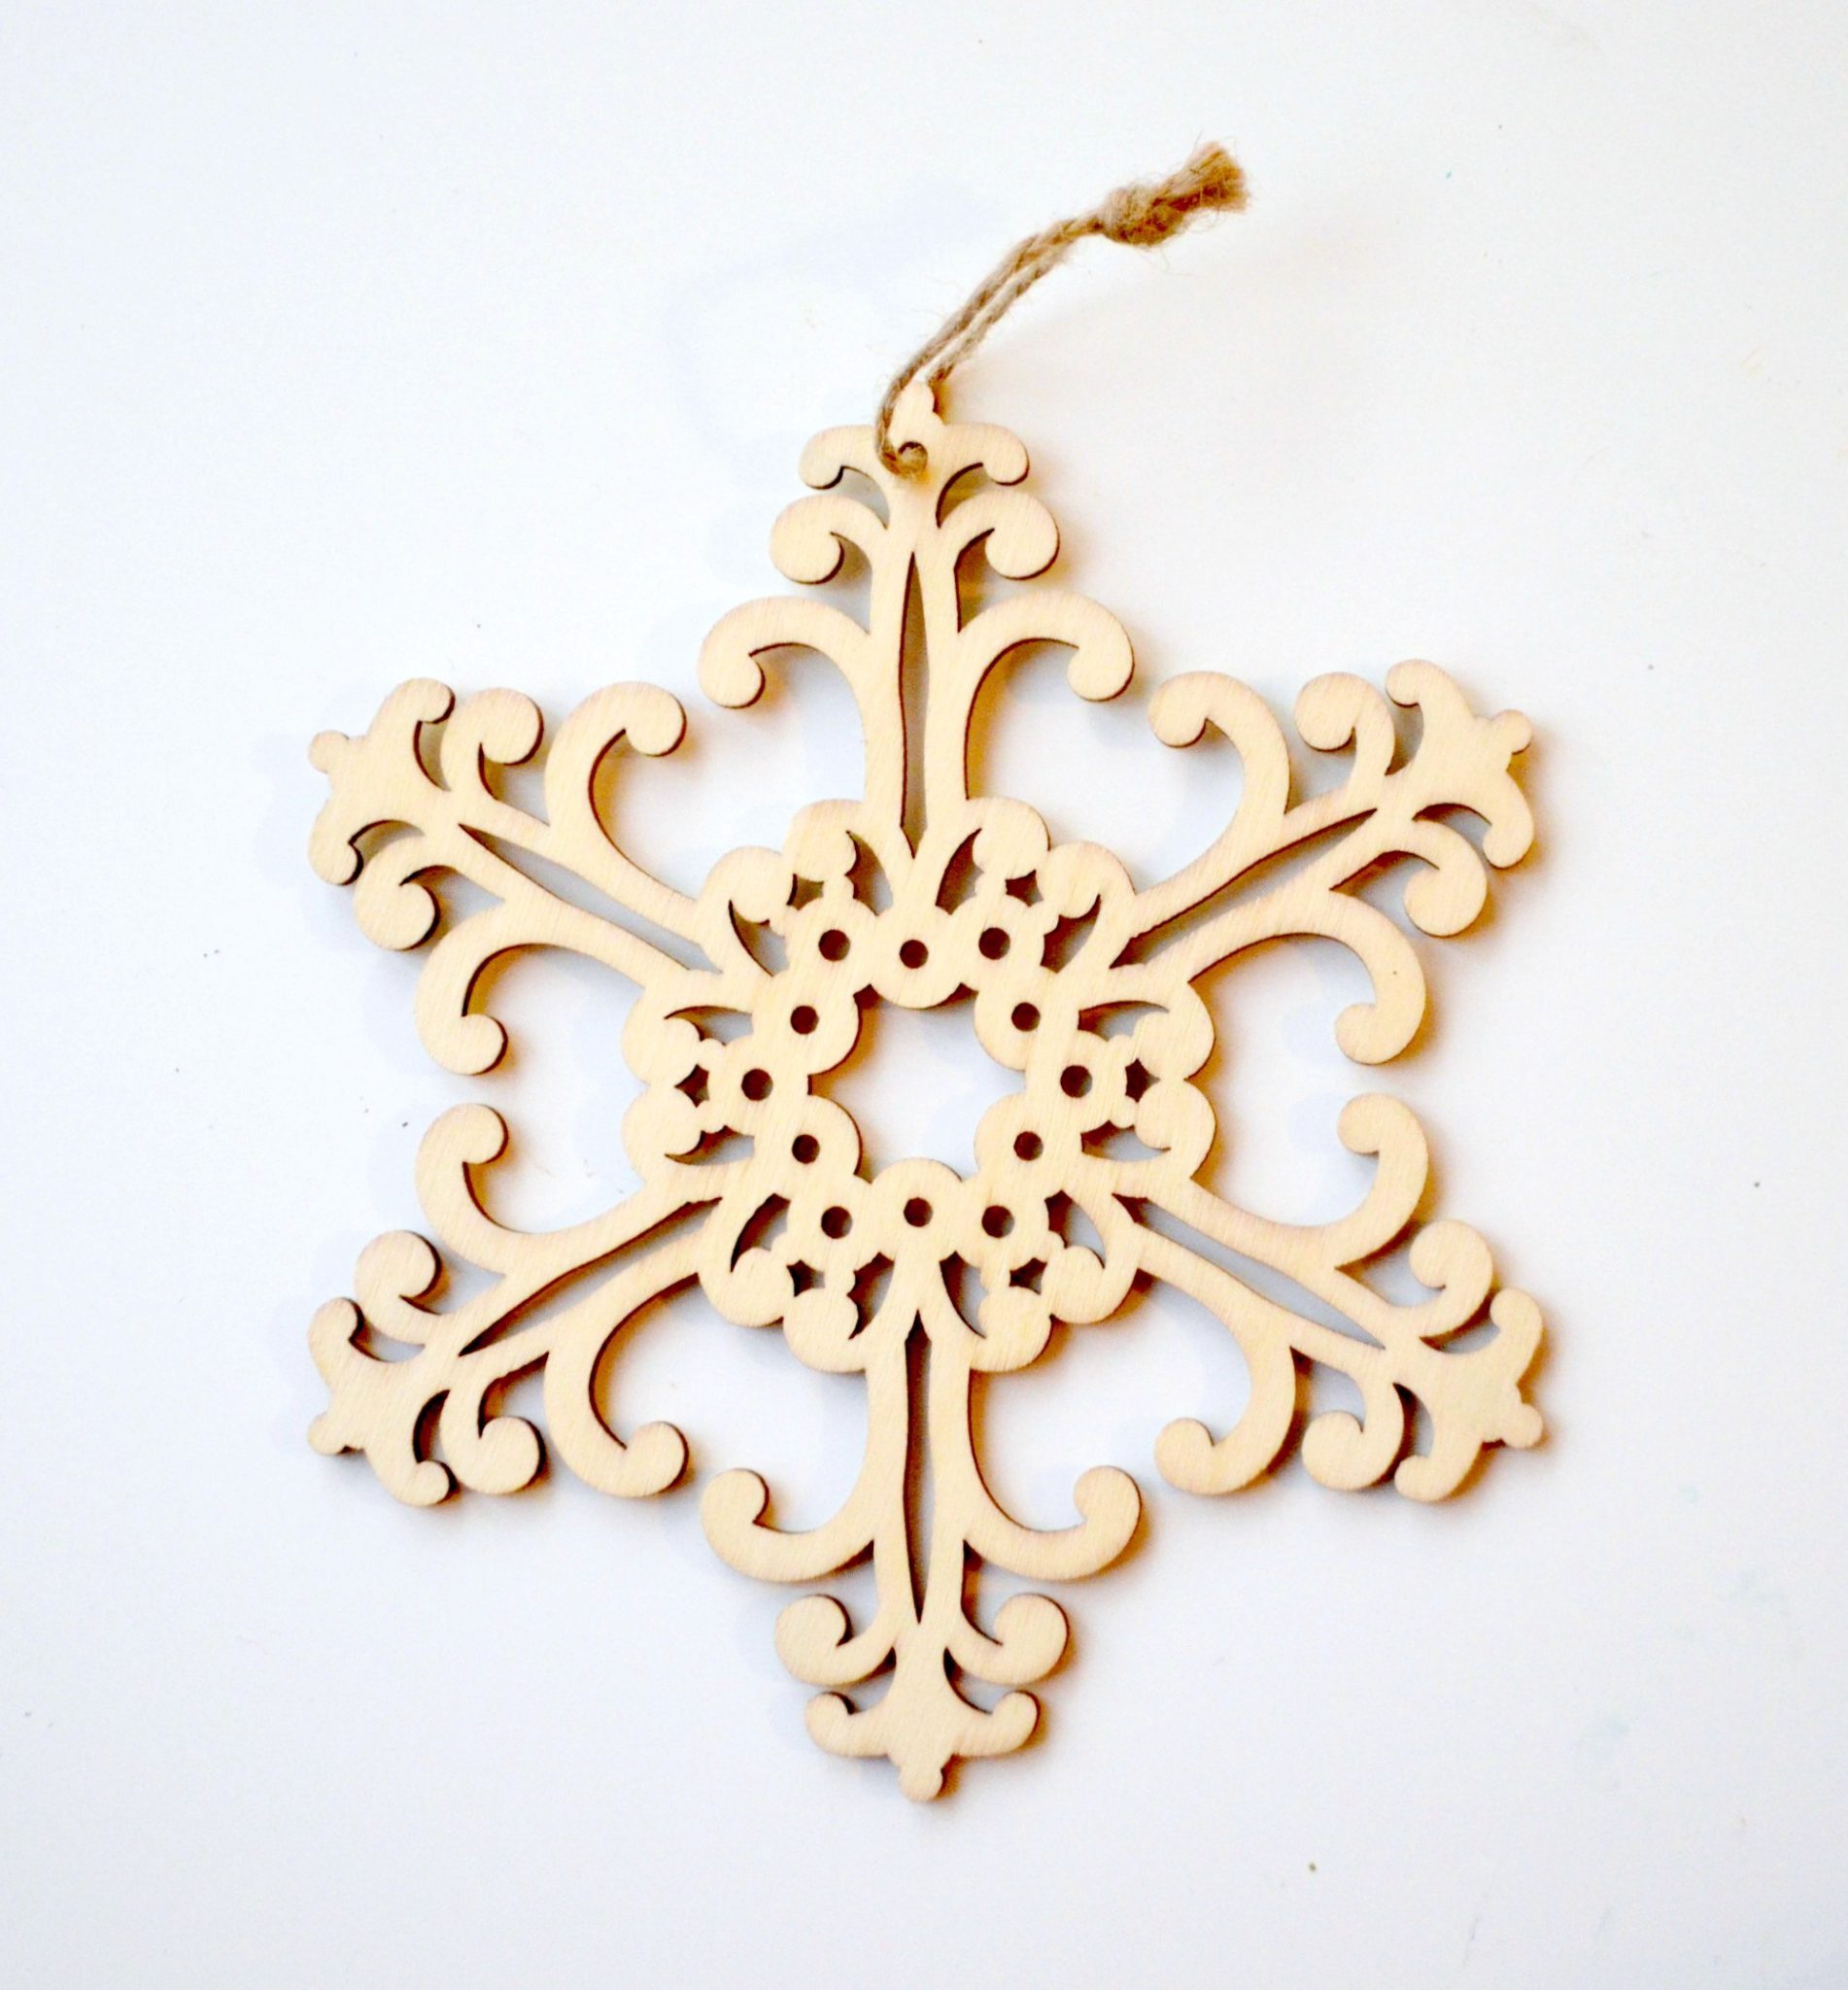
Wooden Die-Cut Ornaments {ours were from Michaels}
Mod Podge
Fine Glitter {we used the Martha Stewart 24-pack}
FolkArt Multi-Surface or Acrylic Paint
Small paintbrushes
Creating Your Ornaments
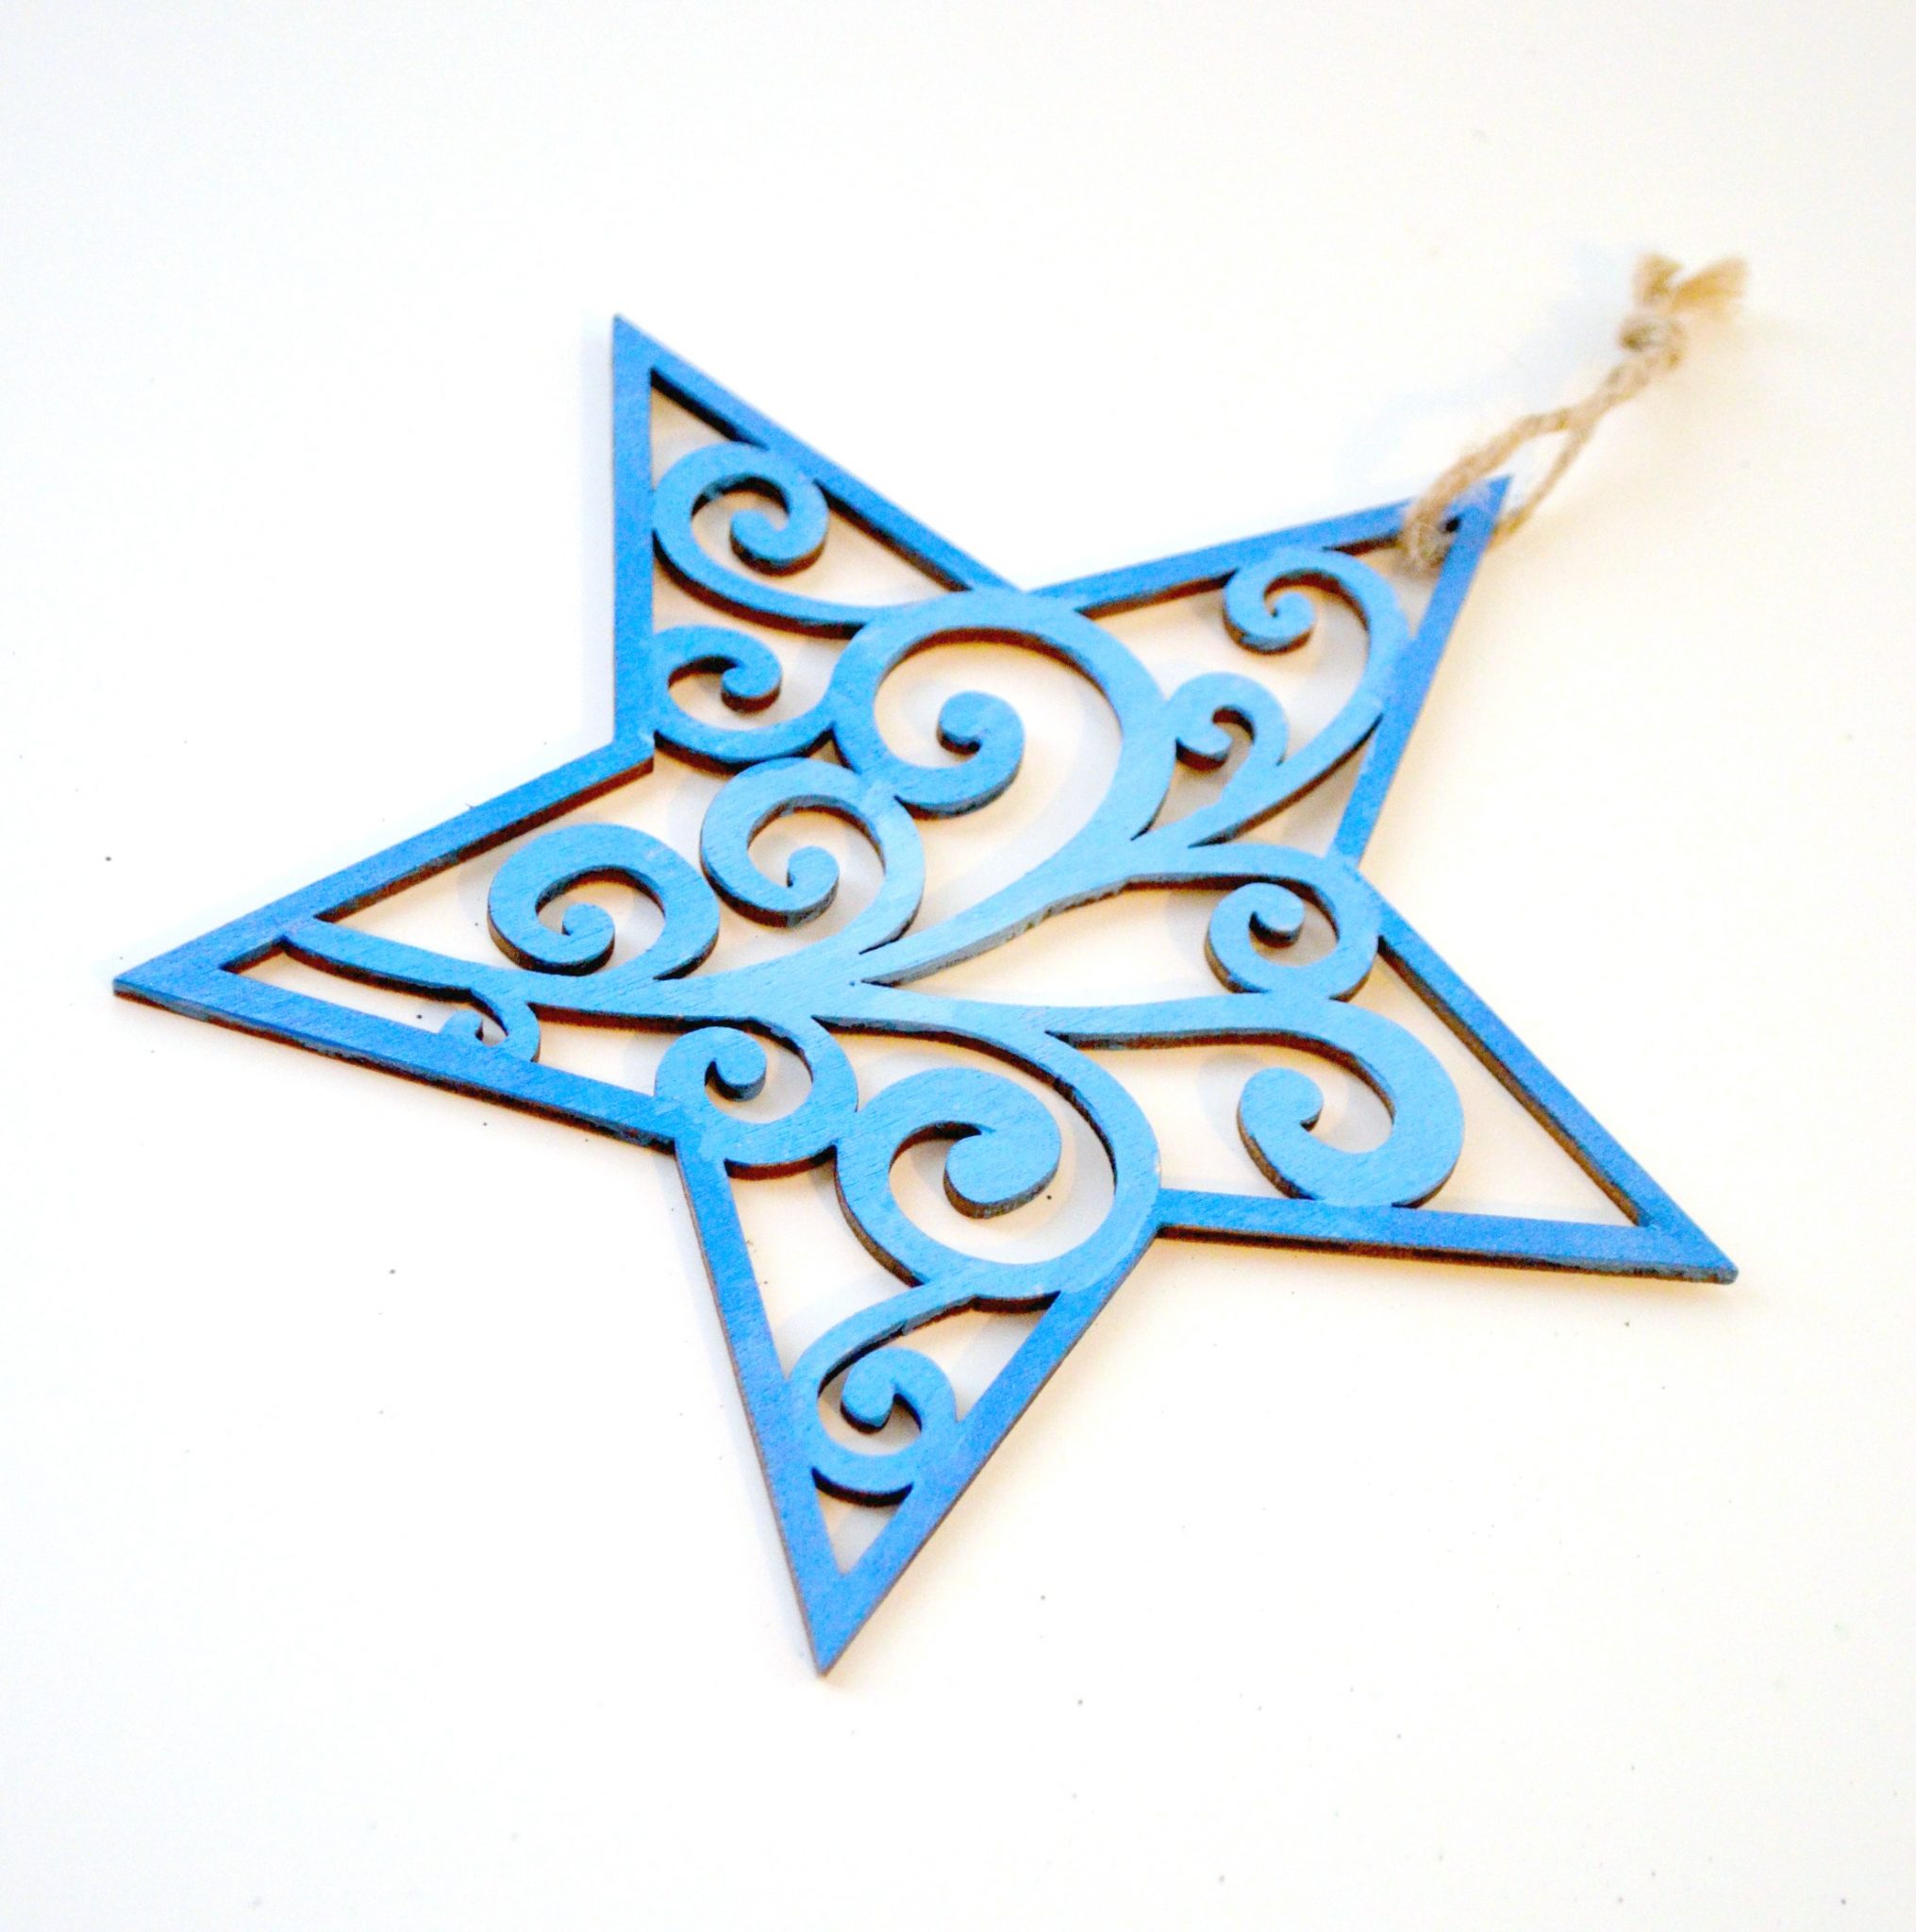
Step 1: Paint the surface of the ornament using acrylic or multi-surface paint.
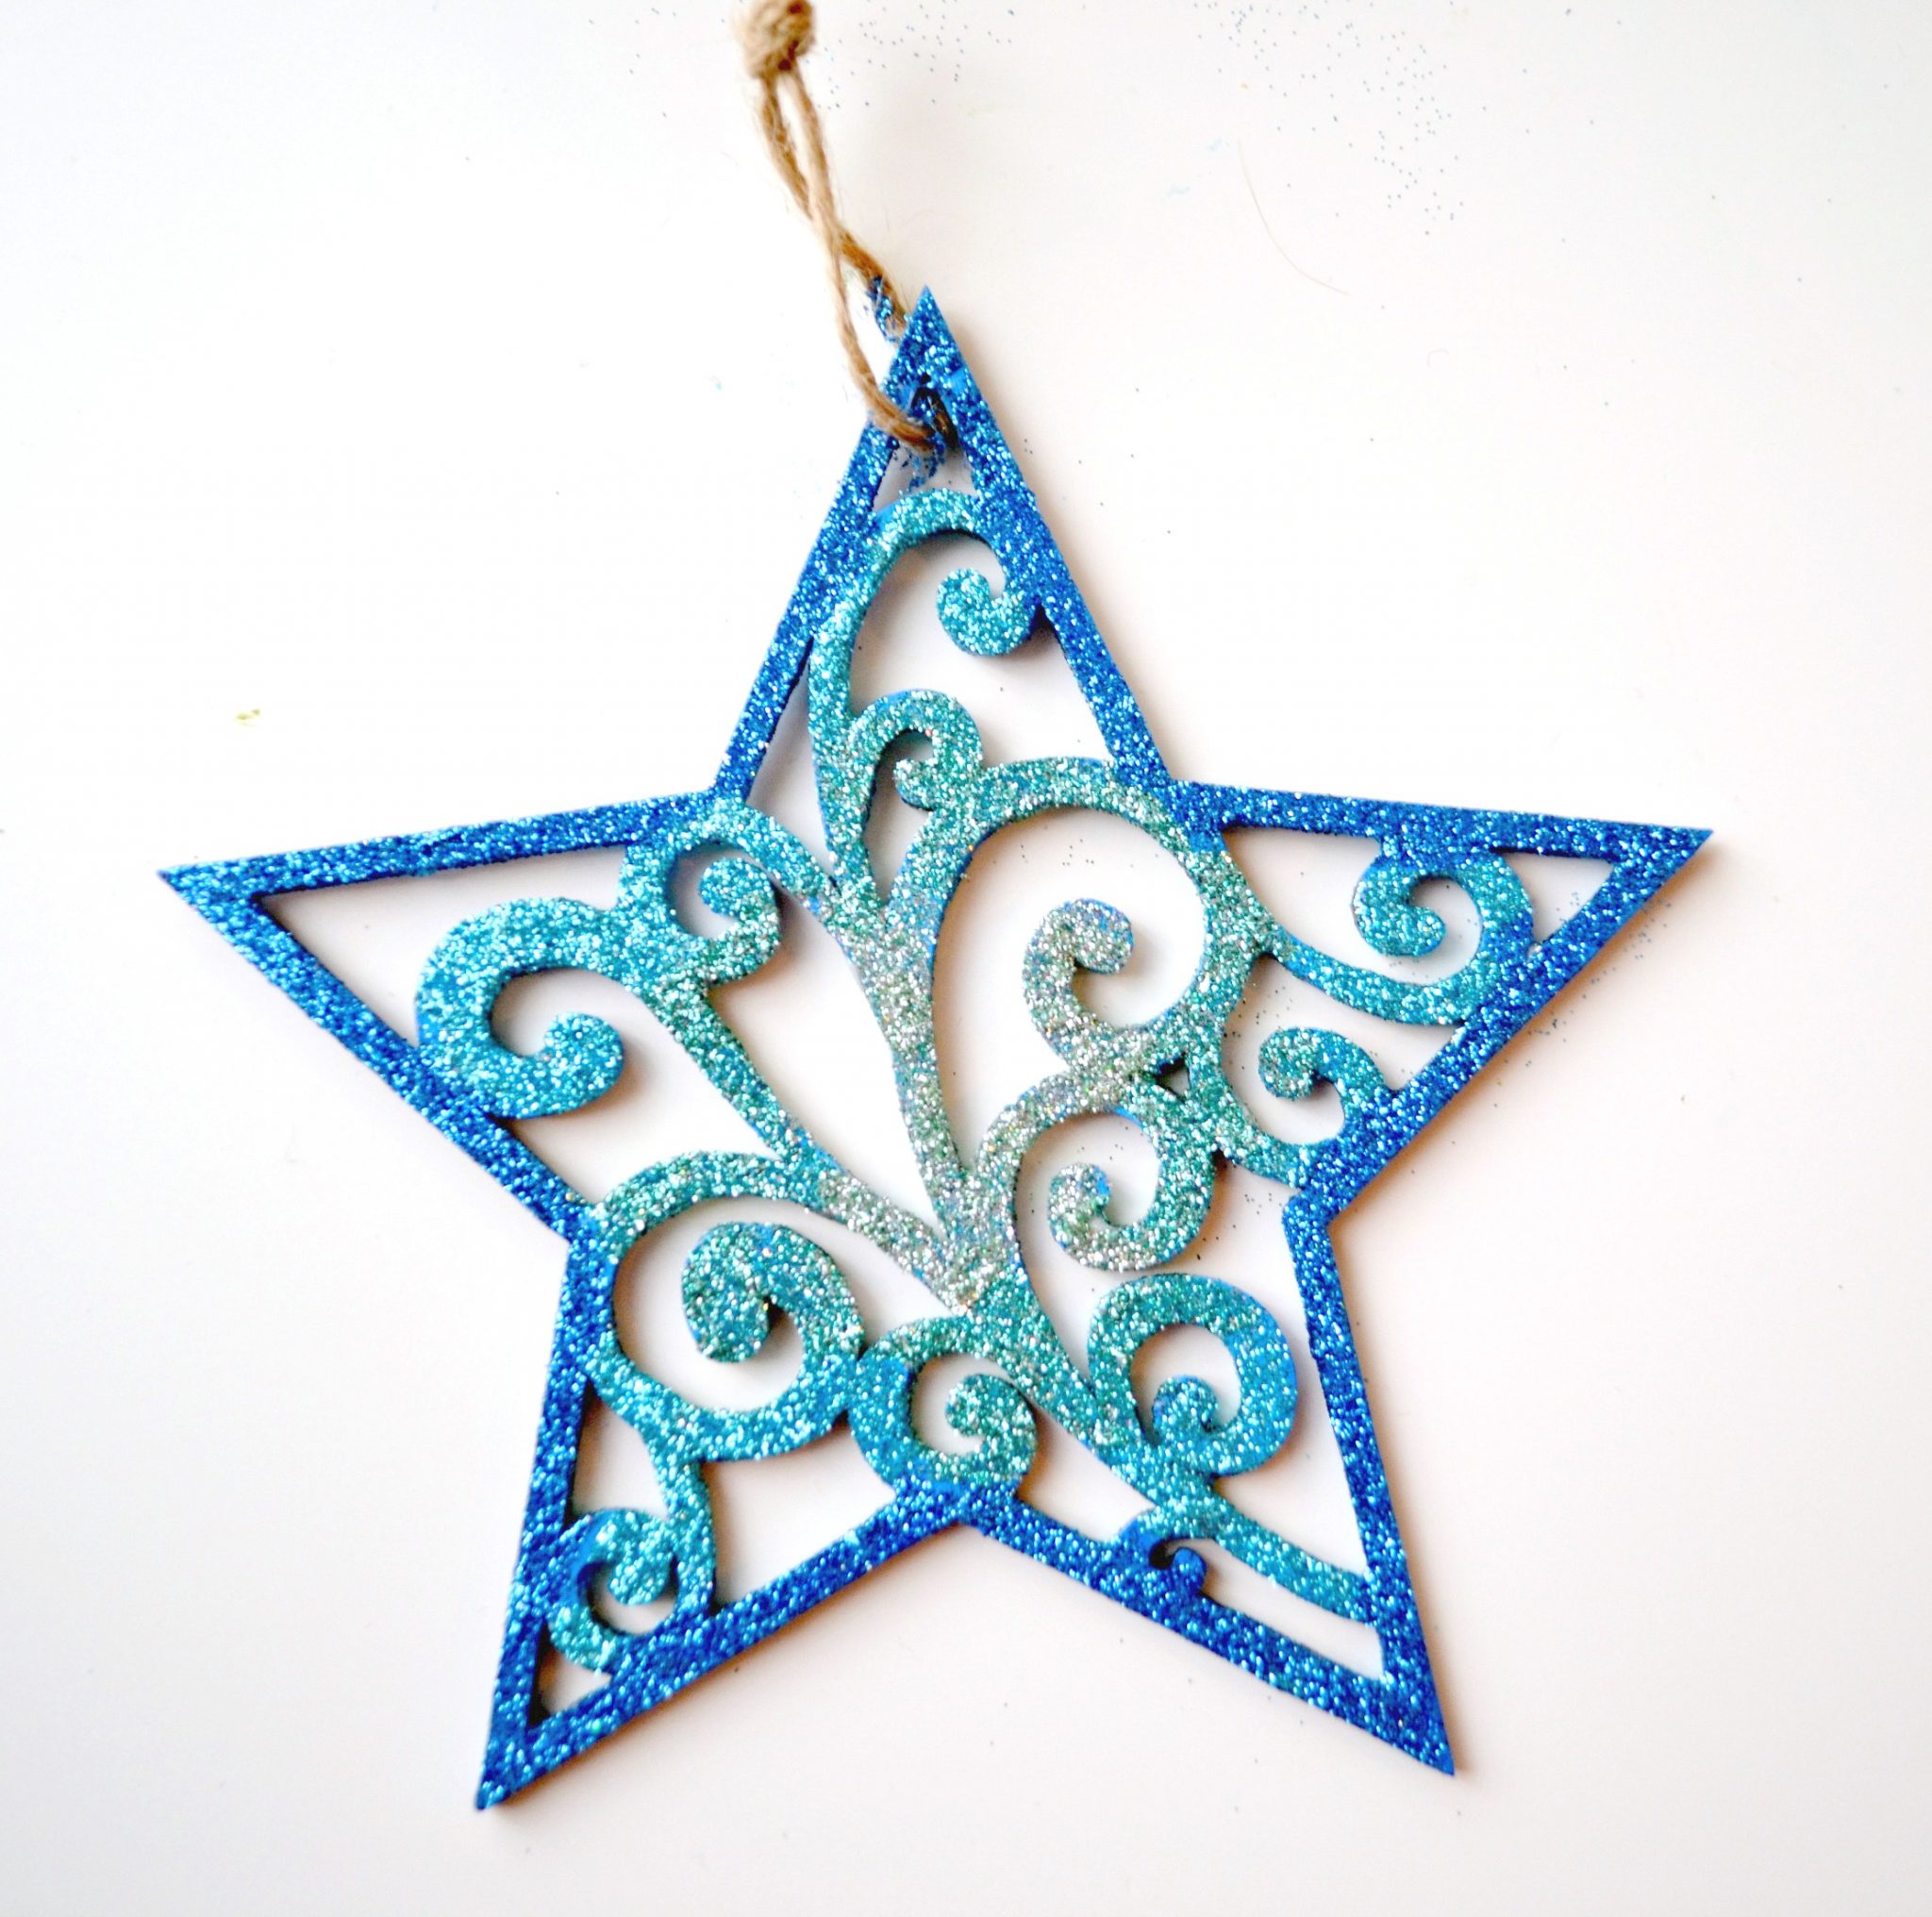
You can certainly paint the entire thing the same color, but Emmy wanted to go for an ombre effect, so she used a few different shades of blue. Let your paint dry completely before moving on to the next step.
Step 2: Working in small sections, apply Mod Podge to the surface of the ornament and immediately sprinkle it with glitter.
Once again, you can certainly do this all with the same color, but ours is a mixture of four different shades of blue glitter.
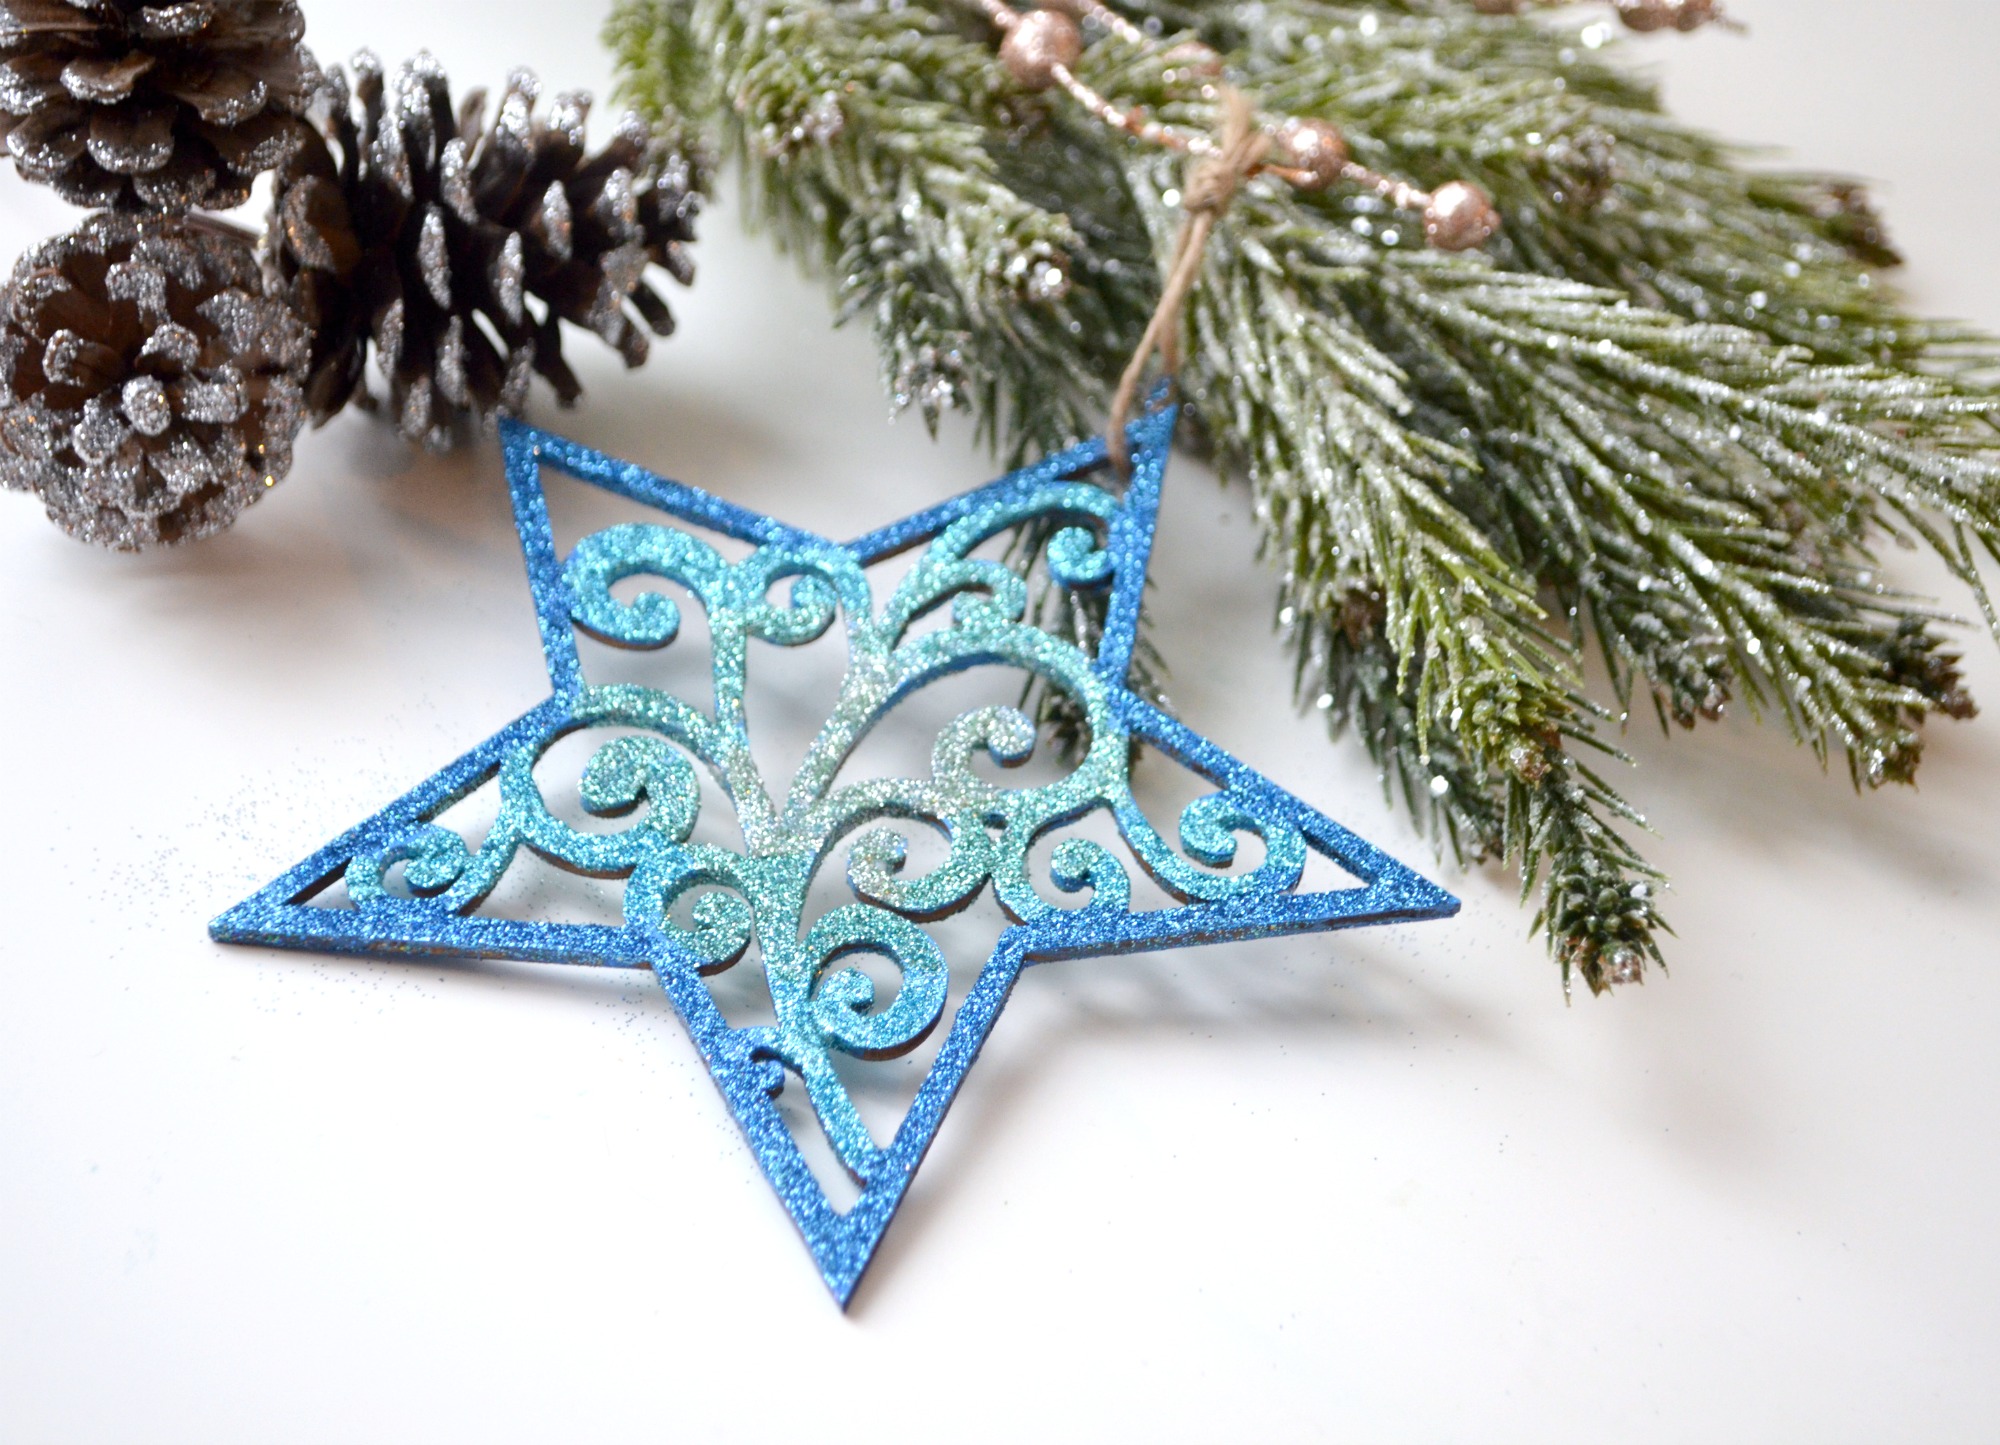
Isn’t it gorgeous? I think this one is my favorite. It’s up to you whether you paint and glitter both sides of your ornament or just the front. Emmy insisted on doing the backs too because ornaments turn, and it certainly did make them extra beautiful.
That’s all there is to the process; just paint, add Mod Podge, and sprinkle glitter on top! Once it’s dry, it’s ready to display! A good pro tip to keep in mind is to do your glittering over a piece of paper, then form it into a funnel and return the excess to the container.
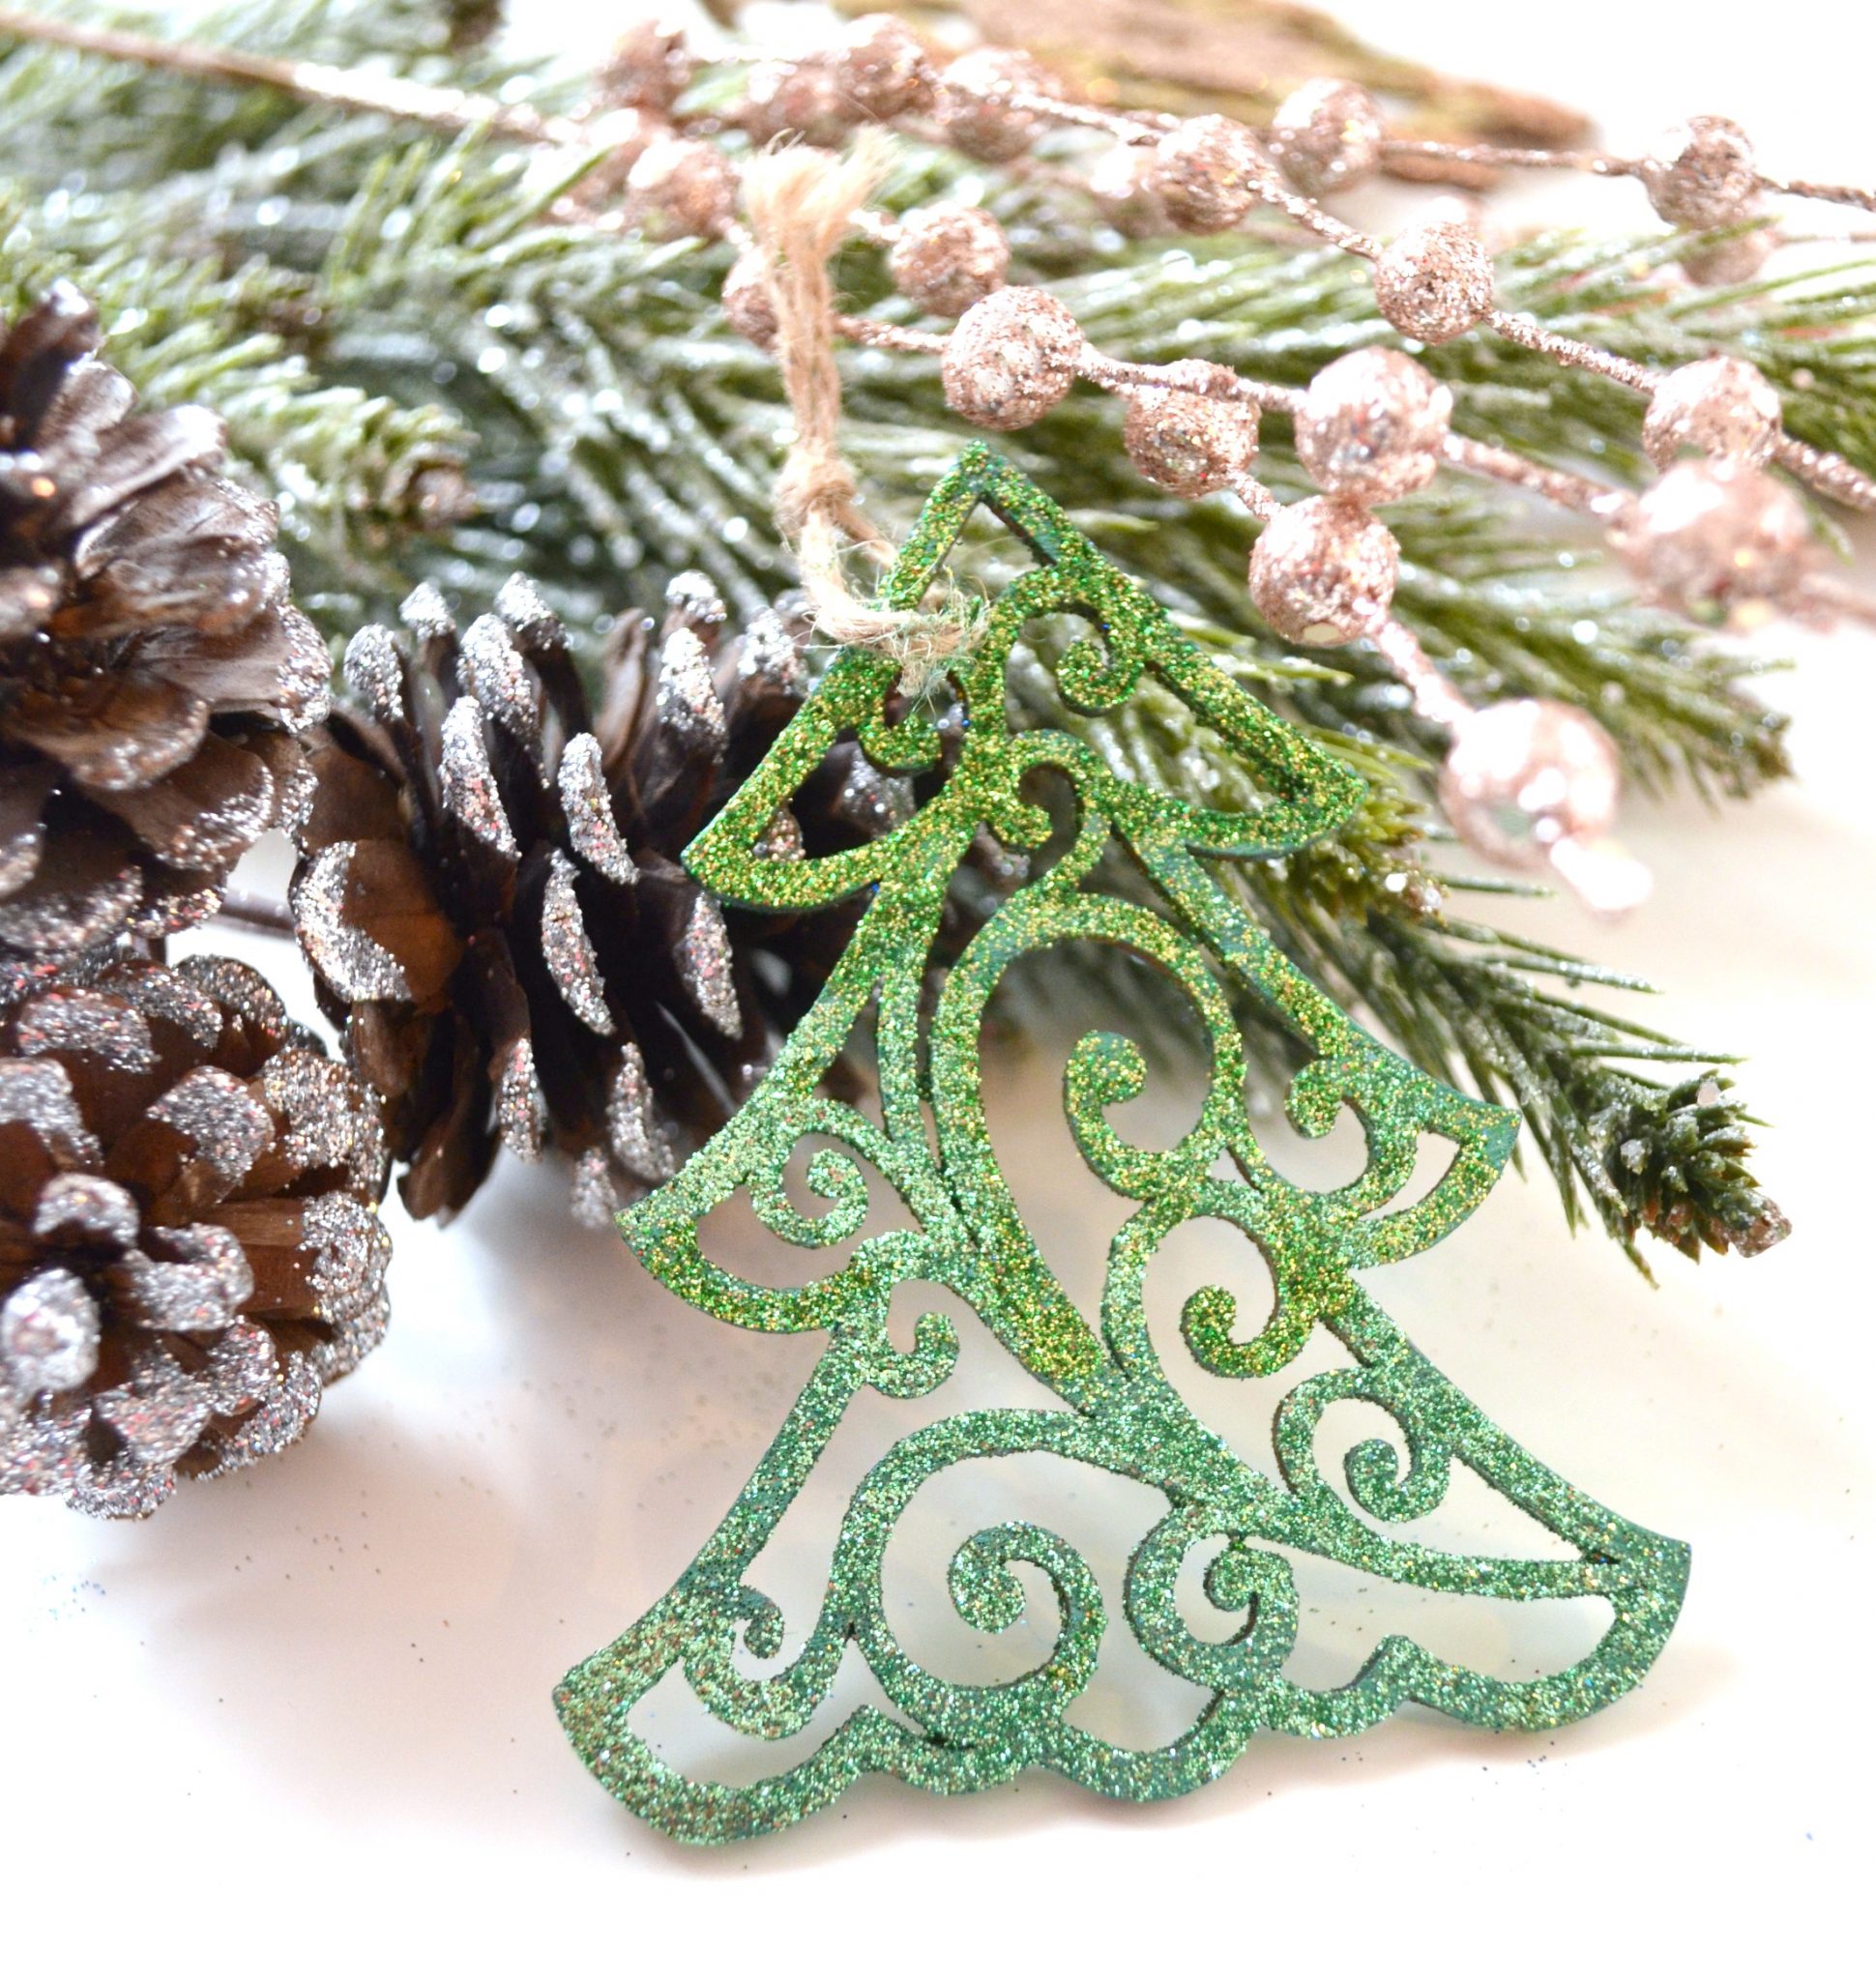
Each of the ornaments was created in the same way, just using different colors and shapes. Here is the Christmas tree. The bottom section is the darkest green, the center is a mix of dark and light, and the top uses light green glitter.
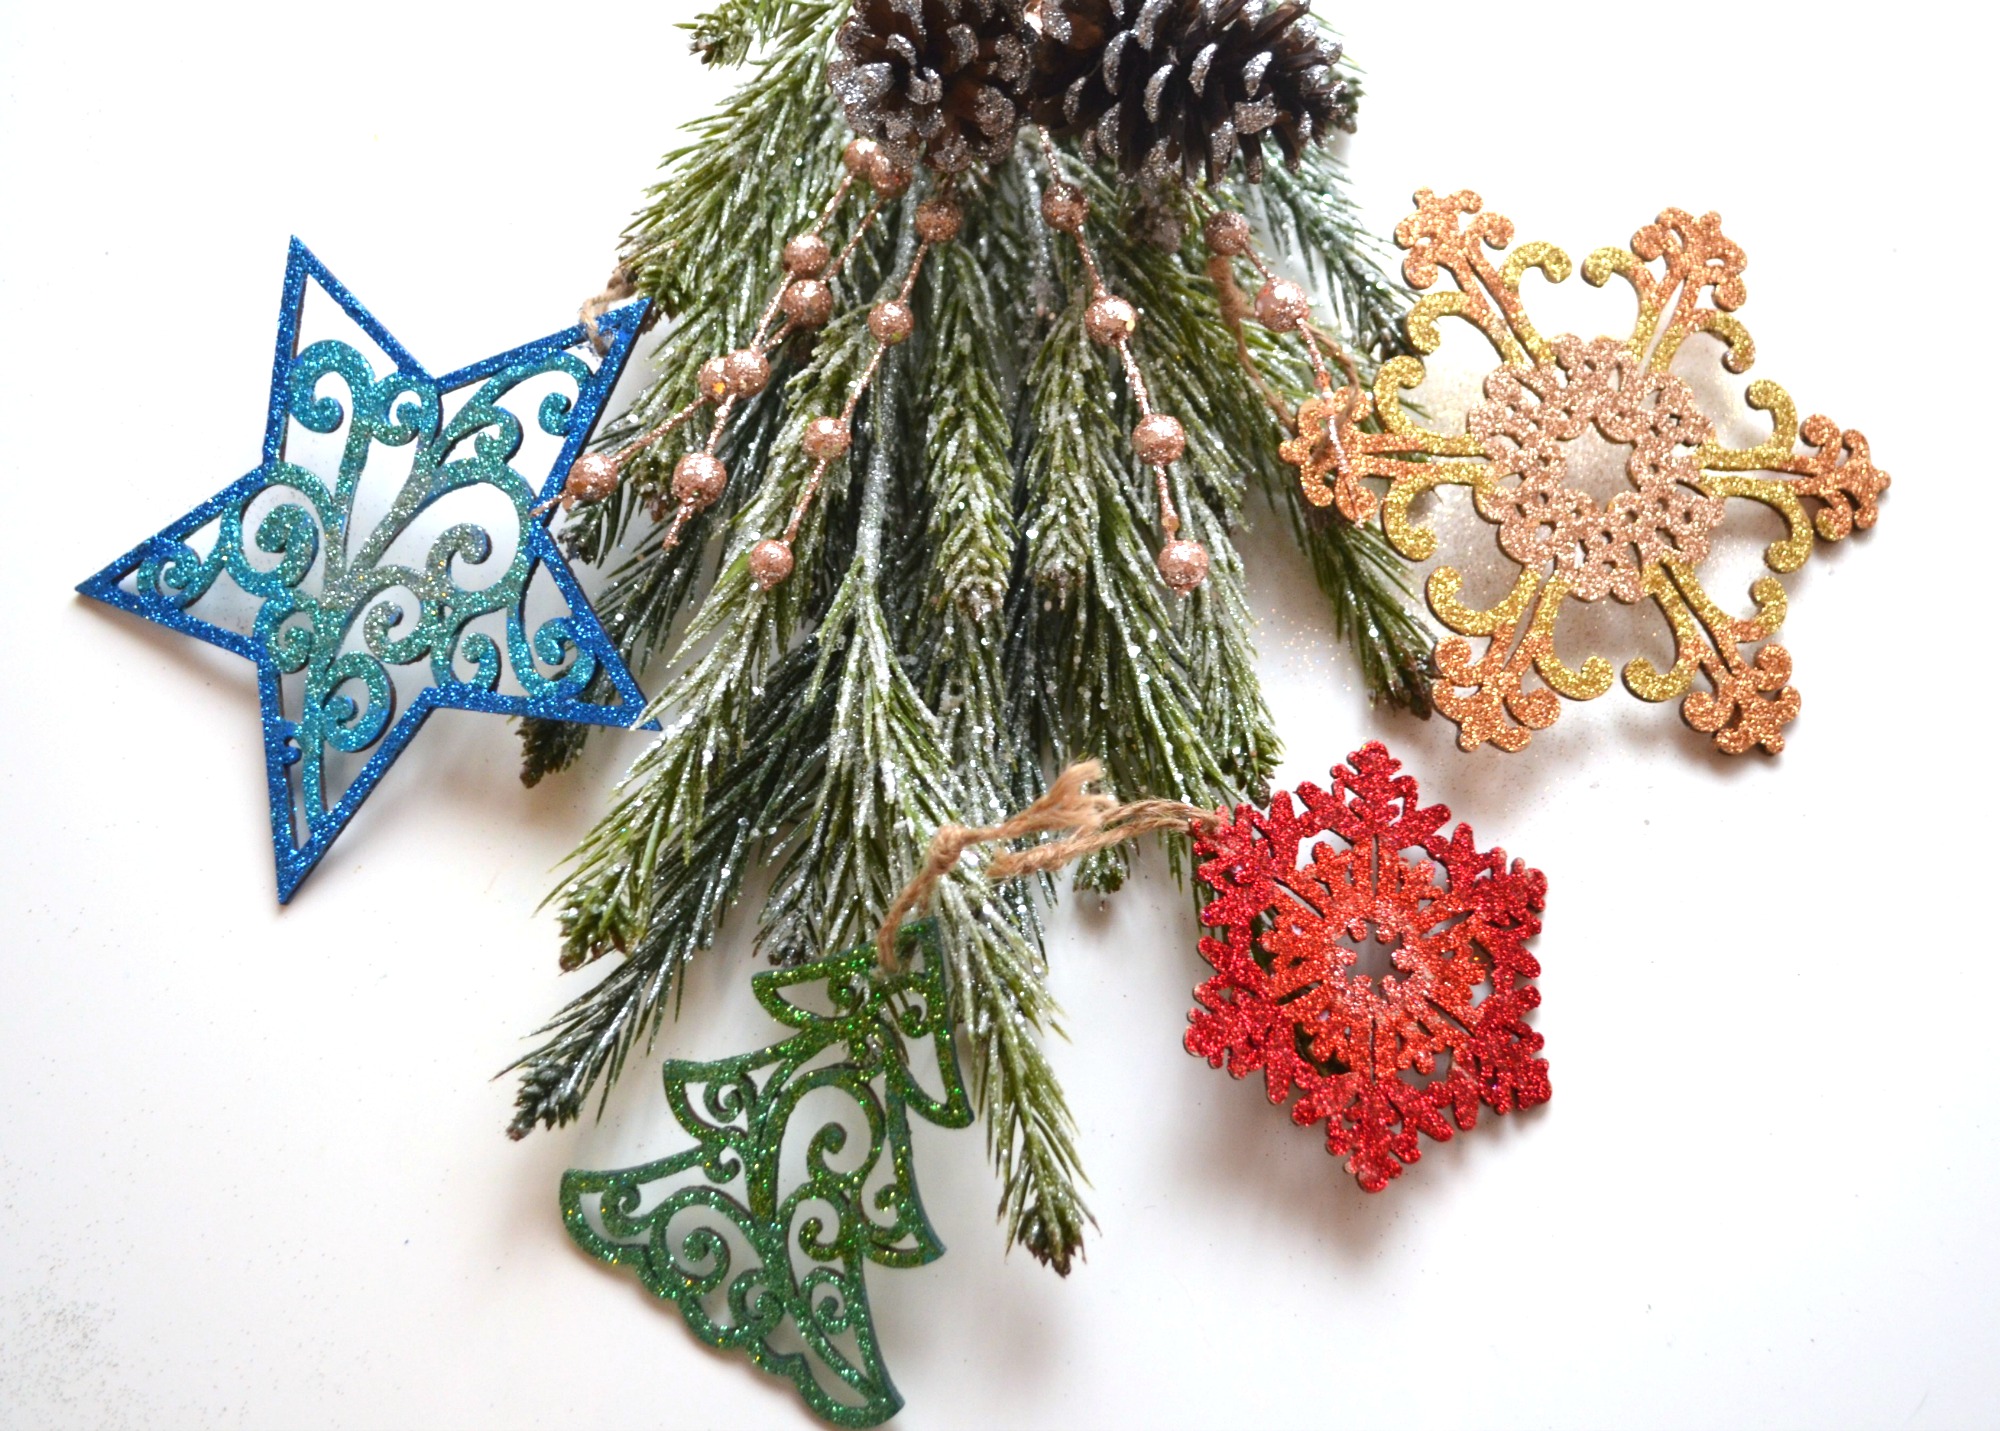
We decided on a metallic theme for the large snowflake, so Emmy used three different shades of gold and bronze paint/glitter.

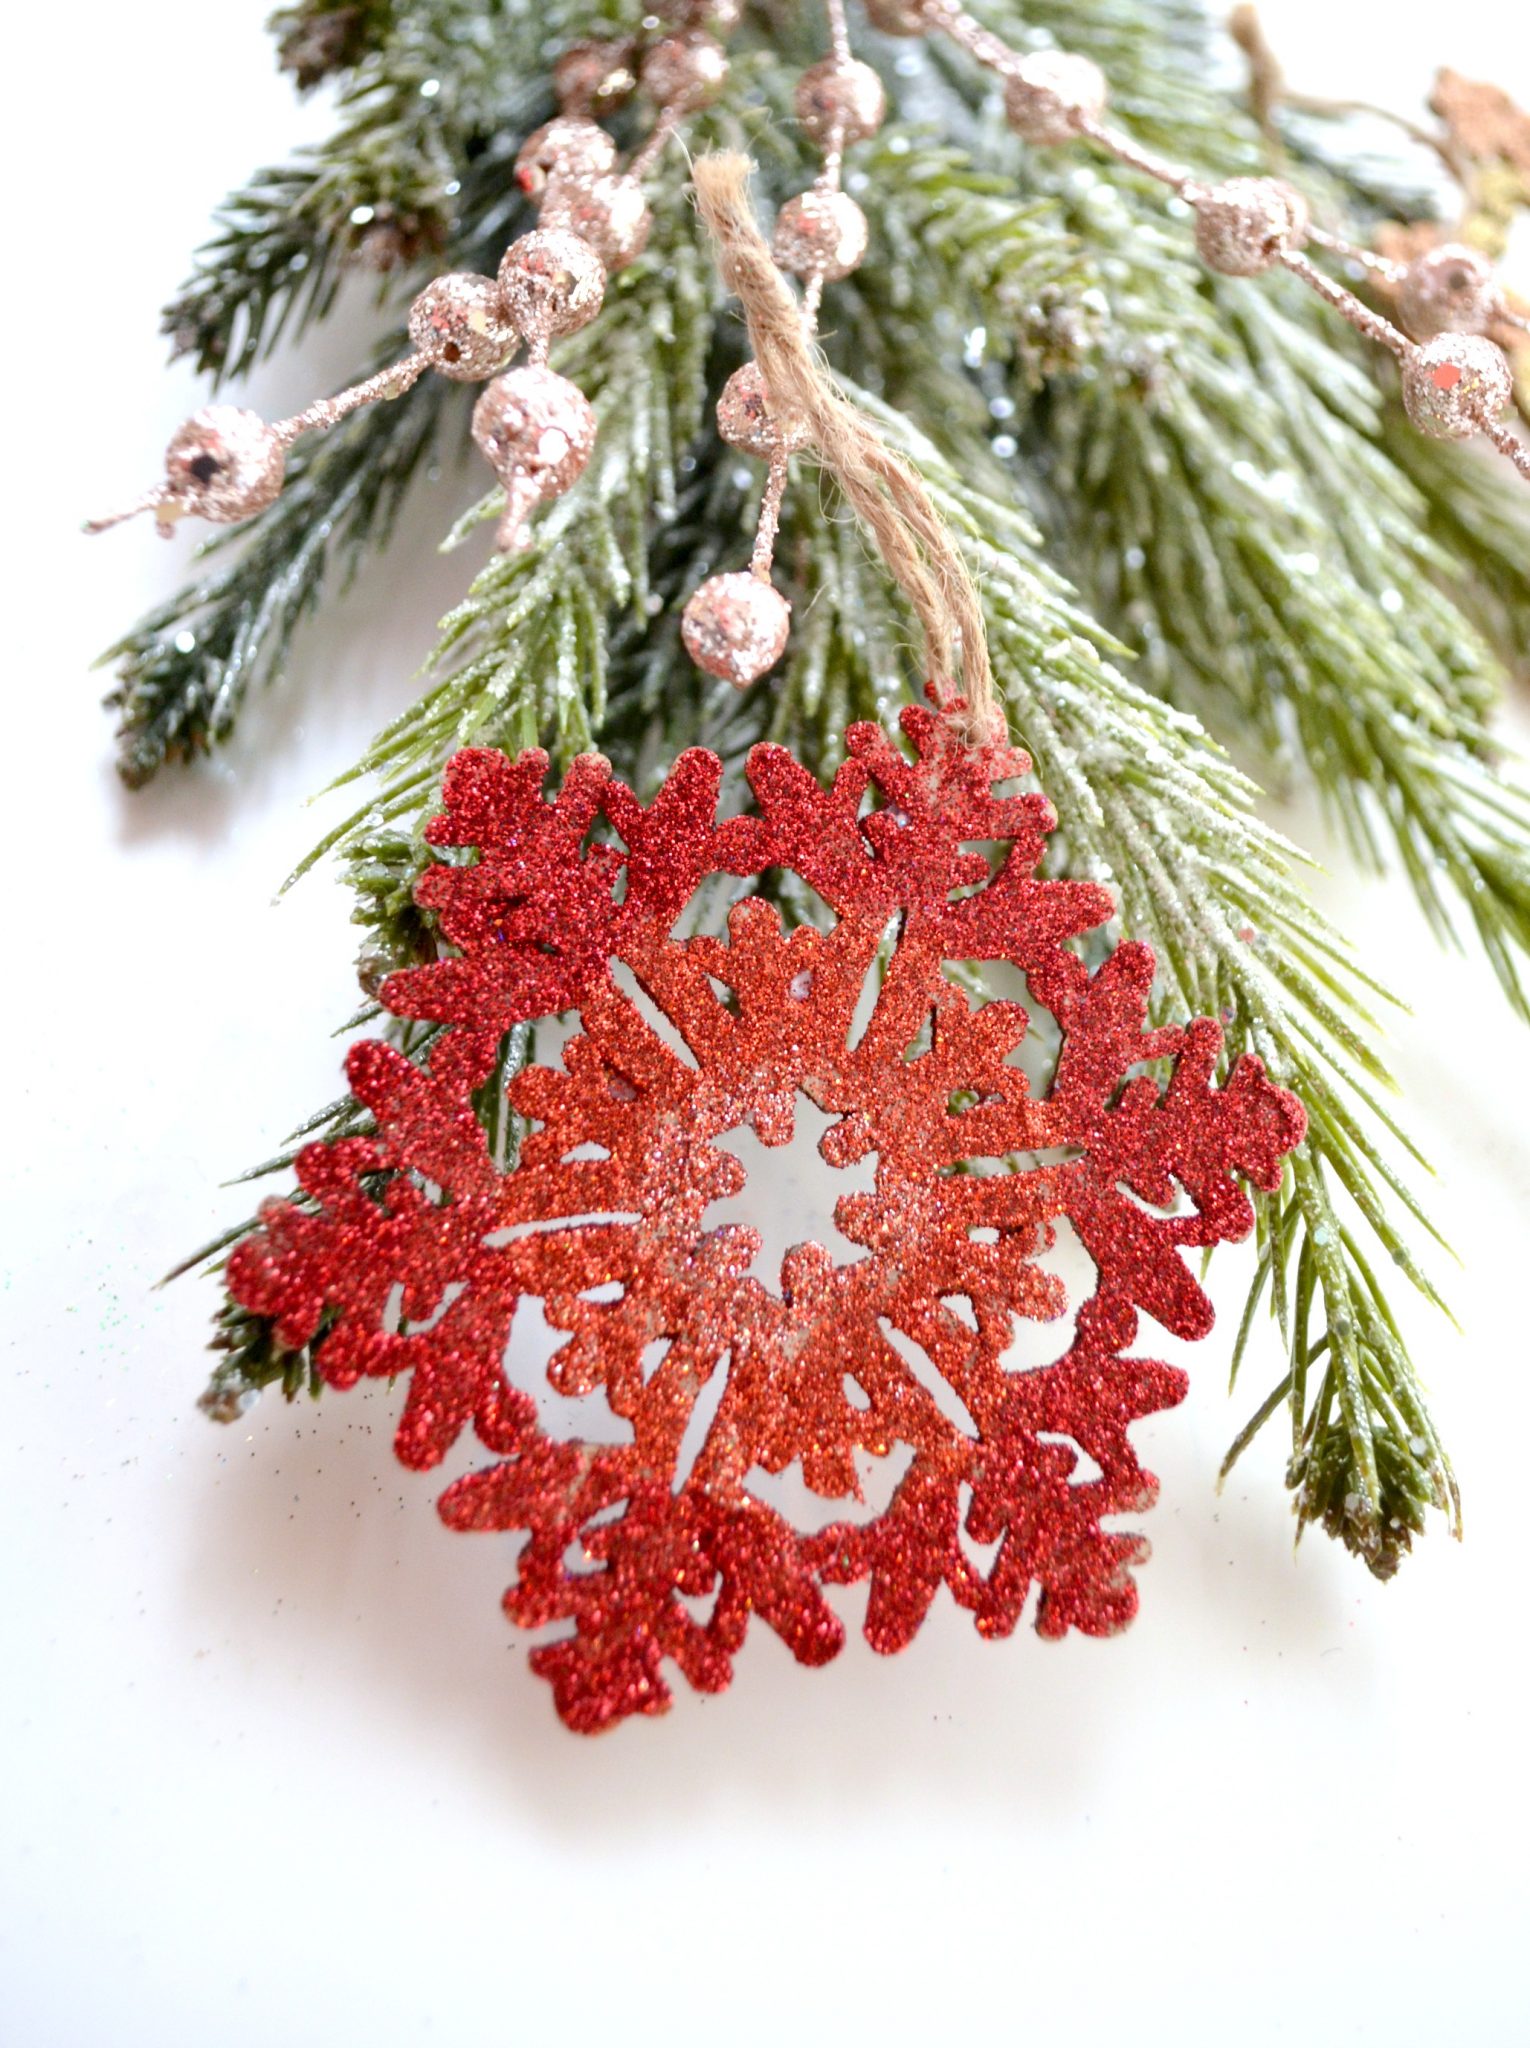
Finally, here’s the small red snowflake made with three shades of red.
I knew from the start that they’d be pretty, but even I wasn’t prepared for how breathtakingly gorgeous they are. In person, they sparkle and shimmer even more. And they’re so easy to create! The ornaments themselves cost less than $2 which makes them a very affordable gift idea for a teacher or neighbor, or a very pretty tie-on to any package. Which one is your favorite?
These are very pretty…