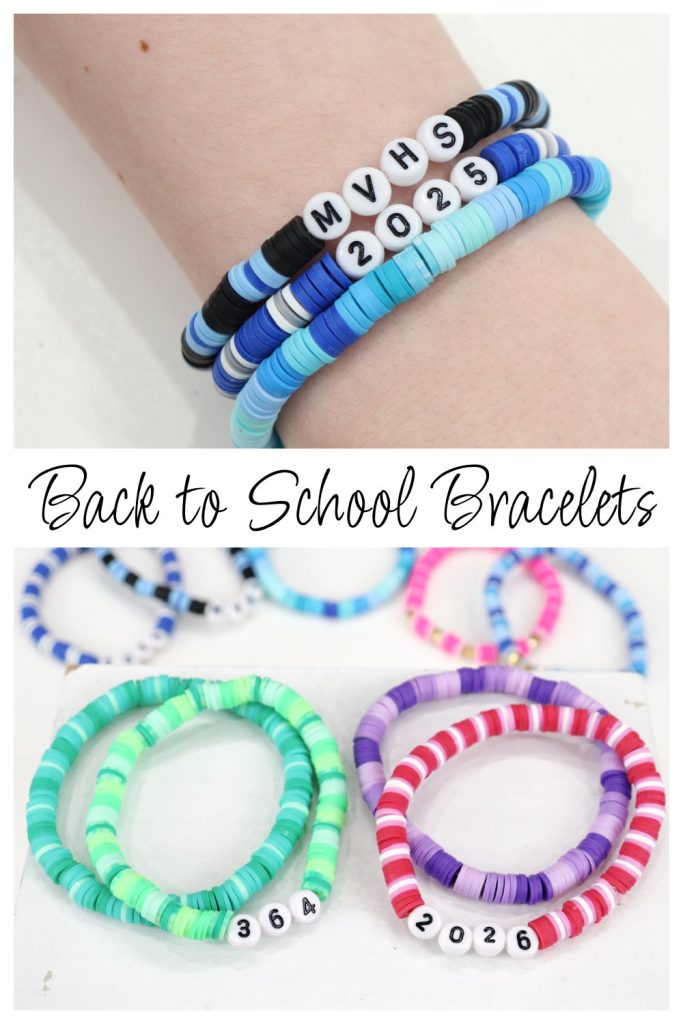
Back to School Bracelets
Celebrate the upcoming start of the school year with these fun Back to School Bracelets! Customize them with any combination of colors, letters, and numbers you can imagine.
How to Make Back to School Bracelets
These bracelets only require three basic supplies and a pair of scissors. The best part is that each one you create will be totally unique! There are so many ways to personalize them for your friends, your kids, or the teachers in your life. Let’s get started.
Materials
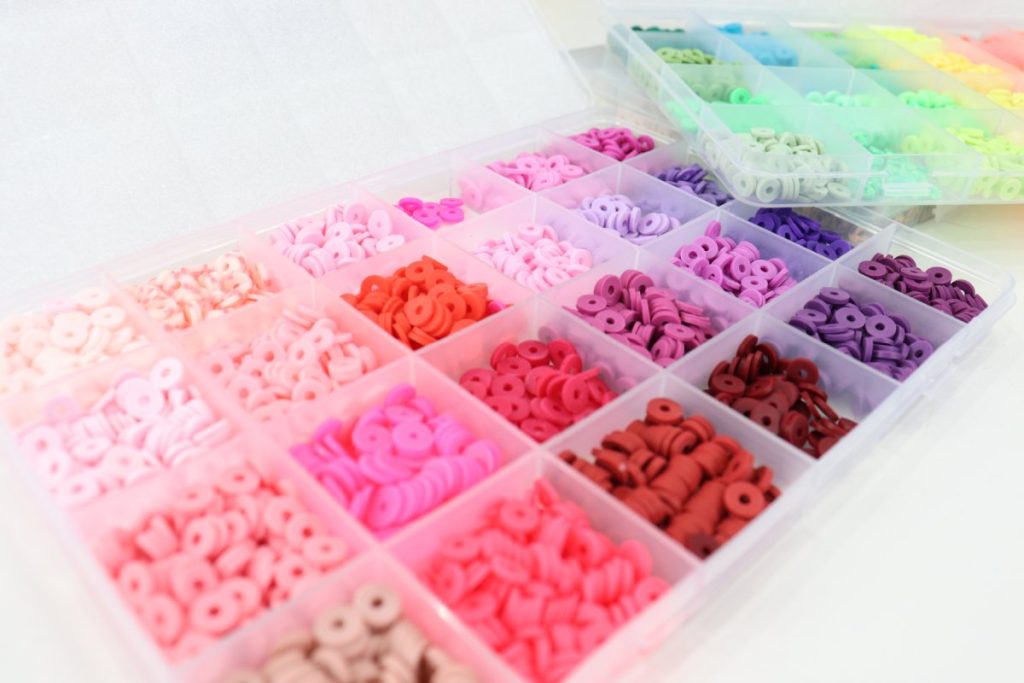
- clay beads, your choice of colors
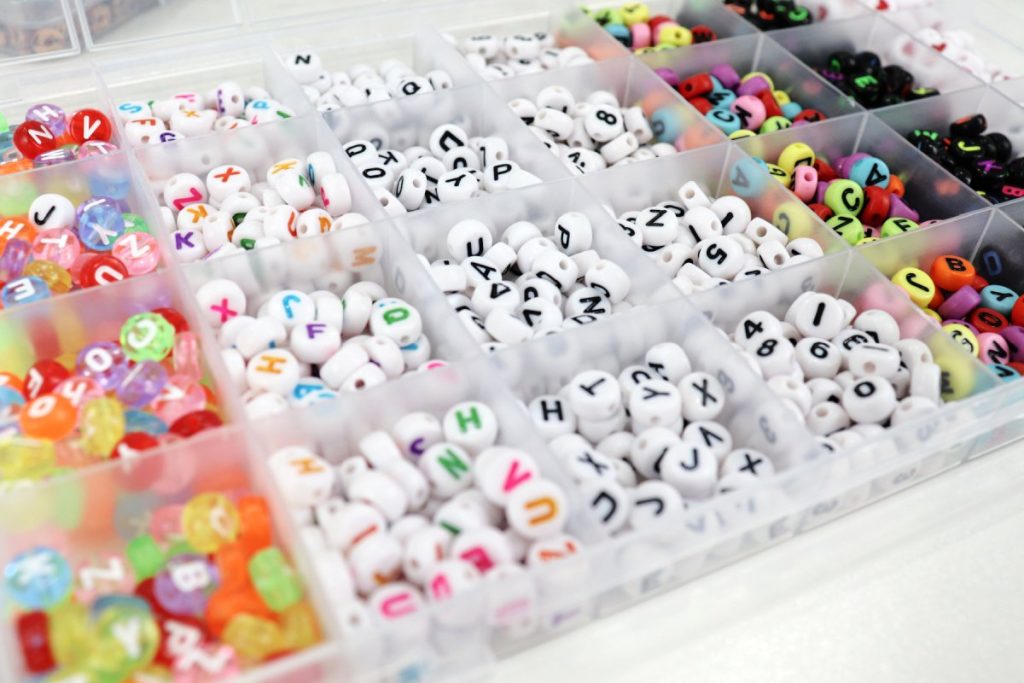
- number and letter beads
- elastic cord
- scissors
- super glue (optional)
Instructions
Choose your colors and create a pattern.
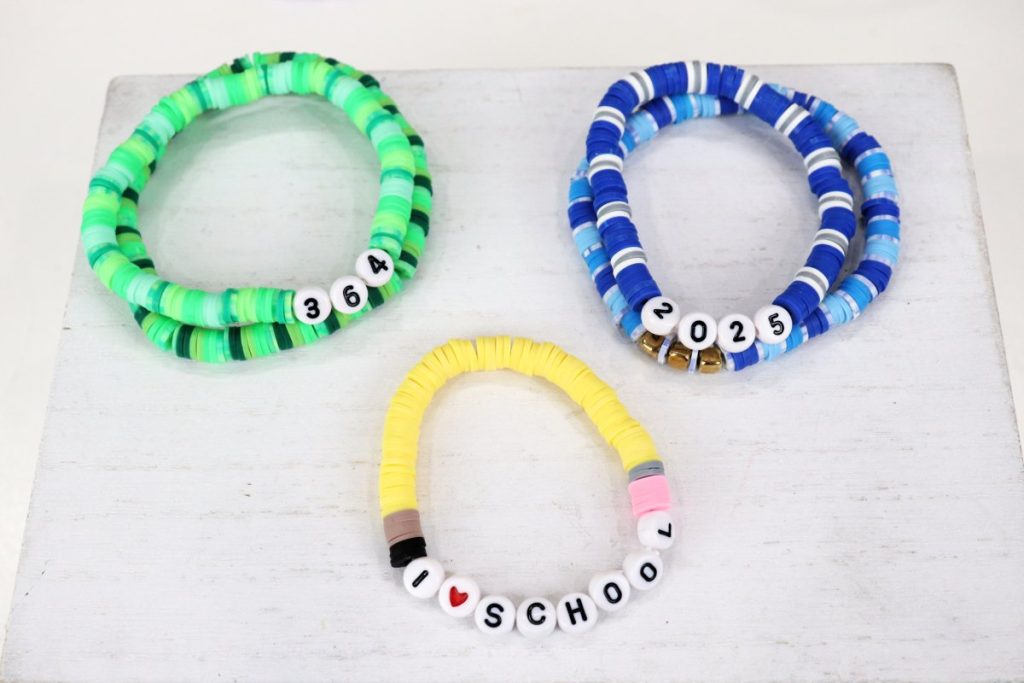
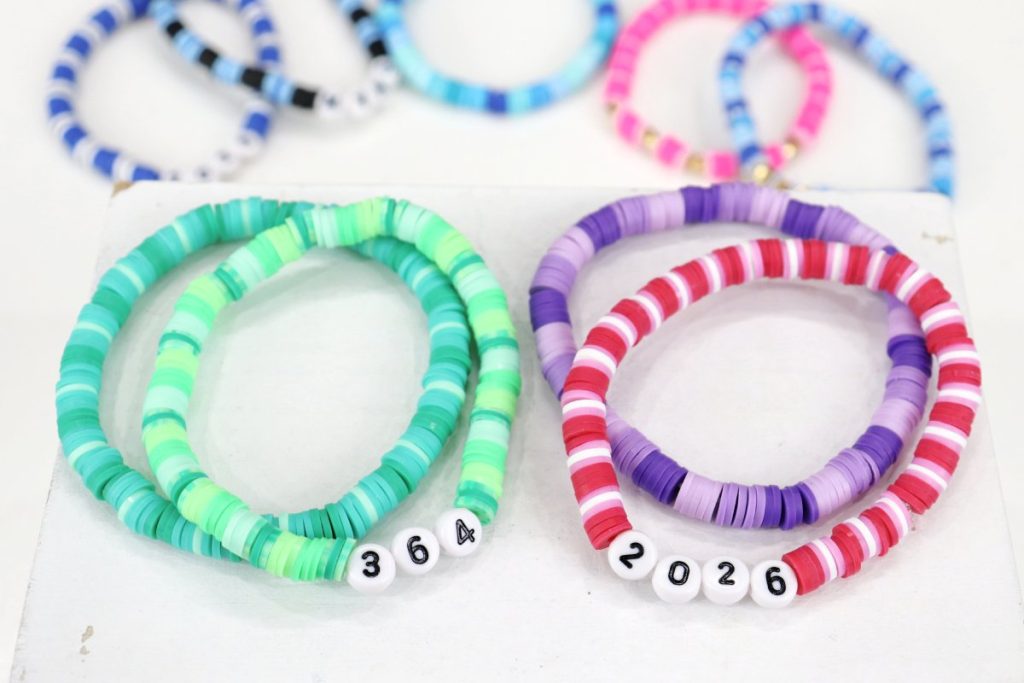
You can create any type of pattern you like. Solid colored bracelets are fun, and so are bracelets that alternate colors. Try sets of three or five beads of one color, then another color, in a repeating pattern. If you’d like to make a pencil themed bracelet, string 5 pink beads, 3 grey beads, as many yellow beads as you like, then 5 light brown and three black beads.
Lay out your letter/number beads.
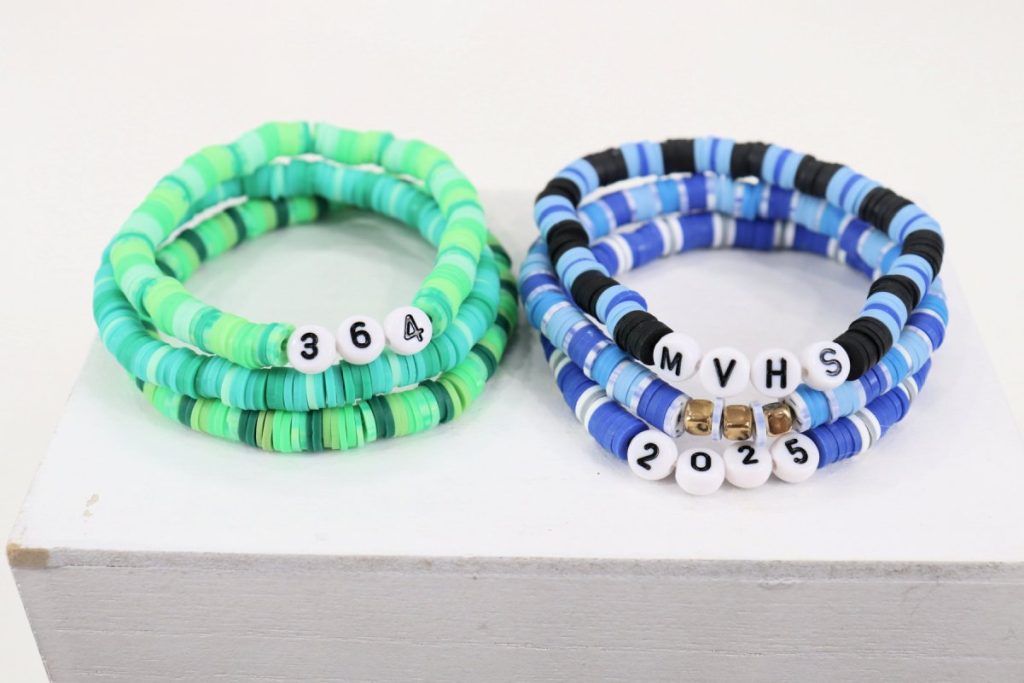
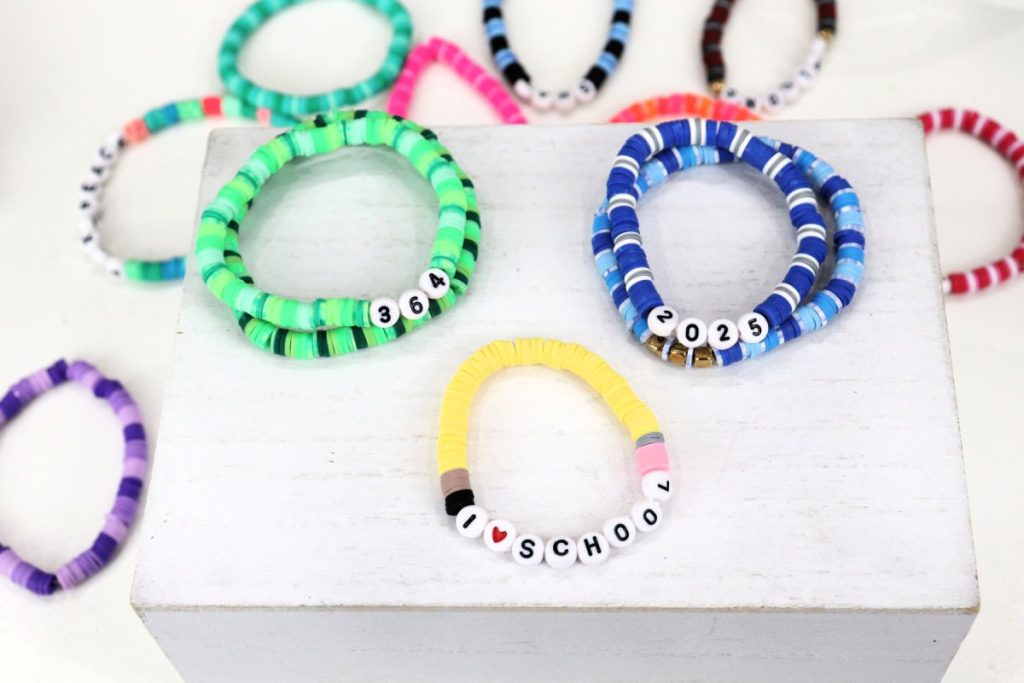
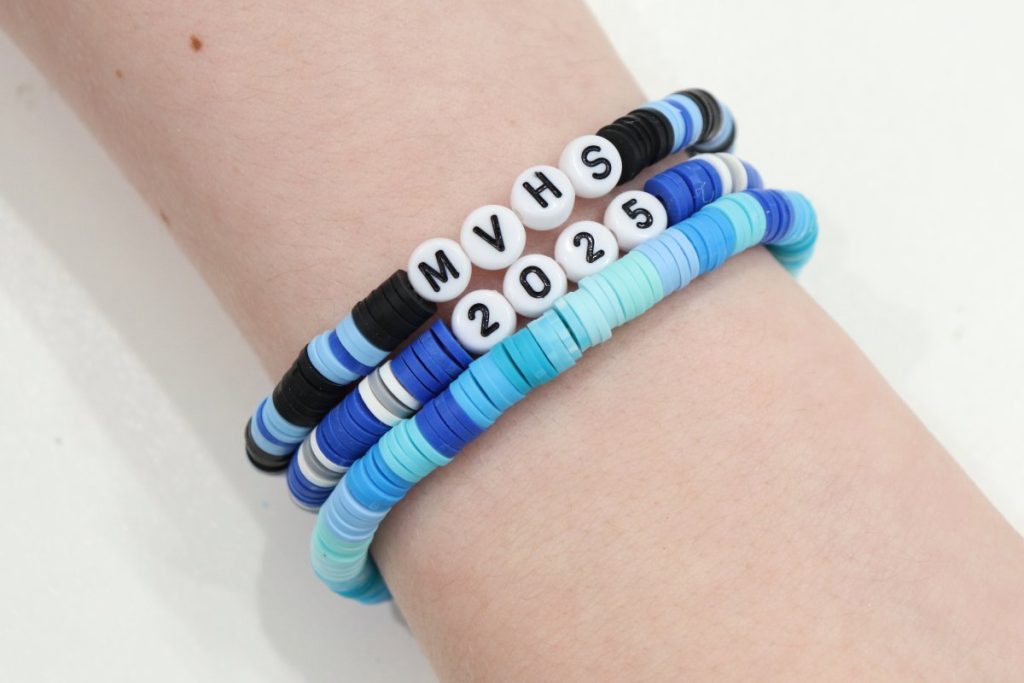
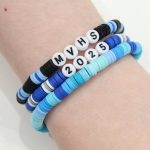
This is the part where you get to totally personalize your back to school bracelet! Of course, you can use names, but there are tons of other possibilities too! School names, abbreviations, or mascots can be fun, and so can special messages between you and the recipient. For younger kids, you could use their bus number to help them remember which bus to ride in the afternoon. Older kids might like to feature the year they’ll graduate!
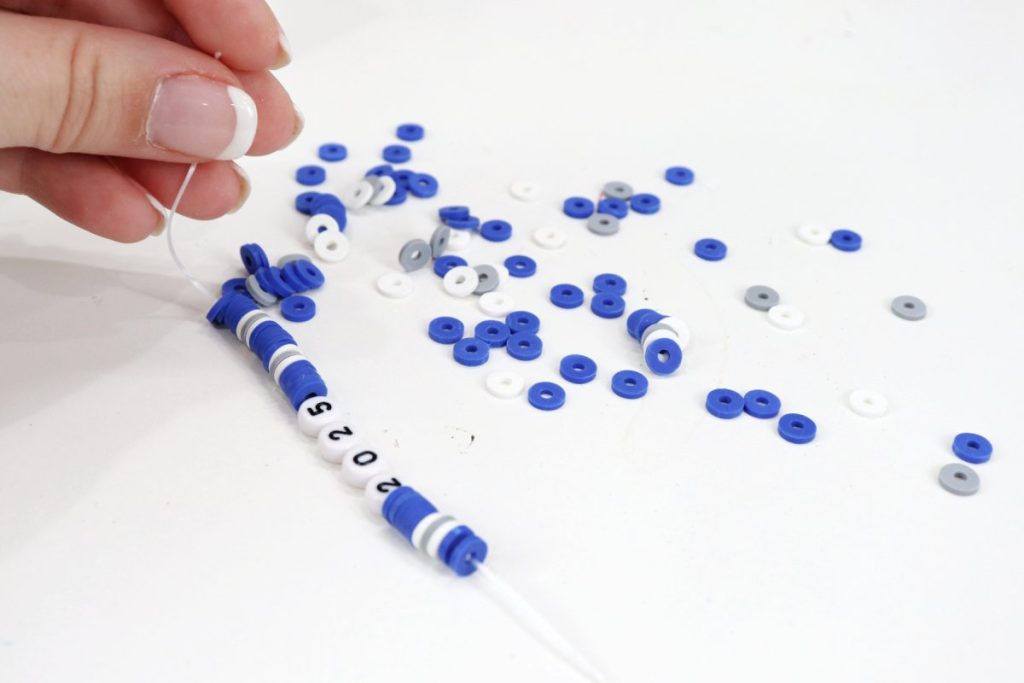
String your beads.
It is very easy for these beads to fall off the string while you’re working, so instead of cutting my string before I start, I keep it attached to the spool until I’m finished beading.
Cut and tie the string.
Make sure your bracelet is large enough, then cut the string with a few extra inches on each side and tie it tightly, knotting it at least three times.
Pro tip: Use a drop of super glue on the knot to make sure your bracelet doesn’t come untied.
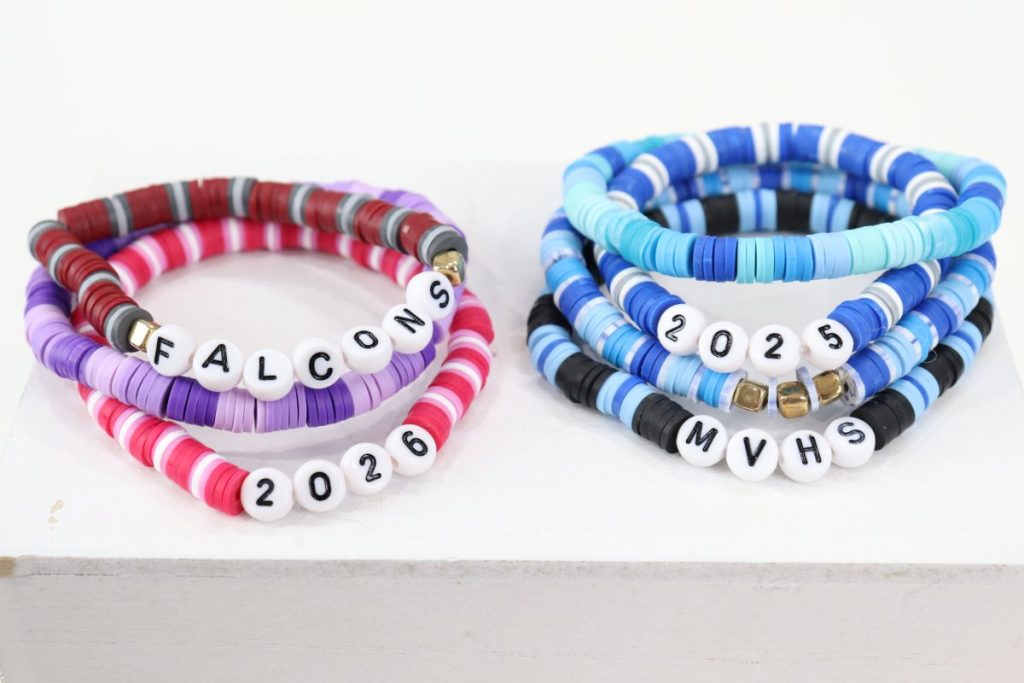
Now your bracelet is ready to wear and enjoy!
Crafting Tips
- In addition to letter and number beads, you can also add other accent beads, like stars, hearts, or charms of all shapes and sizes.
- White beading elastic tends to tie easier and stay tied more tightly than the clear elastic does.
- These bracelets are even more fun when you stack them! Try creating a coordinating set!
Frequently Asked Questions
My clay beads are 6mm in diameter and 1 mm thick, with a 2mm opening in the center.
Mine are 7mm in diameter, 4mm thick, and have a 2mm opening.
Since the beads have 2mm openings, any elastic that’s 1.5 mm or smaller will work just fine. I recommend 1mm or 0.8mm.
The best option, if possible, is to measure the wrist of the person who will be wearing the bracelet. If you can’t, here are some general guidelines: Kids – 6”, Teens/petite adults – 7”, Women – 7.5”, Men – 8”.
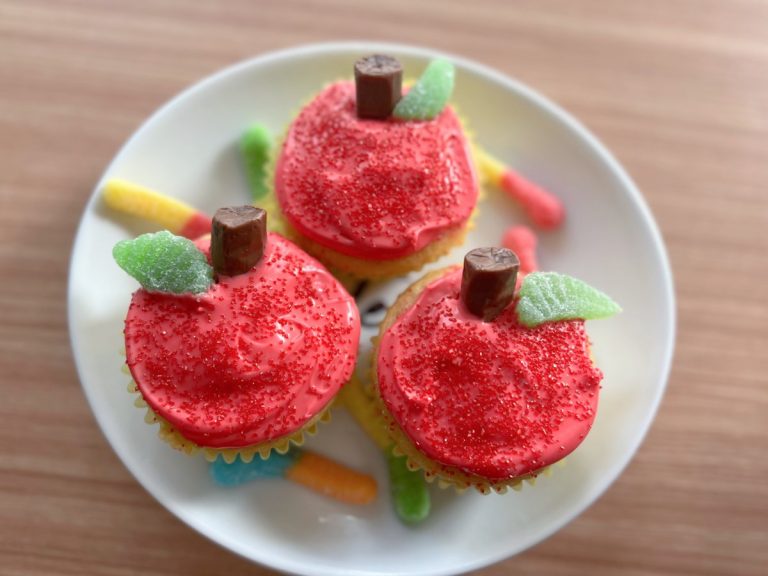
More Back to School Projects
If you enjoyed this post, be sure to check out these other back to school craft ideas.

Back to School Bracelets
Materials
- clay beads
- letter/number beads
- elastic cord
- scissors
- super glue (optional)
Instructions
- Choose your colors and pattern.
- Lay out your letter and/or number beads.
- String your beads onto elastic cord.
- Cut and tie the cord, securing the knot with super glue.
Enjoyed this post? Why not save it to Pinterest or share it with a friend? If you try the project, I’d love to see how your bracelets turn out. Make sure you’re part of the Amy Latta & Friends Facebook Group so you can share your latest project photos and we can all be inspired together. See you there!