Custom Design Stamp from ImpressArt
Thanks to ImpressArt for sponsoring today’s post; all opinions are honestly my own.
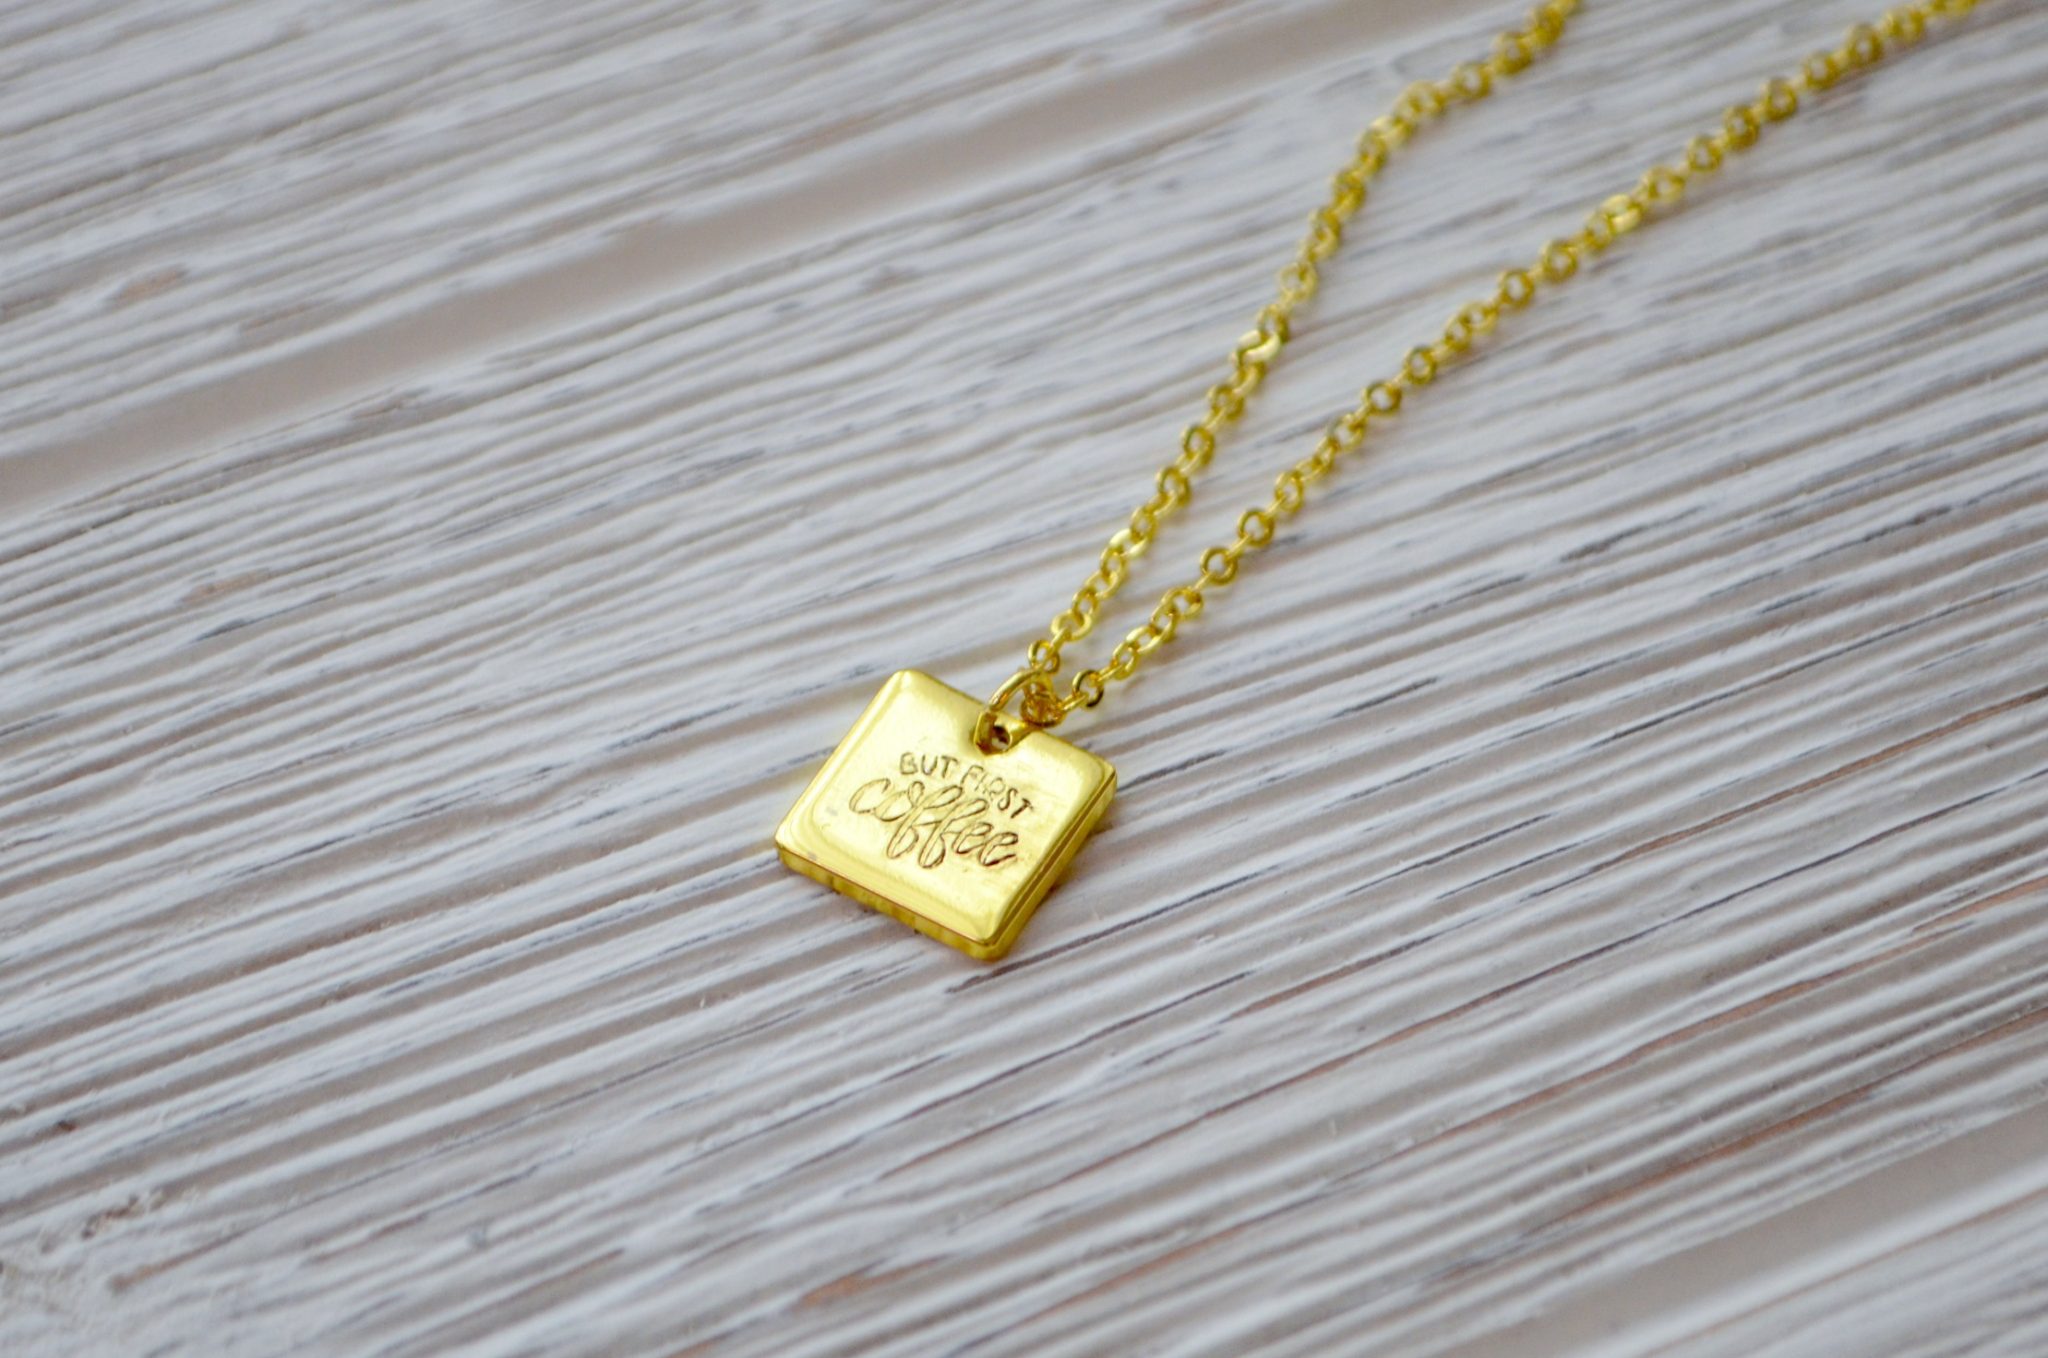
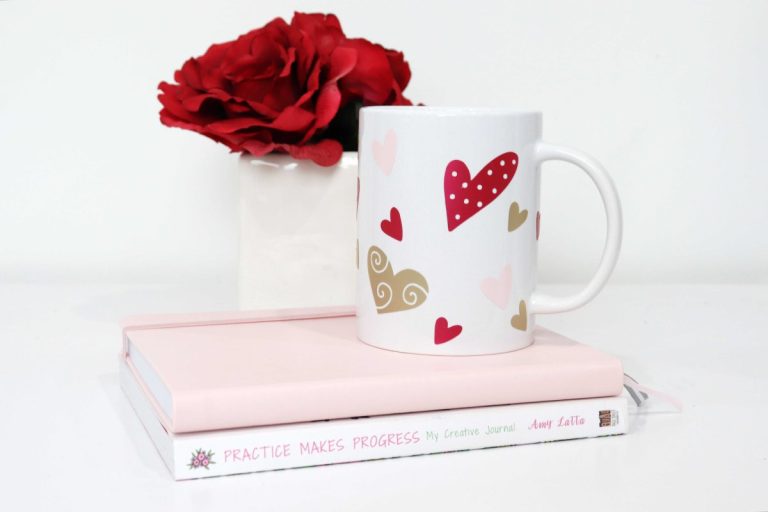
Friends, take a look at the latest jewelry project I created. Do you notice anything about the stamped design?
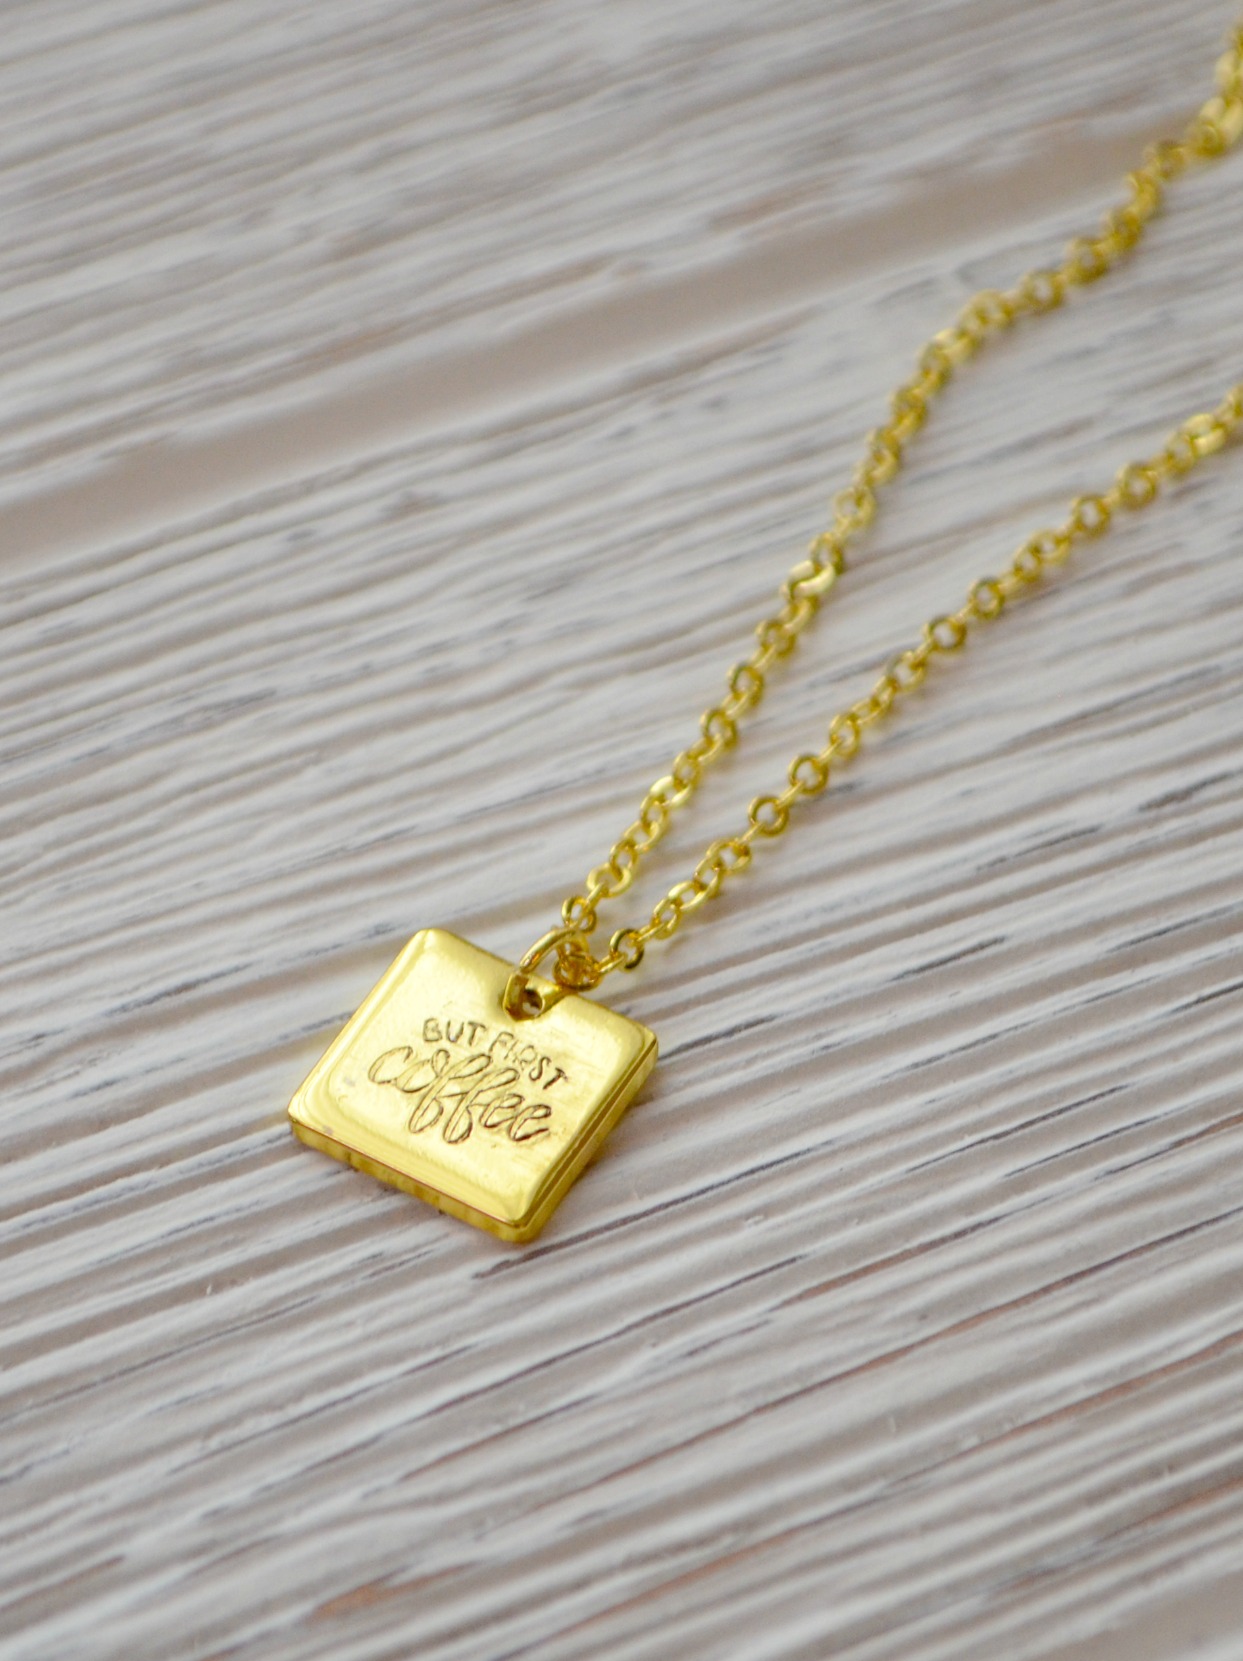
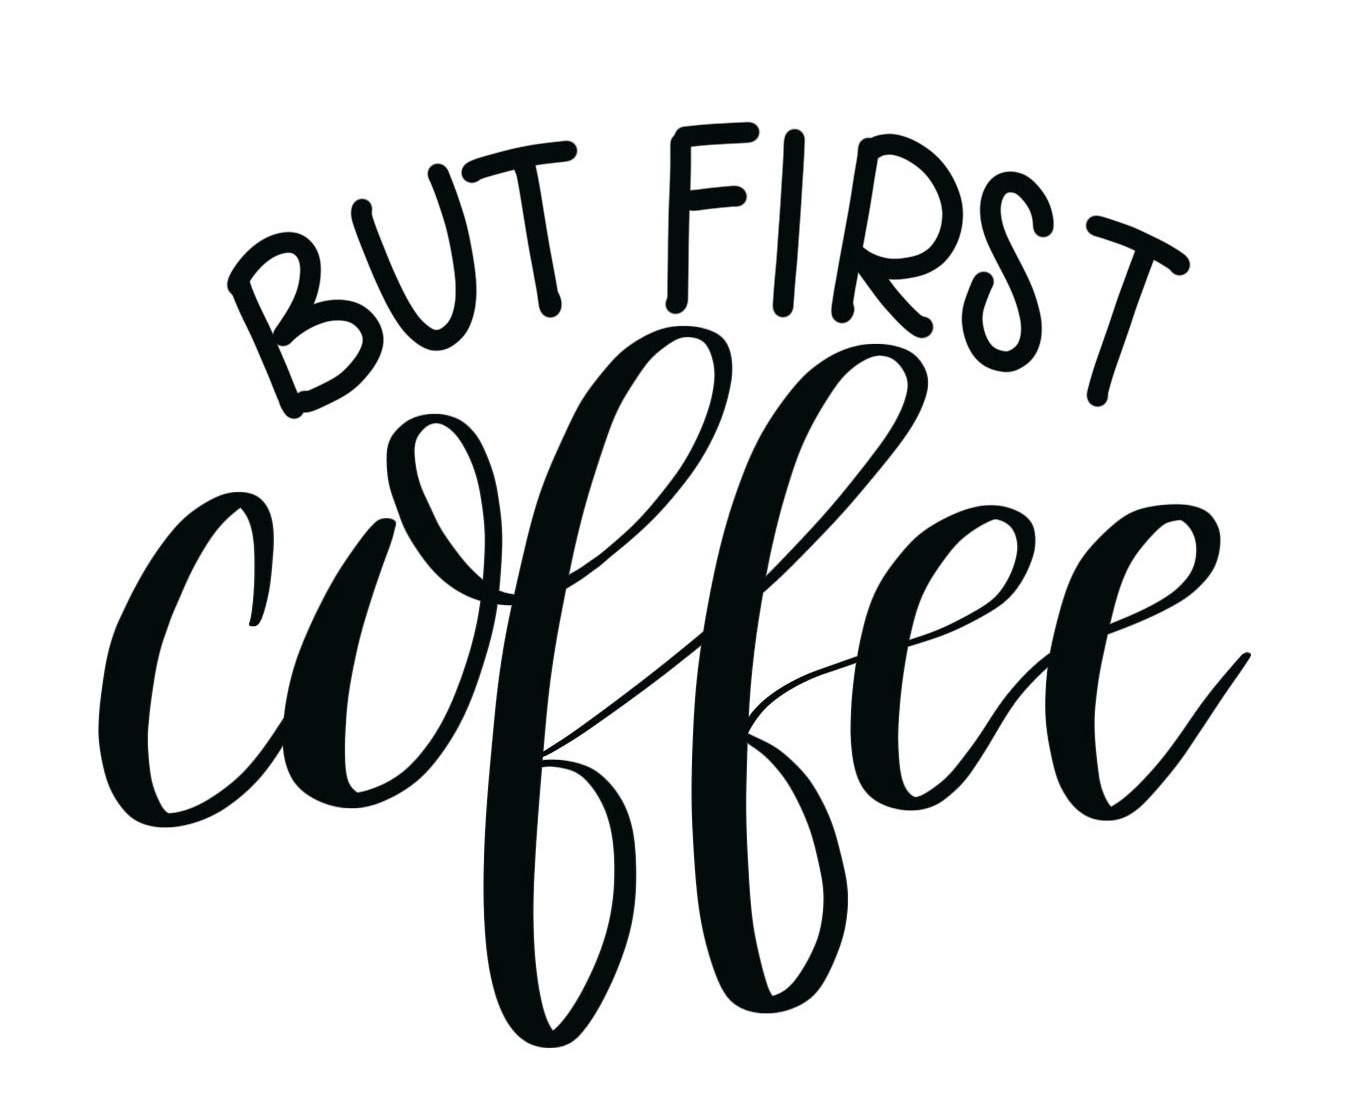
If you said, “hey! That looks like YOUR hand lettering,” you’d be right! How awesome is that? My lettering is an actual metal stamp! How did that happen? Well, ImpressArt, my favorite supplier for stamps, blanks, and jewelry tools, now has a Custom Design Stamp option that lets you send them any design you love and they’ll turn it into a stamp for you. Here’s the piece of art I sent them, made with my Apple Pencil and the Procreate app on the iPad Pro…
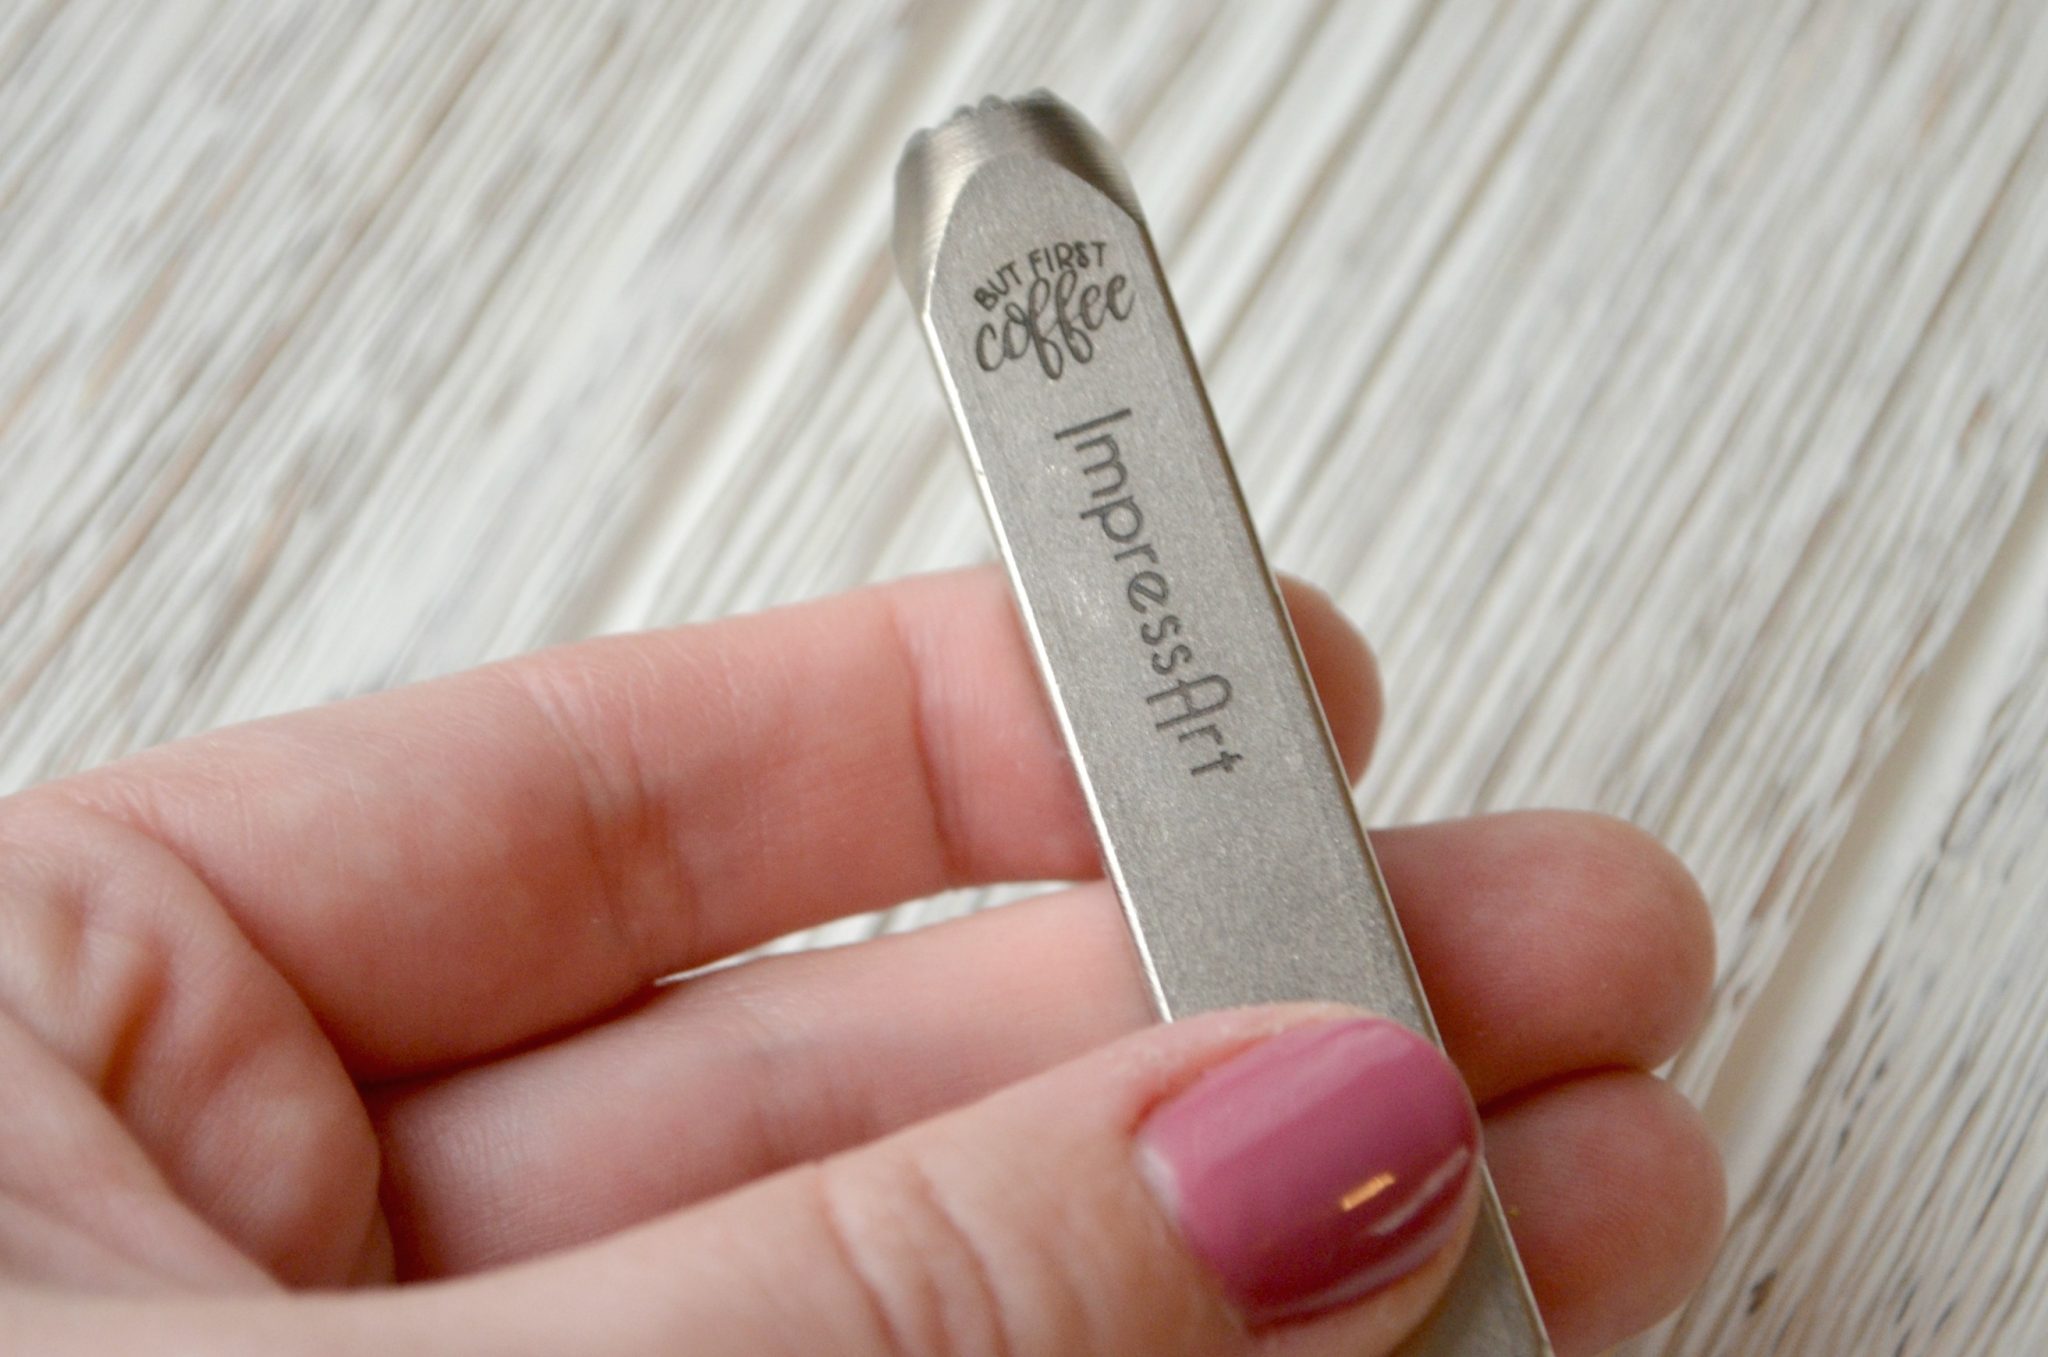
…and here’s what they sent me in return. Not gonna lie, I seriously geeked out when I saw it. If you don’t happen to be a lettering artist, that doesn’t mean you can’t create your own design. You can use your company logo, any kind of drawing, or any other writing/image that isn’t copyright. Take a look at how I used mine to make a fun and totally unique necklace.
I used:
ImpressArt Steel Stamping Block
ImpressArt Custom Metal Stamp
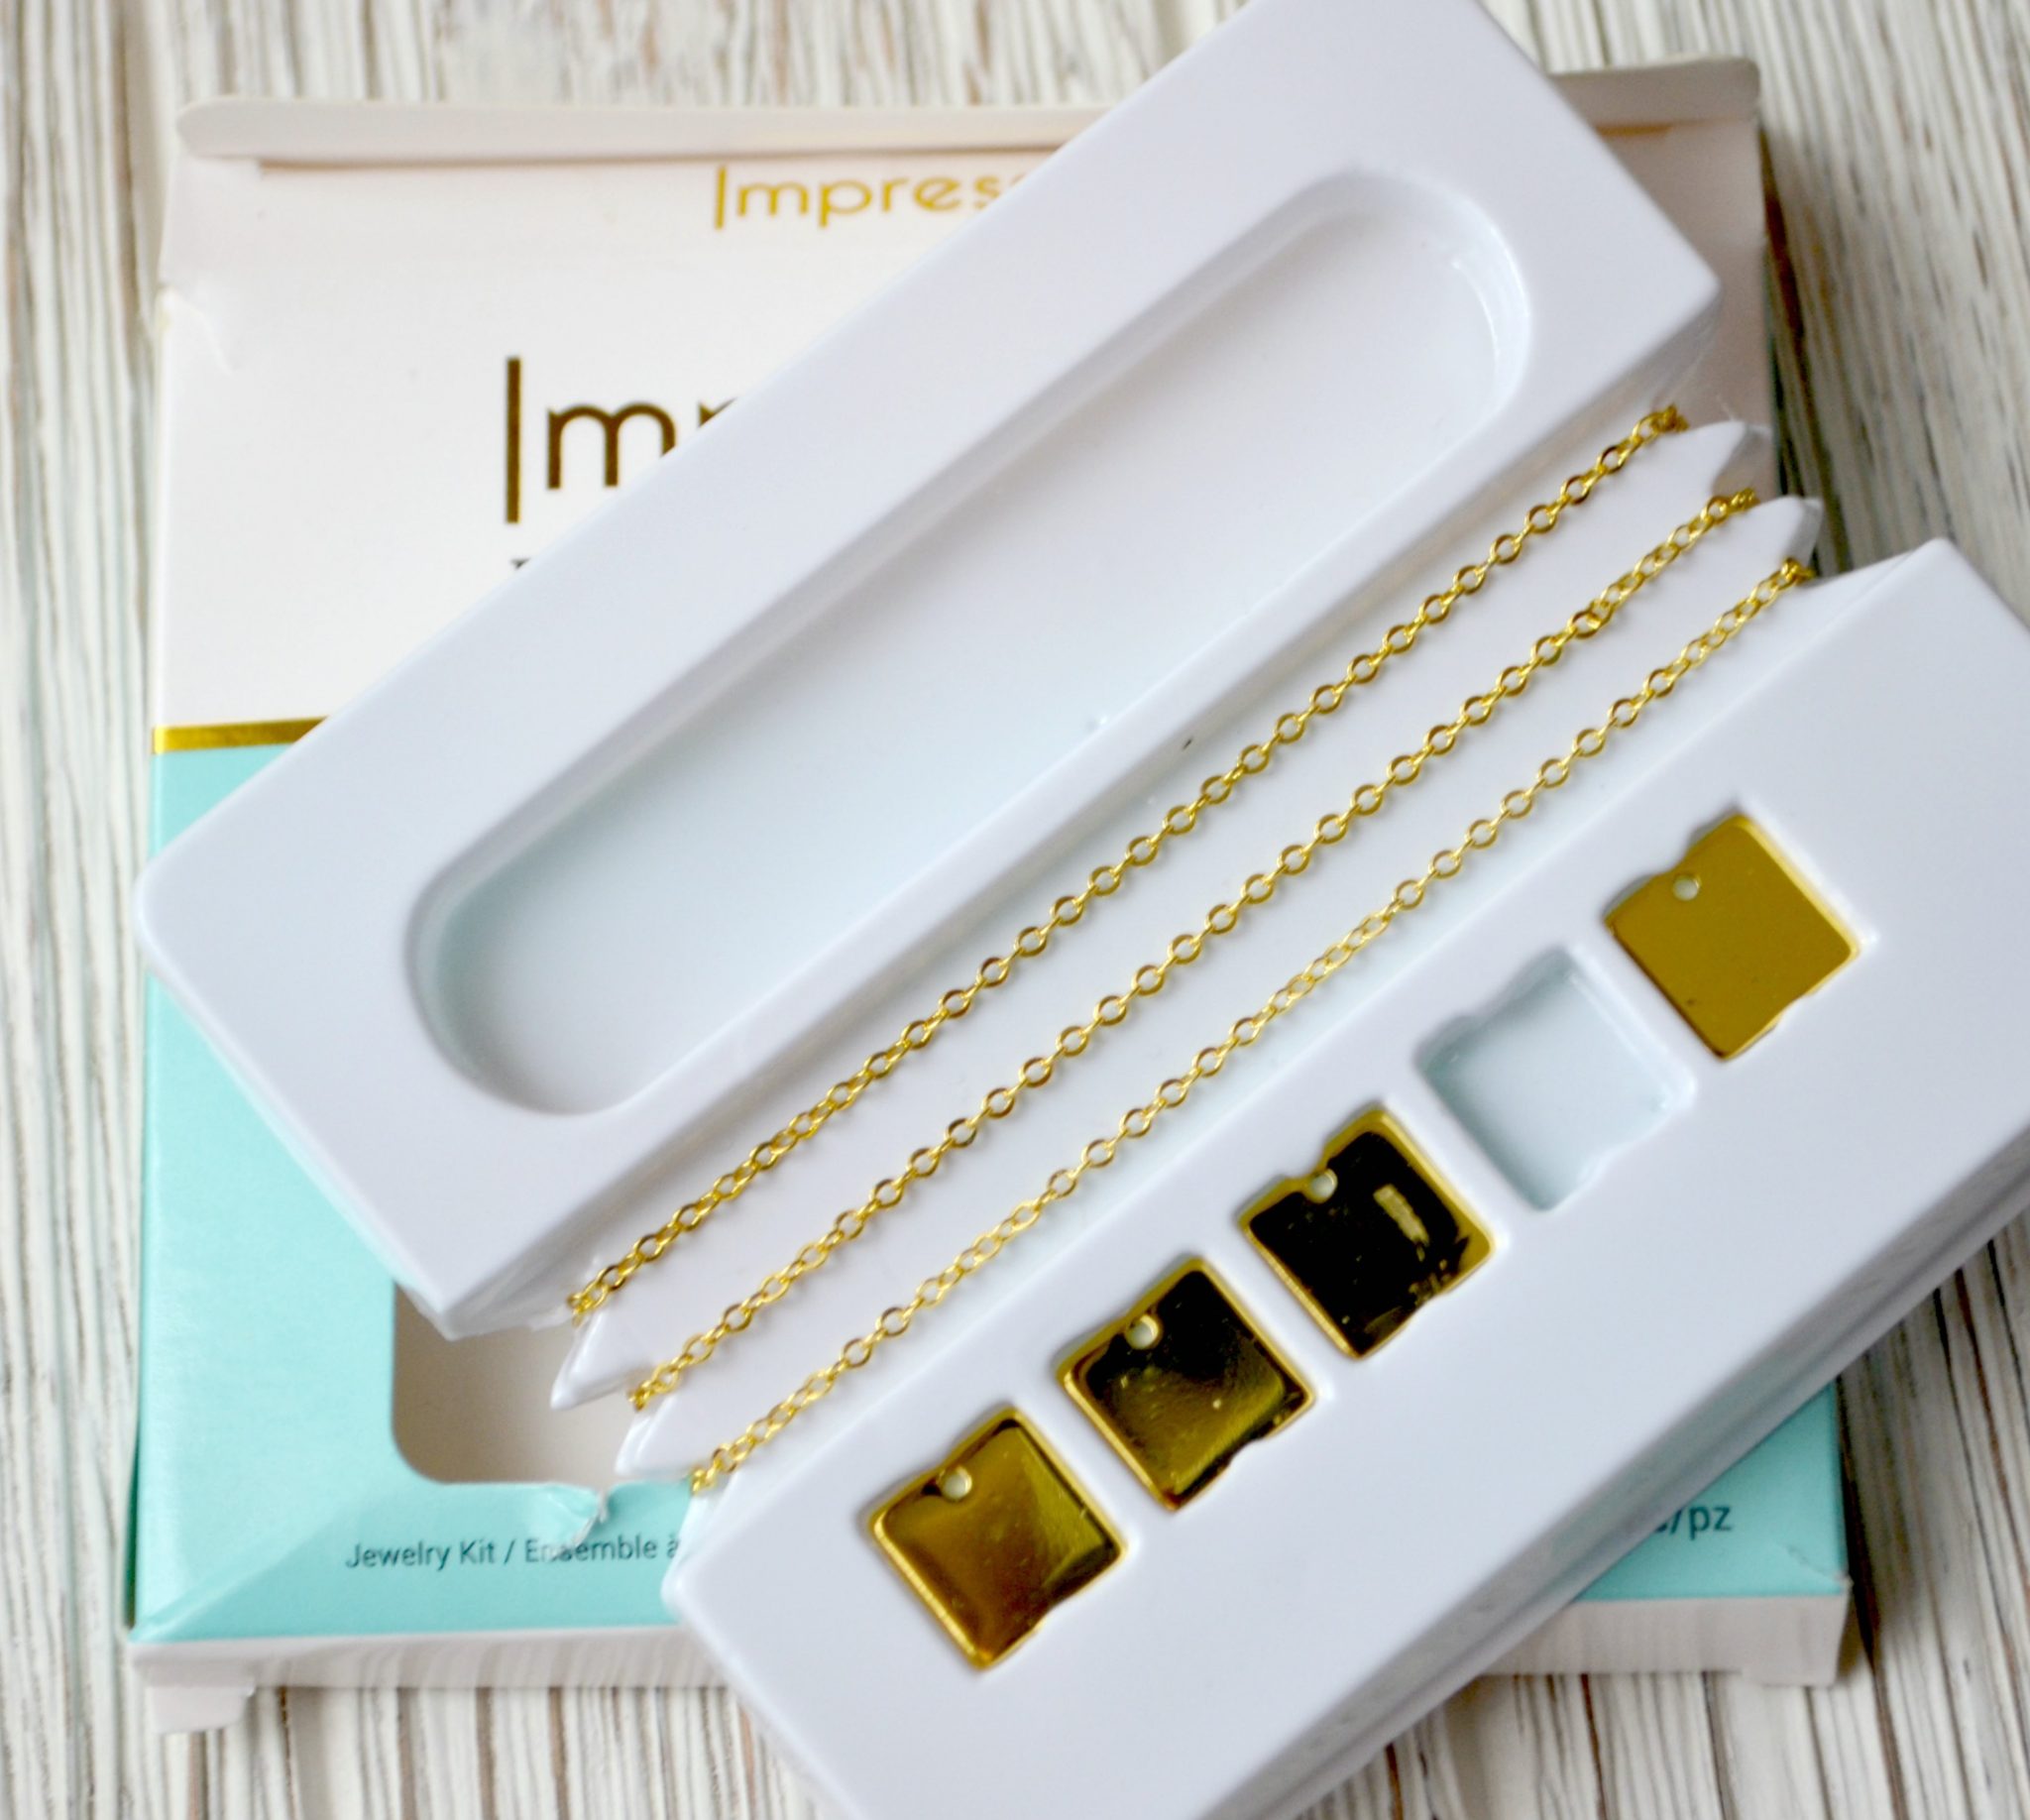
ImpressArt Personal Impressions Square Gold-Plated Kit
ImpressArt Stamp Enamel
ImpressArt Ergo-Angle Stamping Hammer
Soft Cloth or Paper Towel
Jewelry Pliers
Tape: washi, painters’ or Stamp Straight
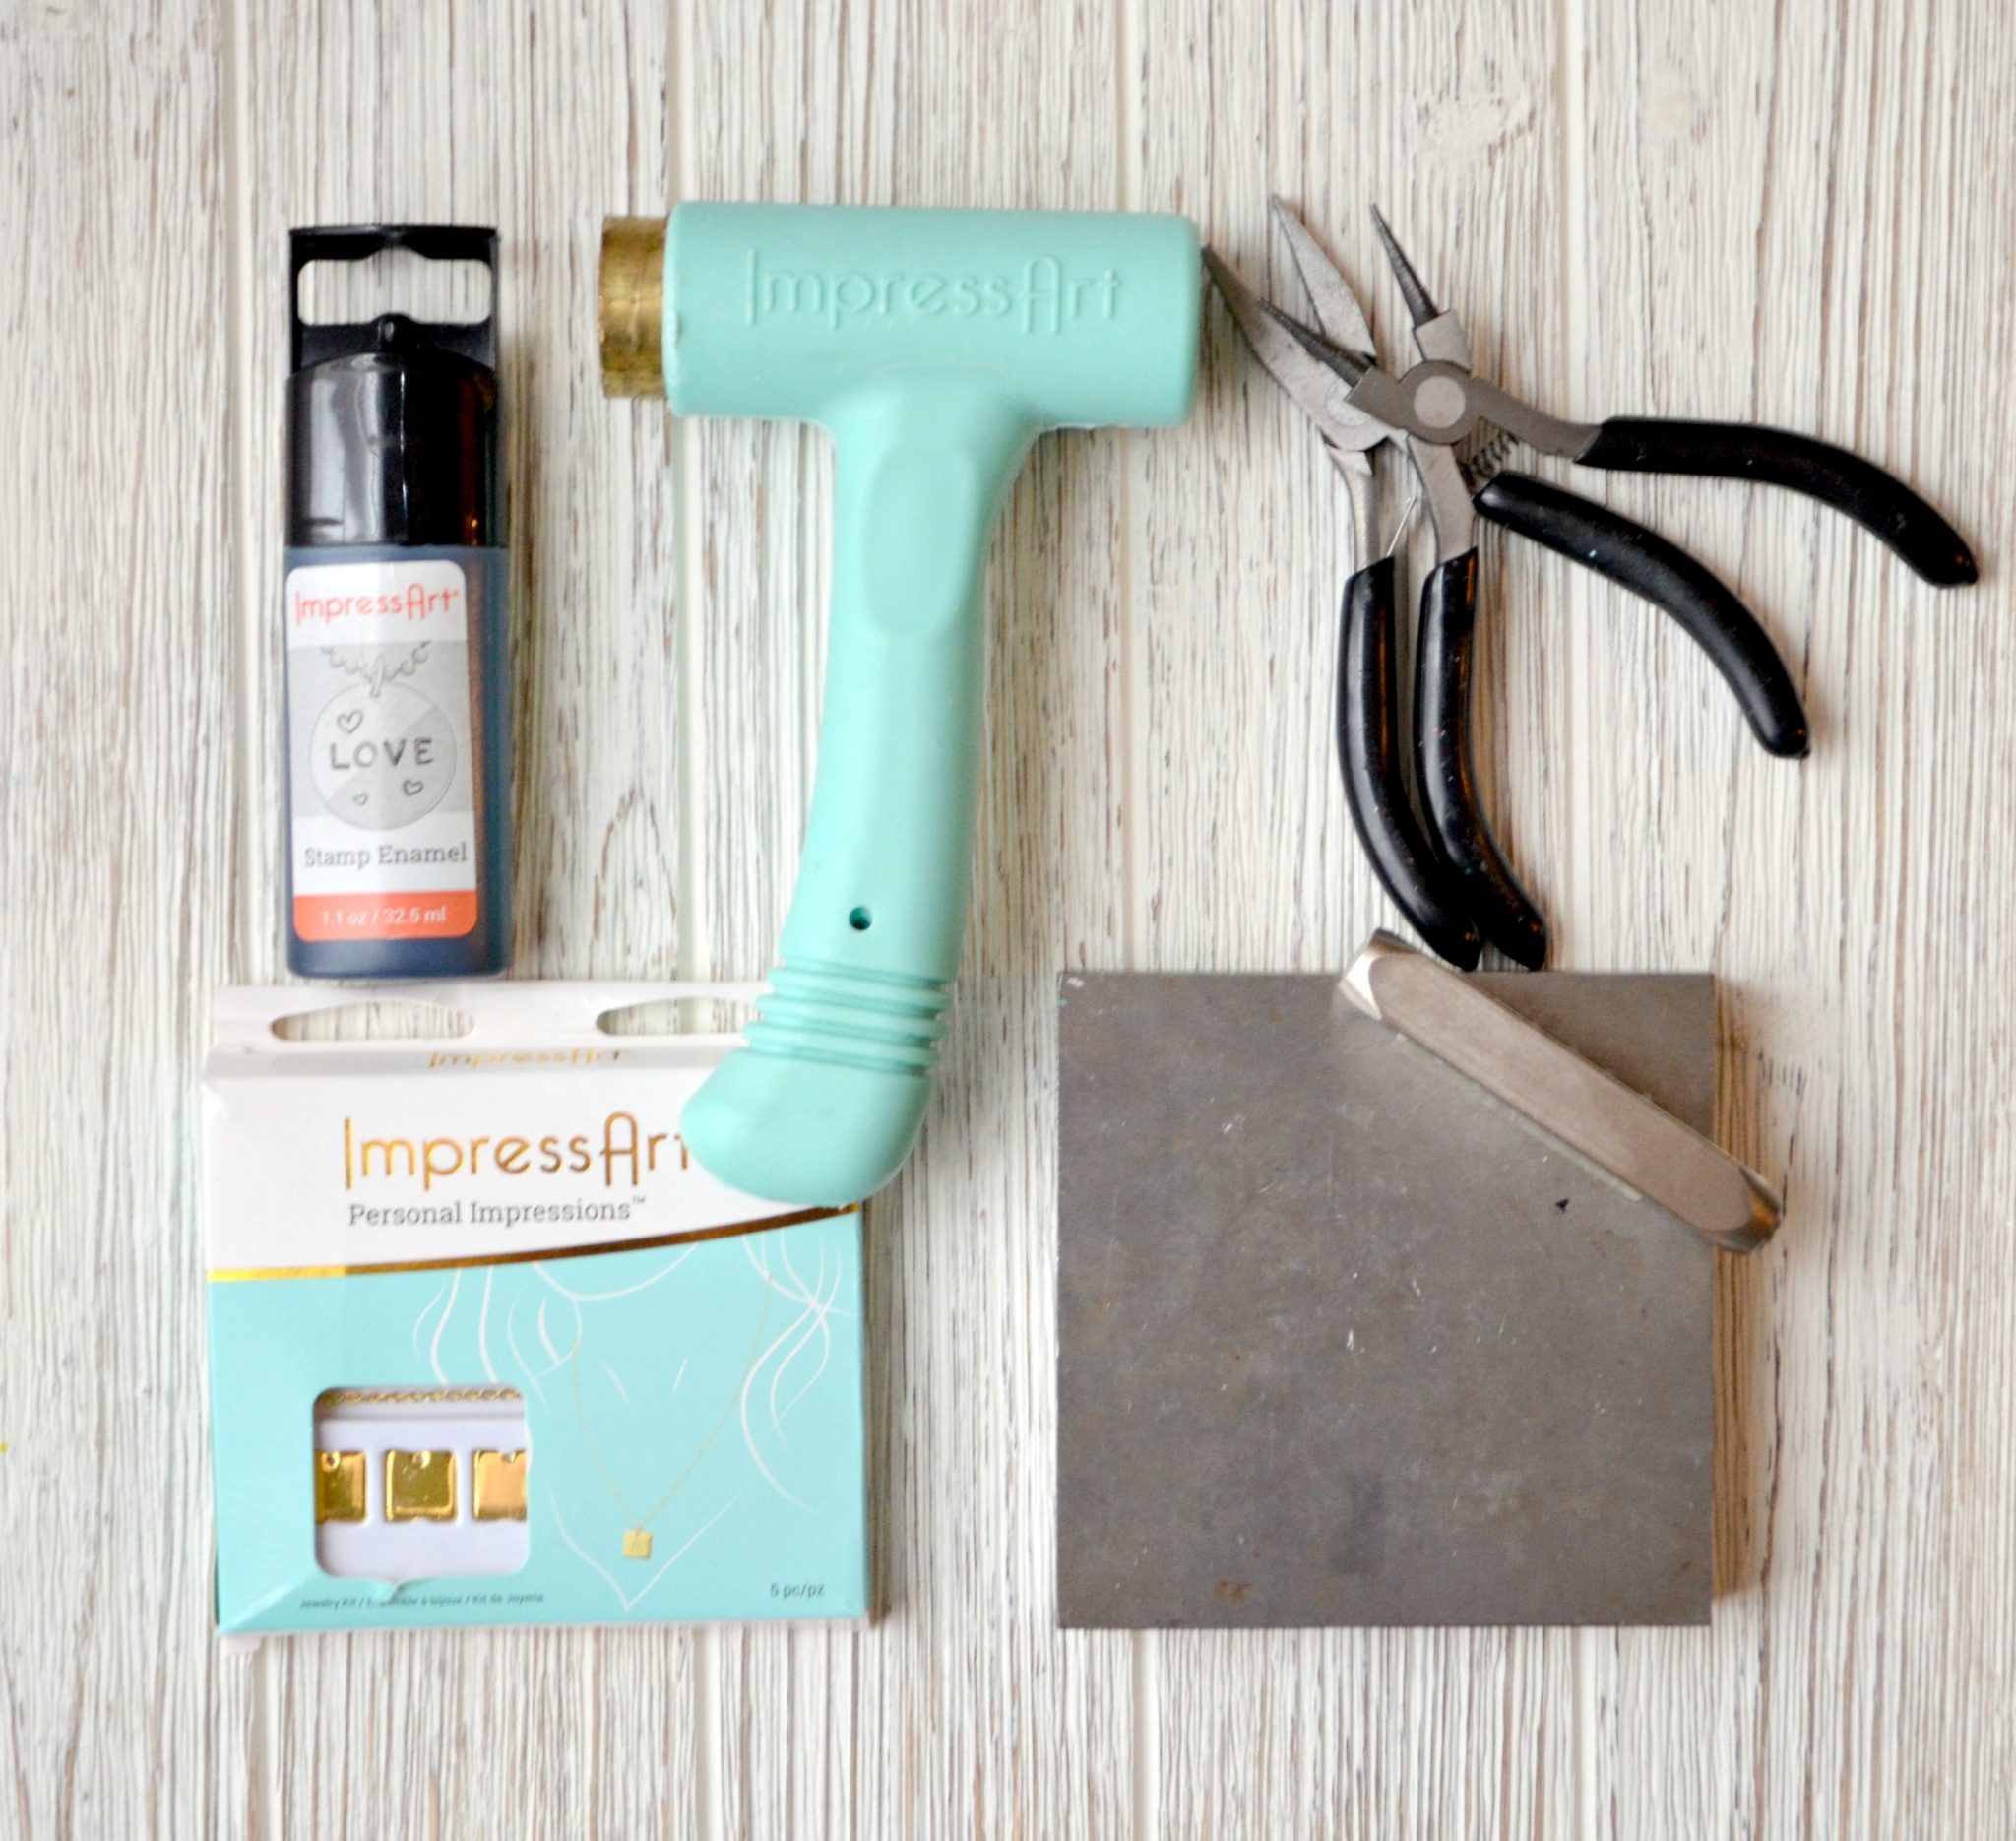
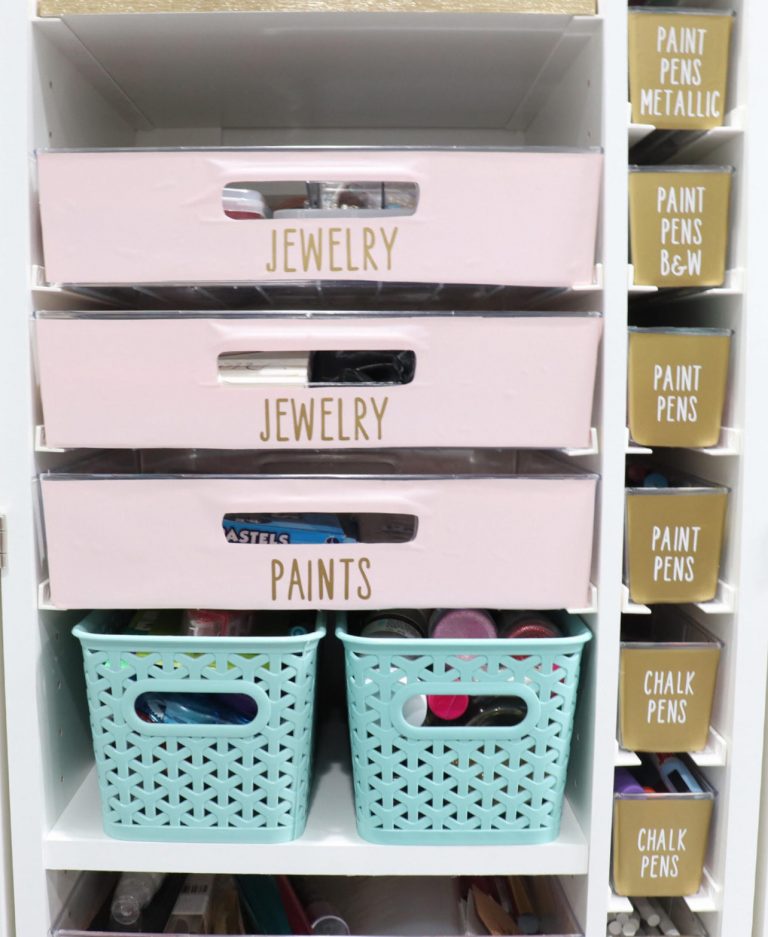
I’m a huge fan of the Personal Creations kits, because they have everything you need to make five necklaces, including five blanks, five chains that each have a clasp and a jump ring, and even a practice blank. They’re perfect for beginners, because you don’t have to worry about trying to buy all the right things, and they’re available in both silver and gold plated options in a variety of shapes, including squares, circles, hearts, and thin rectangles.
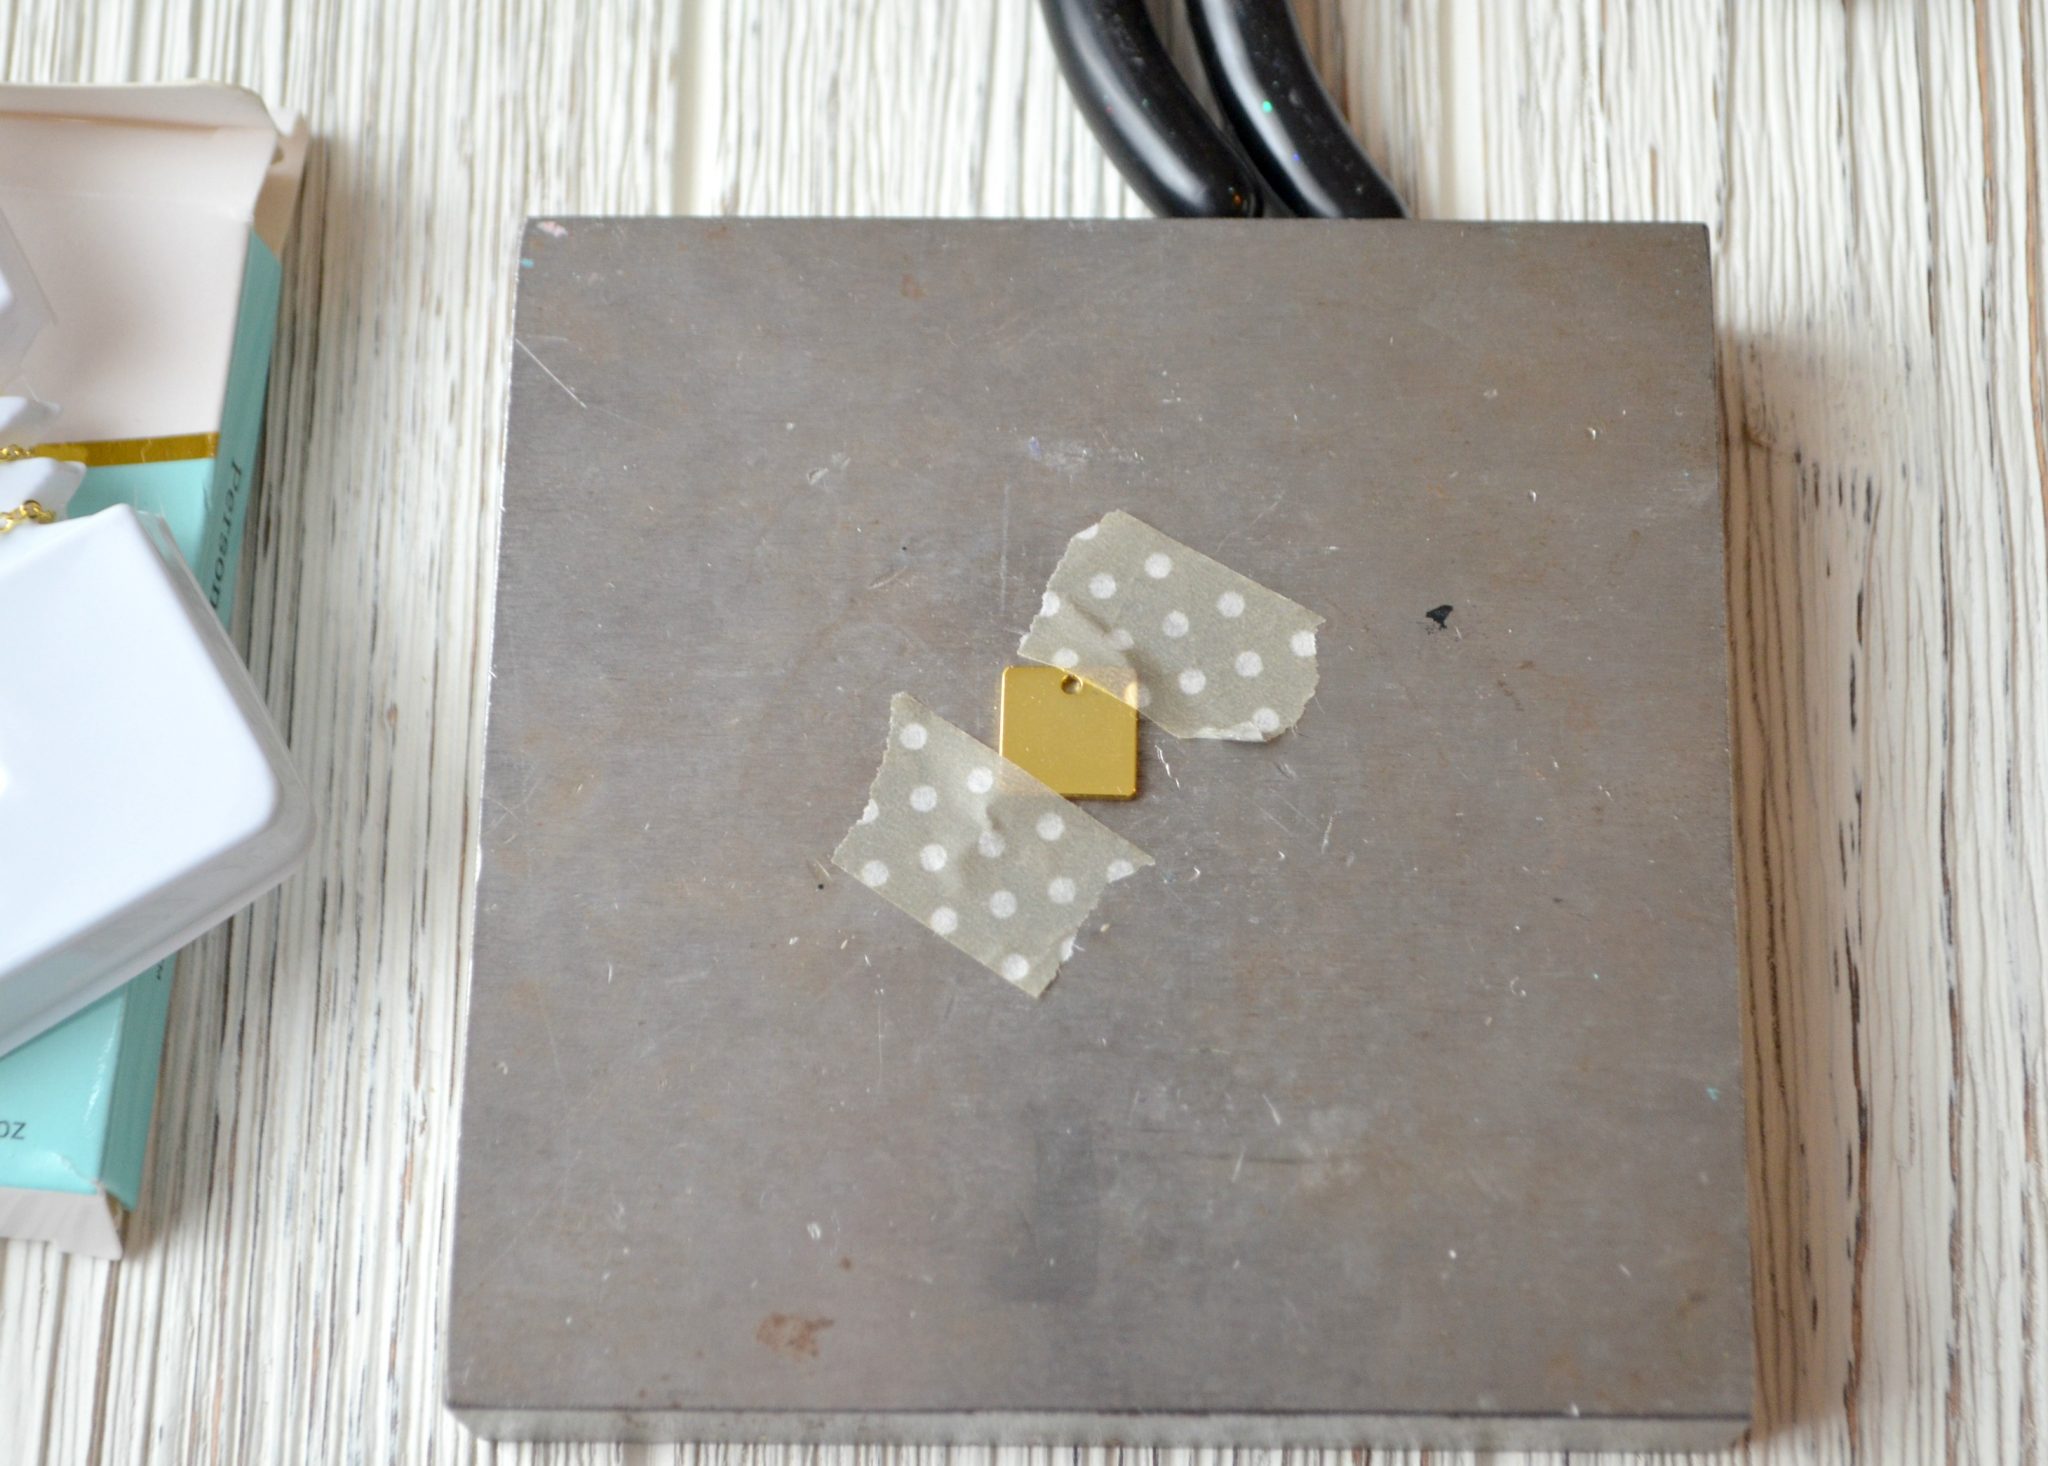
Step 1: Tape your blank to the stamping block.
This will ensure that it doesn’t move around while you’re stamping and create a double image.
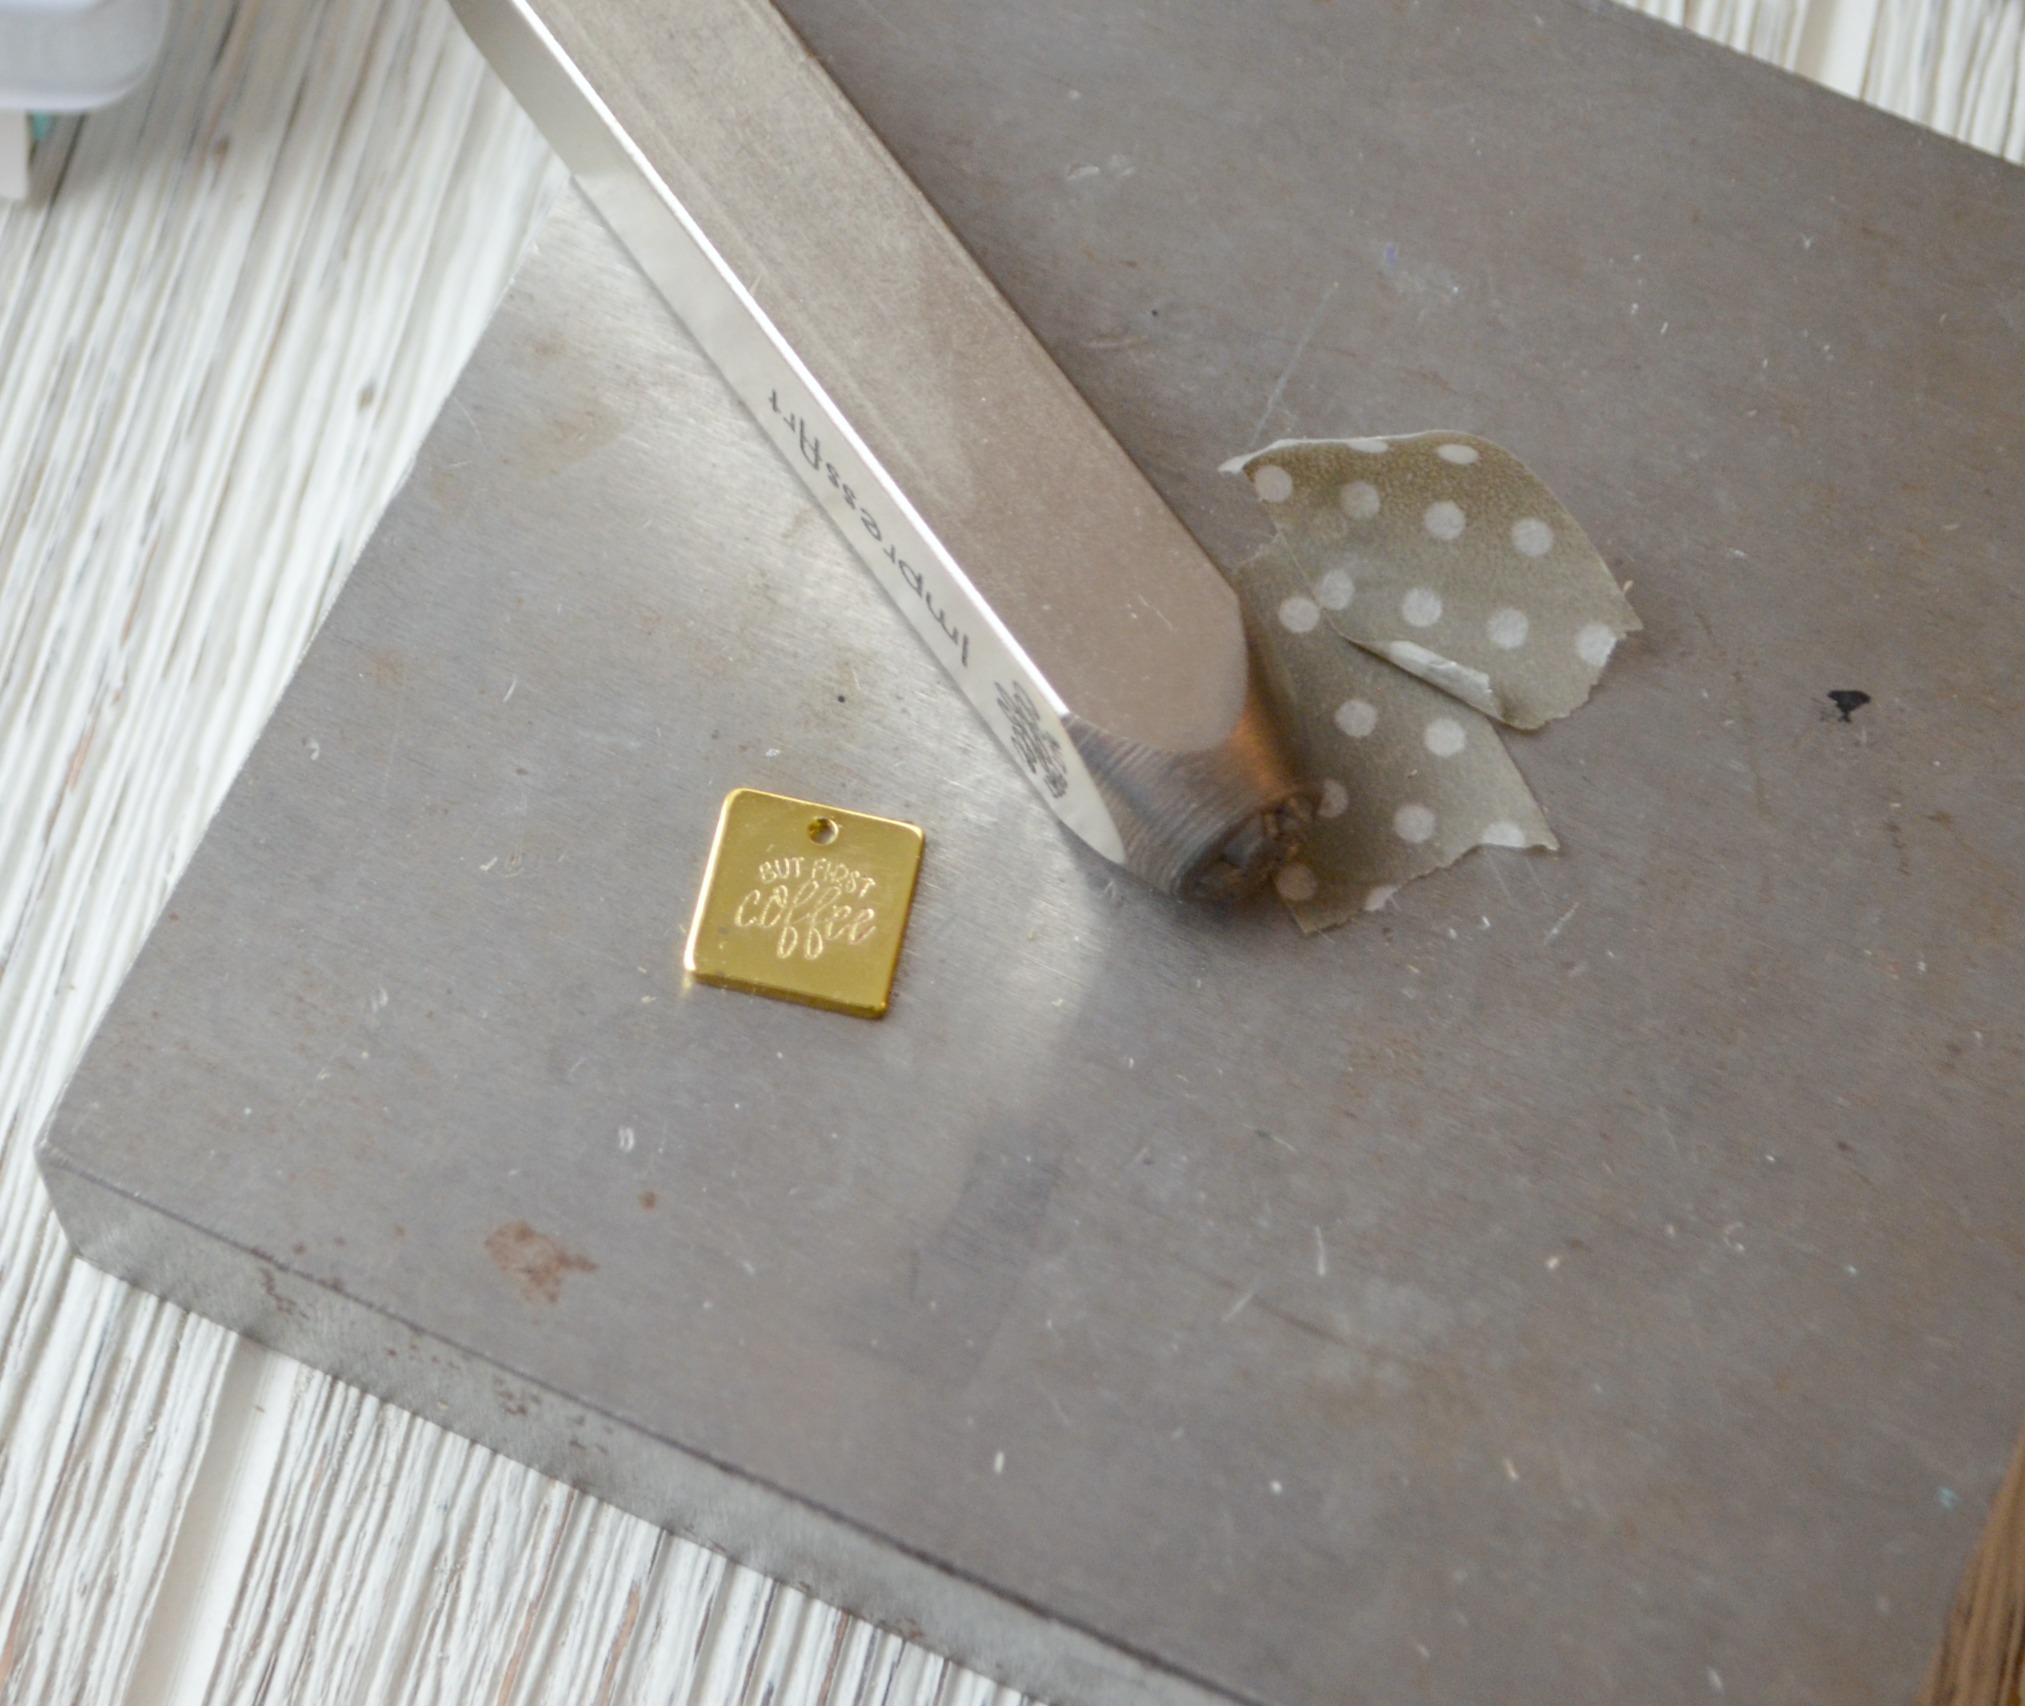
Step 2: Place your stamp on top of the blank with the design touching it and give the top of the stamp a firm tap with the hammer.
You may be tempted to whack it several times to make sure it works, but you’re better off with one good solid hit. Design stamps do tend to be the trickiest to work with, so you’ll want to practice a few times on some spare blanks to get a feel for how much force you need.
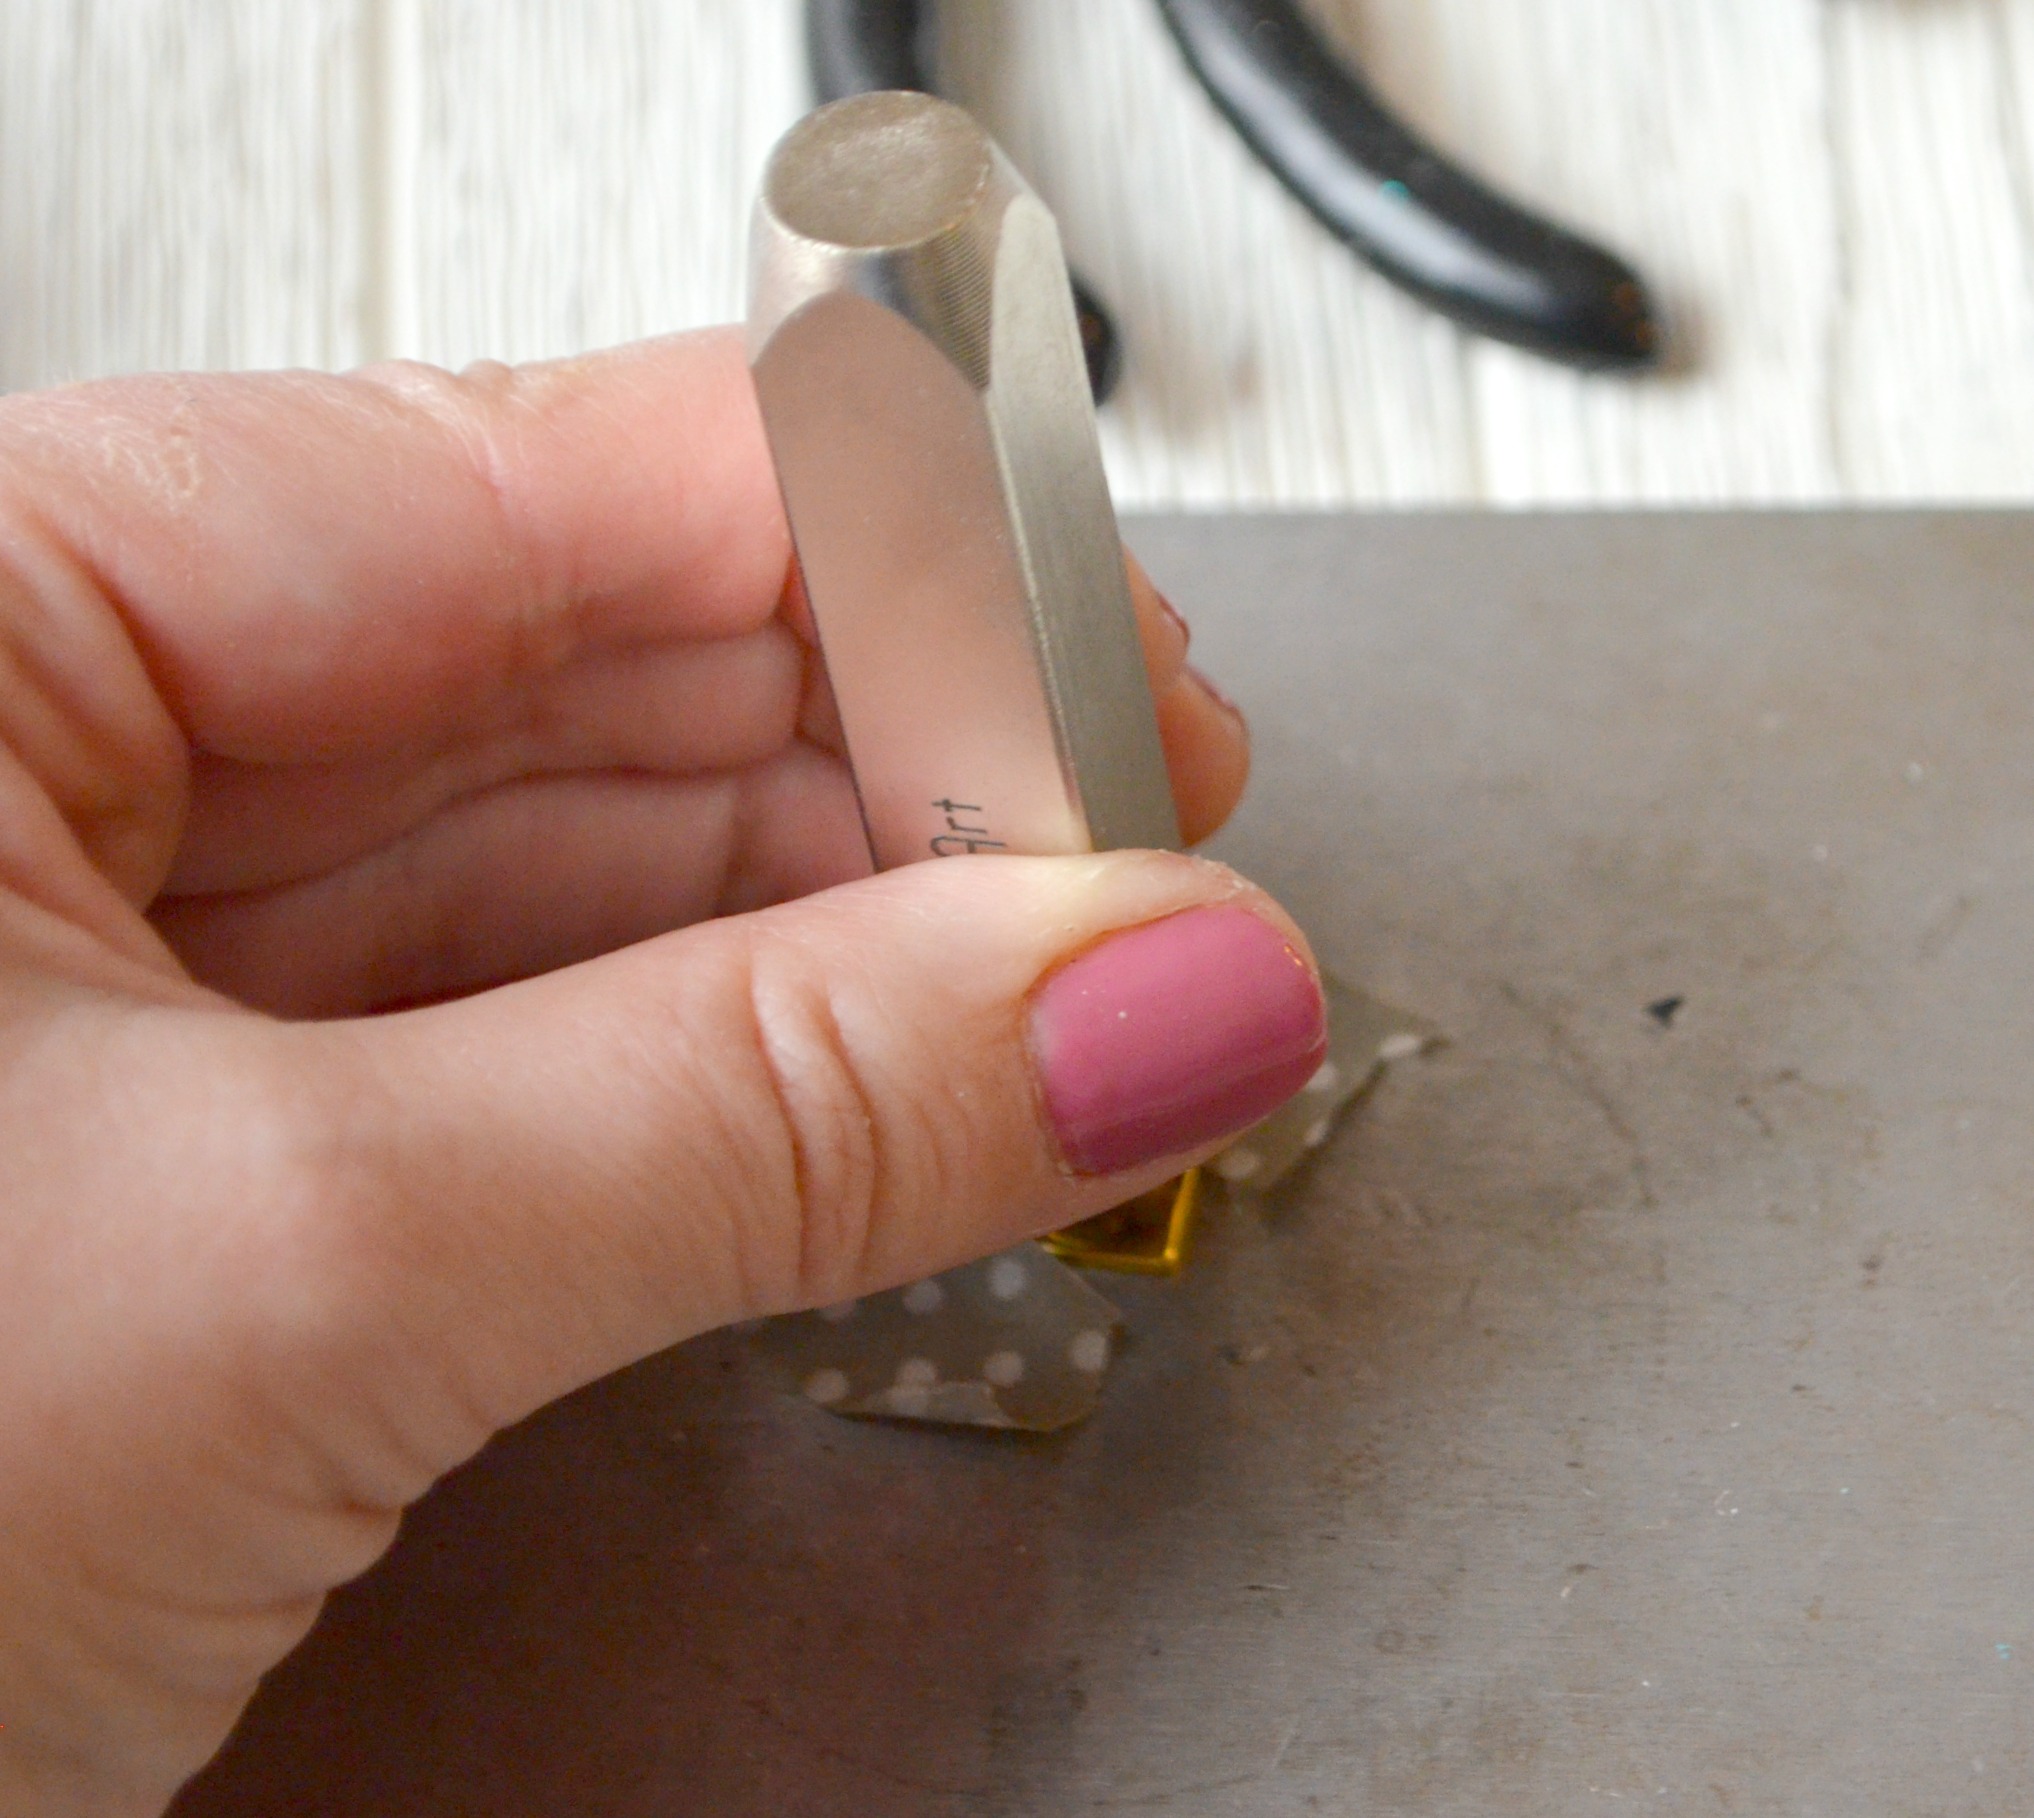
*Pro tip*: ImpressArt makes it easy to ensure that your stamped design is right side up by placing an image of the design on one side of the stamp. What that image and the ImpressArt logo are facing toward your body, you are holding the stamp in the correct position.
Step 3: Attach the stamped blank to the jump ring on your chain.
All you need for this step are some small pliers. Gently twist the ends of the jump ring away from each other, one toward you and one away from your body, to open it. Slip one end of the ring through the hole in the blank, then re-close the ring by twisting the ends back to their original position. The chain already has a clasp in place, so now it’s ready to wear!
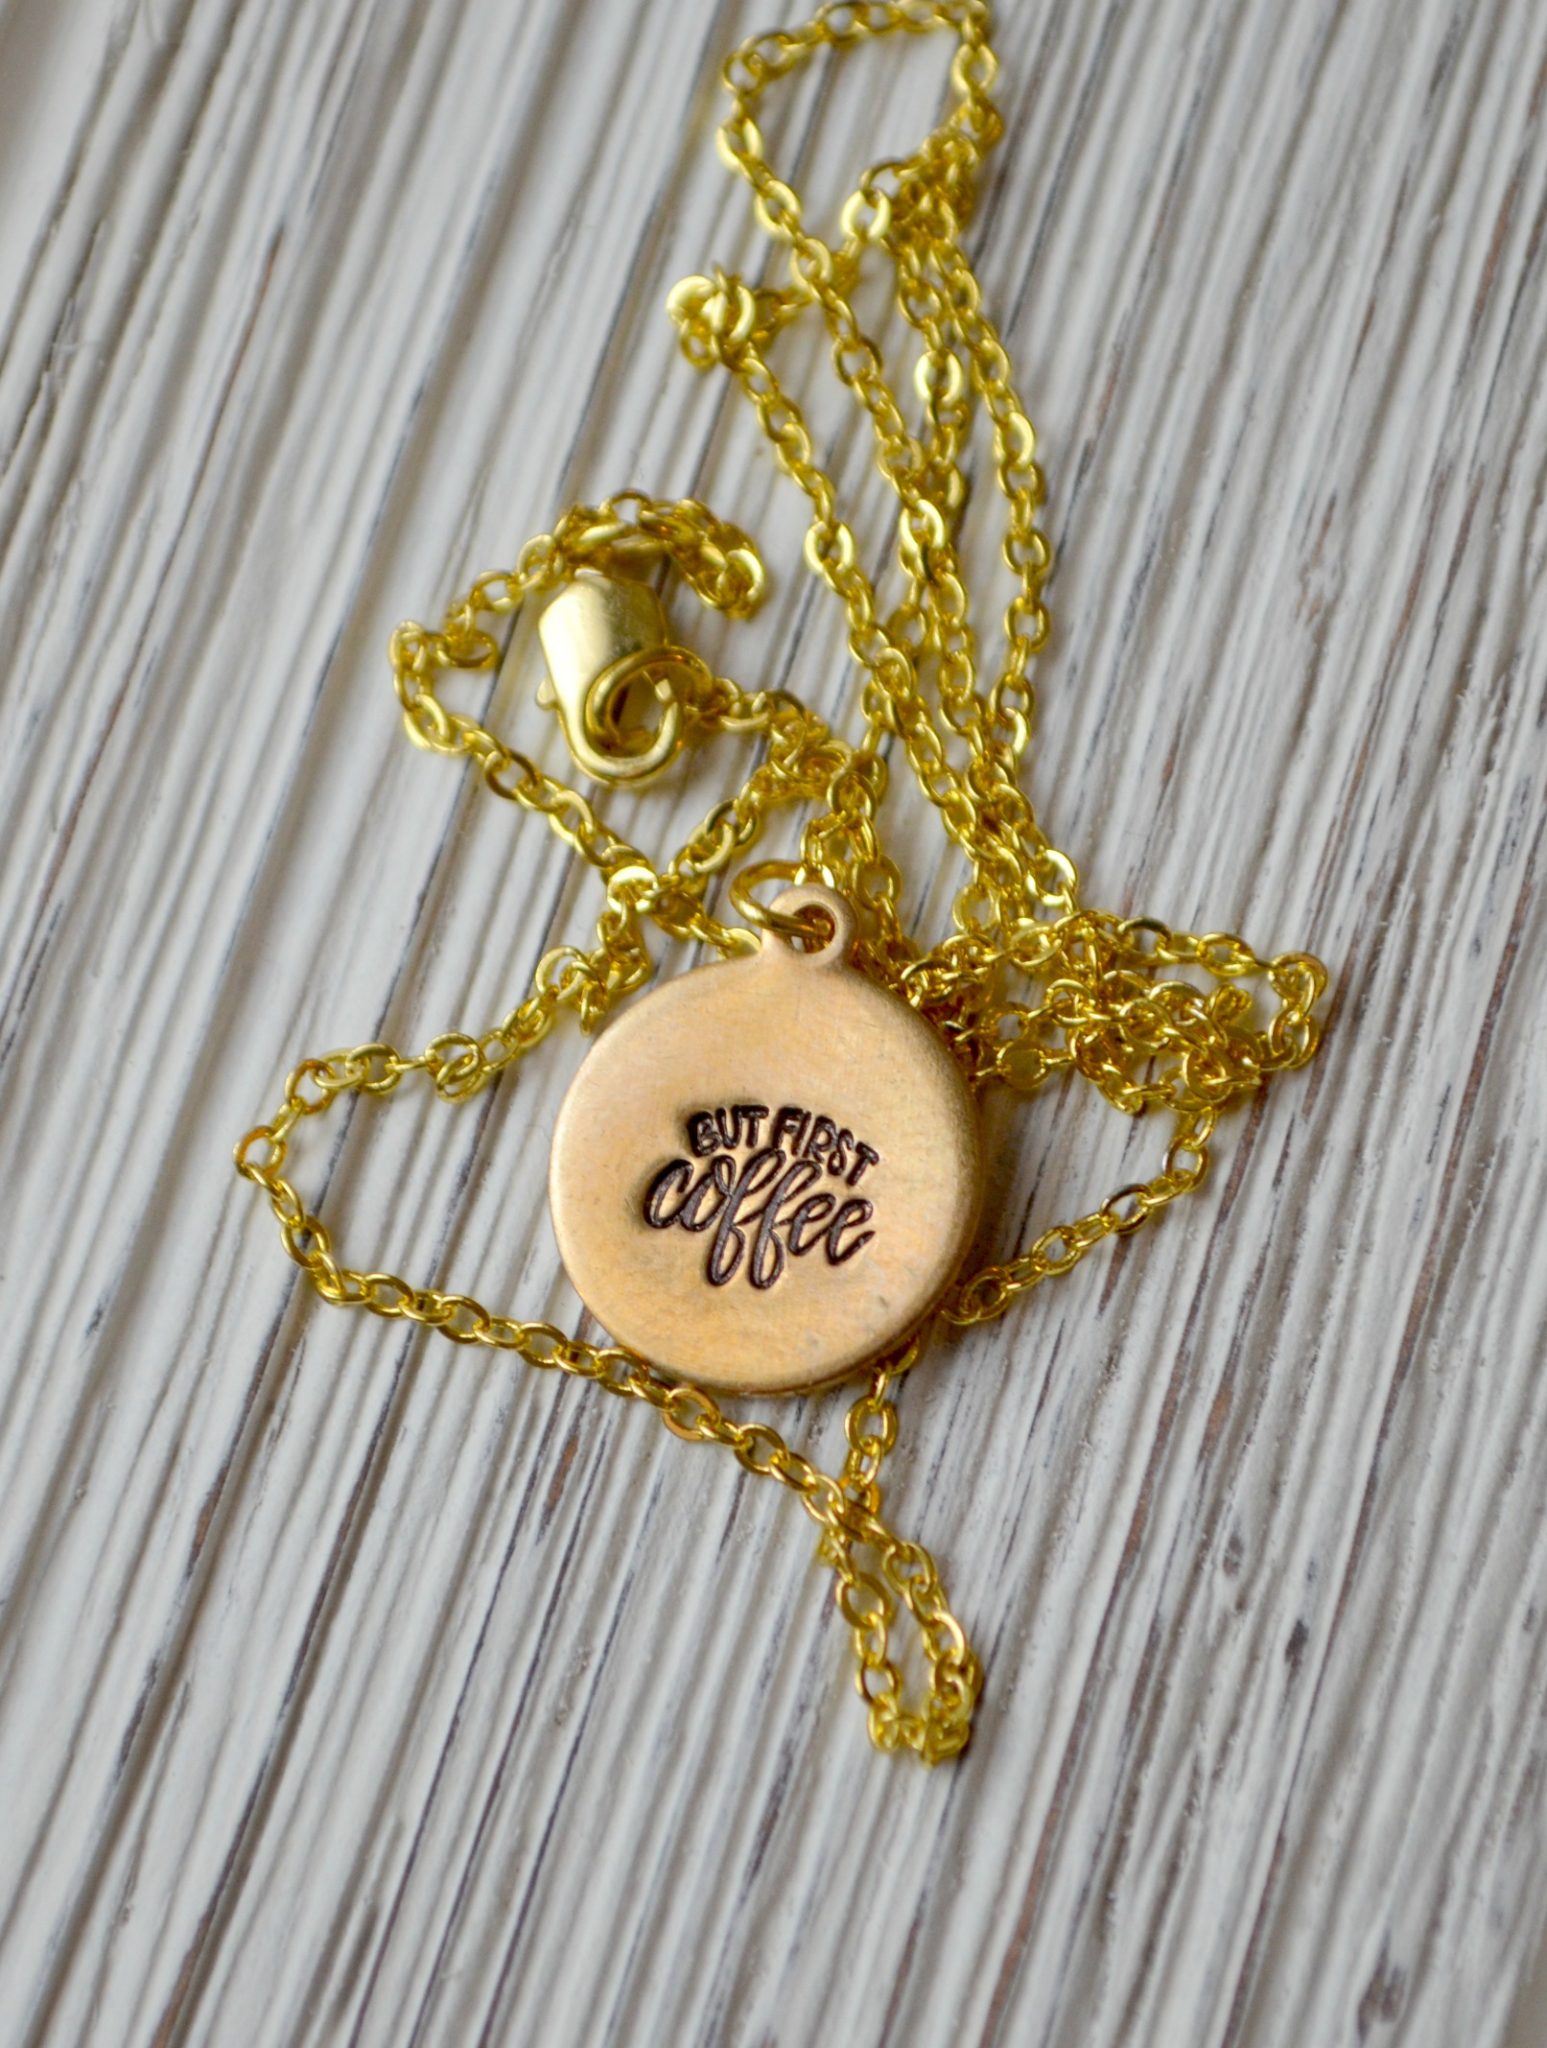
Because I really liked the shiny, subtle engraved look of my stamp on the blank, for this particular project I left out a step I usually do. However, if you want your stamped image to really pop, here’s how you can make that happen. Take a look at the same image stamped on a different blank and darkened using ImpressArt Stamp Enamel.
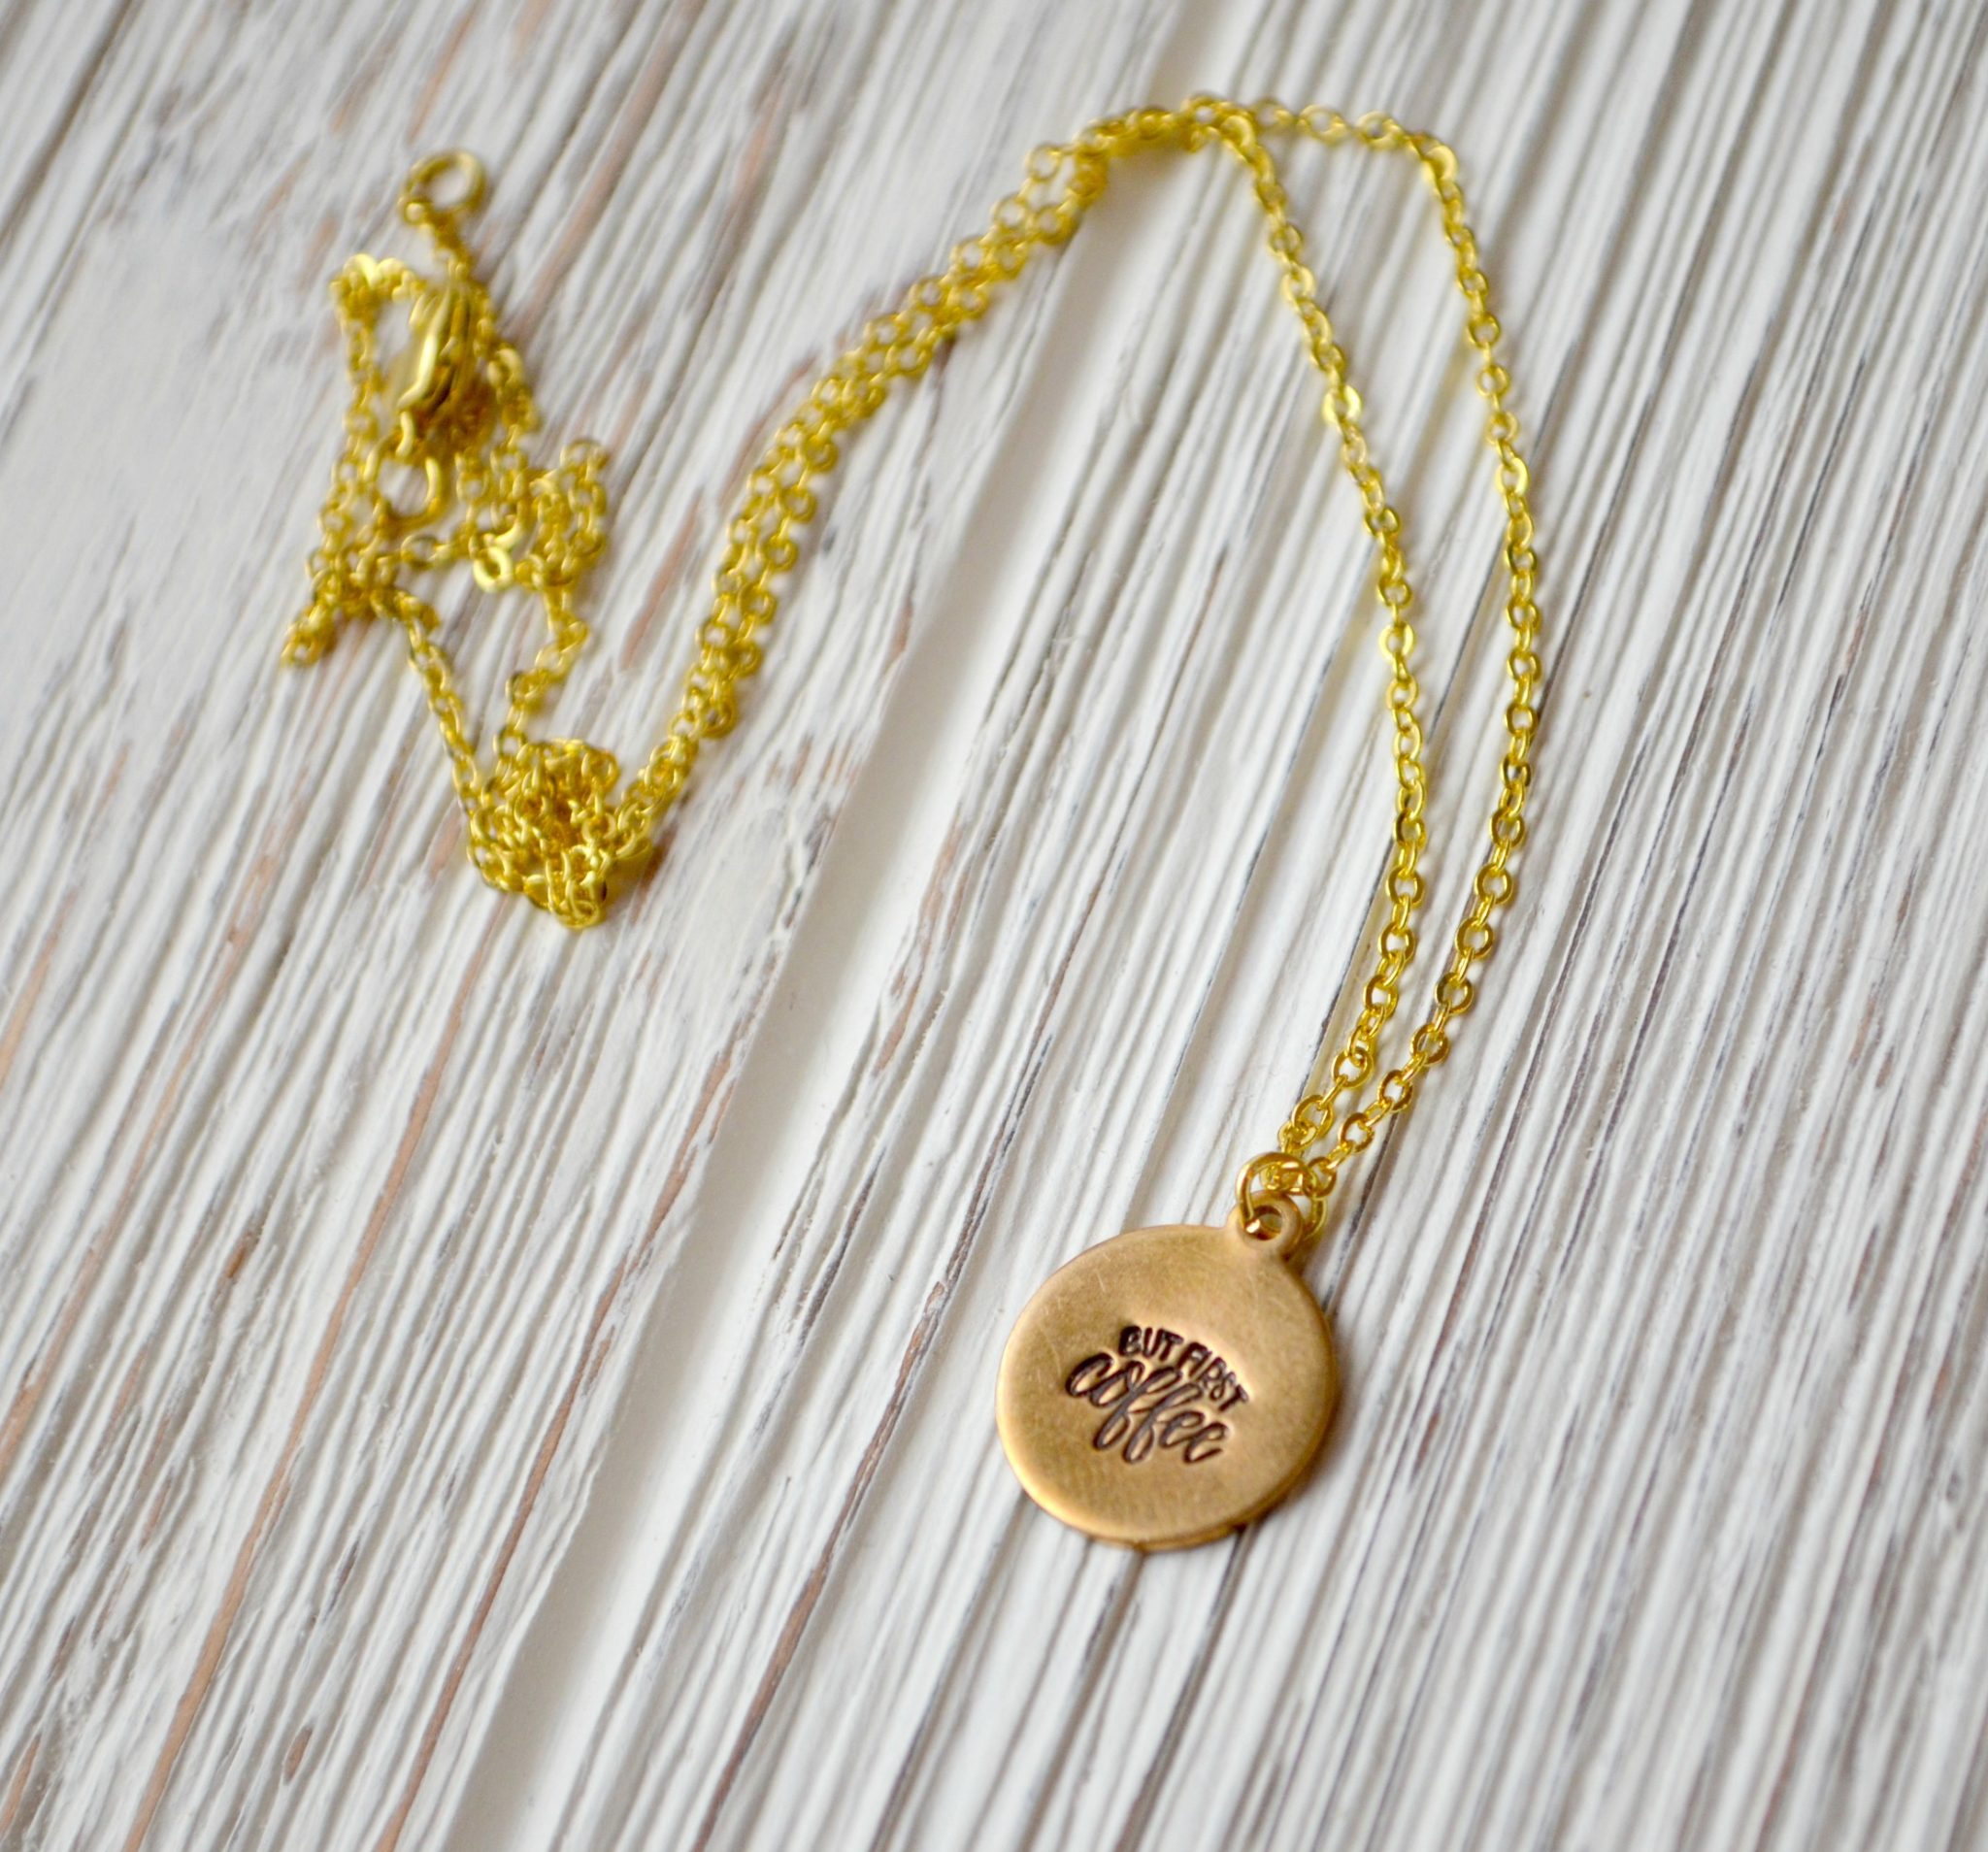
All you have to do is squeeze enough Stamp Enamel over the design to cover it completely, making sure it goes down into all the crevices of the stamped image. Let it dry for about 20 seconds, then wipe off the excess enamel with a soft, lint-free cloth or paper towel. The enamel on the surface will come right off, but what’s down in the stamped design will remain, giving it the appearance of being oxidized.
Either way you do it, I absolutely LOVE the look of my fun custom design stamp! And could it be more true? Someone give me all the coffee! Now it’s your turn; what custom design would you love to turn into a metal stamp for your own jewelry making projects? Let me know in the comments or in our Facebook group!
P.S. ImpressArt is offering 20% off one custom stamp for anyone using the discount code “OneArtsyMama” now through January 30! Be sure to take advantage of this great discount while it lasts.
Like this project? Pin it for later!


So cool!
Love it!