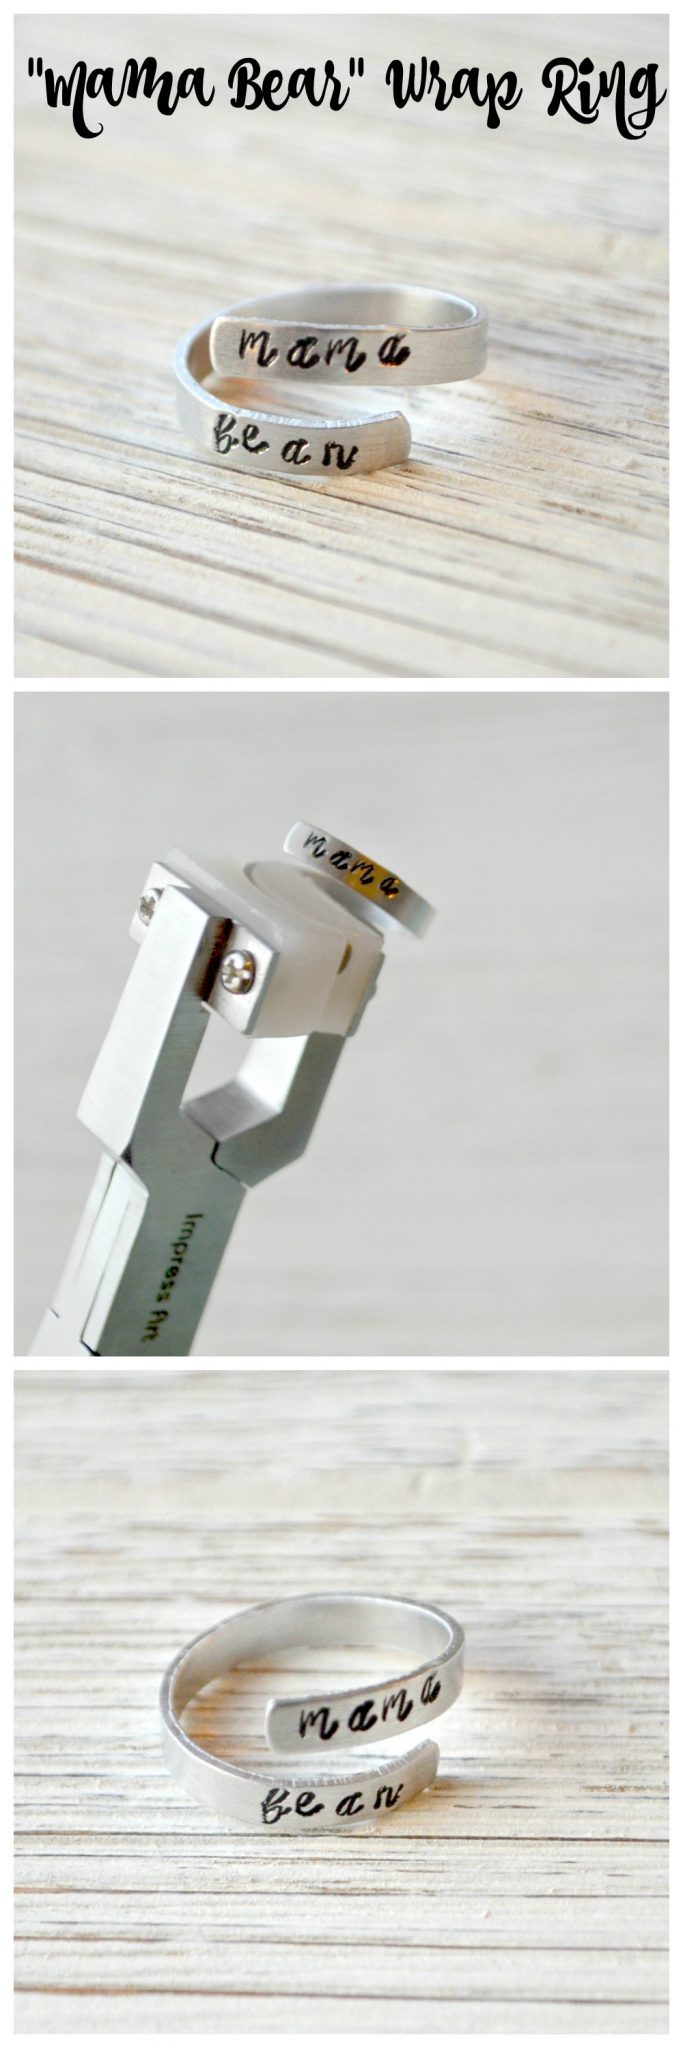
DIY Mama Bear Wrap Ring
Thanks to ImpressArt for sponsoring today’s post; all opinions are honestly my own.
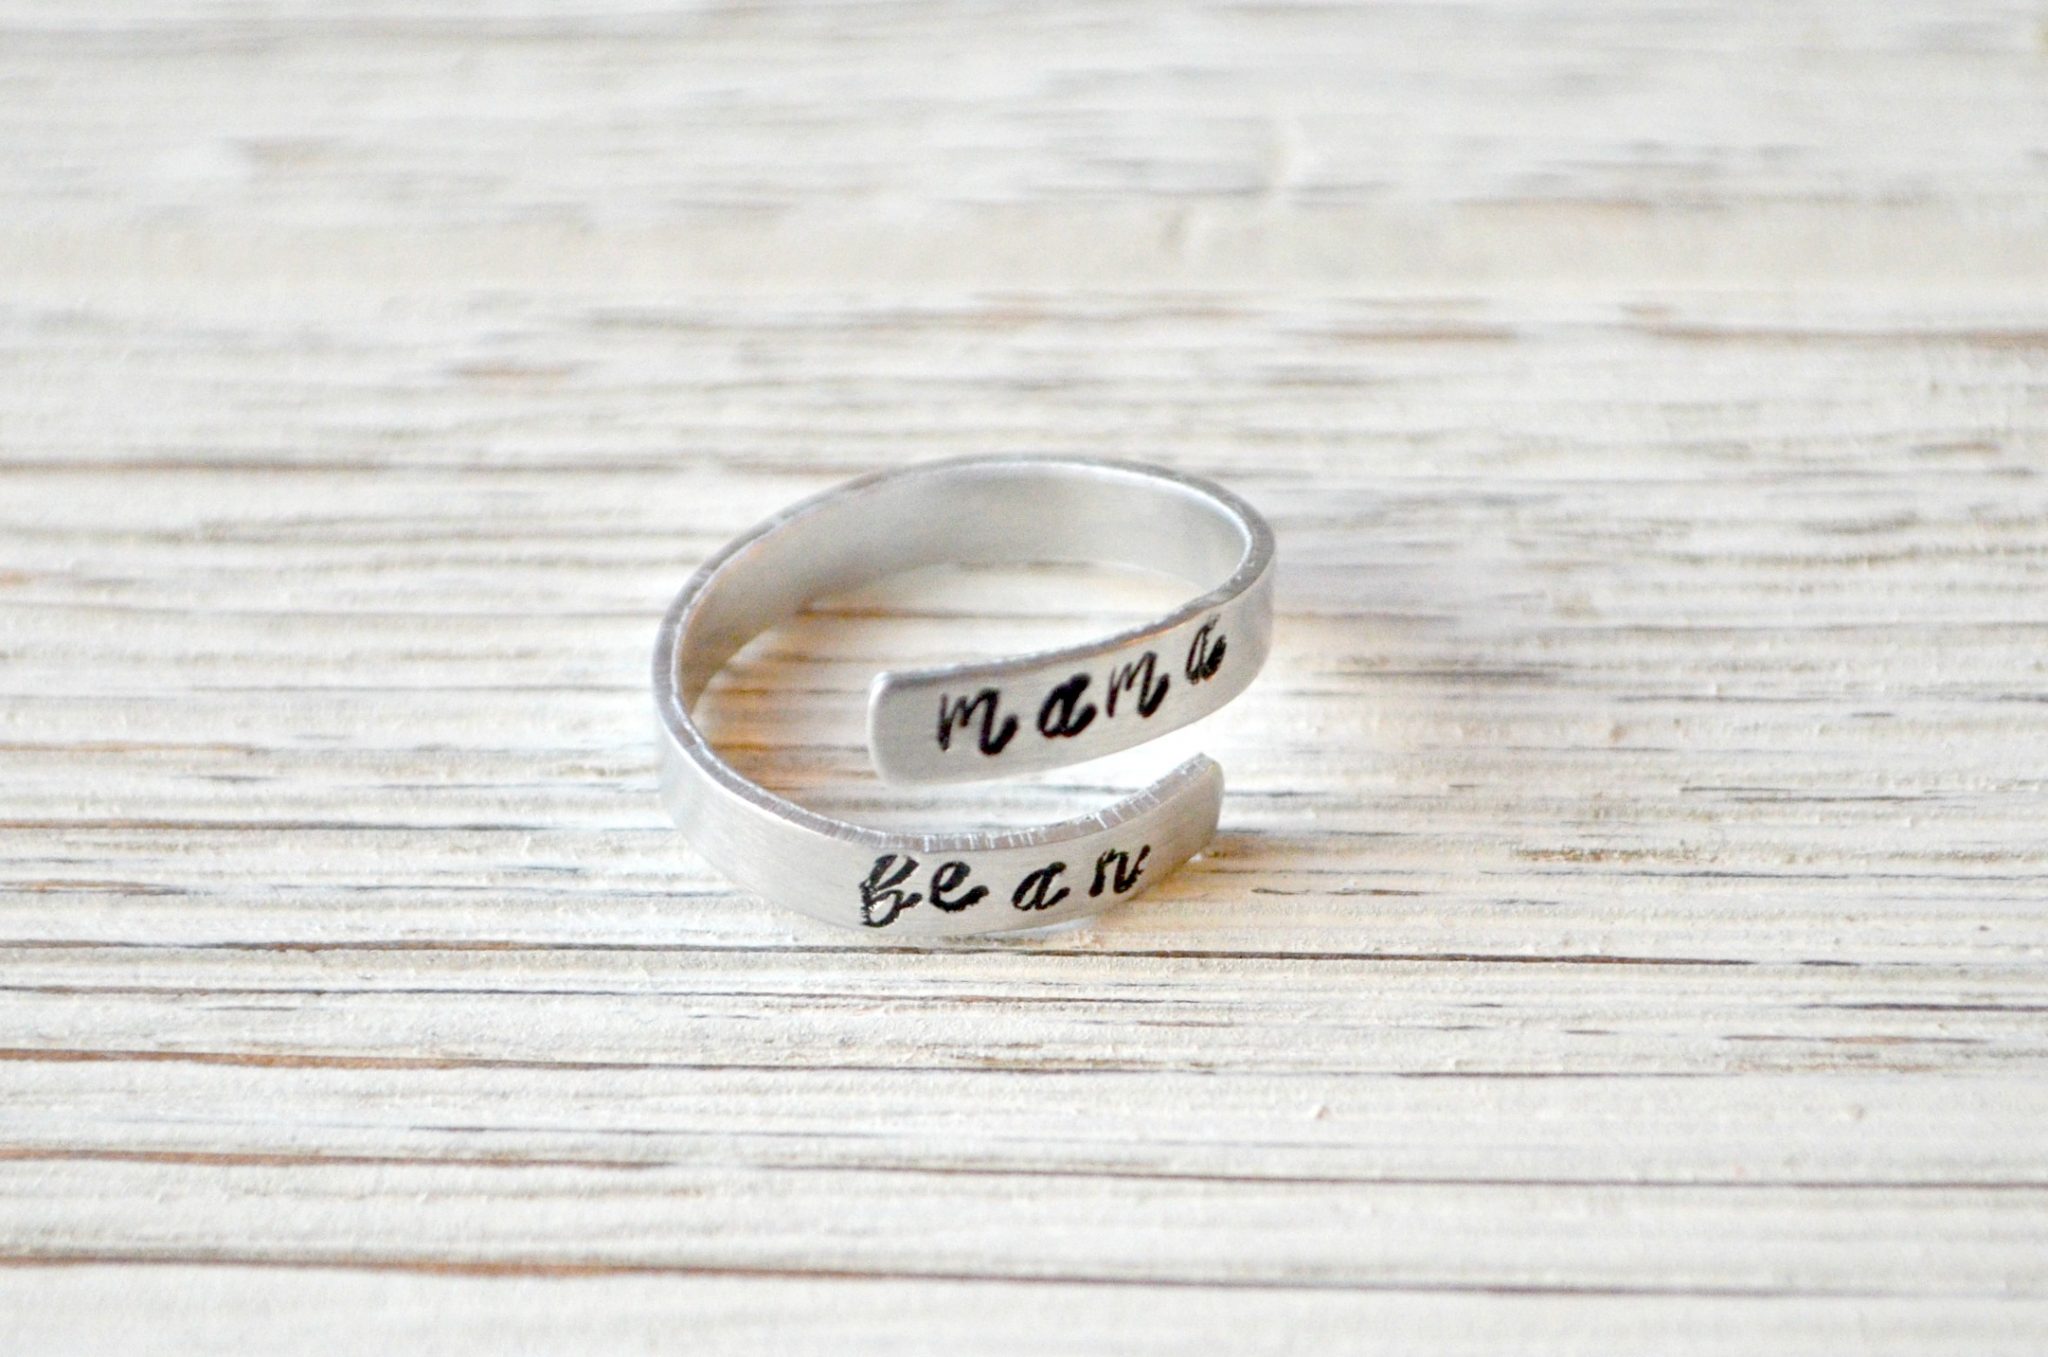
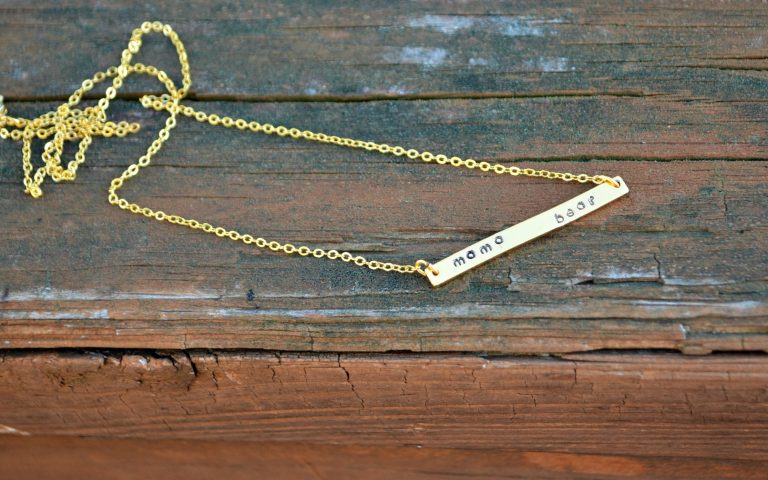
I’m a total sucker for personalized jewelry, so I have more hand stamped bracelets, necklaces, and earrings than I can count. Then, last time I visited the ImpressArt website, I noticed that they had some brand new stamping blanks you can use to create rings! There are standard ring blanks as well as longer ones intended for wrap rings, which is a style I love. I couldn’t wait to get my hands on some of them, and as soon as I did, I created this “mama bear” ring for myself. Take a look at how I did it and you can too…
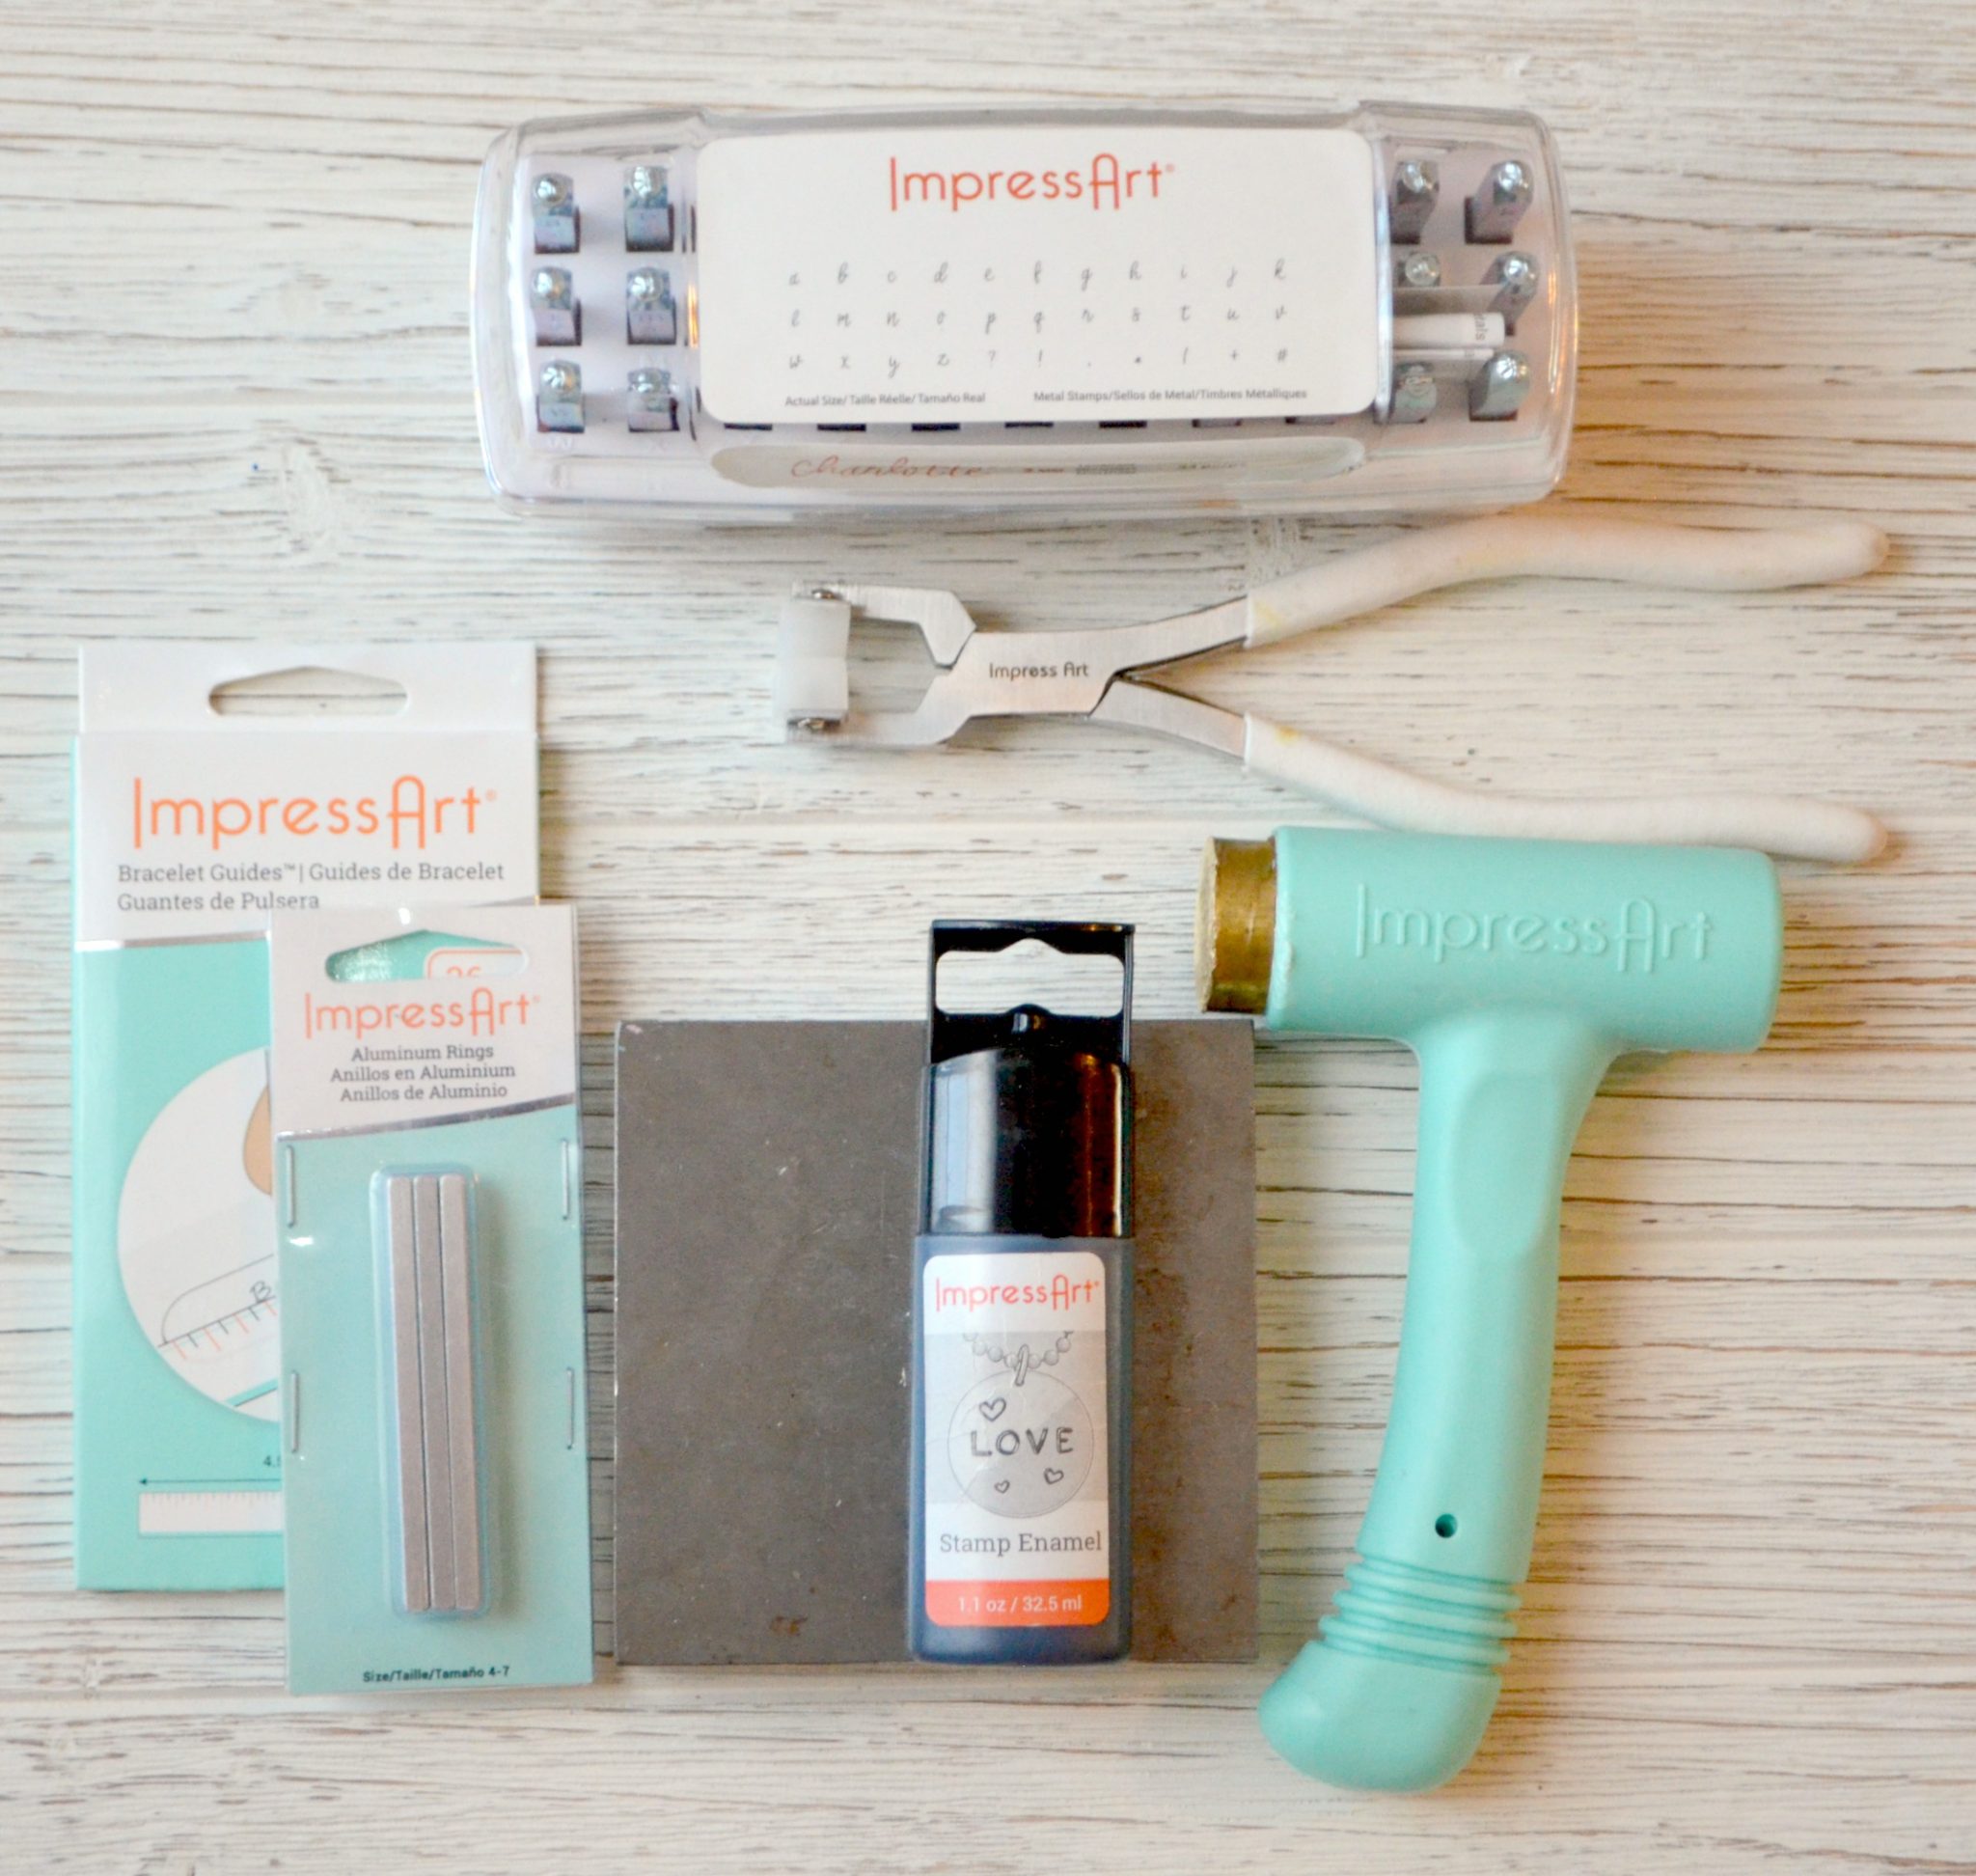
You’ll need:
ImpressArt Charlotte Lowercase Alphabet Stamp Set, 3mm
Steel Stamping Block
Metal Stamping Hammer
ImpressArt Aluminum Ring Blanks {Mine are 9/64″ x 2 1/4″}
Ring Bending Pliers
ImpressArt Stamp Enamel
Soft cloth or paper towel
Stamp Straight Tape
Optional: ImpressArt Bracelet Guides
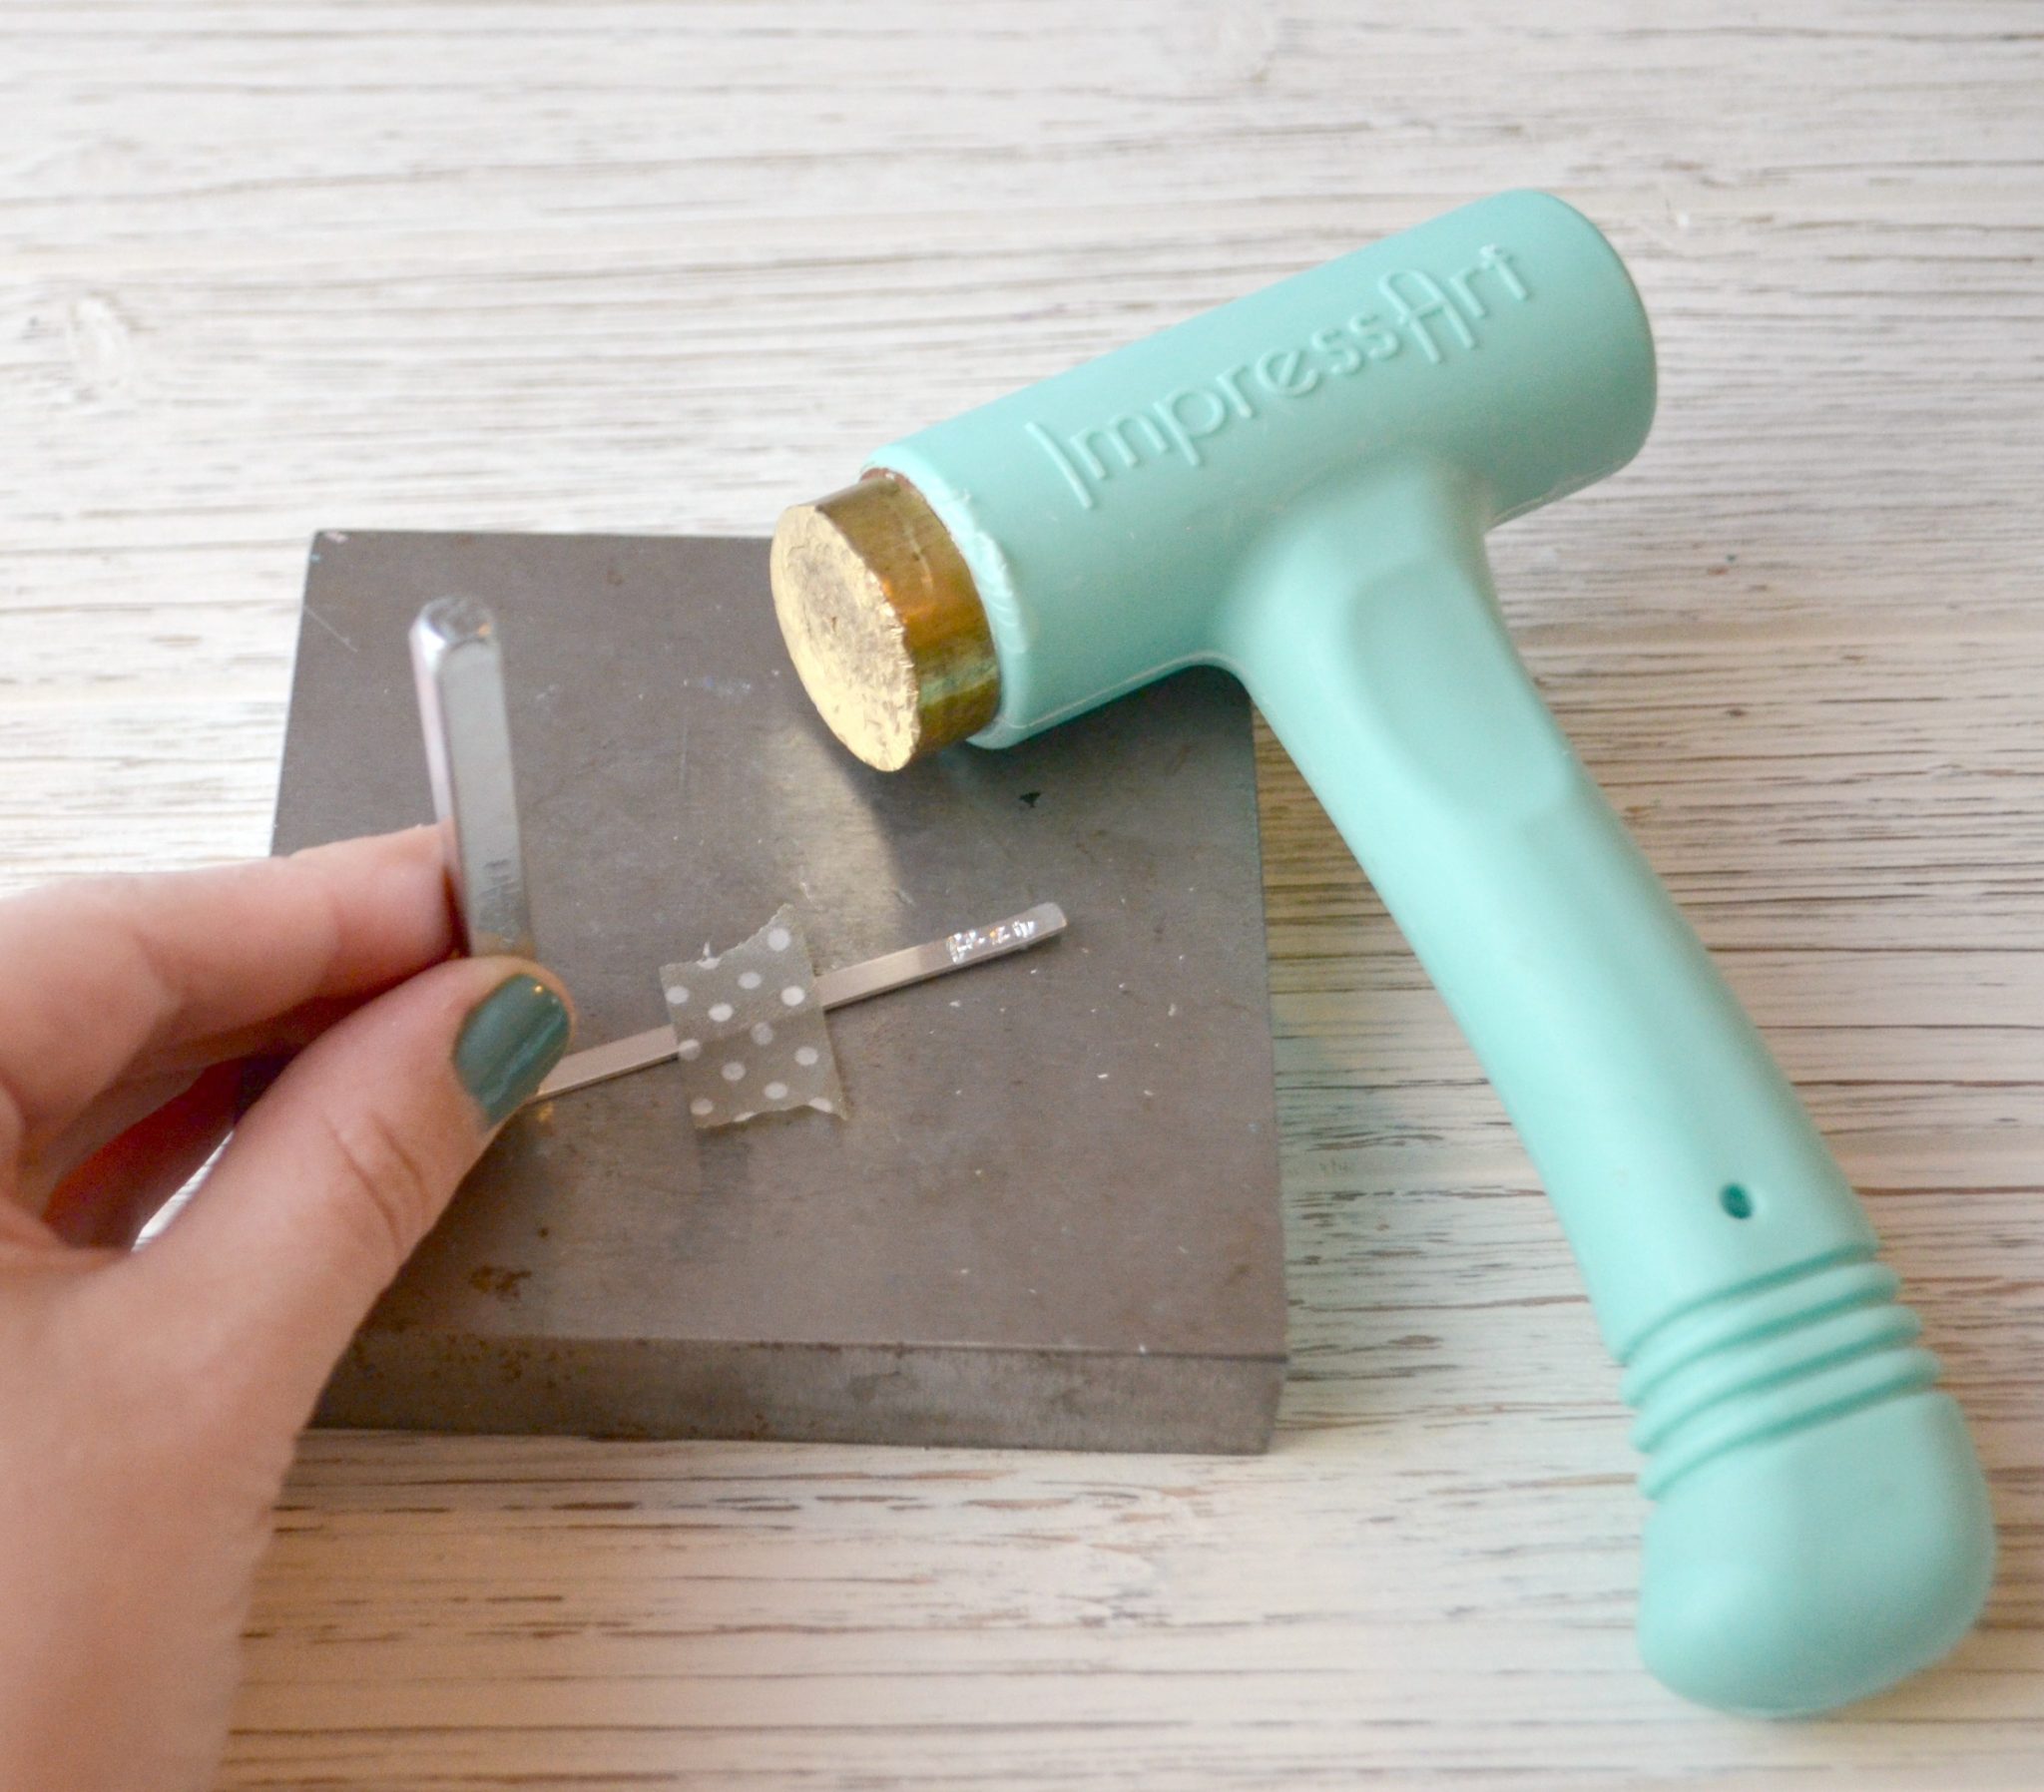
Step 1: Tape your ring blank to the steel stamping block.
This will ensure that it doesn’t move around while you are stamping. If you like, you can place a stamping guide under/on the blank to help you line up your letters.
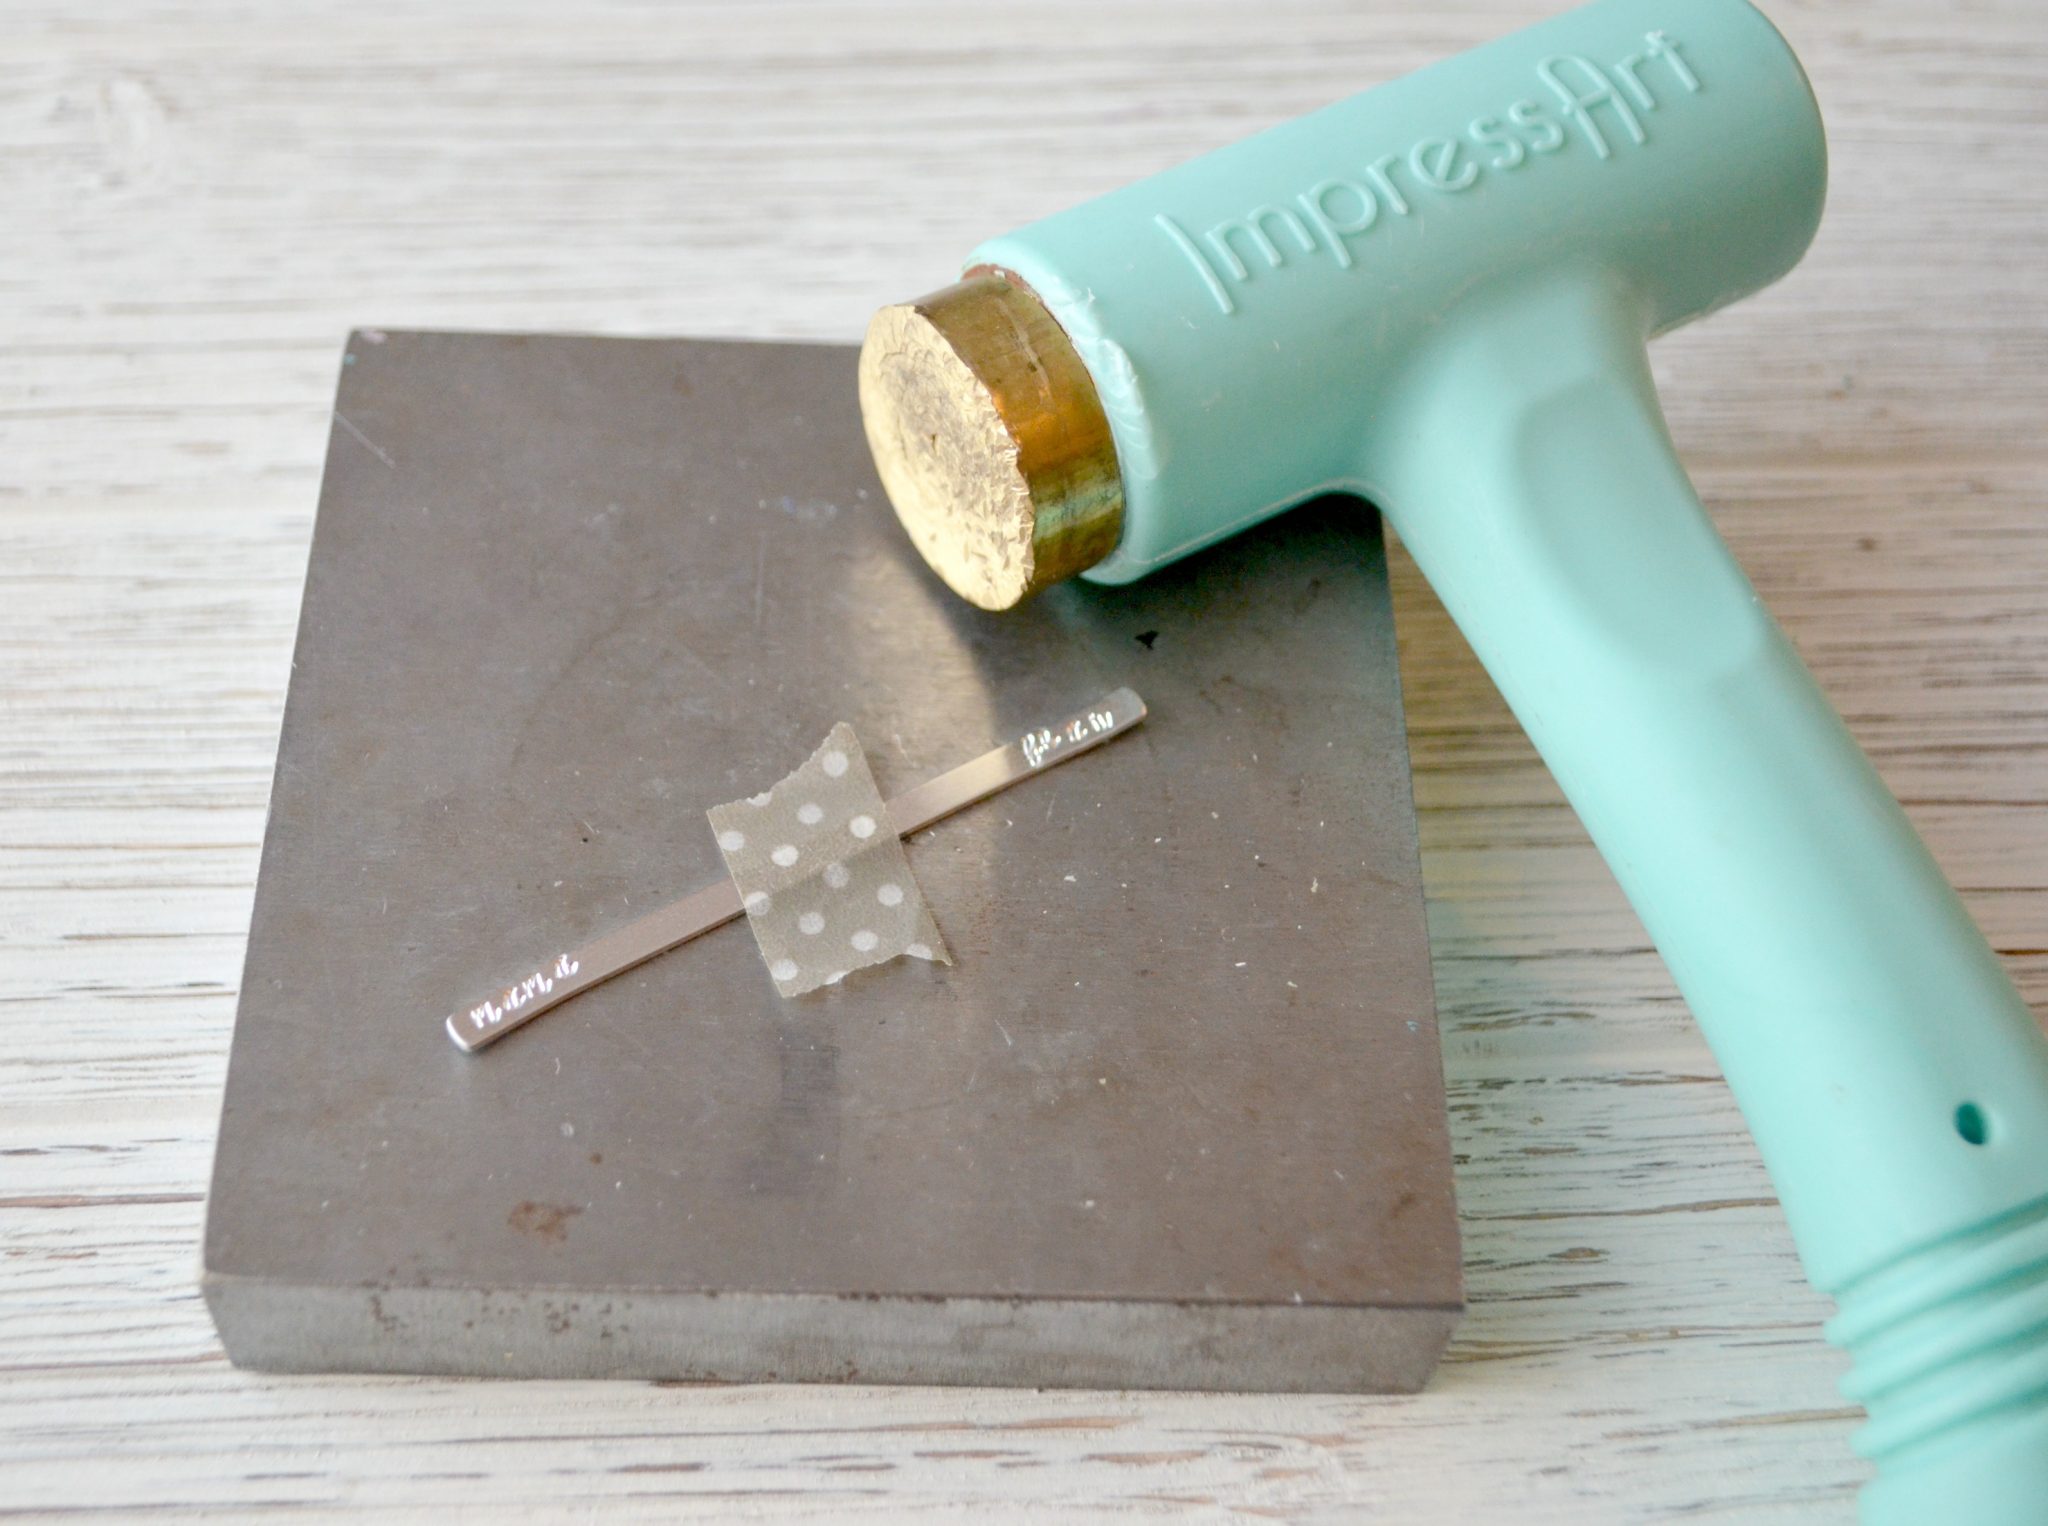
Step 2: Stamp your letters one at a time.
Hold the stamp with the ImpressArt logo facing you, which means the image will be right side up. Hold the stamp vertically with the raised image touching the ring blank and give the top a firm tap with your hammer. One solid hit should be enough to give a clean impression.
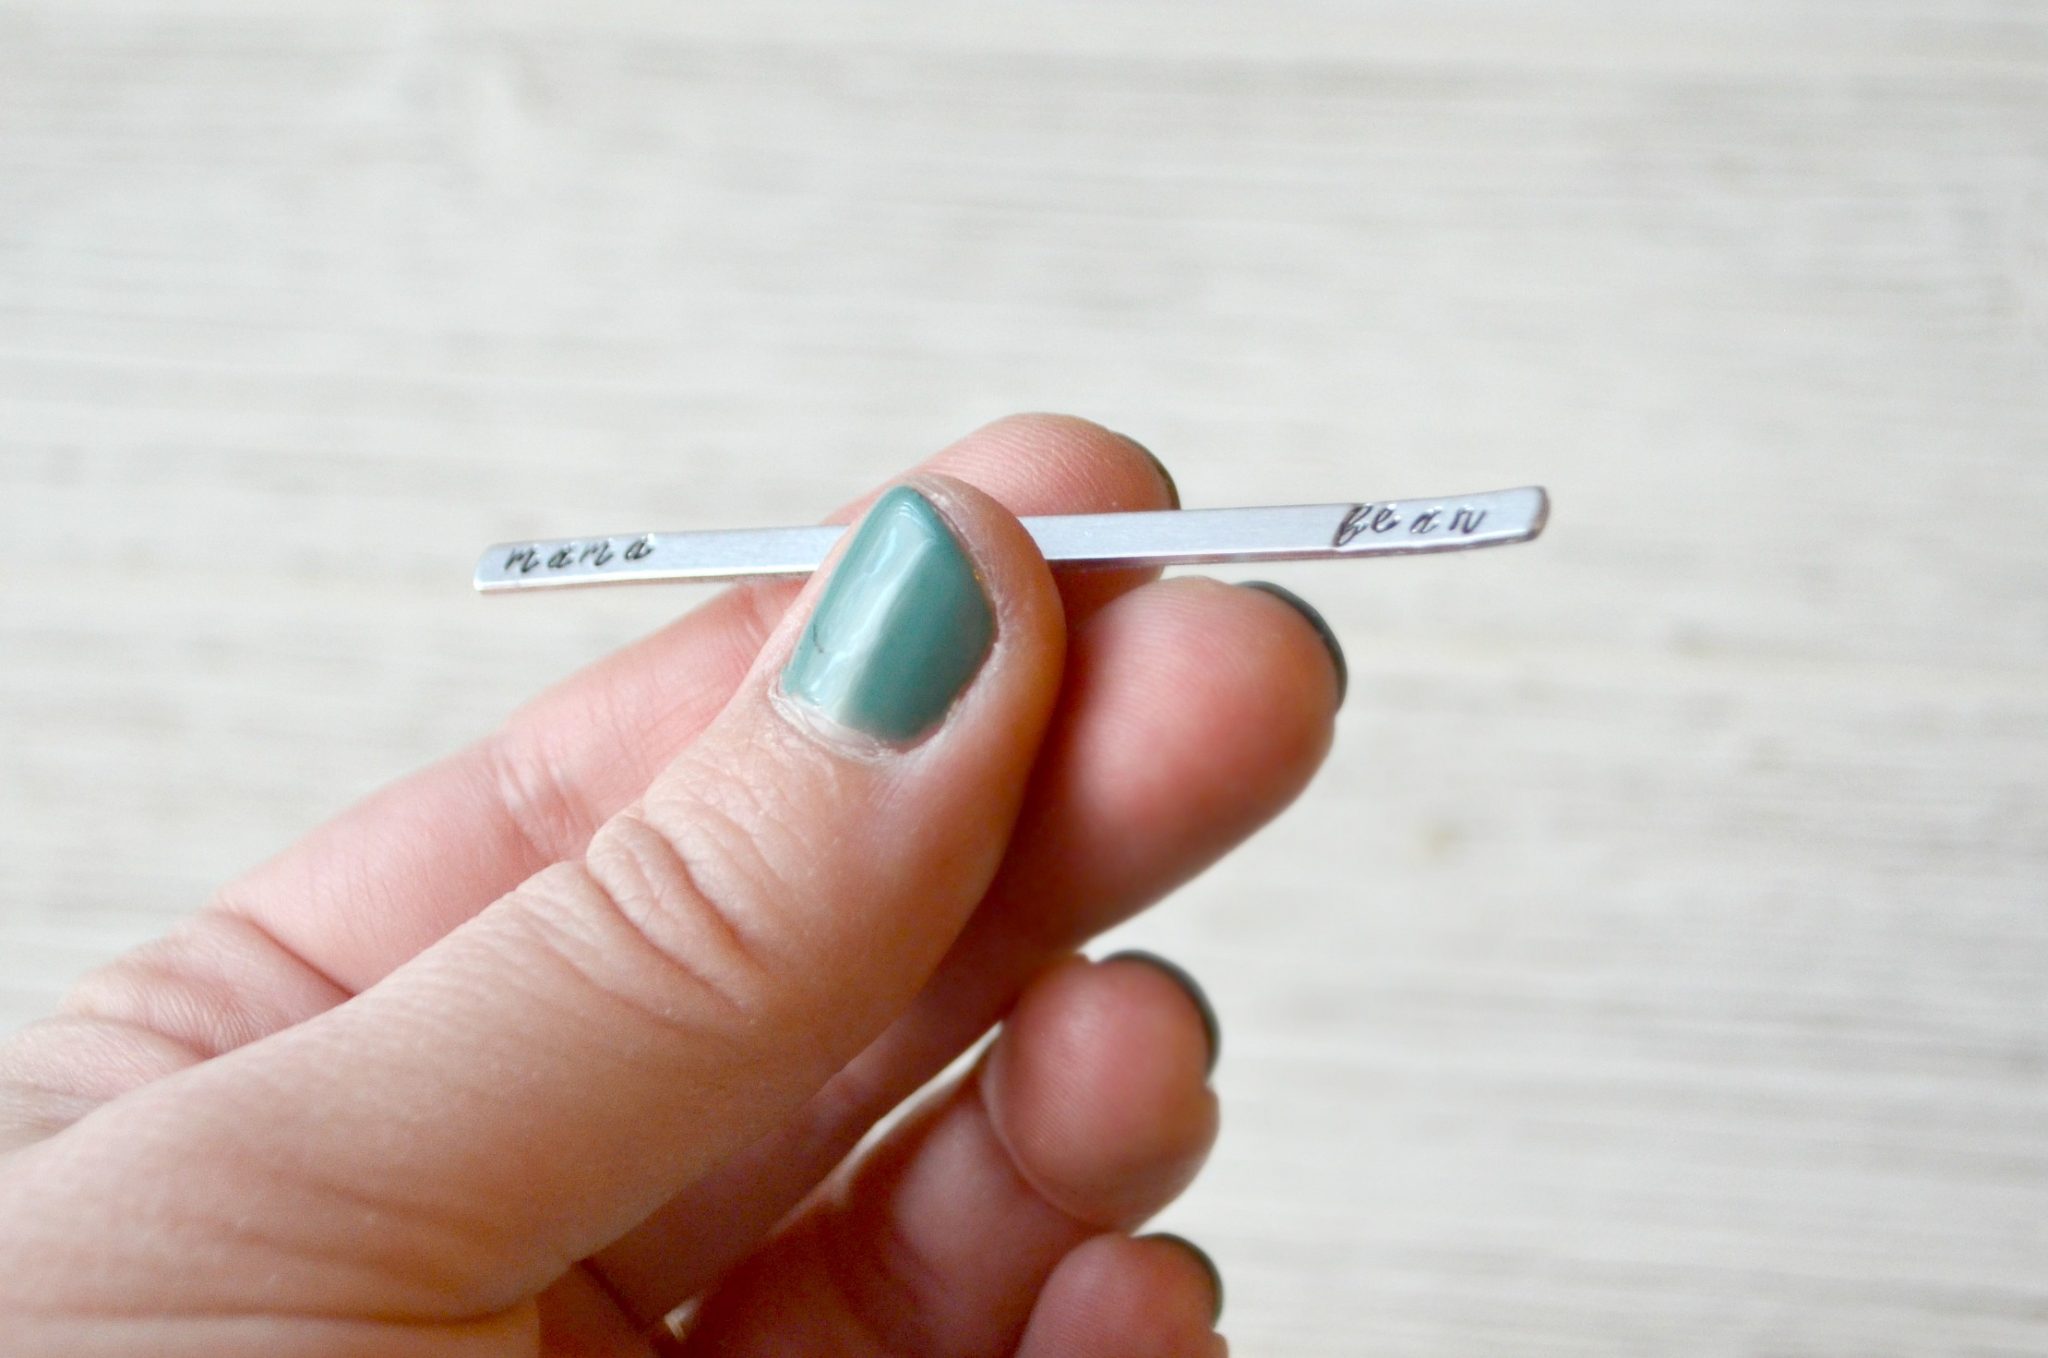
For a wrap ring, you’ll want to stamp whatever image or word you want to appear on top starting at the left end of the blank. Then, working backwards, stamp your second image/words starting at the right end. You’ll see in the image below that I stamped “mama” on the left and “bear” on the right, leaving empty space in between.
Step 3: Apply Stamp Enamel and wipe off the excess.
This is available in paint form as well as a marker. You can even choose from five different colors now! Fill in the stamped areas of your design with the enamel, making sure it goes down into the grooves. Allow it to sit, then wipe the excess from the surface with a soft cloth or paper towel. The enamel should stay down in the stamped area, making it easier to read.
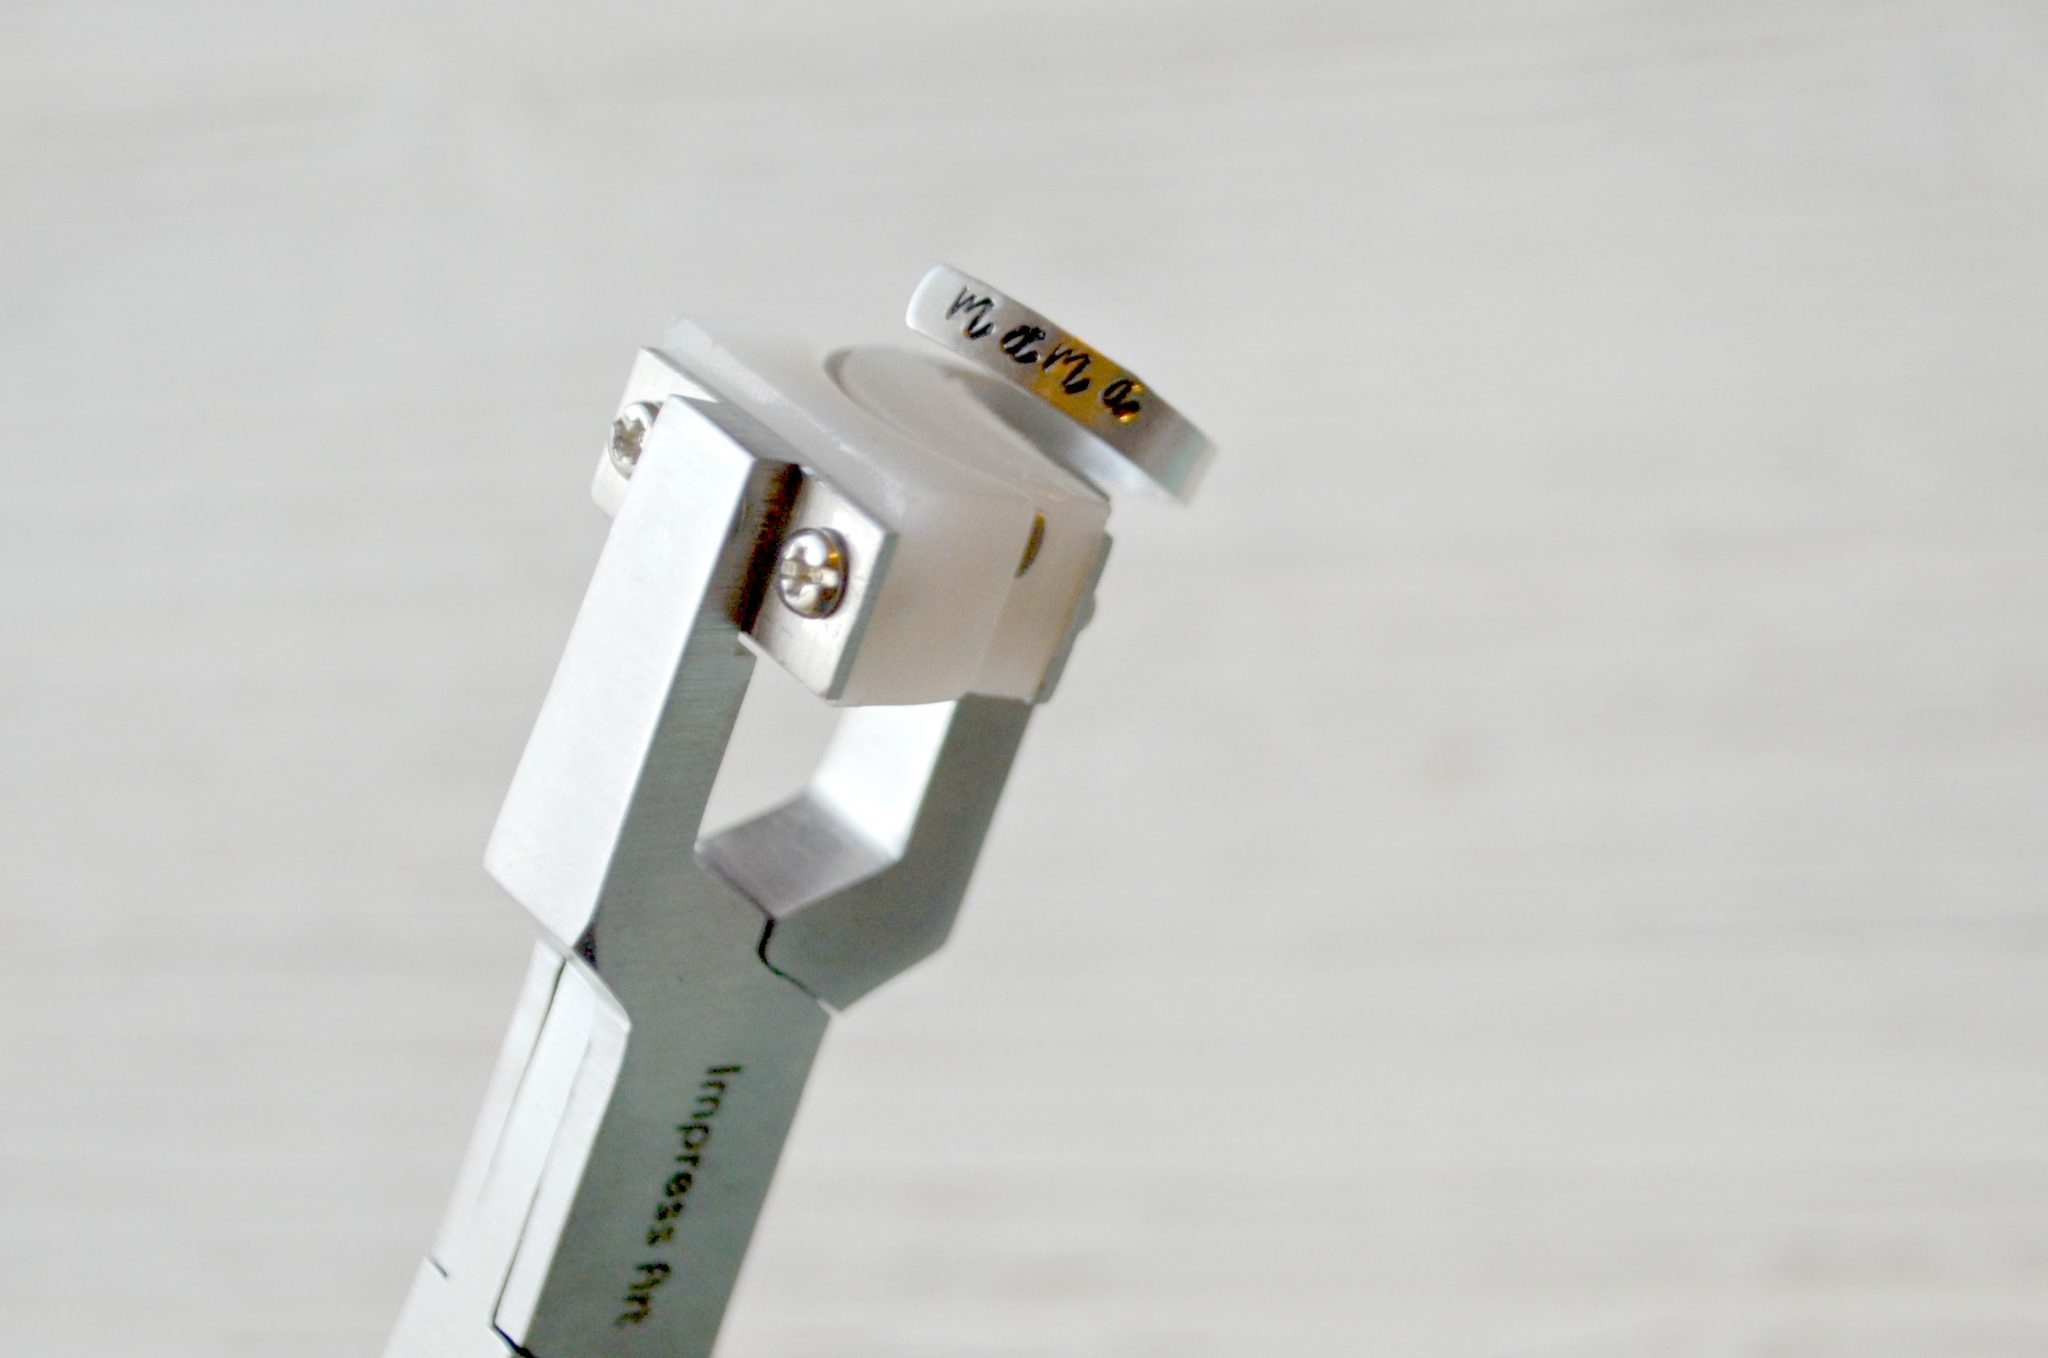
Step 4: Use ring bending pliers to shape the ring into your desired shape and size.
These are very easy to use; just place one end of the blank inside and squeeze to bend the metal. Continue working your way along the blank, squeezing as you go to create the round shape. You can bend the ring into whatever size you need it to be.
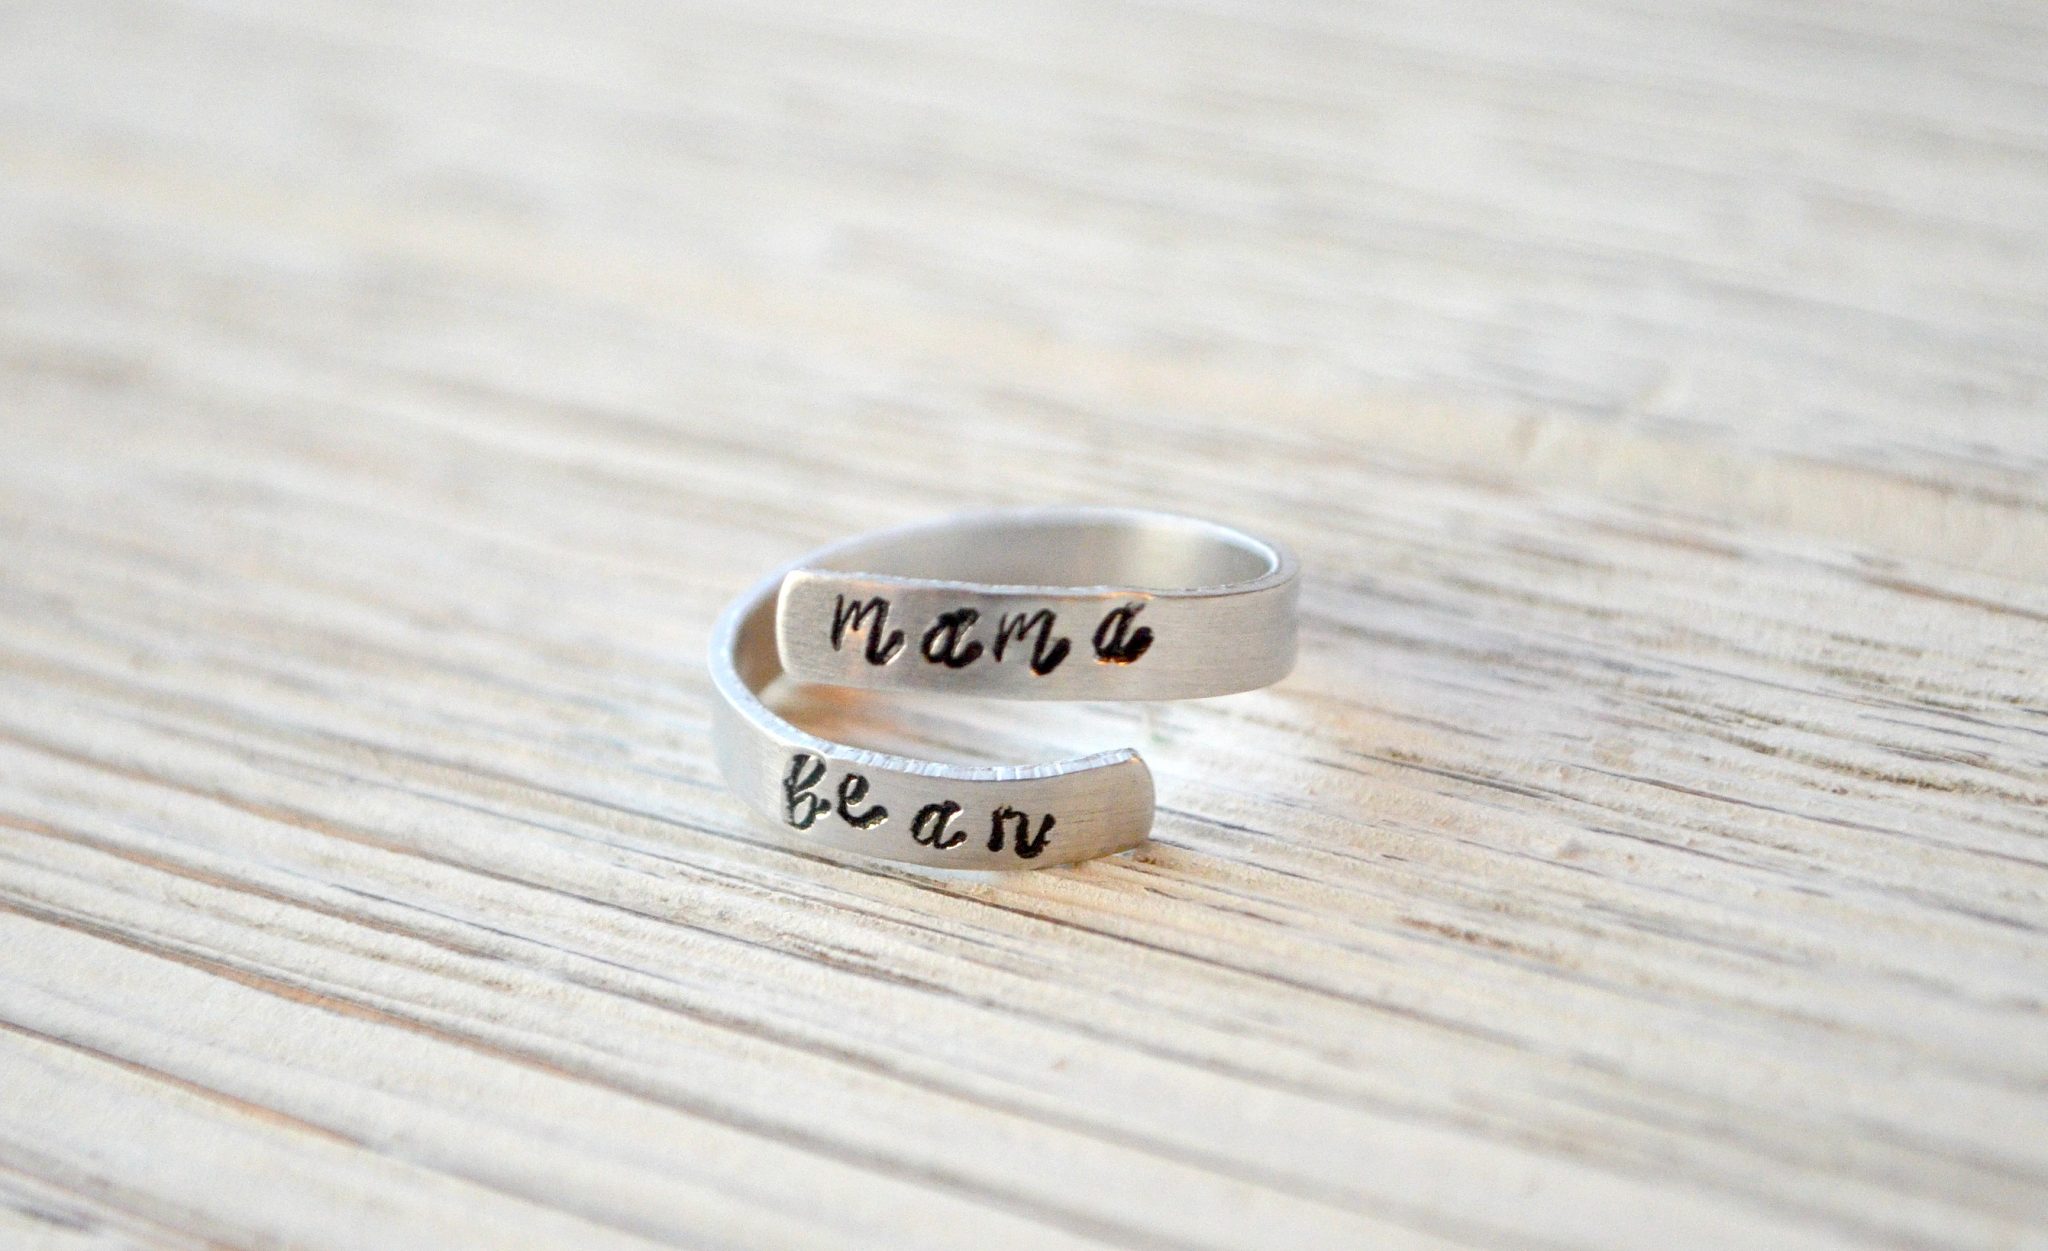
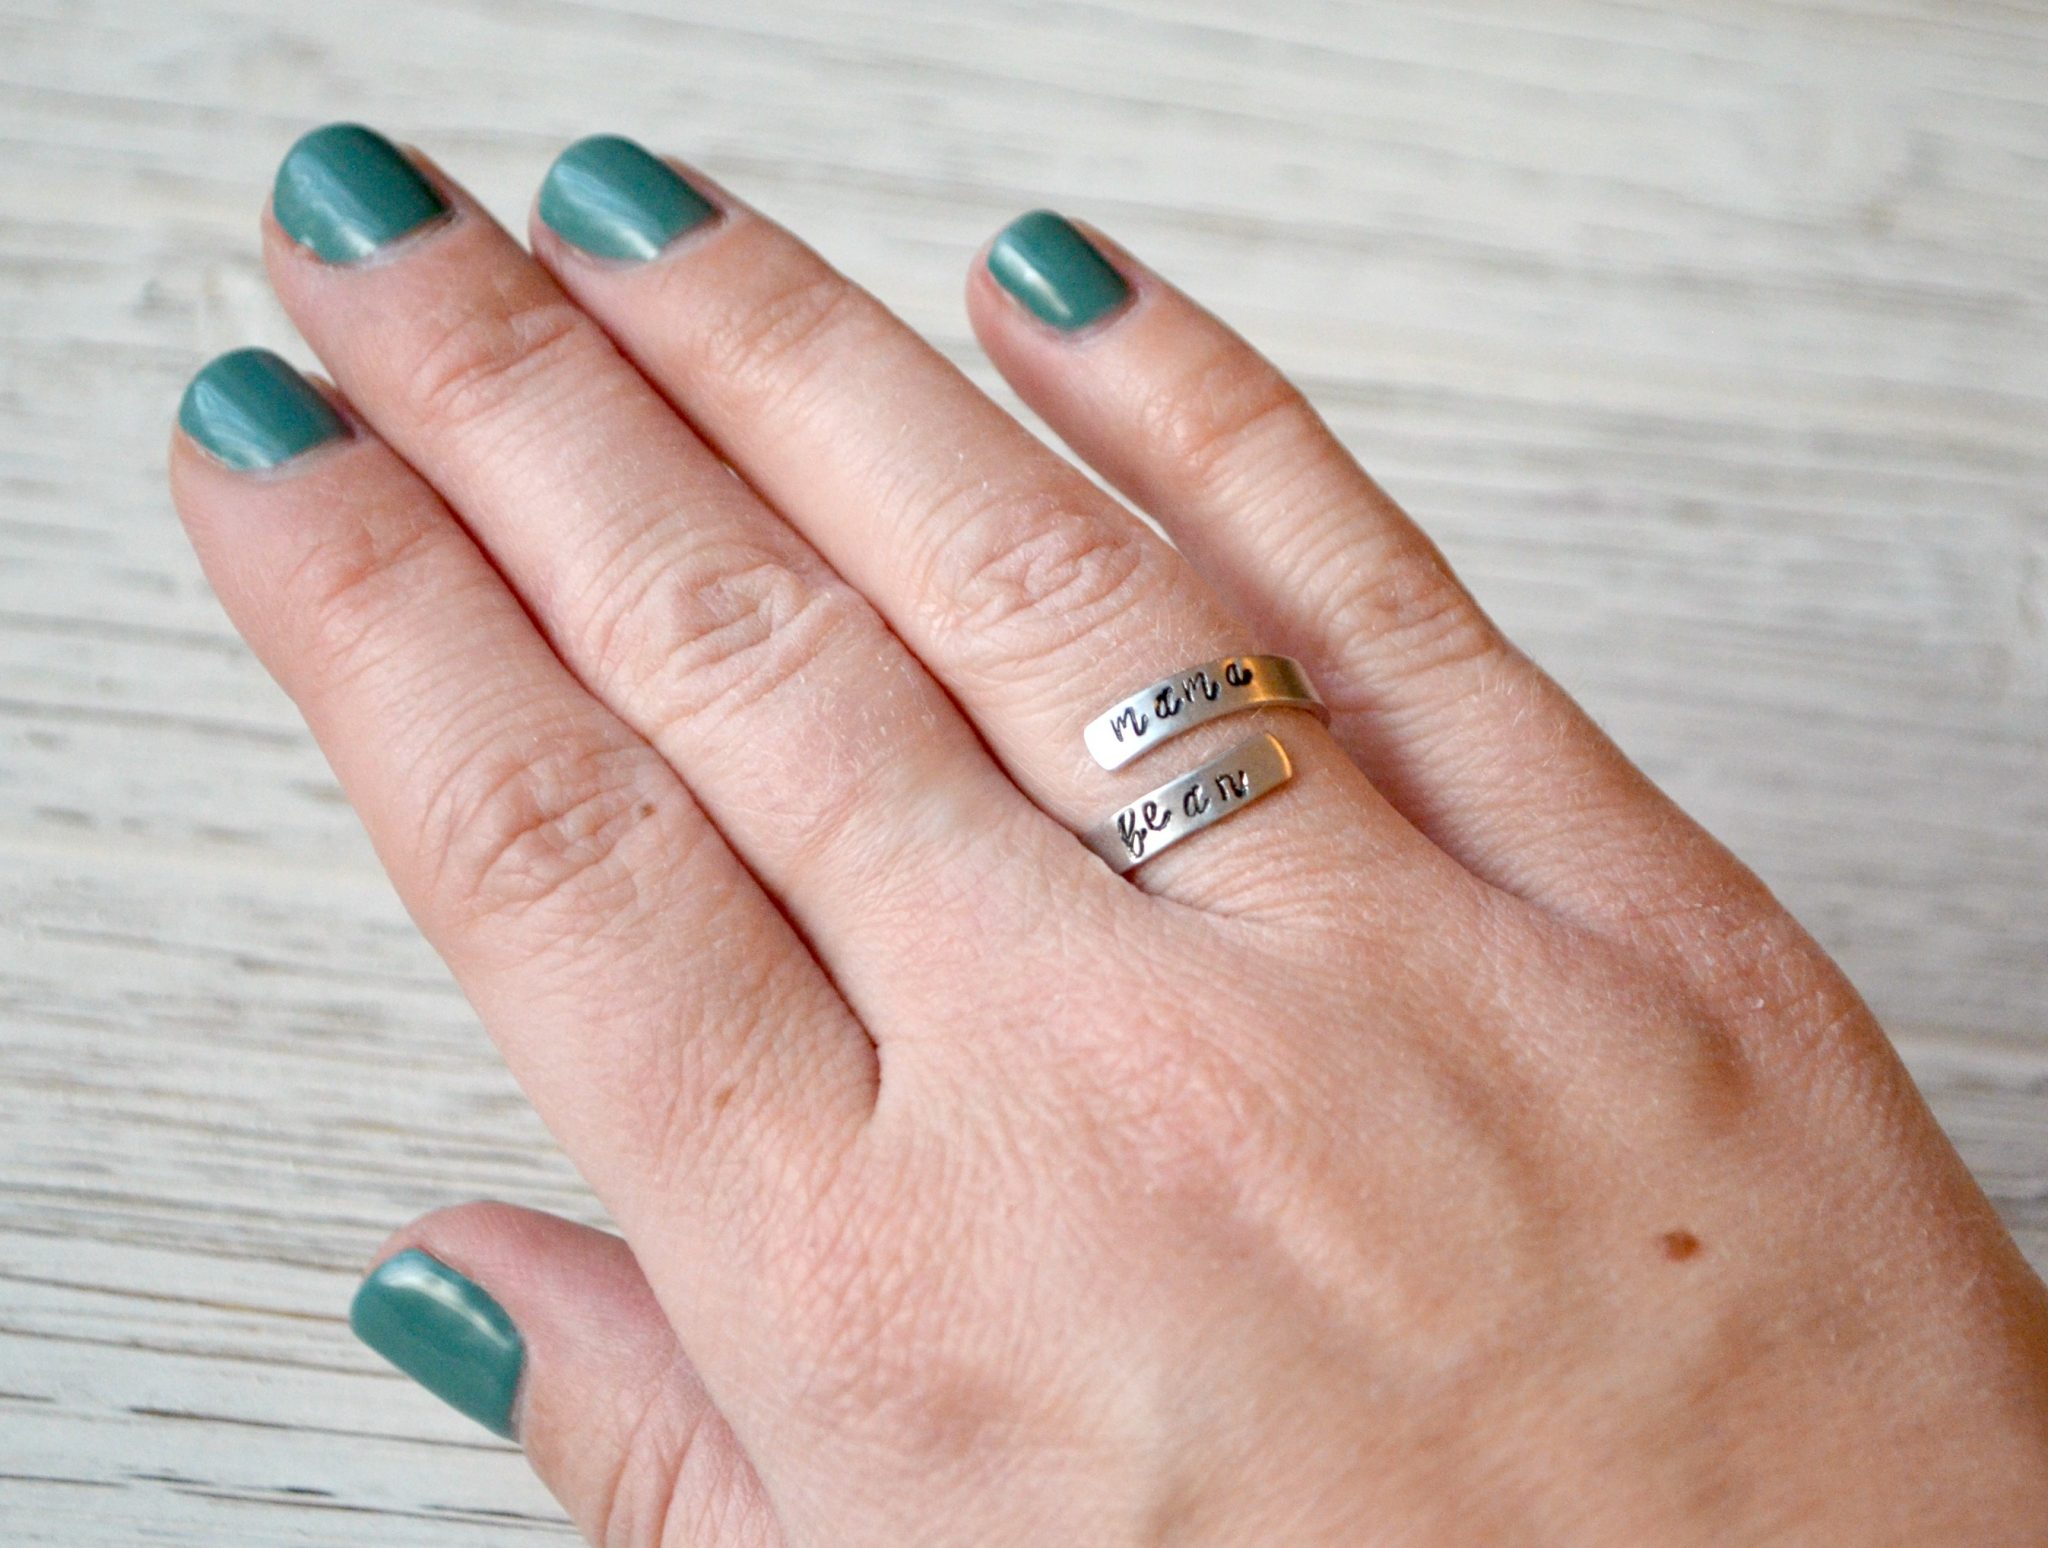
Believe it or not, this ring took me less than ten minutes to make, and I couldn’t be more excited to wear it!
Now, I’m thinking about making one with my boys’ names on it, and I’m also thinking these rings would make great gifts for friends and family. What words, dates, or designs would you stamp on a wrap ring?
Like it? Put a Pin on it!

One Comment